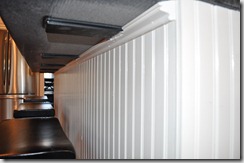
Painted Cabinets Kitchen Reveal

Nate and I spent Memorial Day week-end helping my baby brother paint his kitchen.  We only threatened to ditch the place and go tubing about 10 times.  But we didn’t.  Sibling love.

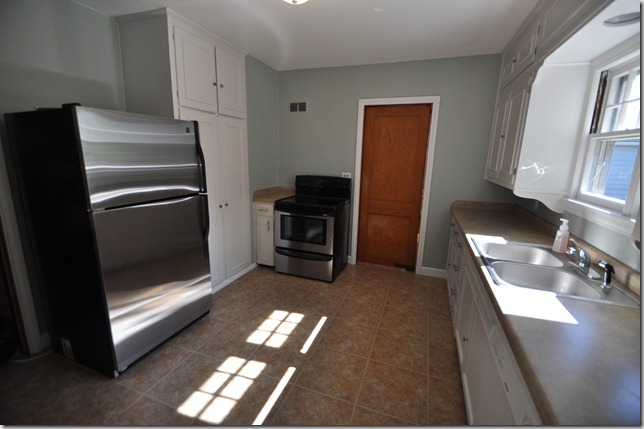
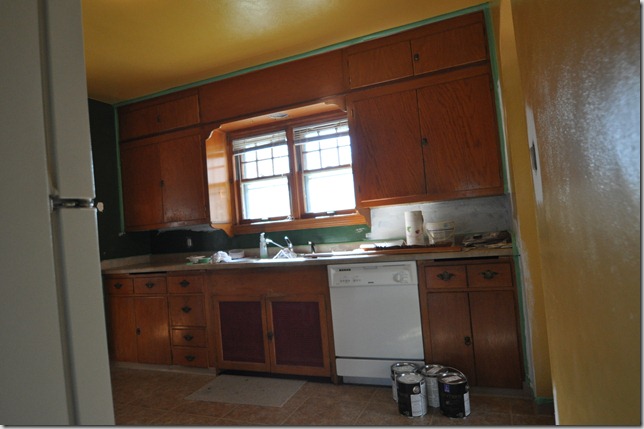
This is what my brother’s kitchen looked like when he purchased the home.
Painting kitchen cabinets Before and After
029

Pretty, no?  Fiesta is always my favorite color scheme.

I told little brother not to worry.  We can make this kitchen pretty for not a lot of dinero.

A few weeks back we painted the walls Comfort Grey by Sherwin Williams.  It definitely lightened up the room and made me want to barf less.  Just less.  I still wanted to barf.
Painting kitchen cabinets Before and After

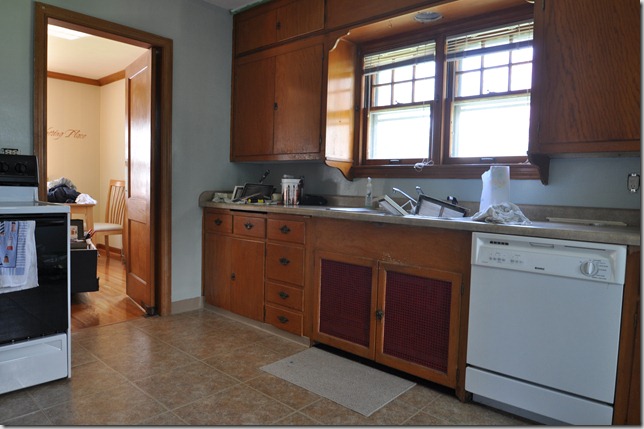
Those cabinets were in such sad shape.  Nothing some new moldings, hardware, a loving family and paint couldn’t fix.
Painting kitchen cabinets Before and After

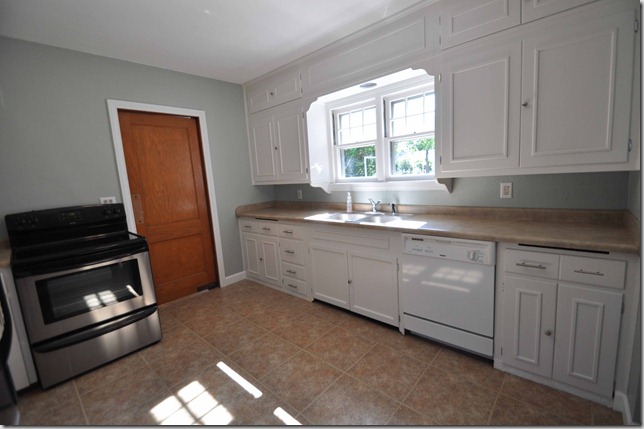
Hard to believe it’s the same room, right?

My brother got a great deal on the stainless appliances purchased from a friend’s brother.  $700 total for both.  The oven had been used 3 times.  The fridge was spotless.

Nate added some simple molding to add dimension to the cabinets.

Painting kitchen cabinets Before and After

Nate also replaced that lovely red mesh with some plywood.  Cheap and easy fix!
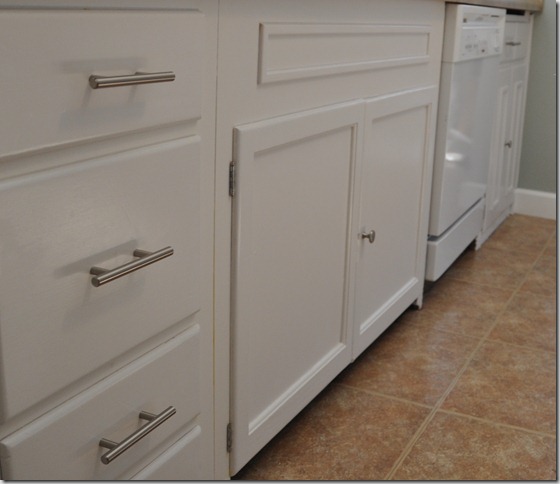
649

Nate also installed some floor trim to replace the plastic trim.  Little brother is moving up in the world.

Brother still needs to install some molding underneath the cabinets under the sink and replace the cutting boards (holes under counter) but otherwise this kitchen is done!  Unless he’ll let me add some decorative touches.  Or paint that door.

Source List:

  • Wall color:  Comfort Grey by Sherwin Williams ($30) 
  • Cabinet color:  Rust-Oleum’s Cabinet Transformations kit in Linen ($70) 
    • Review to come!
    • Hardware:  Handles from Lowe’s, knobs from Menards (no clue on names) ($50) 
    • Cabinet molding:   Lowe’s ($50) 
    • Floor molding:  Menard’s ($20)
Before + After Budget Kitchen Reveal.jpg
Photobucket Photobucket Photobucket Photobucket PhotobucketPhotobucketfollow us in feedly

Under Cabinet Lighting

Nate and I actually completed a few house projects this week-end.  What the what?  Weird. I know. 

Nate had been casually looking for lighting for under our kitchen cabinets.  We gave no thought to under cabinet lighting when we were building.  Things can get a little dark at night while cooking/baking.  House building fail.

Kitchen cabinet lighting

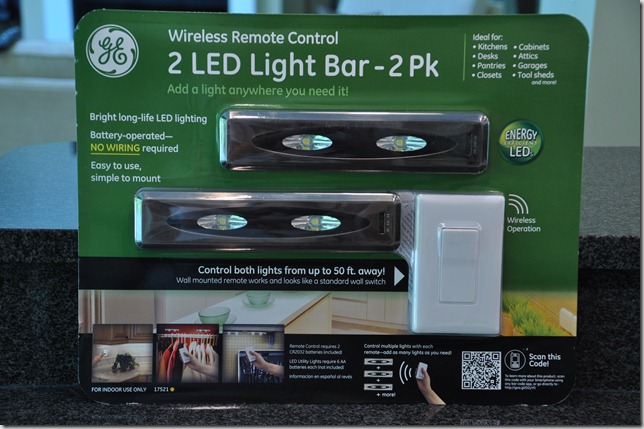
Luckily there are many options for wireless lighting.  We choose this…

Kitchen Cabinet Lighting

We purchased two sets.  They were $35 per set at Sam’s.  (I detest shopping at Sam’s but Nate likes it.  Sam’s always ends in me needing anger management courses.)  They were a one time buy so we bit the bullet and purchased them. 

The lighting is wireless and has a remote switch.  You can hook multiple sets up to one switch.  We wanted a switch because we are lazy.  We will be more likely to use the lights if it’s one easy switch versus turning on multiple lights.

The installation was easy.  Each set came with 2 light bars, some adhesive strips (like the 3M strip), screws, and a remote switch.  We chose to use the adhesive strips over the screws.  We may regret this decision when we need to change the batteries.  (We thought of this about 3/4 through the installation.) 

kitchen cabinet lighting

We inserted the batteries and applied the adhesive strips to the ends. Nate found the middle of the underside of the cabinets and stuck the bar firmly in place.

kitchen cabinet lighting

Ike supervised from his favorite position in the living room…

017

15 minutes later, we had under cabinet lighting.

kitchen cabinet lighting

Lighting controlled by a fancy remote switch that is hidden away but still easy to access.

kitchen cabinet lighting

Pretty during the day…

under cabinet lighting

And in the evening…

kitchen cabinet lighting

Any thoughts on under cabinet lighting?  Any fellow Sam’s Club haters?  Any other lazy people that need remotes for everything?

Be sure to check out our other projects on the DIY projects page!

Kitchen Island Bead Board- How To

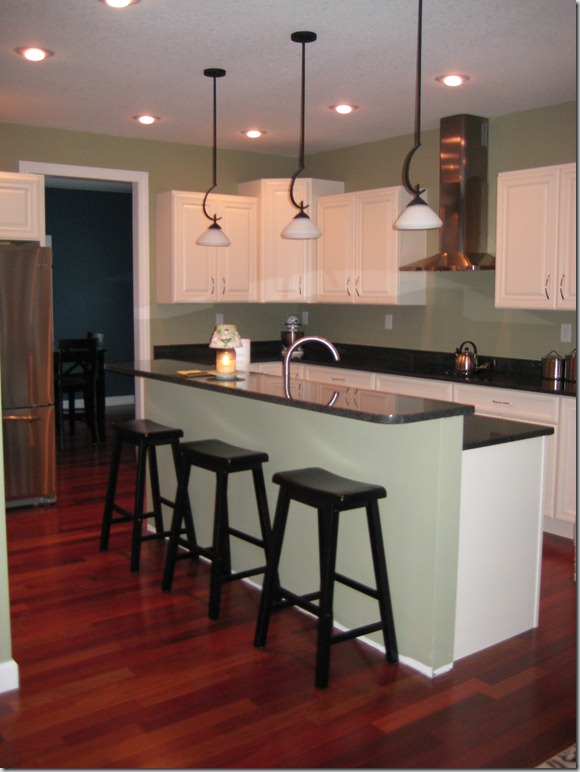
This is what our kitchen looked like in January of 2010.

DIY Tutorial Bead Board Kitchen

Bland.  The island needed something…and that something was bead board!

How to add bead board to an island

How’d we do it?

(We did this prior to blogging.  I apologize for the lack of pictures!)

  • We purchased beaded tongue and groove boards from Menards.
    • We had originally planned to buy a sheet of bead board but neither of us was crazy about the look of the sheet.  We preferred more of the classic tongue and groove look.
    • Nate cut the boards (using a miter saw) to match the height of island.
    • I primed and painted all of the boards before we hung them.
    • We started on one end and nailed each board on top and bottom (and we used extra nails everywhere there was a stud for extra stability). Once a board was fully nailed we joined the next board and repeated until the corner.
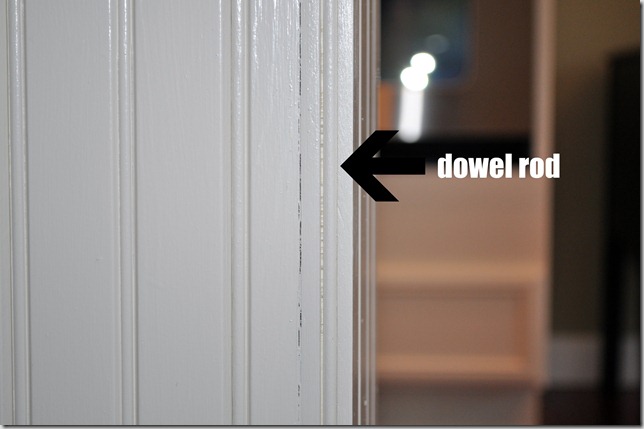
    • On the corners, we cut off the rounded edge of the groove..which left a little gap that we filled with a dowel rod and some caulk to simulate the bead. Easy disguise! (Looks like we need to re-caulk!)
DIY tutorial bead board kitchen
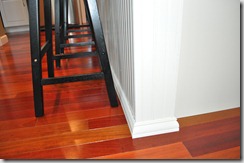
  • We used window casing on the bottom in place of traditional trim and a decorative trim piece to cover nail holes on top.
010
DIY Tutorial kitchen bead board
  • I then filled in the nail holes and painted the edges.
  • And wah-lah, a pretty island.

Neither of us remembers the cost but it was pretty inexpensive.


Tips to add bead board to a kitchen island!.jpg

Made any inexpensive upgrades in your kitchen?


Photobucket Photobucket Photobucket Photobucket PhotobucketPhotobucketfollow us in feedly