How to Build a Dining Table (& Decorating with Kids!)
/I occasionally get questions regarding how our kids have changed our home decor.
Honestly, not much has changed. This is mainly because we’ve been too sleepy to tackle home related projects. I haven’t had the energy to dream up crazy ideas. Nate hasn’t had the energy to make my crazy ideas come true. Our second baby is now one and we are finding ourselves with a smidge more free time (and definitely more restful nights).
I have been wanting a new table in our breakfast nook. Nate previously built our first table for this space back in 2011. (I had to look it up on the blog. Time flies!) We loved that table…until we had kids. The old tabletop was not smooth. Every crumb, spill, sprinkle, piece of craft paper, Play-doh, etc ended up in the crevices. Prior to having children it was not a big deal to vacuum the top every now and then. Post-children is another story. There are now so. many. crumbs. I don’t really care to spend my precious free time vacuuming a tabletop. Like I could think of 87 million better ways to spend my time. I could summarize this entire paragraph with “Our old table was gross. The end.”
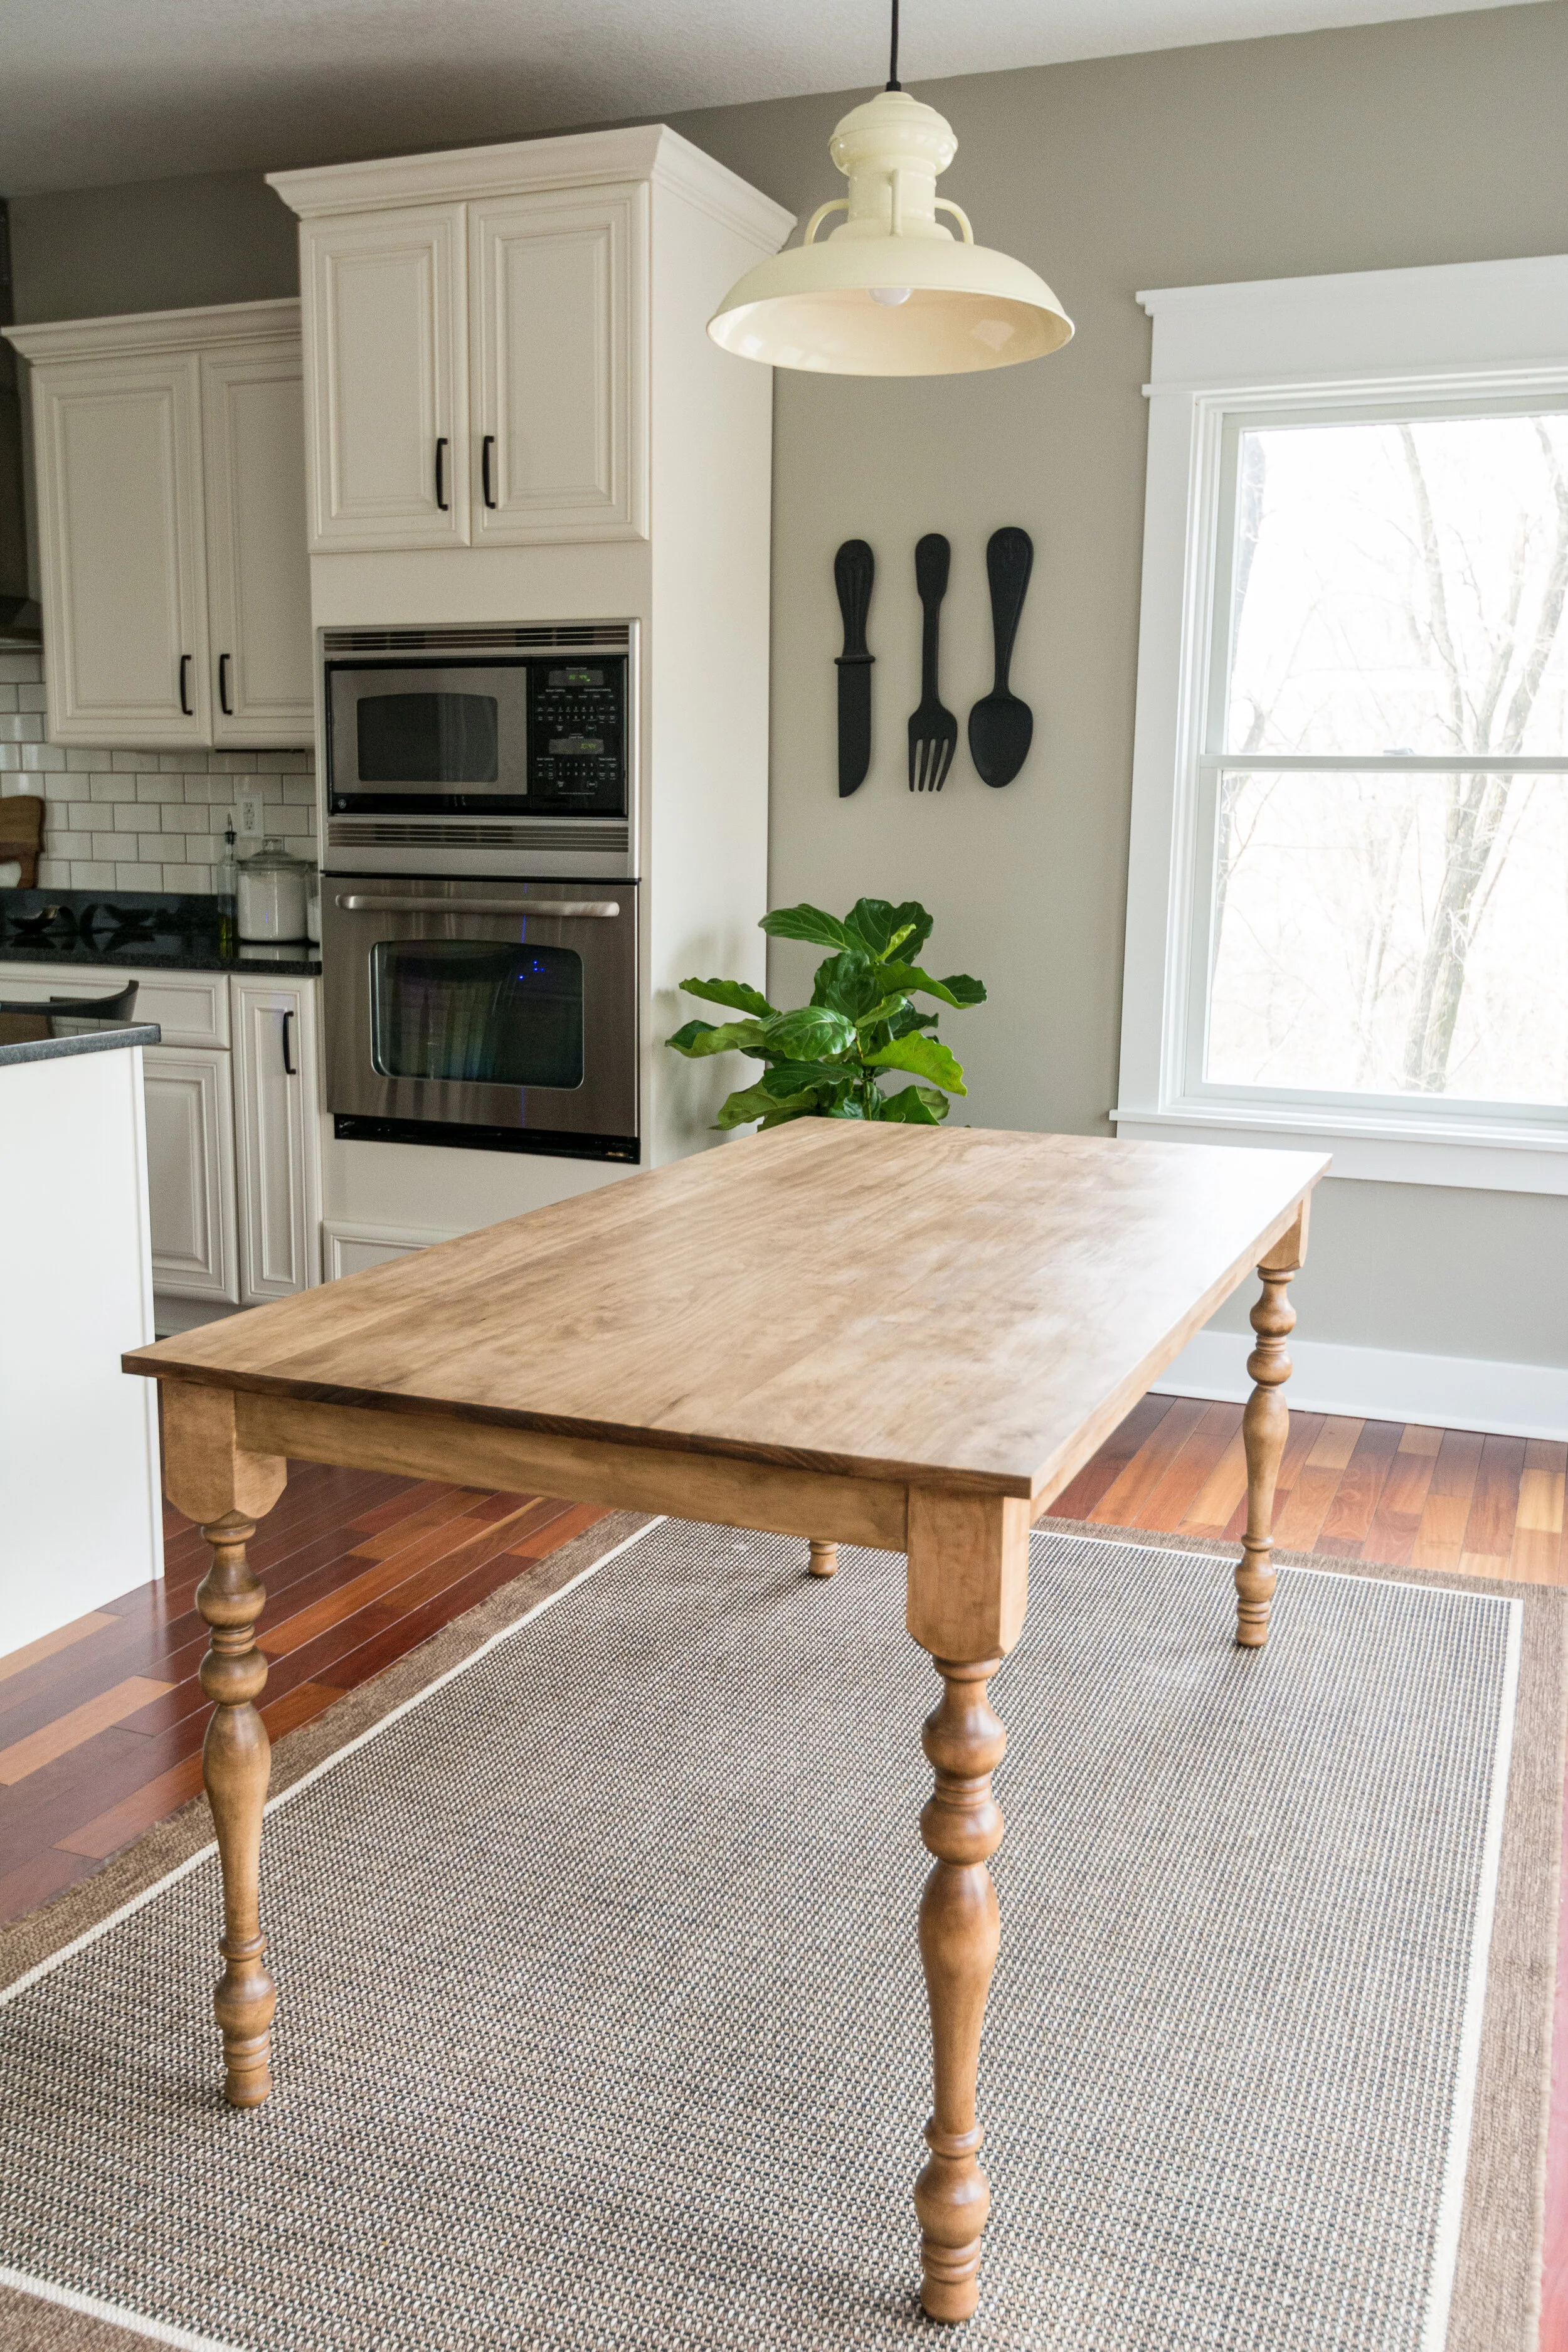
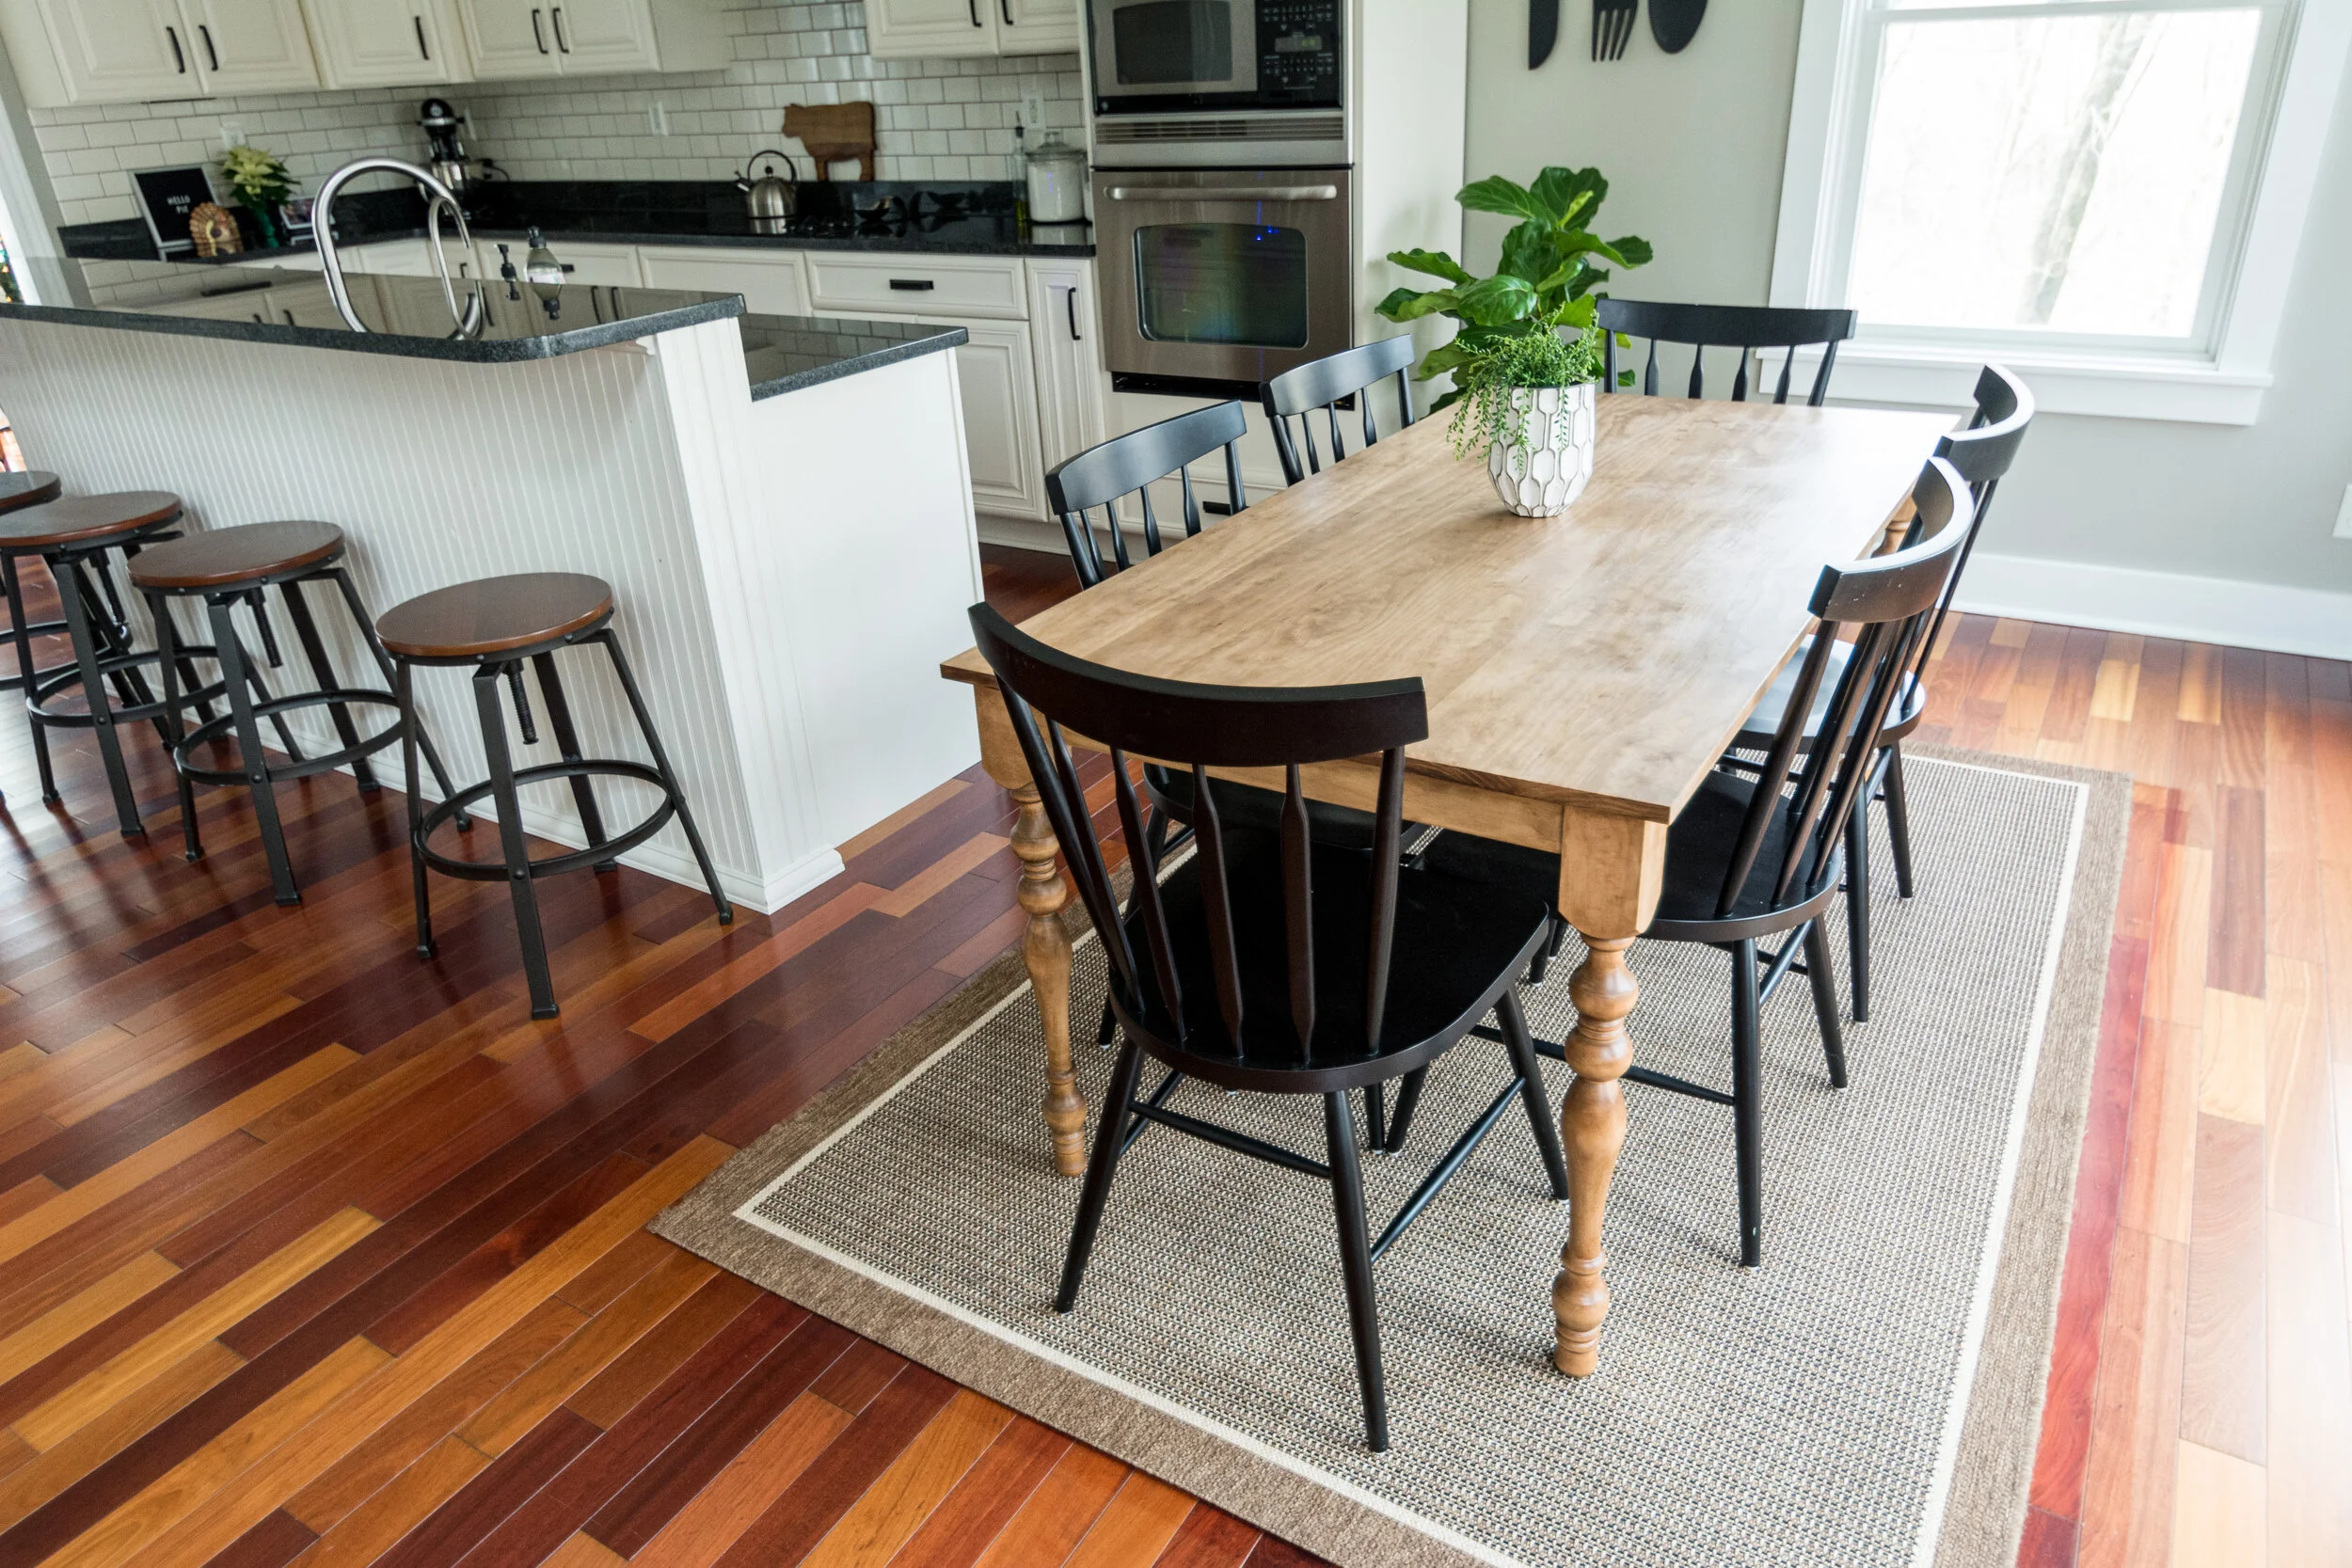
We are now the proud new owners of a table that has a smooth top and wonderfully curvy legs!
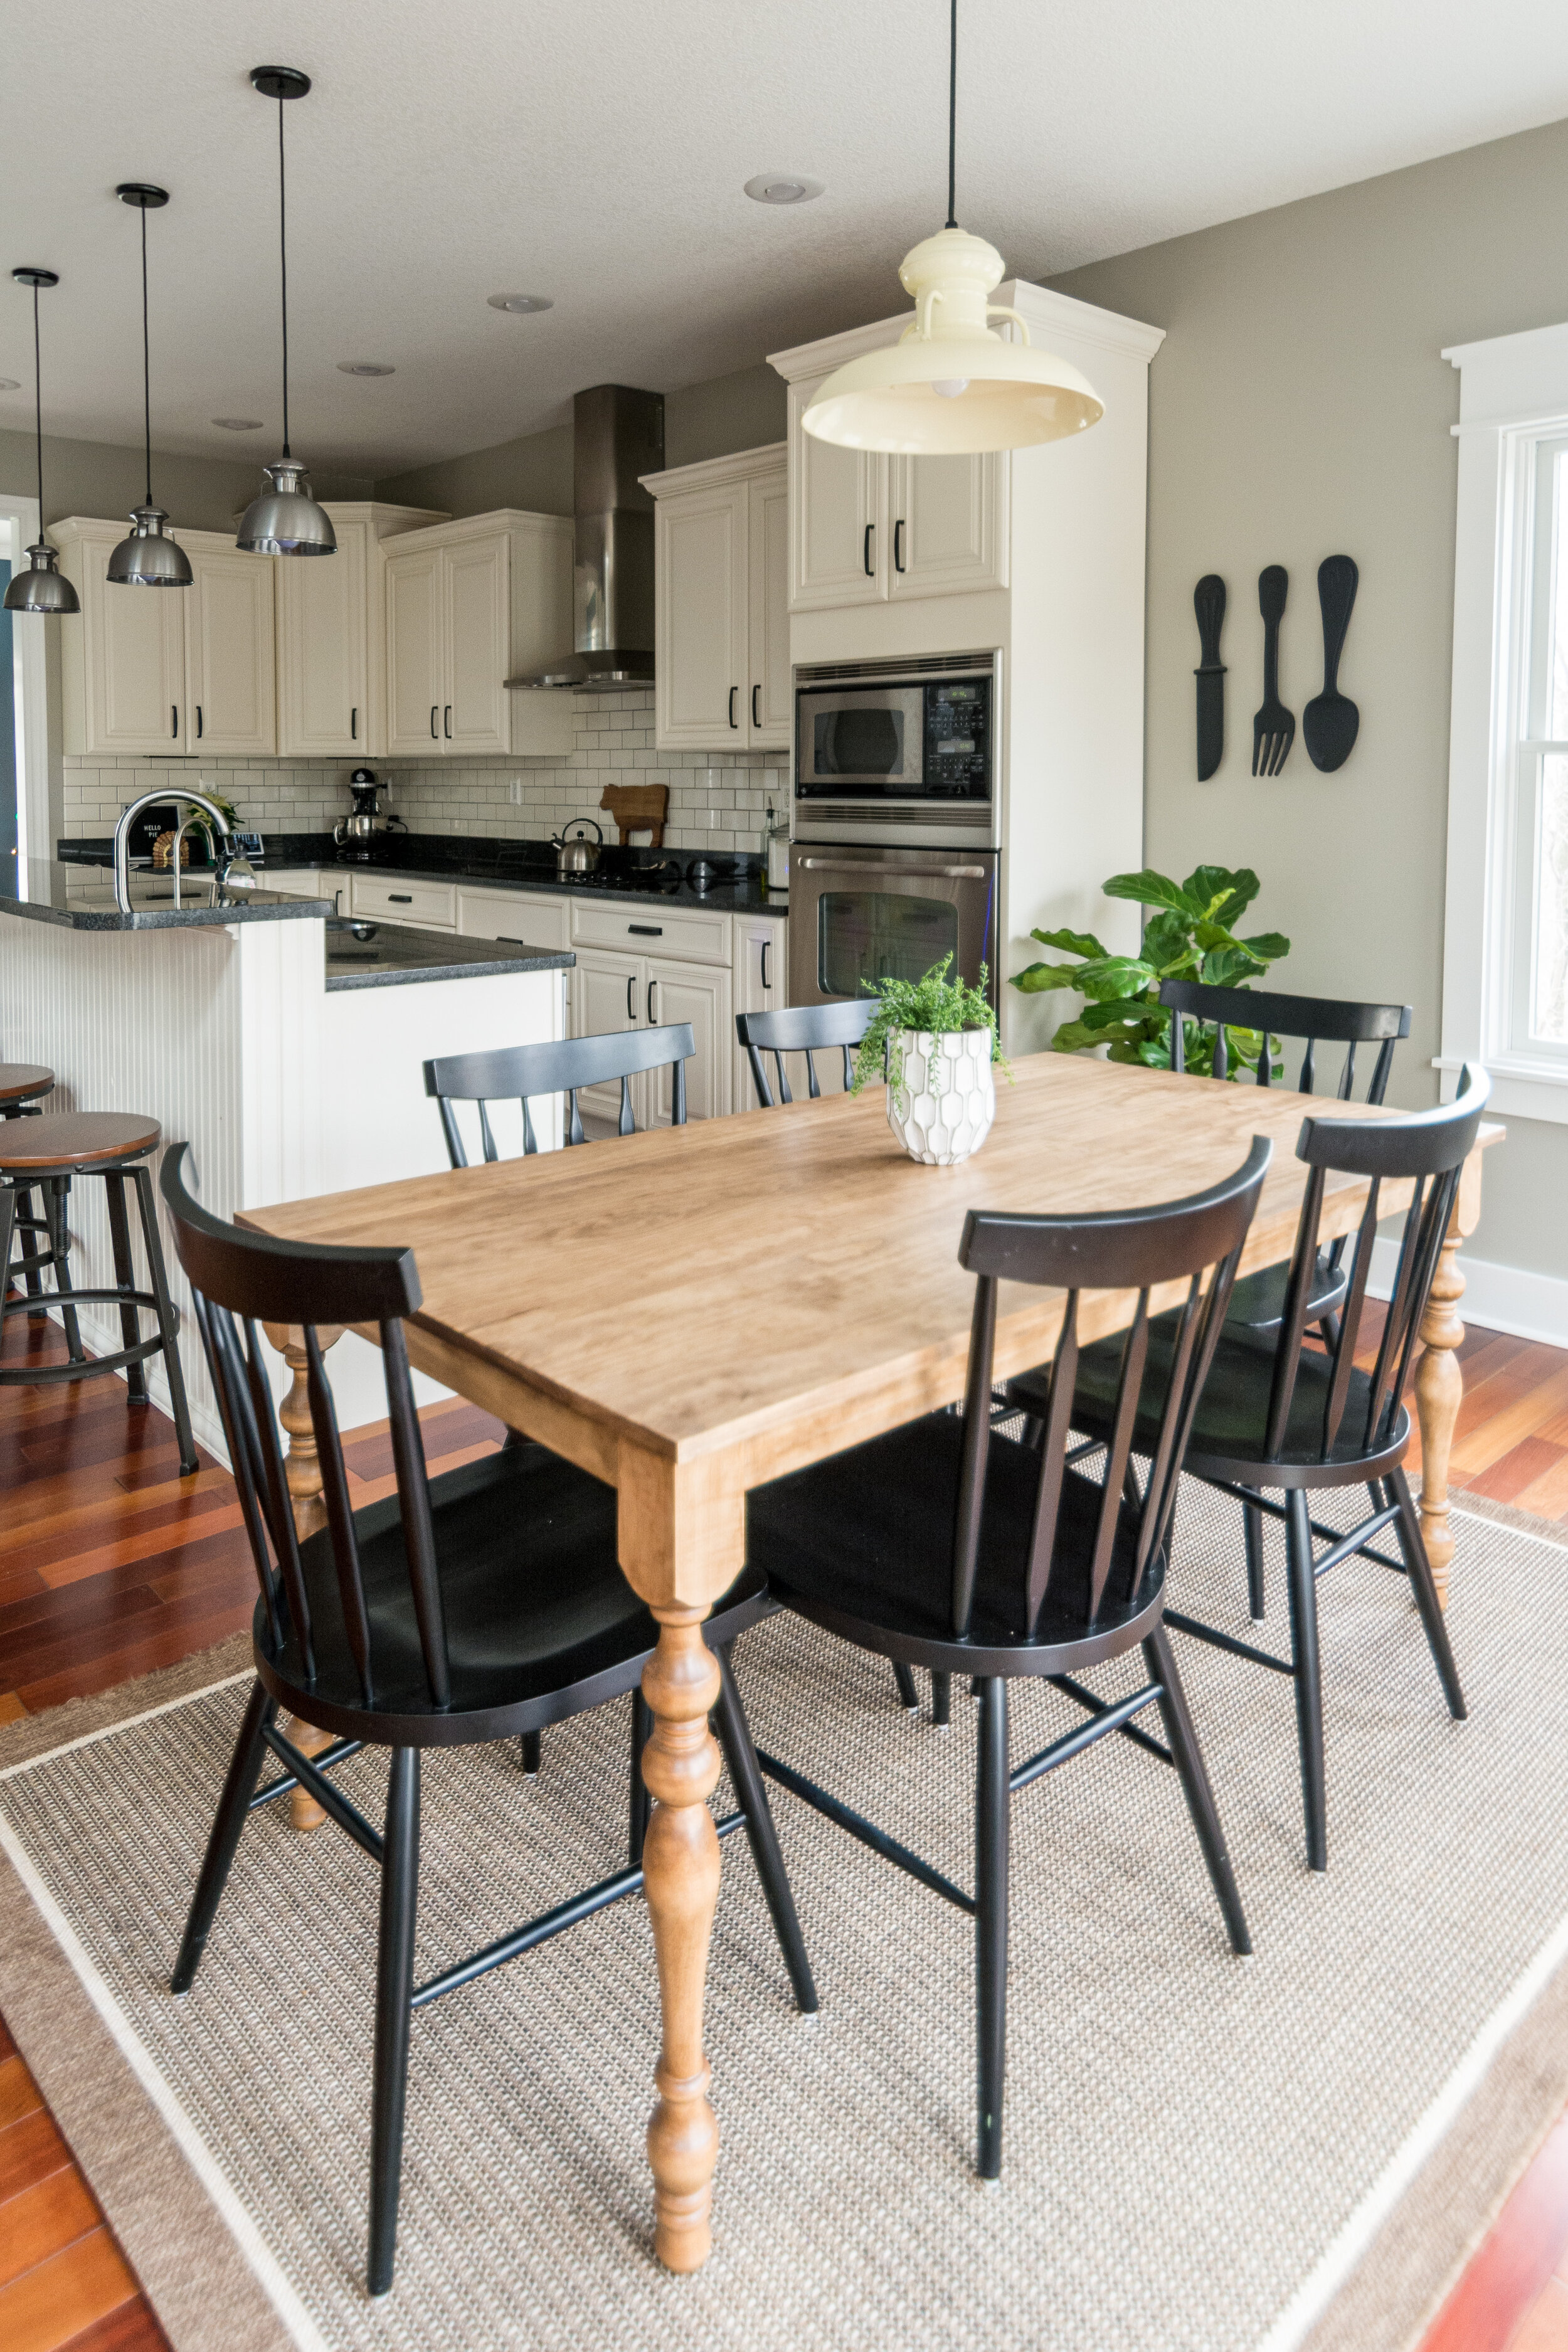
When designing our new table I knew I wanted a leg with some curve. Our old table seemed quite bulky in the space due to it’s chunky legs.
I browsed our favorite source for table legs, Osborne Wood Products. I fell in love with the Narrow Herrickson Dining Table leg. We’ve used their legs previously for our dining table, card catalog and coffee table. The quality and selection of their products makes them our favorite source for furniture legs! My Pinterest feed is full of beautiful vintage looking tables and I knew these legs would give me the look that I have been drooling over!

While pretty was the number one concern in my design plan, I really did want/need this table to be one that can be used without fear. Our 4 year old is always crafting/creating. I didn’t want his creativity to be hindered by the fear of Mom freaking out about her precious table. Most crafting supplies can be wiped up and we’re okay with scratches and dings. The nice thing about Nate building this table is that he can either sand it down or build a new top down the road if it gets too beat up.
Here’s a basic tutorial to help guide you on building your table. It looks so pretty and complicated but Nate assures me it is a fairly simple build!
Material List:
Narrow Herrickson Dining Table Leg (Hard Maple)
(6) 1”x6”x6’ boards (Pine)
(3) 1”x3”x8’ boards
Stain (Rust-Oleum Early American)
Equipment list:
Cut List:
1”x6”
(6) - 65” - Table Top
1”x2”
(2) - 57” - Side Supports
(2) - 25” - End Supports
(3) - 29” - Inside Supports
Instructions
On the top of the legs, mark .25” back from the outside edges. This is where the side and end supports will go. Using the pocket hole jig, drill 2 holes in the back side of all the 1x3” supports. Place wood glue on ends of the supports (spread using wood glue brush). Attach end and side supports to legs at the .25” mark. On the inside of the side supports measure and place a mark 14.25”, 28.50” and 42.75” from the leg, this is where the Inside Supports will be placed. Glue and attach using pocket hole screws. Sand, starting with #100 sandpaper, then finish with #200 sandpaper
Lay out the table top boards to prepare for joining. Things to look for when laying out are knots, consistent grain from one to another and getting the crown of the wood going the same direction (The crown of a piece of dimensional rough lumber is the upward arching curvature you see when you look down its narrowest dimensional edge). On the inside of each board that will be joined to another board place a mark at 3” from the outside edge and every 10” after that. Using the biscuit joiner cut holes at the marks. Working as quick as you can, glue the edges of the boards with the holes, also putting glue in the holes. Place the #20 biscuits in the holes on one side, then attach to the next board. I found it easiest to have my pipe clamps laid out in position, with my “clamping boards” on the outsides of the clamps so I just put the boards inside the clamps as I get them glued. Once they are all glued up time to tighten up the clamps so glue is squeezed out between the boards evenly and it is nice and tight. I also like to make sure there are clamps on top to prevent the boards from crowning up. Let dry in the clamps, I prefer leaving them clamped for 24 hours. Using belt sander sand the top smooth with a coarse sandpaper (I generally use #100 sandpaper to start with), then switch to a finer belt sandpaper (somewhere around #200 or so). I then switch to a #100 sandpaper with my palm sander to smooth out the belt sander marks, then switch to a #200 sandpaper to finish.

Drill pocket holes into the base support 1x3’s (this is how I attach the top to the base), put two in the end supports, one between each inside support for the side supports, and 1 in the middle of each inside support. Mark 1” in from each corner on the bottom of the table top. This is where the outside corners of the legs will go when attaching to the top. Place glue on the top of the base and attach to the top with pocket hole screws.
Stain and poly per instruction on cans.

Typing up this post I realized that the tiny humans might be influencing my decisions more than I previously thought. I now want a new rug for this space but that purchase is definitely on hold until the tiniest human in our house learns to place food in her mouth and not all over the floor! (Ike isn’t rushing this step.) In the mean time we will enjoy making memories around our perfect new table!
Love our table legs? Osborne Wood Products is offering 10% off your purchase of the Narrow Herrickson Dining Table Legs if you use the code: DECORDOG10
Thank you to Osborne Wood Products for supplying us the Narrow Herrickson Dining table legs. Thank you to our readers for supporting small businesses that support this blog!