How to Paint a Vintage Sign
/They say imitation is the sincerest form of flattery.
If that's the case, I hope that Cassie {Primitive and Proper} is flattered. I have had my eye on her painted wood antiques sign for quite some time. Something about it spoke to me. I really wanted it for my dining room.
My options were:
- Borrow it from Cassie during the Winter while she is using her fireplace (she offered).
- Steal it (illegal).
- Make my own (good choice).
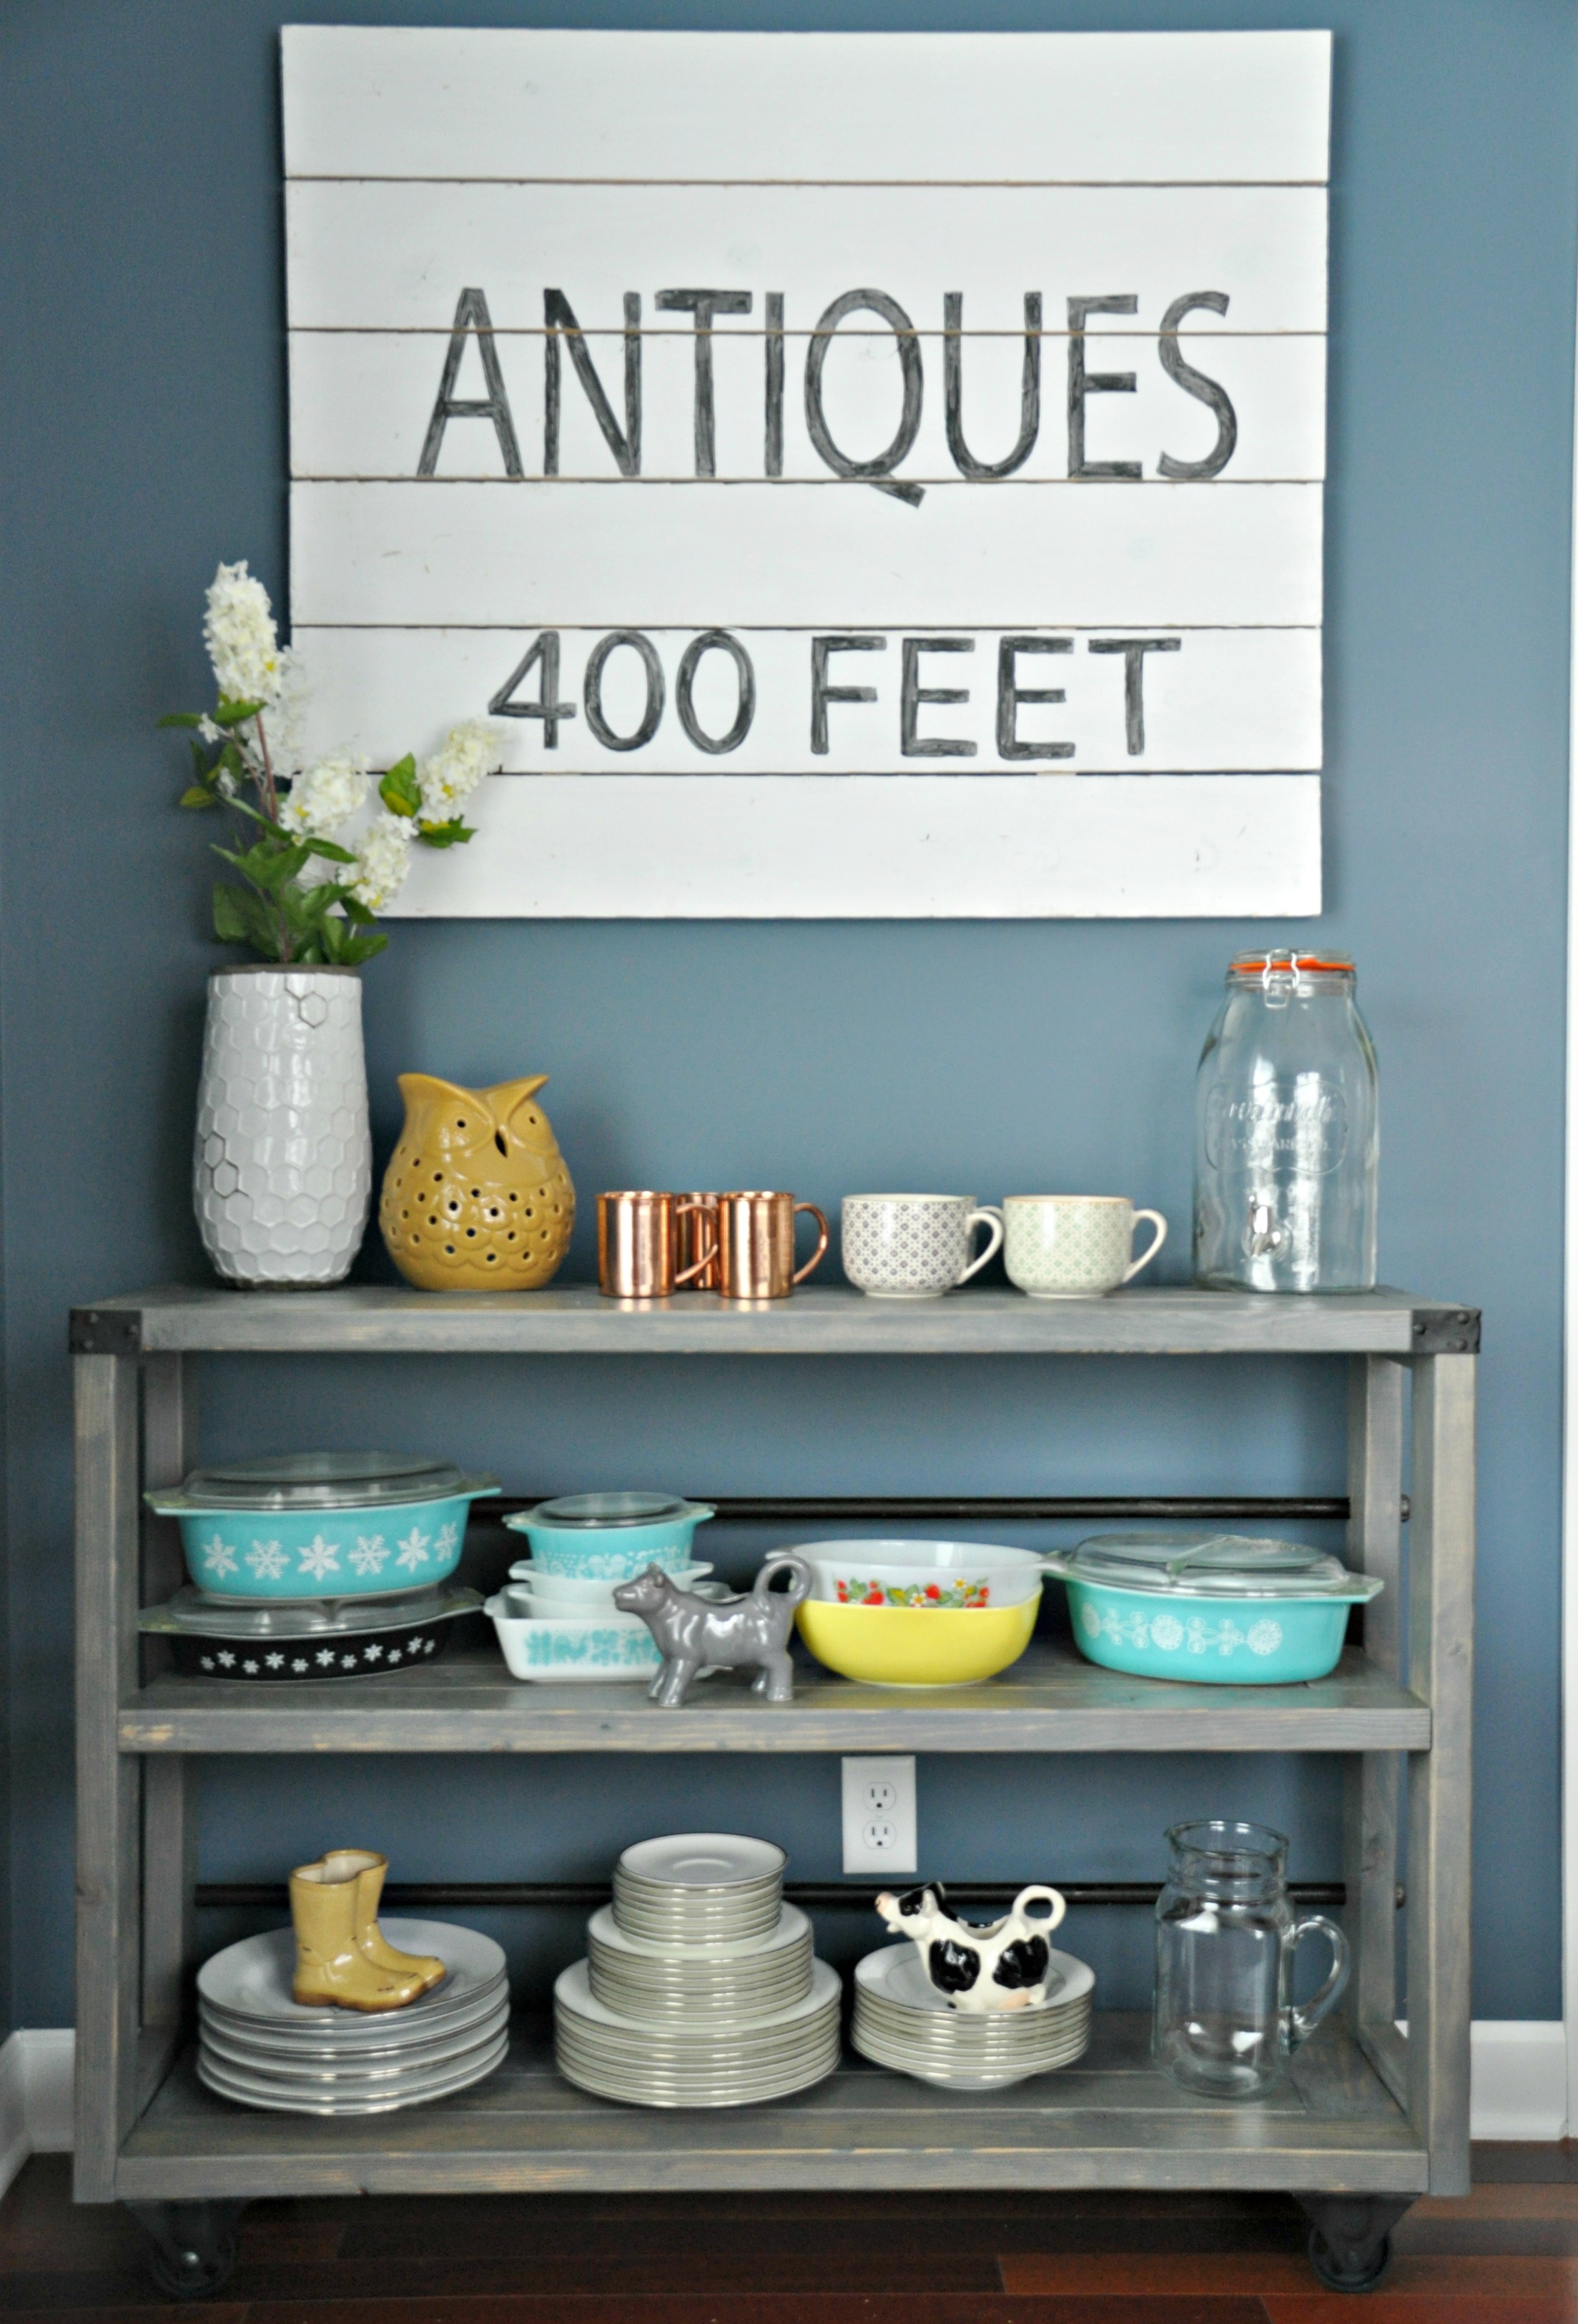
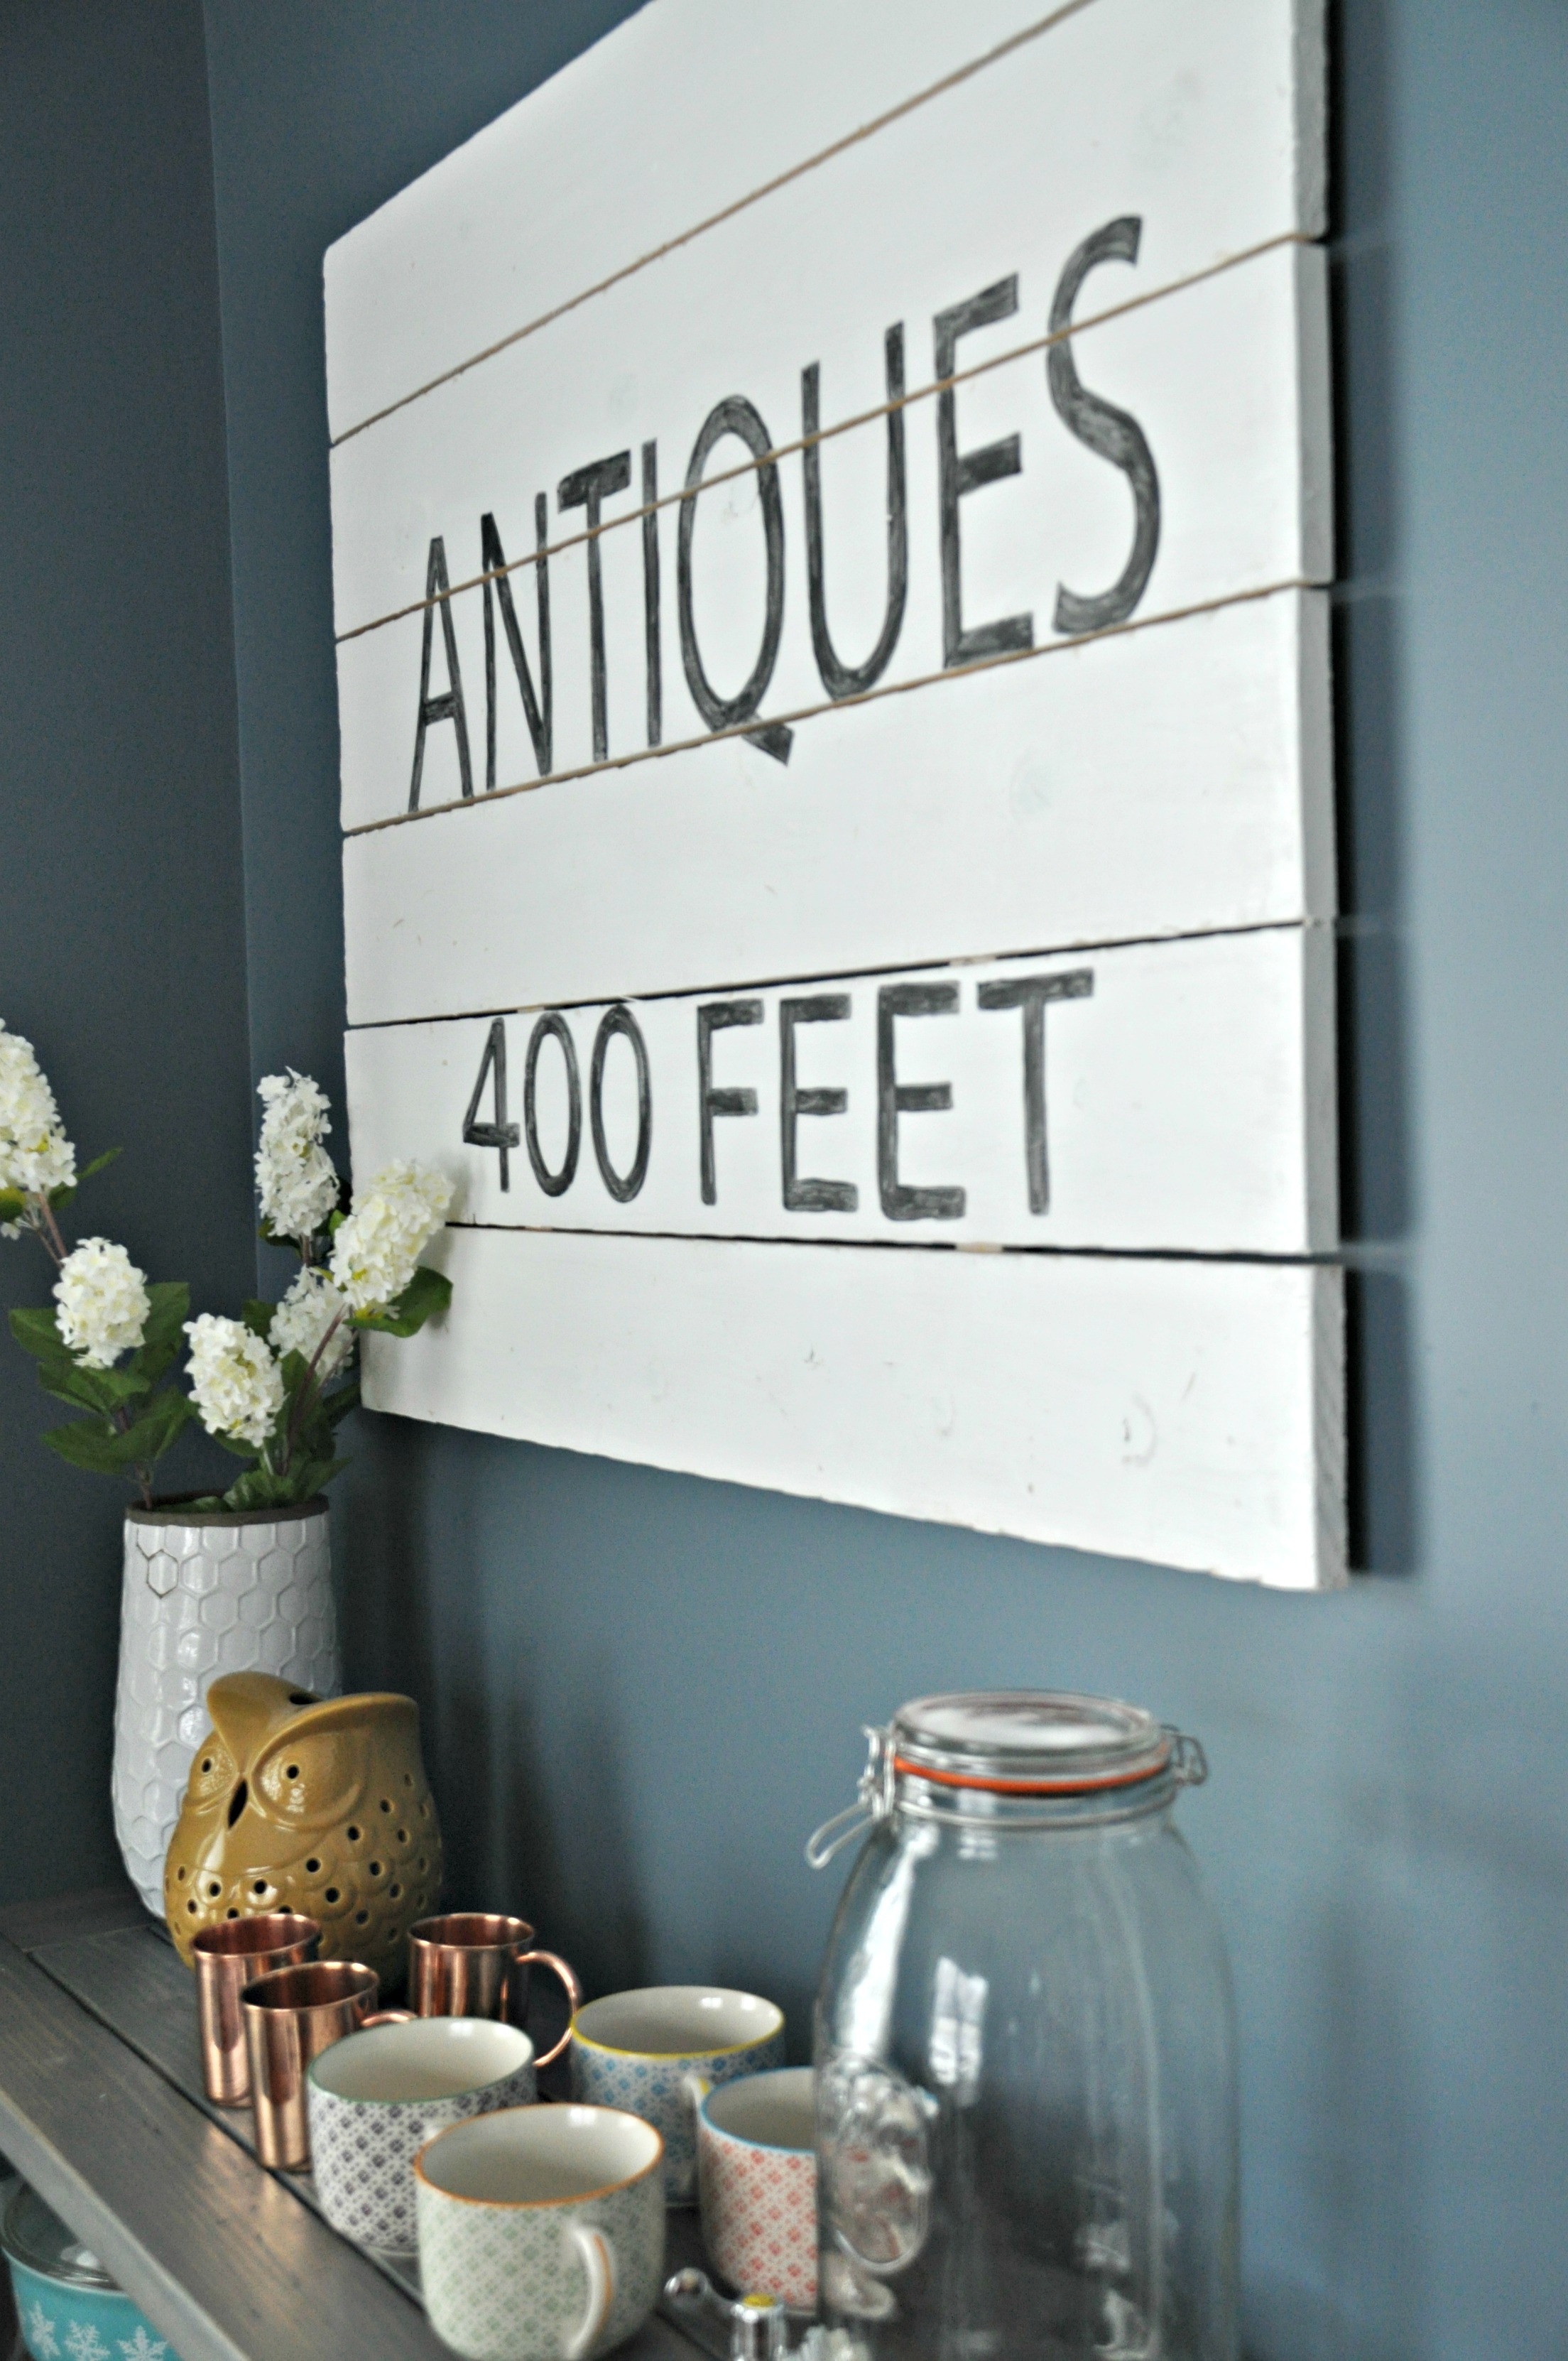
I had Nate cut some 1x6's to size. (Our sign is 34" long x 40" wide.) We then beat up the boards with a hammer and screw driver to give the painted sign a "vintage" look.
Nate then placed the boards on a flat surface using a nail to space them evenly.
He then cut two 1 x2's a little shorter (1/2 inch) than the length of the sign. (33.5" in our case.)
Place the 1x2's about 6" from each edge and put a screw in each board.
After the sign was assembled I gave it two quick coats of white paint. I applied the paint thinly and didn't worry about even coverage or painting into grooves or holes. Again, I wanted this to look old.
It was then time to add the lettering. I started by designing my sign in Photoshop. I wanted my sign to resemble something that would have been quickly hand painted and stuck outside a store back in the day. A fancy font wouldn't have looked right.
I placed my printed design on top of the wood. I placed tracing paper under the sign. I used a ball point pen to trace over my design.
I then used some black paint and small paint brush to carefully fill in my tracings.
I was going to do two coats but I thought it would look more vintage if I did one coat and then a light sanding.
After the painting and sanding, we hung it on the wall.
I like how the vintage painted sign looks above our dining cart (tutorial coming soon).
It's always good when you can use your DIY skills to keep you from jail time, right?


