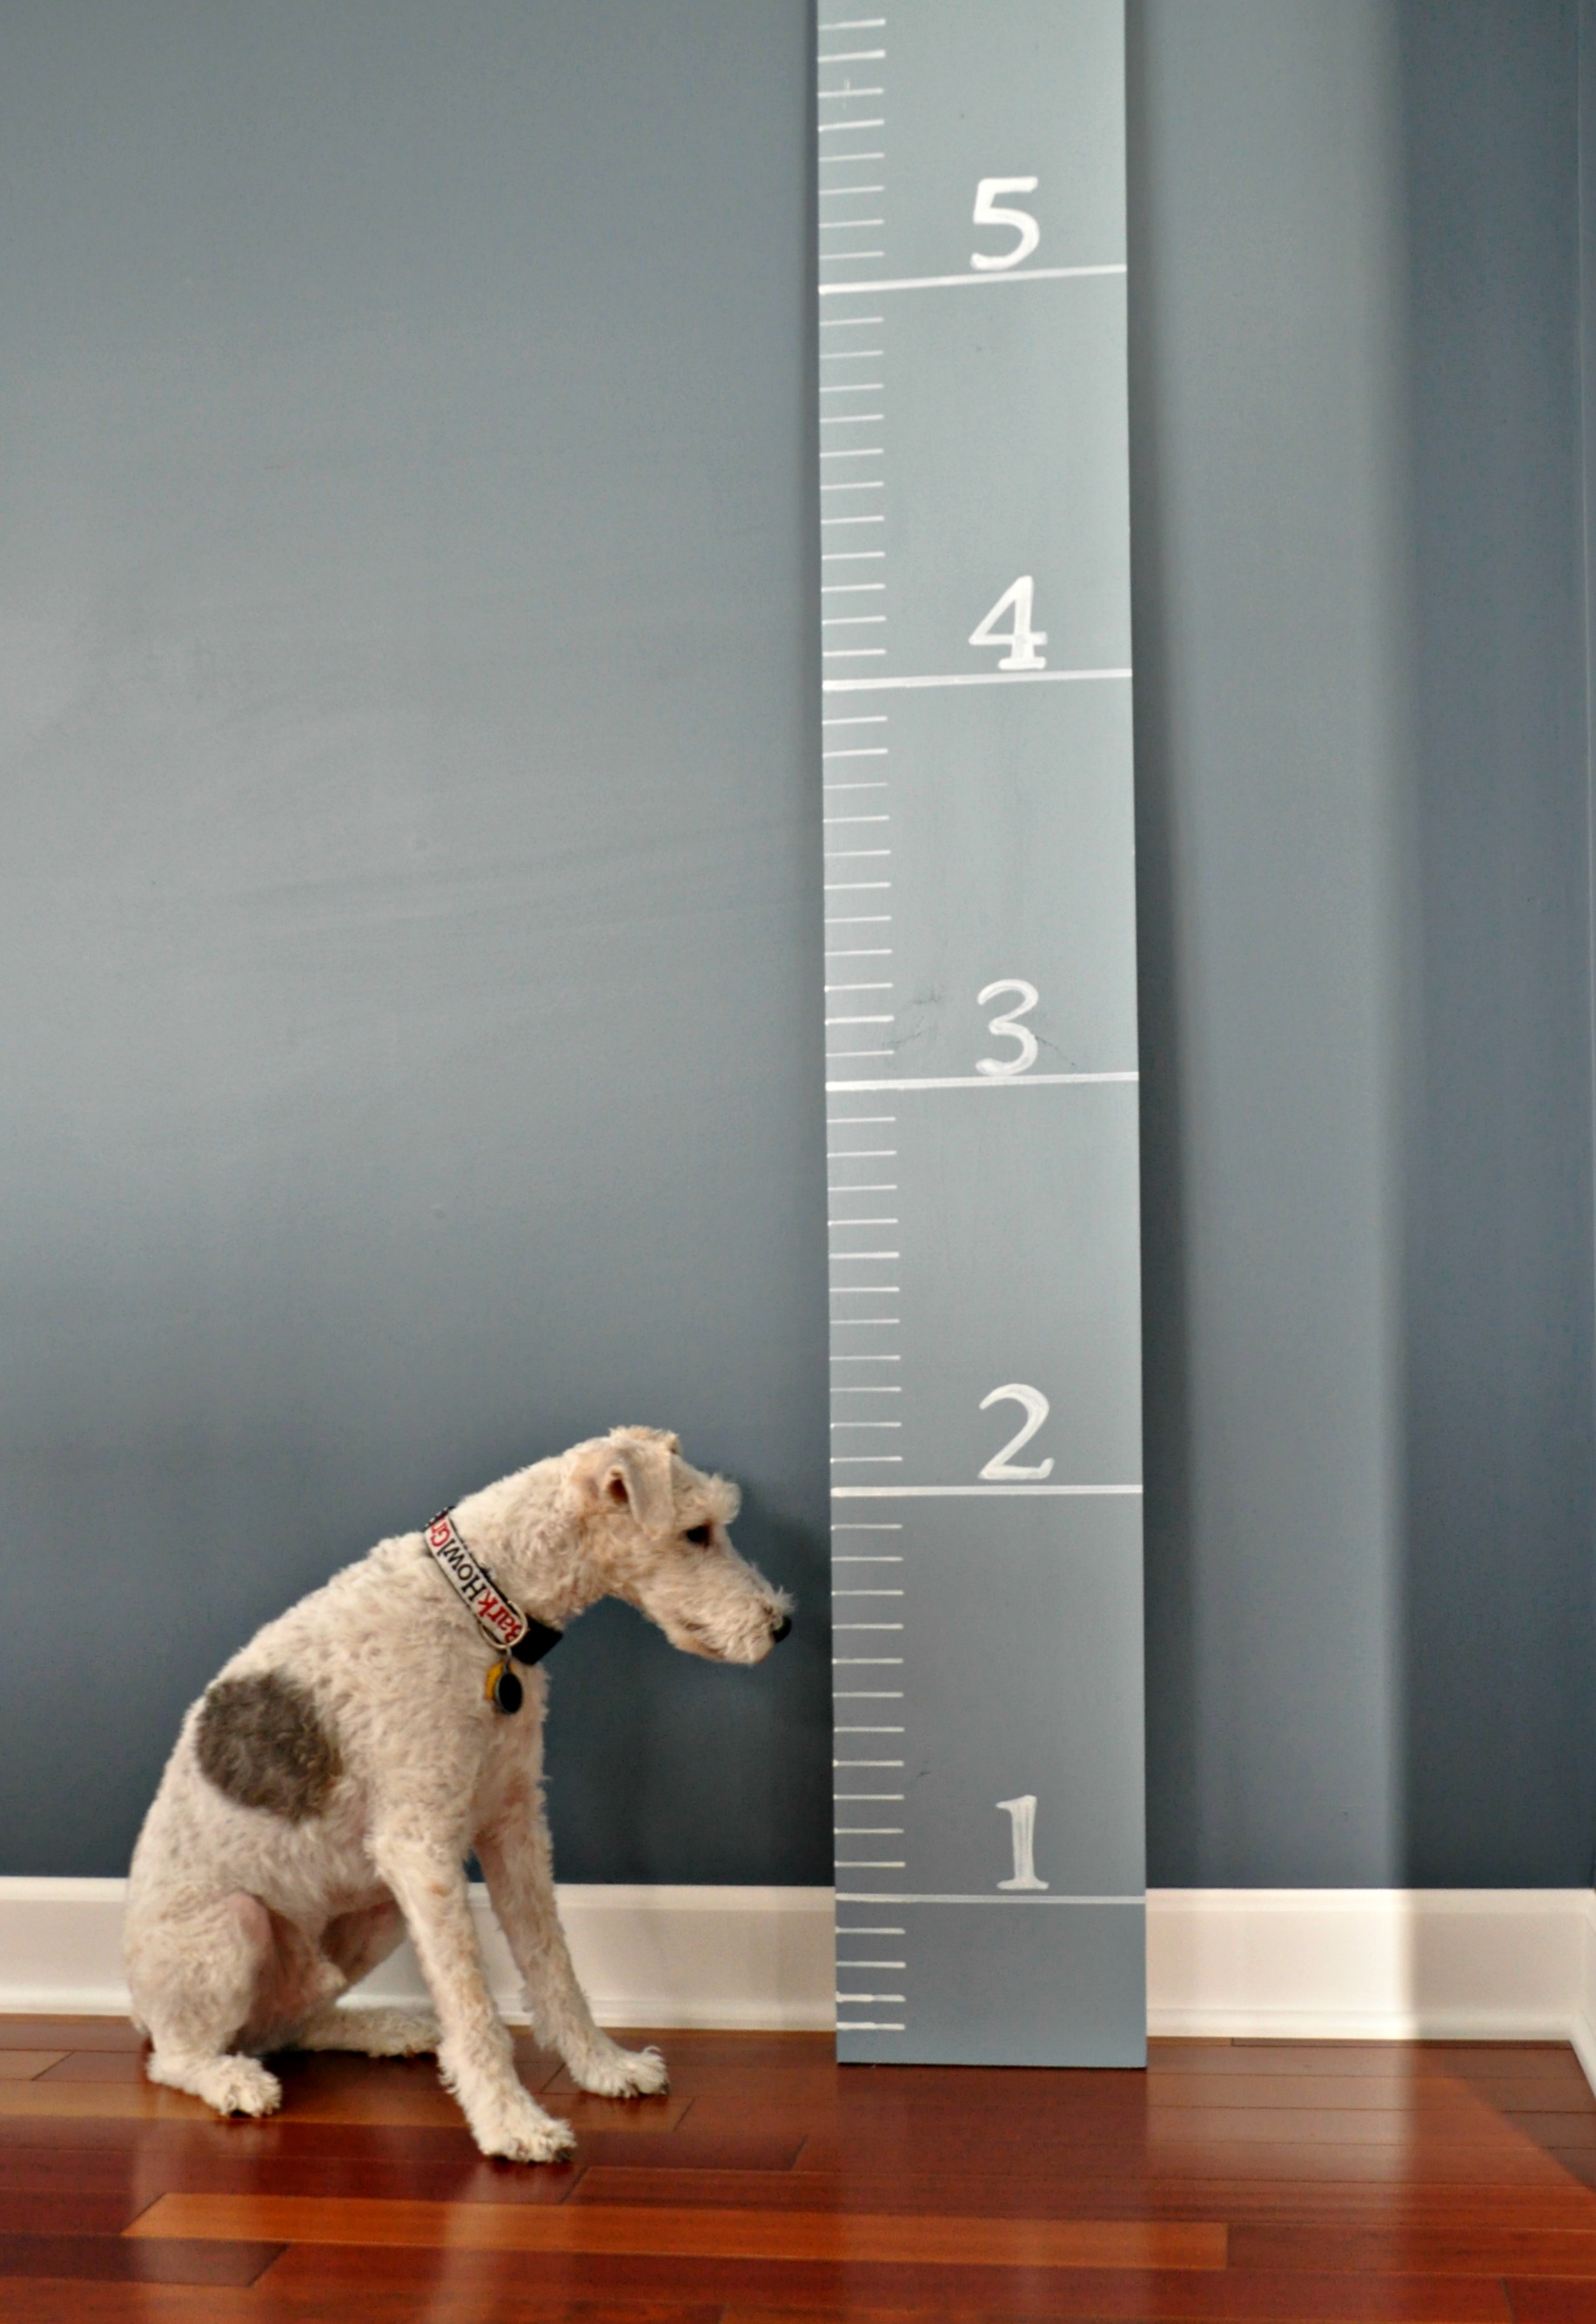
DIY Growth Chart Tutorial
/Kids. They grow up so fast. You want to remember every stage.
That's why I made Ike a growth chart.
Look how tall he's getting.
I kid. I kid.
I whipped up this ol' ruler growth chart for a friend that is expecting triplets any day. (Yep. You read that right. Triplets.)
I'd previously seen these growth charts all over the interwebs. Turns out they are super easy DIY. Here's how I made my wooden growth chart!
I purchased a 6 foot 1x10 from Lowe's. I sanded it down a little (probably should have done a little more. Slacker). I then gave it two coats of Sherwin Williams Pool House beings it was free in my basement.
I used a ruler and lightly made 1 inch marks along the side.
I applied painter's tape 2 inches from the side to help keep my lines crisp. I then used a Sharpie paint pen and my ruler to draw many tiny straight lines.
At each 12" mark I made a larger line across the board. Keep in mind how far off the ground you will be hanging your sign. I started my sign about 4 inches before the 1 foot mark. We then hung the sign accordingly.
I printed off numbers 1 through 6. I then traced them onto my board. I usually use tracing paper but this wood was soft enough to just trace onto the board by pushing hard with a pen.
I then filled in each with my Sharpie paint pen. Seriously easy project. I think it took me about 45 minutes to do all of the marking and painting.
All that's left is to hang it. Which I failed to get a picture of in the nursery. Weak.
I was too busy figuring out how to break the news to Ike that this isn't his growth chart.
He's still not understanding.


