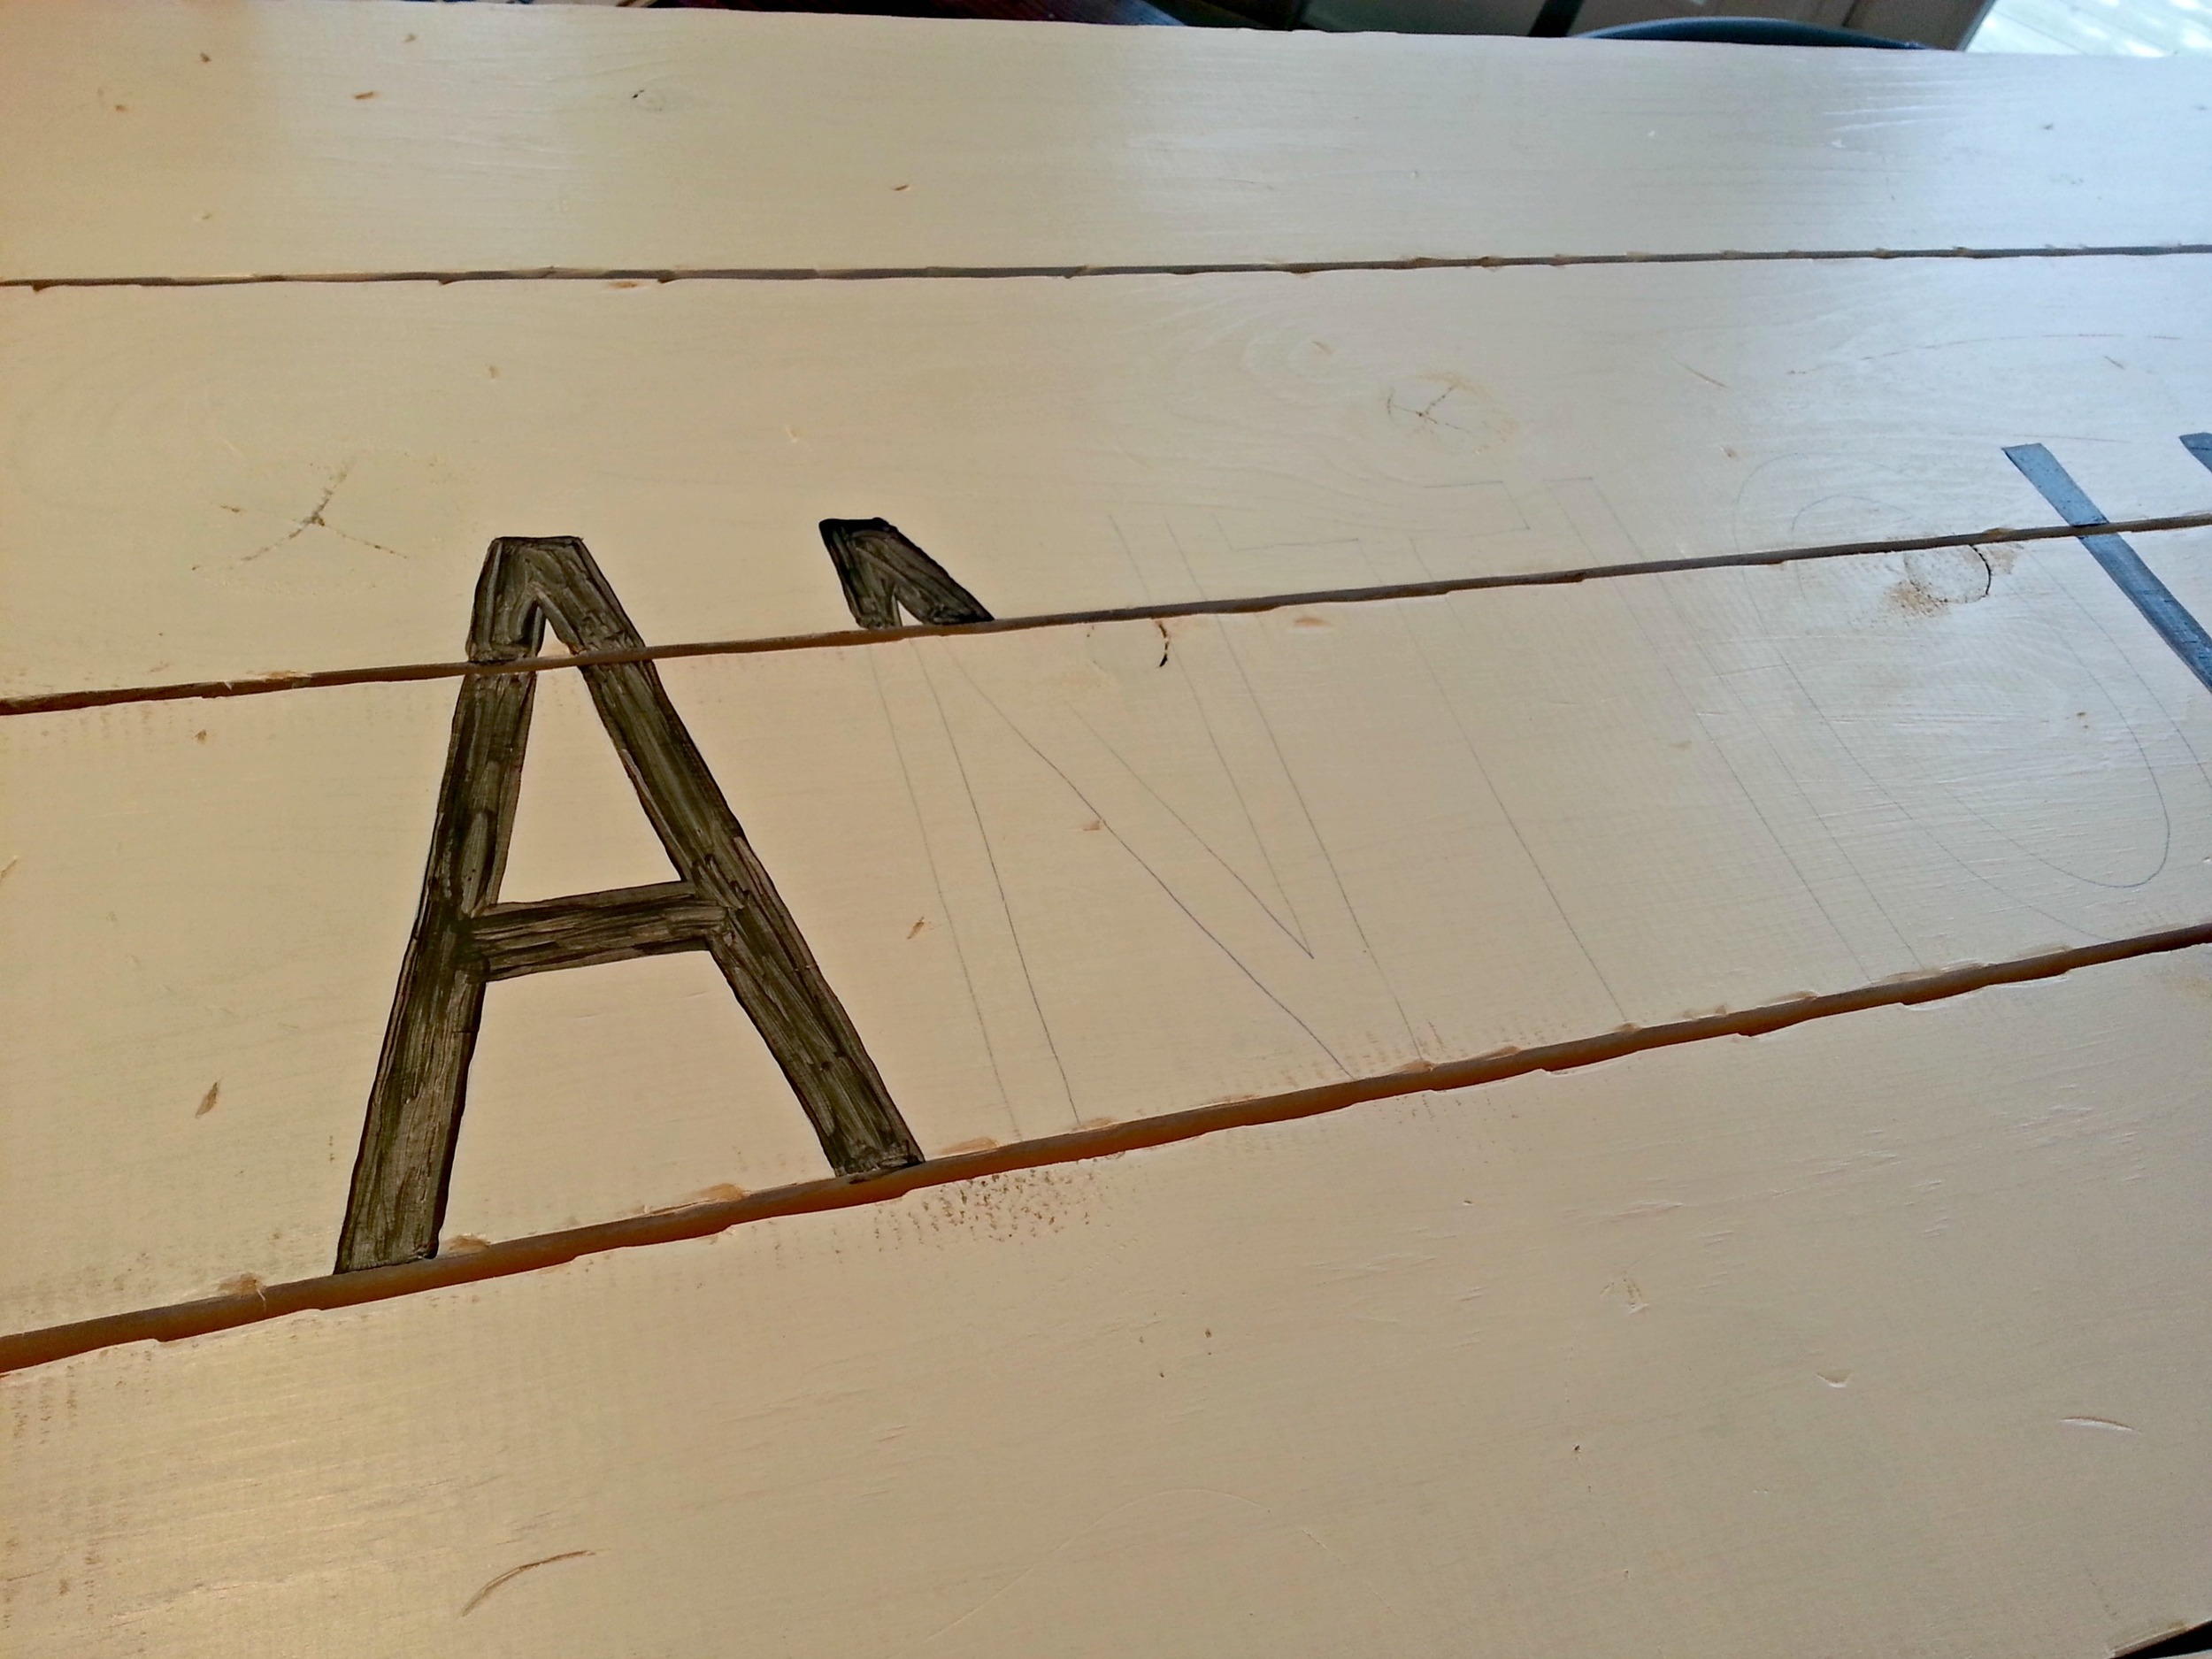
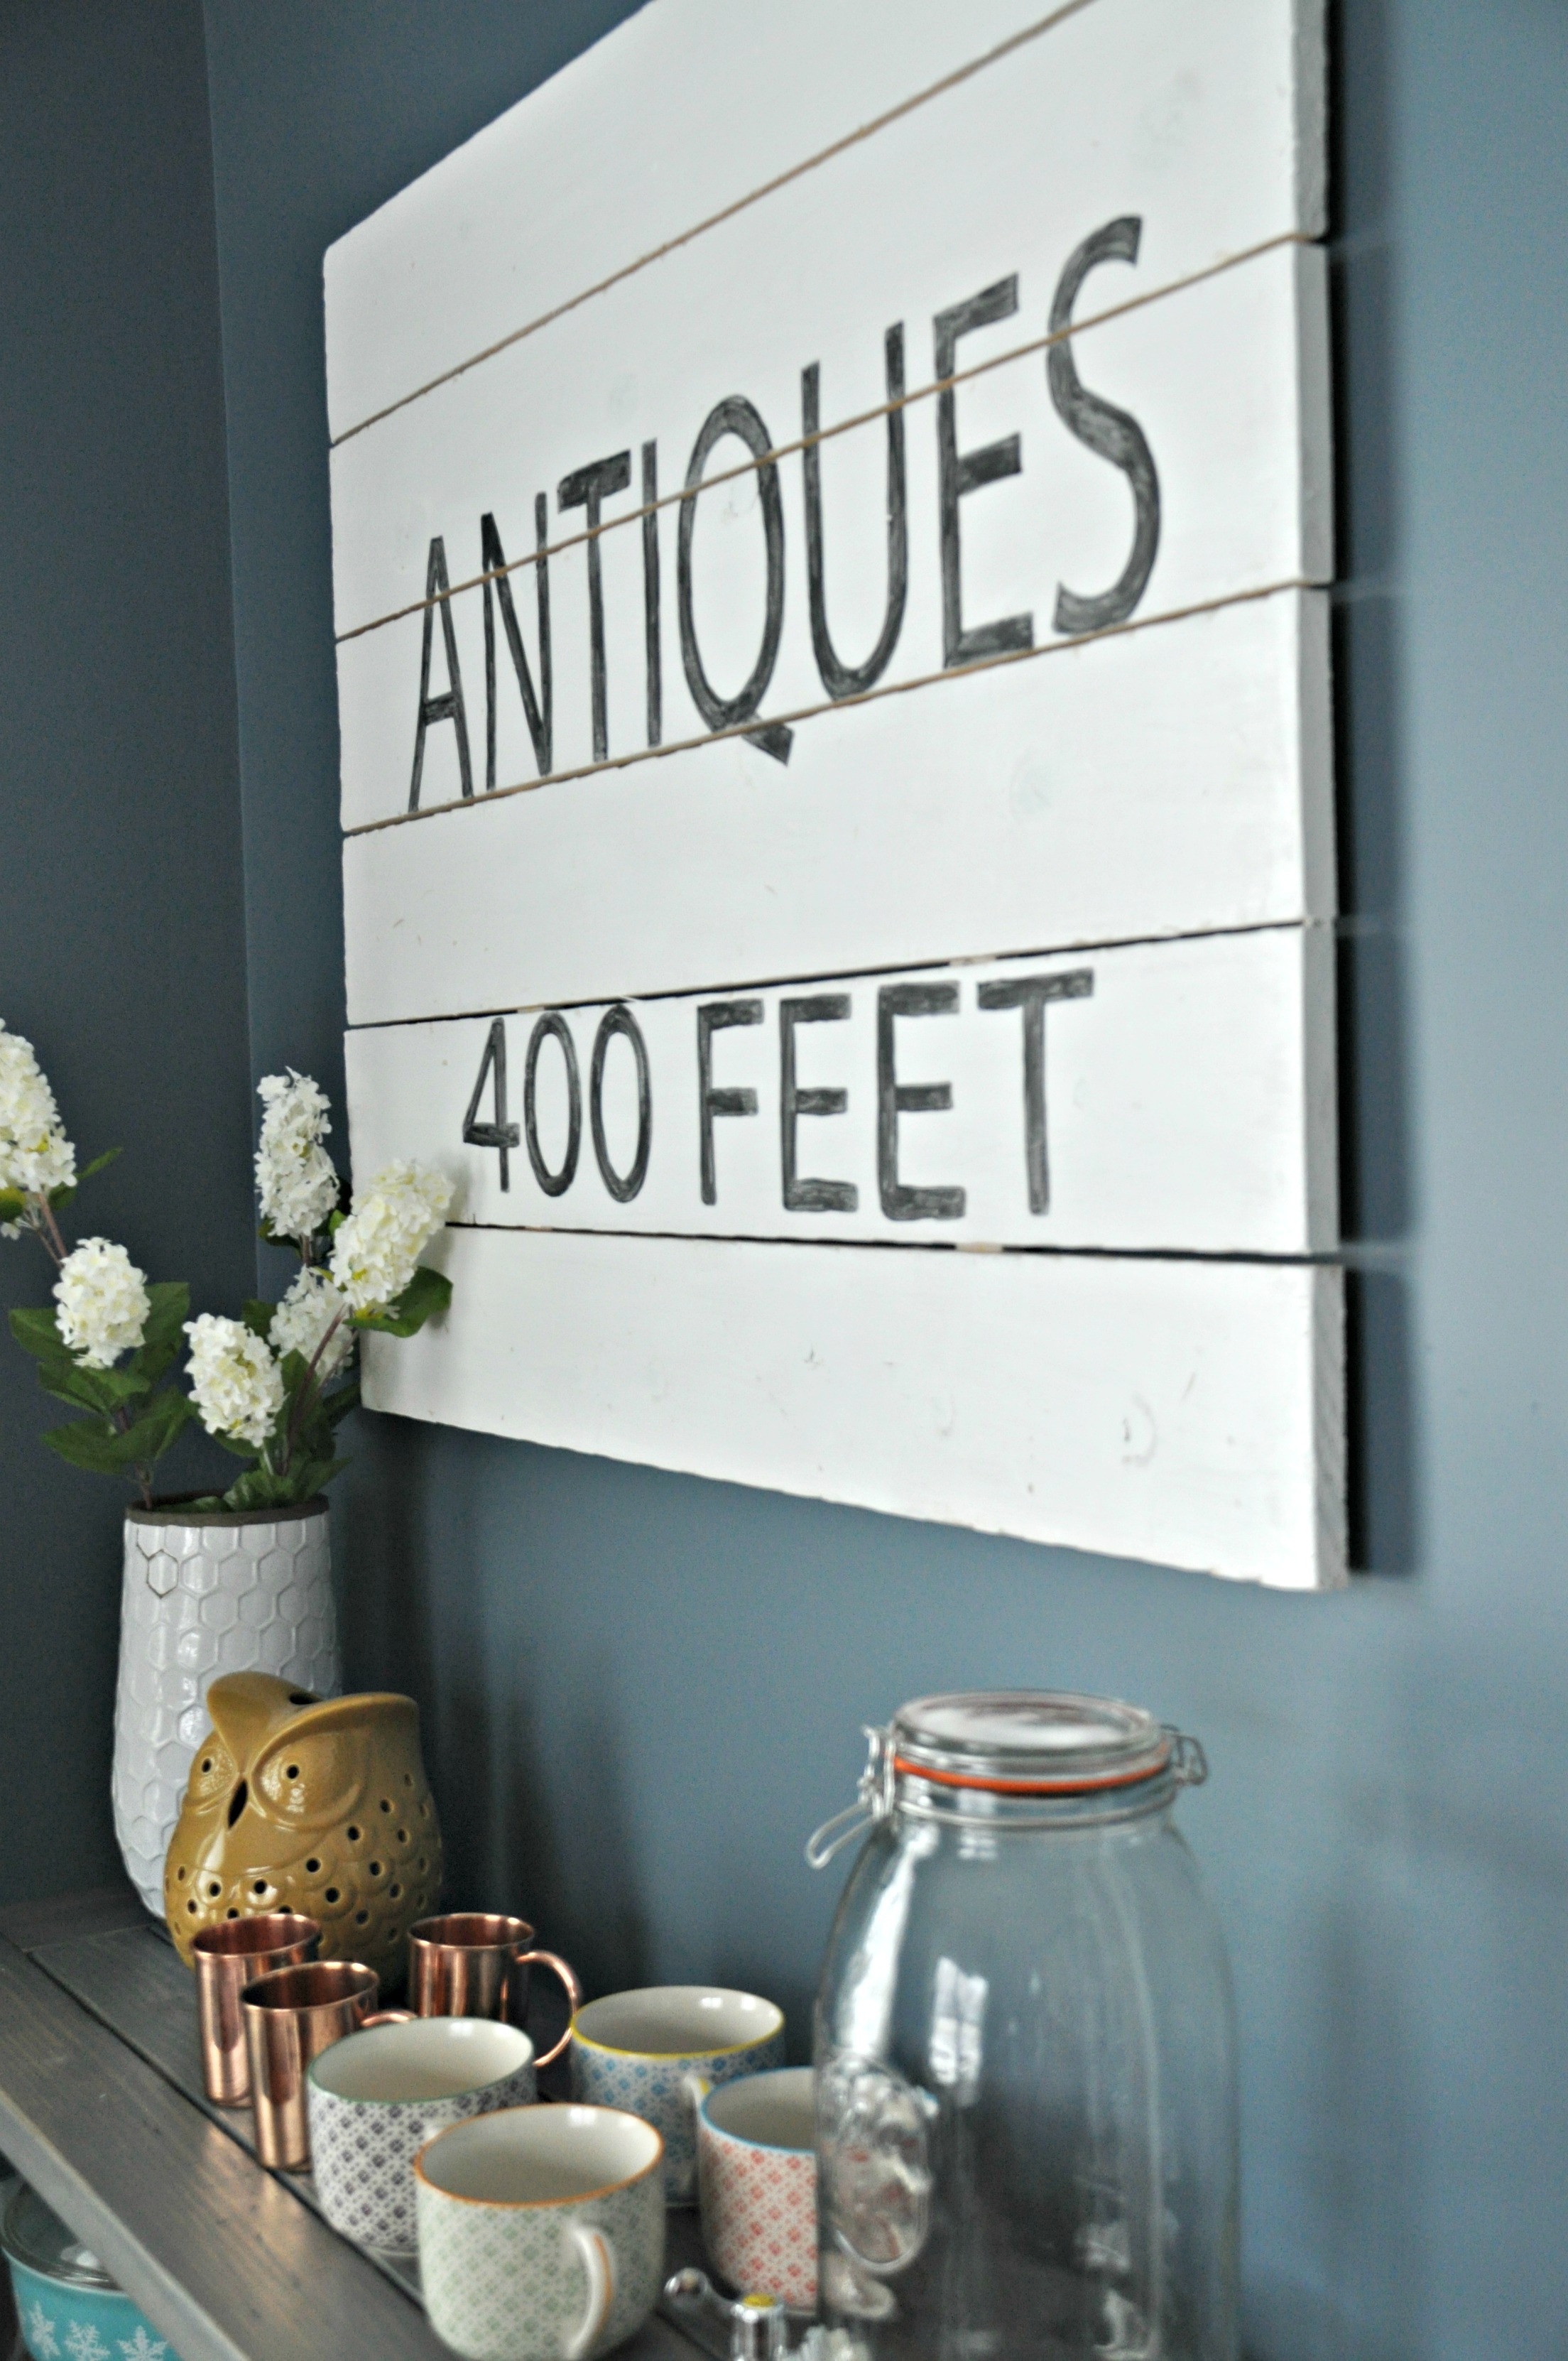
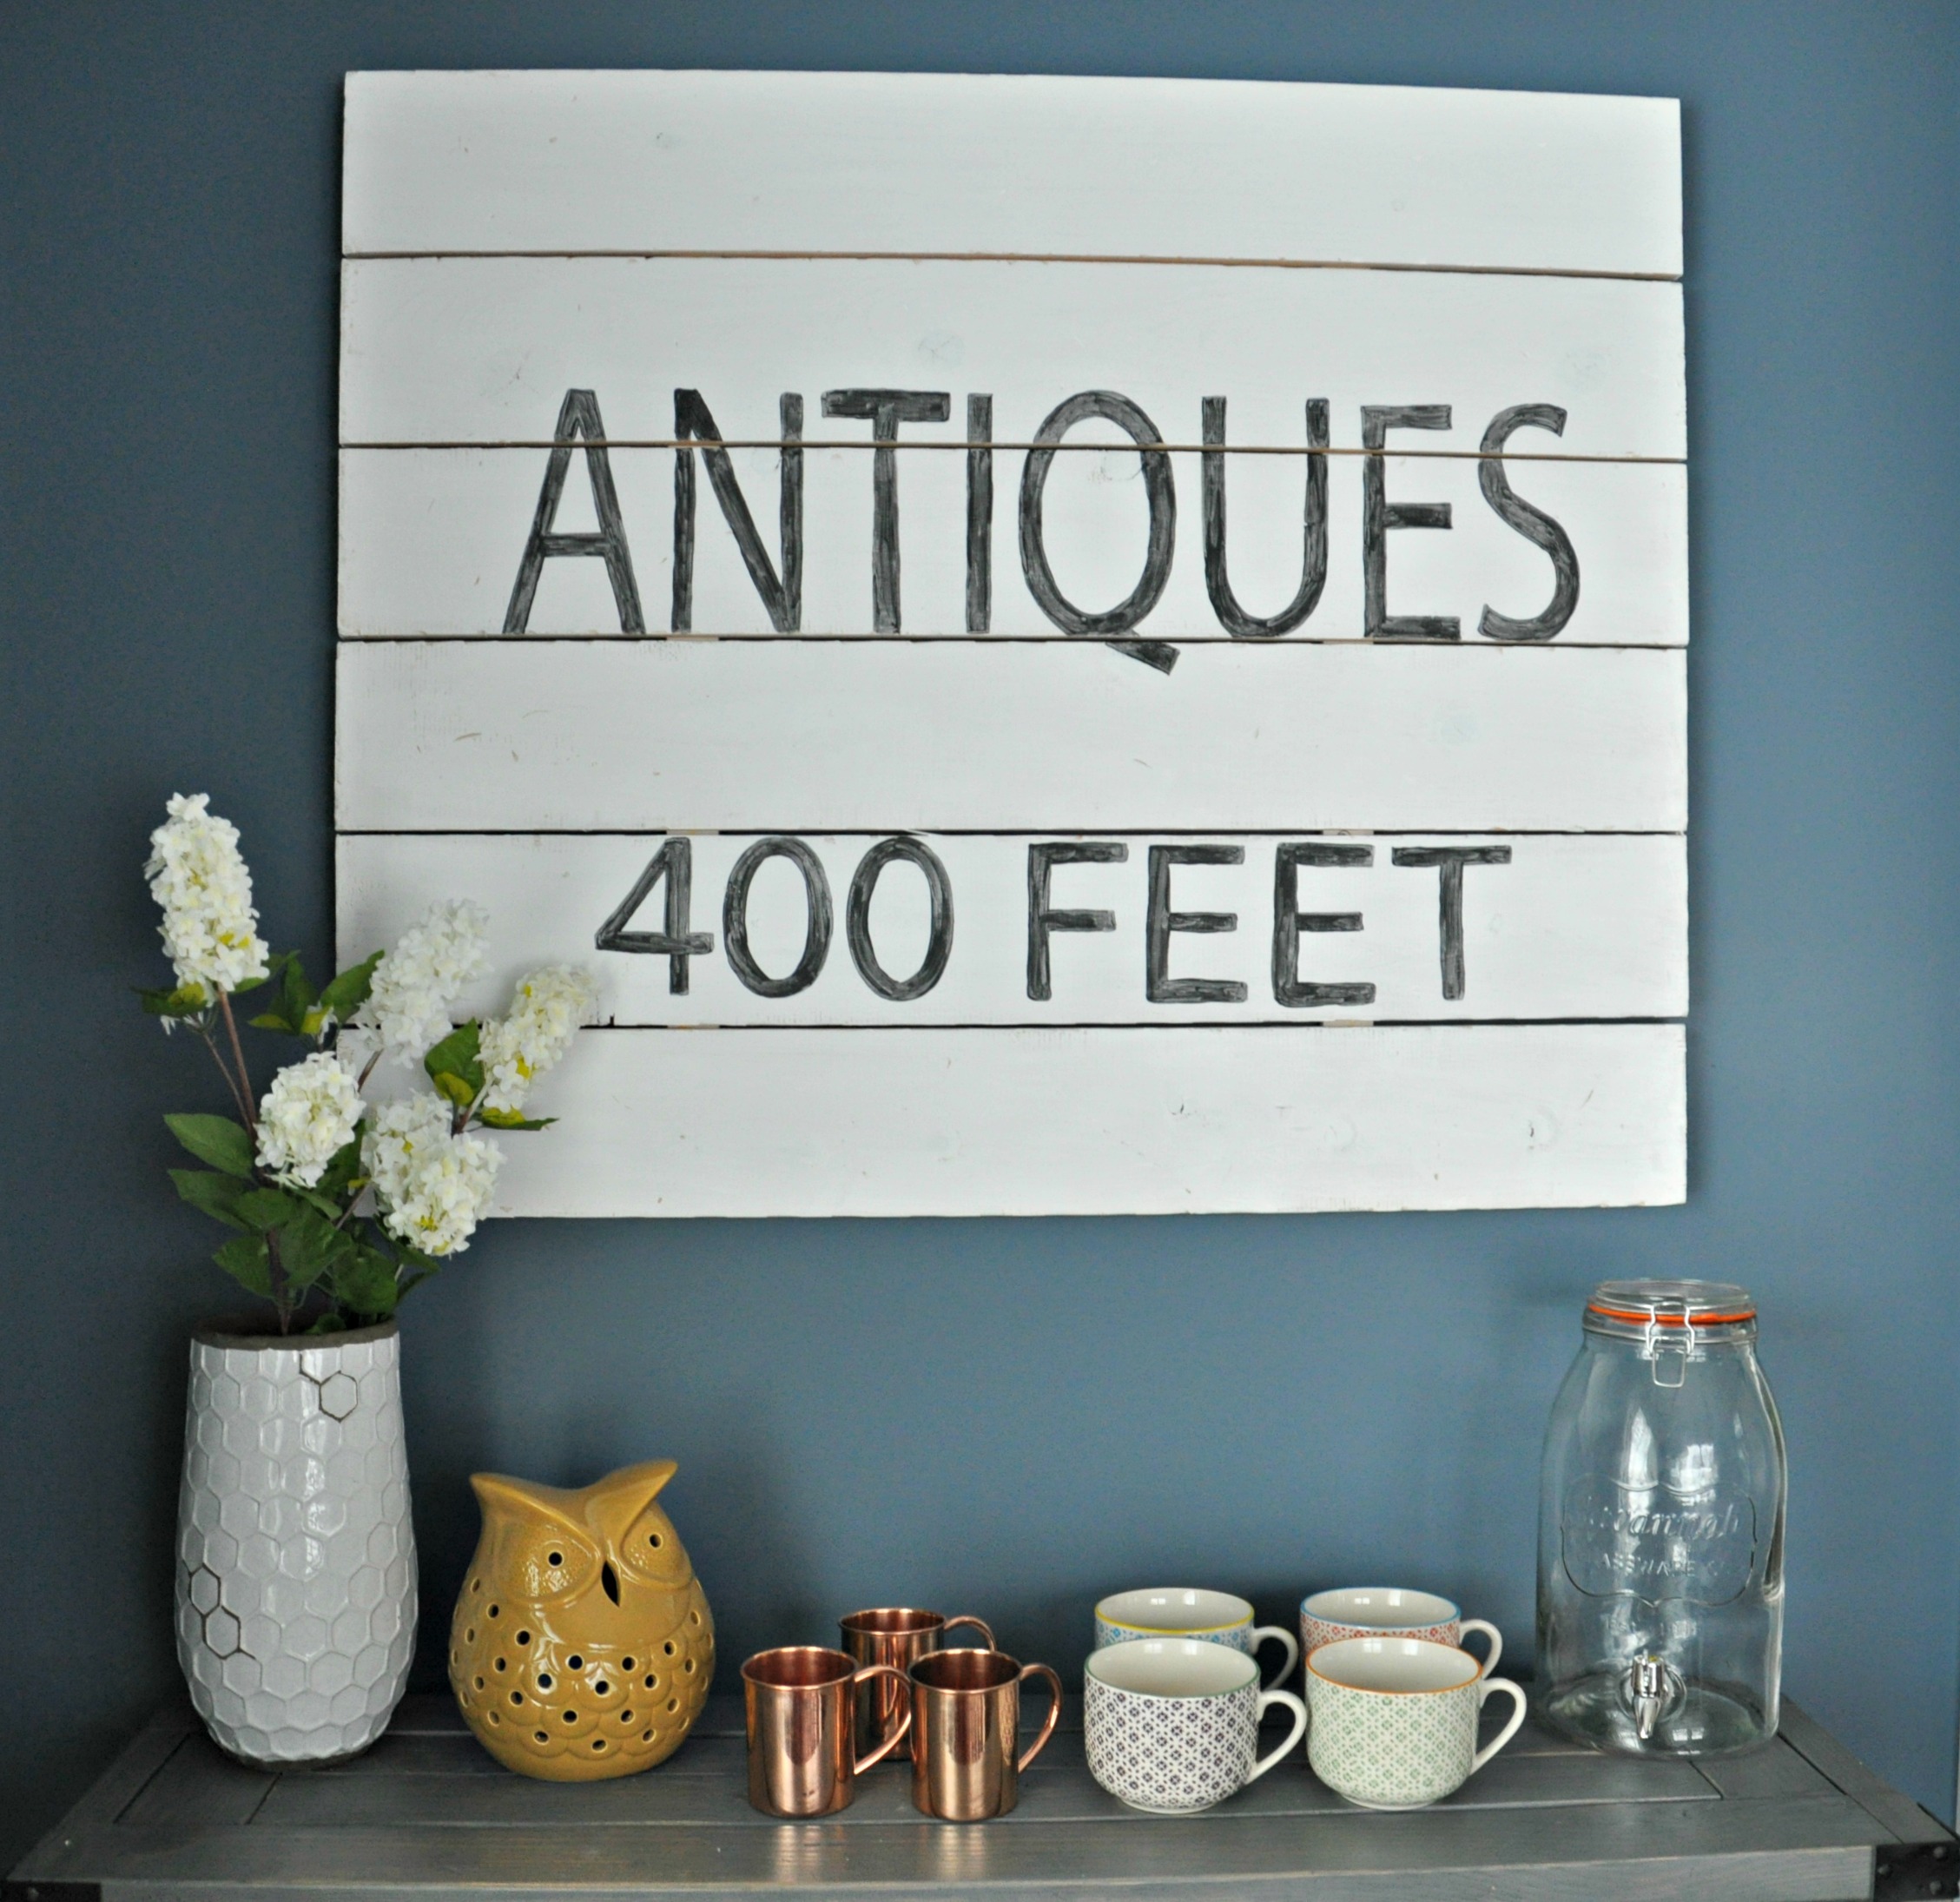
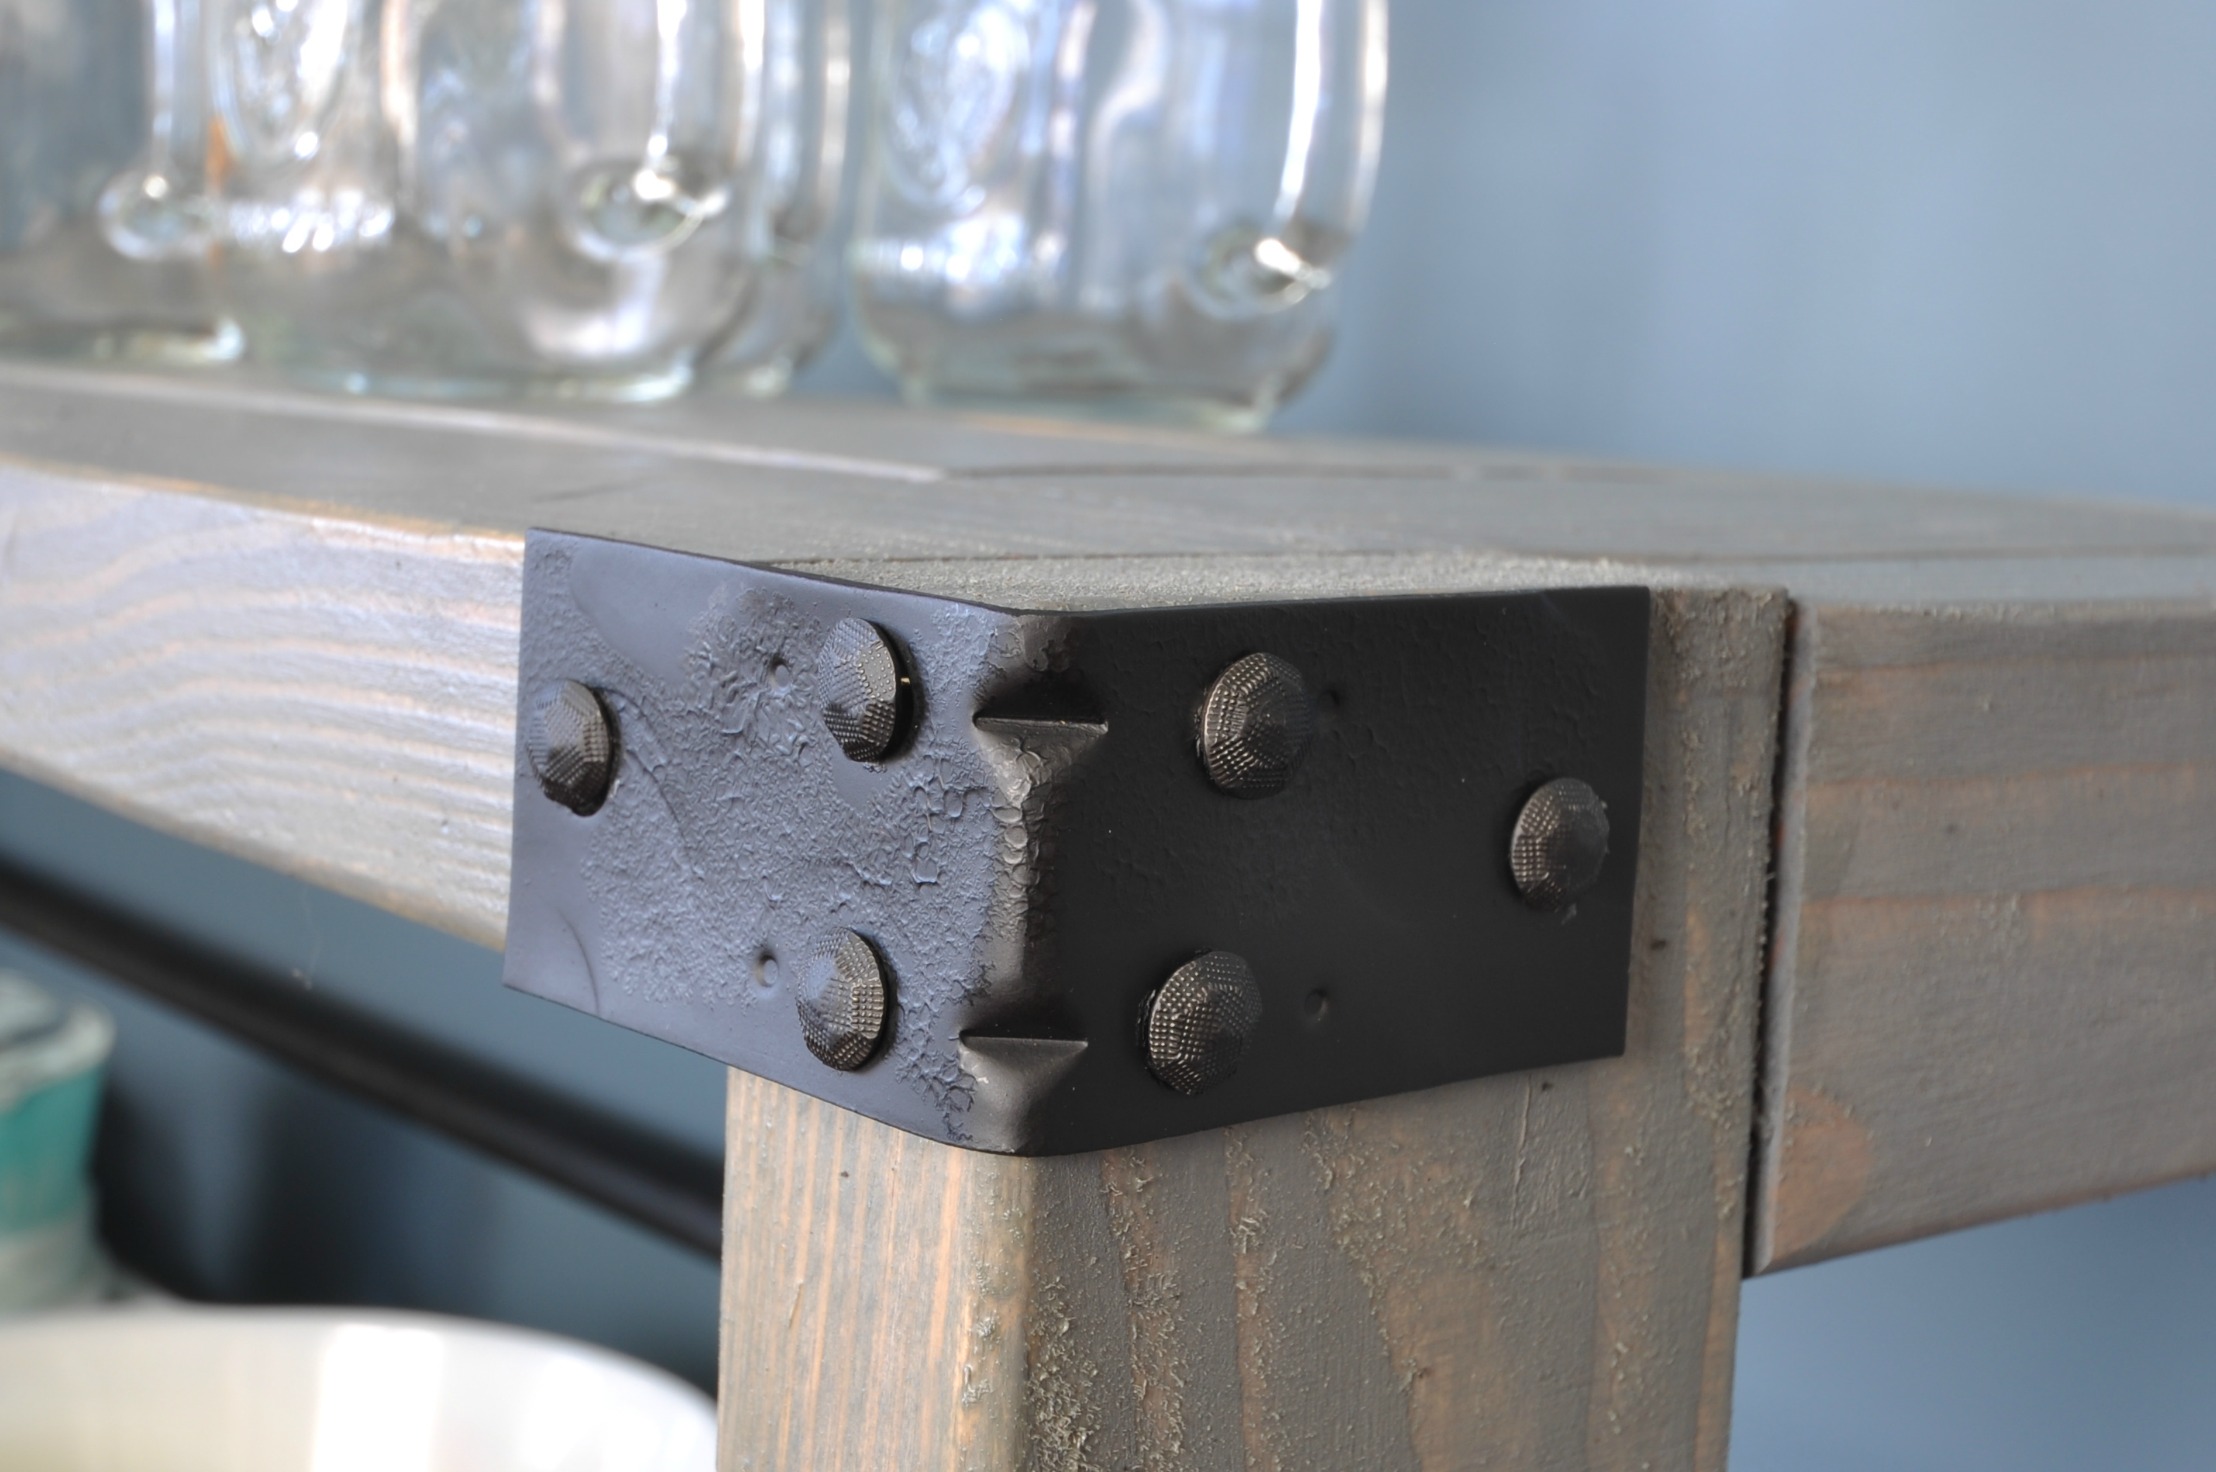
DIY Card Catalog Cabinet Tutorial
/
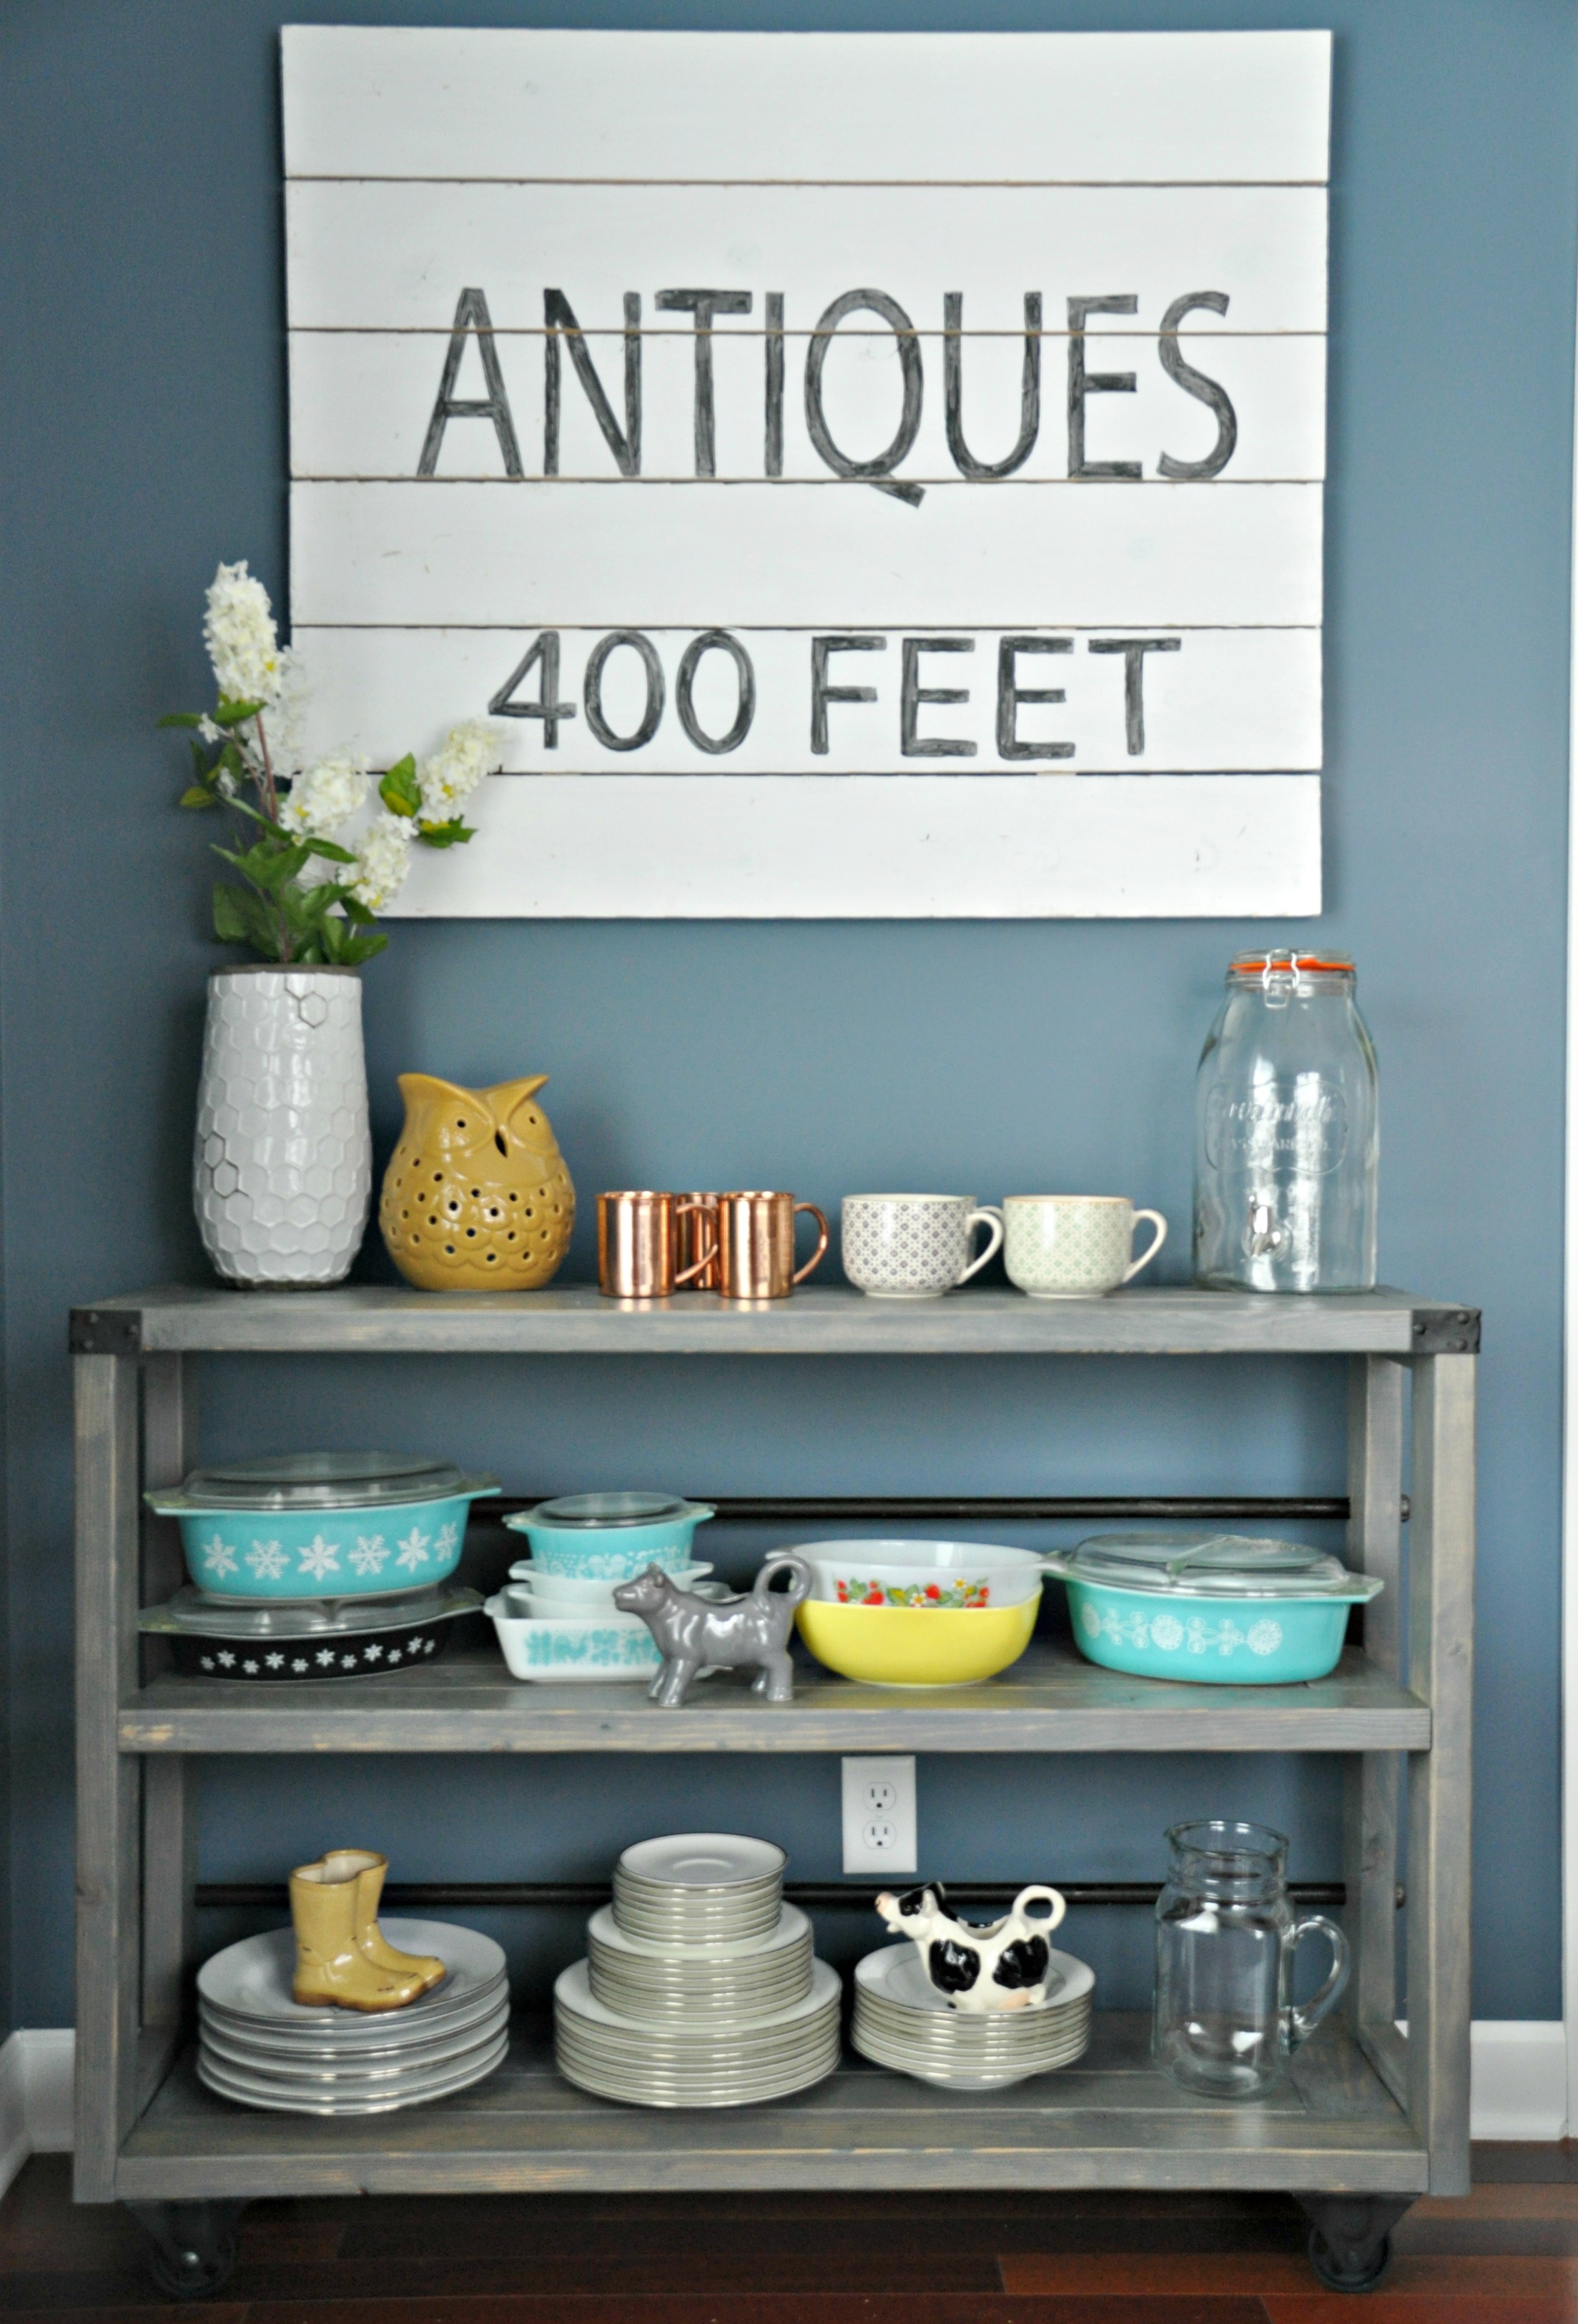
Last week we shared with you our newest furniture love. Today you can learn how to build your own card catalog cabinet.
I came up with the idea and REALLY wanted to build it myself. Turns out it isn't a great beginner build. It's more in the intermediate realm. I did get to saw some stuff, drill some things and say "I told you so" a couple of times. I consider that a good first attempt at furniture building.
Luckily my "told you so's" were few and far between. Nate made my crazy idea come to life. He actually made it turn out better than in my head which is pretty awesome.
Here's how to make your own card catalog cabinet.
Read More