Pinterest Challenge: Winter 2013 Edition

Last week I received an e-mail from Katie BowerKatie Bower was all like “Hey, Michelle.  Would you be interested in co-hosting the Winter Pinterest Challenge with Sherry and I?” 

Print

I was all like “Eh.  I don’t know, Katie.  My blog schedule is pretty packed.  I don’t know if I have time to squeeze in your silly little challenge that no one participates in.”  (All lies.)

Actually I thought it was some blogger edition of Punk’d.  (Does referencing a cancelled MTV show make me old? Oh, it does?  Okay. Good.)

Turns out that MTV was not involved and I am thrilled to announce I am co-hosting the Pinterest Challege: Winter Edition with Katie (Bower Power), Sherry (Young House Love) and Megan (The Remodeled Life)!

Print

Whoa. Weird, right? Such talented ladies.  I’ve blog stalked Katie and Sherry for years but Megan is new to me.  And I kind of like her a lot already.

Not familiar with the Pinterest Challenge? 

It’s super fun and easy.  Head to your Pinterest board.  Find a project that you can complete in one week.  Get to work. No project is too big or too small.  Projects have no limits.  Get to painting, sewing, gluing, baking, knitting, basket weaving, etc.  It all goes!

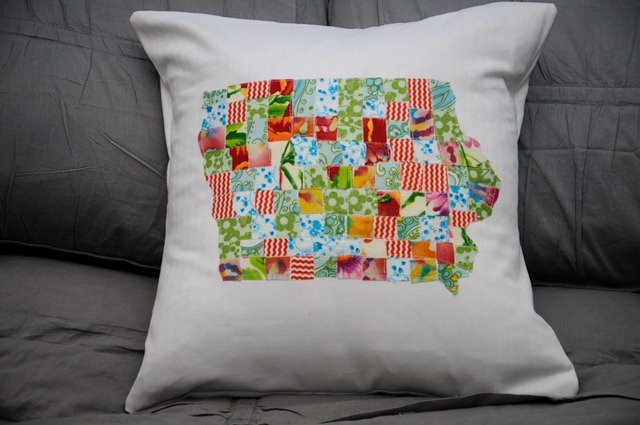
In the past I have taken on small challenges like this scrappy state pillow cover

StateofIowaPillow

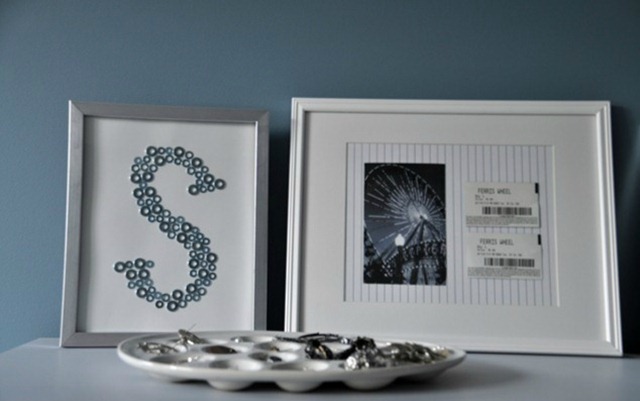
And this washer monogram.

washermonogram

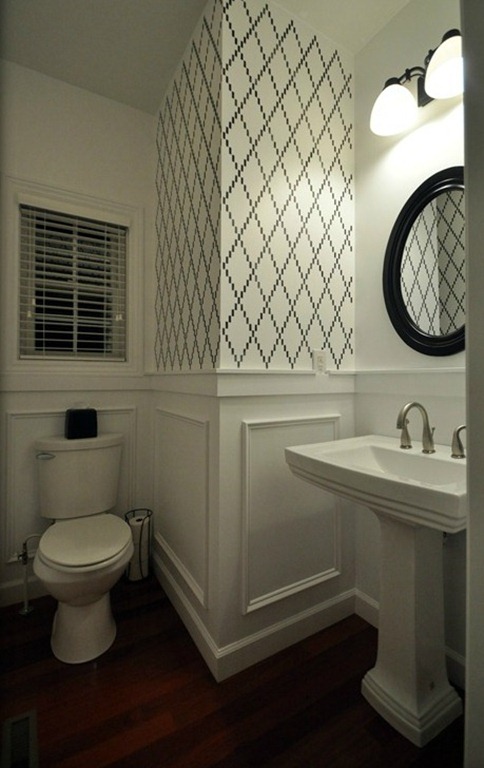
I’ve also taken on larger challenges such as stenciling our powder room.

stenciled powder room

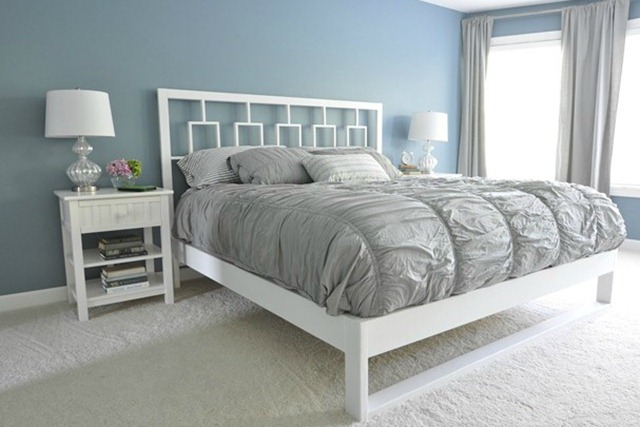
And building a bed frame.

bedframe

Now we want YOU to join us!  Seriously.  Read this post and then get to work.  You only have one week!

Here’s some info to get you started:

Choose one of your pins on Pinterest.  Remember that anything goes.  I’m sure you can find something in those 3000 pins of yours that you have been dying to tackle.  Follow me on Pinterest if you are in need of a little pinspiration!

Use your pin to create your own version and then blog about it.  Easy peasy.

Make sure you not only link to the pin but also to the original source.  This is basically the only “rule”.  It’s very important.  Follow it.

Share your project with us on Wednesday, February 27th!  We will each be hosting a link party so be sure to link up your project to all four blogs!  Feel free to include the fancy Pinterest Challenge banner and/or a link back to the hosts to help spread word about the Pinterest Challenge!

Pinterest knows nothing of this madness.  Well, I’m guessing they know about it they just don’t sponsor, endorse it, etc.  It’s just a fun idea that Katie dreamed up to kick us all in gear.  Who doesn’t like fun with a side of get it done?

Follow me on Instagram (decorandthedog), twitter and facebook for sneak peeks of my Pinterest Challenge project.  See you back here on Wednesday.  We can’t wait to see what you come up with!

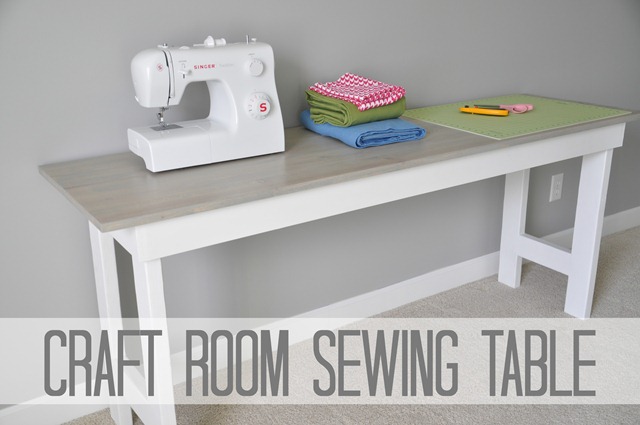
Craft Room: Sewing Table

My craft room dreams are starting to come true.  Slowly but surely.

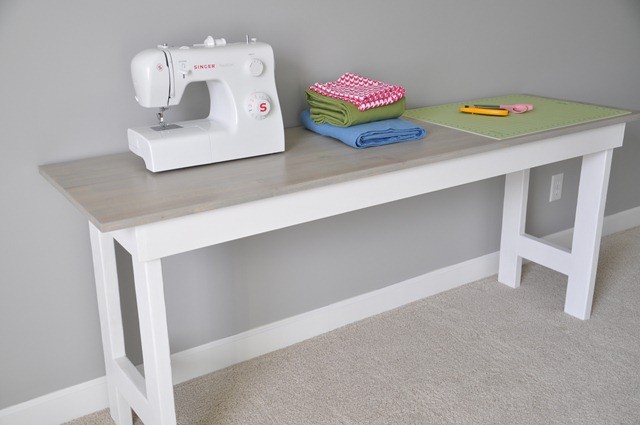
They are starting with this pretty little table that my darling husband built.  See the full tutorial here!

DIY Craft Room Table Sewing Table

The key to my heart is handmade furniture.  Write that down.

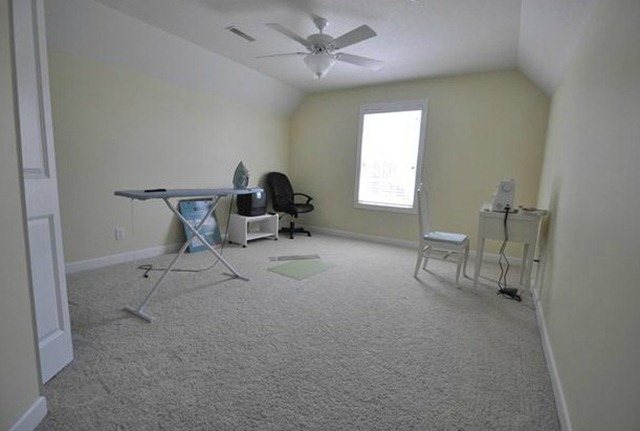
As you may recall, my craft room looked like this.

craft room before

My default “I don’t know what color to paint this room” used to be yellow. Yellow is a tricky color.  I didn’t do it well.

Now my default is grey.  I’m sure my future self will eventually cringe.  But gender neutral baby yellow?  Seriously, younger Michelle.  So sad.  Borderline tragic.

I painted the side walls March Wind by Sherwin Williams.  I painted the wall with the window Sherwin Williams standard white.  I have stenciling plans for that wall.  I just need to psych myself up to stencil again.

Sherwin Williams March Wind DIY Sewing Table

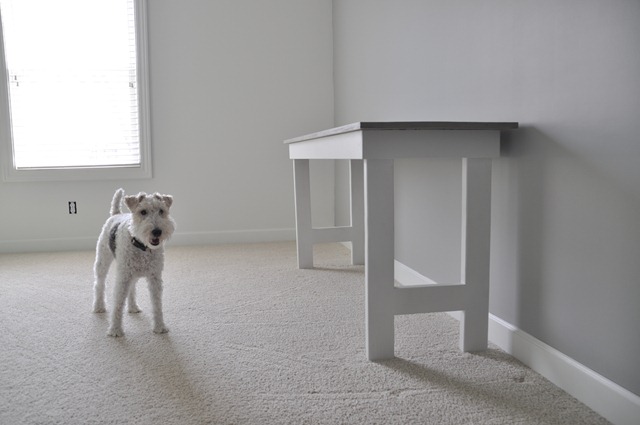
Ike is clearly pleased with the changes.

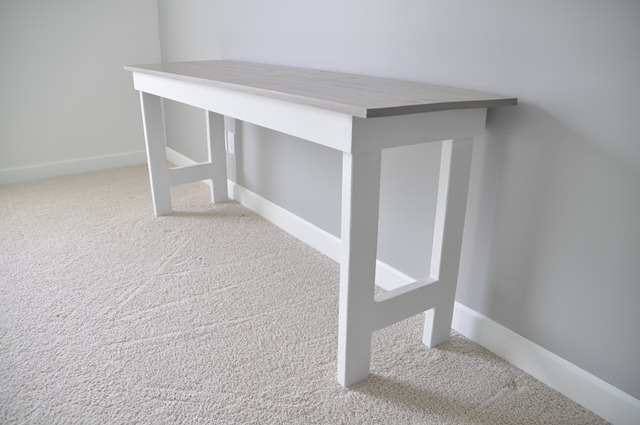
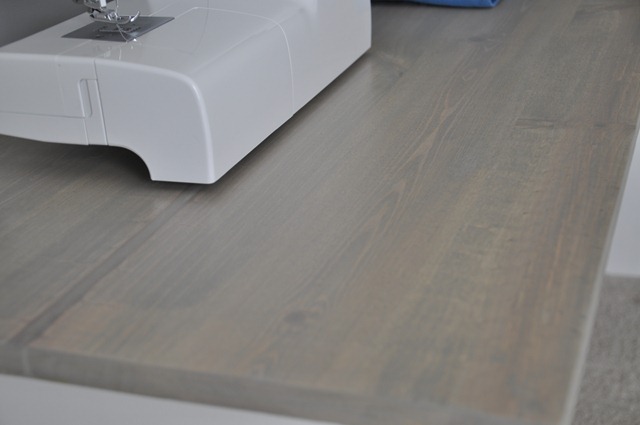
The legs/bottom of the table are painted a standard white from Sherwin Williams.  The top is stained with Rust-Oleum’s Sunbleached Ultimate Wood stain.  I never thought I’d be in love with a stain.  But I am.

DIY Sewing Table
Rust Oleum's Sunbleached Ultimate Wood Stain

I wanted the table to be long and narrow. The table is 6 feet long.  I like that I have enough room for my sewing machine and a place to cut fabric.  Kim (NewlyWoodwards) has been giving me sewing lessons.  Look out.  Things are getting serious.

Sewing Table 082

I’m now on the hunt for a set of chairs to go with this table.  I like this set from Target.  My cheap self can’t commit just yet.

Are you interested in a cute table of your own?  We’ll post the tutorial on Friday.  Nate tells me that it’s a fairly simple build.  It took us about 3-4 hours to complete (building/sanding/staining/painting).

Check back Wednesday for a pee your pants announcement.  Hint: I am not pregnant.

Do you sew?  What do you use for a table?  What’s your “I don’t know what color to paint this room” go to?  Any great chair suggestions?

The Land of Misfit Furniture

Good bloggers only post pretty photos.  Good bloggers have titles that maximize search engine optimization.  You will get neither of those things in this post.

Our garage has become the Land of Misfit Furniture.  It’s like I’m King Moonracer but I don’t need Rudolph’s help finding homes for these beauties.  (Good bloggers also discuss Rudolph in February.)

Let’s examine.

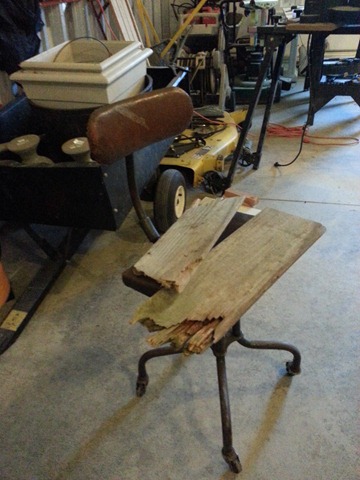
First up we have the office chair that I had to have…back in November.  It needs cleaned up. I’m adding that to my week-end to-do list.  On top of it is some potential barn wood for a potential dining room table.  Potentially.

20130214_142933

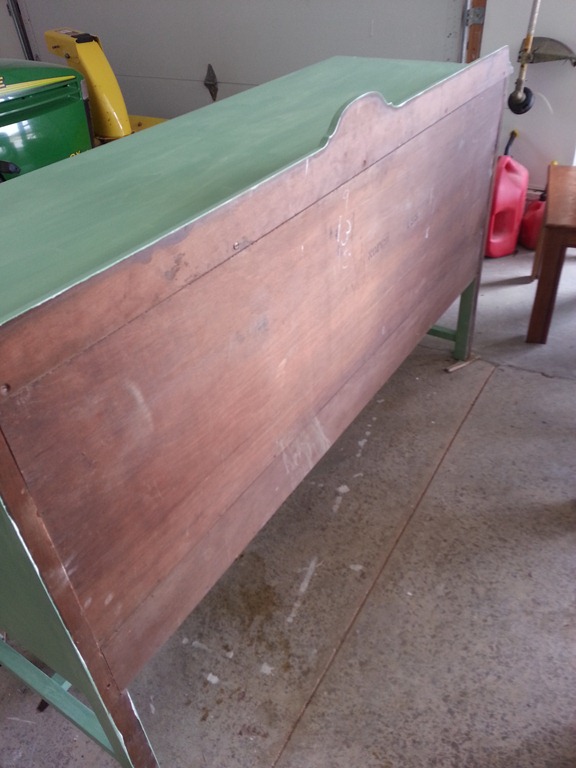
The buffet is coming along nicely for my craft room.  Color sneak peak.

20130214_114736(1)

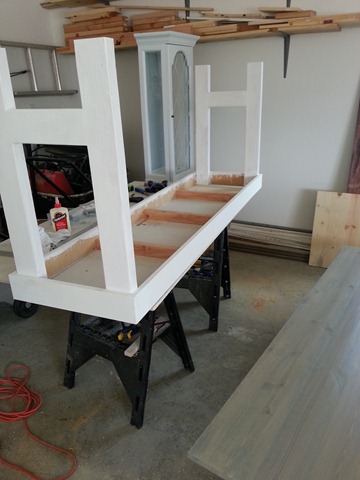
This photo shows my almost completed sewing table.  This photo also shows the curio cabinet that I redid and no longer have a place for.

20130214_114651

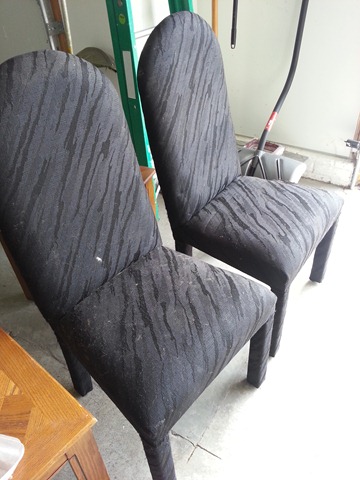
I drove 40 miles to pick up these chairs covered in cat fur.  They were $5 each.  I have a plan.  And I got to have lunch with an old friend. I still win even if they don’t work out.

20130214_114710

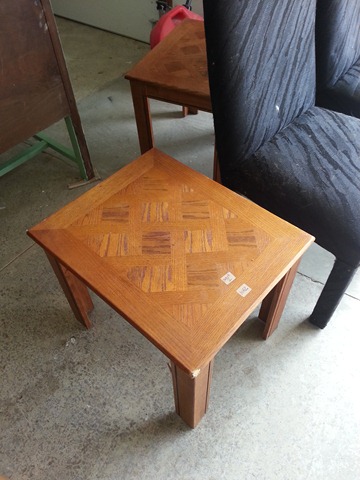
I’m not only hoarding furniture for myself but also for my brother.  These end tables will soon be an awesome coffee table.  Some day.  Potentially.

20130214_114725

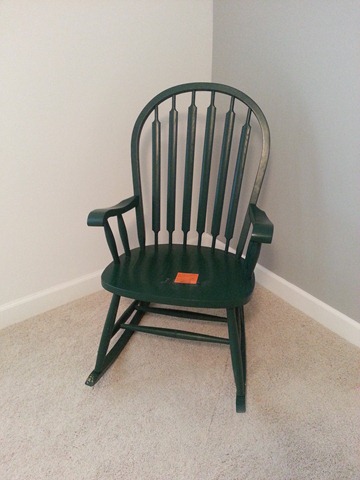
I also recently bought this rocking chair.  I took it up to see how it would look in my craft room.  I liked it so much I left it there.  It does need a color change once it’s spring spray paint season.

20130207_110223

I think that is all of the crap furniture I am currently hoarding. 

I don’t have a problem.  Why do you ask?

Does your garage look like the land of misfit furniture?  Big plans for the week-end?  Anyone want to clean those cat fur chairs for me?

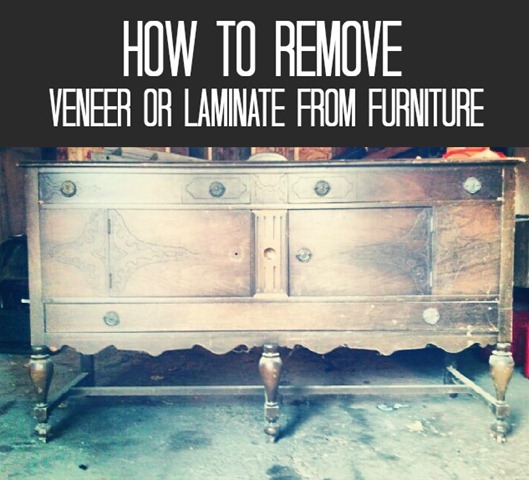
How to Remove Veneer or Laminate from Furniture

Recently I shared with you my plans for my craft room.  Part of those plans included refinishing a buffet/sideboard/whatever you want to call it.  Part of refinishing that buffet included figuring out a way to remove peeling veneer from the sides.

How to Remove Veneer or Laminate from Furniture

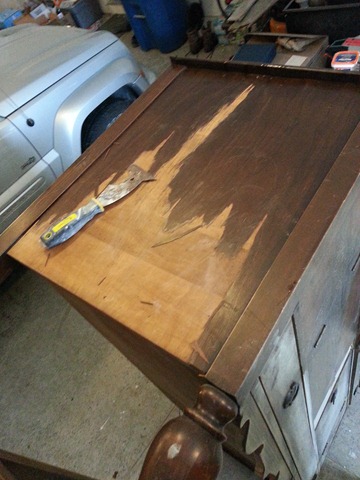
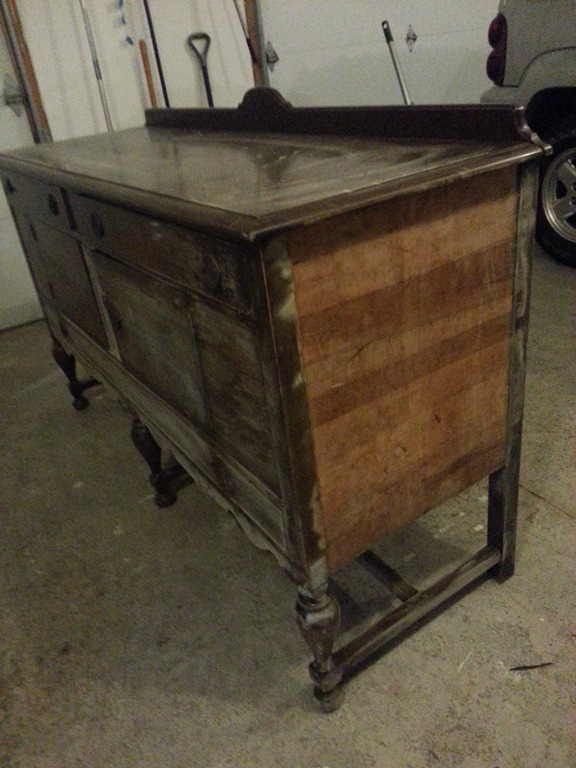
This beauty was hanging out in the garage of one of my co-workers.  Her husband wanted garage space. I wanted a buffet.  Win. Win.  This buffet and I were destined to be together.  Unfortunately, we didn’t meet before this beauty suffered some damage.  The veneer on both sides was peeling and the entire buffet was quite scratched.  The scratches didn’t concern me.  Most could easily be fixed by some light sanding.  The veneer was a new territory for me. 

Removing Wood Veneer 1

Nate tried sanding and scraping but he could only get part of it off.  The rest was not going anywhere.

After some Googling, I pieced together a few tips to try and tackle the veneer on my buffet.  Here are my tips if you have a beautiful piece of furniture needing some TLC in the veneer department.

Tools:

  • A metal putty knife
  • An old rag/towel
  • An old iron
    • I bought one at the Salvation Army for $1.50.  This process will make your iron disgusting.
  • A hammer
  • A bucket of water
  • Patience
  • A radio station with today’s greatest hits.  (Justin Timberlake and Ke$ha really speed this process along.)

Process:

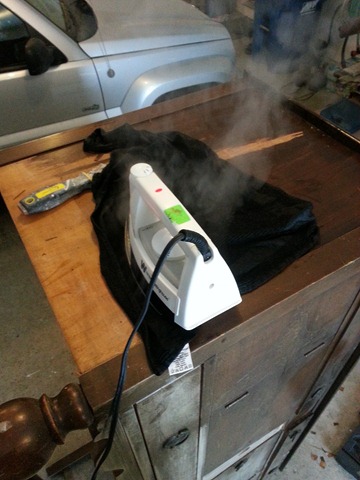
  • Get your rag fairly wet.  You want it to be slightly dripping but not sopping wet.
  • Place the wet rag on the area you want to remove. 
    • It’s best to avoid any exposed wood so you do not damage that part of the furniture.
    • Also be careful around areas where you do not want the veneer removed.  I learned this lesson the hard way near the sides.  The steam is not forgiving.  I would suggest protecting those areas with dry rag.
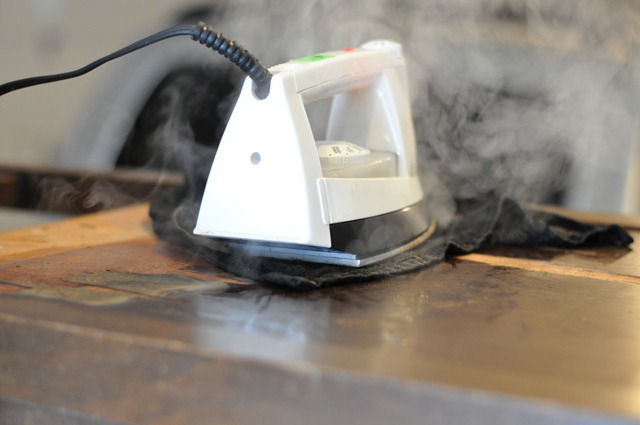
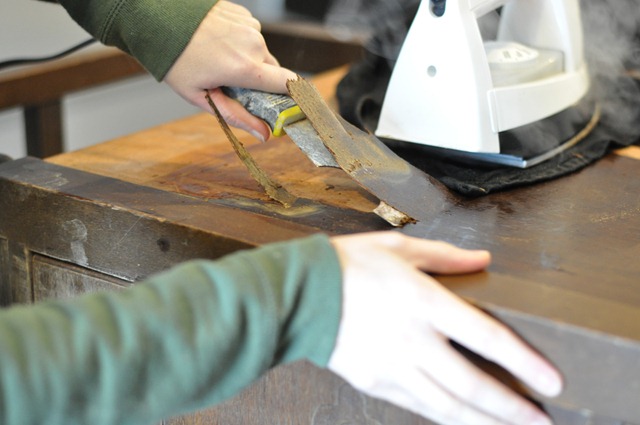
  • Place your iron on top of the wet rag.  Be very careful during this step.  The steam is obviously hot.  Consider this your warning.  It’s like those warnings on coffee cups that tell you that your coffee may burn you.  Same thing.   Use your noggin. (I’m usually really good at injuring myself and surprisingly had no problems doing this but just be careful!!!)

Removing Wood Veneer 2

261

  • Let the iron sit for a few minutes.  I used this time to rock out to Rhianna and also do a little sanding on the rest of the buffet.
  • Remove the iron and the rag carefully.  Both are  hot.  Again.  Be careful.  Pretend your mom is watching you during this whole process.
  • The veneer will turn a different color.  I found that when it looks like the photo below, it is ready to remove.

268

  • Use your putty knife to scrape the veneer off.  It will come off pretty easily.  I occasionally used a hammer to lightly tap the putty knife.  If you let the iron sit long enough, you probably won’t need the hammer.  Don’t try to dig at the veneer too much.  You will risk damaging the wood underneath if you are not careful.
  • While you are scraping one area, give your rag a quick dunk in some water.  Place it on the next area and let it do it’s thing.  I’m all about time savings.
  • Don’t rush the iron step.  The longer you let the iron sit, the less work you have to do scraping.
    • Once you find that you can no longer easily remove the veneer, stick the wet rag and iron back on it.
  • Repeat until all veneer is removed.

Removing Veneer from Furniture

20130210_083804

I forgot to take great after photos because I was too excited to start priming and painting.  As you can sort of see above, all of the veneer came off and I was left with nice wood underneath.

This was not a quick process. I think it took me at least an hour for each side.  One side was easier than the other.  There is probably some more expensive faster version out there but this process worked well for my cheap self.

Let me know if you have any questions.  I’ll answer them in the comment section.

Have you tried to remove veneer or laminate?  Any successes or failures?  Any furniture make-overs in the works?

Linking up to: Home Stories A to Z

The Time My Rug Tried To Kill Me

Do you want the good or bad news first?

Okay, bad news. Everyone always wants the bad news first.

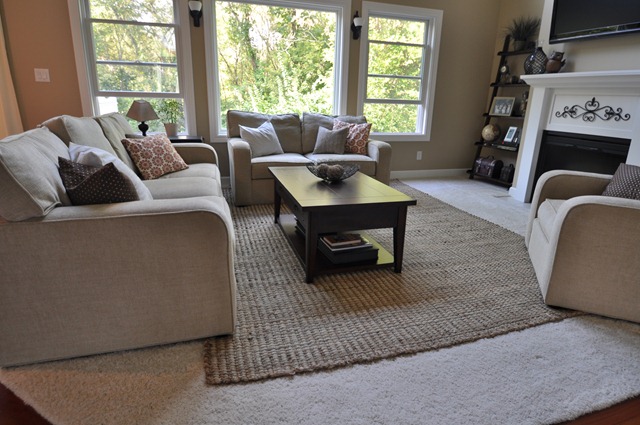
Remember this rug?

032

Pretty, right?  Turns out it was killing me slowly.  Don’t freak out if you have a jute rug.  Weird and bizarre things happen to me all of the time.  The weird and bizarre things are part of the reason I write this blog.

I was sick almost all of November and December with sinus infections.  30 days of antibiotics and 2 rounds of steroids led to a CT of my sinuses which showed chronic inflammation.  Allergy testing revealed allergies to dust mites and dogs.  I bought the appropriate dust mite proof bedding.  I was fairly confident that I was not allergic to Ike (My symptoms didn’t change around him.  I did notice symptoms around dogs that shed.).

125

After taking care of all of that, I was still congested at certain times and just didn’t feel well.  I started paying more attention to the times I was I didn’t feel well.  Many of those times came after being in the living room.  I then pieced together the attack of the burlap and the fact that jute and burlap are closely related.  (I’m going to talk to my allergist about this at my next appointment because these fibers weren’t something that was tested.)

We removed the rug from the living room.  Bam.  Symptoms were gone.  I feel like a whole new person.

So bad news.  My rug was homicidal.

Good news?  I can buy a new rug.  I sold the jute killer on Craigslist along with the small rug that was it’s predecessor. Which leaves me about $50 shy of buying this guy.


Rug buying make me nervous. They are such an investment.  Nate is an accounting zombie so I can’t rely on him for anything.  Ike just wants more bones.

So, what do you think?  Do you like this rug?  Do you have a patterned rug?  The pattern is the only thing holding me back.  Any other fantastic suggestions?  (I need ~8x10 for size.  And preferably less than $250.)

Ever had a piece of home decor turn to the dark side?

Hey Girl Link Party

Today is the day we have all been anxiously waiting for.  It’s time for the Hey Girl link party.


I can’t see what you all came up with.

Nate didn’t really see the humor in this whole thing.  Fun hater.  His negative energy messed with my creative mojo so I only came up with one for him.

Hey Girl 2

Ike, on the other hand, fully supports the Hey Girl link party.

Ike paint hey girl

ike pancake

Be sure to check out the posts by my hilarious co-hosts:
Now it’s your turn.  Make Ryan Gosling and Ike proud.

Decor and the Dog Photo

I need you to get excited. Why?  Because there are new photos in our shop!

Chicago Black and White Collage

We went with a set of (mainly) black and white photos that Nate took in Chicago. 

I really want to live in Chicago for just one month.  I don’t think I’d like it past one month.  I love my fresh air and wide open spaces.  It’s okay though because living in Chicago will never happen.  I missed my chance during my youth.  Now this old lady will have to settle for week-end trips.  And beautiful photos taken by her husband.

Like last month, we will be offering digital and print versions of these photos.  Black and white photos are so easy to use in home decor.  They would look lovely as part of a gallery wall.  The Red Eye photo is one of my all time favorites.  I think I need to print it for our mudroom!

Head on over to Decor and the Dog Photo for additional details and to purchase a Decor and the Dog masterpiece for your home!

Don’t forget about tomorrow’s Hey Girl link party!! I hope your husbands are as excited as Nate is about the whole thing!!!

Which photo is your favorite from this month’s selection?  Where would you like to live for only one month?

January 2013 Recap

As I was putting together my Top 10 of 2012, I told myself that I would start doing a monthly recap to make that end of the year business easier.

And then January disappeared.  But I'm not too late.  Especially not in Michelle terms.

Here is what happened on the blog in January.  In case you are new or missed something important.


What was your favorite post of January?

Easy Valentine’s Yarn Wreath

I am a wreath making fool lately.  It’s become some sort of sickness.

This Valentine’s Day wreath isn’t entirely my fault.

Valentine's Yarn Wreath

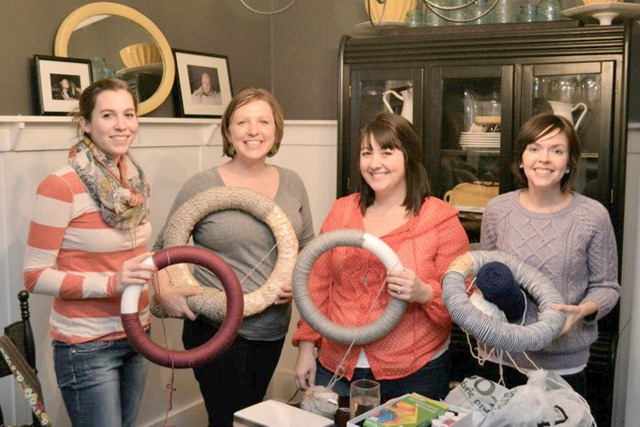
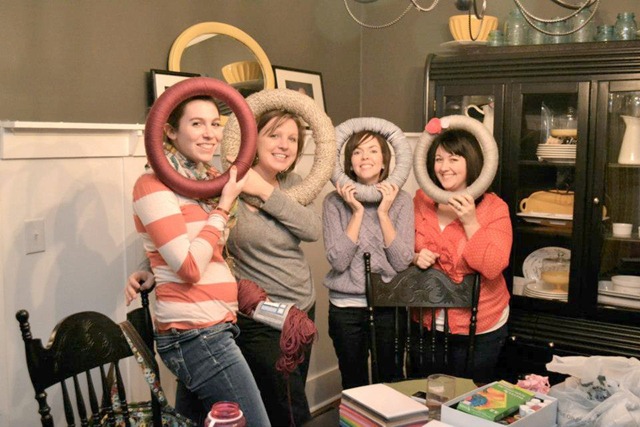
Kim (NewlyWoodwards) and I have started a monthly craft night.  We’ve even allowed others to join us in our crafting awesome.  We’re nice like that.

Our craft night has two simple rules:  1. The host picks a project that the will be completed by the group.  (Other crafty things can be worked on after the group craft.)   2. Everyone brings a dessert or appetizer.

craftnight

Kim was the first to host.  She chose yarn wreaths as our craft.  These wreaths only took us about 3 hours to wrap. (Please note how far behind Mrs. Woodward is.) Of course there were food and adorable baby distractions. 

IMG_20130124_183143

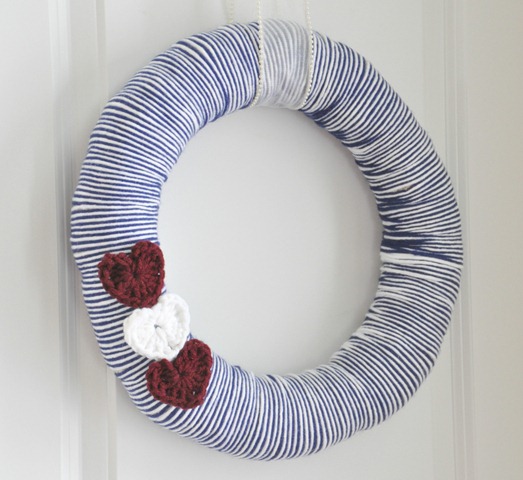
The directions for yarn wreaths are pretty self-explanatory. Wrap yarn around the wreath until it’s covered.  I used two colors (because I like to make things hard) but it was fairly easy to keep the colors alternating.

This is how we ended the night.  Most of us were yarn wrapped but not finished.  Even though none of us completed our wreaths, we are still considering craft night a huge success.

craftnight2

I finally took some time this week-end to crochet some hearts to finish off my project.  (I used an excellent tutorial from Maybe Matilda.)  In true Michelle fashion, I wanted to keep the wreath nice and simple.  I’m not big on things screaming “HAPPY VALENTINE’S DAY!!”.  I like more of a Valentine’s whisper.

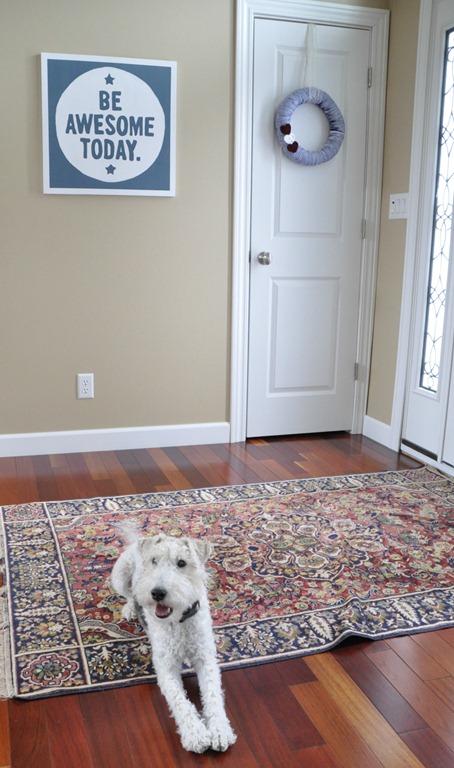
Ike loves how the wreath ties in colors from our Be Awesome Today sign and our rug.

Valentine's Yarn Wrapped Wreath Crochet Hearts Wire Fox Terrier

Valetine's Wreath Crochet Hearts Be Awesome Today Sign

Easy Valentine's Crochet Heart Wreath

I’m this month’s host.  Which reminds me.  I need to pick a date and a craft. Yikes.

(Read Kim’s version of this story over here!)

Any craft night project suggestions?  Are you a wreath fan?  Do you like Valentine’s decor to scream or whisper?

Linking up to: Bower Power