DIY Growth Chart Tutorial

Kids.  They grow up so fast.  You want to remember every stage.

That's why I made Ike a growth chart.

DIY Growth Chart Tutorial {Decor and the Dog}

Look how tall he's getting.

I kid. I kid.

I whipped up this ol' ruler growth chart for a friend that is expecting triplets any day.  (Yep.  You read that right.  Triplets.)

I'd previously seen these growth charts all over the interwebs.  Turns out they are super easy DIY.  Here's how I made my wooden growth chart!

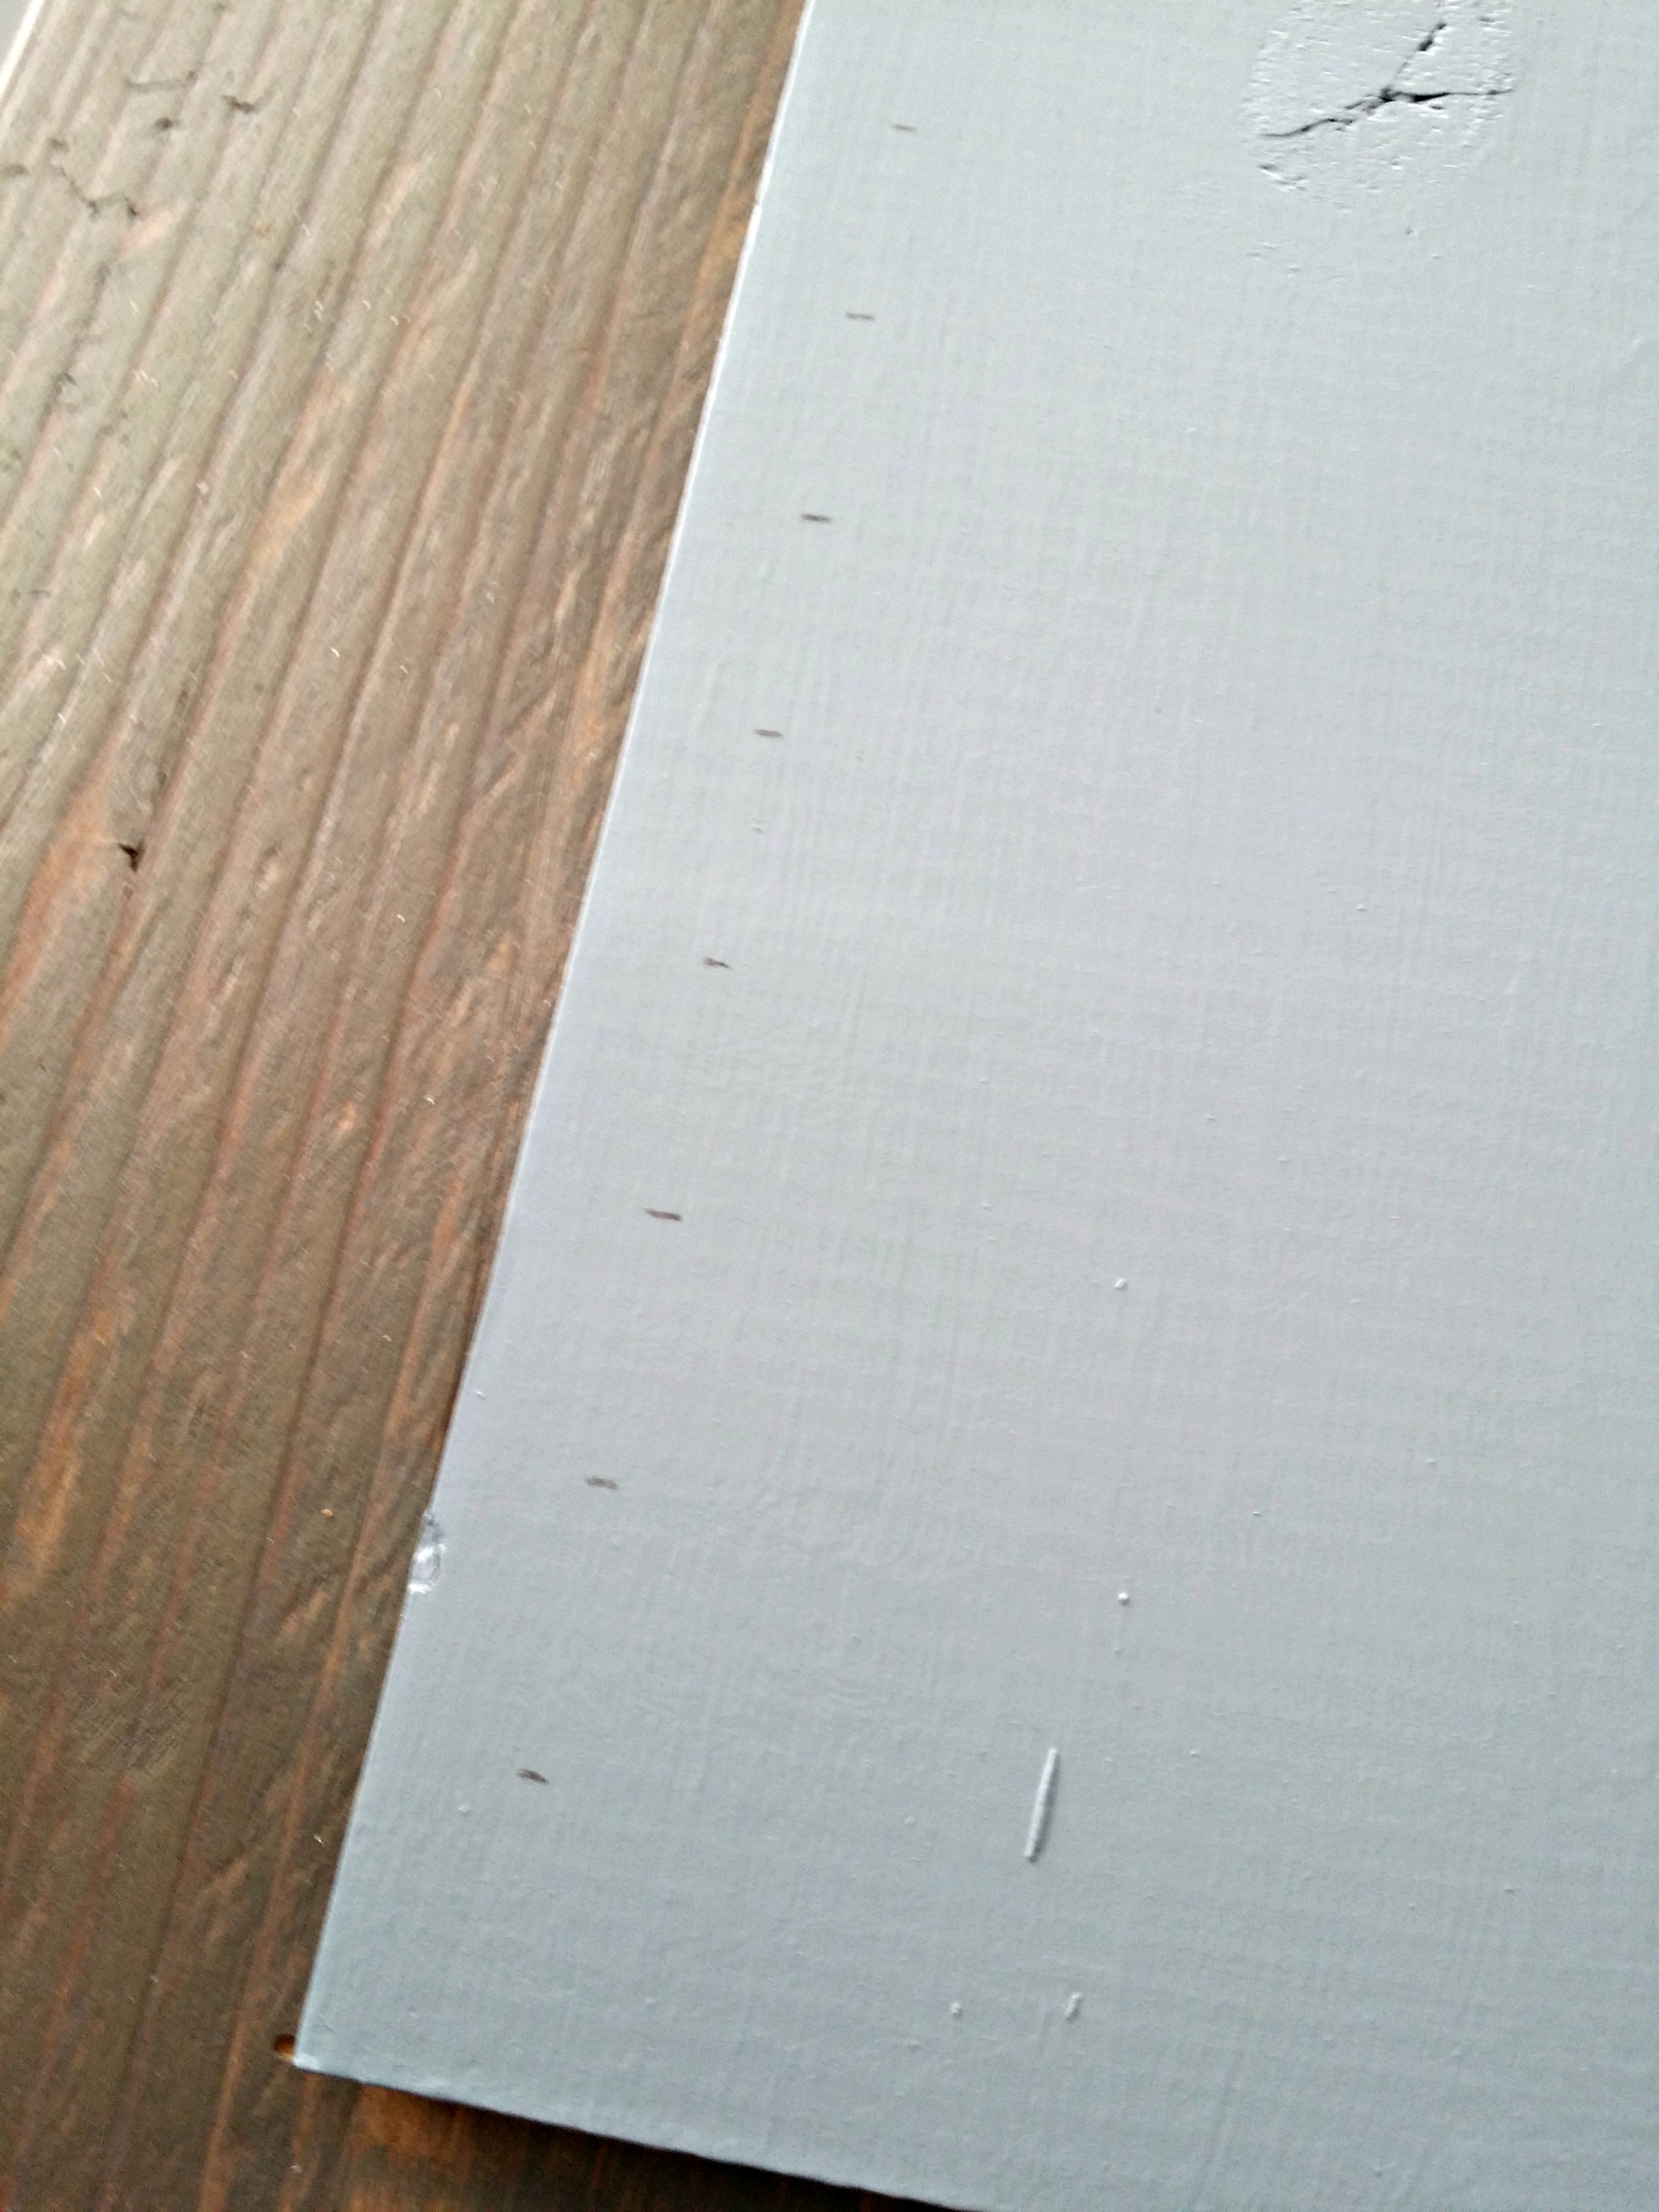
I purchased a 6 foot 1x10 from Lowe's.  I sanded it down a little (probably should have done a little more. Slacker).  I then gave it two coats of Sherwin Williams Pool House beings it was free in my basement.

DIY Growth Chart Tutorial {Decor and the Dog}

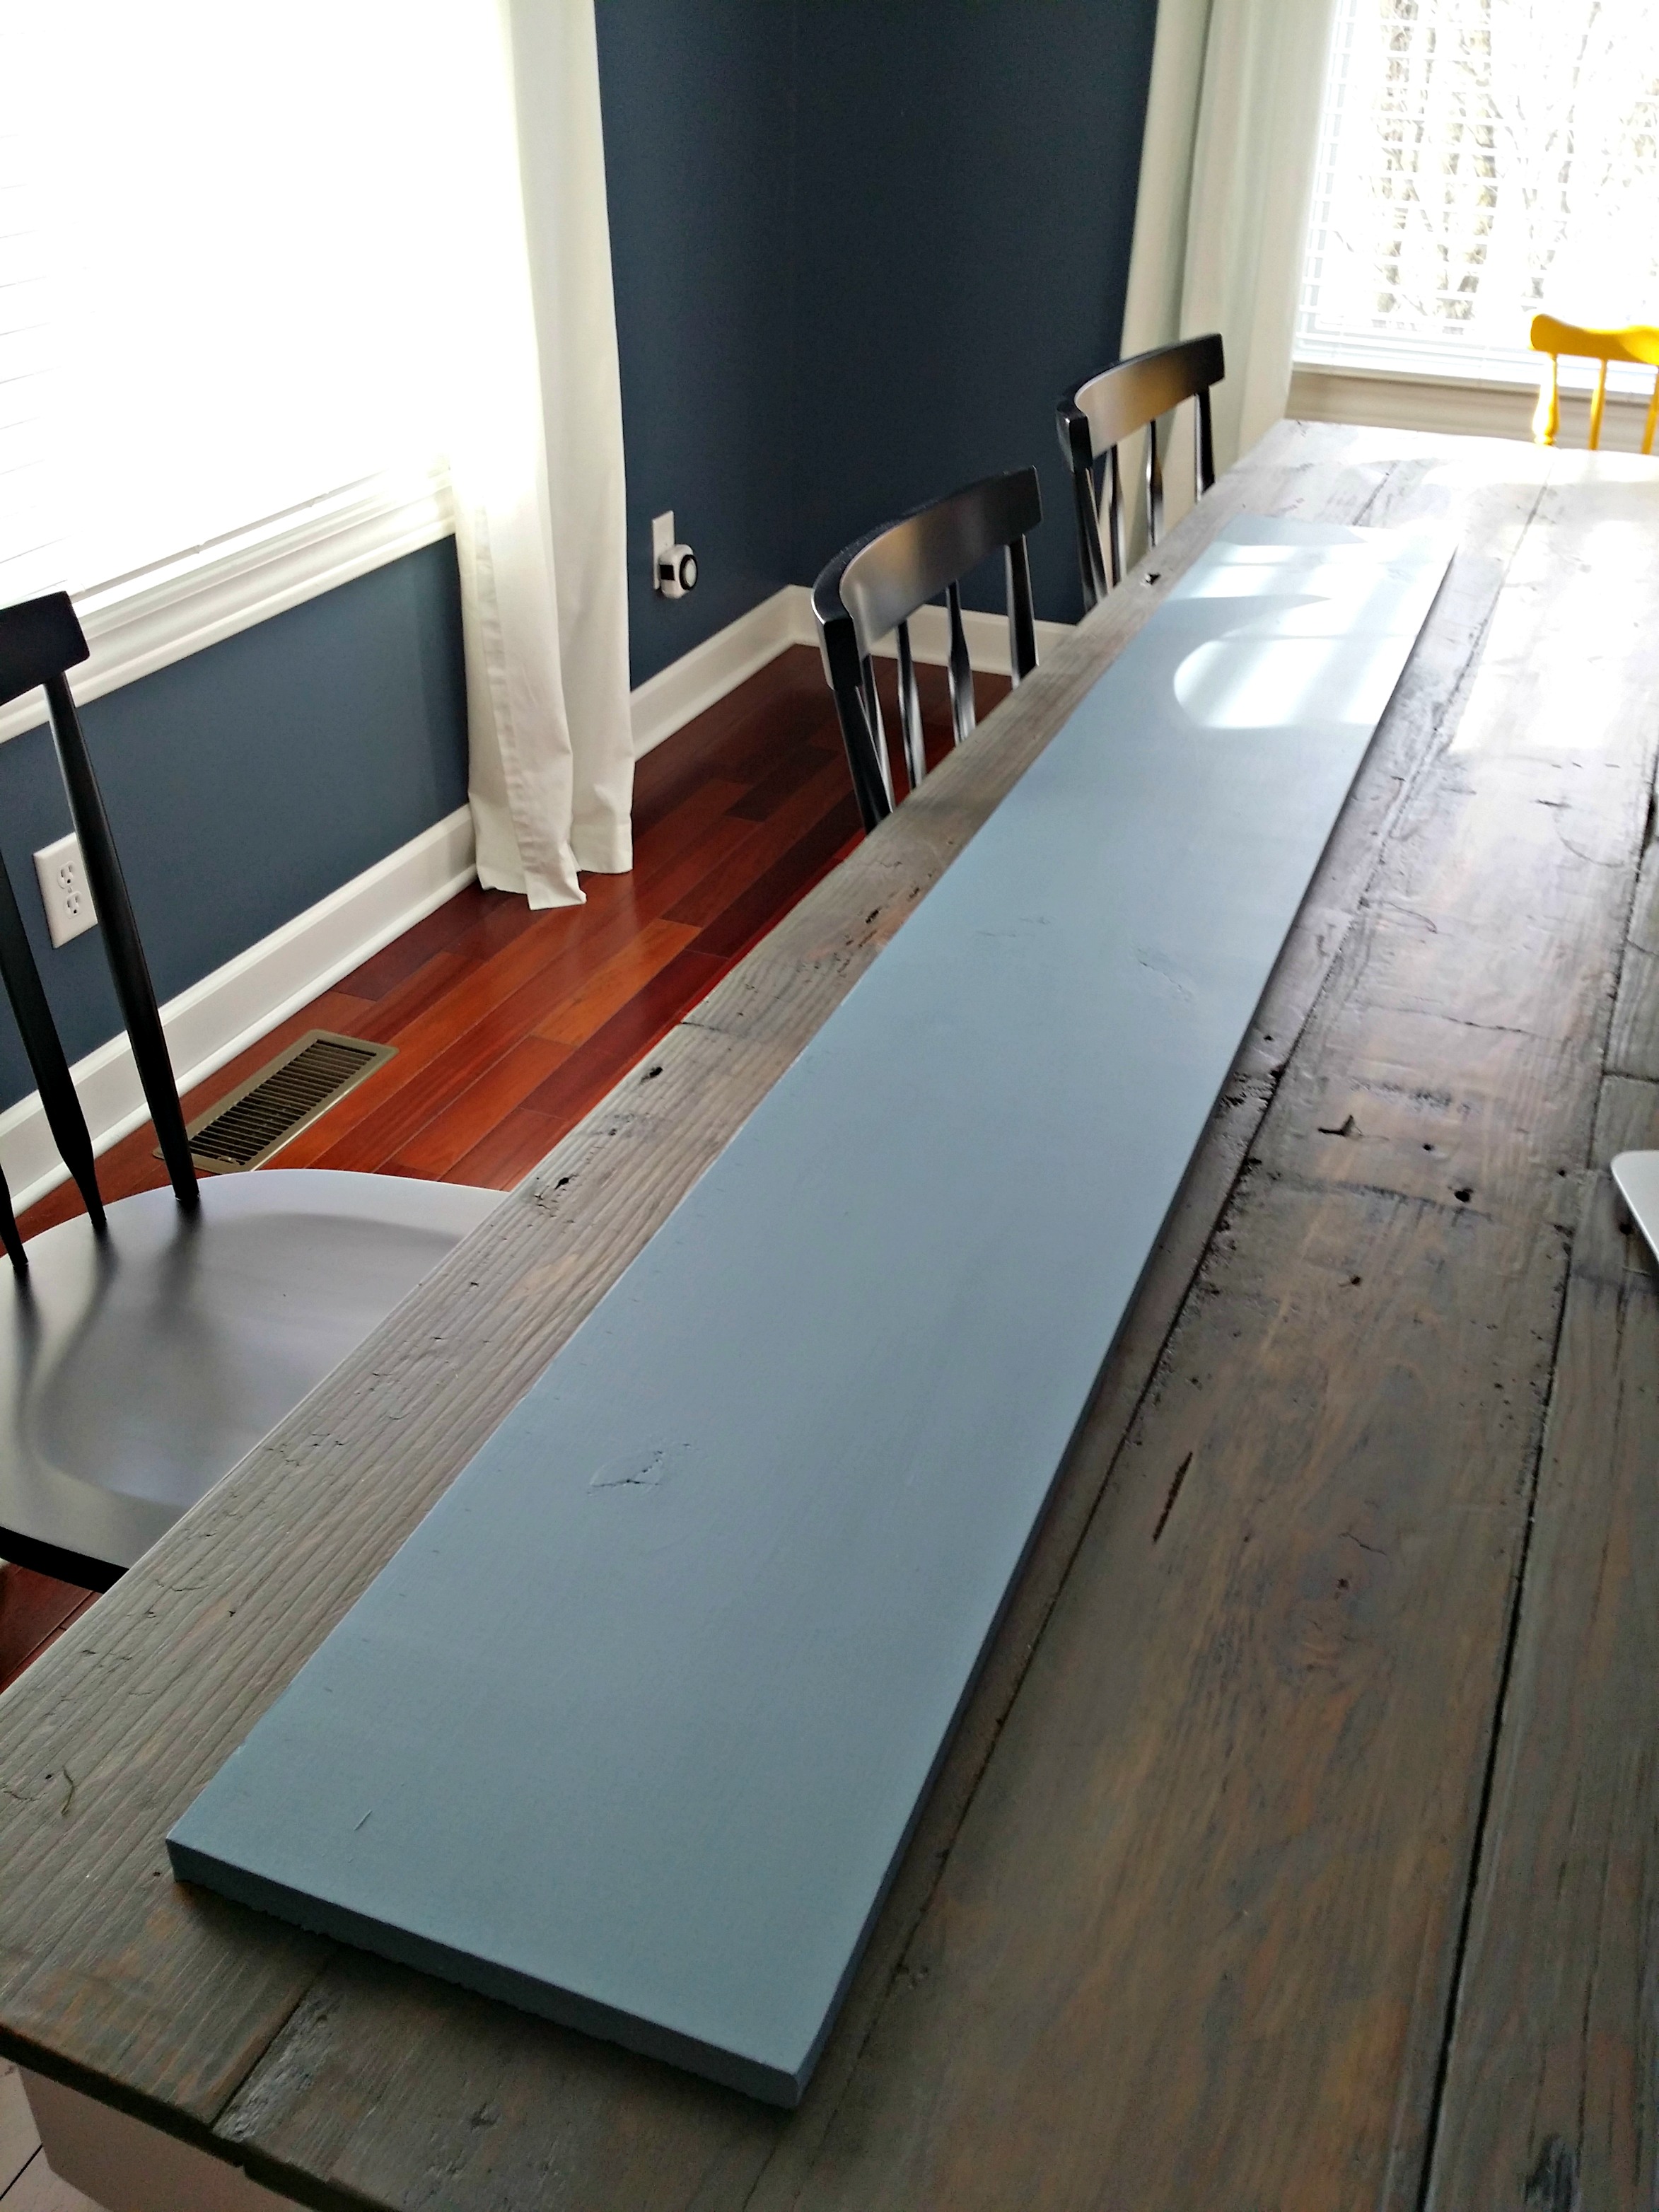
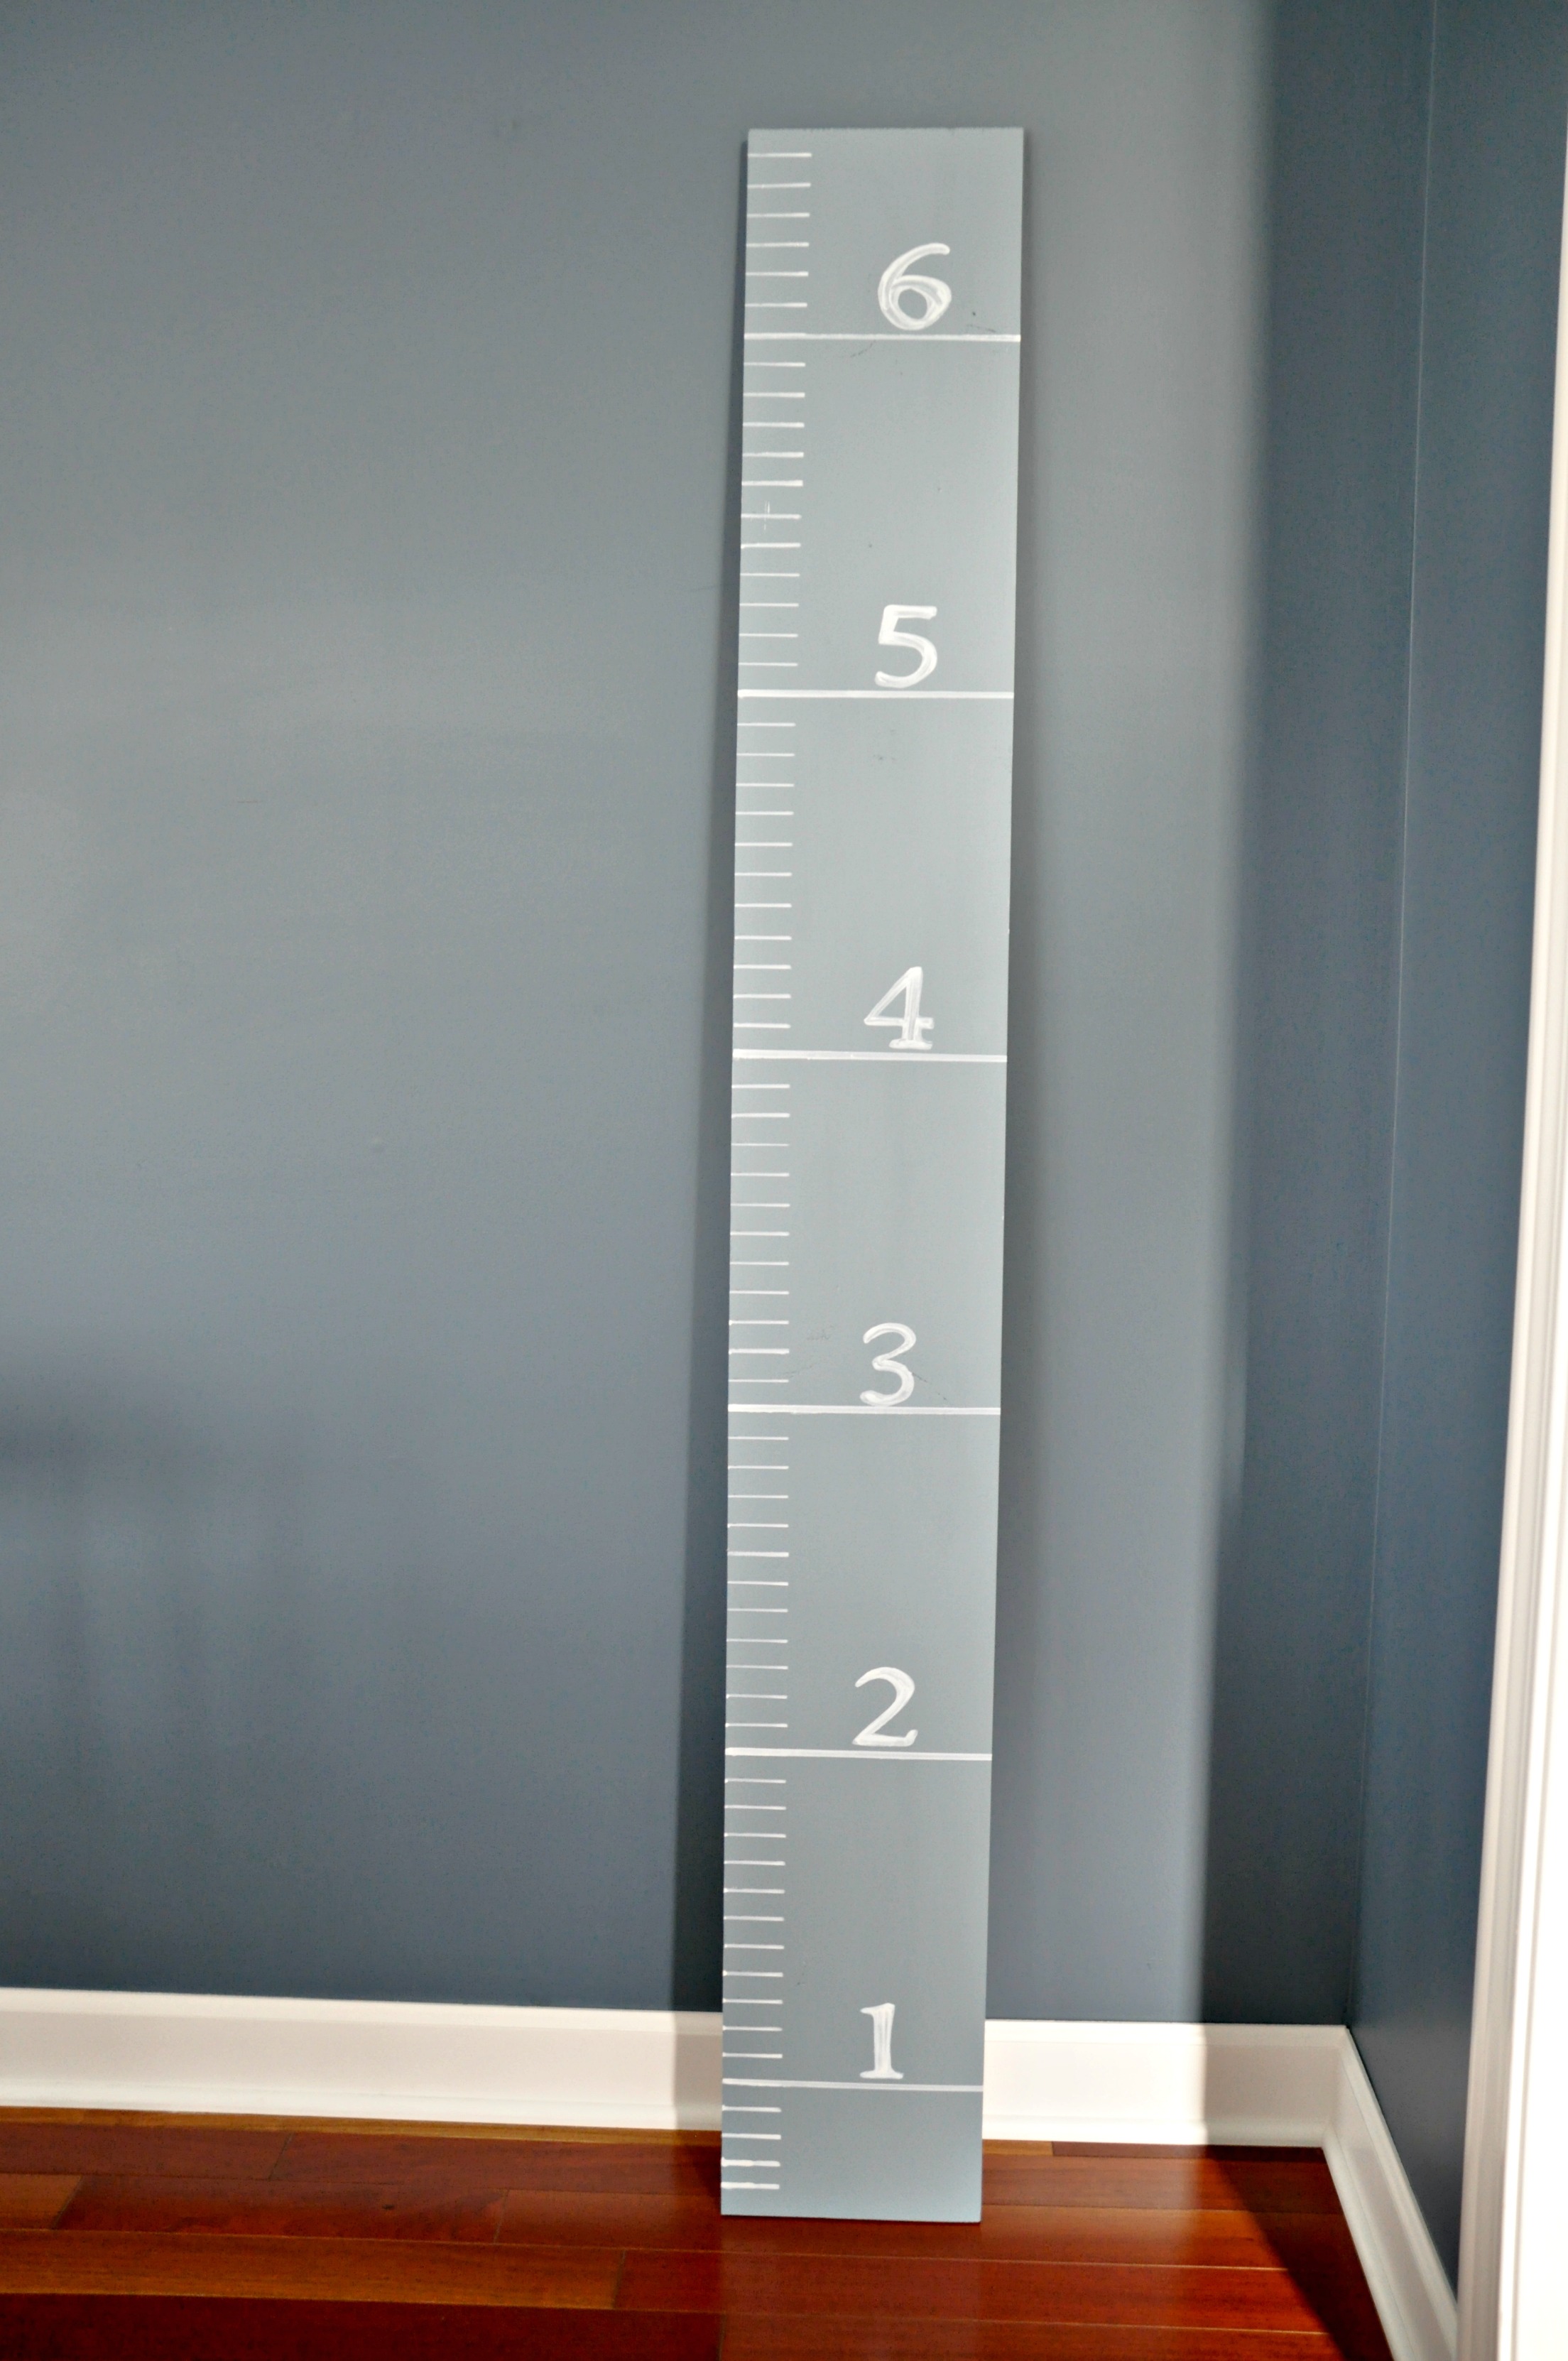
I used a ruler and lightly made 1 inch marks along the side.

DIY Growth Chart Tutorial {Decor and the Dog}

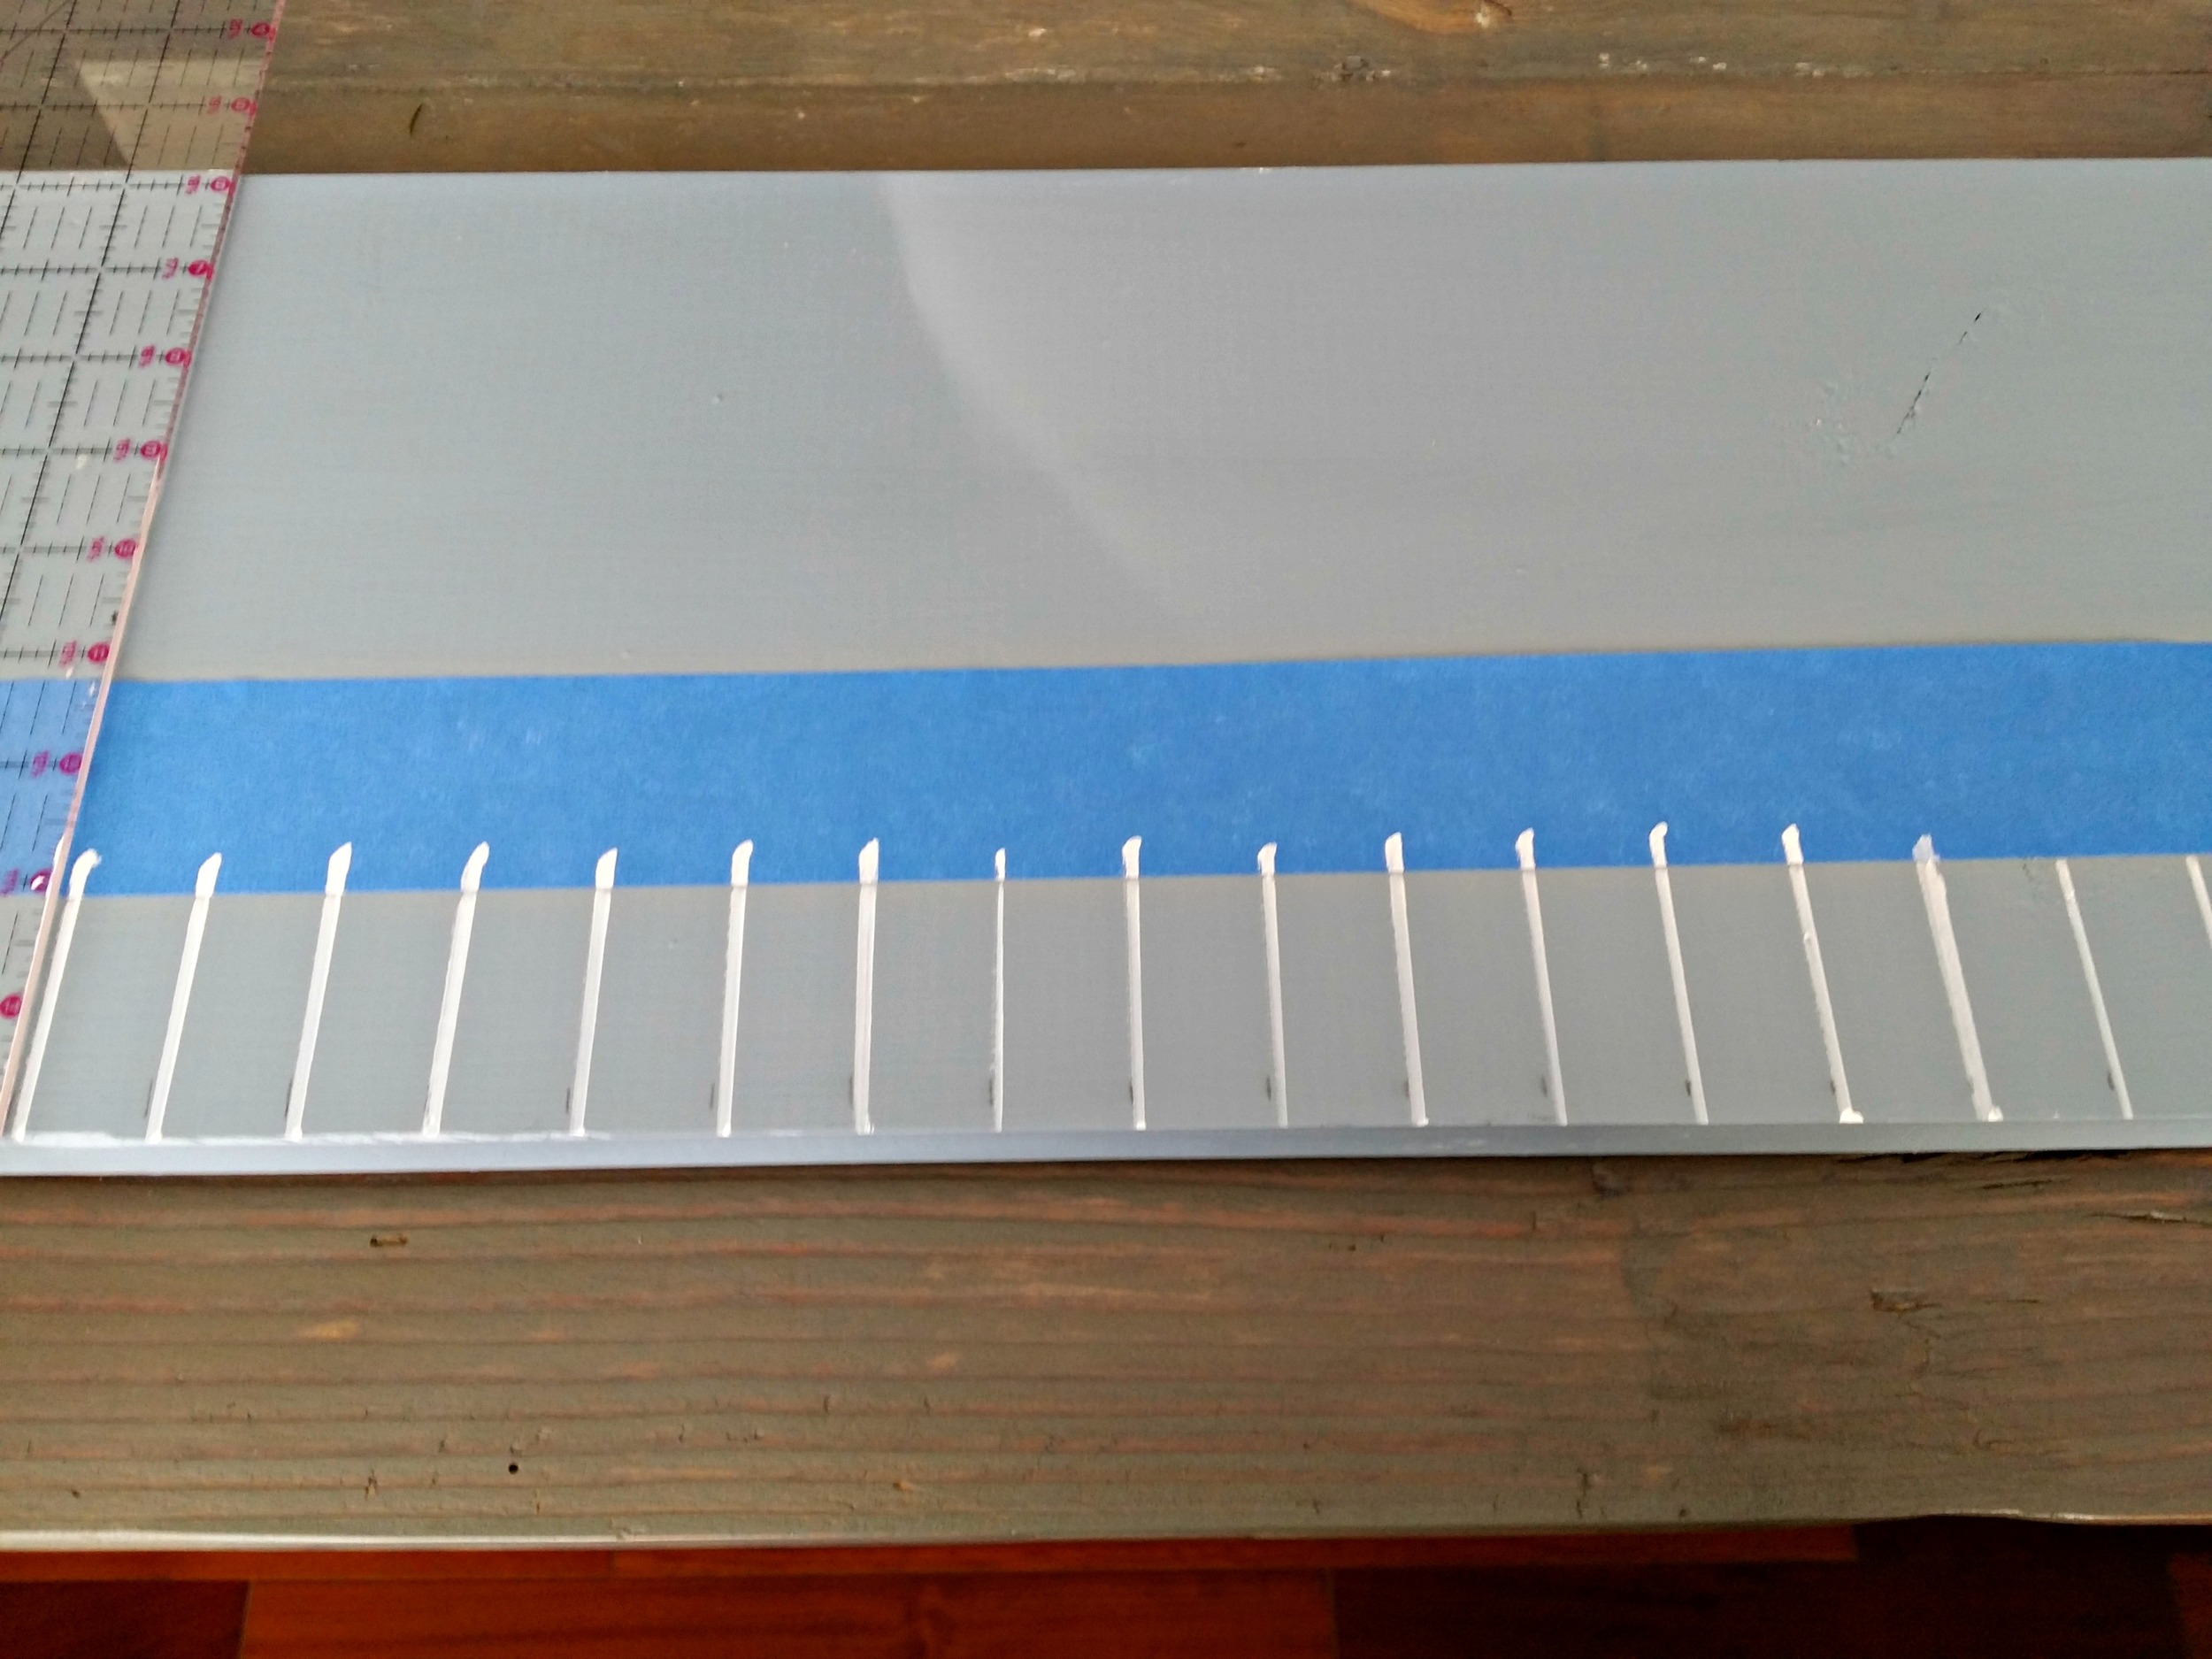
I applied painter's tape 2 inches from the side to help keep my lines crisp.  I then used a Sharpie paint pen and my ruler to draw many tiny straight lines.

DIY Growth Chart Tutorial {Decor and the Dog}

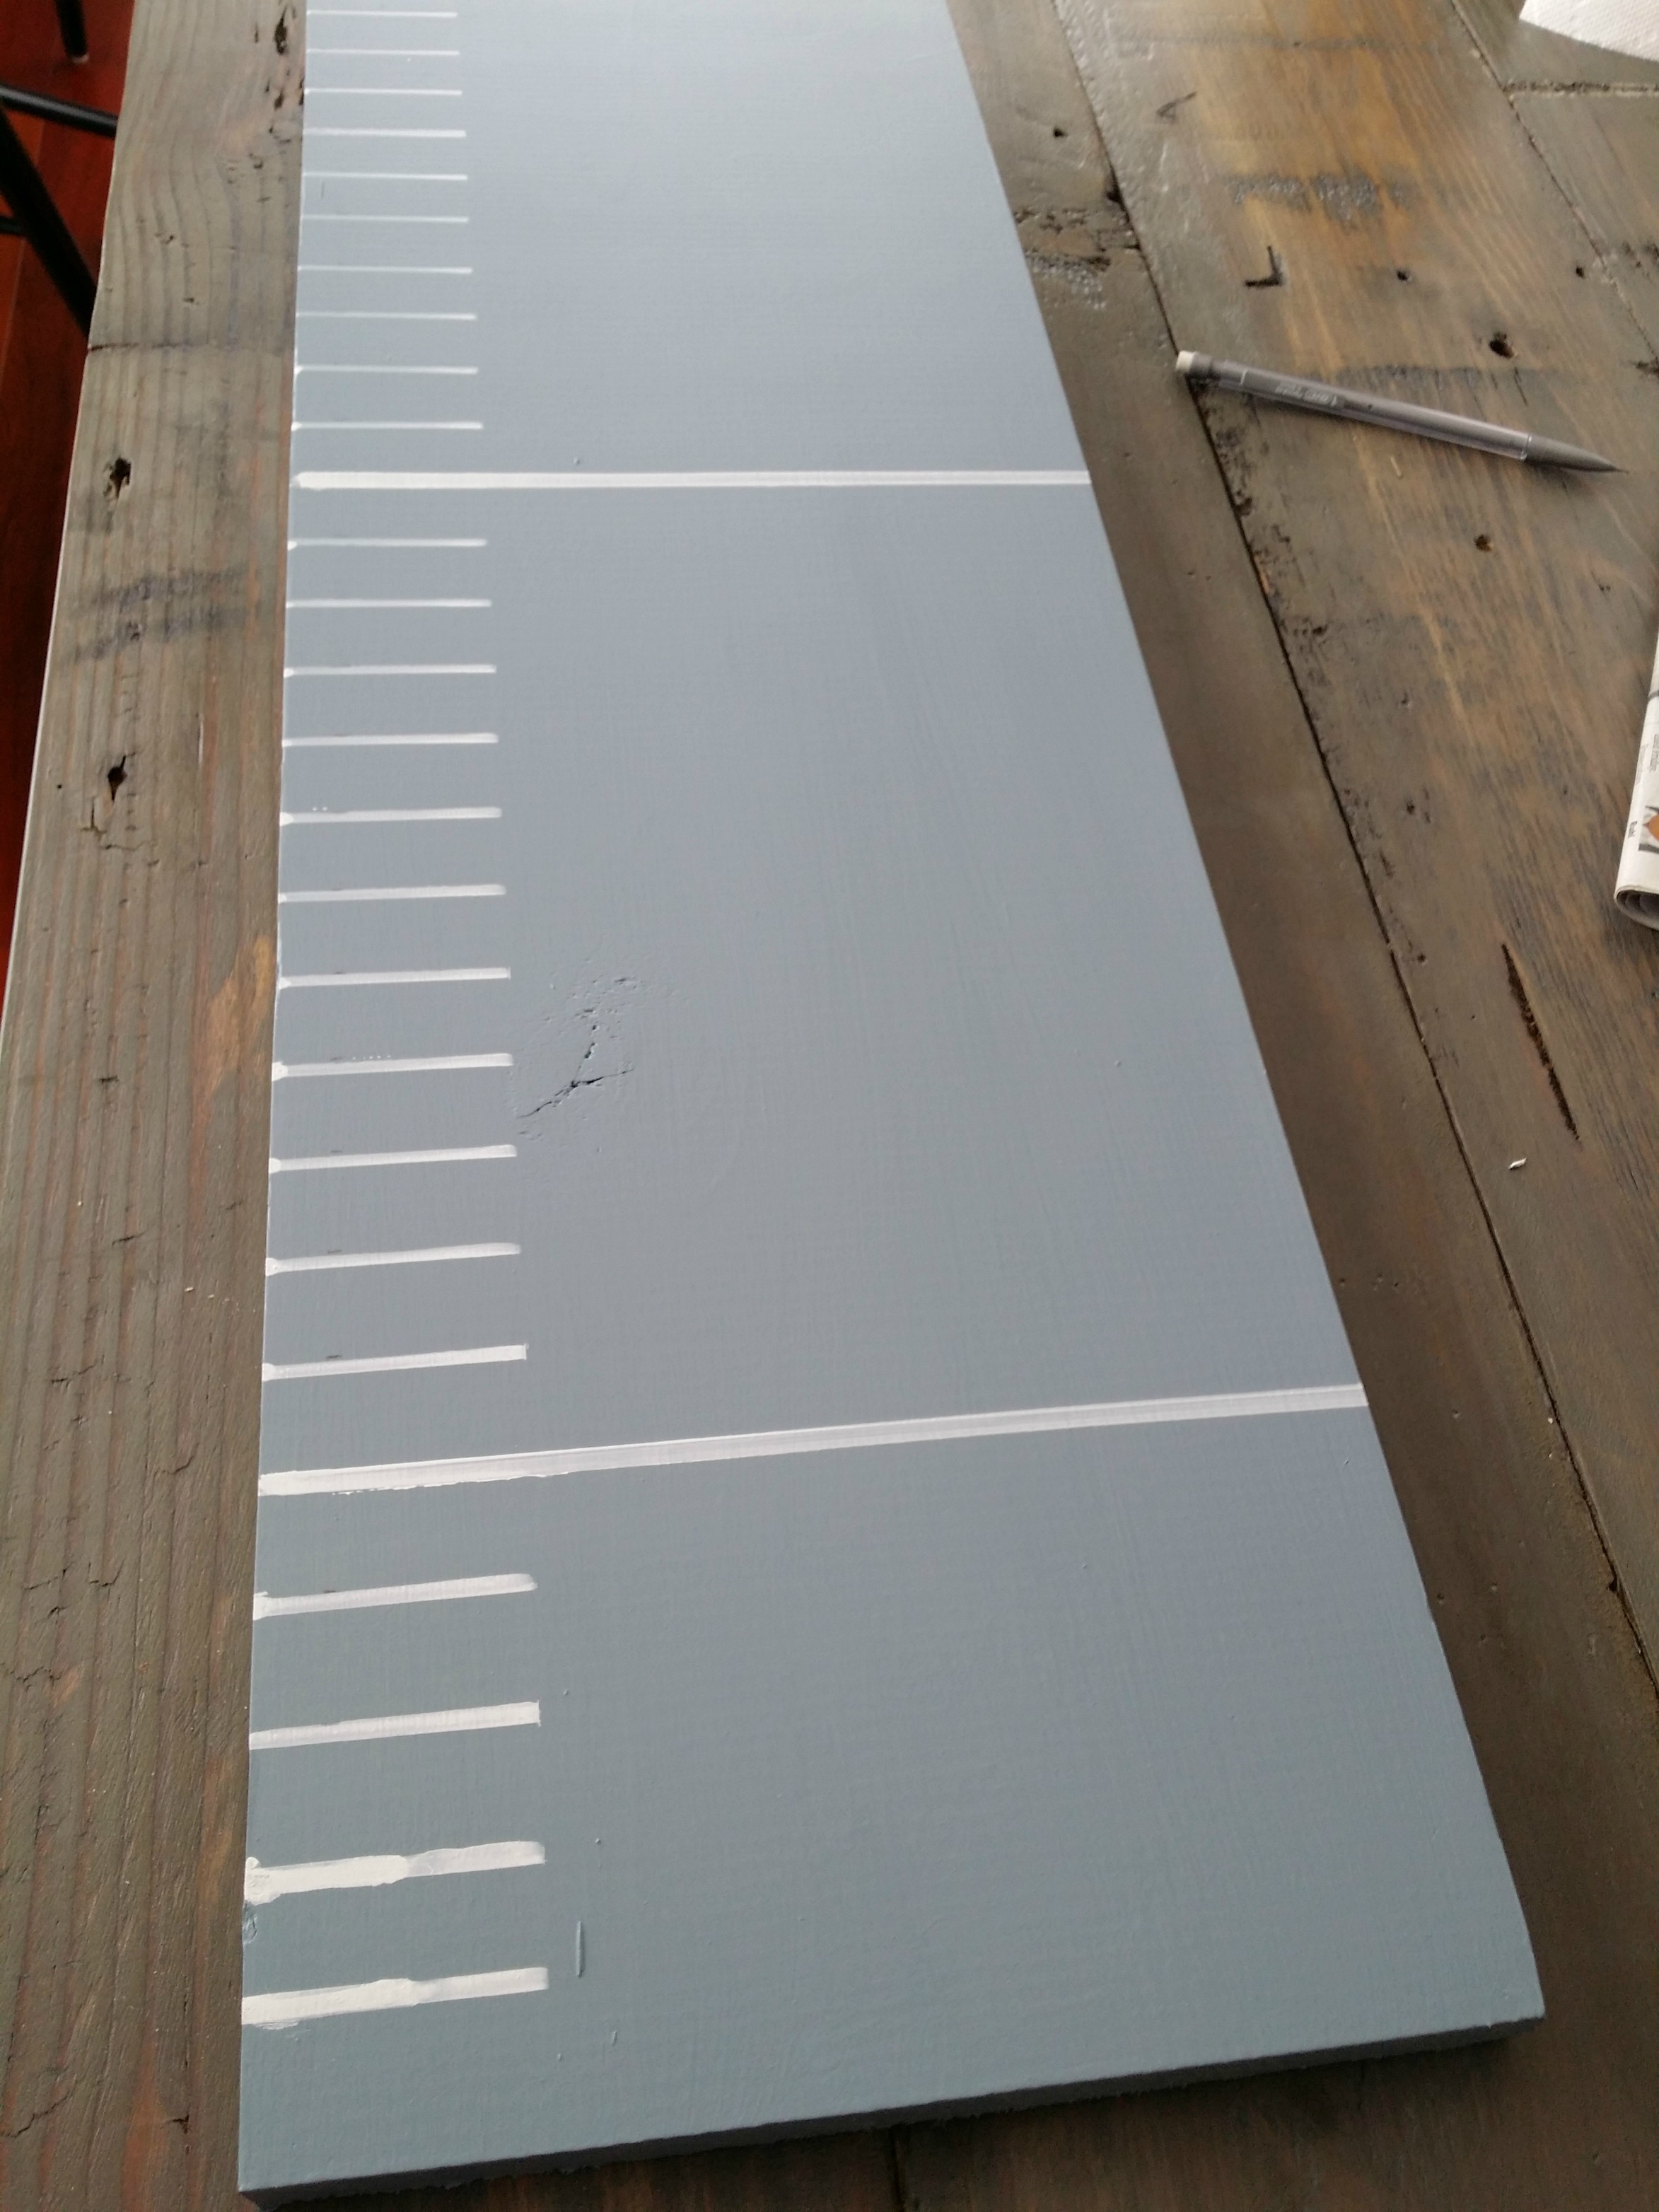
At each 12" mark I made a larger line across the board.  Keep in mind how far off the ground you will be hanging your sign.  I started my sign about 4 inches before the 1 foot mark.  We then hung the sign accordingly.

DIY Growth Chart Tutorial {Decor and the Dog}

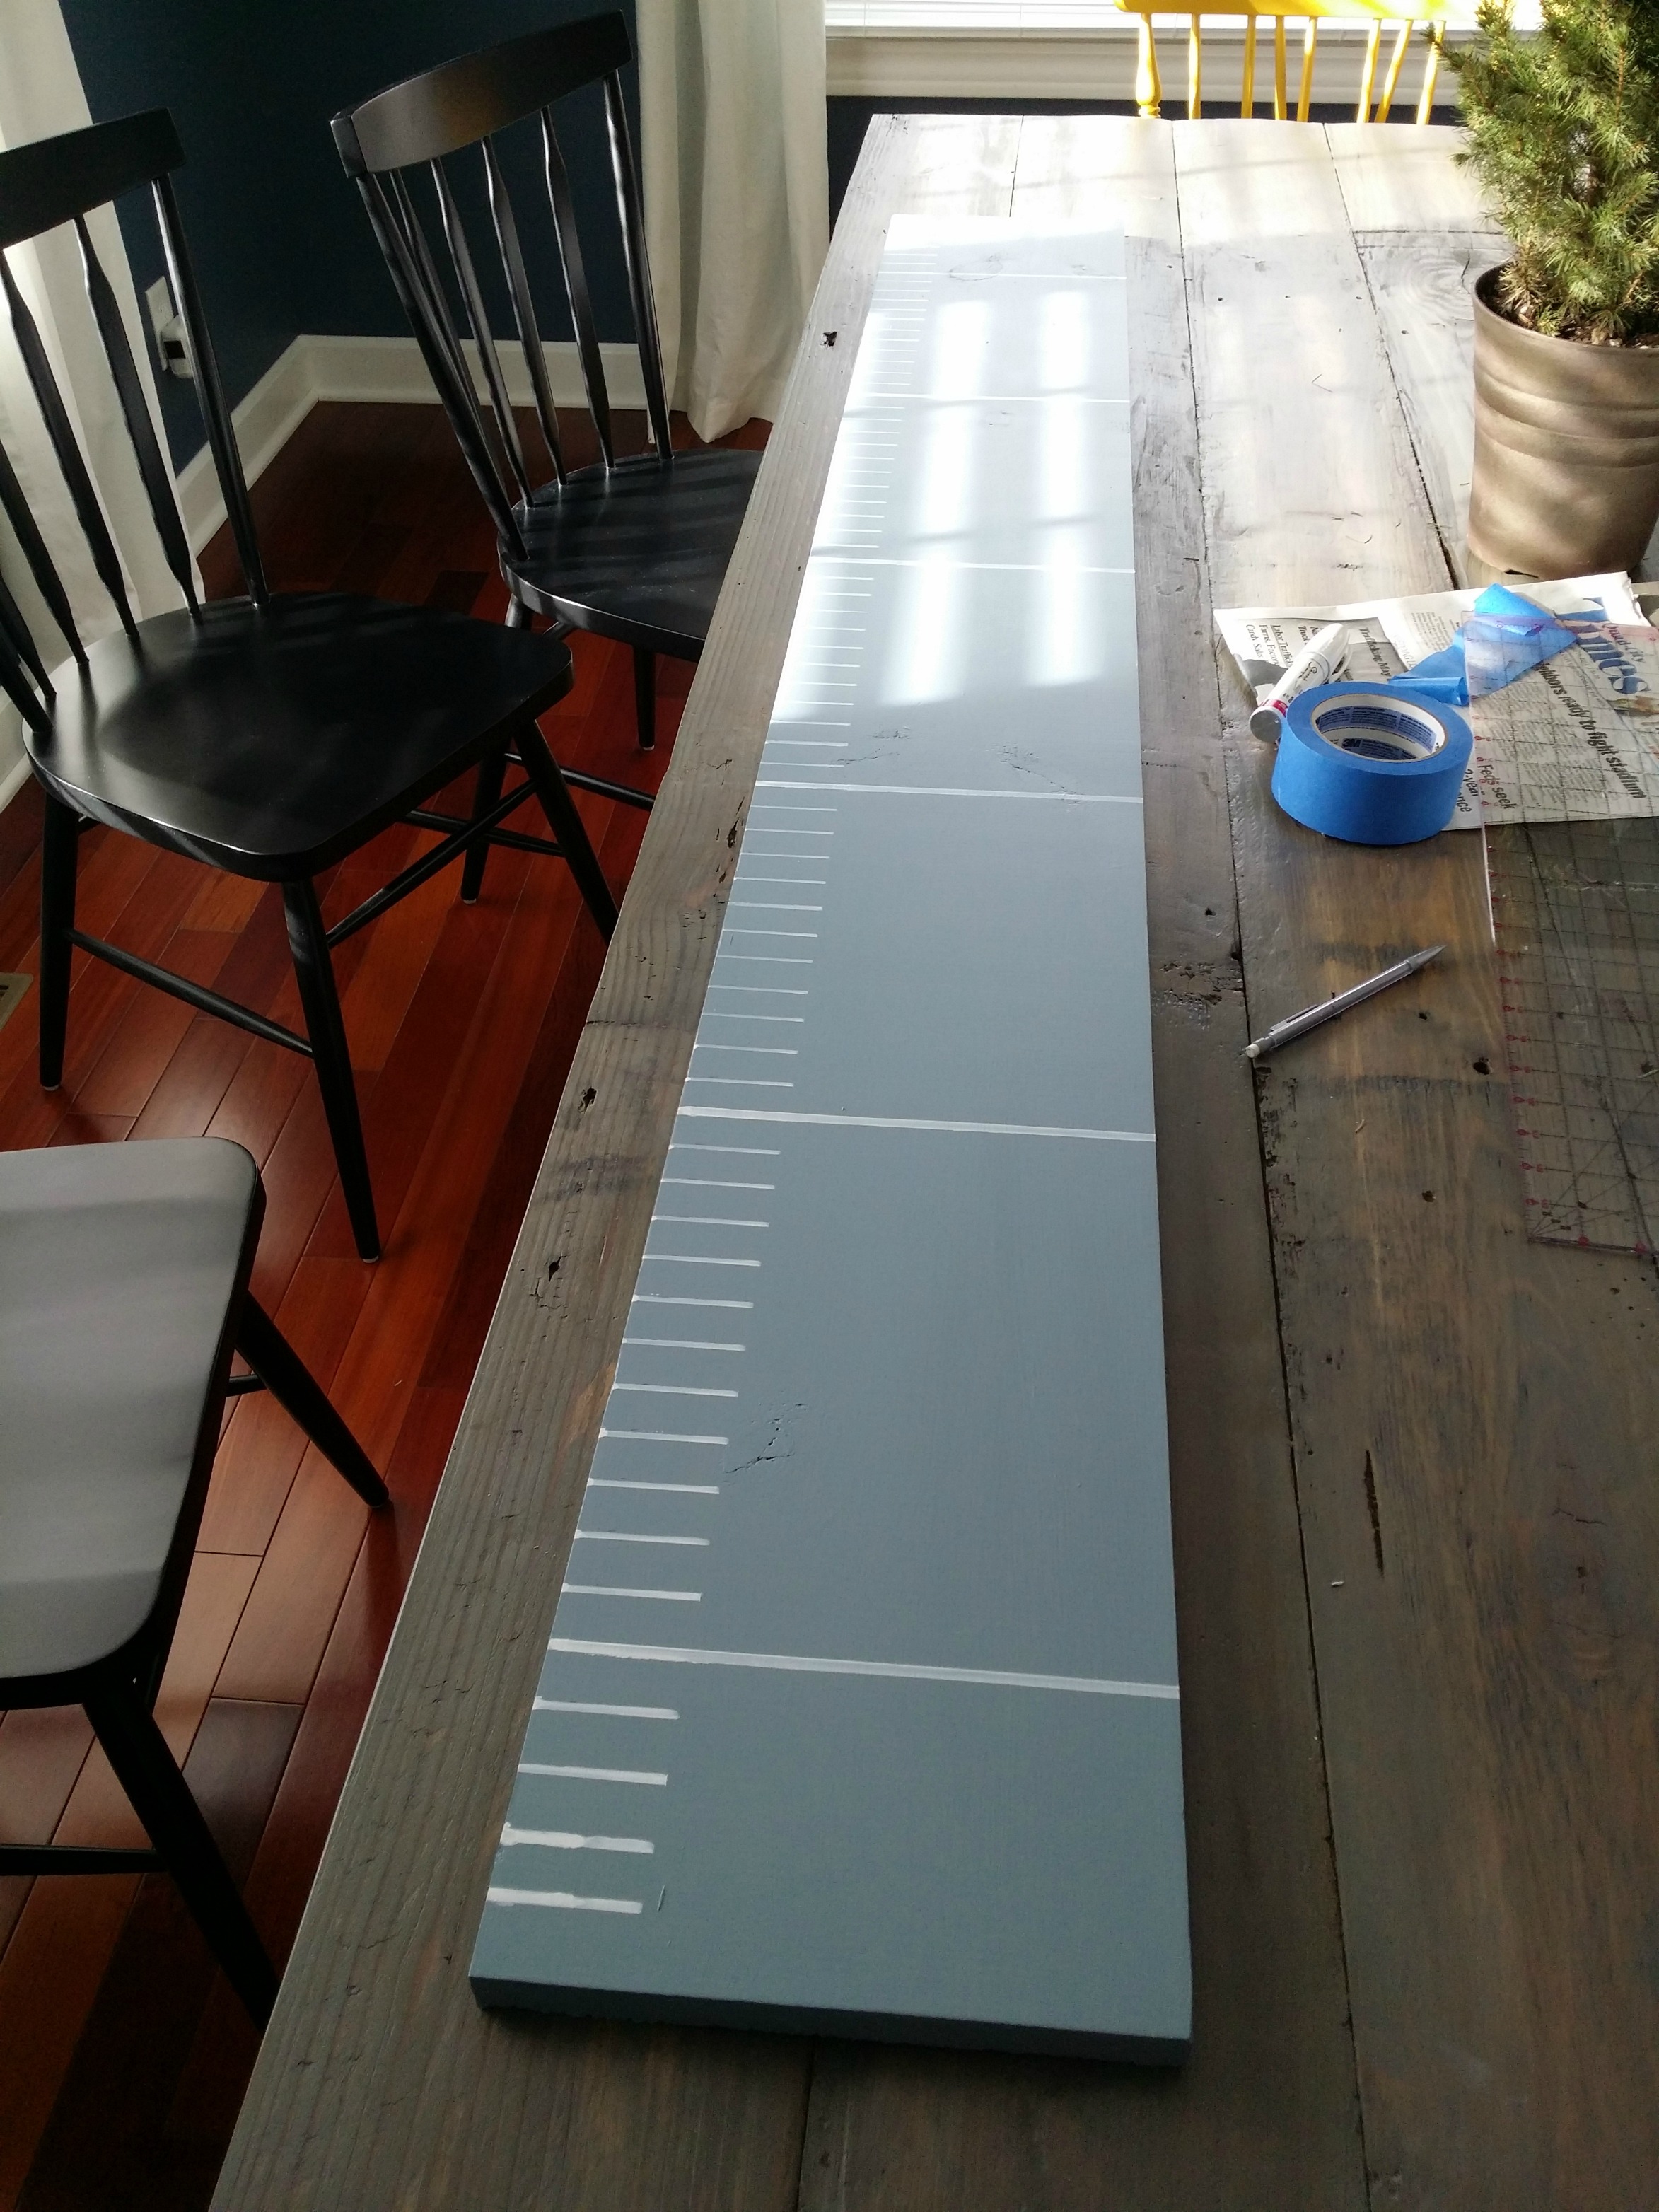
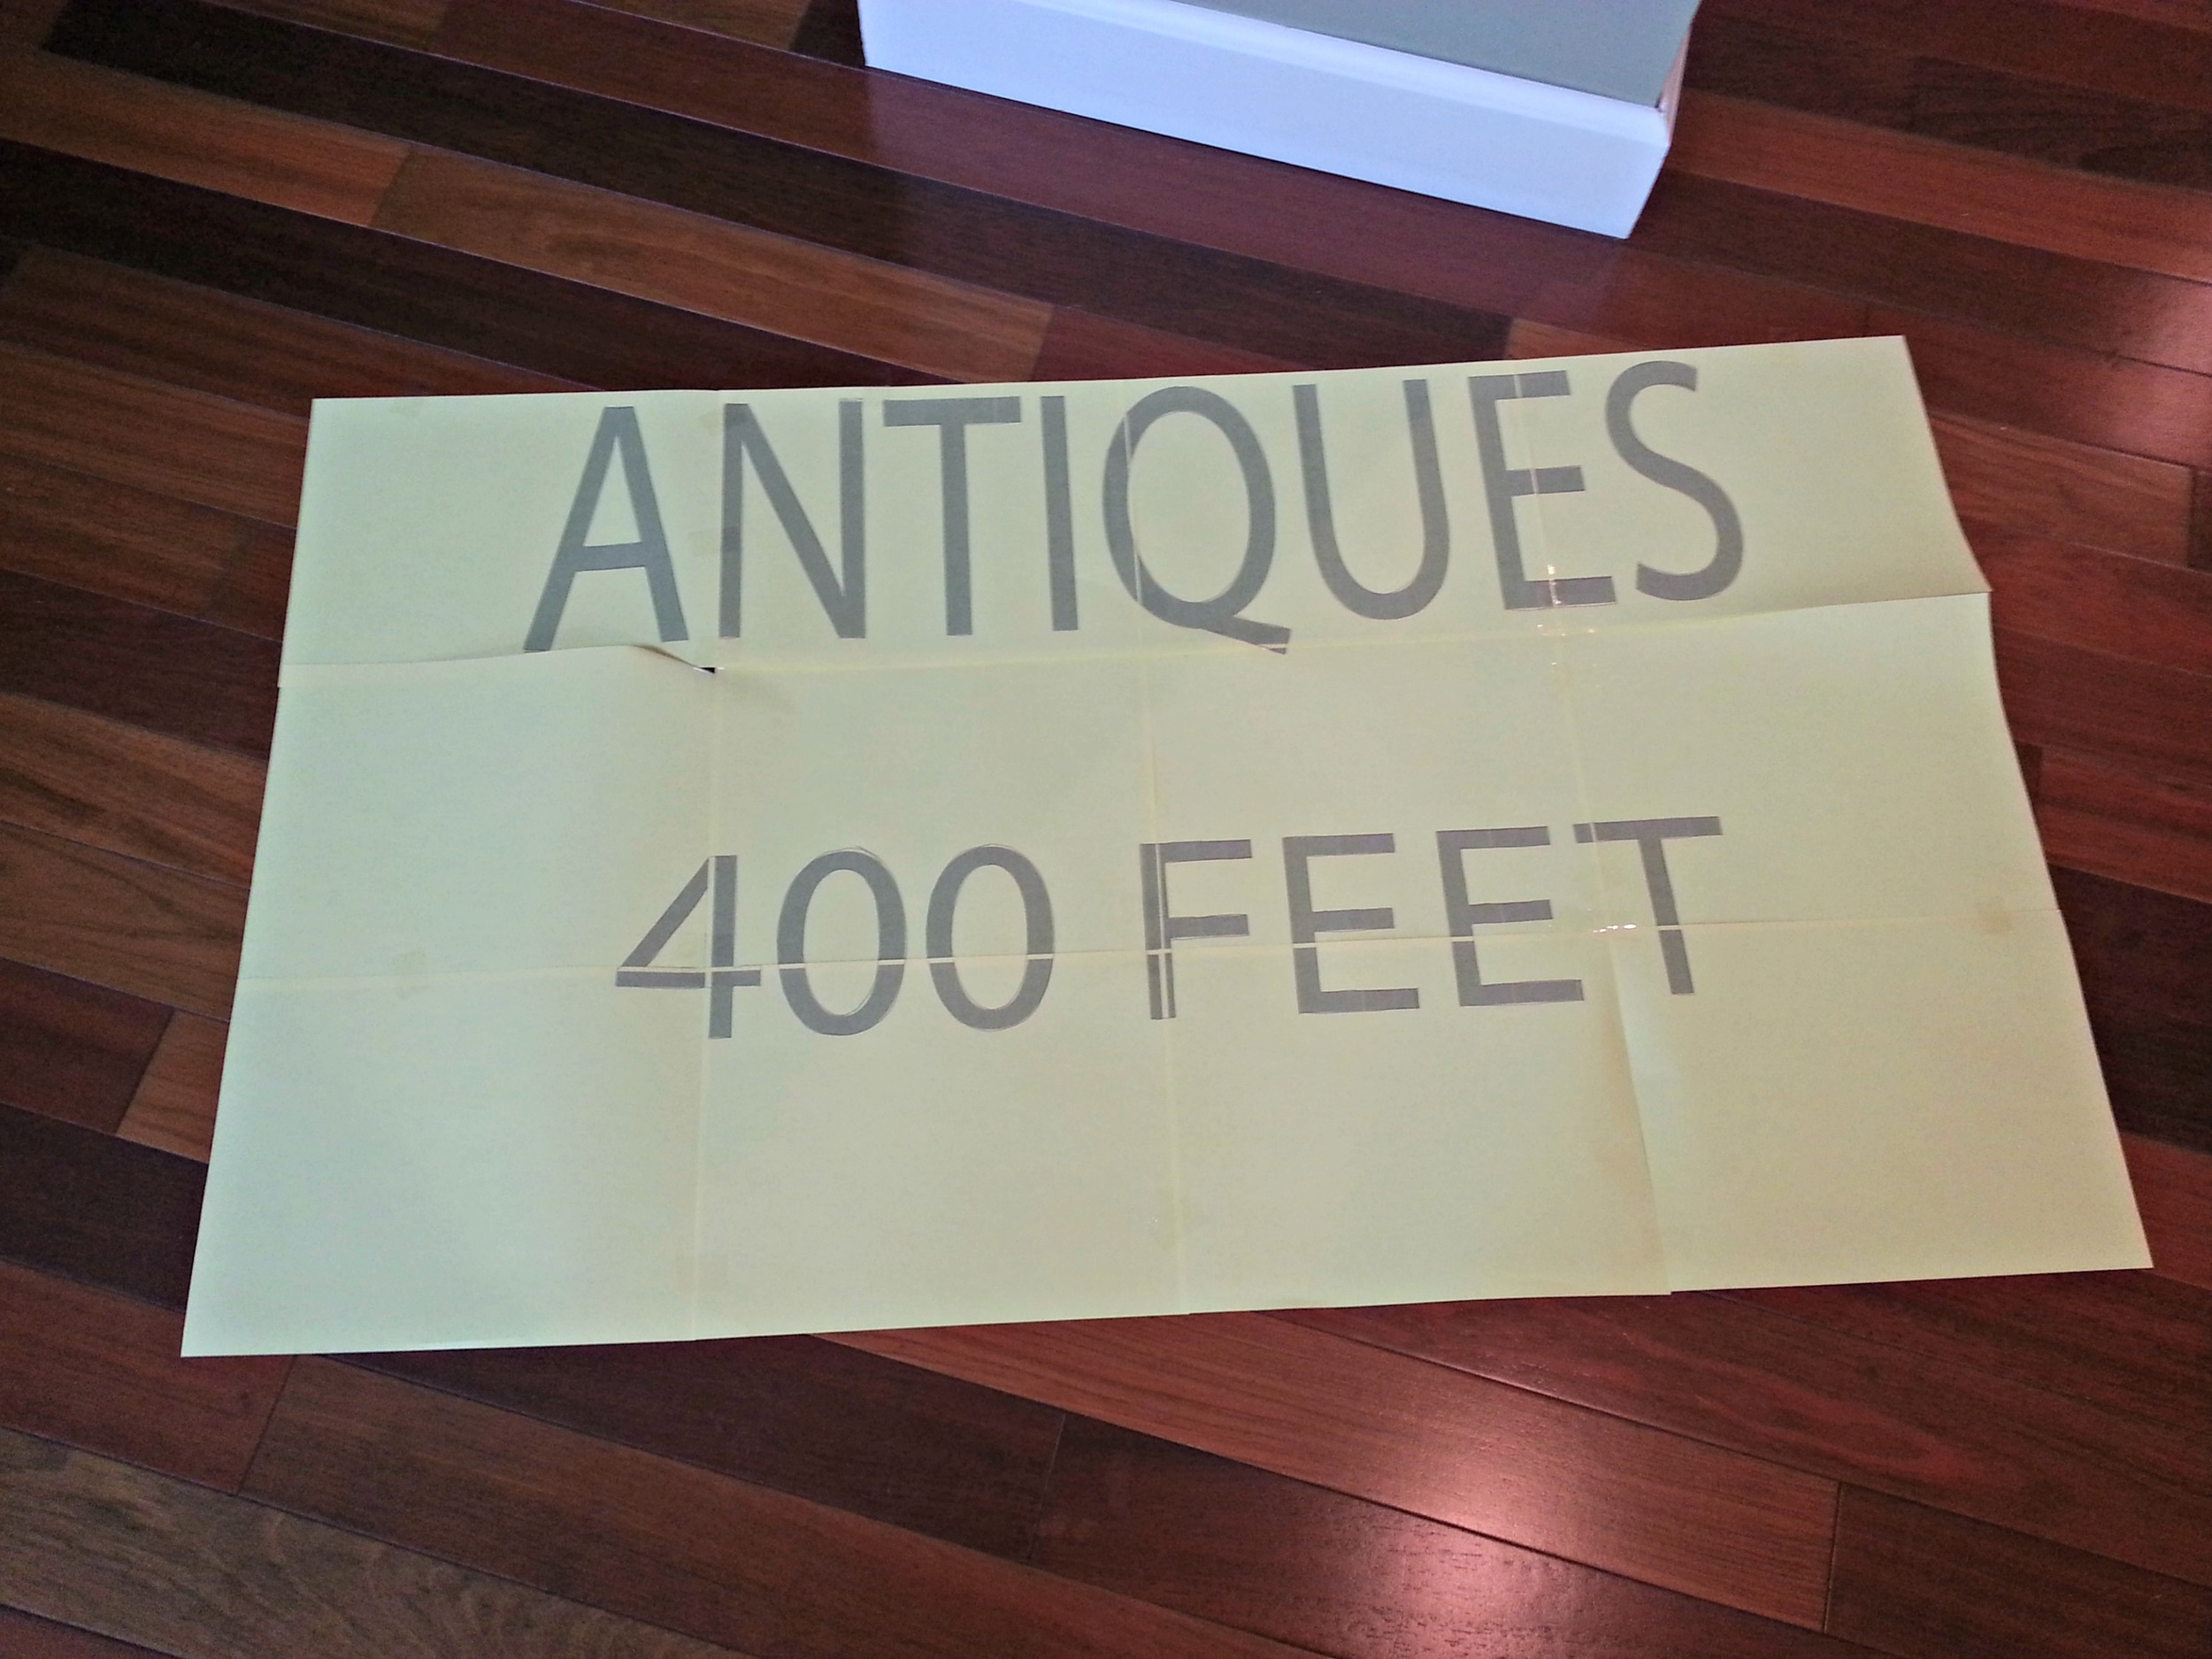
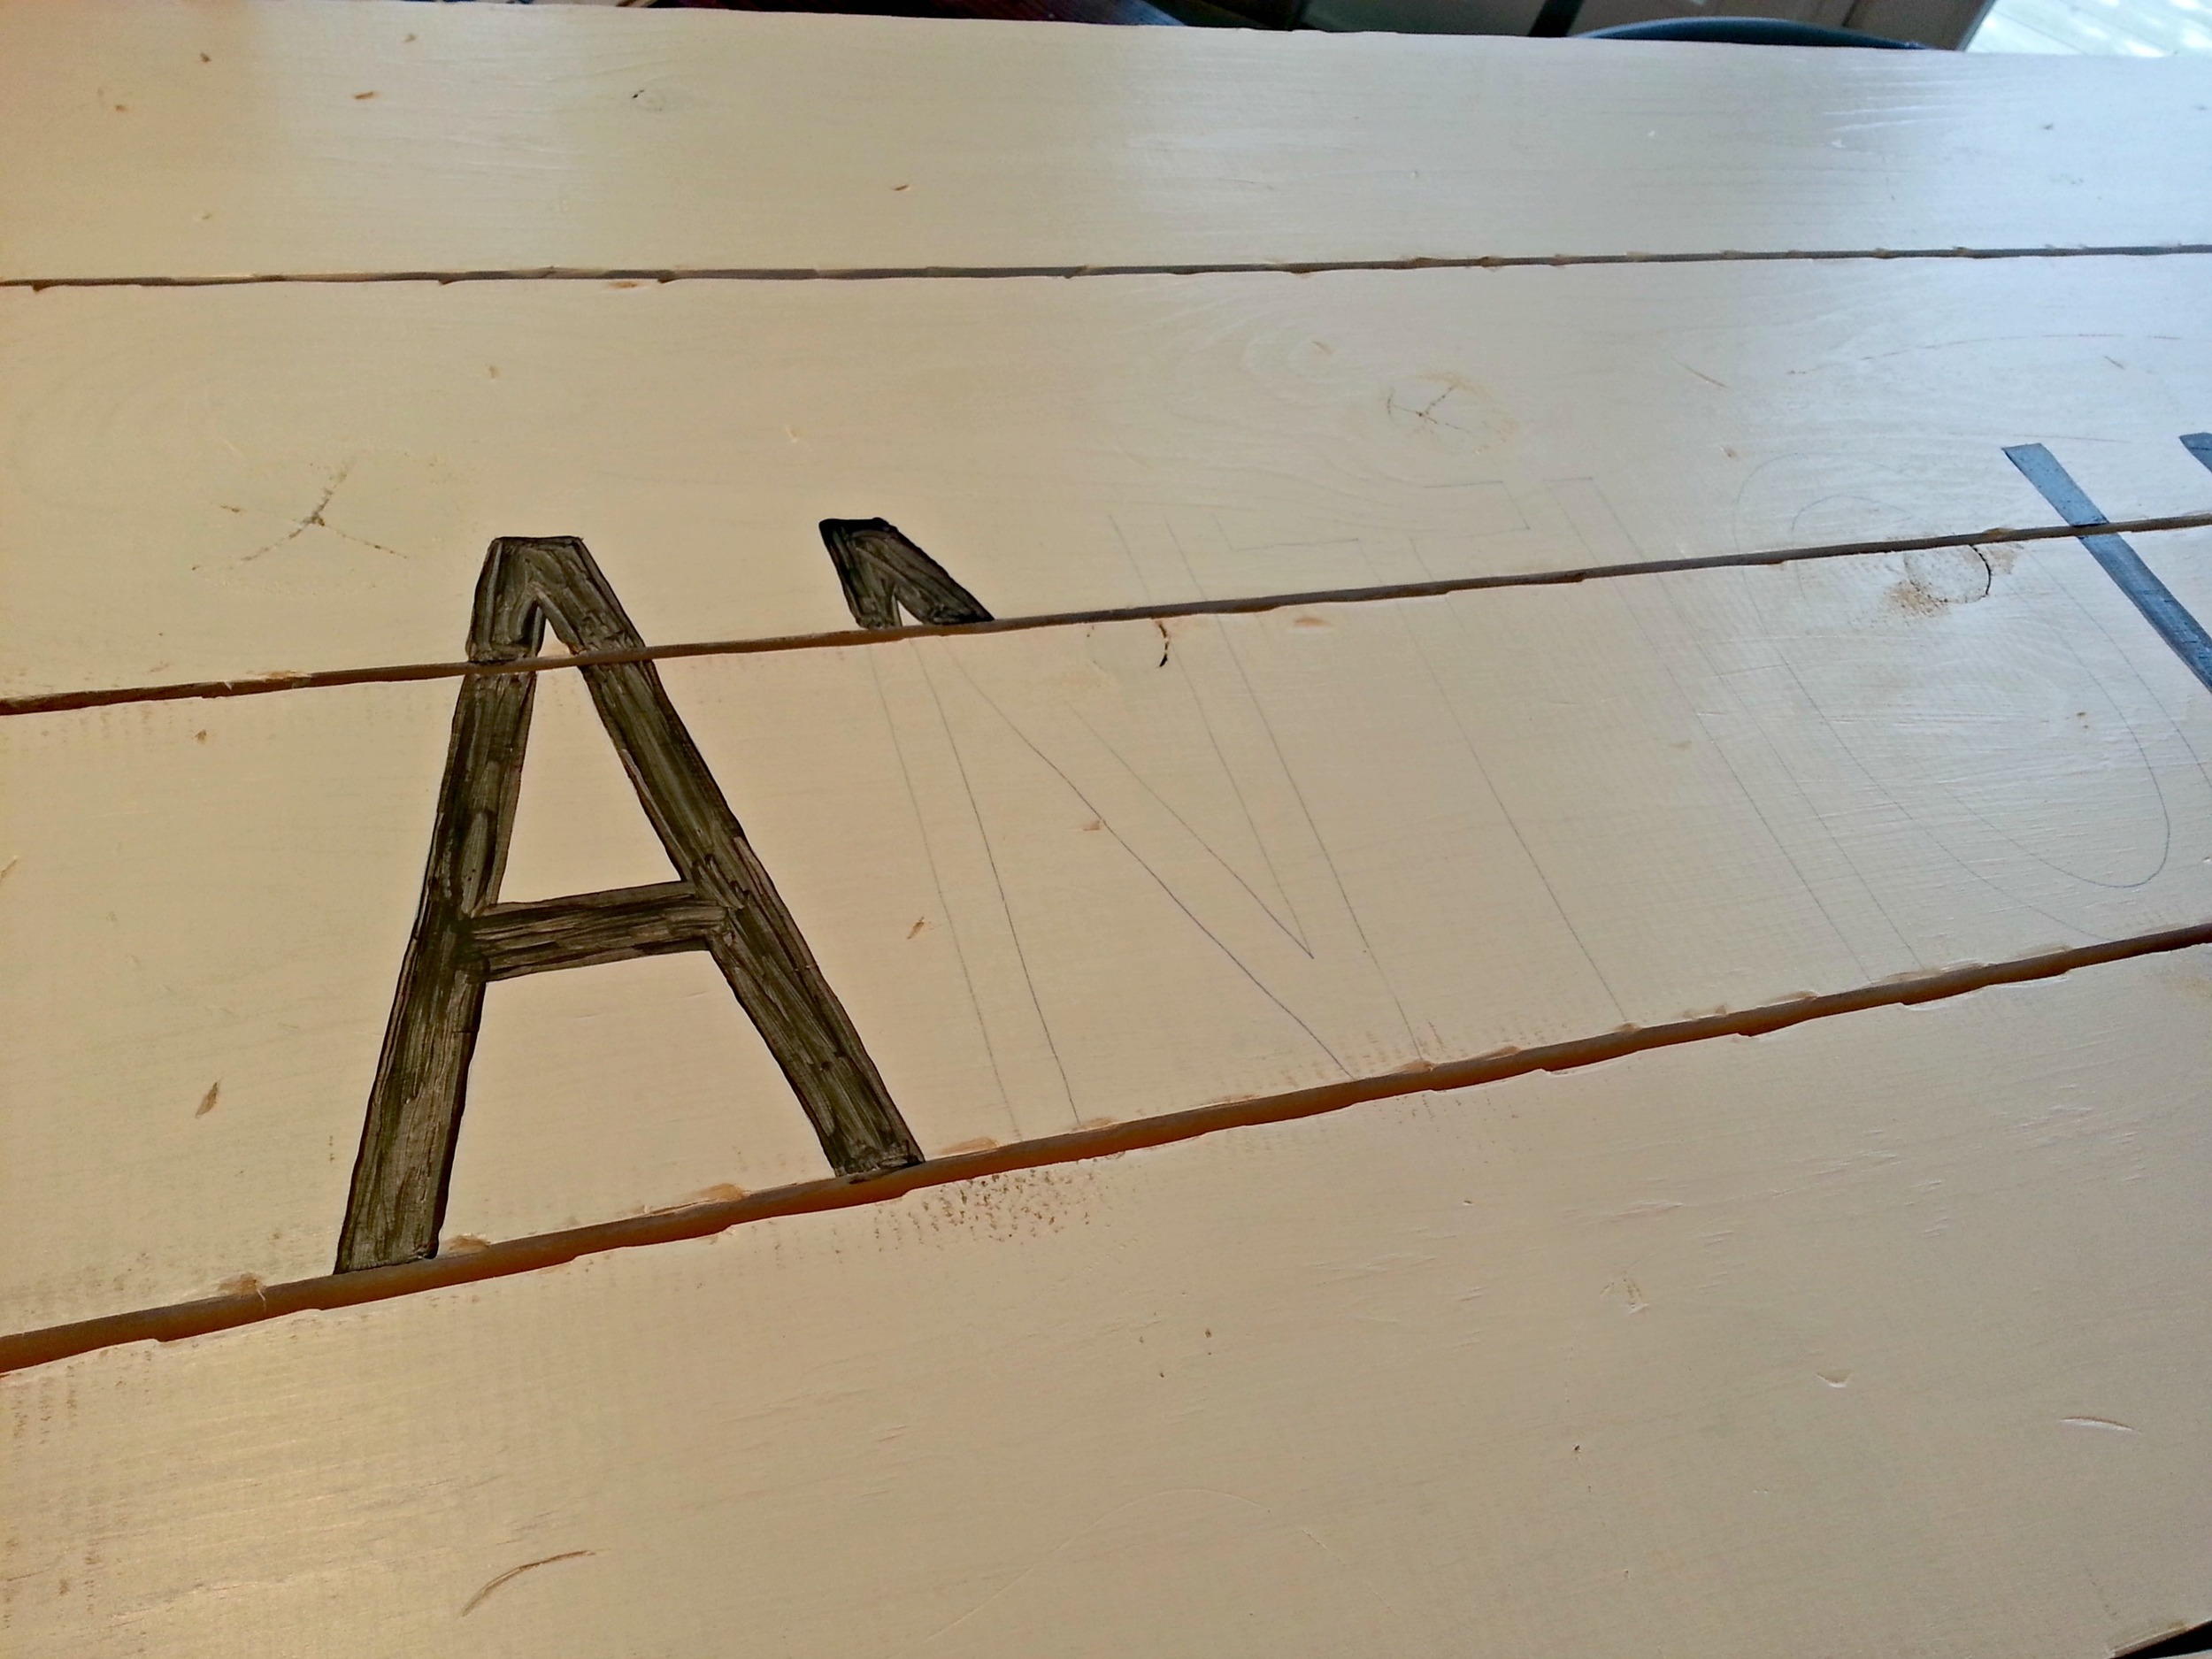
I printed off numbers 1 through 6. I then traced them onto my board. I usually use tracing paper but this wood was soft enough to just trace onto the board by pushing hard with a pen.

DIY Growth Chart Tutorial {Decor and the Dog}

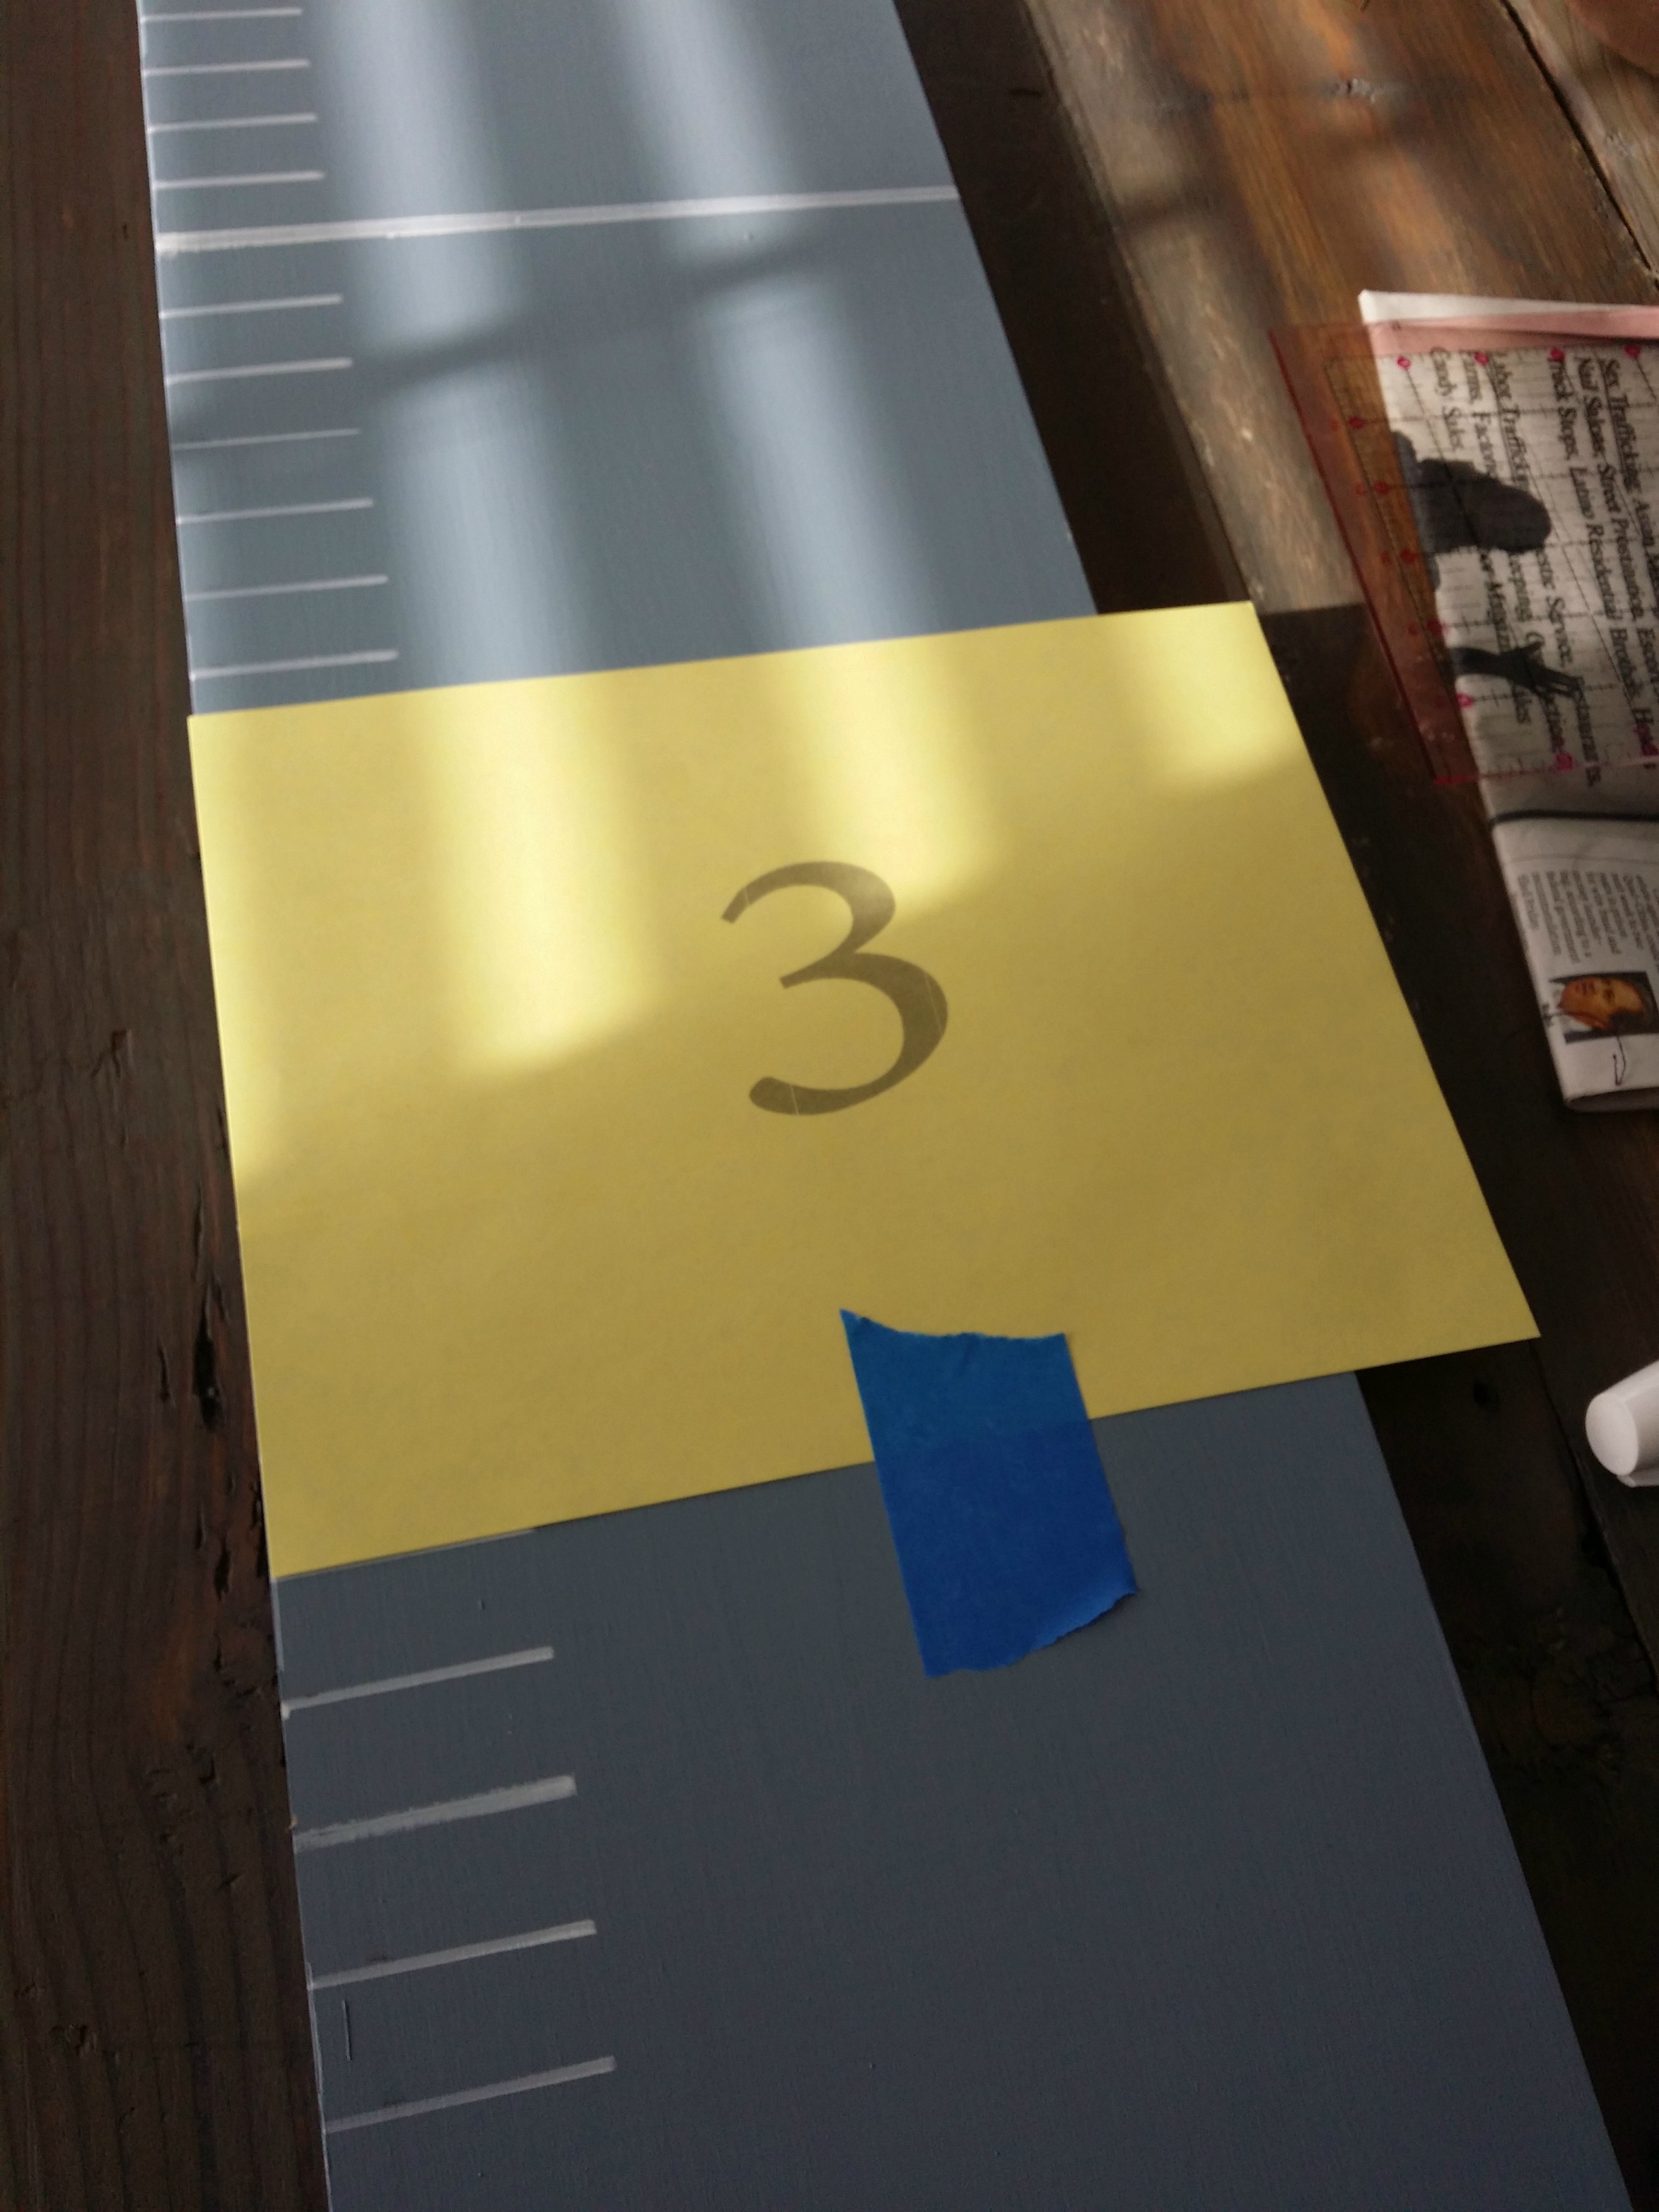
I then filled in each with my Sharpie paint pen.  Seriously easy project.  I think it took me about 45 minutes to do all of the marking and painting.

DIY Growth Chart Tutorial {Decor and the Dog}

All that's left is to hang it.  Which I failed to get a picture of in the nursery.  Weak.

DIY Growth Chart Tutorial {Decor and the Dog}

I was too busy figuring out how to break the news to Ike that this isn't his growth chart.

DIY Growth Chart Tutorial {Decor and the Dog}

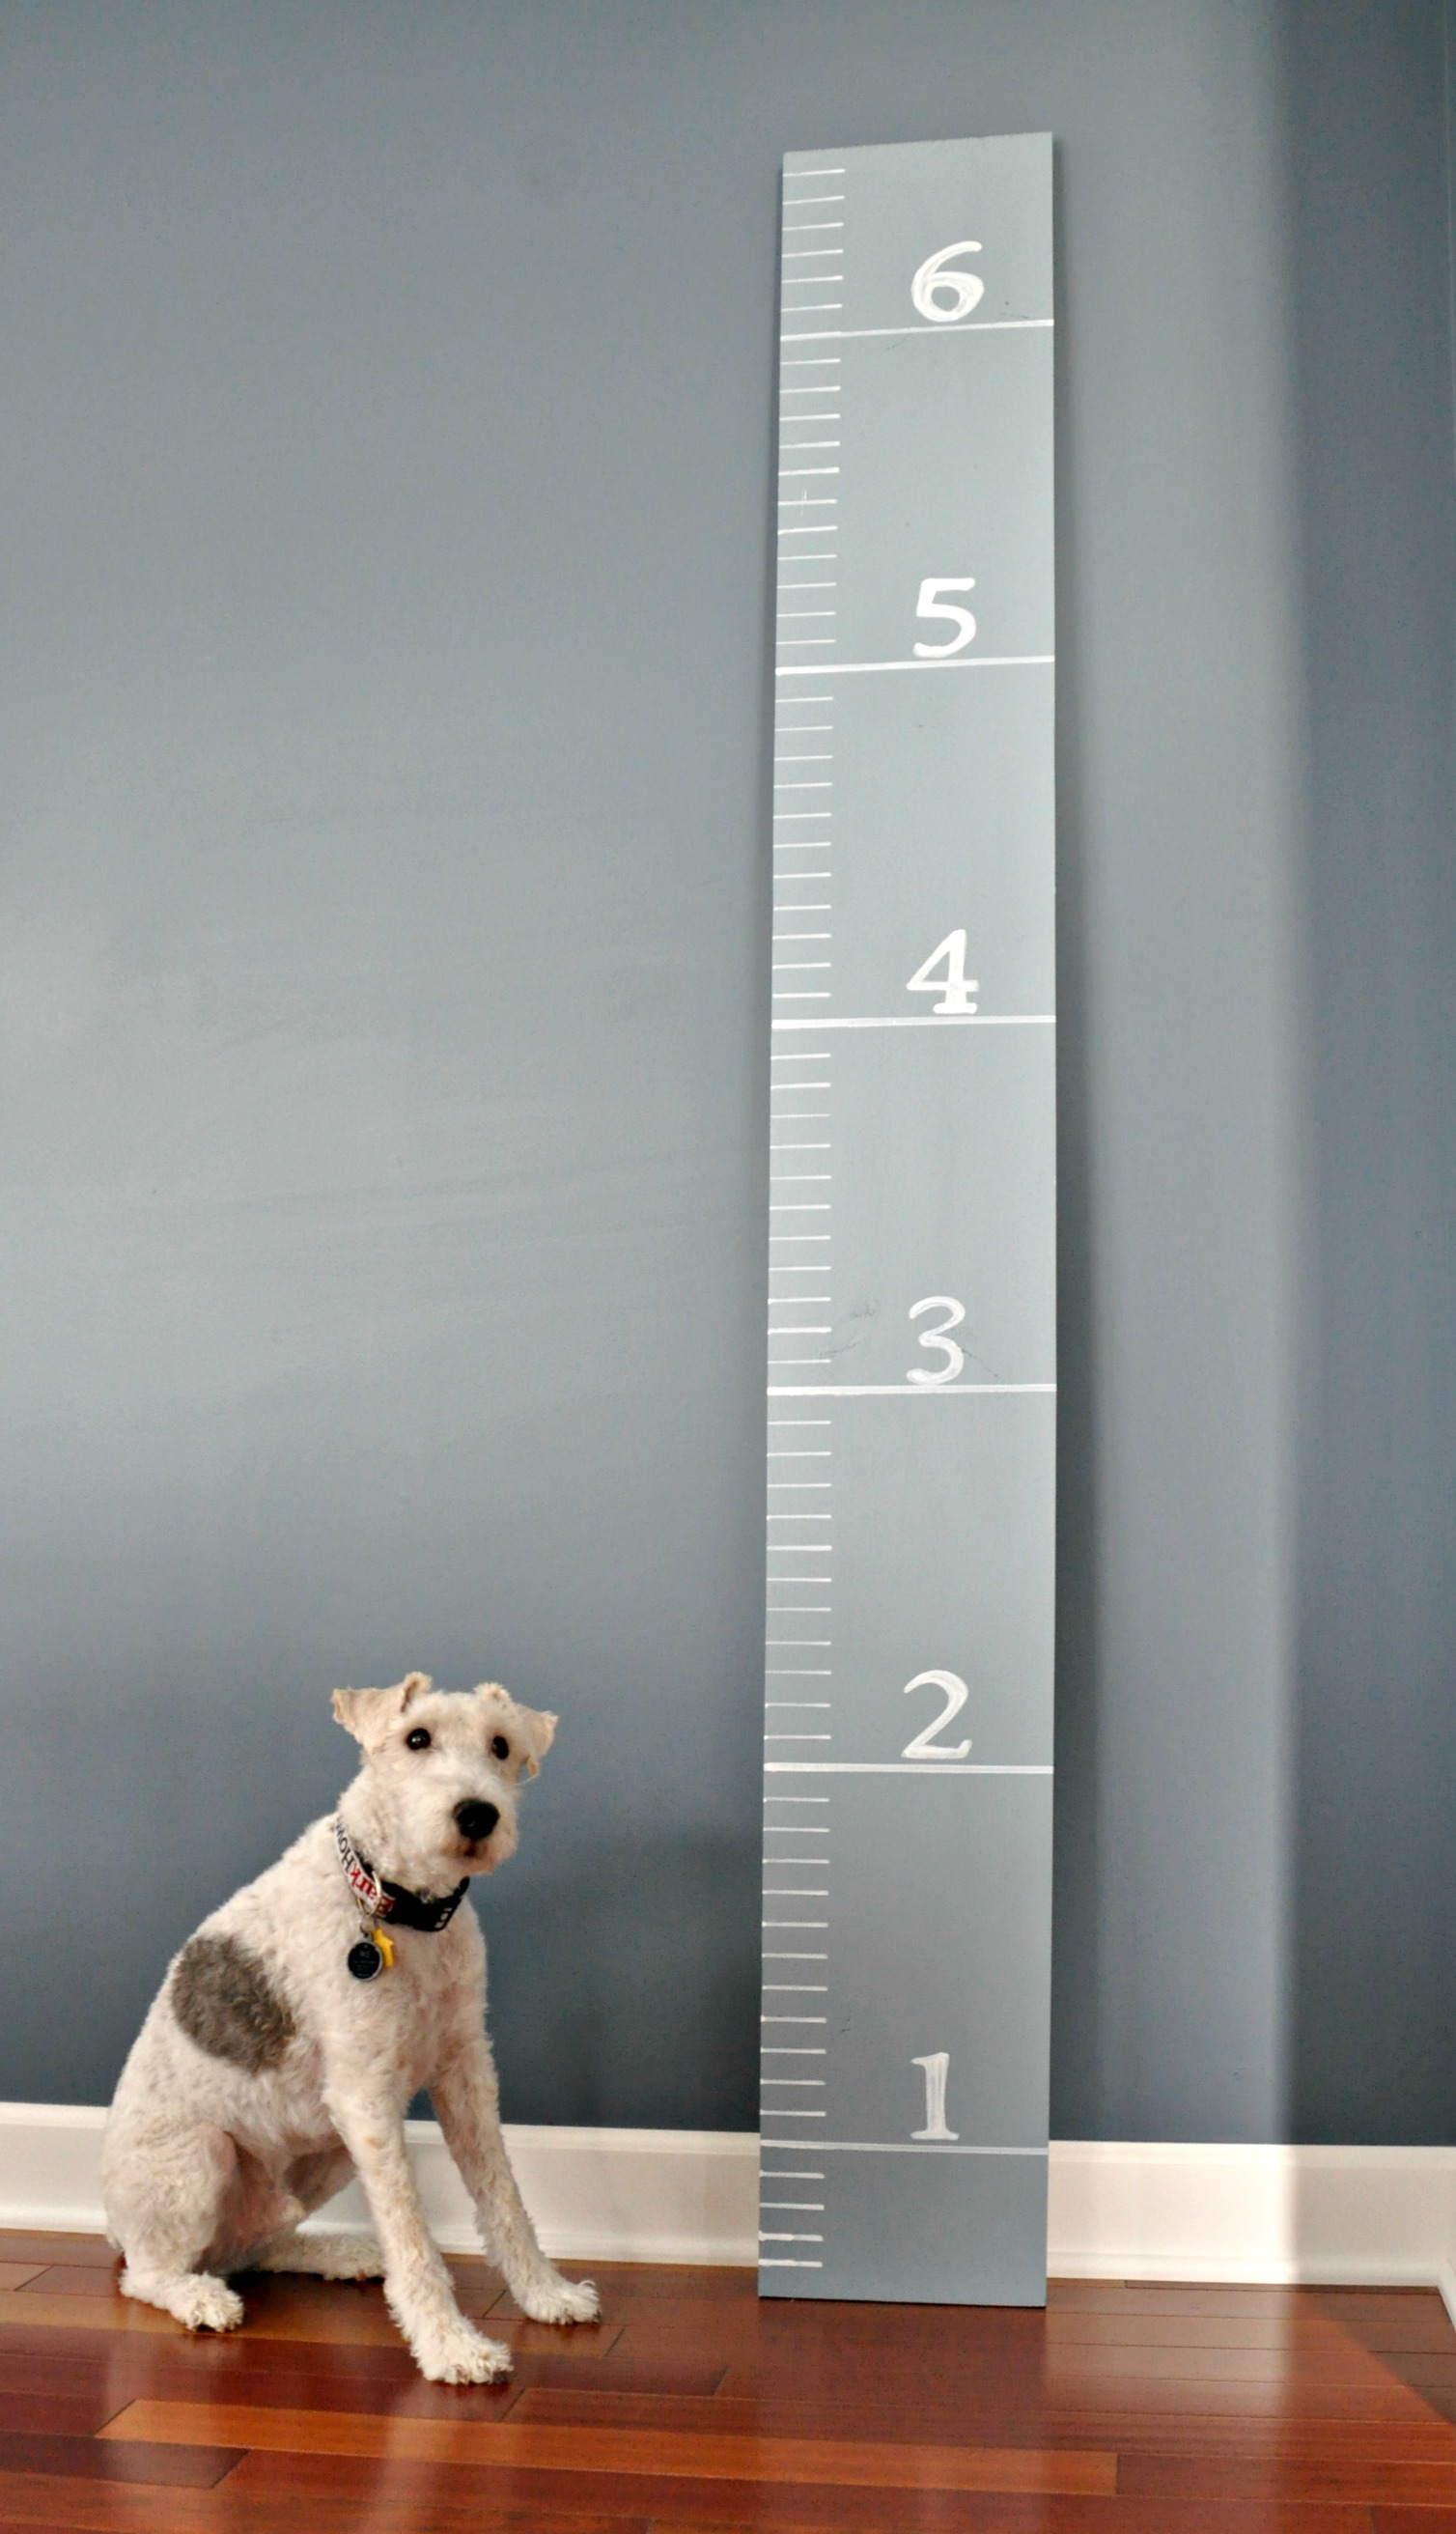
He's still not understanding.

How to Paint a Vintage Sign

They say imitation is the sincerest form of flattery.  

If that's the case, I hope that Cassie {Primitive and Proper} is flattered.  I have had my eye on her painted wood antiques sign for quite some time.  Something about it spoke to me.  I really wanted it for my dining room.  

My options were:

  • Borrow it from Cassie during the Winter while she is using her fireplace (she offered). 
  • Steal it (illegal).
  • Make my own (good choice).
Vintage Sign Tutorial {Decor and the Dog}

I had Nate cut some 1x6's to size.  (Our sign is 34" long x 40" wide.)  We then beat up the boards with a hammer and screw driver to give the painted sign a "vintage" look.

Nate then placed the boards on a flat surface using a nail to space them evenly. 

Vintage Sign Tutorial {Decor and the Dog}

He then cut two 1 x2's a little shorter (1/2 inch) than the length of the sign.   (33.5" in our case.)

Place the 1x2's about 6" from each edge and put a screw in each board.

Vintage Sign Tutorial {Decor and the Dog}

After the sign was assembled I gave it two quick coats of white paint.  I applied the paint thinly and didn't worry about even coverage or painting into grooves or holes.  Again, I wanted this to look old.

It was then time to add the lettering.  I started by designing my sign in Photoshop.  I wanted my sign to resemble something that would have been quickly hand painted and stuck outside a store back in the day.  A fancy font wouldn't have looked right.

Vintage Sign Tutorial {Decor and the Dog}

I placed my printed design on top of the wood.  I placed tracing paper under the sign.  I used a ball point pen to trace over my design.

Vintage Sign Tutorial {Decor and the Dog}

I then used some black paint and small paint brush to carefully fill in my tracings.  

Vintage Sign Tutorial {Decor and the Dog}

I was going to do two coats but I thought it would look more vintage if I did one coat and then a light sanding.

Vintage Sign Tutorial {Decor and the Dog}

After the painting and sanding, we hung it on the wall.

Vintage Sign Tutorial {Decor and the Dog}

I like how the vintage painted sign looks above our dining cart (tutorial coming soon).

Vintage Sign Tutorial {Decor and the Dog}
Antique Sign DIY Tutorial {Decor and the Dog}

It's always good when you can use your DIY skills to keep you from jail time, right?  

Cheeseburger Cups with Homemade Biscuits

Happy Friday!  It's been quite the week weather-wise here.  We started the week with -50 windchills.  Today it's supposed to rain.  Iowa is weird.

I'm blogging about the weather.  Oh, boy.  I have projects for next week.  Pinky swear.  And my Christmas tree might be down then.  Bonus.

Today I'd like to share with you an update to one of our  favorite quick and easy dinner recipes, Cheeseburger Cups.

Cheeseburger Cups {Decor and the Dog}

Nate and I have been trying to eliminate processed food from our diet. (We're not clean eaters.  We like flour.  We like ketchup.  We just want our food to no longer come in a box, bag or can.)  We've done fairly well over the past 4 months or so.  The problem is that like all good people from the Midwest, we like our comfort food.  We were missing our cheeseburger cups.  The problem with our old cheeseburger cups is that they are made with refrigerated biscuits.  Although delicious, the biscuits don't really fit well into our new eating plan.

The other night we decided to make them using our favorite baking powder biscuits.  (We also shred our own cheese now instead of buying the packaged stuff.)  Nate and I figured there was no way they would taste as good.  Turns out we both thought they were better.  Yay for real food.  

Enjoy this easy dinner idea!

Cheeseburger Cups with Homemade Biscuits {Decor and the Dog}

Be sure to check out our "cook it" page for more recipes!

Hope your weekend is fabulous!  We have plans to help a friend with her nursery and get our house in order. See you Monday!