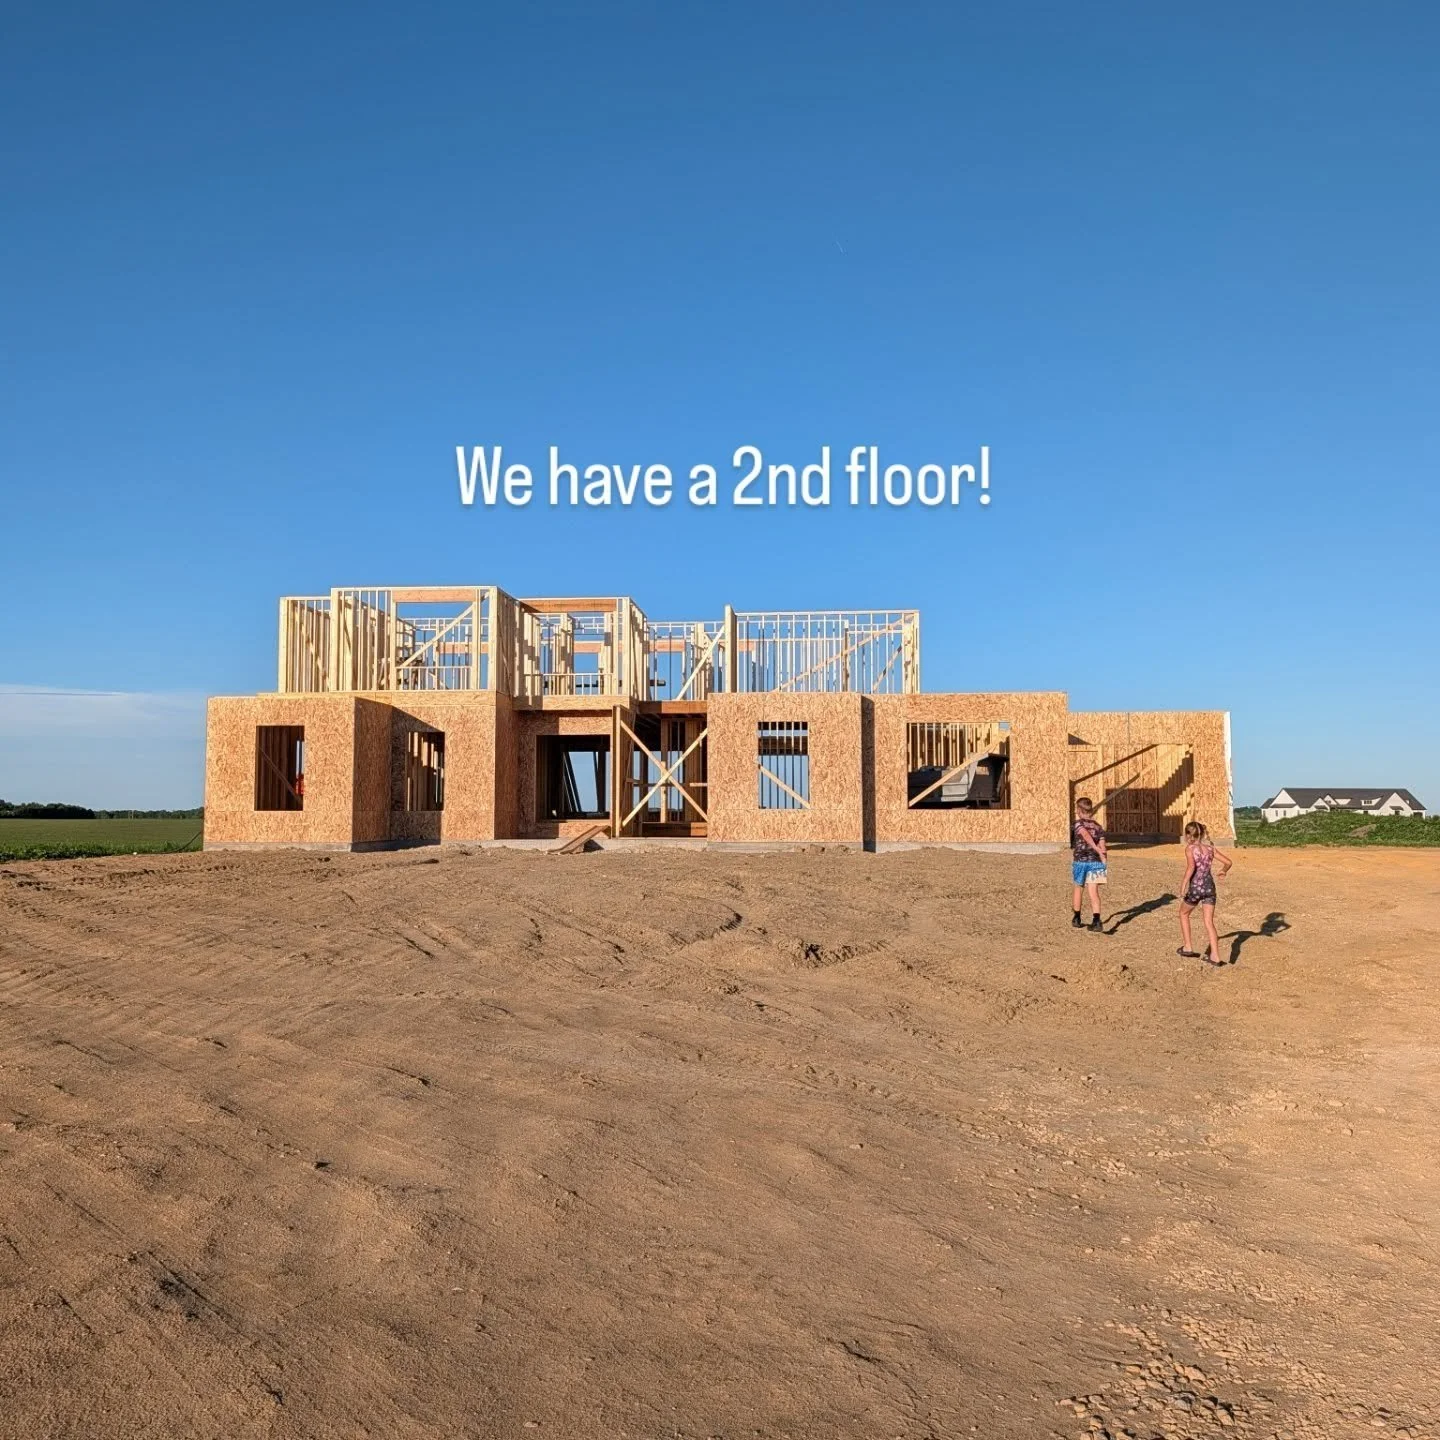
Crochet Bow Necklace | Tutorial

I have a new obsession.  Crochet.  All things crochet.  Crochet necklaces. Crochet baby hats. Crochet granny square blankets. I can't get enough crochet.

You may be asking "How old are you, Michelle?"  The answer is 87 trapped in an almost 32 year old body.

Before I go drink my prune juice, I'd like to share with you a tutorial for a crochet bow necklace.  I had seen a few on Etsy but couldn't find a tutorial that I liked.  The bows were either too flat or the steps looked way too long and drawn out for a silly necklace.  But I must have a bow necklace.  I mean, look how cute it is!

Crochet Bow Necklace Tutorial | Decor and the Dog

Please excuse the lack of face in these photos. I had a wicked sinus infection and no one needs to see what was happening above my chin.

Crochet Bow Necklace Tutorial | Decor and the Dog

I made two sizes.  I like them both but I'd choose the little yellow guy as my favorite if I had to.  I want to make an even tinier one but I need a smaller hook.

This is a fairly easy crochet project.  I have had people ask how I learned to crochet.  My grandma taught me how to knit and crochet when I was around 10.  I've mainly been a knitter since then but knitting takes so darn long.  I just never really caught on to crochet.   As I've aged, I've become increasingly impatient and I needed a quick yarn fix.  I started making a baby hat about a month ago and it just clicked.  As in, I get it. I get complicated patterns.  I'm not sure what happened but I like it.

If you want to learn (or re-learn in my case), I recommend the Learning Center at Lion Brand Yarn.  There are always Youtube tutorials.  My buddy, Rachel {Maybe Matilda}, has a great step-by-step guide for stitches.

For this "pattern", I realized that if I scrunched a basic tube in half I'd have a bow.  A bow that has some dimension to it.

Here's how to make your own!  You can do this.  Trust me.  I'm a doctor...of pharmacy.  

I'm going to write this in Michelle instead of normal crochet pattern.  Hopefully it will make it easier for beginners to understand.  And annoying for everyone else that crochets.

Crochet Bow Pattern

Size G hook

worsted weight yarn

Step 1: Little Bow: Cast on 20 stitches leaving a very long starting tail (~20 inches).

              Big Bow: Cast on 28 stitches leaving a very long starting tail (~20 inches).

Step 2: Join to first chain using a slip stitch to work in the round. Be careful to not twist your chain!

Step 3: Chain 2

Step 4: Double chain evenly around.  Join to first stitch using slip stitch.  Chain 2.

Step 5: Repeat step 4

Step 6: Repeat step 4

Step 7: Repeat step 4

Step 8: Fasten off leaving a very long tail (~20 inches).

Step 9: Wrap the two tails around the middle of the bow.

Step 10: Tie a knot to secure the ends.

Step 11: Thread chain onto necklace.

Step 12: Be proud of your new granny necklace!

Here's some visuals for you.
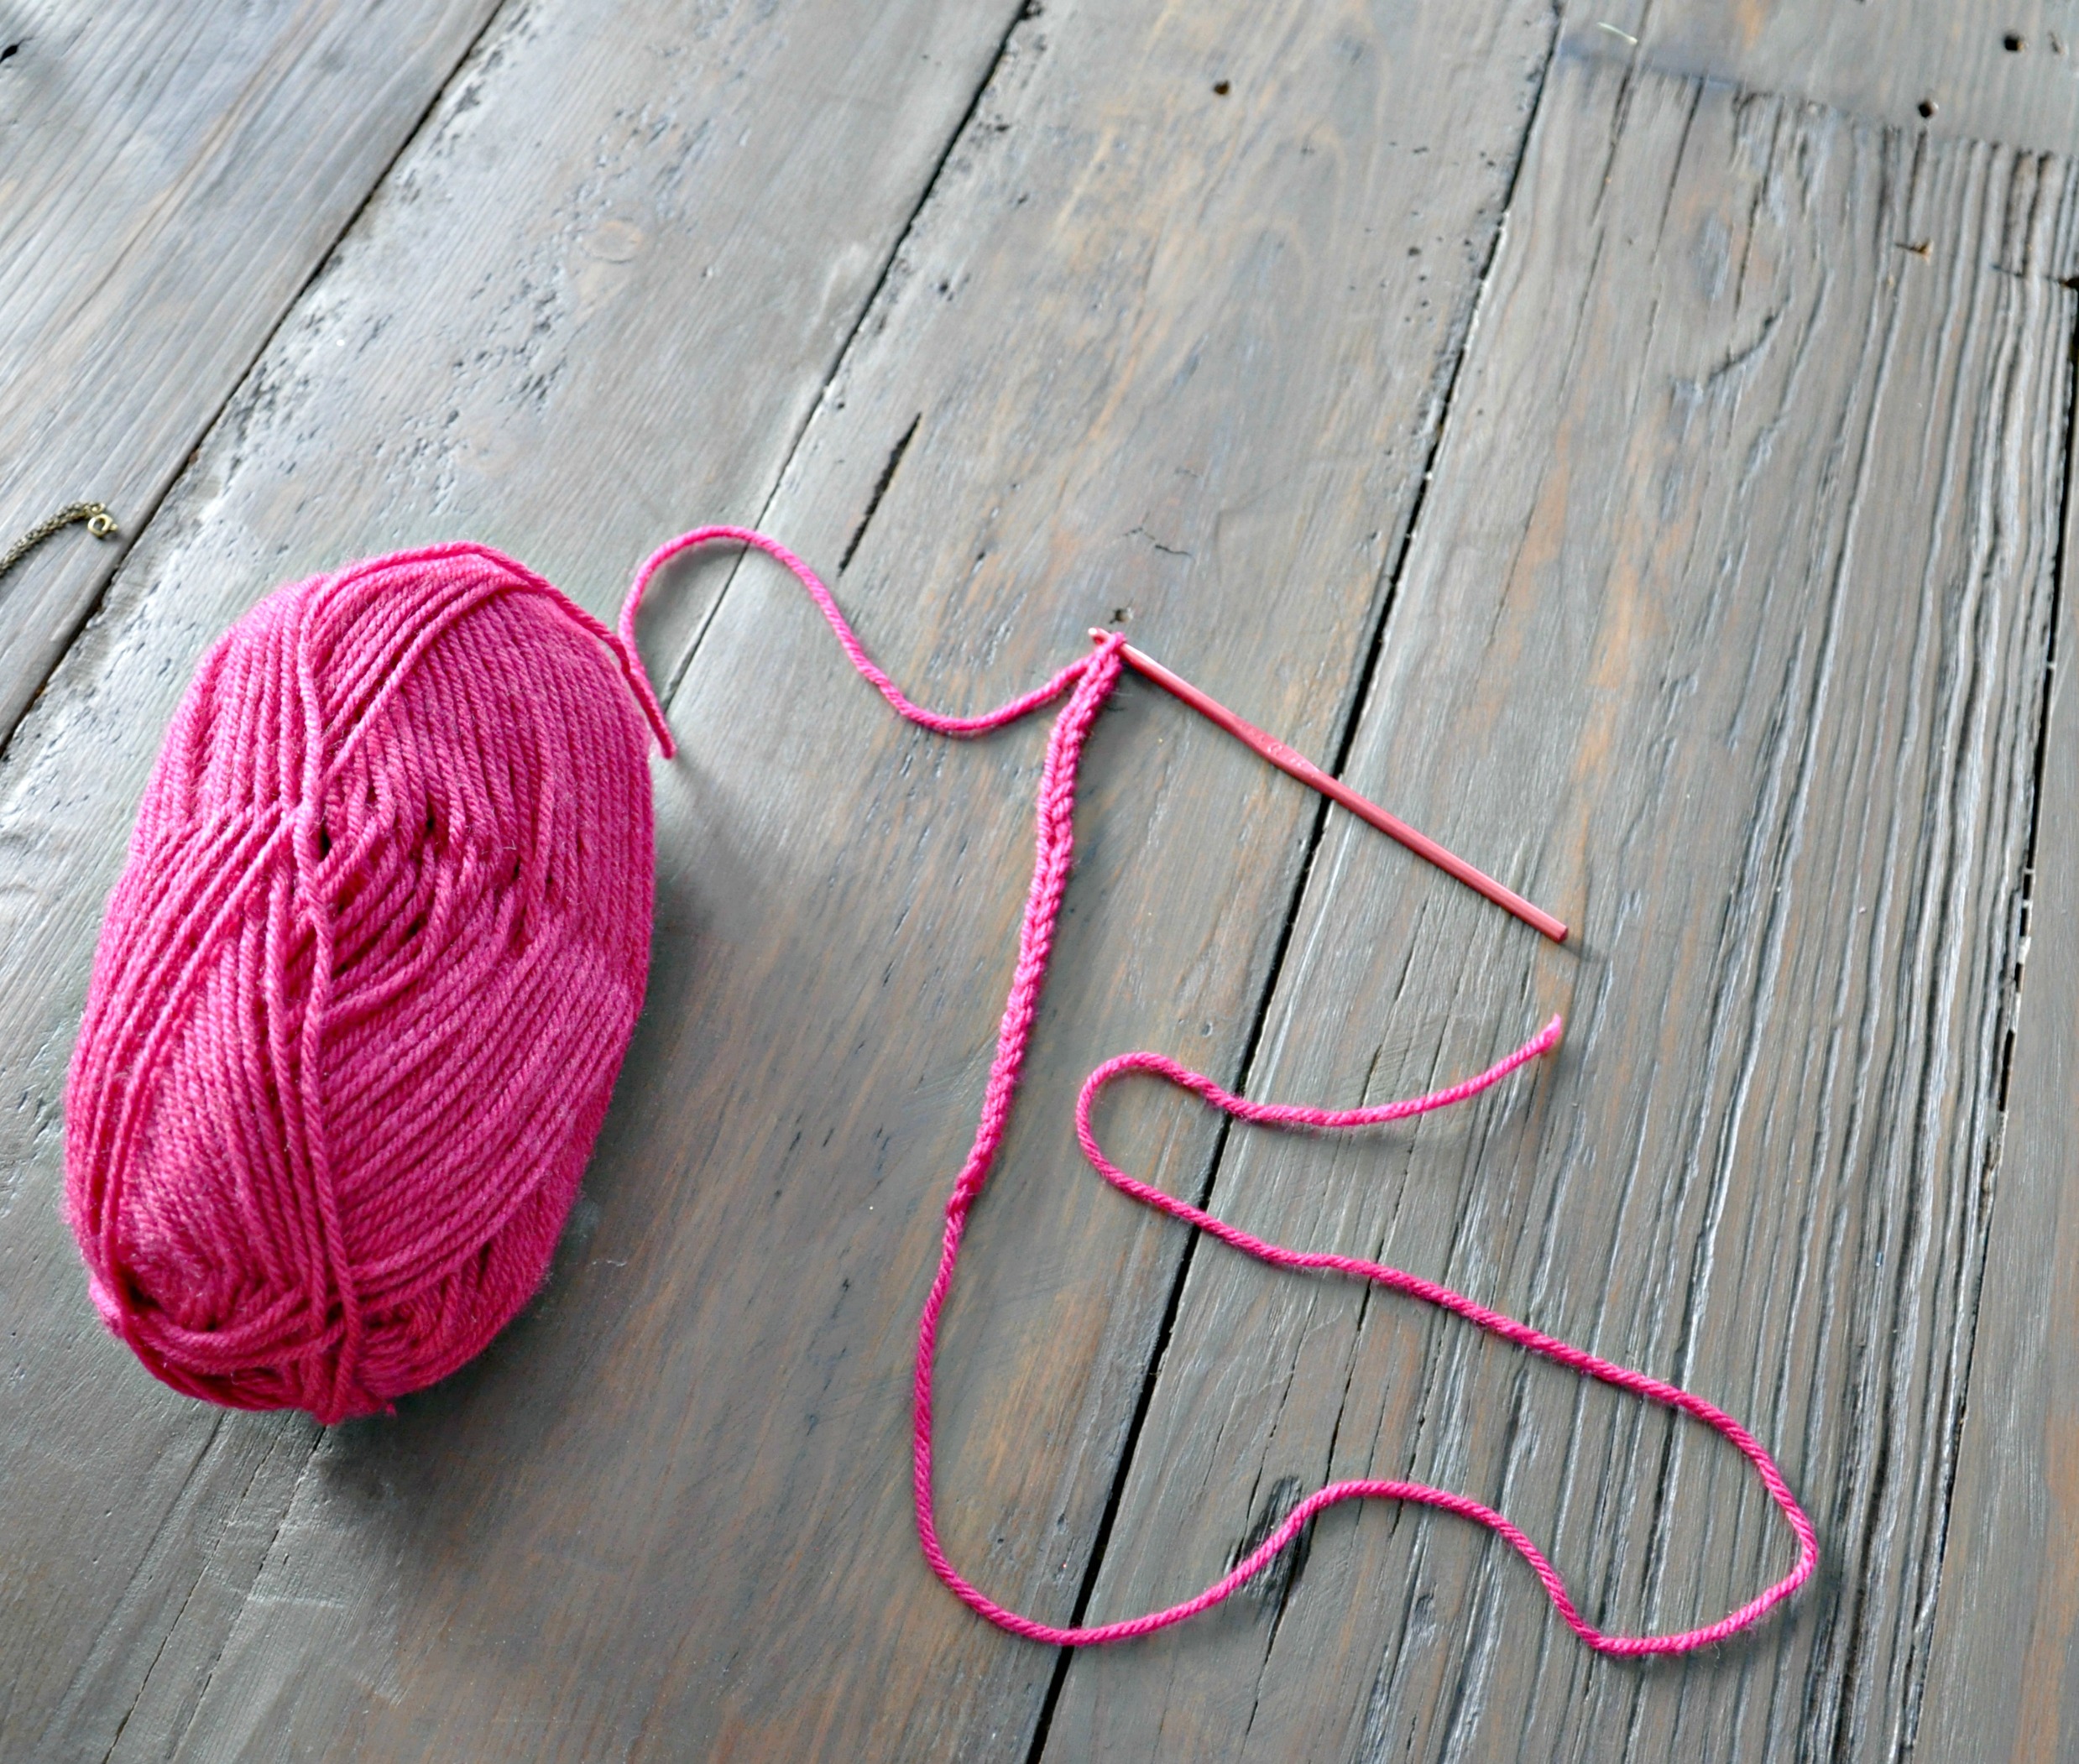
Step 1

Step 1

Step 2

Step 2

End of Step 4

End of Step 4

End of Step 7

End of Step 7

Step 8

Step 8

Step 9

Step 9

Step 10

Step 10

Step 11

Step 11

Step 12

Step 12

What's your favorite elderly pastime?

DIY Growth Chart Tutorial

Kids.  They grow up so fast.  You want to remember every stage.

That's why I made Ike a growth chart.

DIY Growth Chart Tutorial {Decor and the Dog}

Look how tall he's getting.

I kid. I kid.

I whipped up this ol' ruler growth chart for a friend that is expecting triplets any day.  (Yep.  You read that right.  Triplets.)

I'd previously seen these growth charts all over the interwebs.  Turns out they are super easy DIY.  Here's how I made my wooden growth chart!

I purchased a 6 foot 1x10 from Lowe's.  I sanded it down a little (probably should have done a little more. Slacker).  I then gave it two coats of Sherwin Williams Pool House beings it was free in my basement.

DIY Growth Chart Tutorial {Decor and the Dog}

I used a ruler and lightly made 1 inch marks along the side.

DIY Growth Chart Tutorial {Decor and the Dog}

I applied painter's tape 2 inches from the side to help keep my lines crisp.  I then used a Sharpie paint pen and my ruler to draw many tiny straight lines.

DIY Growth Chart Tutorial {Decor and the Dog}

At each 12" mark I made a larger line across the board.  Keep in mind how far off the ground you will be hanging your sign.  I started my sign about 4 inches before the 1 foot mark.  We then hung the sign accordingly.

DIY Growth Chart Tutorial {Decor and the Dog}

I printed off numbers 1 through 6. I then traced them onto my board. I usually use tracing paper but this wood was soft enough to just trace onto the board by pushing hard with a pen.

DIY Growth Chart Tutorial {Decor and the Dog}

I then filled in each with my Sharpie paint pen.  Seriously easy project.  I think it took me about 45 minutes to do all of the marking and painting.

DIY Growth Chart Tutorial {Decor and the Dog}

All that's left is to hang it.  Which I failed to get a picture of in the nursery.  Weak.

DIY Growth Chart Tutorial {Decor and the Dog}

I was too busy figuring out how to break the news to Ike that this isn't his growth chart.

DIY Growth Chart Tutorial {Decor and the Dog}

He's still not understanding.

How to Paint a Vintage Sign

They say imitation is the sincerest form of flattery.  

If that's the case, I hope that Cassie {Primitive and Proper} is flattered.  I have had my eye on her painted wood antiques sign for quite some time.  Something about it spoke to me.  I really wanted it for my dining room.  

My options were:

  • Borrow it from Cassie during the Winter while she is using her fireplace (she offered). 
  • Steal it (illegal).
  • Make my own (good choice).
Vintage Sign Tutorial {Decor and the Dog}

I had Nate cut some 1x6's to size.  (Our sign is 34" long x 40" wide.)  We then beat up the boards with a hammer and screw driver to give the painted sign a "vintage" look.

Nate then placed the boards on a flat surface using a nail to space them evenly. 

Vintage Sign Tutorial {Decor and the Dog}

He then cut two 1 x2's a little shorter (1/2 inch) than the length of the sign.   (33.5" in our case.)

Place the 1x2's about 6" from each edge and put a screw in each board.

Vintage Sign Tutorial {Decor and the Dog}

After the sign was assembled I gave it two quick coats of white paint.  I applied the paint thinly and didn't worry about even coverage or painting into grooves or holes.  Again, I wanted this to look old.

It was then time to add the lettering.  I started by designing my sign in Photoshop.  I wanted my sign to resemble something that would have been quickly hand painted and stuck outside a store back in the day.  A fancy font wouldn't have looked right.

Vintage Sign Tutorial {Decor and the Dog}

I placed my printed design on top of the wood.  I placed tracing paper under the sign.  I used a ball point pen to trace over my design.

Vintage Sign Tutorial {Decor and the Dog}

I then used some black paint and small paint brush to carefully fill in my tracings.  

Vintage Sign Tutorial {Decor and the Dog}

I was going to do two coats but I thought it would look more vintage if I did one coat and then a light sanding.

Vintage Sign Tutorial {Decor and the Dog}

After the painting and sanding, we hung it on the wall.

Vintage Sign Tutorial {Decor and the Dog}

I like how the vintage painted sign looks above our dining cart (tutorial coming soon).

Vintage Sign Tutorial {Decor and the Dog}
Antique Sign DIY Tutorial {Decor and the Dog}

It's always good when you can use your DIY skills to keep you from jail time, right?