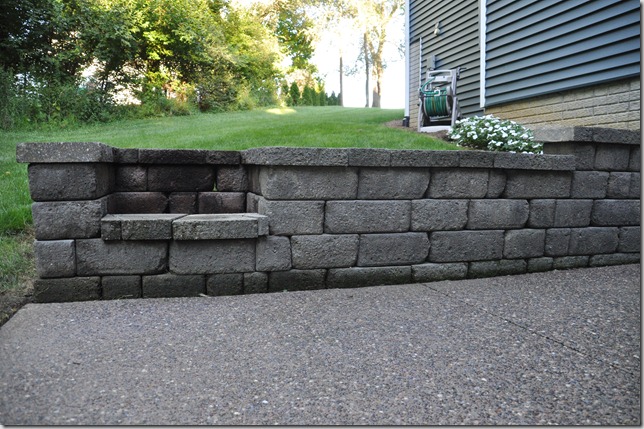
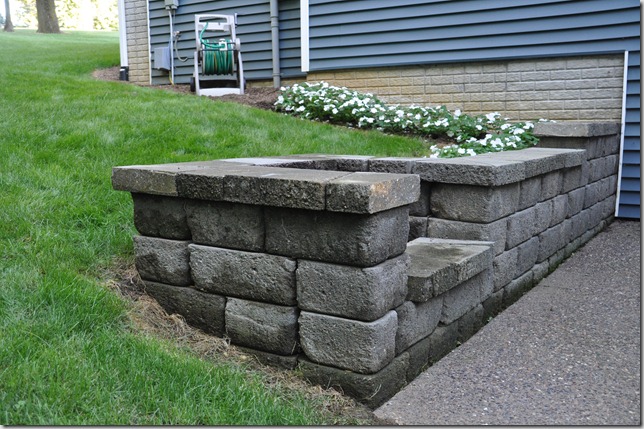
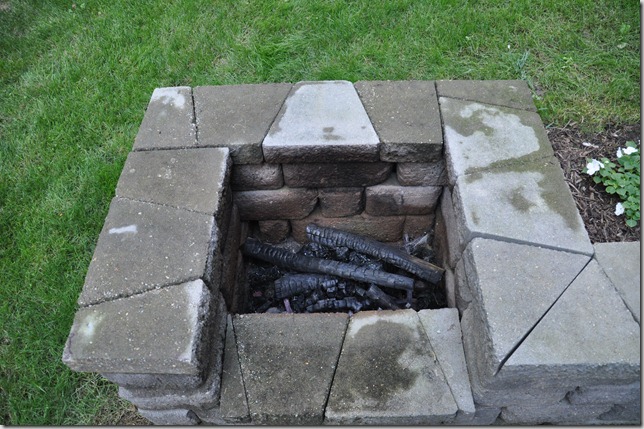
Fire Pit How-To-ish
/Last week you caught a glimpse of Nate’s parents’ fire pit…which made us realize we haven’t introduced our fire pit on the ol’ blog. We only use it two or three times a year. Mainly because Nate’s parents live a block away and we use theirs more often. And I don’t like bugs or smoke or more than one s’more. Nate, however, could win a s’more eating contest…
How do you make your very own fire pit?
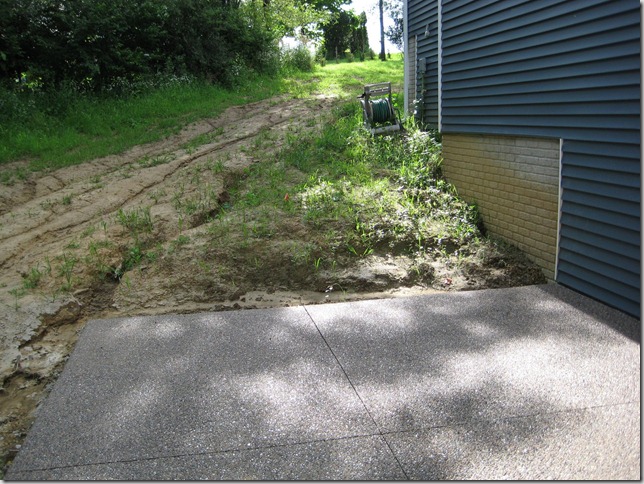
Step 1: Start with an ugly area like this and choose your retaining blocks of choice. (We choose King’s Material Keystone Country Manner retaining wall system in granite.)
Step 2: Level the ground where you want to start your fire pit/retaining wall combo.
Step 3: Put down dry bagged concrete or sand to make the ground stable. (We used bag concrete because sand doesn’t work well in Iowa due to our weather extremes.)
Step 4: Start at one end. Lay a retaining block on top of the dry concrete/sand. Level it out. Continue across until you finish the first row.
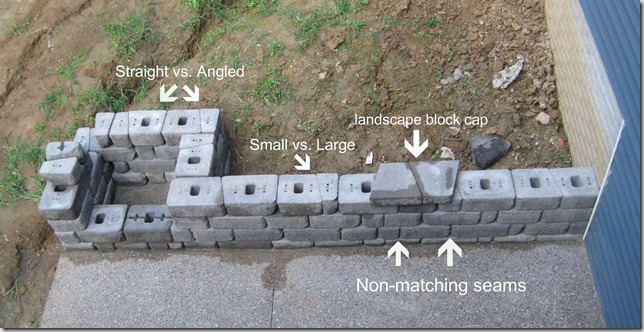
Step 5: Start row 2. We had three different brick sizes. We picked a brick that was different from the first row (straight line vs. angled) and (short brick vs. long brick) to start the row. Choosing a different brick helped to make sure the seams didn’t match because this would make the wall less sturdy. We glued each layer of blocks onto the other with landscape block adhesive to create a more solid base….so it could hold our bums…after a s’more eating contest.
Step 6: Continue this technique until you reach your desired height.
Step 7: Top with landscape block cap. (We used landscape block adhesive on this step also.)
Step 8: Enjoy your fire pit. Cook up some s’mores! And smell like smoke. And get eaten by bugs. I’m such a girl.
Nate tells me that building a fire pit isn’t hard. Just time consuming and labor intensive.
Do you enjoy fire pits? Have you attempted to build one? Are you a s’mores fan?

