Shopping at The Tile Shop

On Saturday, Nate and I headed to Des Moines to pick out some tile at The Tile Shop.

The Tile Shop Des Moines

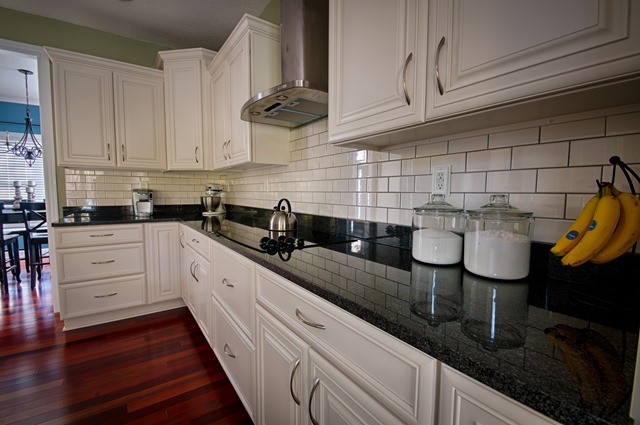
This is our second shopping experience at The Tile Shop.  Our first round of shopping was to pick out tile for our kitchen backsplash.  For the backsplash, we chose the Imperial Bone Gloss 3x6 subway tile. We had a tough time finding tile that would match our not quite white but not quite ivory cabinets.  The Tile Shop came to our rescue.

Subway Tile Backsplash Black Granite Imperial Bone Gloss

This trip was to pick out tile for our master bathroom.  We were super happy with the customer service/quality of tile/selection from our first round of tile shopping that we decided to make the 2 1/2 drive for our next project!

We had a good idea of the type of tile we wanted when we headed into the store but it never hurts to look.  I started by drooling over the display bathrooms in the store.
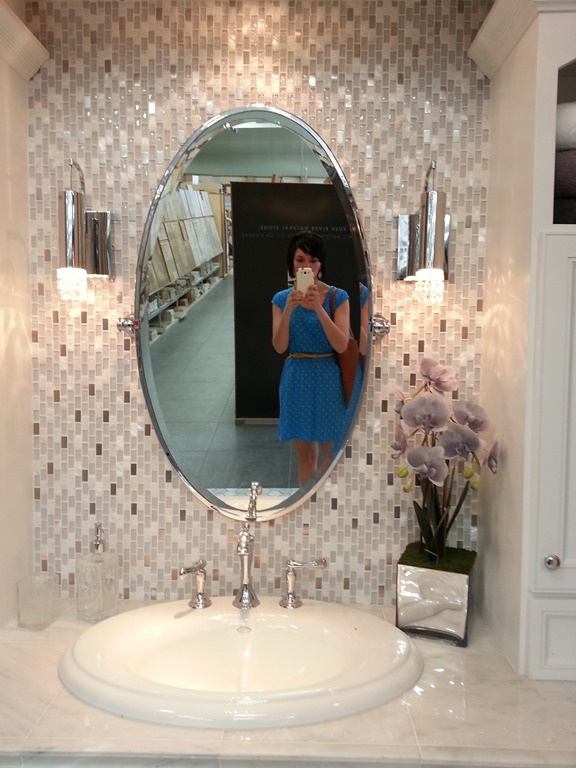
The Tile Shop Display Bathroom

The Tile Shop Display Bathroom
I loved both of these displays but Nate tried to get me to focus on our bathroom.  Always the voice of reason that husband of mine.
 
I then became obsessed with hex tile.  It’s just so quirky and pretty.  Nate had his work cut out for him.
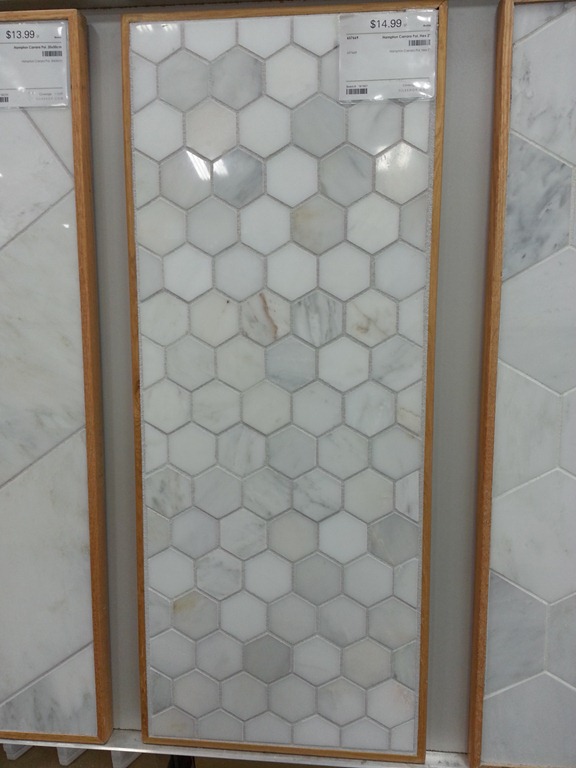
The Tile Shop Hex Tile

We decided that blogland was clouding my judgment.  That hex tile is b-e-a-utiful but doesn’t fit well with our home’s style.  It’s really easy to get sucked into the trends of blogland and not remember what you actually like versus what is popular amongst home decor bloggers.

We ultimately decided on a super brave and daring option.  The Imperial Blanco Gloss 2x12 subway tile.
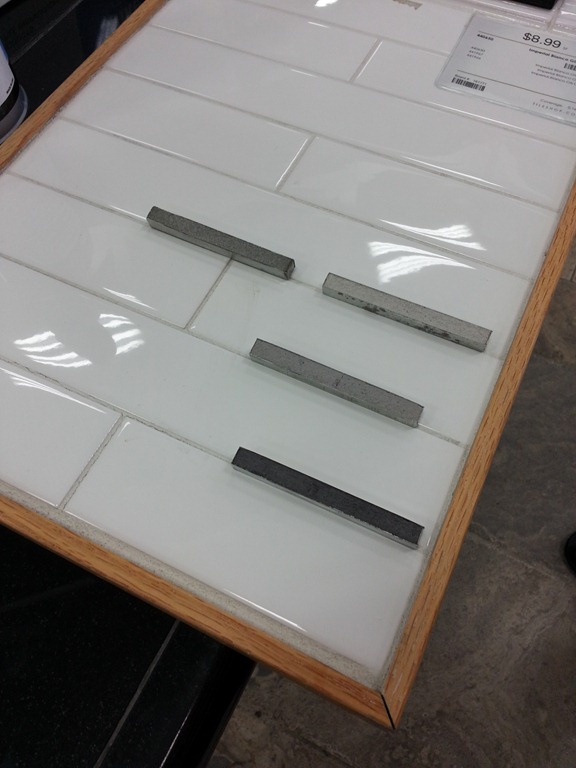
Imperial Blanco Gloss 2x12 Subway Tile

Subway tile is such a classic choice. We liked the 2x12 size.  The size was part of our daring side coming out. It’s totally not that traditional 3x6 stuff. Subway tile fits well with the modern/country/industrial hot mess vibe that we have going on in our home.  We chose the dark grout (charcoal) shown at the bottom.  We do have plans to do a little twist with this tile.  I just don’t want to fully commit on decision on the blog because we aren’t sure if it will work.  I told you we were brave and adventurous. 

The manager of the store was super helpful.  He was able to answer questions about what tools and supplies we would need to complete the project.  He pointed out tiles that may work well in our space. The only problem I had with The Tile Shop was that there were too many awesome types of tile to choose from.  I’m glad we went into the store with a good idea of what we wanted because I might still be there.  I wonder if those showers are functioning…

We can’t wait to get started. I need to get to picking out some new mirrors (And possibly lights, if I can convince Nate that they are a need and not a want.) during the long week-end. Sounds like a good way to spend the holiday week-end!

Are you a fan of The Tile Shop?  Are you a subway tile fan or do you prefer that hipster hex stuff?

This is not a sponsored post. The Tile Shop is providing me with free tiles and supplies. They aren’t requiring me to post about their awesomeness.  I’m just a really big fan!

Week-end Road Trip and Stuff

Happy Monday, Decor and the Dog readers!  I hope your week-end was a good one.

We were busy.  Shopping.  Birthday celebrating.  Sleeping.  Yard working.  Intense, I tell you.

On Saturday, Nate and I headed to Des Moines.  It’s about 2 1/2 hours from our house.  I really like Des Moines.  They have civilized stores like World Market, Trader Joes and The Tile Shop.

Our first stop in civilization was at The Tile Shop.  It’s a REALLY good thing I didn’t know about The Tile Shop when we were building.  Our lot would be a hole in the ground because I would still be trying to decide on tile.  So many beautiful tile options. We did pick out some tile for our master bathroom.  I’ll share more later this week. I’m pretty darn excited about it. Until then, drool over this beautiful display from the store.  Me likey.  It’s not exactly our style but I still likey.  A lotey.

20130518_111844

We made a quick stop at World Market. I was looking for a drink dispenser.  They were out-of-stock.  Lame.  I need to order it on-line.  We then headed to Smashburger for lunch.  Nate and I love a tasty burger.  During the week, we have been doing very well at eating things made only from scratch/not processed.  We’re not quite there on the week-end.  Mmm, burger grease.

20130518_125442

Our next stop was our darling niece’s 4th birthday party. 

767

We played outside, opened gifts and ate cake.  We also dissected Ariel’s brain.  (If you’re in the Des Moines area and looking for someone to bake you a tasty cake, I recommend my sister-in-law!)

590

While we were there, Nate built me a castle.

20130518_141144

Wait, that’s a lie.  We did, however, both shower on Saturday so that was totally worthy of a photograph.  And Nate wasn’t wearing a nerdy t-shirt.  Double win.

20130518_170755

Yesterday, Ike woke us up demanding belly rubs.  It’s a good thing he’s ridiculously cute. 

20130519_093127

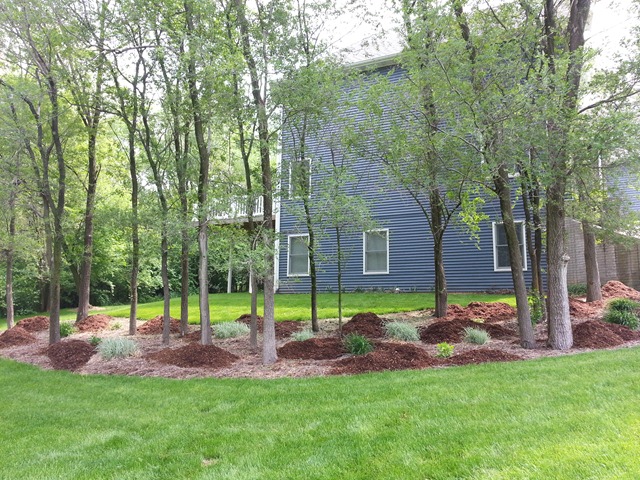
We spent most of yesterday dodging thunderstorms and trying to get fresh mulch put around the house.

20130519_113653

Yard work is no joke.  Plus we had a heat index of 86. I like how I was wearing a winter coat last week-end to finish up our vertical garden.  Yesterday I was covered in sweat. Good work, Iowa.  Keep up the warmth!

20130519_113559

I’ll share more about our yard progress later this week.  If I get my act together.  Yard work also bores me so I might skip it.  You just never know around here.

What was the best part of your week-end?

Planting and Caring for a Vertical Garden {Part 4: #DigIn}

This is a sponsored post written by me on behalf of The Home Depot.

On Monday, I shared with you our tutorial on how to build a vertical garden.

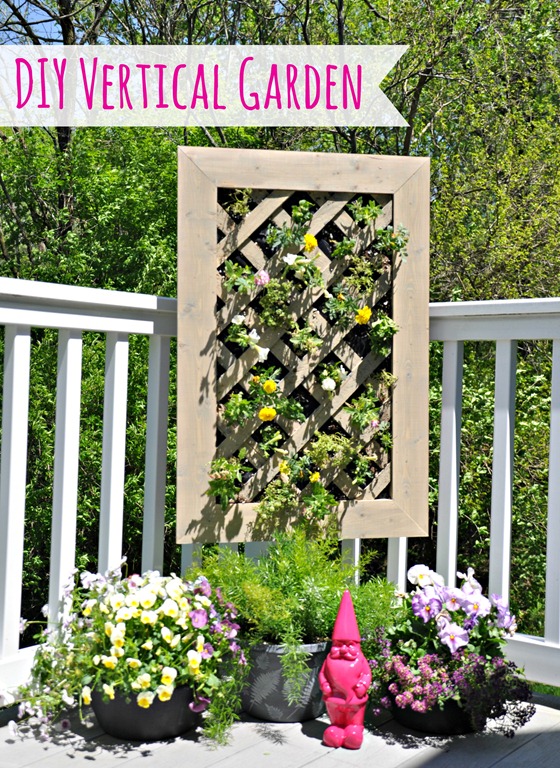
DIY Vertical Garden Tutorial #digin #heartoutdoors

In today’s post (the last post in the series), I will show you how to plant the flowers in your vertical garden and how to care for the garden after completing the build.

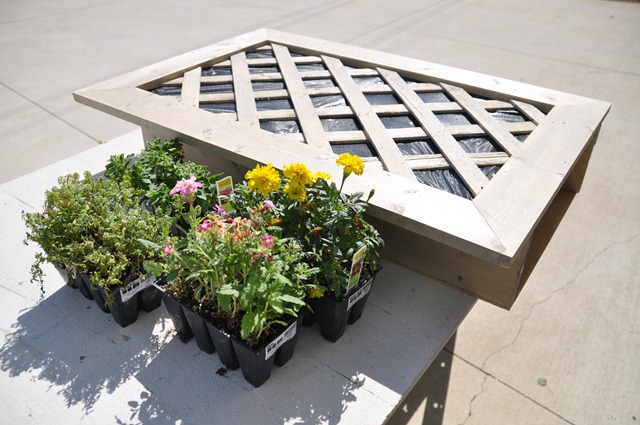
We left off with our completed box.  You will want to grab the flowers that you chose.  (Read our tips on choosing flowers for a vertical garden here.)

Flowers for a Vertical Garden #DigIn

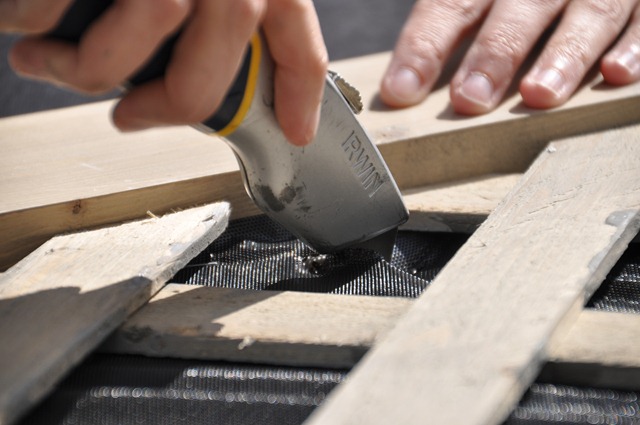
You will now need to cut a small “X” in the weed block with a utility knife or razor.  (Be careful, kids!)  You want the “X” to be big enough to allow the plant to fit through but not so large that the plant falls out.

Flowers for a Vertical Garden #DigIn

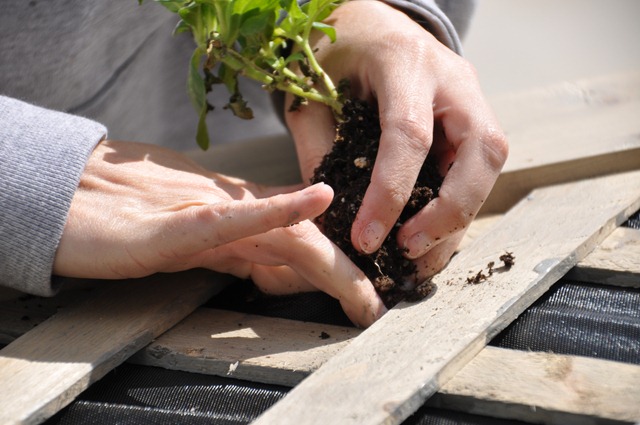
Move the dirt around a little to make room for your plant.  Grab your first plant and place it in the hole you just created.

Flowers for a Vertical Garden #DigIn

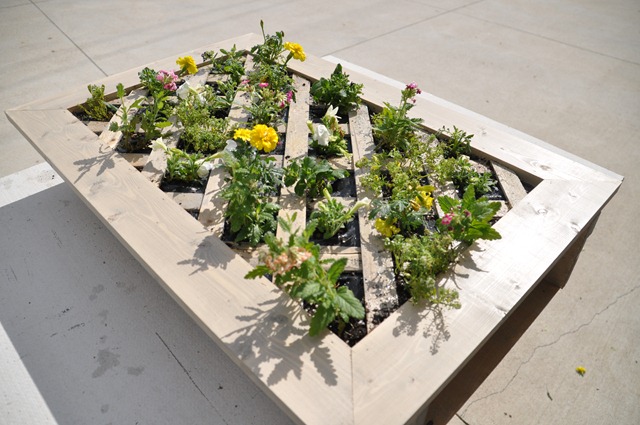
Be gentle with the plant.  Try to keep the roots intact.  The plant should fit snuggly in the vertical garden but it shouldn’t be super hard to push in.  I caught the hang of it after planting a couple of the flowers.  Continue to plant the flowers until your vertical garden bed is full.  I placed one to two plants in each section of lattice.  It’s a little bare now but should fill in nicely as we head into summer.

Flowers for a Vertical Garden #DigIn

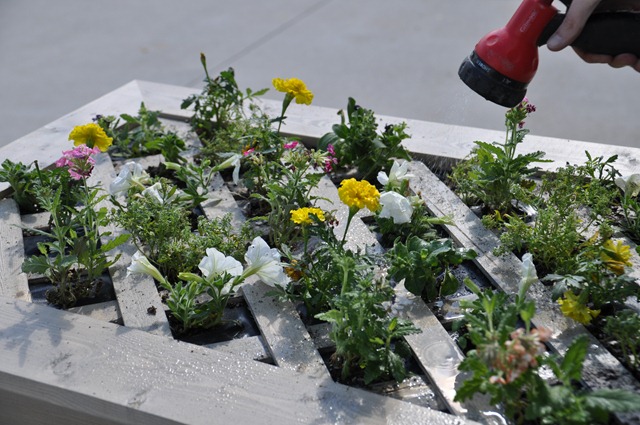
Once the flowers were planted, I gave them a big ol’ drink of H2O.

Flowers for a Vertical Garden #DigIn

Nate and I were both pleased at how well the Behr Weather Proofing Stain repelled the water.  (As you can see in the photo above.)  Long live the vertical garden!

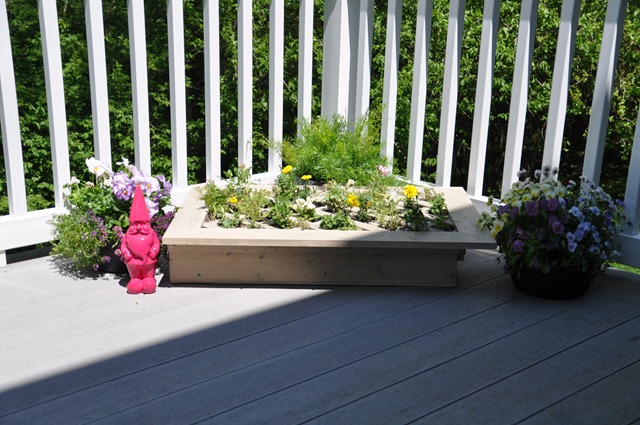
Now comes the hard part.  You need to keep your vertical garden horizontal for about 3 weeks.  Why?  You need to allow the soil to settle and to allow the roots to take hold.

Flowers for a Vertical Garden #DigIn

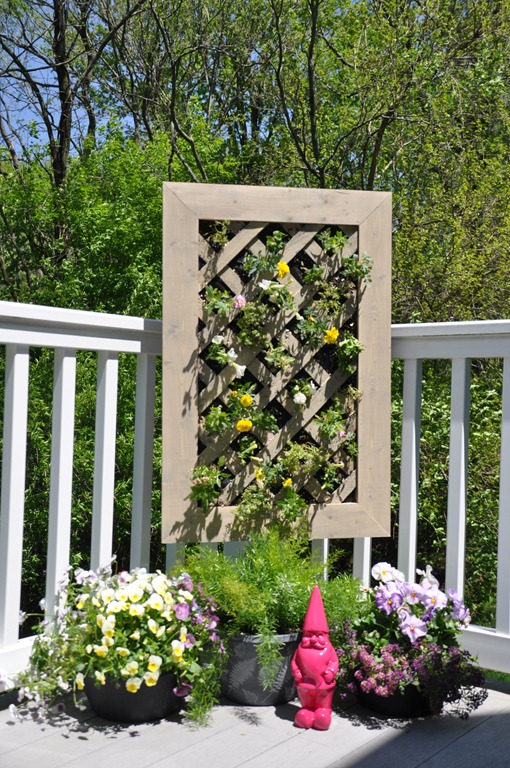
Unless you are an impatient blogger on a deadline.  A blogger who thinks it is lame to post a vertical garden horizontally for reveal photos.  We attached some ladder hooks to the back of the garden bed with screws and hung the garden on the deck for a quick photo op.

Flowers for a Vertical Garden #DigIn

The flowers were beginning to get a bit droopy by the end of our 5 minute shoot.  We quickly returned the bed to the horizontal position where it will stay for the next couple of weeks.  We will water the bed as needed and apply fertilizer every month or two.  We should be able to use the bed again next year.  We will just need to apply new weed block and soil to ensure the growth of healthy plants.

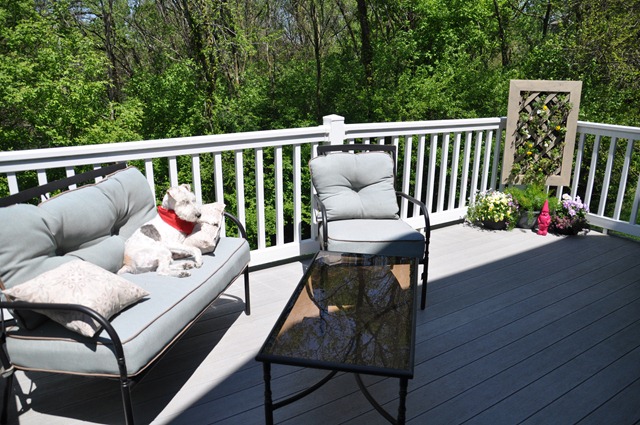
This impatient blogger can’t wait to get the vertical garden hung back up and for the flowers to fill in.  Ike, on the other hand, is more concerned about sunbathing.

Flowers for a Vertical Garden #DigIn

This vertical garden project has inspired me to tackle a Flower Tower, another #DigIn project from the Home Depot Garden Club.  And that project totally isn’t sponsored.  I’m just pumped to tackle it.

Part 1: 

Vertical Garden Inspiration

Part 2: 

Choosing Flowers for Your Vertical Garden

Part 3:

How to Build a Vertical Garden (A Tutorial)

Part 4:

Planting and Caring for Your Vertical Garden

Who’s ready to tackle a vertical garden of their own?  What outdoor projects are you tackling this week-end?