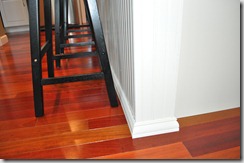
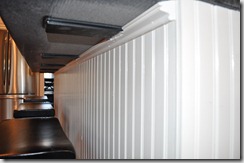
If you’ve been wondering how I did this....
….you are in
luck today!
(That’s my nod to St. Patrick’s day….weak…).
On a side note….Nate refuses to wear green today. Mainly because he knows it irritates me. We go through this every St. Patrick's day...husbands.
Maybe I’ll change the font to green to honor the occasion….
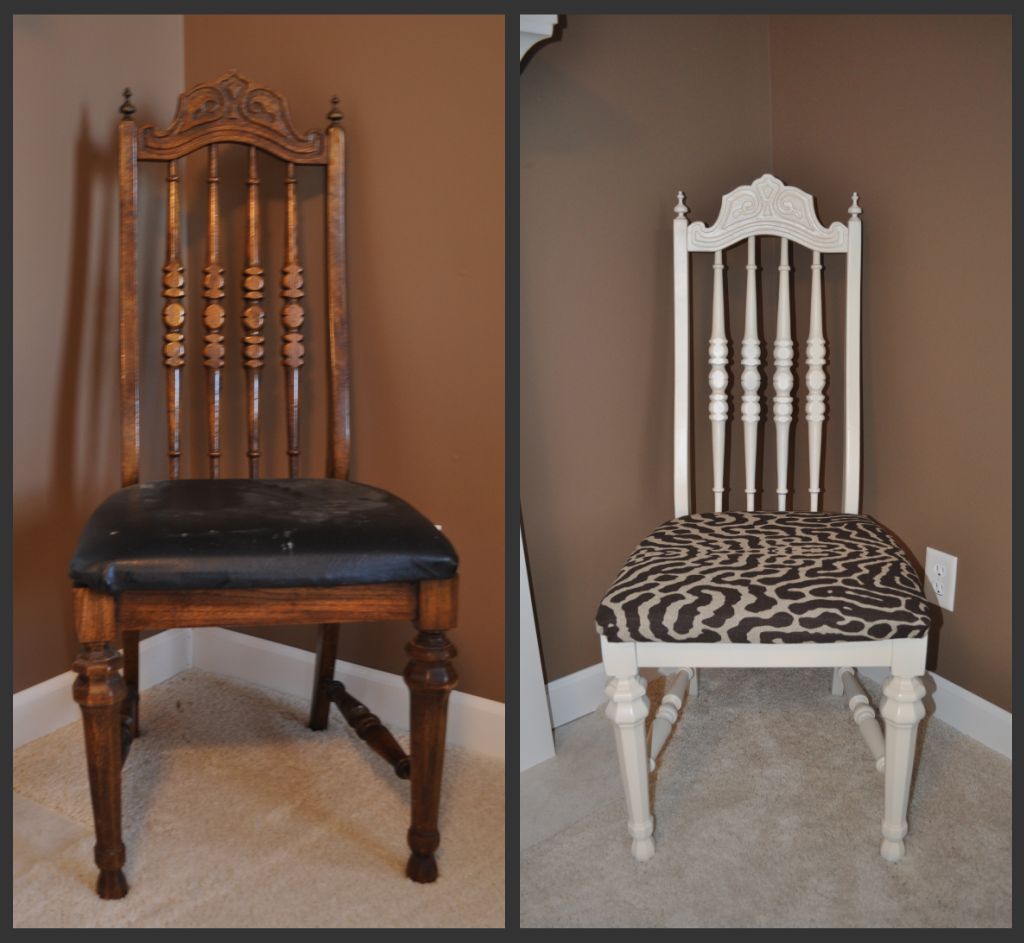
Here we go with the chair make-over....
Step 1: Flip the chair over and unscrew the seat cushion…I forgot to take a picture of this during the before….baby blog steps…
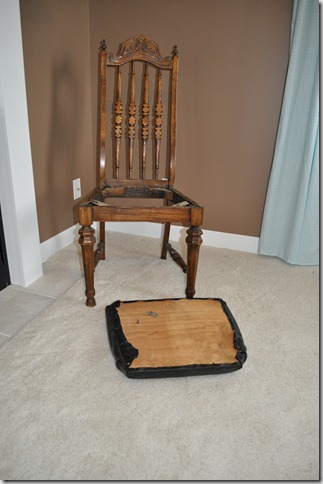
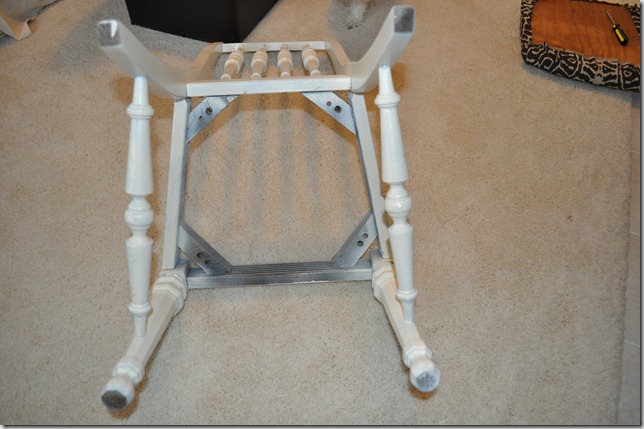 You now have 2 pieces..the chair and cushion…
 Step 2: Remove the lovely fabric from cushion. This involves removing/loosening 100 staples or tiny upholstery nails.
I usually don’t bring these nasty chairs into my house until I’m done with them because I don’t know what is living in them…
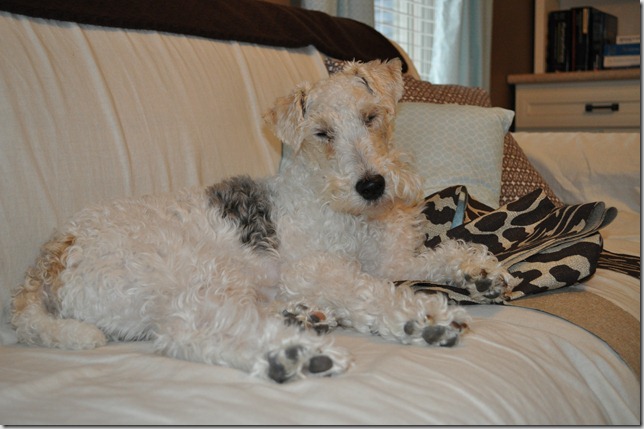
but I was living on the edge with this one…I figured vinyl was safe….and I had an investigator checking for any problems...
Step 2: Remove the lovely fabric from cushion. This involves removing/loosening 100 staples or tiny upholstery nails.
I usually don’t bring these nasty chairs into my house until I’m done with them because I don’t know what is living in them…
but I was living on the edge with this one…I figured vinyl was safe….and I had an investigator checking for any problems...
 Step 3: Use the nasty old fabric as a template for your new cover. Cut fabric.
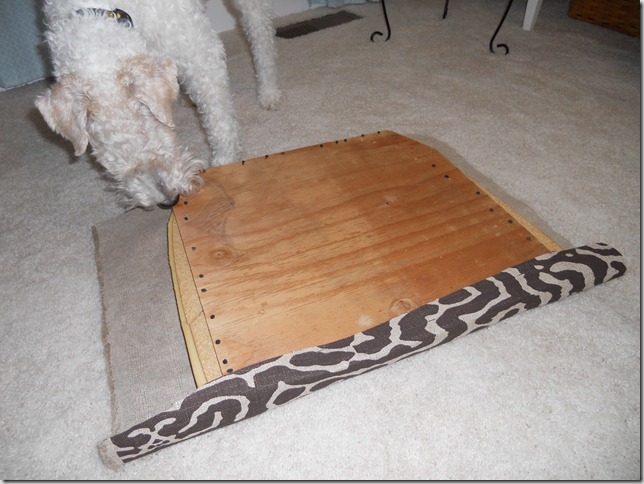
Step 4: Staple new fabric onto cushion. Try not to staple the dog...
Step 3: Use the nasty old fabric as a template for your new cover. Cut fabric.
Step 4: Staple new fabric onto cushion. Try not to staple the dog...
 Step 5: Clean, sand, prime, and paint the chair. (Read more detailed instructions here.)
I spray painted this chair because it had a lot of nooks and crannies. This was the first furniture piece that I used spray paint on.
After sanding, I started with the first coat of Kilz primer.
I'm not sure if I didn't sand enough or if I was too impatient with the primer but it ran...A LOT. I let it dry, sanded down the drips, and started over.
I learned that it’s important to do a nice, thin, even coat…then check a few blogs, do some laundry, take a nap, and then do another nice, even coat…or two.
Patience is a virtue...one that I do not possess. So this was hard.
Spray painting is nice though because each step is quick. I have the attention span of a gerbil so this project ended up being perfect for me.
After the primer, I did 2 coats of spray paint and let the chair dry.
Step 5: Clean, sand, prime, and paint the chair. (Read more detailed instructions here.)
I spray painted this chair because it had a lot of nooks and crannies. This was the first furniture piece that I used spray paint on.
After sanding, I started with the first coat of Kilz primer.
I'm not sure if I didn't sand enough or if I was too impatient with the primer but it ran...A LOT. I let it dry, sanded down the drips, and started over.
I learned that it’s important to do a nice, thin, even coat…then check a few blogs, do some laundry, take a nap, and then do another nice, even coat…or two.
Patience is a virtue...one that I do not possess. So this was hard.
Spray painting is nice though because each step is quick. I have the attention span of a gerbil so this project ended up being perfect for me.
After the primer, I did 2 coats of spray paint and let the chair dry.
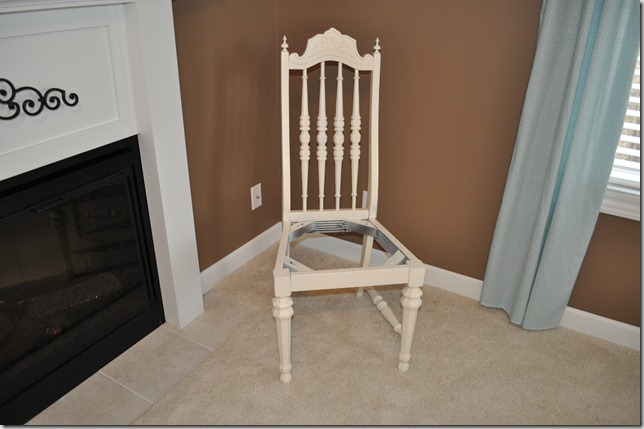 Step 6: Screw the cushion back onto the chair and you’re done.
I told you it was easy.
Any questions???
More importantly, do you have a significant other/family member/friend who is also a fun hater on this day of green?
Step 6: Screw the cushion back onto the chair and you’re done.
I told you it was easy.
Any questions???
More importantly, do you have a significant other/family member/friend who is also a fun hater on this day of green?