Make Your Own Stamp {DIY Tutorial}
/
Last Wednesday night was craft night. I posted this photo on Instagram and had a few requests for a tutorial on how to make your own rubber stamp.
I have so many favorites regarding craft night but trying crafts I would never try on my own definitely tops the favorite list. Amanda was the host of last week's craft night. She is a stamp making pro. I mean, her Christmas card was made from her handmade stamp. (I wish I had a photo. Trust me. It was awesome.) We decided to do a craft repeat and make more stamps.
Stamp making is easy and doesn't require a ton of supplies. It's also fairly cheap. Here are the supplies you'll need:
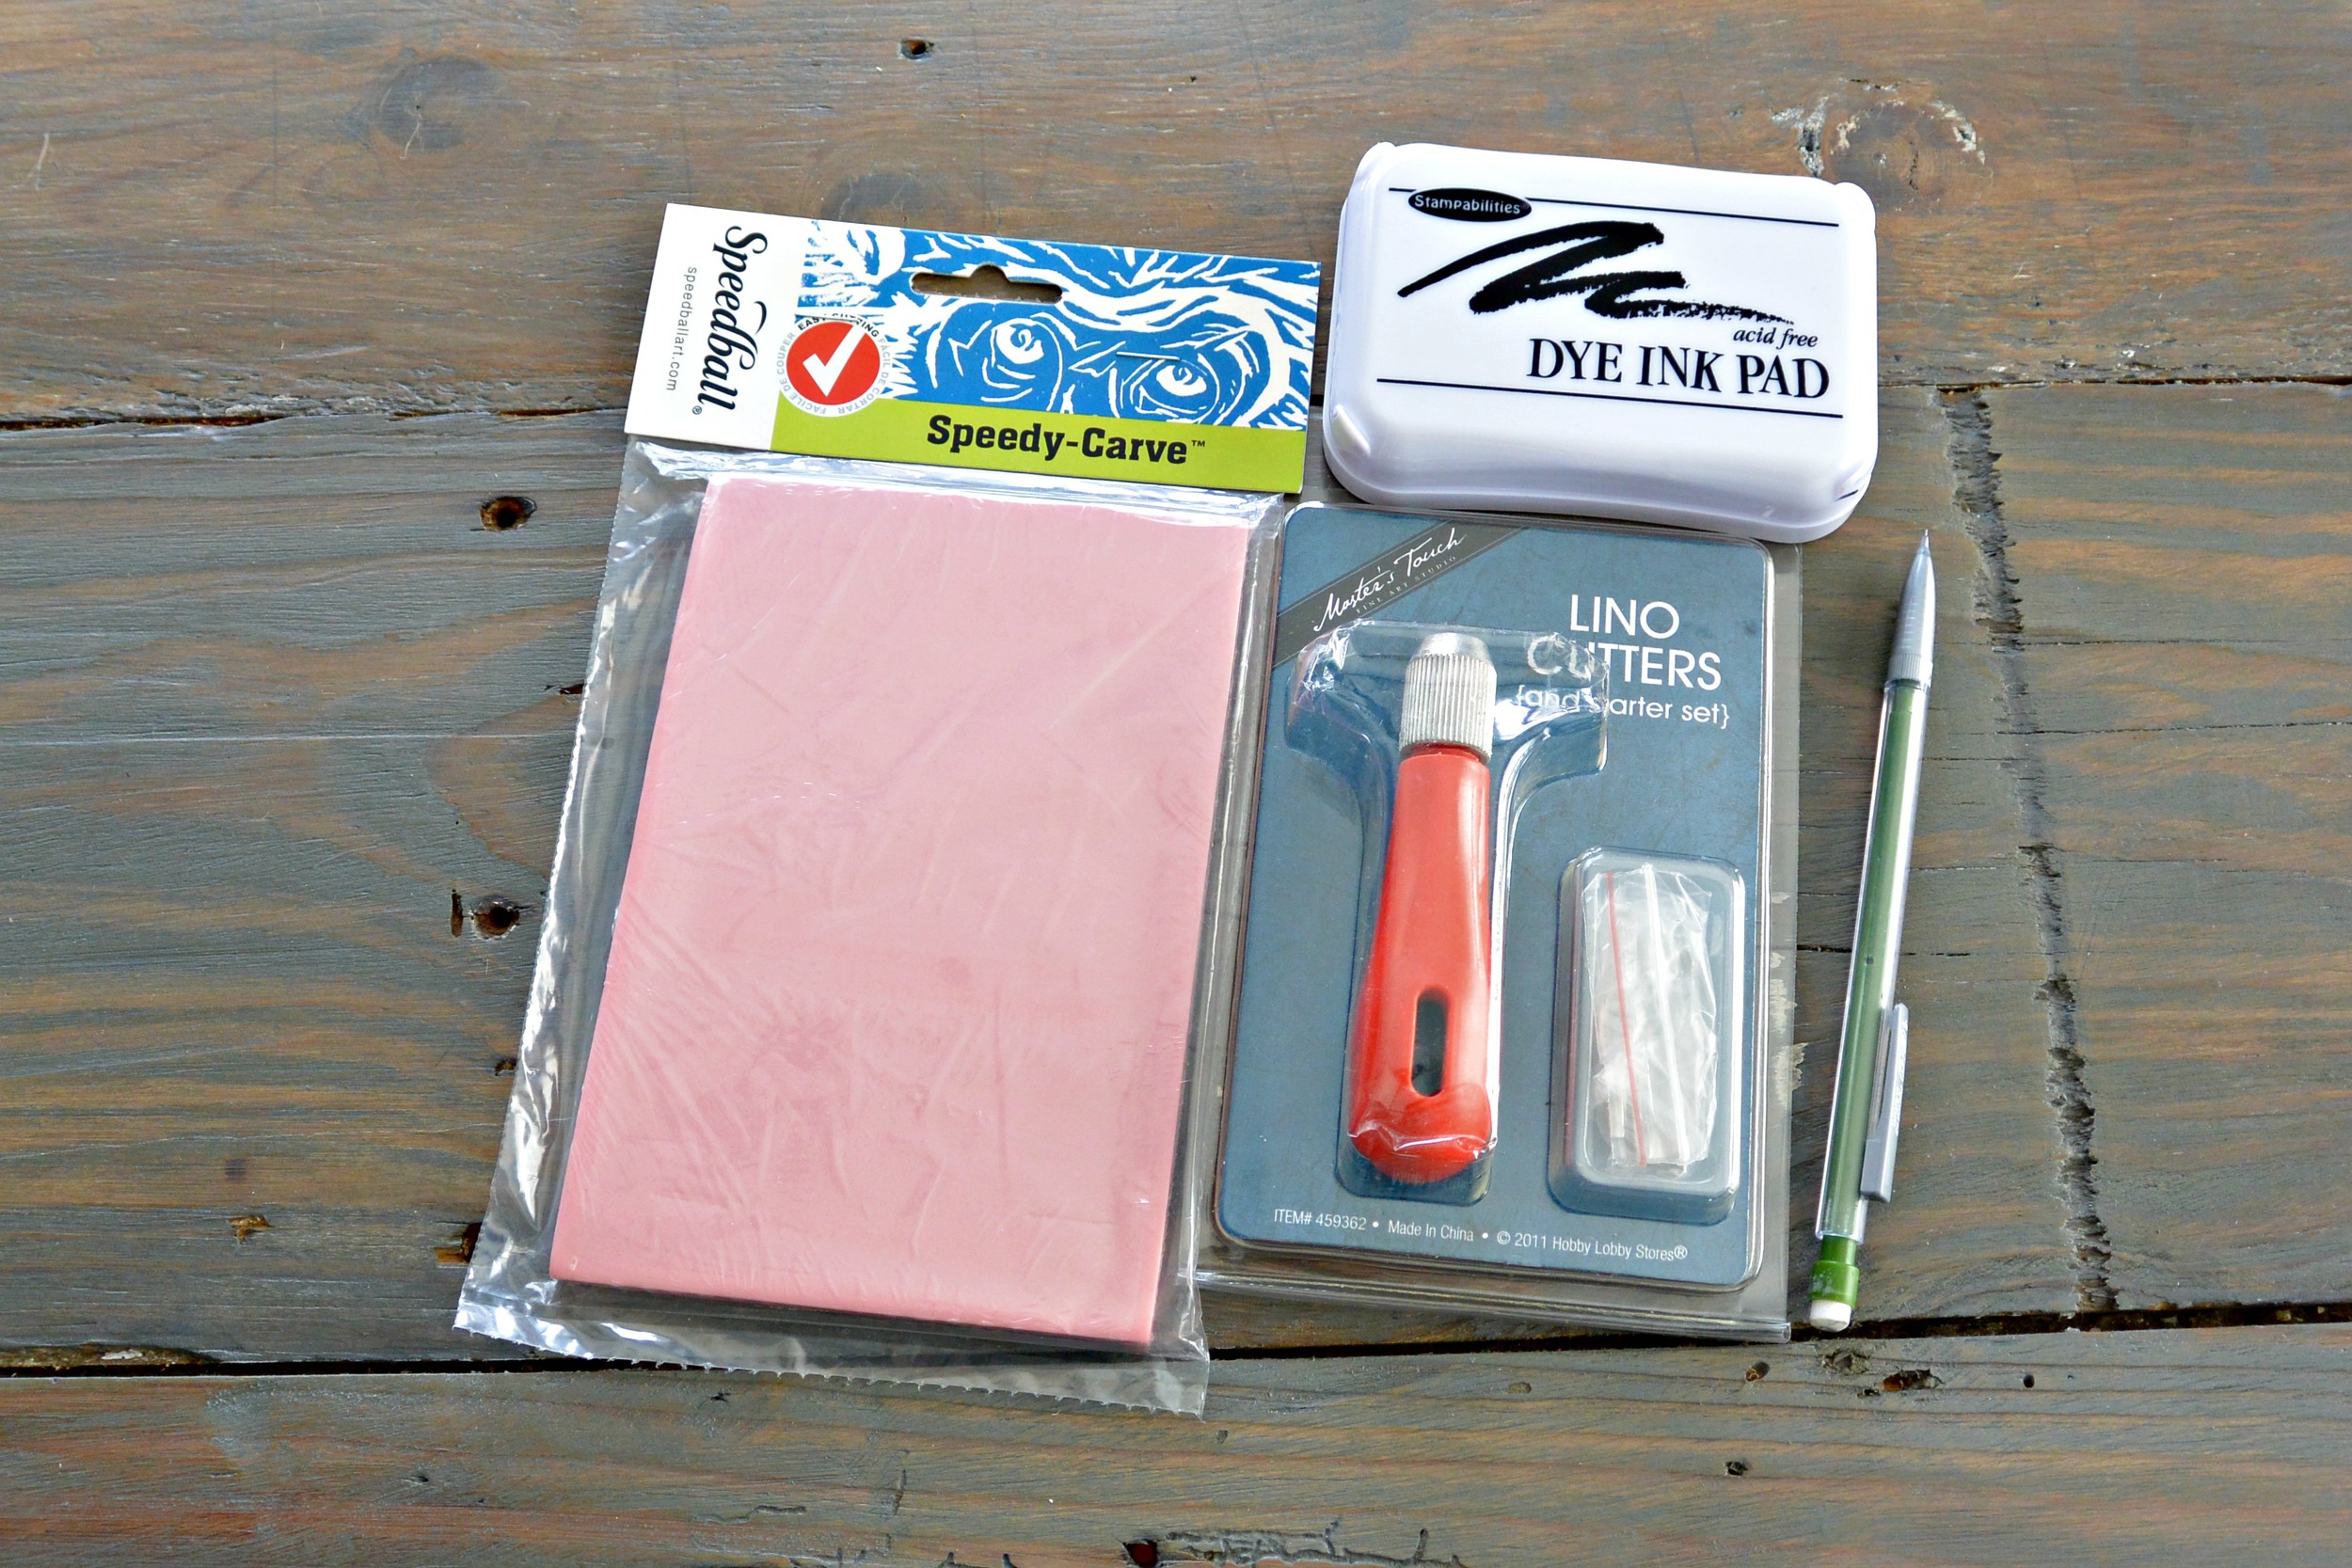
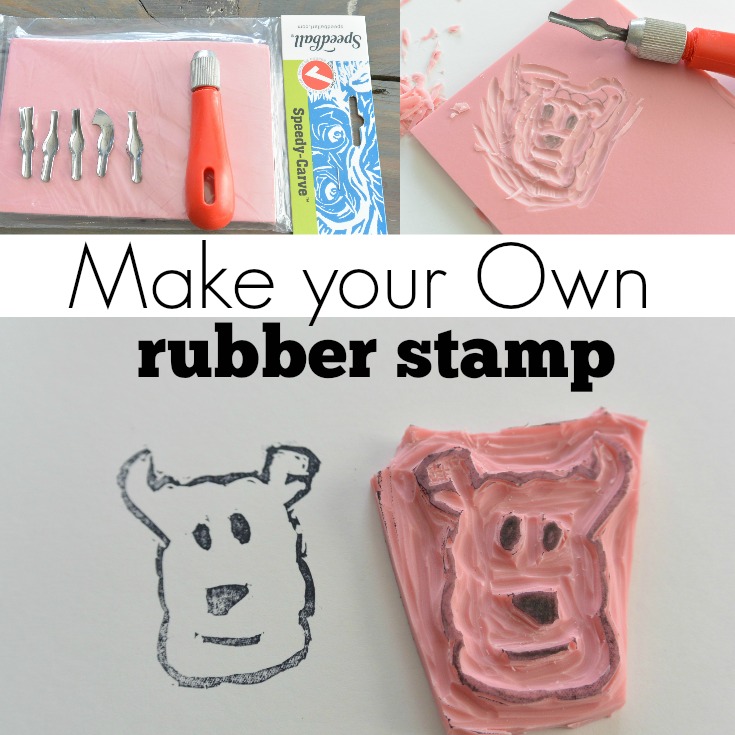
You'll need a slab of SpeedyBall speedy carve. (Amanda tells us the pink is the easiest to carve.) You'll also need a lino cutter. (This set from $5 from Hobby Lobby.) You'll need a pencil or something to draw on the speedy carve. You'll also need ink to stamp your final product.
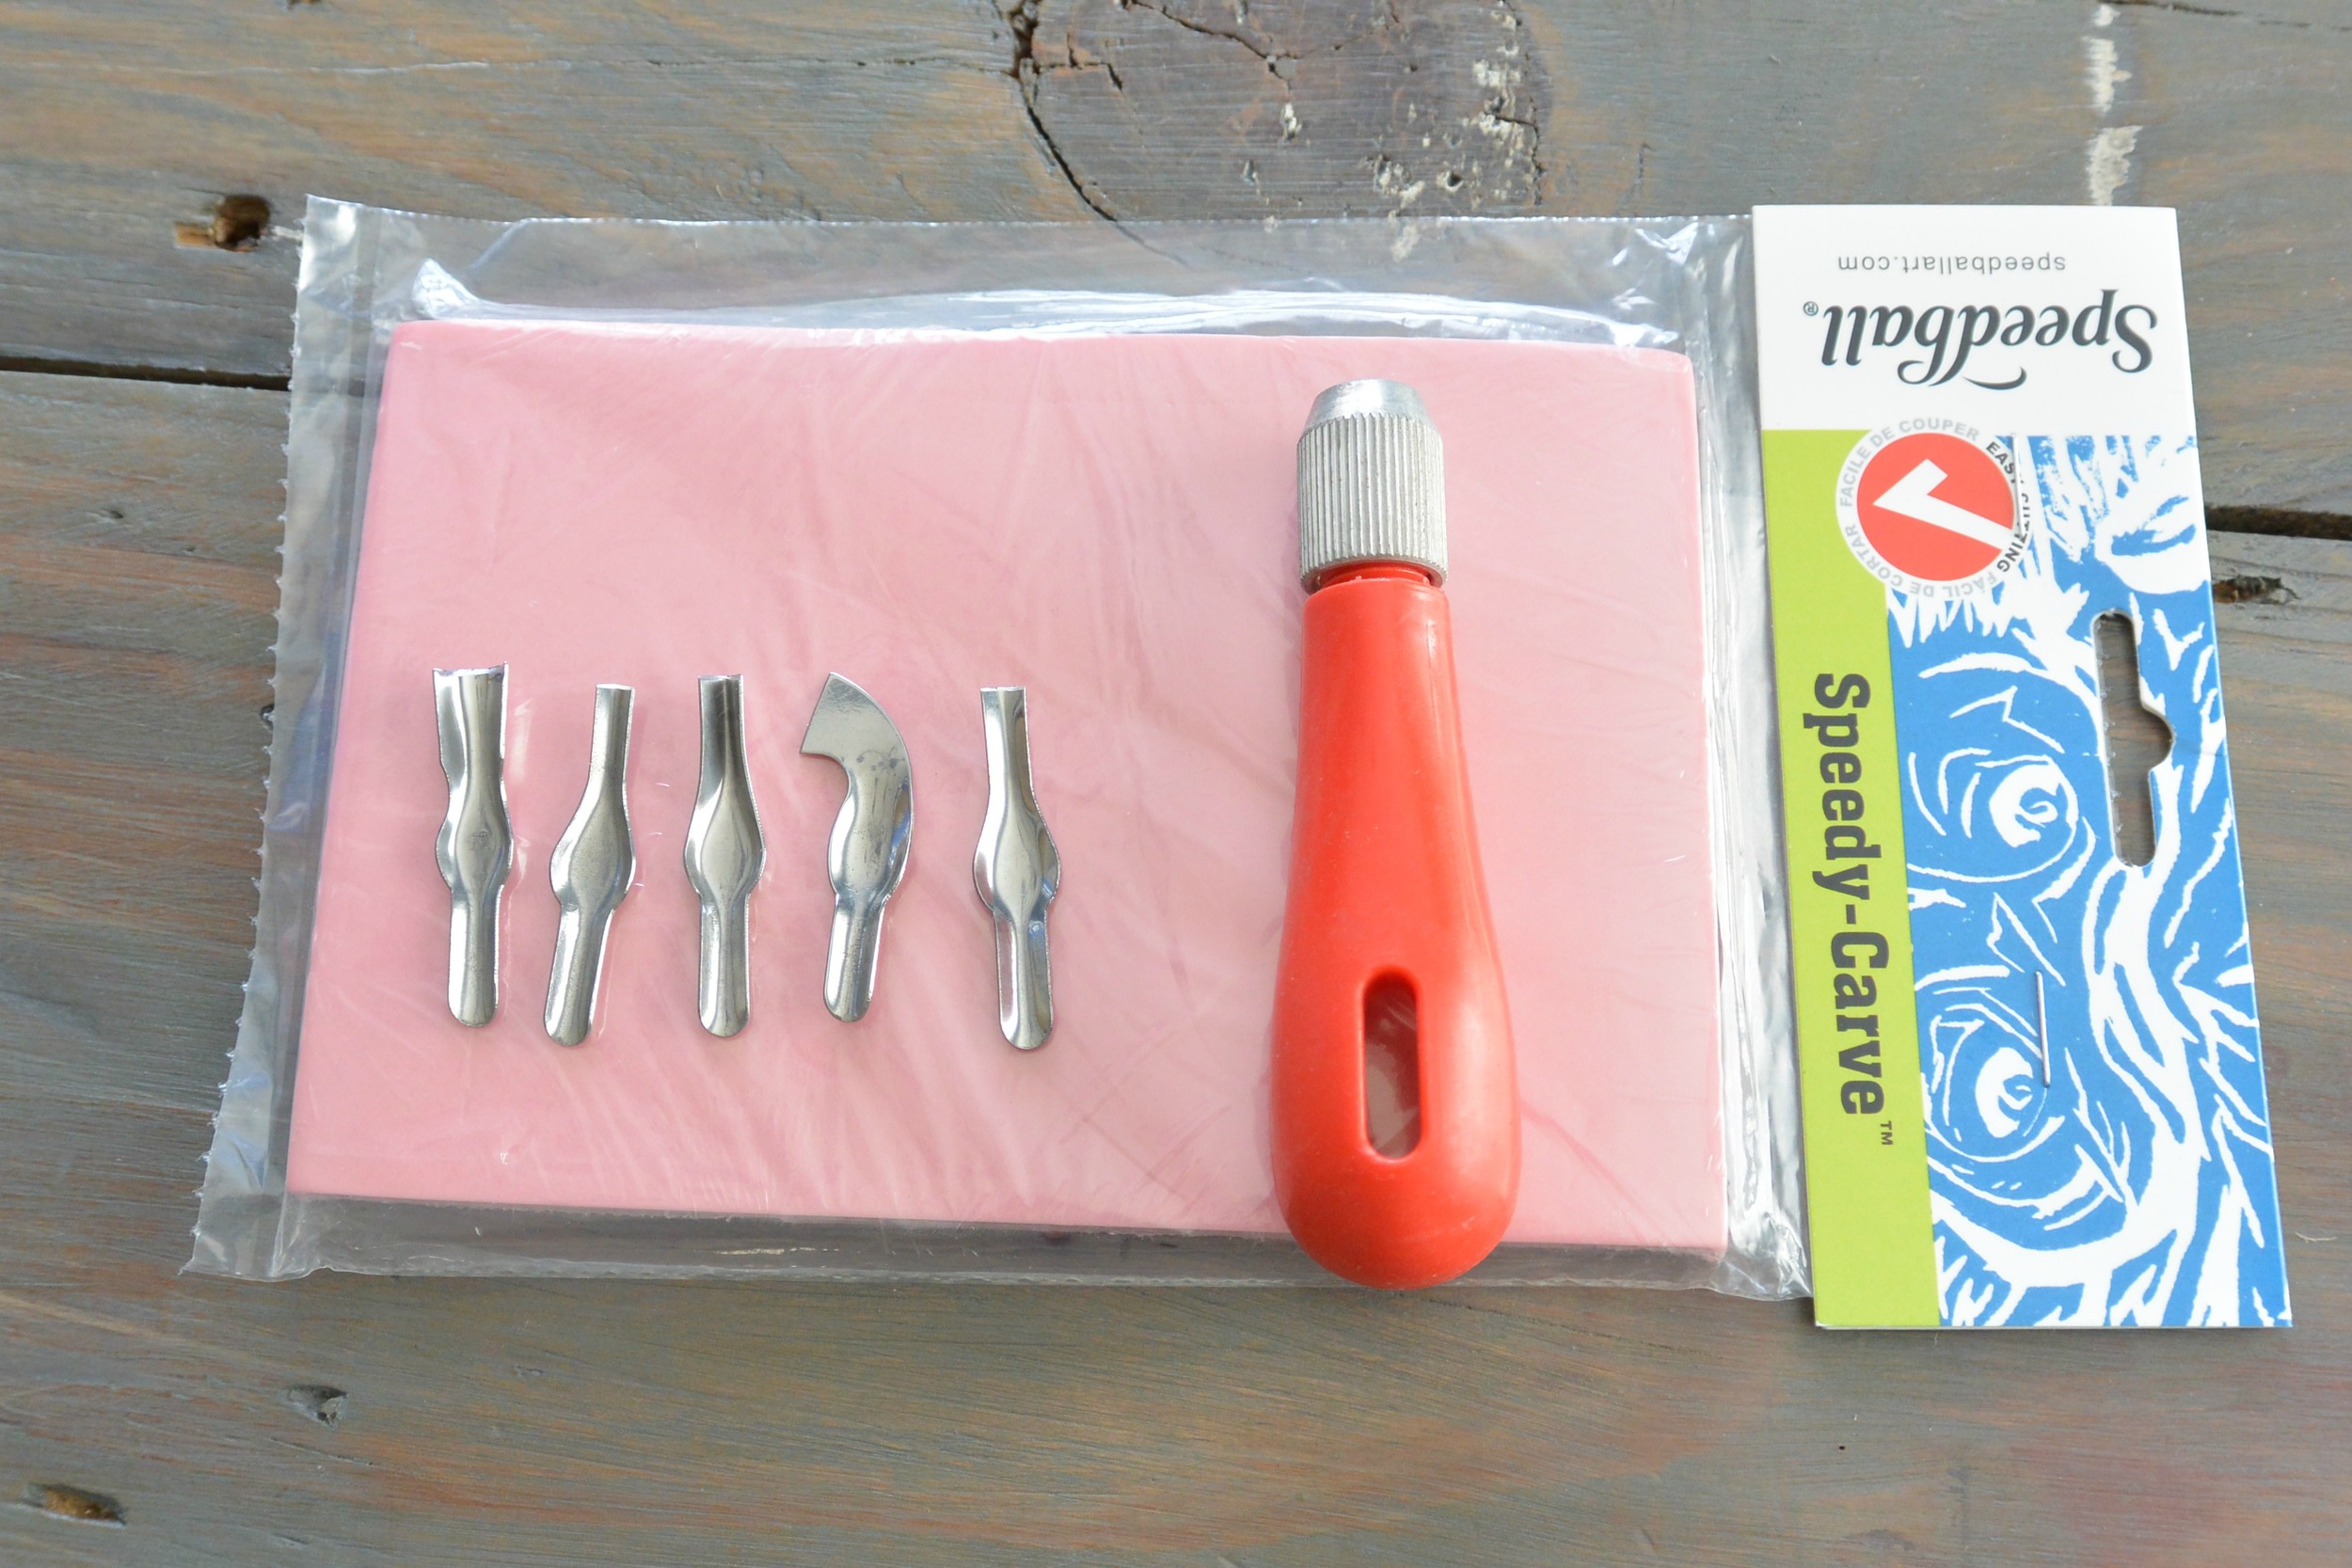
The lino set has different carving devices. I use a large one for big areas. A smaller one for more detail.
You'll want to start by picking out a design. If this was a scientific tutorial, I'd teach you all about positive and negative space. I have a DVR to catch up on so just keep in mind with stamp making that anything raised will stamp. If it's not raised, it won't. Lesson over. Wait. You will also want to keep in mind that your stamp will print in reverse. (This isn't a problem for most designs but could be a problem with things like words.)
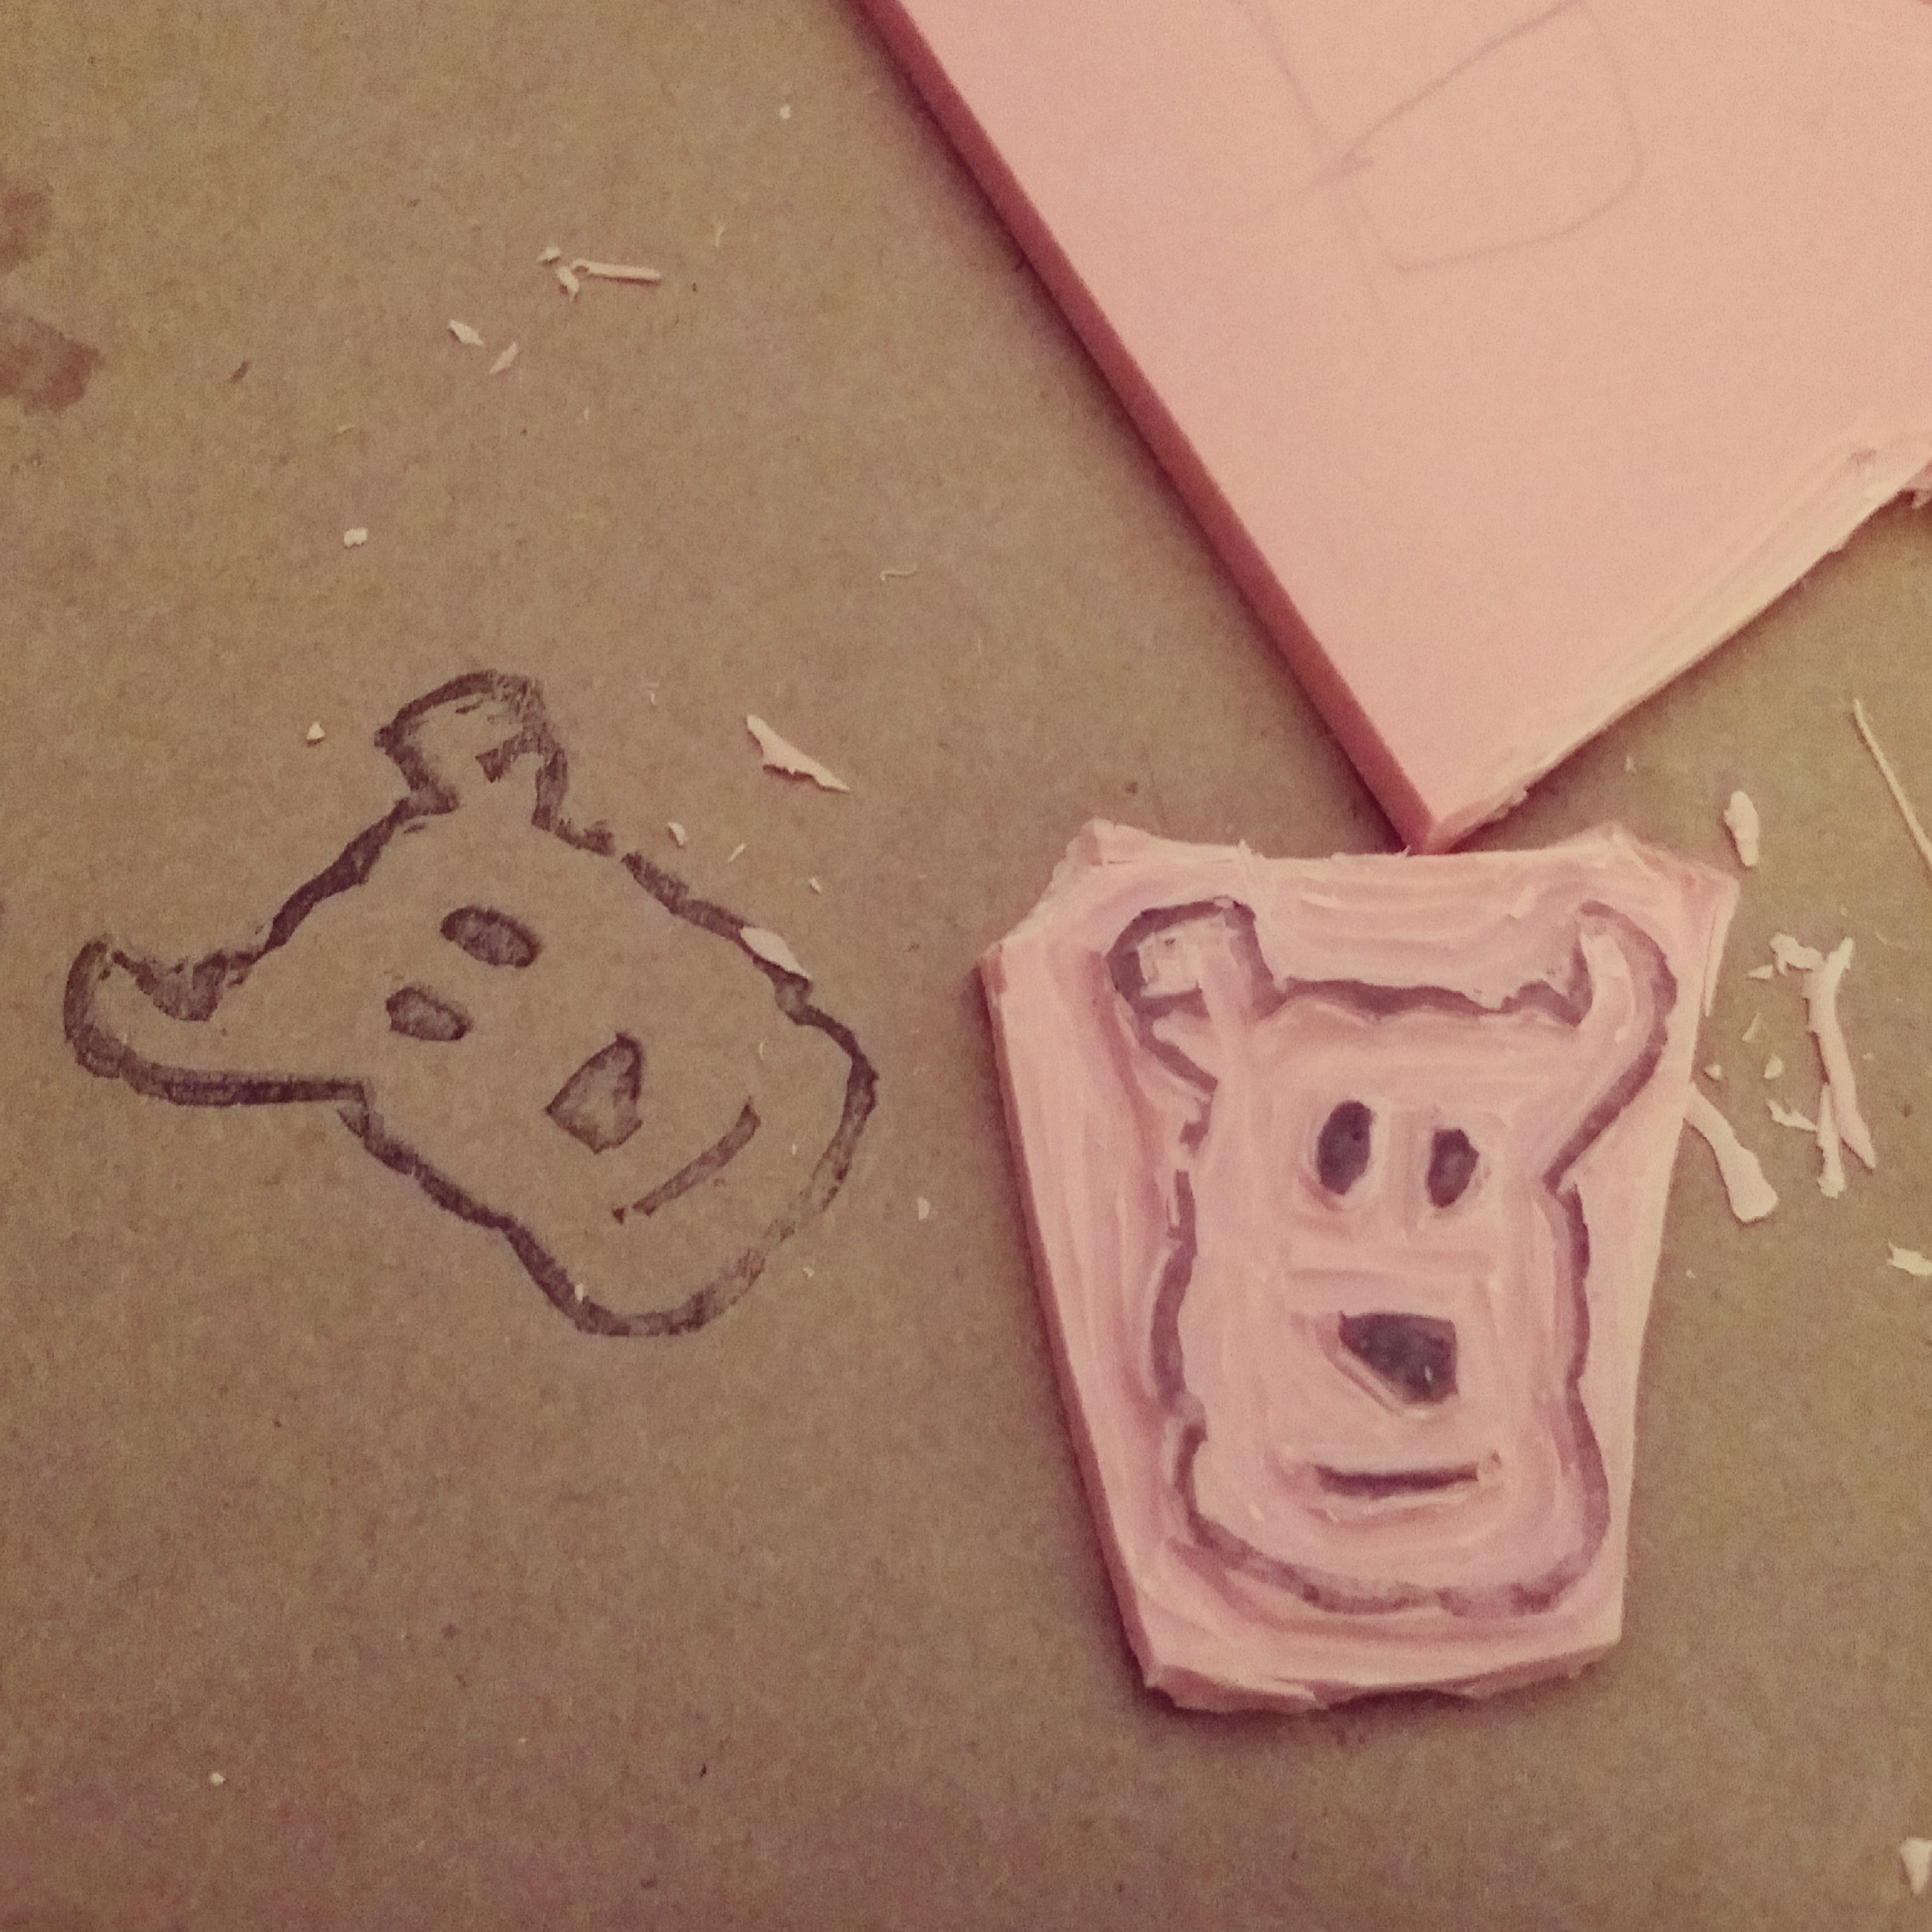
I tried to copy the drawing of Ike from the ol' blog. Brother's drawing is better but I was pretty darn proud of myself.

Next you'll want to grab your lino cutter and get to scooping. You'll have to remove small layers around your drawing. Don't dig holes like I tried the first time. (Again keeping in mind that anything raised will stamp.)

The process isn't pretty and is a little messy. It truly doesn't matter if your stamp is even. This bothered my Type A self at first but it doesn't affect the final product.
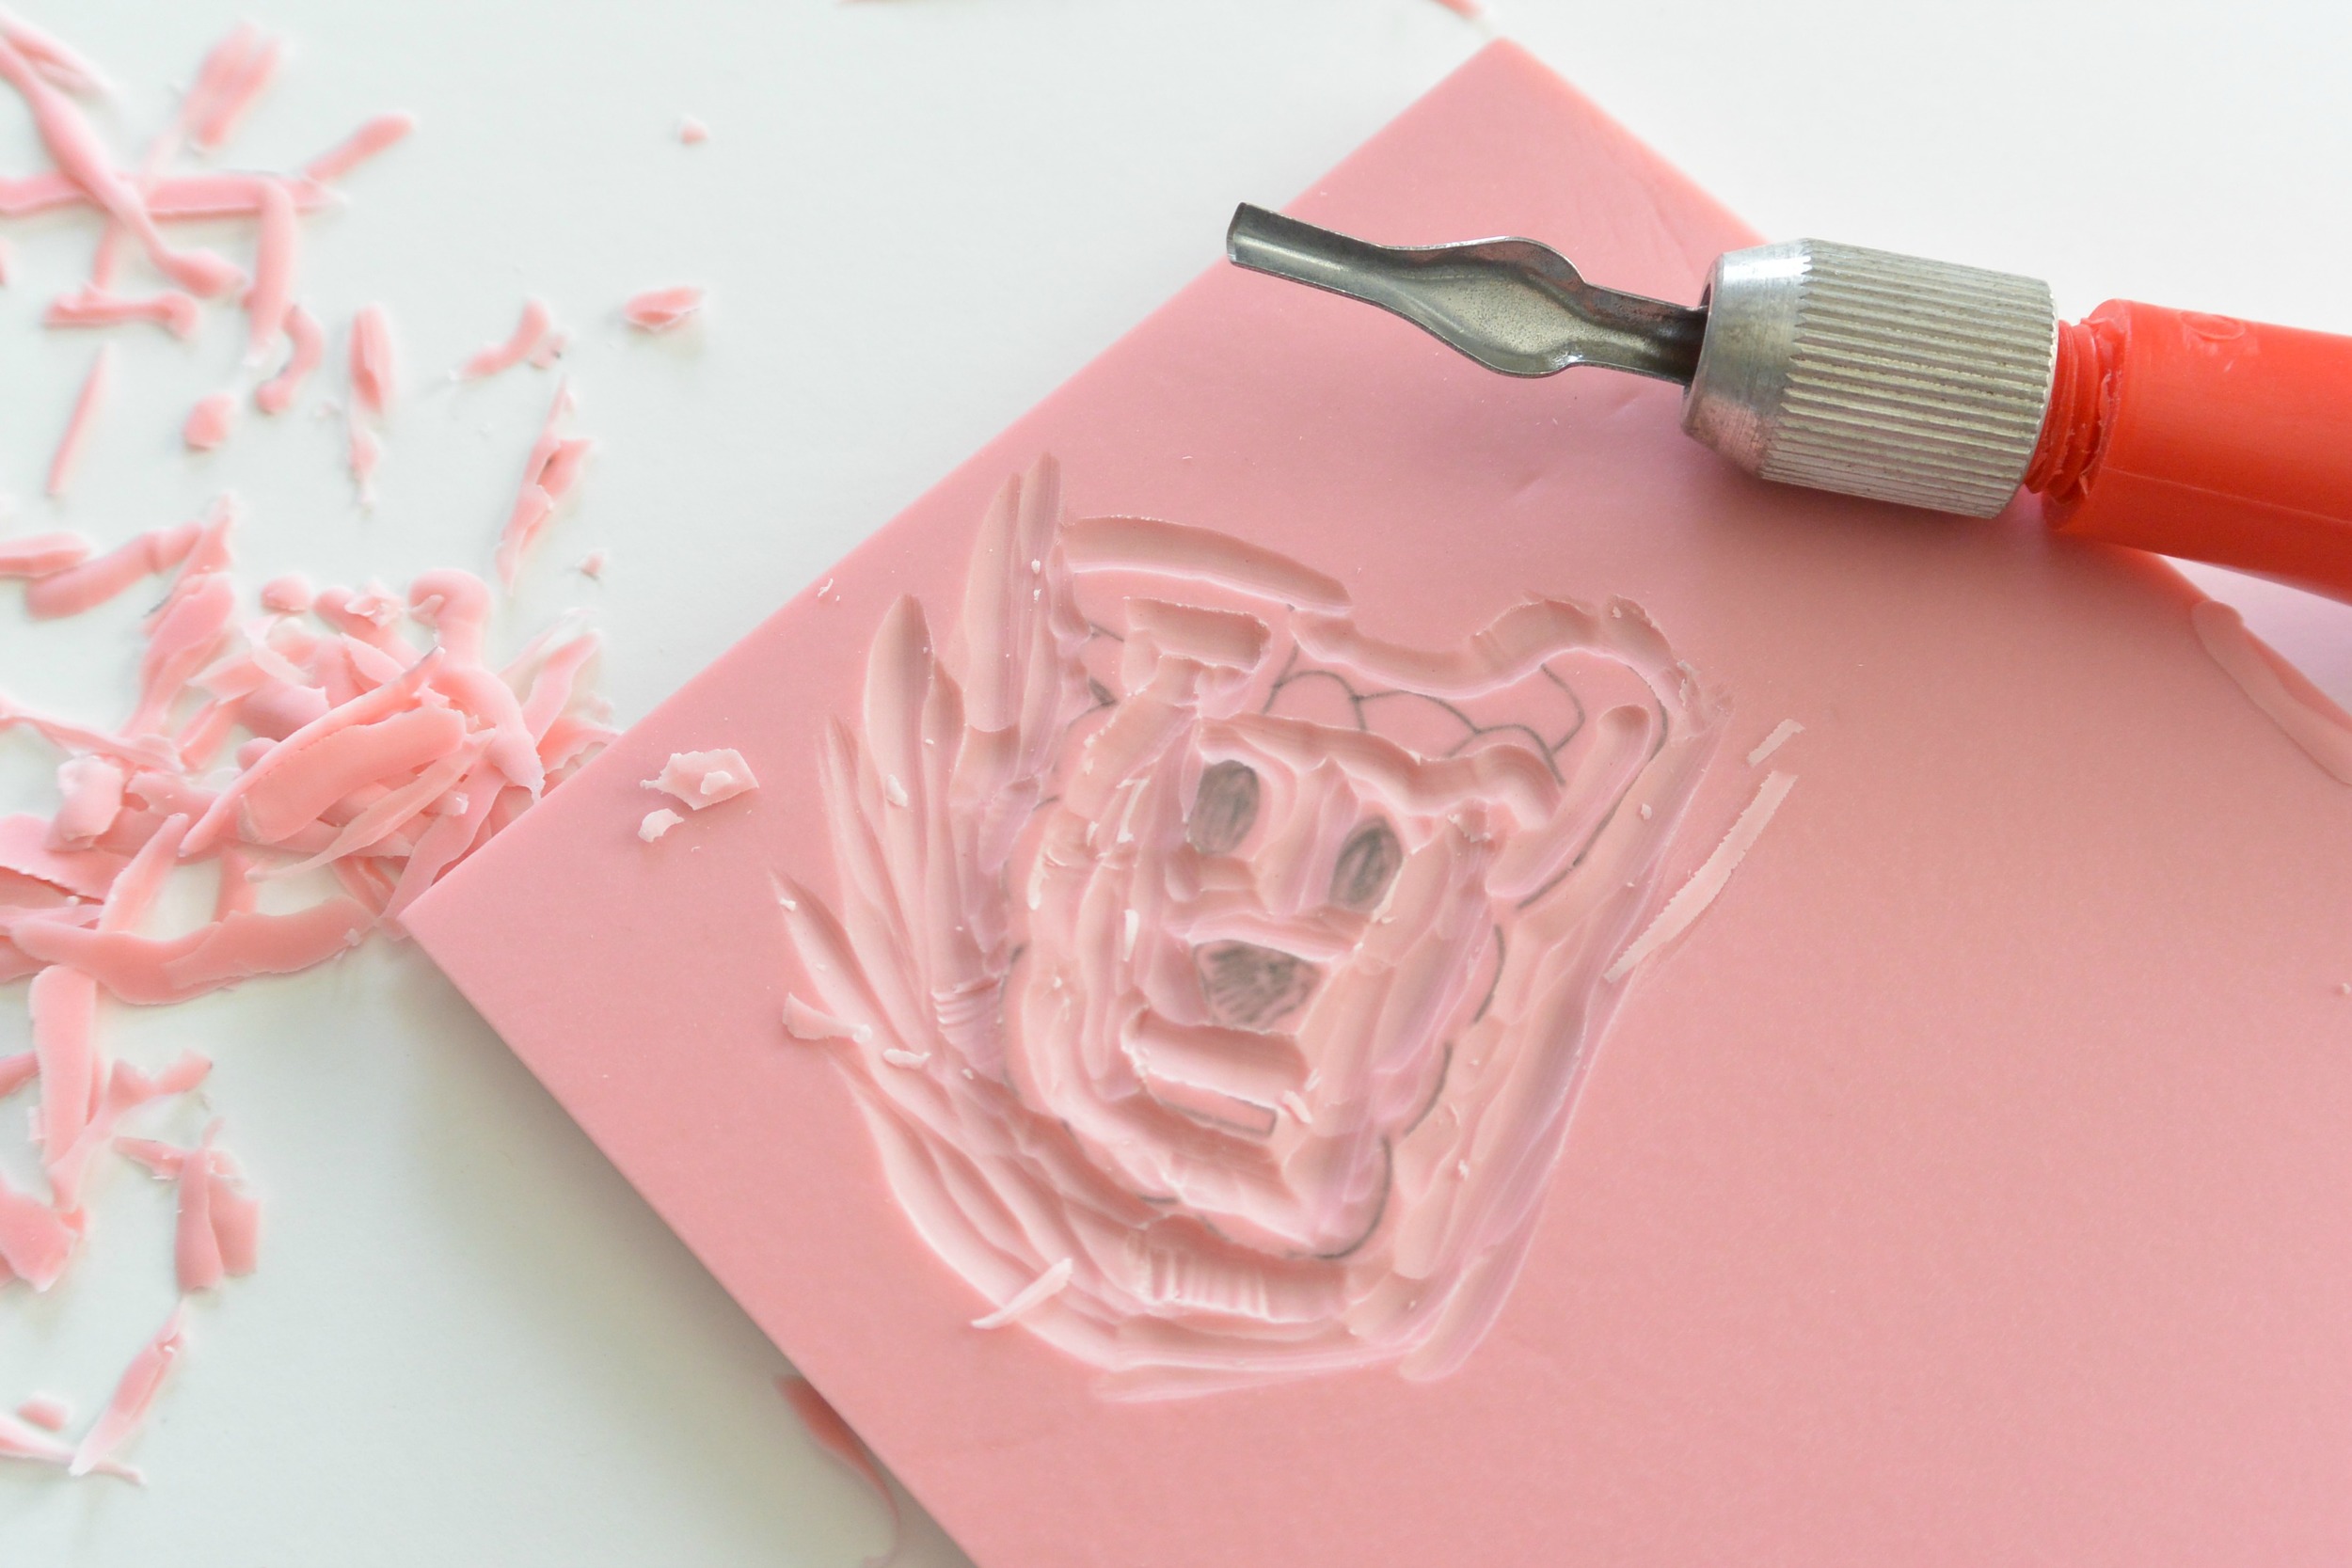
Keep digging until you think your stamp looks carved enough. This will take some trial and error. (I thought I was done here. You'll see that I wasn't.)

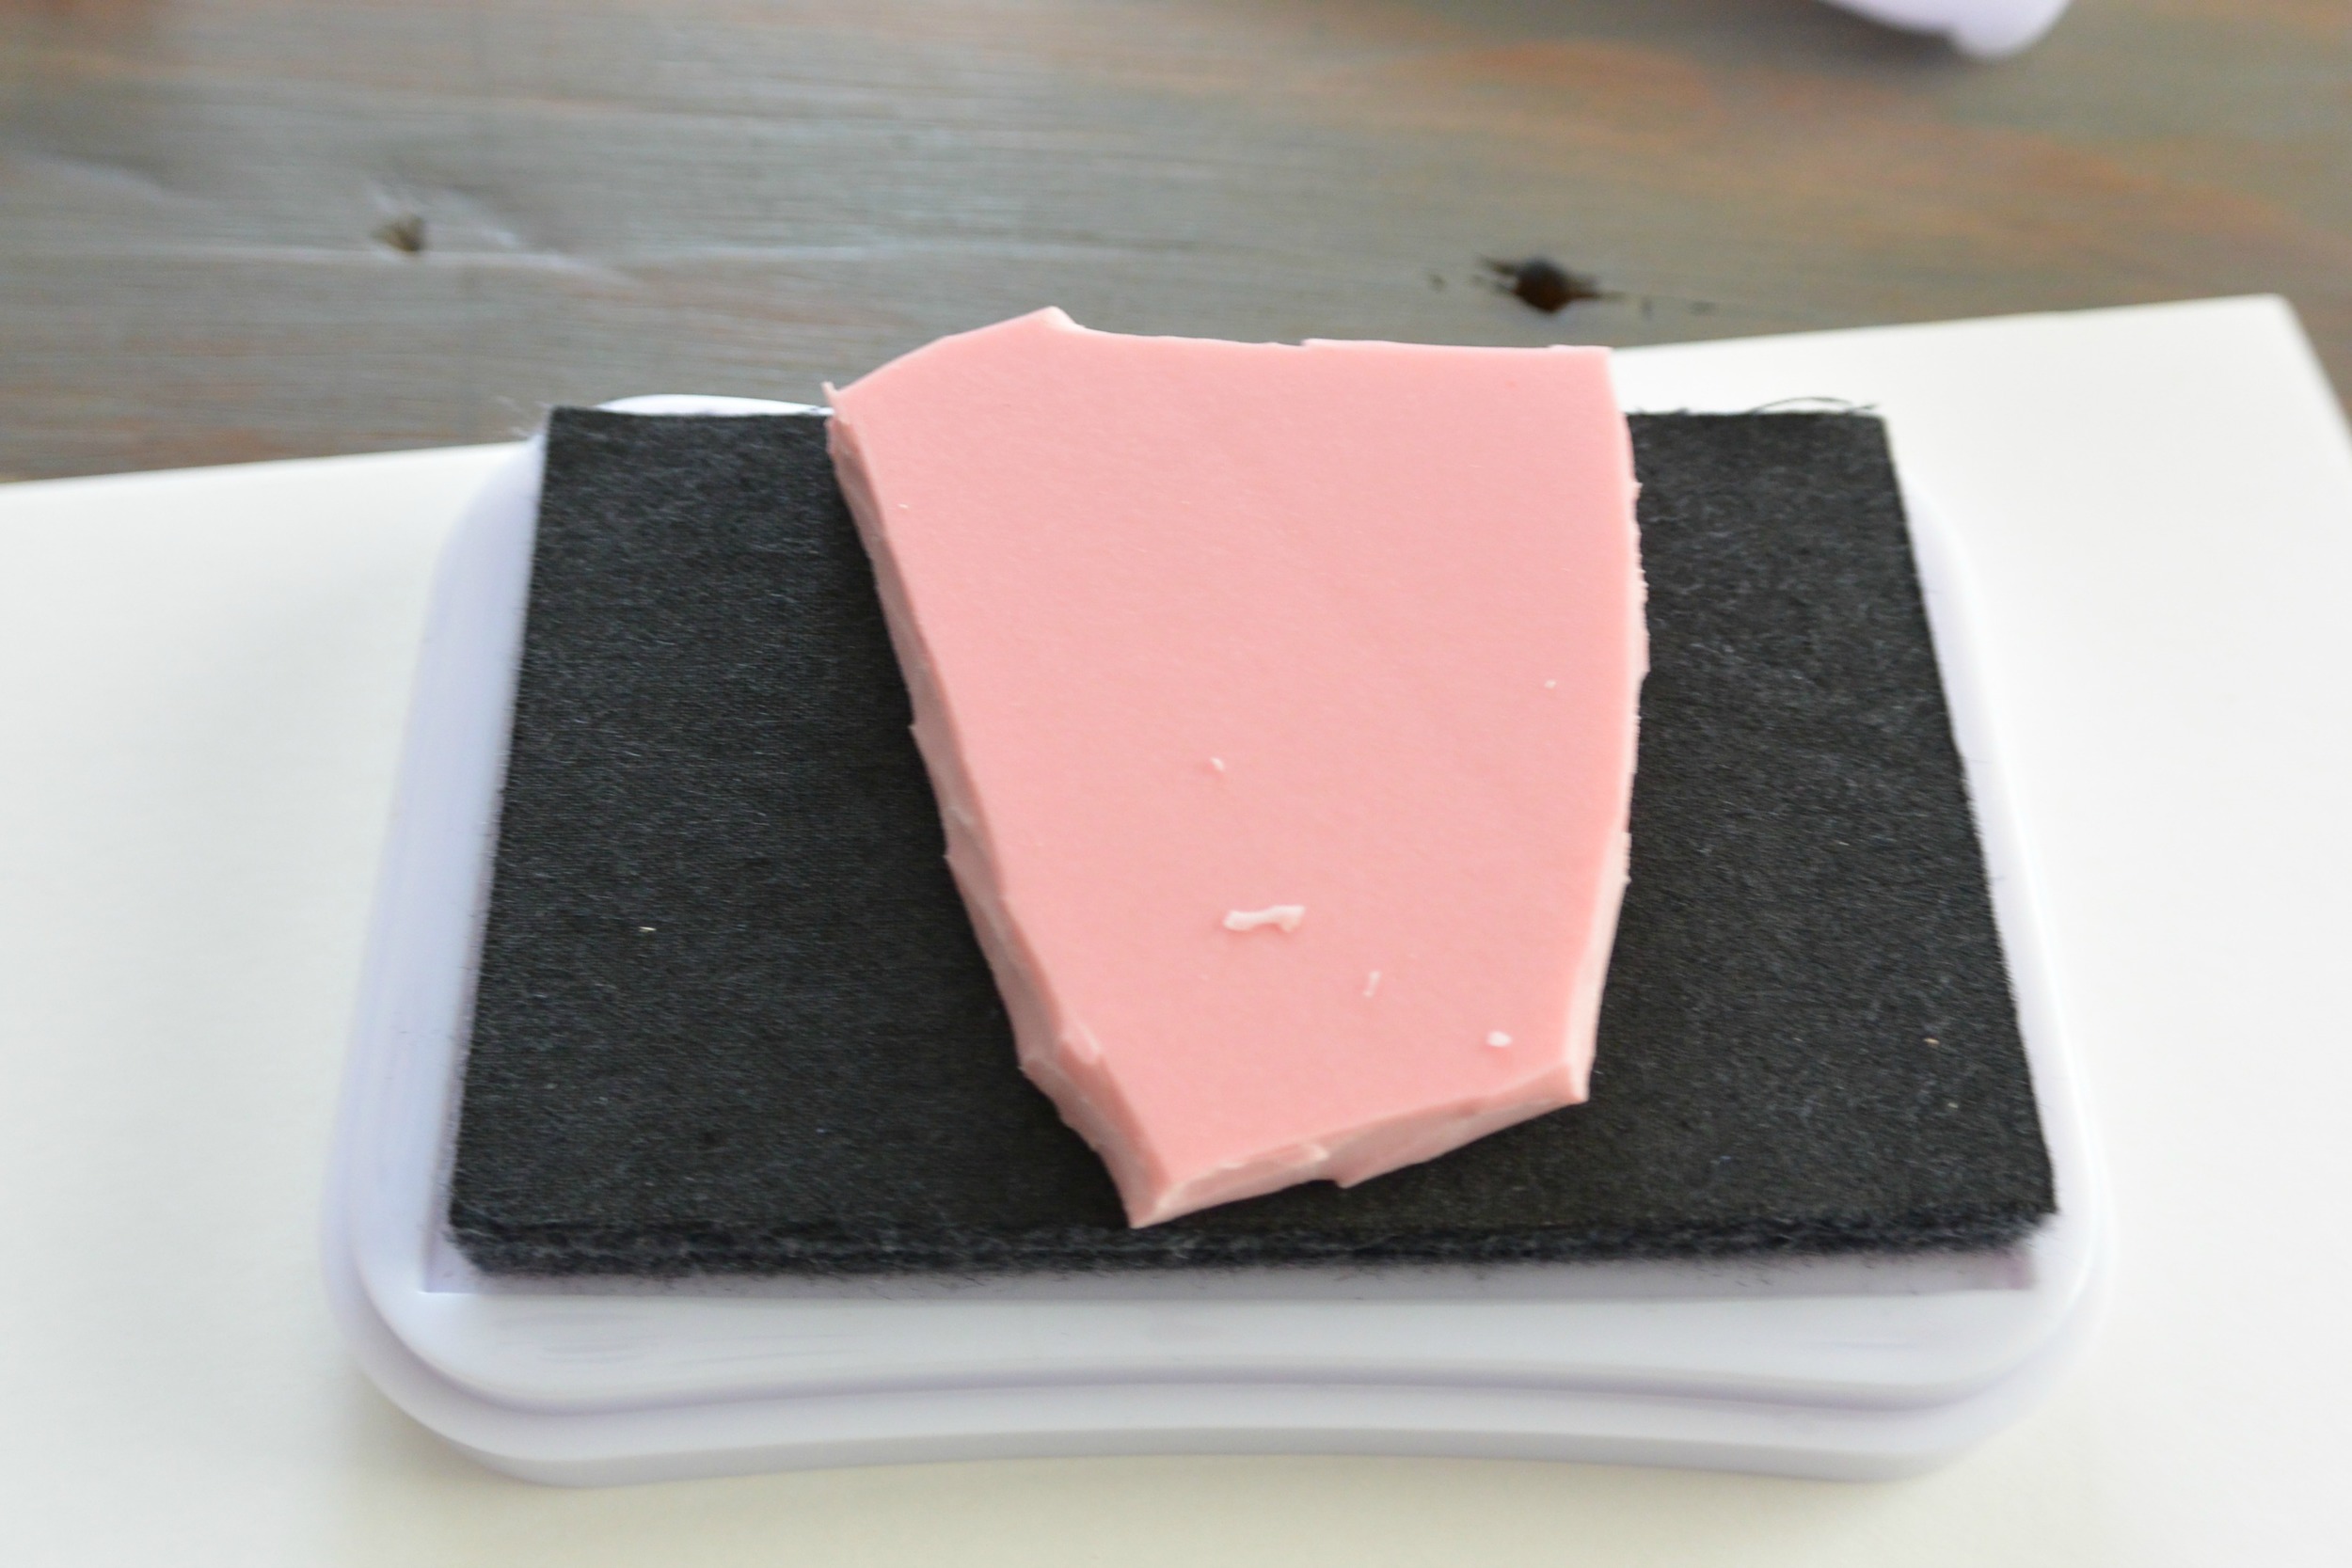
Place your stamp on the ink pad and press evenly.
Stamp away. In this photo you can see that I missed some spots around the edges. The ink makes it easy to pick out those spots and clean them up by carving them out.

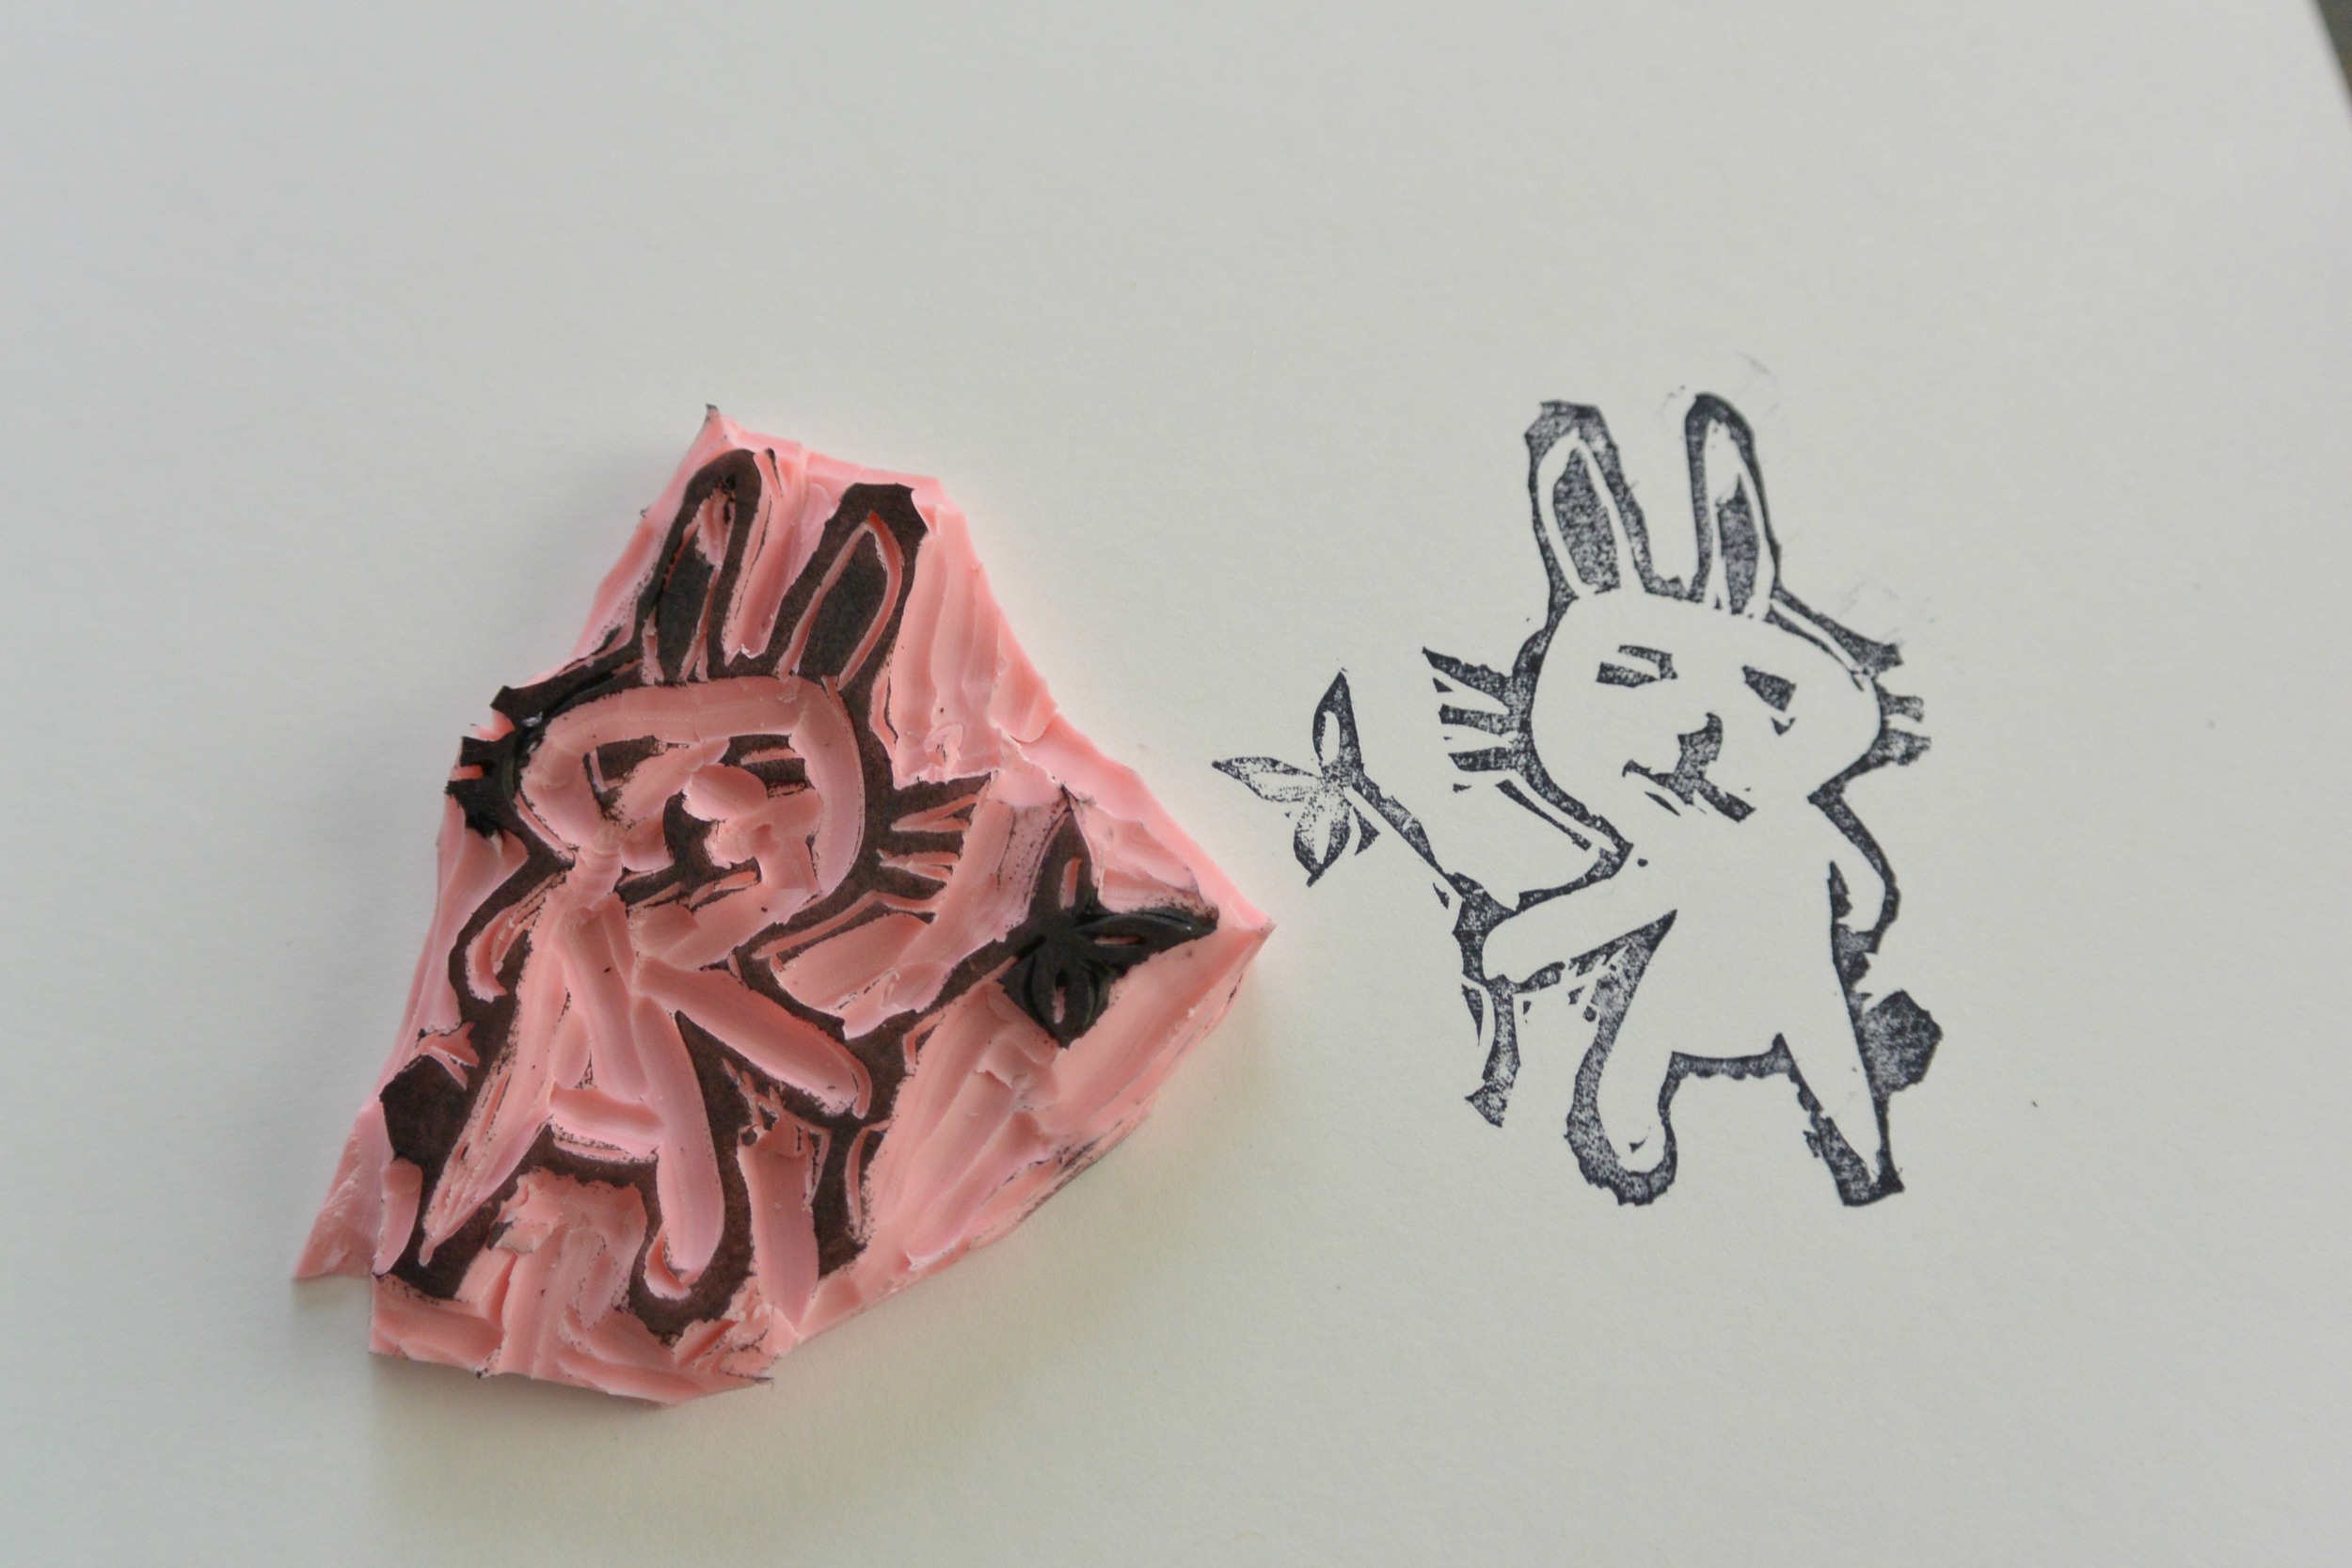
On left is my cleaned up stamp compared to my first attempt.

The one I made at craft night was actually cuter than the example above.

I also whipped up a sassy bunny because stamp carving is seriously therapeutic. I also love the funky look of hand carved stamps.
That's all there is to it. Crazy, right? I assumed it was super difficult. I mean, if you want a perfect product you do need some patience and hand eye coordination. I actually lack both of these and my stamps still turned out. Winning.
Have you tried stamp carving? Are you going to try your hand at making your own rubber stamp?