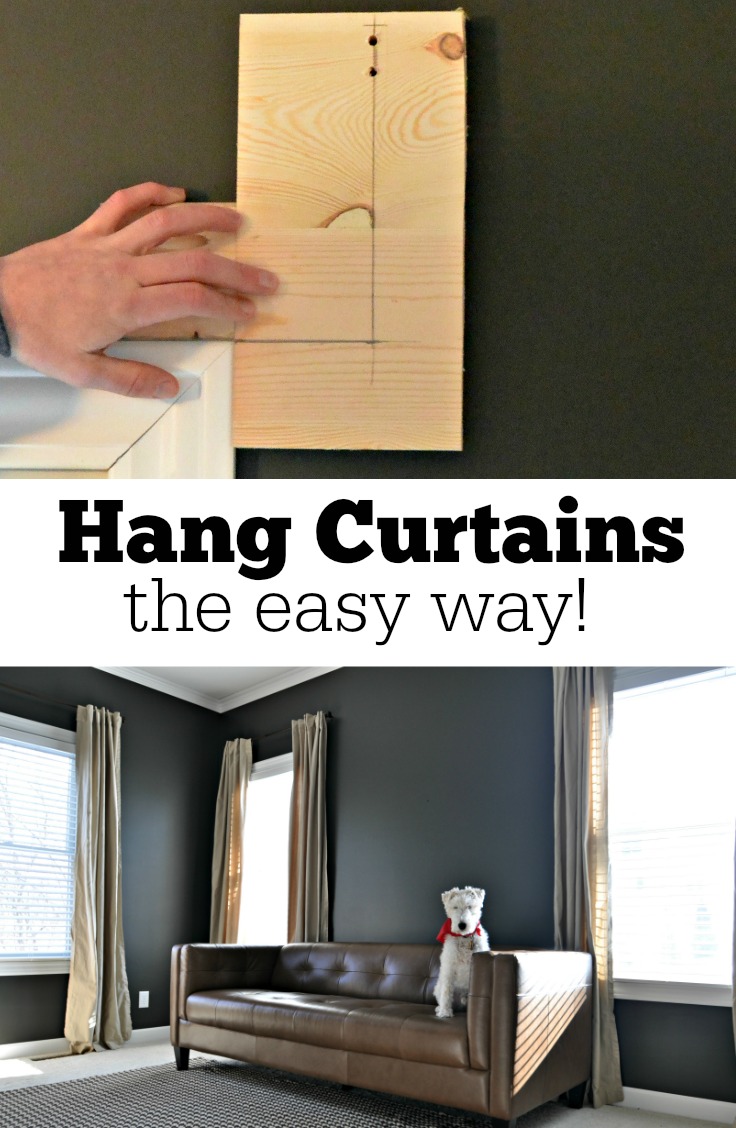
How to Hang Curtains the Easy Way
/Happy Monday! Hope you all had a fabulous weekend. We finally had decent weather yesterday. It was pretty much amazing. We accomplished some much needed tasks including taking down the Christmas lights. What? It's almost April? Eh. Ike got a couple of long walks in. He was a happy (and tired) dude.
I also have 3 whole blog posts for this week. It's amazing what 65 degrees will do. Am I right?
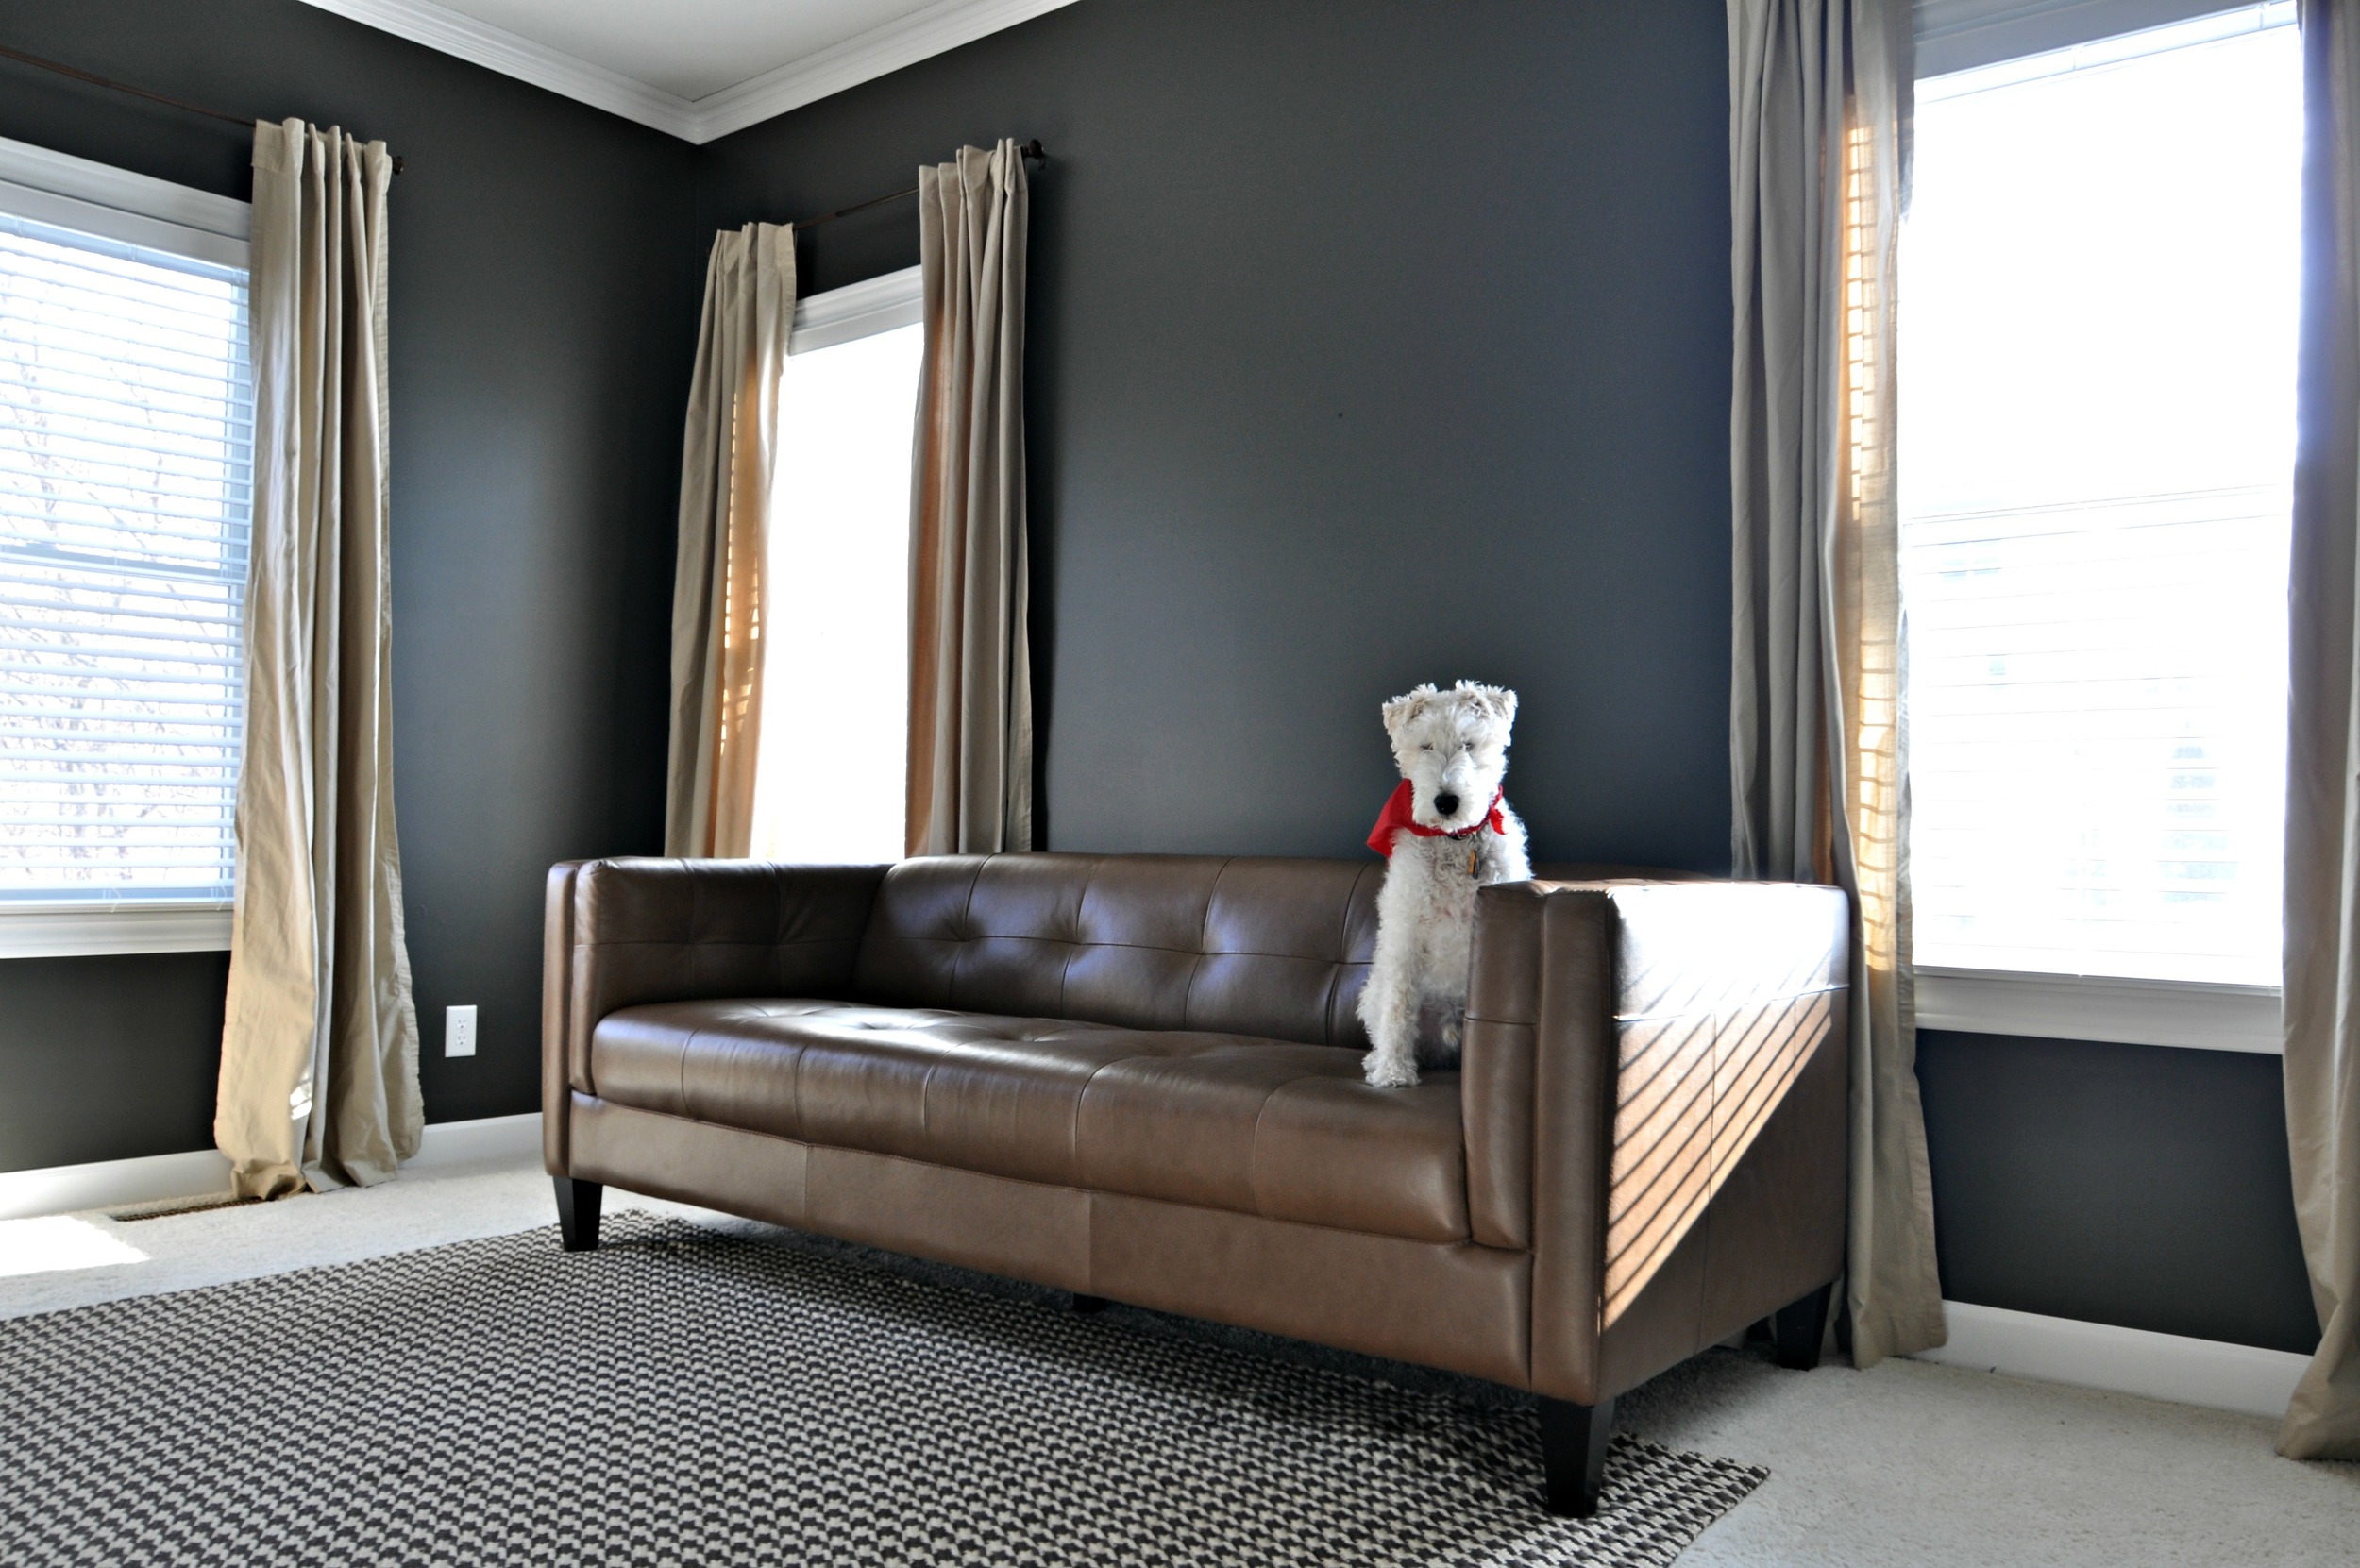
Last week I shared our new office couch and curtains.
Hanging curtains is a touchy subject in this house. I'm not allowed to touch power tools (Which is about to change. It will only take Nate twice as long with my help!) Nate hates hanging curtains and gets all whiney about it. The main reason for his whiney-ness is that he hates all of the measuring.
The curtains I purchased for my craft room came with a template. I saved it for future use. Turns out it was too small for our 9' ceilings. I asked Nate if we could make a new template. I was thinking out of cardstock. He, of course, headed to the garage.
It took Nate approximately 10 minutes to hang curtains on our 3 office windows. It took almost as long to build the template (We didn't have a handy tutorial. It'd be faster in the future.) We saved probably a good 30 minutes and a lot of whining. A lot. I think the whining decreased by like 82%. The remaining 18% was just typical dude stuff. (Sorry dude readers.)
Here's how Nate built the template.
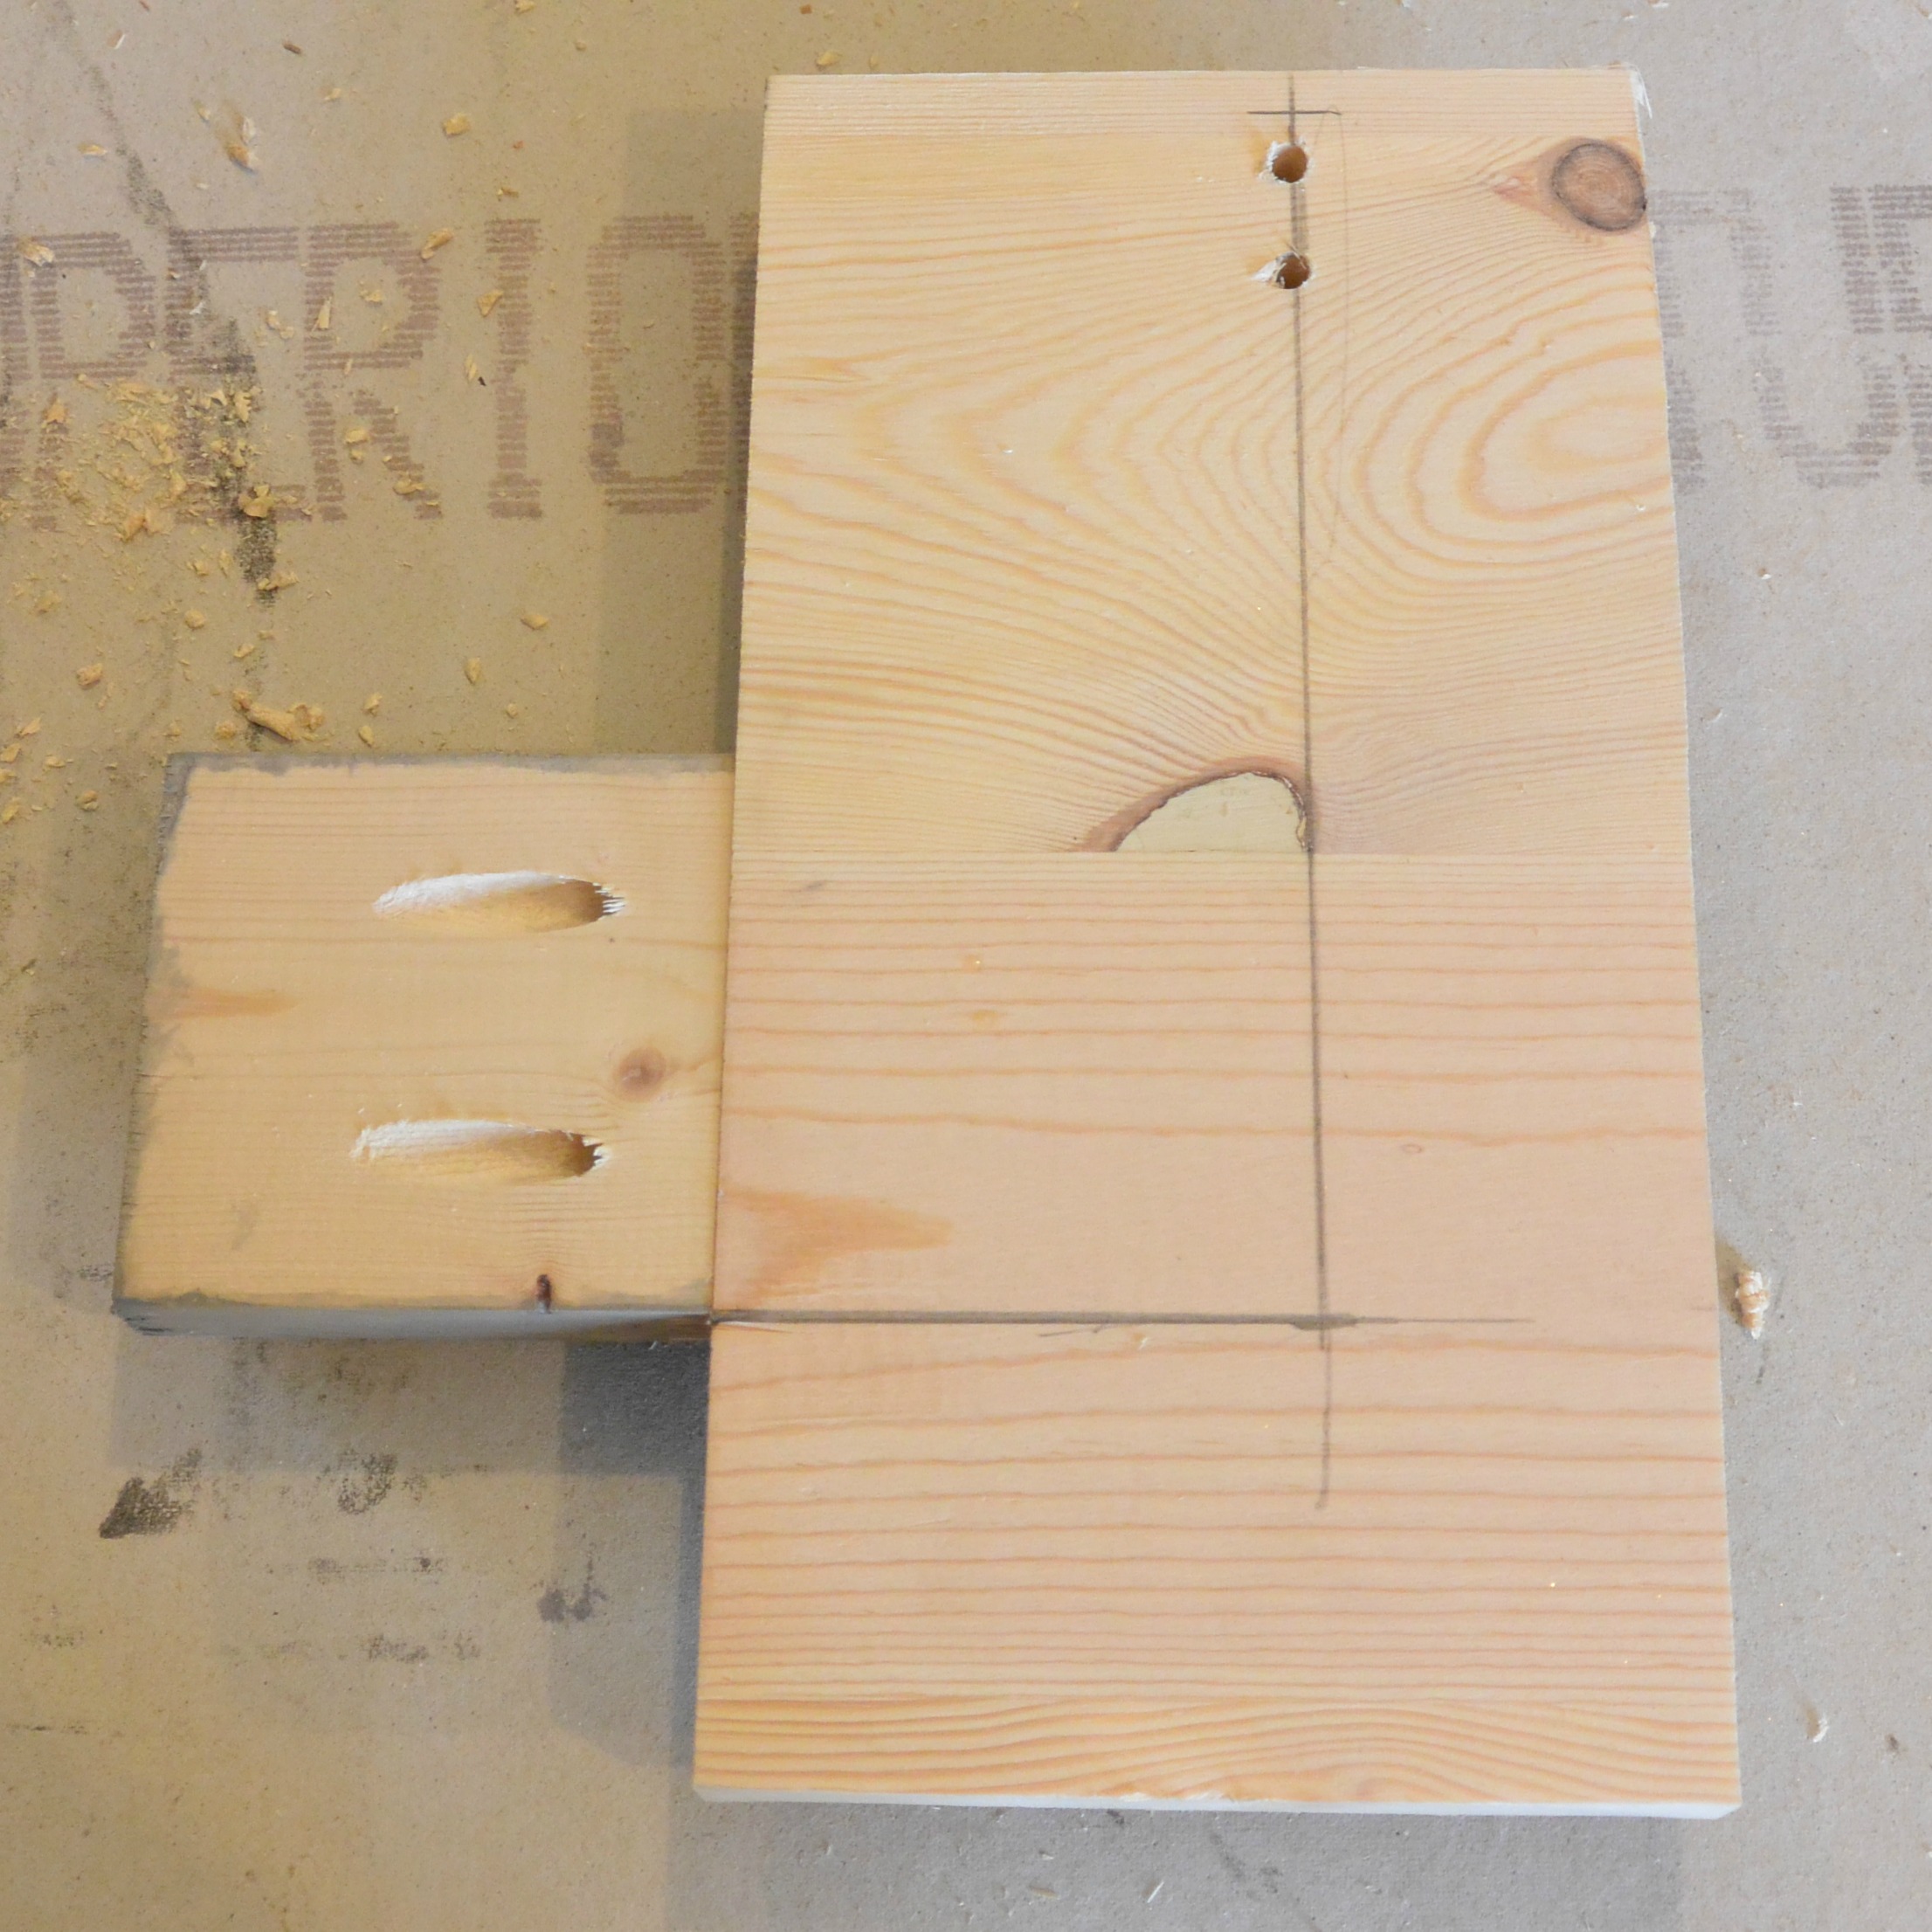
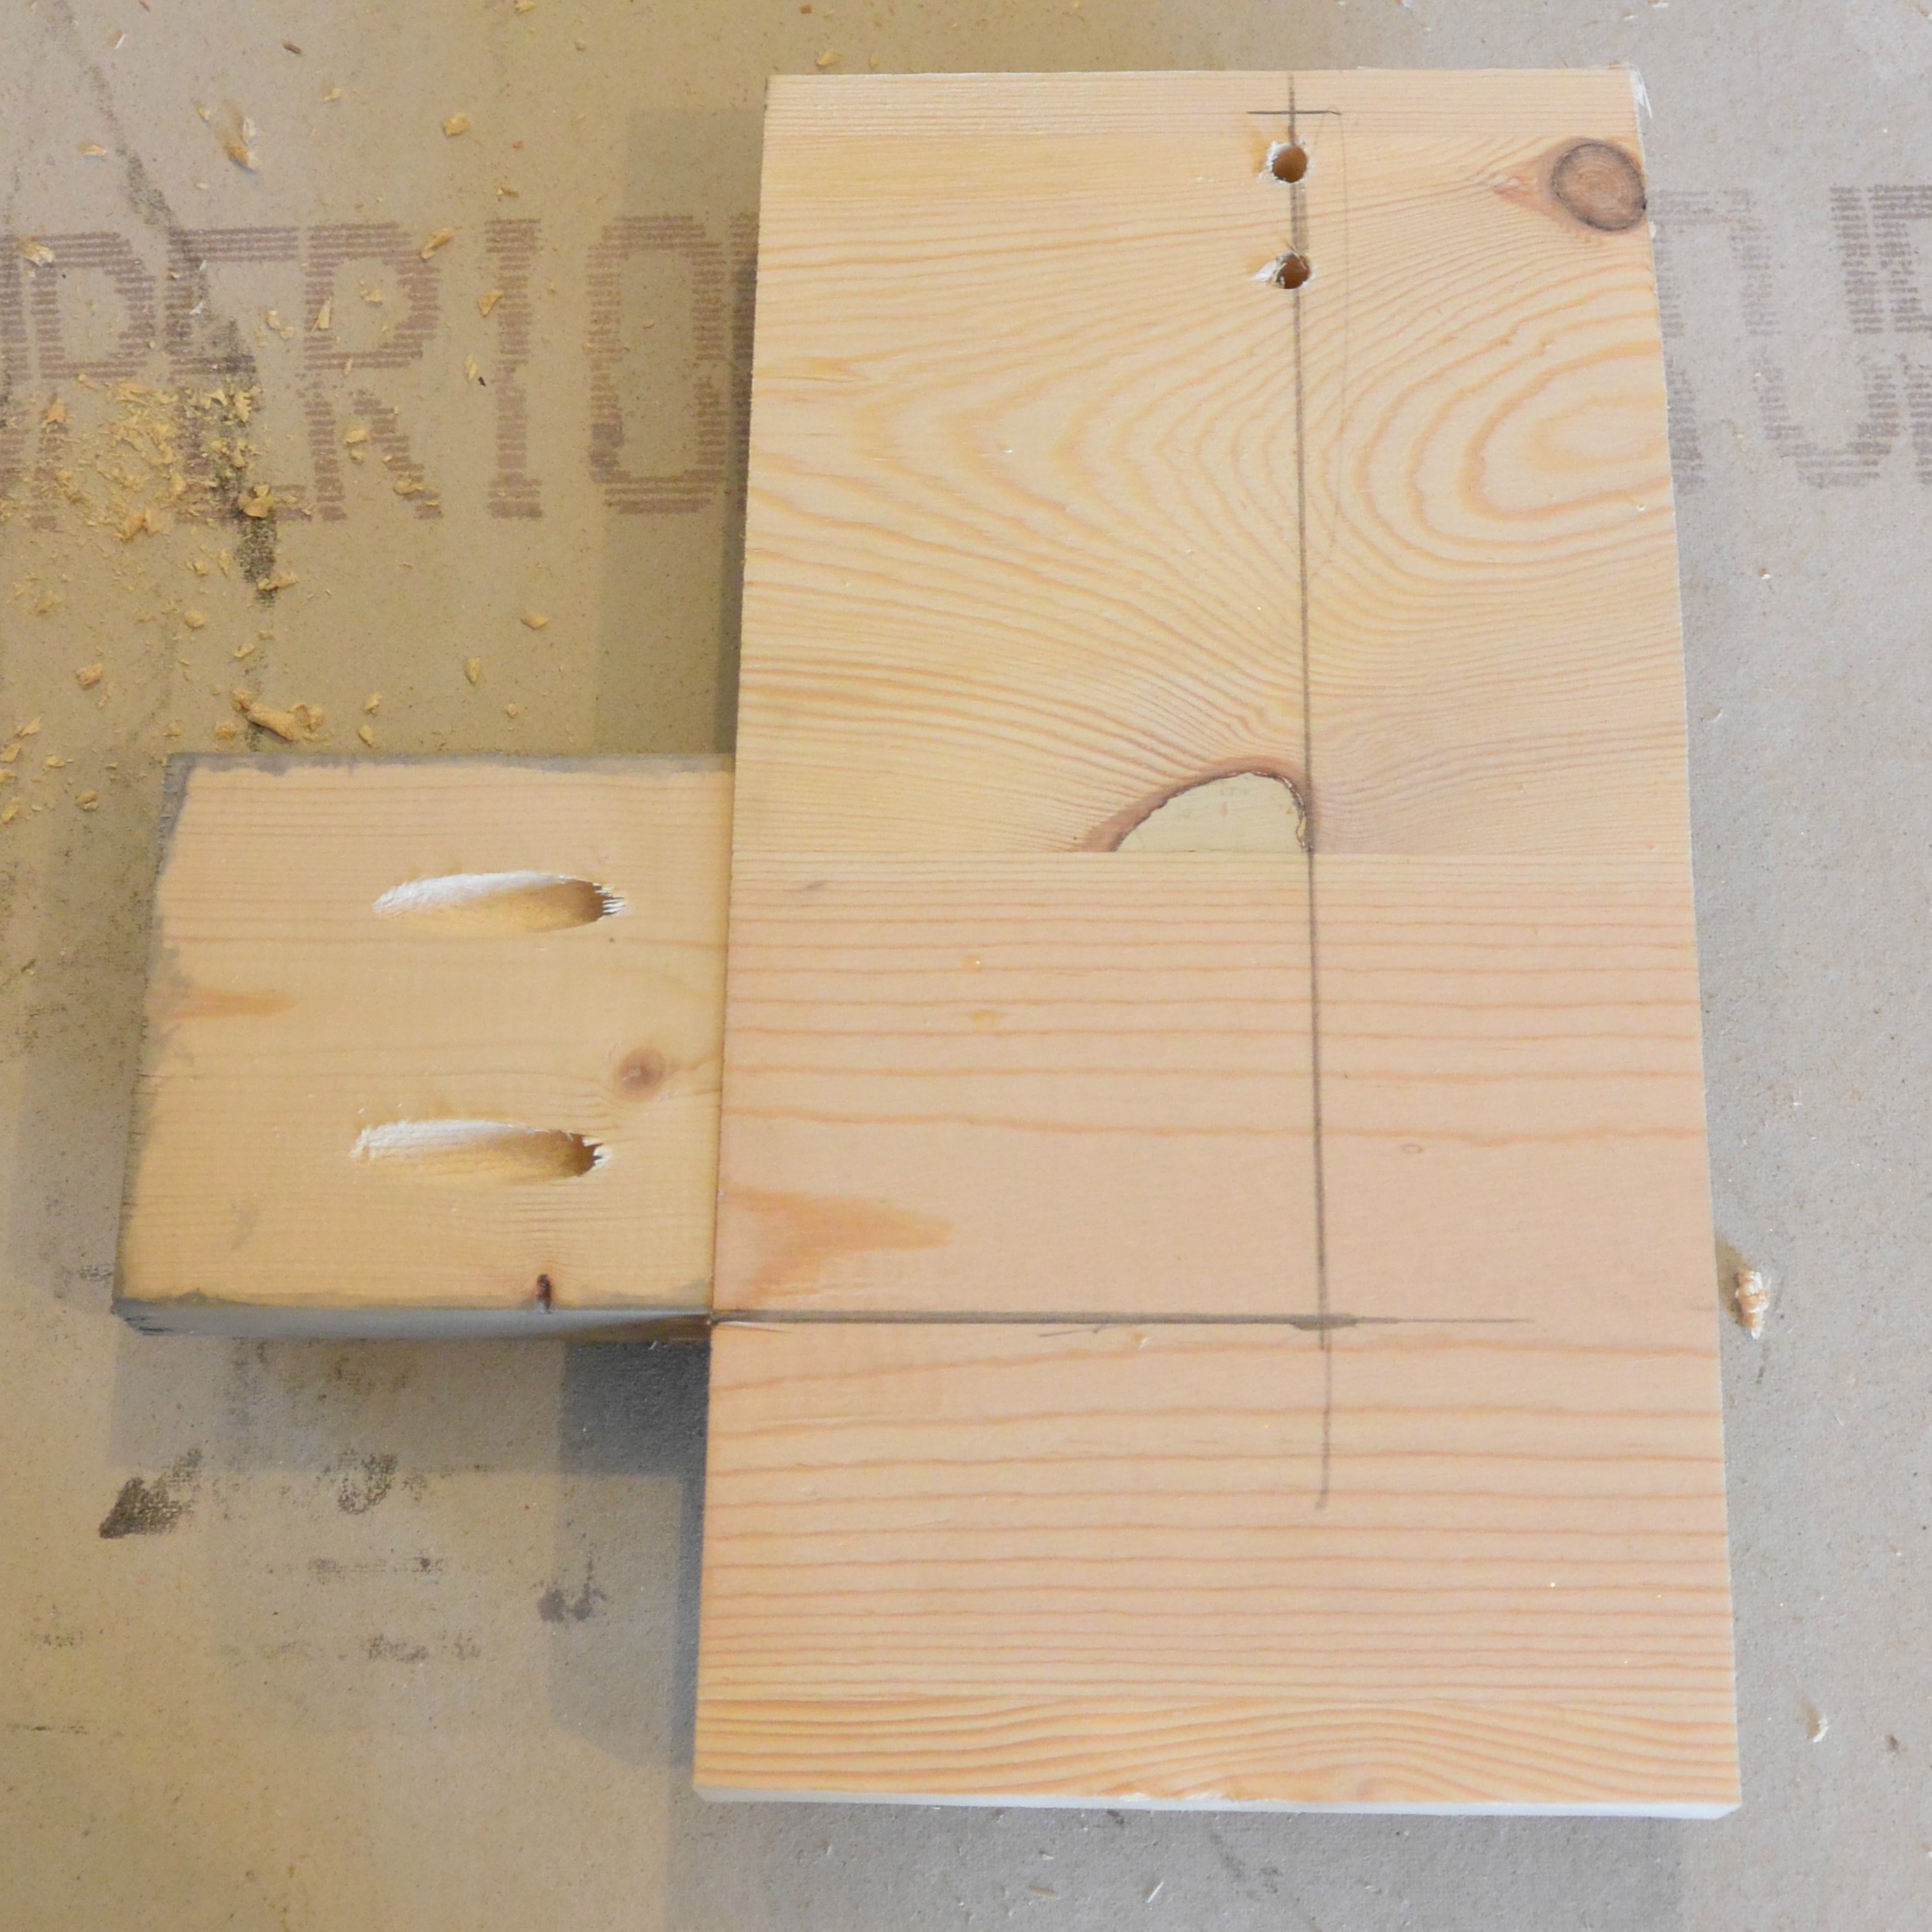
You will need to cut two pieces of wood. The small piece on the left is used to square the template (making the template level) and ensure the correct height. The piece on the right is used to determine the height and width of your curtain hangers. You will want the right piece to be the height of the curtain hanger above the window molding plus 1/2" on the top and a few inches on the bottom (exact measurements aren't super important on this step.)
Measure down 1/2" from the top. From the left, measure the desired width of your curtain hanger from the window molding (we used 3" (vertical line in photo)). Next measure down the desired height of your curtain rod above the window molding. (Ours is 8". (horizontal line)) Place bottom of small piece at the 8" mark. Attach using pocket hole screws.
Drill two holes for curtain hanger. (Nate marked these according to the curtain hanger we had). He used a 1/4" bit because we were using 1/4" drywall anchors.
Template complete.
Place on top of molding. Use pre-drilled holes as your guide to drill holes into the wall.
Flip it over. It's reversible (just ignore Nate's screw up line). Fancy! (The template. Not the screw up.)
You're done. With little whining. As you can see, we left some pooling at the bottom. Personal choice. Do as you like in your own home. There is also that hang the curtains high and wide rule. We did sort of high and sort of wide. We eye balled it and felt this looked best. I don't like curtains way above the molding. Again, personal choice. Rebel curtain hangers here. Rebels with a template.
In non-boring tutorial news, I found a piece of art for above the couch. Nate and I both really like it. I'll hopefully get it hung to share next week!
Check out more tips and tricks on our DIY projects page! Catch up on our office progress here!
Is curtain hanging a sore subject in your house? Do you break decorating rules?


