DSLR for Dummies- Exposure Compensation
/Nate, however, is not. The DSLR is his precious child and I'm pretty sure he cringes every time I touch it. I had the camera approximately 10 feet from the table and he's like "Whoa, watch out for the lens." 10 feet. Seriously.
I then asked Nate to solve this hypothetical situation for me. If Ike, the DSLR, and I are tied down to train tracks and a train is rapidly approaching, in what order would he try to save us...
I'll keep you guessing on that one.
Today I wanted to learn about something called exposure compensation. Although I had no clue at the time that's what I wanted to learn about.
I tried to take a few photos of our office this past week-end (Fun posts next week. Get excited). The photos kept turning out dark no matter what I did. Nate informed me I needed to adjust the exposure compensation. Who knew.
See that little button right there.

It’s really hard to take a close up of the top of your camera with your camera. I need a second DSLR for that. You know, when my money tree in the backyard grows to maturity. In the mean time, you get a camera phone shot. What did we ever do before camera phones? Oh yeah, we learned how to use DSLRs.
That button controls exposure compensation. Exposure compensation helps you when you are in either aperture or shutter priority (aperture refresher here). The camera will try to expose for what it thinks the best exposure is. Sometimes you will want a different part of the picture brighter or darker. This button (in aperture mode) will change the shutter speed in order to get a brighter or darker image while keeping the same aperture.
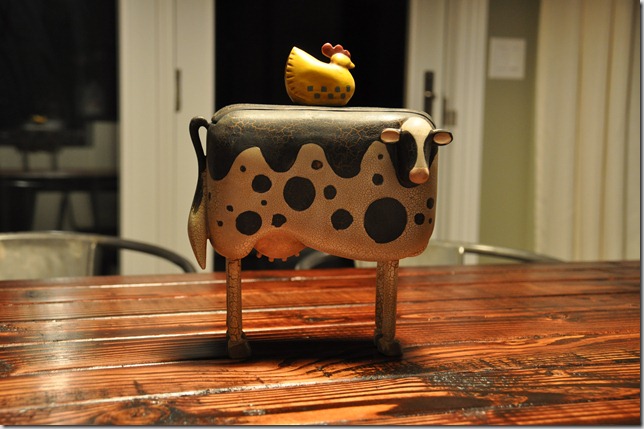
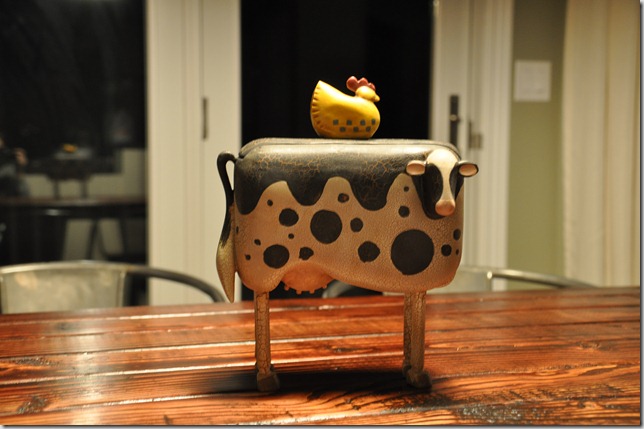
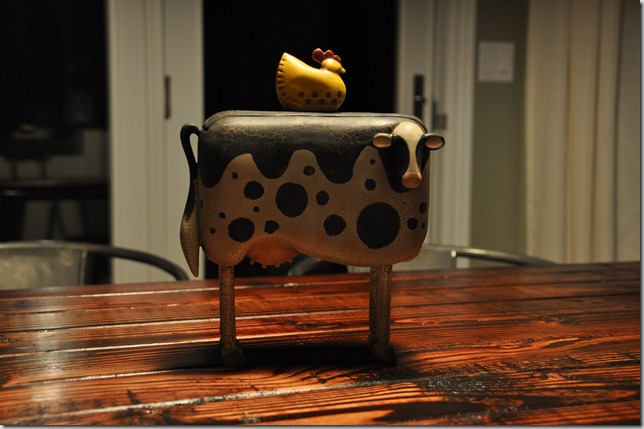
For example...in the following photo the table is exposed properly. The front side of the cow is darker than we would like...(The cow is an early birthday gift from a dear friend. Isn't he perfect? Focus.)
 |
| No exposure compensation |
 |
| Exposure compensation 0.7 |
 |
| Exposure compensation 1.7 |

In summary, exposure compensation is an easy way to quickly change the brightness to get the correct exposure....because the camera isn't always going to get it right. Bummer.
Any words of wisdom on exposure compensation? What do you think is the solution to Nate's hypothetical train situation? This is a test my darling readers.


