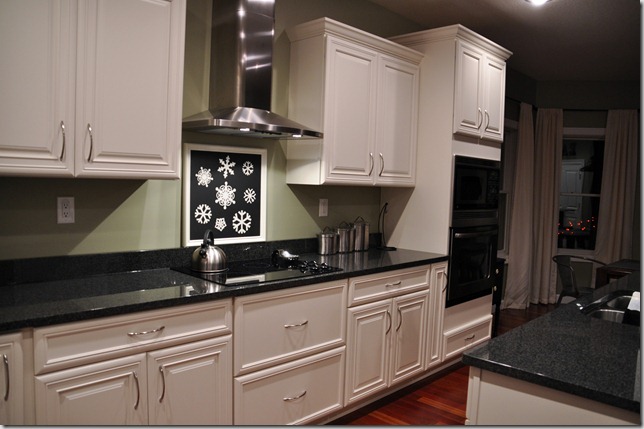
Snowflake Art
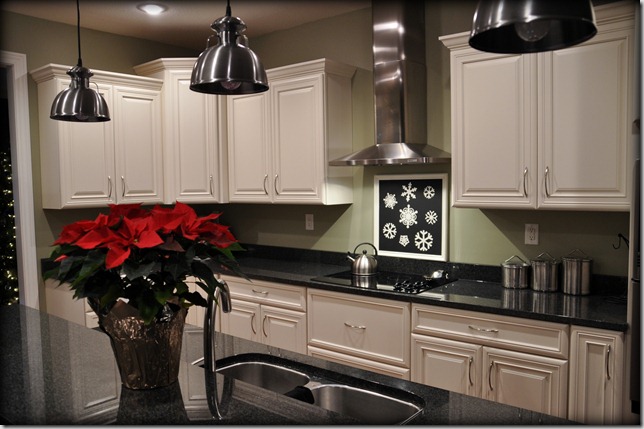
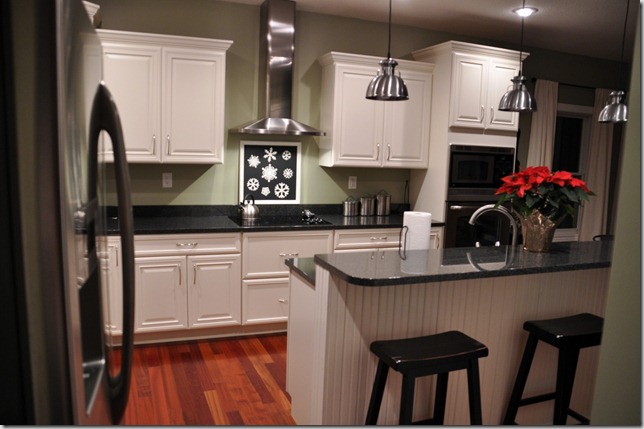
/Our kitchen is lacking something. A lovely backsplash. We can’t make a tile decision to save our lives so we leave it as is and I fill the empty space with pretty art.
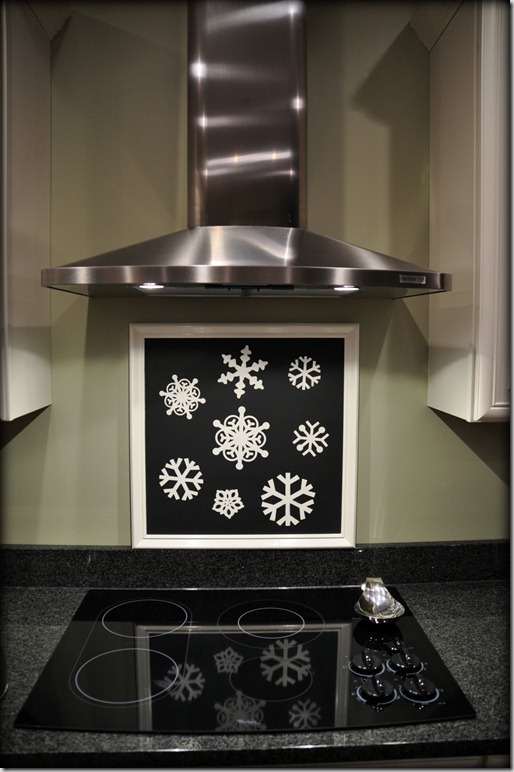
I wanted something a little festive to hang out behind our stove…
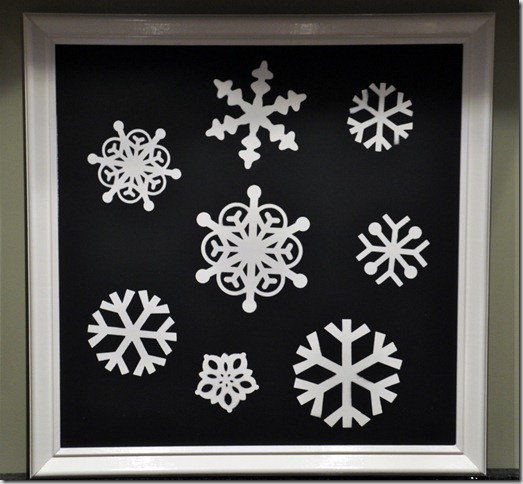
I decided on snowflake art! Snowflakes are great because they last through the winter months. Who wants to go through lots of DIY work for two weeks worth of fun?
The process to make this snowflake art is very similar to the gift I made for my brother. (You can read about that here..unless you are my brother.)
- Purchase a 2x2 sheet of plywood.
- Make your significant other cut it down to size. (Ours was 22” square.)
- You could do this yourself. Just don’t tell my husband.
- Paint the board a background color. (White for our piece.) Let dry.
- Borrow your mom’s Cricut to cut out a bunch of snowflakes.
- I imagine you could also cut your very own.
- Spray back of snowflakes with craft spray adhesive.
- Apply snowflakes to painted board. Press down edges well.
- Use spray paint to cover board and silhouette (Black for our piece.)
- Let dry.
- Remove snowflakes.
- Beg your significant other to cut a frame out of leftover colonial molding from your recent powder room make-over. Use wood glue to apply the frame to the painted board.
- Fill in corners and paint the frame.
- Enjoy your lovely new snowflake masterpiece.
Linking up to: Dare to DIY @NewlyWoodwards (Be sure to check out all of the lovely decked halls. Fa la la la la.), Centsational Girl, HomeStoriesAtoZ, The Inspired Room
On a completely unrelated note, tomorrow is Décor and the Dog’s first birthday. I love a good birthday so consider it a celebration. There will be lots of wisdom sharing (from you and me) and a giveaway!
Happy Birthday dear little blog!

