Laundry How-To’s
/Yesterday I shared with you our updated laundry room…
Today I’ll share with you how we completed some of these easy tasks and what we learned along the way.
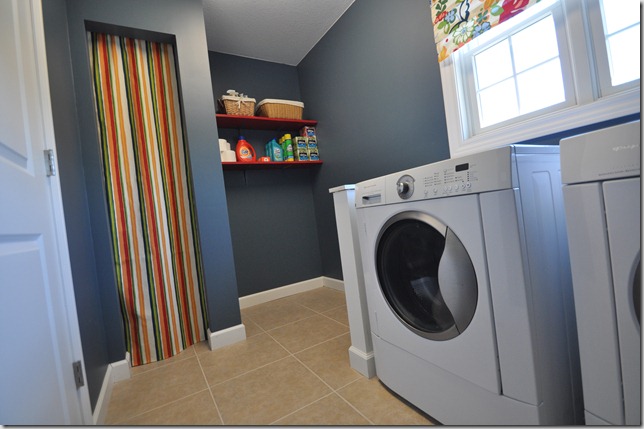
First up….the closet curtain…
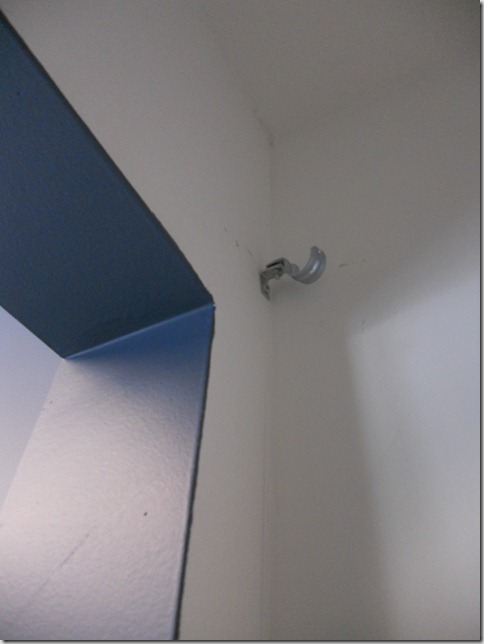
I had originally planned to use an old shower curtain rod but the rod was too wide for the closet. Instead Nate hung two L brackets and one hole straps on the inside of the closet (which is only primed…don’t judge)…
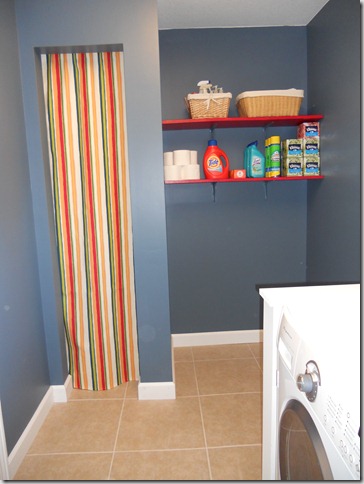
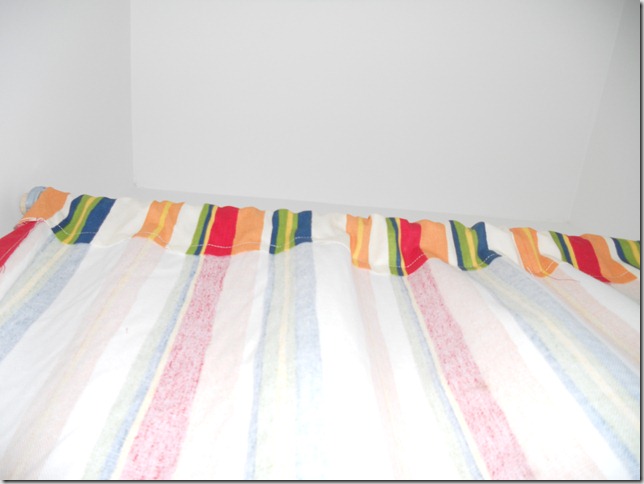
We hung the curtain (which I made out of 3 yards of fabric) on a dowel rod and placed in the one hole straps…done! If I can sew this, you can. It’s a large rectangle with a 1 inch seam allowance on 3 sides and a 3 inch seam for the dowel rod. You don’t even have to sew that straight if you have a closet like ours.
Next, the shelves..
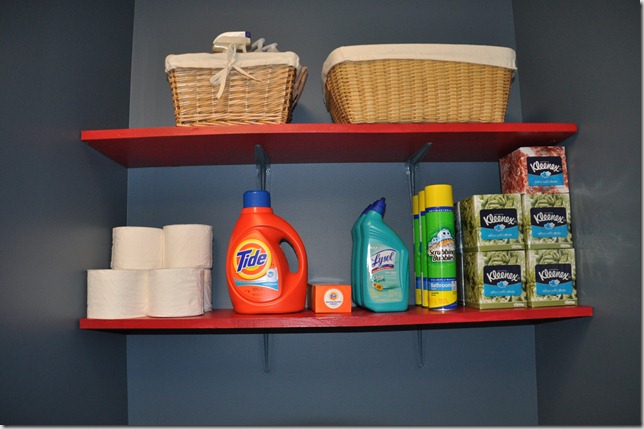
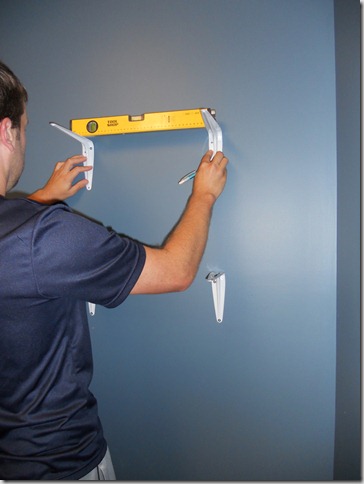
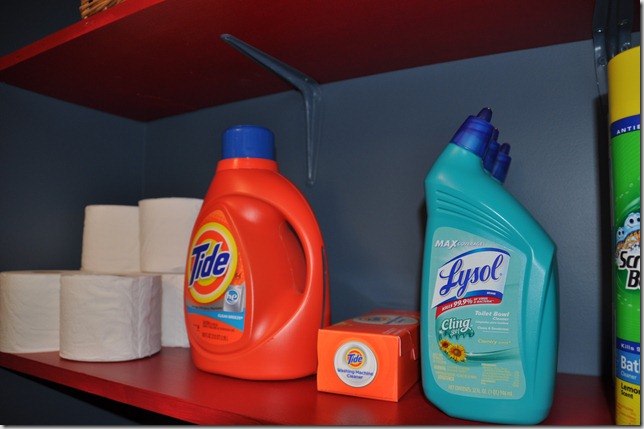
We purchased two shelving boards and cut them to size. I primed and painted them. I used a sample of Valspar’s Radiant Red. The sample was just enough for two coats on both boards. Nate hung four L-brackets and screwed the boards into them. I then painted the white brackets the same color as the wall (Smoky Blue by Sherwin Williams) to help them blend…
I keep trying to go “natural” with cleaners…and then I get lazy. Bring on the Lysol and Scrubbing Bubbles. I inhale amoxicillin dust all day. Pretty sure that will kill me before my toilet bowl cleaner.
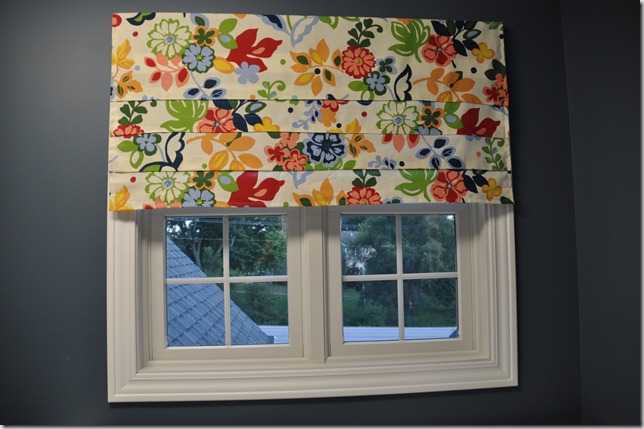
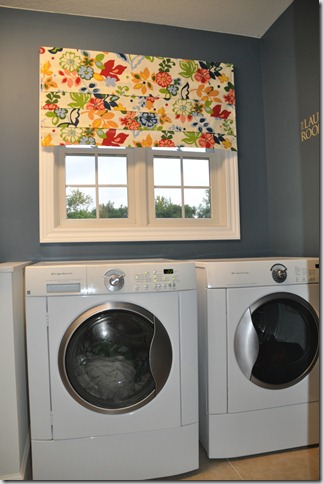
And lastly, the faux roman shade…
I decided to go with the faux shade because privacy really isn’t an issue in our laundry room..except when I walk in half naked in the morning looking for clothes that I failed to put away…but these upgrades are surely going to make we want to finish my laundry as soon as that dryer beeps….for like a week…maybe. And if someone is looking in my second floor laundry room window at 6:30am, I have bigger problems than a faux roman shade.
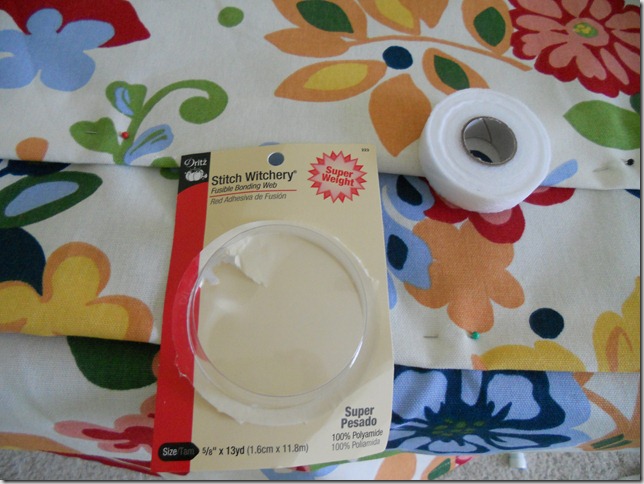
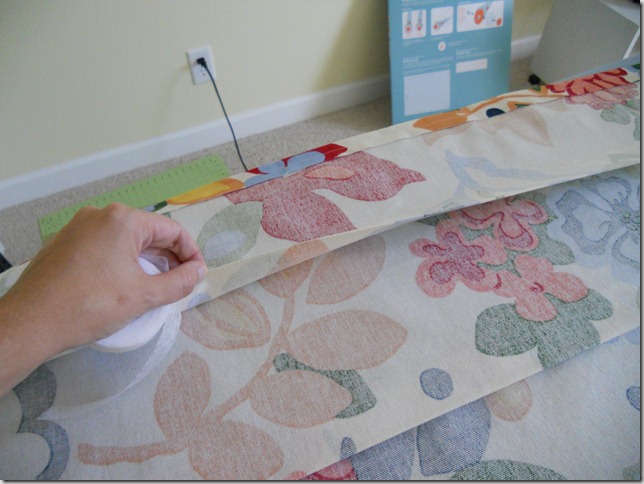
I followed this tutorial. It was super easy to follow so I won’t bother with the step-by-step here. Darby explains it better than I can. (And she remembered to take pictures…which I failed to do.) She used black out fabric but I just left up the blind that was originally in the window to block any light behind the faux shade. I did have to use some stitch witchery (love the name…it’s basically iron-on tape) on the folds (front and back) because the window is wide and the whole shade was floppy.
There you have it. The how-to’s on our inexpensive upgrades!! Any questions?
Who’s coming over to paint the inside of that closet for me? On a side note, Nate hated hanging ALL of these projects and wanted the title of the laundry room post to include a swear word. Good thing I’m in charge of the writing and he’s in charge of the power tools! We have a clean blog and straight shelves. Team work!
Linking up to: Simple Home Life, Remodelaholic, 

