How to Finish a Farmhouse Tabletop

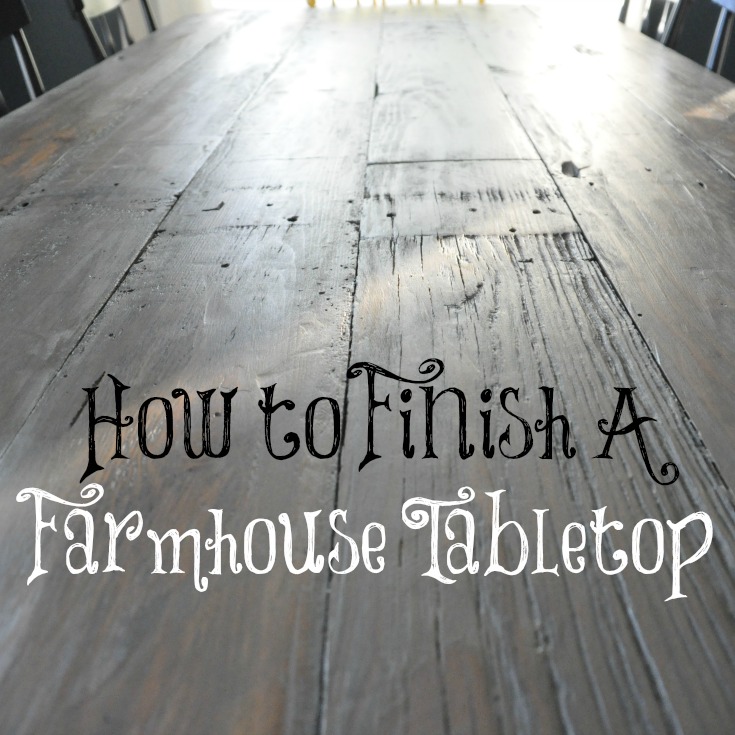
Today I'd like to share with you how to finish a farmhouse tabletop. 

How to Finish a Farmhouse Table from Decor and the Dog.jpg

You're probably wondering "How long can this chick drag on this farmhouse table project that we've only seen bits and pieces of?"  Valid question.  The answer is FOR-EVAH.  Or until Monday.  Whichever comes first.  Patience is a virtue (of which I don't possess.)  And the sun has refused to shine in Iowa for like 2 weeks.  Weak, Iowa. Weak.  (There are a few sunbeams in these photos but it was pretty late in the day.)

Gather Your Supplies

First you will need to gather the supplies you need to finish your tabletop. 

  1. Hand planar
  2. Belt sander
  3. Hand sander
  4. 220 grit sandpaper
  5. Goggles
  6. Mask
  7. Minwax Pre-Stain Wood Conditioner
  8. Stain (We used Rustoleum's Wood Stain in Weathered Gray.)
  9. Staining Pads
  10. Foam Brushes
  11. Polyurethane (We used Minwax's Polyurethane in satin.)

Sand, Sand, and Sand Some More

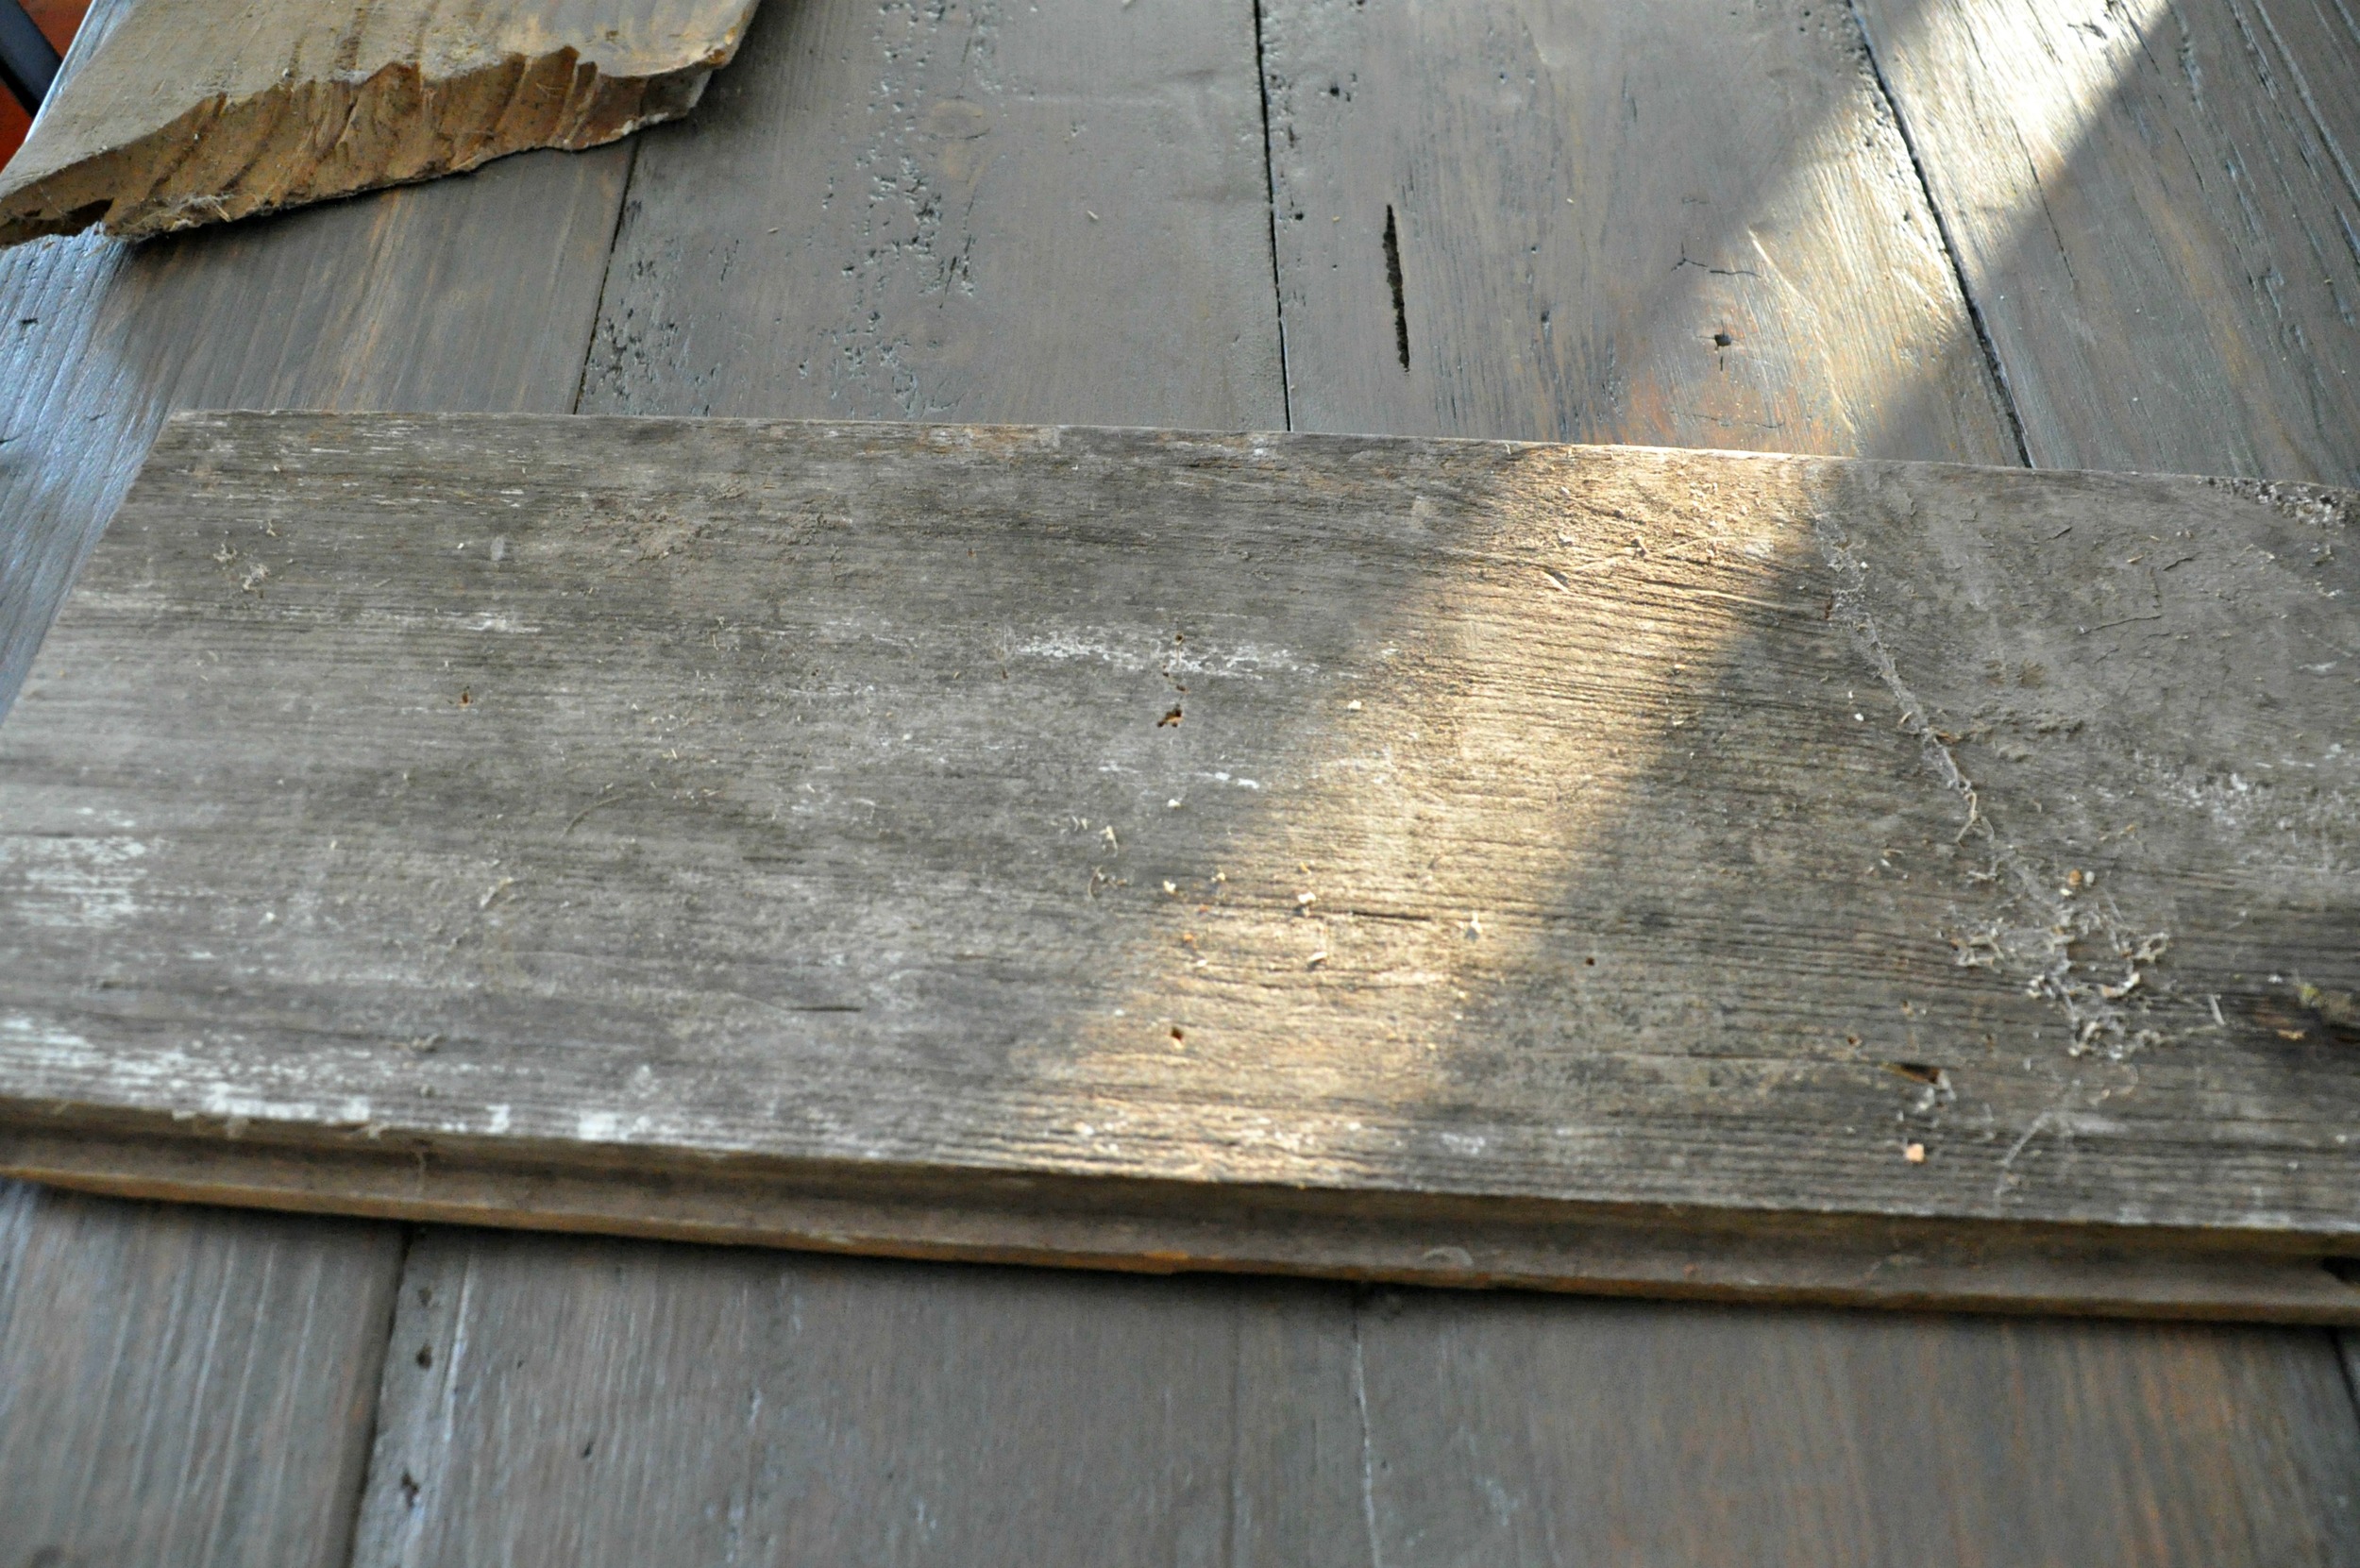
Sanding was the most time consuming part of this table build.  We started with old barn boards that interlocked.  We liked the coloring of the boards but they were pretty dirty and uneven. 

Nate started by using a hand planar to help even out the boards.  He then used a belt sander to further smooth and even out the boards.  He finished by using a hand sander for a little touch up.   (You may not need to do as much sanding if you are using new wood.)

After the sanding was complete, we vacuumed the table and then used a damp rag to remove any remaining dust. 

Below is what the boards looked like before sanding followed by what they looked like after sanding. 

How to finish a farmhouse tabletop.jpg
How to Paint Furniture.  Sanded top..jpg

Wood Conditioner

We used Minwax's Pre-Stain Wood Conditioner to help our stain look it's best.

How to Paint Furniture. Use Wood conditioner!.jpg

We used a staining pad to apply the pre-stain wood conditioner.  We let it soak in for 1-2 minutes.  We wiped off any excess. We waited 15-30 minutes and then we lightly sanded using a 220 grit sandpaper.   Stain within two hours.

The piece of wood below on the left was not treated with the pre-stain wood conditioner.  The piece on the right was.  You can see the stain is more even and looks smoother on the board that was treated with the pre-stain wood conditioner. 

How to Finish a Farmhouse Table. Wood Conditioner.jpg

We don't always use the pre-stain wood conditioner.  It depends on the project and what type of look we are going for.  We didn't love the look on these boards without it. 

Apply Your Stain and Polyurethane

We chose Rustoleum's Wood Stain in Weathered Grey.  We wanted the boards to look like their original gray color.  Just less dirty.  

We used Minwax's Polyurethane in satin.  Because that's what we always use and there is always some in our basement.  (It's easy to apply and dries well.) 

Apply stain with a staining pad.  Let sit 1-2 minutes and wipe excess.  Let the stain dry for a day.  

Apply the polyurethane with a foam.   Let dry ~6 hours.  Sand lightly with 220 grit sandpaper.  Apply a second coat.  

Wait at least 12 hours before light use.


stained table top.jpg
Farmhouse Tabletop.jpg

You can see that our table still has lots of imperfections and still looks rustic.  The beauty is that it is now clean and plates will only slightly wobble on them.  Wobbling plates is part of the charm of the reclaimed wood, right?  We love the nail holes and scratches.  We want things in our home to be less precious.  This table is precious in that it was built with love.  Not precious in the way that you only want to look at it instead of use it.

See the full table reveal here


Photobucket Photobucket Photobucket Photobucket PhotobucketPhotobucketfollow us in feedly

Ike Wearing Charlie Be Good

If you've been reading awhile, you know that Ike is a very fashionable dog.  He's not really into clothes all that much.  He's more into accessories.  He loves bandannas, long ties and bow ties. Oh, does he love bow ties.  

I'm serious too.  The dog gets super excited about any new accessory.  I should video tape it.

He got REALLY excited when he received a package in the mail from France!  He's clearly an important dog.  What was in that package? 

Ike and a Charlie Be Good Tie.jpg

A bow tie!  An adorable hunter plaid bow tie from France!

The lovely owner of Charlie Be Good contacted me wondering if Ike would like a new accessory.  Ike pounced all over that opportunity.  He helped me pick out the hunter plaid bow tie.  We both thought it would look great for our upcoming holiday photo.

Charlie Be Good Tie and Ike.jpg

The owner of Charlie Be Good is super sweet. Her fabric selection is fantastic.  She finds her fabric in the Paris textile district.  That just sounds fancy. I think Davenport needs a textile district.  Still doesn't have the same ring, does it?

I am truly impressed with the quality of this tie.  I can sew dog ties but this tie was sewn to perfection.

And Ike thinks he looks stunning.  Modesty is not one of his strong suits. 

Charlie Be Good Tie.jpg

Be sure to check out Charlie Be Good for an adorable bow tie for your favorite pup.  They also just opened Charlie Be Home which is full of handmade and limited edition home decor, kids items and accessories. Such cute stuff!

Is your dog into accessories?  Is your dog more stylish than you are?  It's okay because mine is. 

 ***We weren't compensated for this post.  Ike received his ridiculously cute bow tie in exchange for modeling.***


Photobucket Photobucket Photobucket Photobucket PhotobucketPhotobucketfollow us in feedly

Rantings and September Recap

Merry Christmas!!!

Oh, too soon?  Retailers are making me grouchy with their need to skip Thanksgiving.  Thanksgiving is one of the best holidays, fools.  There will be no Christmas on the blog.....yet.

And don't get me started on this day light savings time business. I think I might buy a light box this year.  Seriously.  And how is a blogger supposed to photograph her pretty new dining table when it gets dark at 4:45pm and she doesn't get home until 5:30pm? Riddle me that one.  Or the fact that I'm off tomorrow at 4:00pm but it's supposed to rain until 2015.  Ahhhh.

So, instead of my beautiful new table built by my darling husband (barf), you get September's recap.  Yes, I realize that it's now November.  Lay off. 

Here's what you forgot about.  Or missed.  Either way, right? 


Catch up on the rest of 2013 here:  

January February March April May June July August

Now I want Chicago style pizza.  Any rants you'd like to share with me today?  What was your favorite September project? 

How to Paint Chairs the Easy Way

This is one of those posts where it's a "Why didn't we do this sooner?" kind of thing.

This weekend we tackled our dining chairs.   (Along with 1 million other things.  We're actually hosting a party next weekend and it's been good motivation for us to get some crap done.  Sorry I wrote crap but cleaning carpets, touching up trim, and clearing out dead flowers are all crap things.)  

How to Spray Paint Chairs the Easy Way!.jpg

Our chair project was actually quite fun!  Seriously. Fun.  Because we bought a paint sprayer!

Graco Spraystation 2900.jpg

We purchased the Graco Spraystation 2900.  (Key word "purchased".  Graco doesn't know about us.)  We decided to break down and buy a paint sprayer because we needed a more economical way to paint furniture.  Spray paint is expensive and I was using a lot of it.  We have a ton of paint in our basement that needs used.  Welcome to your new home little paint sprayer.

We decided to go with the Graco Spraystation 2900 paint sprayer based on reviews in Family Handyman. HVLPs are quieter than other pump sprayers.  There is less over spray.   The paint dries faster.  It has a fine finish that is good for furniture.

How to Paint Chairs.jpg

The paint sprayer is easy to use.   We found that you need to use small strokes and keep the nozzle a consistent distance away from the piece of furniture.  It's best to move your whole arm and not just your wrist.   Ladies, I recommend this paint sprayer because then your husband will be all like "Yay.  New toy.  Will paint wife's furniture for her."  Wise investment.

This paint sprayer is so fantastic that we were able to complete three coats (primer and 2 coats of paint) in 1 hour.  I would still be painting these chairs 3 weeks from now without it.  Best DIY investment we've made in a long time! 

Here's round 1, the primer. 

Primed Chair.jpg

Next is where things get crazy.  We hemmed and hawed on what color to paint the end chairs.  We wanted them to stand out but we were also nervous about them being crazy.  We decided to go big or go home and try a color.  We went Olympic's Gold Buttercup.  Which is perfect because one of my favorite sayings lately is "What's up, Buttercup?"

Easy way to paint chairs.jpg
painted chairs.jpg

It's bright.  We think we like it.  It's a little bolder than our traditional style.  But it's growing on us.  Or is it too bold?  Eh. It's only paint.  If we don't like it, we'll bust out the paint sprayer again!

The Easy Way to Paint Chairs {Great Beginner Project}.jpg

What do you think of the color?  Be kind. :P  Are you a fan of the ol' paint sprayer?

Photobucket Photobucket Photobucket Photobucket PhotobucketPhotobucketfollow us in feedly

Mummy Costume

Yesterday was a big day at work.  My department (the pharmacy) won the Halloween costume contest!!!

20131031_084626_3.jpg

I was the mummy.  I dyed a white sheet in some coffee.  (I smelled like toffee coffee all day.)  I ripped the sheets and pinned them to some long underwear.  I used a spray sock on my head.  I added a little black eye makeup and mummy done. 

I then realized that I needed gas in my car to get to work and I was dressed as a mummy.  Nate went and got it for me after some mummy begging.  Husbands. 

IMG_20131031_090422.jpg

I had trouble looking at co-workers without laughing.  Patients either stared or wouldn't look me in the eye as I explained their medications to them.  You know, just another day at work. 

One of my co-workers had some cool embalming stuff and creepy Halloween decorations.  Another co-workers brought in some dry ice and food coloring.  Too much fun.

IMG_20131031_154614.jpg

More importantly, Ike dressed up too.  He decided that he wanted to be Uncle Si from Duck Dynasty. 

IMG_20131031_182814.jpg

The resemblance is uncanny. 

Did you have a good Halloween?  What was your favorite costume (either worn or seen)? 

Nutterbutter Ghosts

Alternate title: Things I'm Good At.  Things I'm Not

Because all holidays require a potluck at work, I whipped up my favorite Halloween treat.  Nutter Butter Ghosts!!! 

Nutter Butter Ghosts.jpg

Nutter Butter ghosts fall firmly in the "Things I'm Good At" category.  They are super simple and you can still whip some up today!  And I can't ruin them so they are moron proof. 

These cute little guys are made of 3 ingredients: 

  • 1 package Nutter Butter
  • 1 package of some form of white chocolate.  I really like this CandiQuik brand. 
  • Mini Chocolate Chips

20131029_113808.jpg

All you do is melt the CandiQuik for about 1 min 30 seconds.  Dunk your Nutter Butter in the chocolate.  Use a fork to shake off excess chocolate.  Place them on wax paper.  Stick on two eye balls (mini chocolate chips). Let cool. Done-zo.   

That's my kind of treat. 

Now onto the "Things I'm Not Good At"

1.  Quickly adding a hover pin-it button to the blog.  I did it in Blogger but I hadn't done since my host change.  It really was ridiculously easy.  I just failed to type my blog address in correctly for like 45 minutes.   Oh my.  But there's a pin-it button now!!!

2.  Making Whoopie Pies.  I bought a $3 whoopie pie pan a couple of weeks ago. I couldn't wait to try it.  Man, did I fail the first two batches.  The first batch I managed to turn off the oven in the middle of baking (WHAT? WHO DOES THAT?).  The second I filled the pan too full.  My 3rd batch turned out darling.  I need some more whoopie pie practice.


whoopie pies.jpg

Happy Halloween!  Are you dressing up today?  My place of employment dresses up every year.  I always enjoy trying to get an upset patient to take me seriously in costume.  The pharmacy always does a group costume.  This year we are doing a mad scientist lab theme.  (Check Instagram (decorandthedog) for pics! 

Do you have a costume this year?  Tell us all about it! 


Dining Room Chairs

It's blogger show and tell time.   With yelling.

We have new dining chairs! 

Crate and Barrel Willa Raven Dining Chair.jpg

Nate and I had been looking for dining room chairs for a couple of months now.  We were looking for 8 chairs to go with our new farmhouse table that Nate is building.   That will hopefully be finished next week.  Or Christmas.  Whatever.

We browsed Craigslist.  We had one guy list the perfect set for $75.  I was in love but I was trying not to get my hopes up.  It is Craigslist after all.  Turns out his son listed them at the wrong price.  They should have been $475.  YOU CAN'T DO THAT!!!  I e-mailed on like 1000 others.  We spent 100 Saturday mornings at thrift stores trying to find our precious chairs.

The only chairs we could find were the 1990's Windsor style (which I don't hate but Nate does).  We were both iffy on having a mismatched set.  I've seen it look good. Nate wasn't buying it.  The mismatched didn't seem like a great fit for our style. 

I showed Nate the Crate and Barrel's Willa Side Chair.   He liked them and gave me permission (without nagging) to buy them.  Weird.  I'm still trying to figure out what the catch is.

I was headed to Naperville a few days later to pick them up.  The website said I wouldn't be able to pick them up for a few weeks.  Womp, womp.  I ended up using the customer chat thingy on their website and their lovely employee got me a pick up for the day I was headed to Naperville.  Thanks lovely employee whose name I don't remember.  Because I'm horrible with names. 

We loaded them up in my sister-in-law's van.  I am no longer allowed to make fun of mini-vans again.  But I will.  I mean, I can't. 

Anywho, long story short. Pretty chairs in my dining room.  Ike approves.  Well, sort of.  He wasn't into modeling this day. 


Crate and Barrel Willa.jpg

We only bought six chairs.  We did find two chairs at our local Restore (WHY COULDN'T THERE BE SIX???) and we think they will go nicely on the ends of the table.  Well, they will go nicely once they are cleaned and painted.   

Decor and the Dog dining chairs.jpg

Off to pester Nate about working on the dining table.  He has some sanding left to do and I have some finishing to do.  We're so close! 

IMG_20131024_143459.jpg
Photobucket Photobucket Photobucket Photobucket PhotobucketPhotobucketfollow us in feedly

DIY Suitcase Dog Bed

It's pretty clear that Ike is a deprived dog.  So deprived that he just now, at almost 7 years of age, got a dog bed.   

Of course, Ike couldn't have just any dog bed.  He needed a re-purposed suitcase dog bed.  Key word: needed

DIY Suitcase Dog Bed {repurpose}.jpg

I've been spending a lot of time in my craft room lately.  Ike follows me wherever I go. (Bathroom and shower included.)  Ike likes to be comfortable.  The only spot for the dog to lay in the craft room is on the floor.  This puts him out.  He does this thing where he sighs when he doesn't get what he wants.  There was lots of sighing in the craft room.  It's funny and pathetic all at the same time.

Ike quilts.jpg

I told Nate that we needed to get him a dog bed.  We decided that a suitcase one would be the most appropriate for a hipster dog like Ike.  We began our suitcase hunt.  Vintage suitcases are kind of expensive.  We found this one for ~$15.00.  Ike approved.

20130929_122930.jpg

Nate unscrewed the top.  I shoved a pillow and some of Nate's old t-shirts into the bottom.  I then covered it with some material from my stash.  Hipster dog bed complete. 

Vintage suitcase dog bed.jpg

Nate and I both assumed that we'd make this for him and then he wouldn't use it.  That would totally be an Ike thing to do.  But he loves it.  He crawls right on in.  

DIY Dog Bed {repurposed suitcase}.jpg

There is still some sighing over constantly wanting bones and not being able to go on walks 24/7.  At least we have the craft room covered. 

Photobucket Photobucket Photobucket Photobucket PhotobucketPhotobucketfollow us in feedly

Mona

If you've been reading awhile, you may have gathered that I'm obsessive compulsive.   

If you're new here, hi!  I'm obsessive compulsive. 

Nate and I went antiquing with my parents about a month ago. In one of the shops, I saw the coolest Mona Lisa replica.  Nate thought it was dumb. I was trying to be a good wife and compromise or something stupid. 

I kept thinking about Mona.  I couldn't get her out of my head. She needed to live in my house.  So I asked my dad if he would stop by and purchase her if she was still there.  He's all about supporting my crazy endeavors, as a good dad should. 

I received this text from him. 

Screenshot_2013-10-24-20-58-50.jpg

This is why my dad is one of my favorite humans.  Besides the whole contributing to my life thing. 

So, I kept Mona a secret and Nate unwrapped her for his birthday.  My dad and I thought it was hilarious.  Nate didn't get it.  You know, the usual. 

She's quite stunning. 

20131024_205329.jpg

I'm not exactly sure where she is going to permanently live.  I'm thinking the office or the dining room.  Only time will tell.   Or maybe above Nate's side of the bed.

There are a bunch of scribbles on the back.  I think someone thought it was an original.  Which it totally is. 

20131024_205349.jpg
writing.jpg

Moral of this story: I'm a crazy person with a cool dad who likes to do things that annoy her husband.

Happy weekend! 

Photobucket Photobucket Photobucket Photobucket PhotobucketPhotobucketfollow us in feedly

Pumpkin Chocolate Chip Bread

All things pumpkin is sort of blogger cliche.  But I'm totally doing it today.   I should have had a chevron fabric background with a mason jar of milk next to it.  Someday I'll get these things right.

Can you believe that I didn't eat pumpkin until last year?  I've always been a picky eater but I've been trying to expand my horizons the past couple of years.  Good thing or I would have completely missed out on pumpkin.  That would have been tragic. 

Today I thought I'd share with you one of my new favorites, pumpkin chocolate chip bread. 


Pumpkin Chocolate Chip Bread.jpg

I want to eat another loaf in one setting just looking at the gorgeous nighttime photo. 


Pumpkin Chocolate Chip Bread

  • 1 can pumpkin puree (plus a little more if you love pumpkin)
  • 1 tsp vanilla  
  • 3 eggs
  • 1/4 cup sour cream
  • 3/4 cup vegetable oil
  • 1 2/3 cup flour
  • 1 cup sugar
  • 1/2 tsp salt
  • 1/2 tsp baking powder
  • 1/2 tsp baking soda
  • 2 tsp pumpkin pie spice
  • 2 tsp cinnamon
  • 1/4 tsp nutmeg
  • 1 cup chocolate chips + some for sprinkling on top

Instructions 

  1. Preheat oven to 350 F degrees. Grease loaf pan or line with parchment paper.
  2. In a medium bowl: combine the pumpkin, eggs, oil, vanilla and sour cream until smooth.
  3. In large bowl: sift together the flour, sugar, baking soda, baking powder, salt, pumpkin pie spice, cinnamon and nutmeg.
  4. Pour wet ingredients into dry ingredients and whisk until smooth.
  5. Fold in 1 cup chocolate chips.
  6. Pour into prepared loaf pan. Sprinkle some chocolate chips on top.
  7. Bake ~70-75 minutes or until a toothpick comes out clean.
  8. Eat up!

Need more pumpkin in your life?  Try these other tasty pumpkin recipes! Pumpkin Bars,  Pumpkin Chocolate Chip Muffins, Pumpkin Chocolate Chip Skillet Cookie!

Photobucket Photobucket Photobucket Photobucket PhotobucketPhotobucketfollow us in feedly