
How to Finish a Farmhouse Tabletop
/Today I'd like to share with you how to finish a farmhouse tabletop.

You're probably wondering "How long can this chick drag on this farmhouse table project that we've only seen bits and pieces of?" Valid question. The answer is FOR-EVAH. Or until Monday. Whichever comes first. Patience is a virtue (of which I don't possess.) And the sun has refused to shine in Iowa for like 2 weeks. Weak, Iowa. Weak. (There are a few sunbeams in these photos but it was pretty late in the day.)
Gather Your Supplies
First you will need to gather the supplies you need to finish your tabletop.
- Hand planar
- Belt sander
- Hand sander
- 220 grit sandpaper
- Goggles
- Mask
- Minwax Pre-Stain Wood Conditioner
- Stain (We used Rustoleum's Wood Stain in Weathered Gray.)
- Staining Pads
- Foam Brushes
- Polyurethane (We used Minwax's Polyurethane in satin.)
Sand, Sand, and Sand Some More
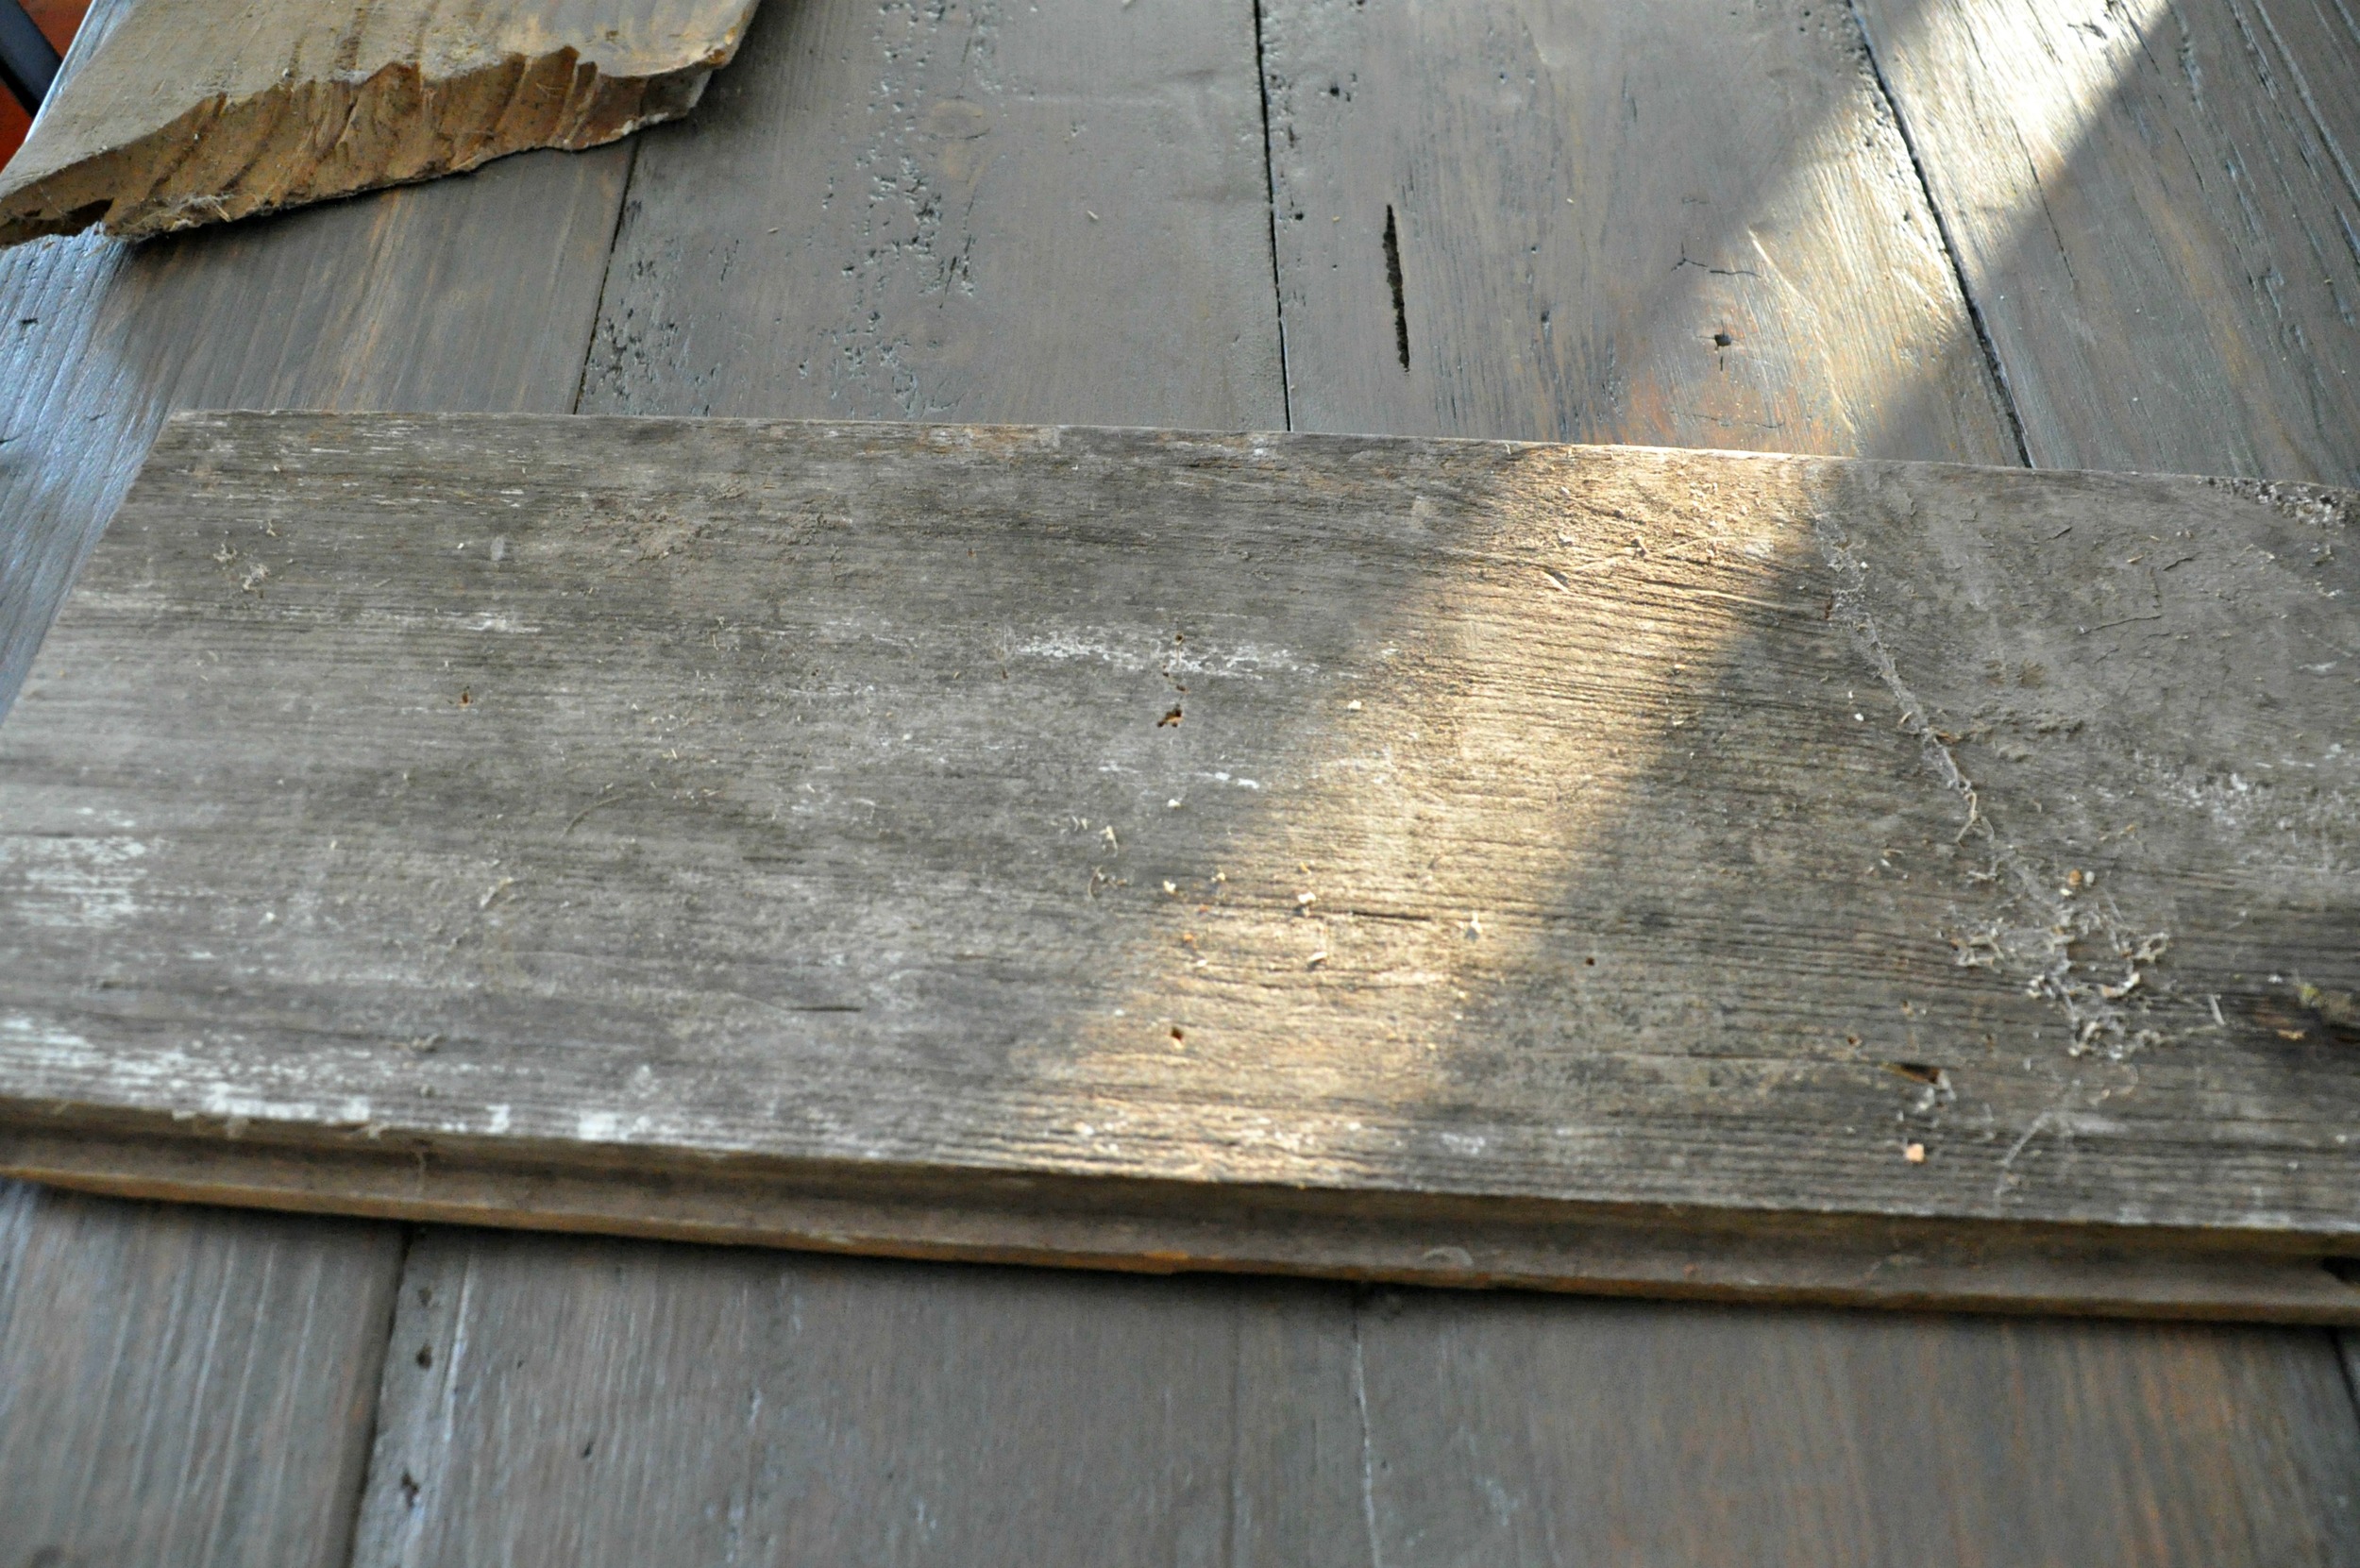
Sanding was the most time consuming part of this table build. We started with old barn boards that interlocked. We liked the coloring of the boards but they were pretty dirty and uneven.
Nate started by using a hand planar to help even out the boards. He then used a belt sander to further smooth and even out the boards. He finished by using a hand sander for a little touch up. (You may not need to do as much sanding if you are using new wood.)
After the sanding was complete, we vacuumed the table and then used a damp rag to remove any remaining dust.
Below is what the boards looked like before sanding followed by what they looked like after sanding.

Wood Conditioner
We used Minwax's Pre-Stain Wood Conditioner to help our stain look it's best.

We used a staining pad to apply the pre-stain wood conditioner. We let it soak in for 1-2 minutes. We wiped off any excess. We waited 15-30 minutes and then we lightly sanded using a 220 grit sandpaper. Stain within two hours.
The piece of wood below on the left was not treated with the pre-stain wood conditioner. The piece on the right was. You can see the stain is more even and looks smoother on the board that was treated with the pre-stain wood conditioner.

We don't always use the pre-stain wood conditioner. It depends on the project and what type of look we are going for. We didn't love the look on these boards without it.
Apply Your Stain and Polyurethane
We chose Rustoleum's Wood Stain in Weathered Grey. We wanted the boards to look like their original gray color. Just less dirty.
We used Minwax's Polyurethane in satin. Because that's what we always use and there is always some in our basement. (It's easy to apply and dries well.)
Apply stain with a staining pad. Let sit 1-2 minutes and wipe excess. Let the stain dry for a day.
Apply the polyurethane with a foam. Let dry ~6 hours. Sand lightly with 220 grit sandpaper. Apply a second coat.
Wait at least 12 hours before light use.
via Lowe's


You can see that our table still has lots of imperfections and still looks rustic. The beauty is that it is now clean and plates will only slightly wobble on them. Wobbling plates is part of the charm of the reclaimed wood, right? We love the nail holes and scratches. We want things in our home to be less precious. This table is precious in that it was built with love. Not precious in the way that you only want to look at it instead of use it.
See the full table reveal here!


