Quick and Easy Craft #3- Freezer Paper Stencil Tote Bag

While I am soaking up the rays in Florida (while wearing SPF 50 and a big floppy hat), I will leave you with 4 days worth of quick and easy crafts. You may have seen some of them multiple times. Some may be new. All with be easy, fairly quick and inexpensive ways to entertain your friends. Enjoy!

You know what stinks.  When you turn your supposedly non-crafty friends into better crafters than yourself.  I created monsters.  Our next adventure in crafting was using freezer paper as a stencil for tote bags.  I’ve had the freezer paper forever but I had been afraid to use it.  My newly created craft monsters were all over it.

Freezer Paper Stenciled Tote Bag

Materials Needed:

  • Tote 
  • Fabric paint or acrylic paint/fabric medium 
  • Freezer Paper 
  • Iron 
  • Paint Brush 
  • Cardboard

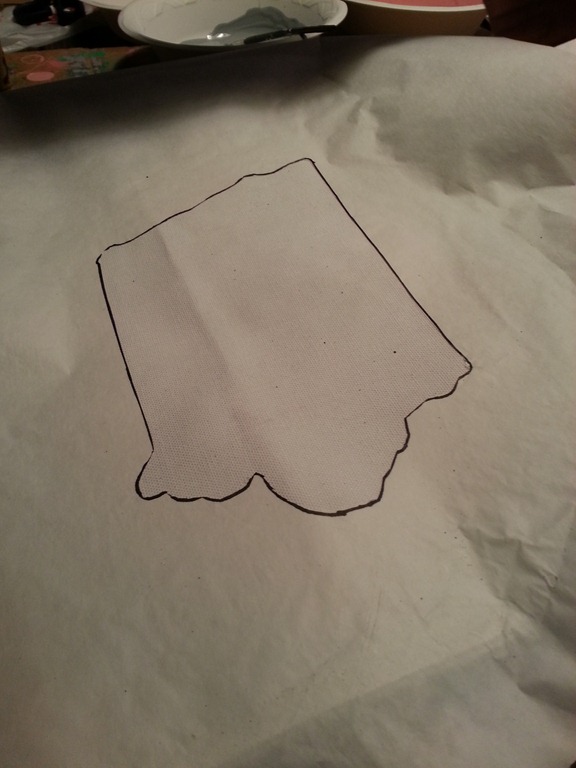
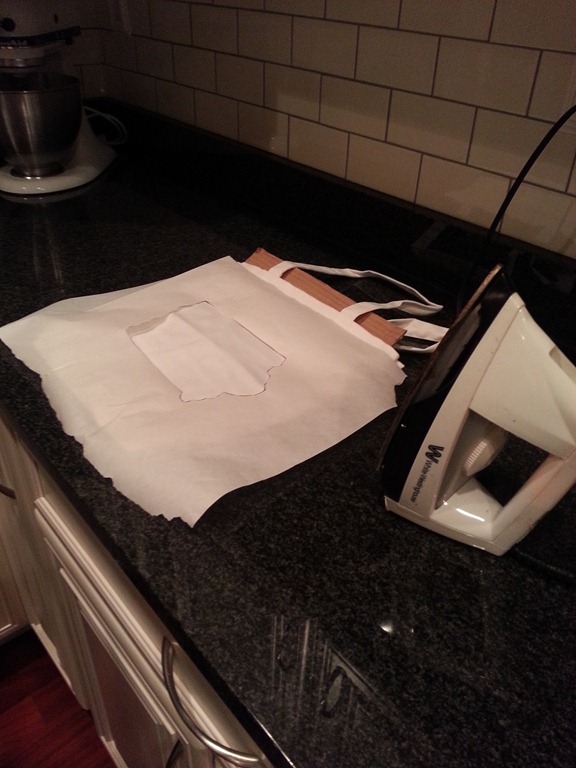
Start by tracing and/or drawing the design you want onto freezer paper with the shiny side down.  Cut out your design.  We used scissors.  (And Exacto knife would be awesome too.)  Iron the freezer paper to your tote (shiny side down).  Pay special attention to the edges.  We found that the freezer paper stuck best if you let the iron rest on it for about 5-10 seconds.

20130419_211929
20130419_205344

Stick a piece of cardboard inside the tote so it doesn’t bleed through.

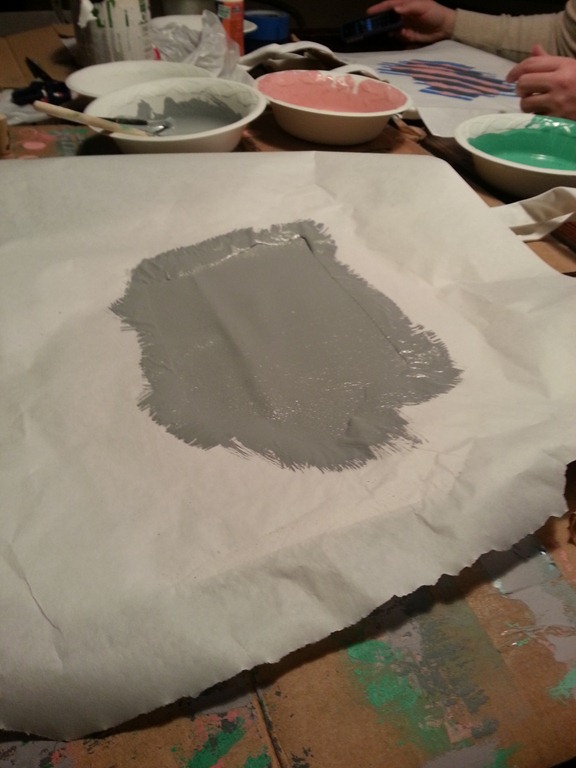
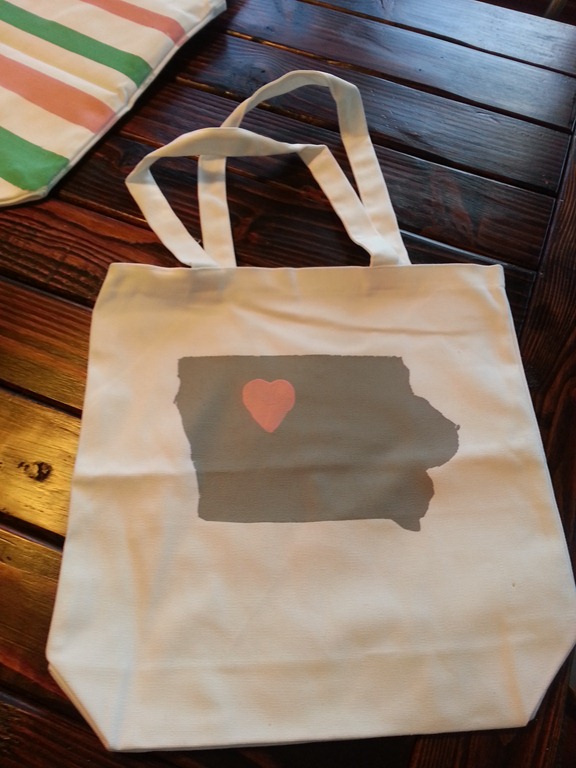
Now it’s time to paint.  My friend, Melissa, choose to stick with one solid color.

20130419_212124

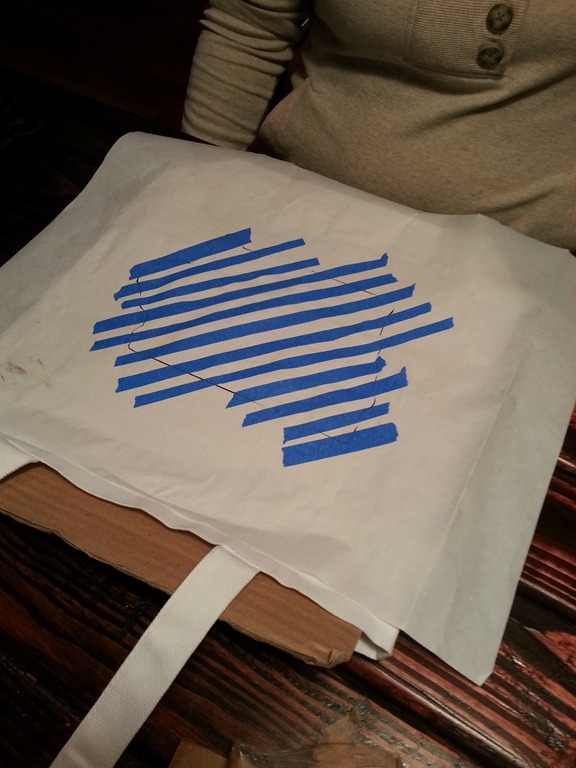
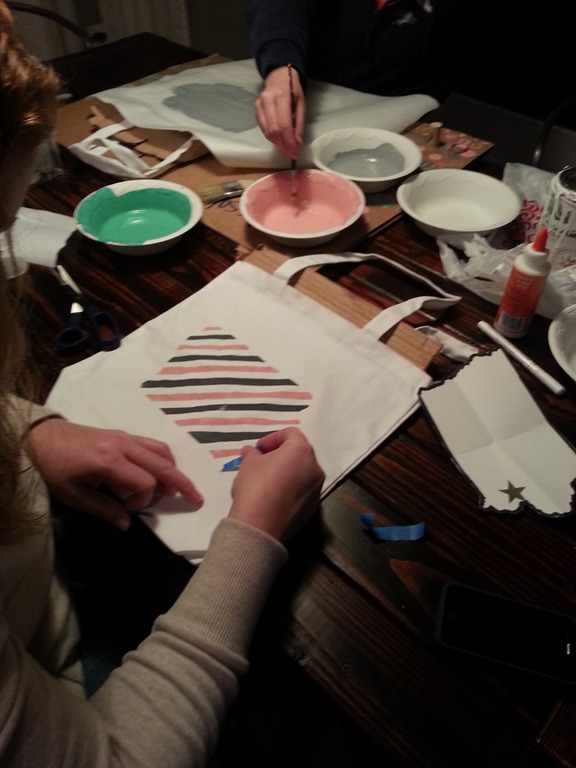
Amanda went wild with stripes.  (I really should have busted out the real camera.)

20130419_210342

Every tutorial I read using freezer paper recommends leaving it on for an hour.  The three of us combined have about 8 minutes worth of patience.  And that is precisely how long the freezer paper stayed on the tote bags.  The both turned out great.  I wish I would have grabbed a better picture of Amanda’s because the stripes were so cool.

20130419_212441

I totally almost stole Melissa’s.  It’s just too cute.  (Mine is the striped one in the corner. Boring.)  I really like how the stencil paper turned out and I’ll be making one for myself very soon!  I think they’d be great farmer’s market or beach totes!

20130420_095005
Freezer Paper Stencil Tote Bag.jpg

Have you tried using freezer paper for stenciling before?


Photobucket Photobucket Photobucket Photobucket PhotobucketPhotobucketfollow us in feedly

Quick and Easy Craft #2- Home Sweet Home Sprinkle Art

While I am soaking up the rays in Florida (while wearing SPF 50 and a big floppy hat), I will leave you with 4 days worth of quick and easy crafts. You may have seen some of them multiple times. Some may be new. All with be easy, fairly quick and inexpensive ways to entertain your friends. Enjoy!

I have a secret for you.  In order to get your supposedly non-crafty friends pumped about crafting, you need to start with a ridiculously easy (yet super cute) craft.  It will get them all encouraged and loving paint and glue.  Trust me.

I started my best buds out with a little “Home Sweet Home” art that I had been wanting to try. 

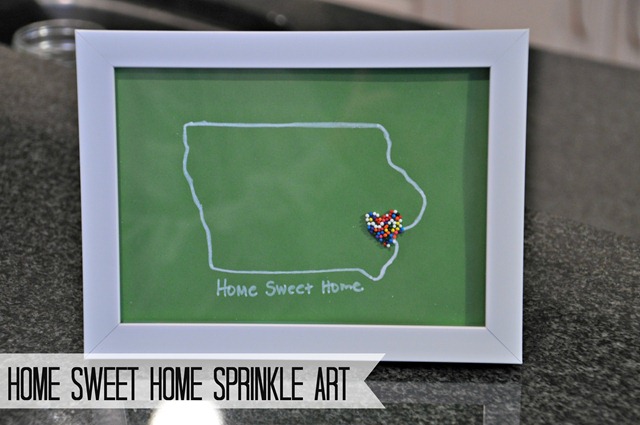
Home Sweet Home Sprinkle Art

Materials needed:

  • Cardstock
  • White marker (We used a paint pen.)
  • Printed copy of your state
  • Glue
  • Sprinkles

20130419_155749

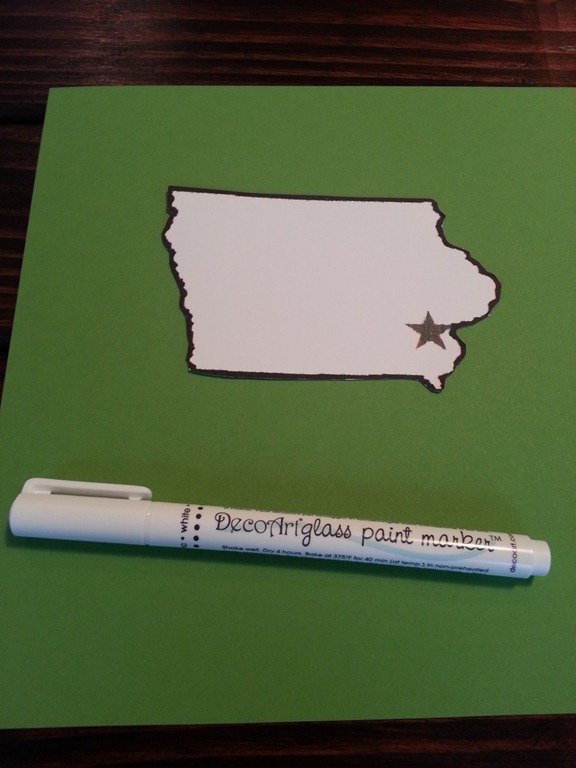
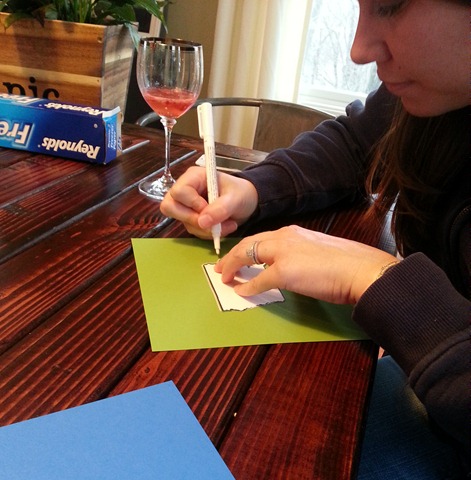
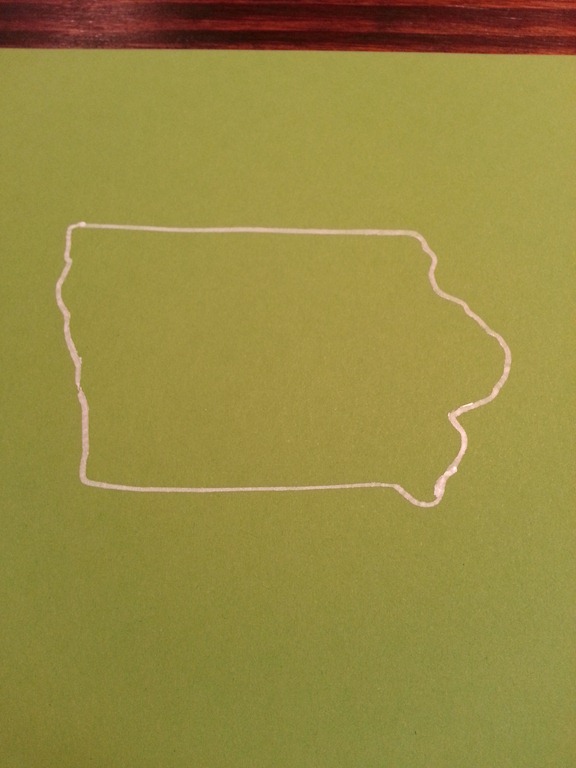
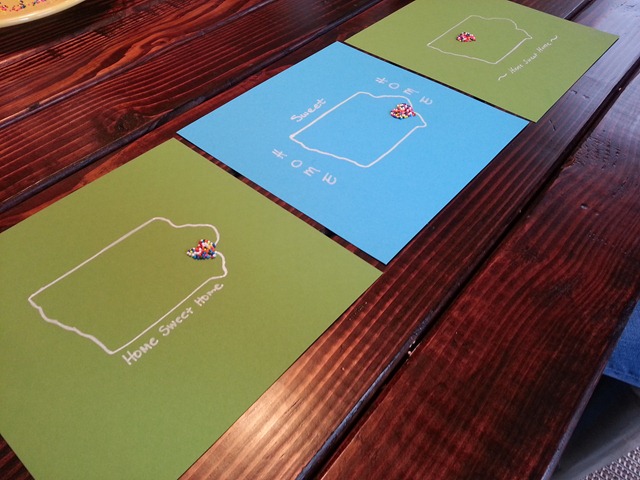
Center your copy of your state on the cardstock.  Trace with the white pen.  We were cursing Iowa’s river borders but probably not as much as those city workers trying to protect downtown Davenport from flooding.  Wait, we were probably worse.

20130419_155934

20130419_155915

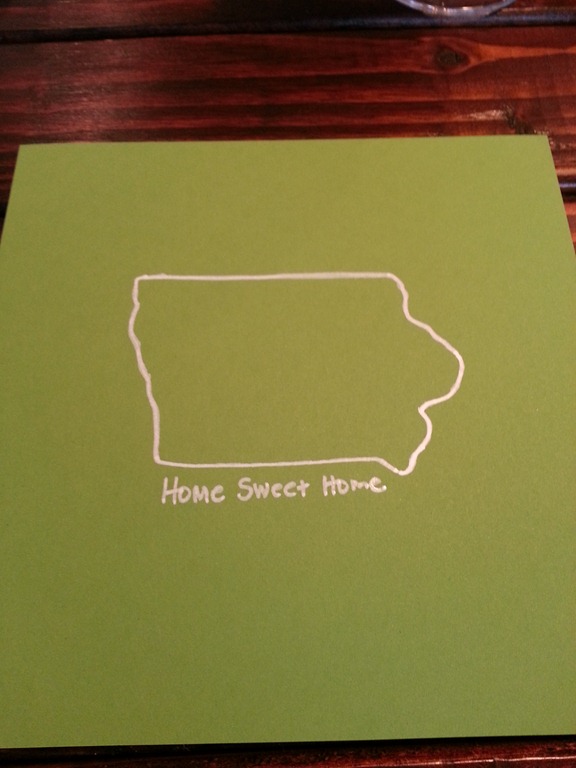
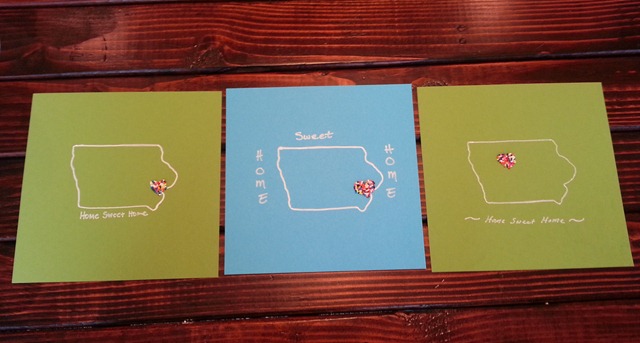
Add your “Home Sweet Home” saying wherever you would like.  We all choose different locations. I also like that this craft uses your own handwriting.  It’s like a little time capsule.  Sort of. It sounds good.

20130419_160329

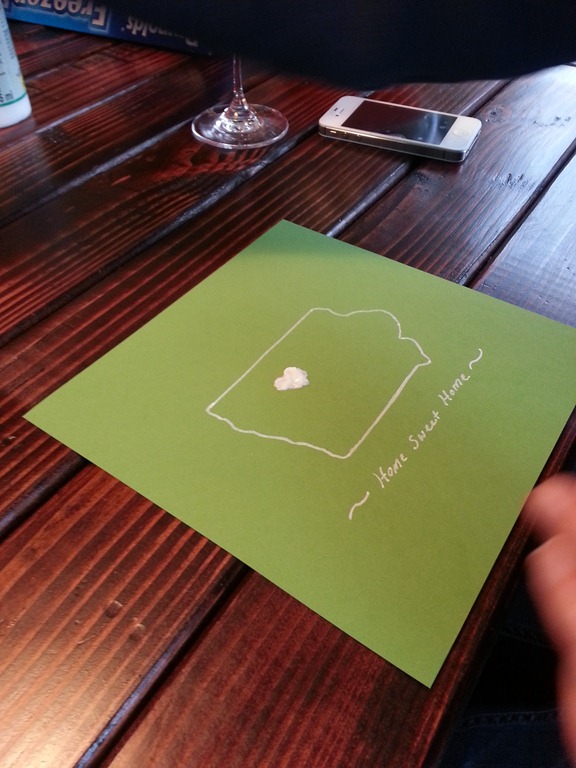
Make a heart in your favorite location using glue.

20130419_160804

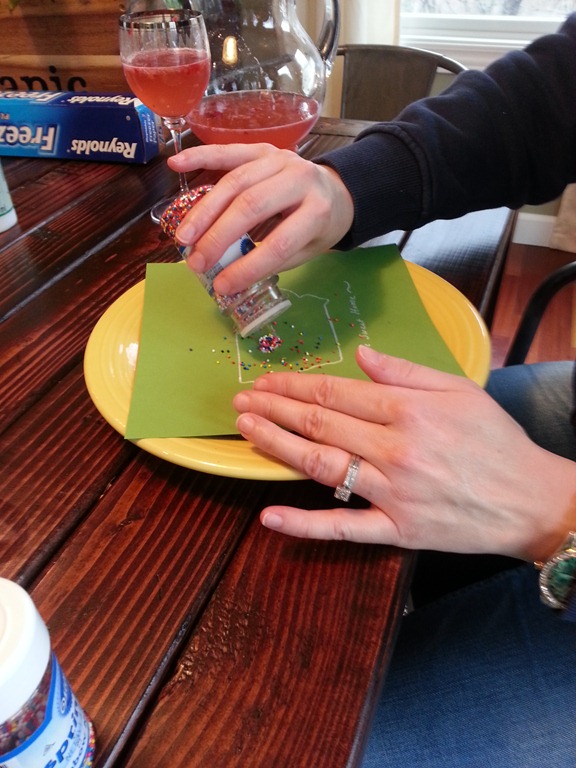
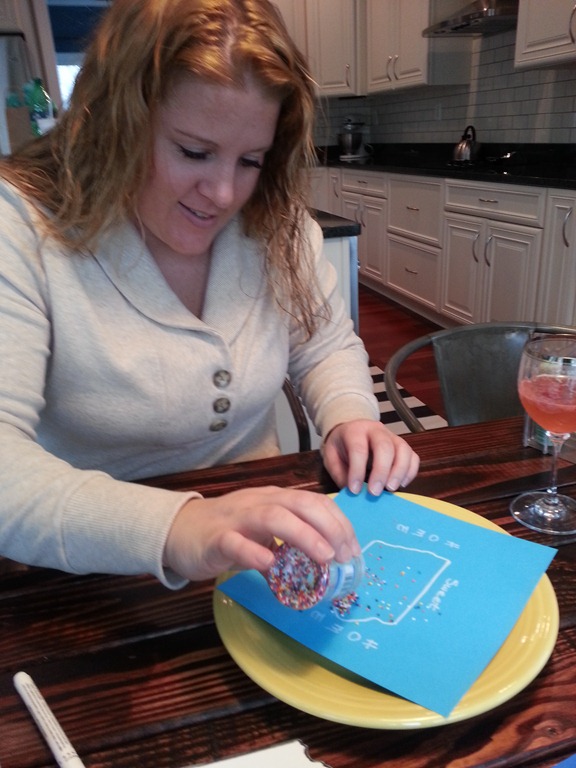
Dump sprinkles on the wet glue.  This was the most fun part. I just love sprinkles.

20130419_160818

20130419_160900

Bam.  You’re done.  Your friends think they are crafting masterminds.

20130419_161040 

20130419_160954

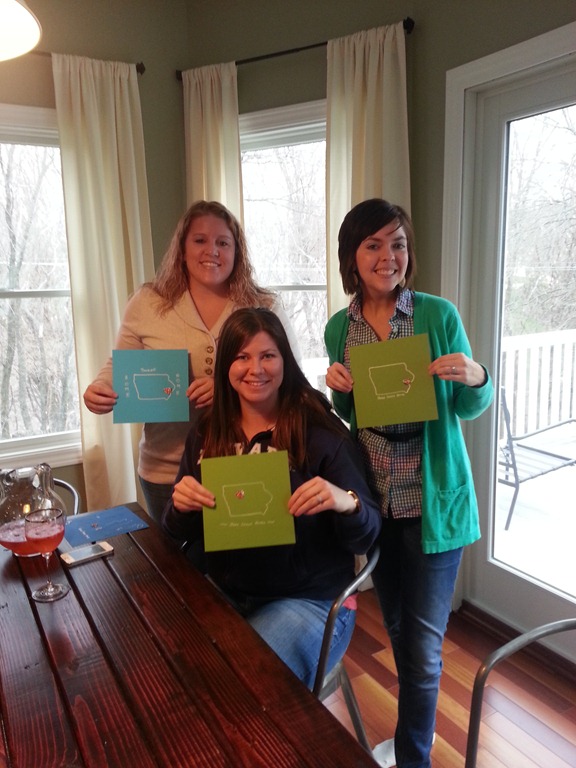
I really like how we each did our own take on a super simple project.

20130419_160958

Frame that baby.  Super cute and simple art.  Crating for the win.

Quick and Easy Craft #1- Ombre Striped Tea Towels

While I am soaking up the rays in Florida (while wearing SPF 50 and a big floppy hat), I will leave you with 4 days worth of quick and easy crafts. You may have seen some of them multiple times.  Some may be new. All with be easy, fairly quick and inexpensive ways to entertain your friends. Enjoy!

How do you entertain two of your favorite people during a cold (and spitting snow) day in April?  You make them do crafts with you.  And then you take them to look at the flooding Mississippi river.  What can I say?  I know how to entertain.

20130419_193552_HDR

In the middle is my best friend from my days at the University of Northern Iowa, Amanda.  I helped Amanda pass Physics.  Amanda made sure I didn’t study for 4 years straight.  Equally important.  On the right is my best friend from childhood, Melissa. Melissa and I share a love of Adam Sandler, Sangria and talking about the good ol’ days of being nerdy high school kids.  Neither of these fine ladies thought they were good at crafting.  I disagree.

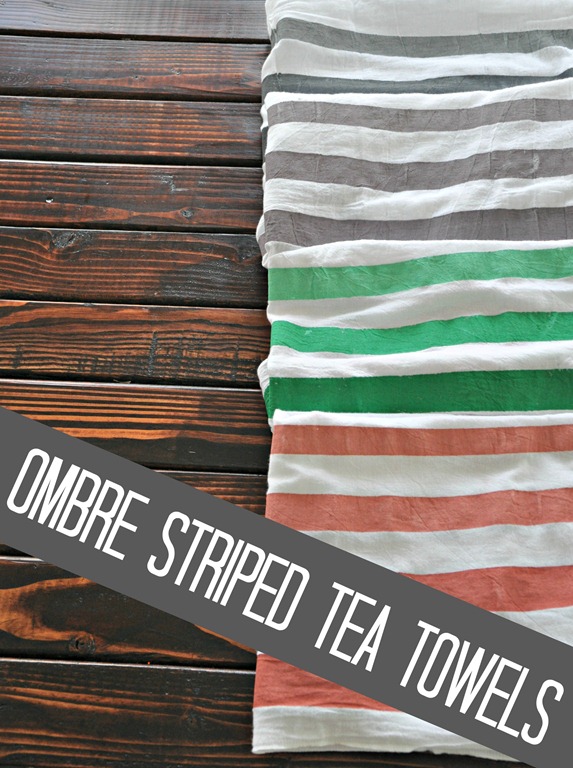
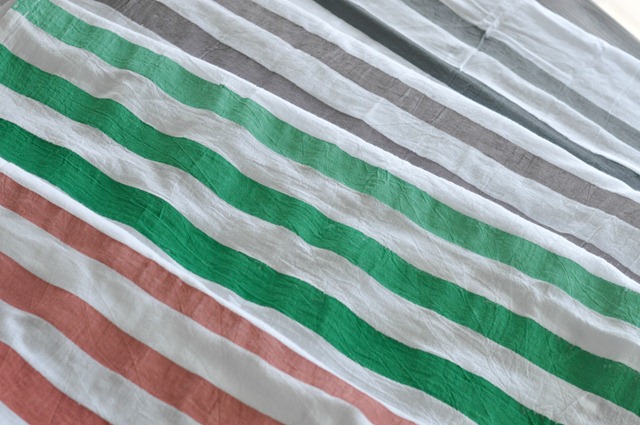
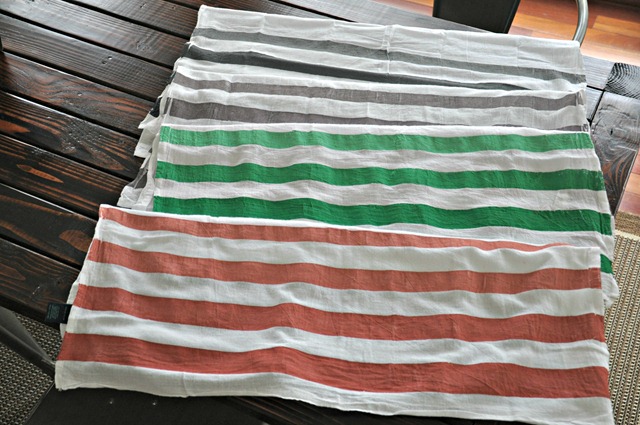
Our first adventure was ombre striped tea towels.

quick and easy crafts ombre striped tea towel

I love tea towels.  They remind me of the summer days I spent painting them with my brother and Grandma when we were little.  Memories.  Painted mice/day of the week towels are cute but my tastes have slowly evolved over the years.  Thankfully.

Here’s what you’ll need to paint my ombre striped tea towels.

  • Tea towels (You can find them at Target, Wal-Mart, Joann’s, etc.  I got a pack of 4 from Target for $4.)
  • Fabric paint or acrylic paint plus fabric medium. 
    • As my supposedly non-crafty friends learned, fabric medium keeps any paint from feeling crusty on fabric.
  • Painter’s Tape
    • I’m not brand loyal. I use whatever we have around.  The blue.  The green doesn’t matter.
  • Paint brush
  • Something to place under your towels.

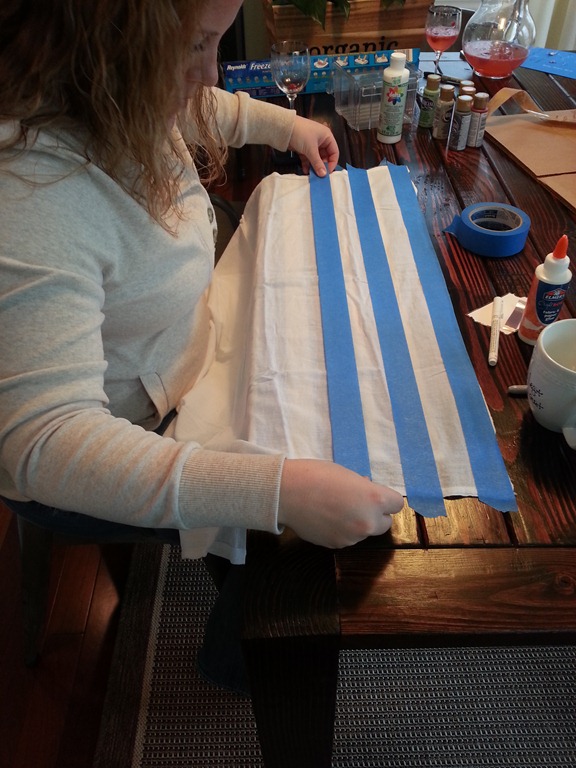
You will start by taping off your towel.  My type A personality makes projects like this hard so I handed this step over to Amanda.  She tells me the secret to her taping success is that she “just doesn’t care.”  Write that down.  It’s a very important tip.  She did a fantastic job.  She tells me she is available for hire.

20130419_162738

Place your professionally taped towel on to something to protect your table.  We used cardboard.

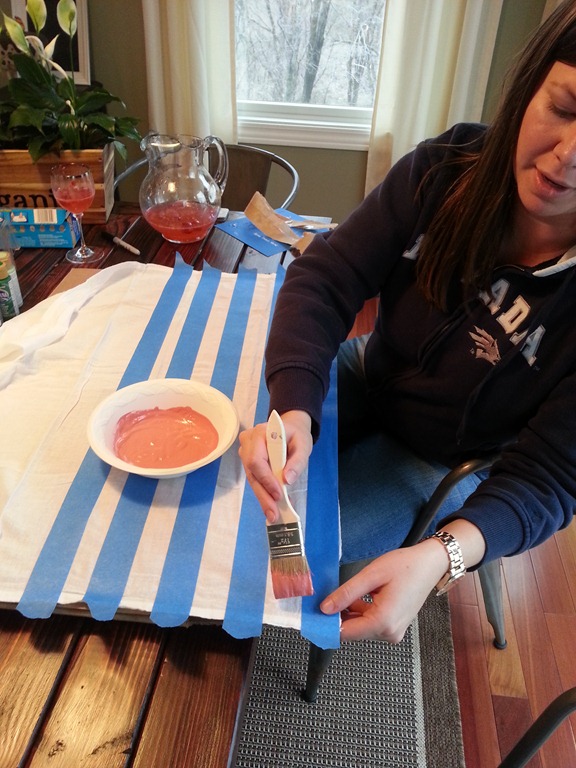
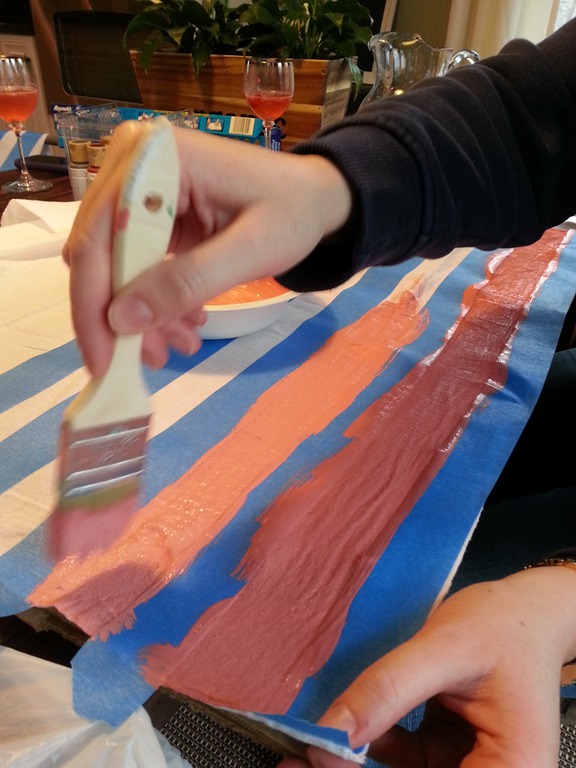
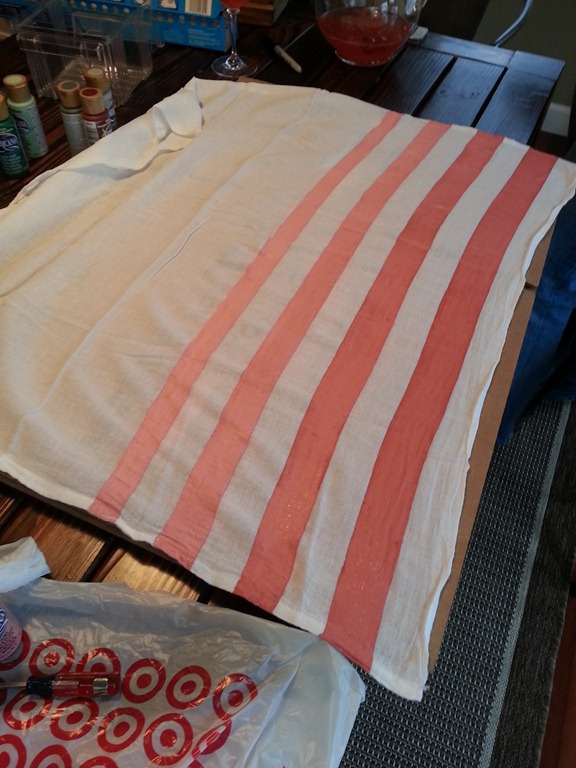
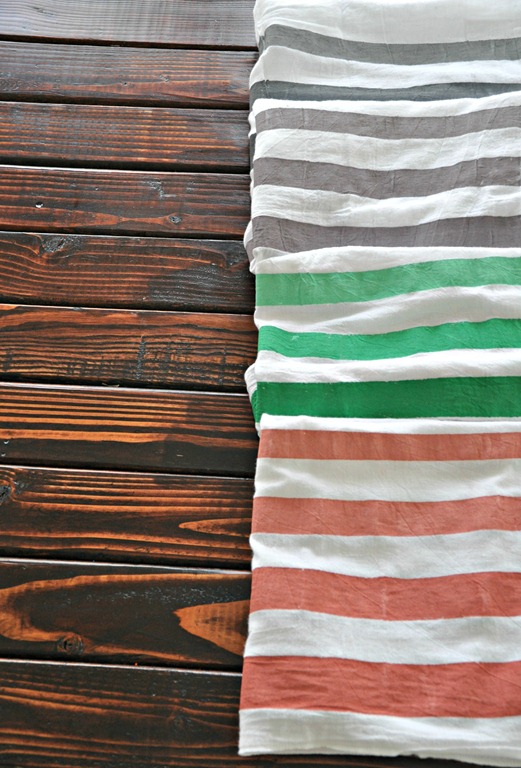
Next you will need to pick your color.  We decided to start with coral.  Who doesn’t love coral?  My paints were all acrylic so we picked two parts paint to one part fabric medium.  We added some white painting to the coral for each stripe to create the ombre effect. Take your paint brush and cover the striped areas!

20130419_163112

20130419_163431

Keep adding white paint, fabric medium and painting stripes.  When your painting is complete, remove the painter’s tape.  This part was terrifying.  Luckily we had little bleeding and it looked pretty darn awesome.

20130419_164303

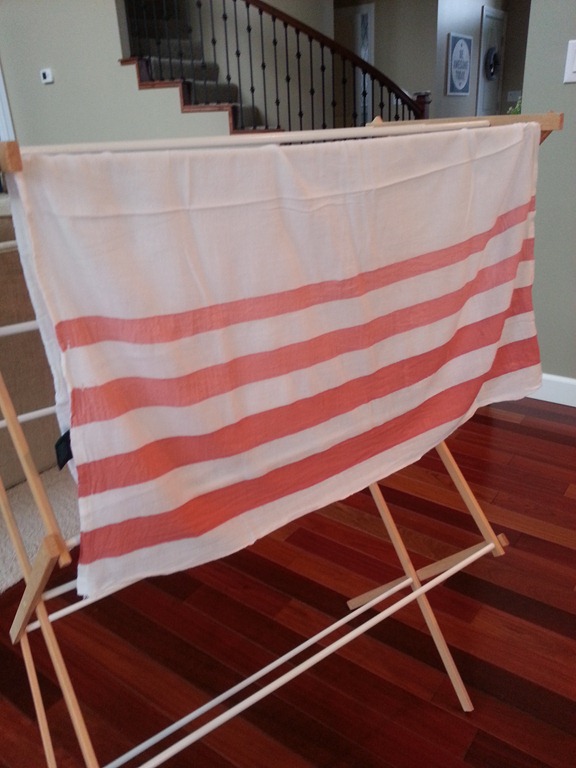
We hung the completed towels to dry on my laundry rack.

20130419_164341

The towels will need to be heat set with an iron and then washed. I’m excited to add a little striped cheer to our kitchen.

Ombre Striped tea towels quick and easy

quick and easy striped ombre tea towels

quick and easy crafts striped tea towels ombre

Are you a striped tea towel fan?  Do your force your non-crafty friends into crafting?

Elusive Plans

Nate and I leave for Florida on Sunday.  We. Can’t. Wait. We plan for this trip to be a relaxing one.  Lots of reading on the beach.  Eating. Strolling.  Sun.  Warmth.  Hurry up Sunday!

Ike will be vacationing with his grandparents.  Which is basically his equivalent to going to Florida.  Poor thing works so hard.  He deserves a vacation.

IMG_20130418_100909

The blog may be quiet next week.  I may have an update house tour.  We’ll see.  It depends on many factors including my motivation, Nate’s motivation and we need the gloom and doom to disappear from Iowa.  Not looking good, folks.  Hey, maybe I’ll just post vacation photos.  Who knows!

We do have good stuff coming. You keep talking about these elusive plans but what exactly are they boring blogger?  I’m glad you ask, dear reader. 

(All of these photos are courtesy of my phone.  Because it’s important for before pictures to appear as horrible as possible.)

I am super duper extremely close to finishing up the craft room.  Good bloggers post final reveals.  You get me.  I’m so excited with how this is turning out.  I’m just not excited about the amount of time it’s taking.

20130414_181153

Our dining room is getting a new table.  We potentially have some awesome barn wood lined up.  Our current table is fine.  It’s just not us.  And we’re afraid to use it because it scratches easily.  That’s no way to live.  I might remove the dying flowers someday also.  Maybe.  That’s asking a lot.

20130418_162054

One of the projects were are most excited about is our master bathroom.  We are partnering with an awesome company that rhymes with Smile Bop.  Okay, it’s the Tile Shop and we are beyond excited to replace these builder grade mirrors with some walls of tile.  I don’t squeal but I’m squealing over this one.

20130418_162257

I should probably add replace light bulb and get dressed before 5 PM to the list as well.  And probably pick up Ike’s beaver.  My life is falling apart, I tell you.

20130418_162312

We are partnering with the Home Depot to beautify our outdoor space.  Those posts should start soon after we return.  I can’t wait to get my hands dirty and plant some flowers!  If it’s not snowing…

Spring Before 2013 patio

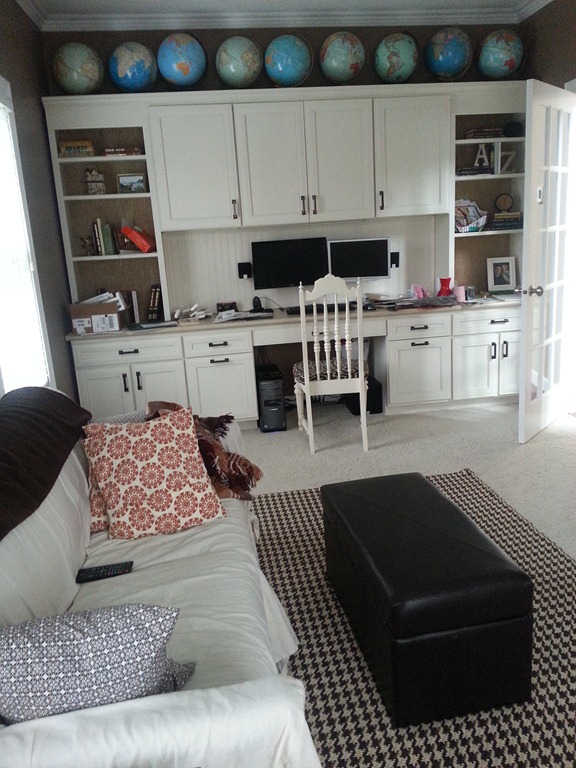
When it turns 95 out and we start whining about how hot it is (even though we promised ourselves we wouldn’t beings this is the longest winter known to man), our attention will move to our office.  The walls will be getting a new coat of paint.  This brown just doesn’t do much for me anymore.  I should probably straighten up a little too.  There will also be a new sectional if I can ever weasel Nate into going to Ikea in Chicago with me.  My husband manipulating skills are lacking lately.  As is my ability to take a straight photo.  And be organized.

20130418_162145

There you have it.  Big plans.  Big summer ahead!

What are your summer plans?  Vacation plans?

Zombie Run

You’ll have to excuse my lack of DIY posts.  I’ve been busy.  Running from zombies.

I learned two things this week-end.  I might survive day 1 of a zombie apocalypse.  I probably wouldn’t survive day 2 because I wouldn’t be able to move.

Two of my favorite pharmacy school friends and I ran the Zombie Run this past Saturday.

2013-04-13 08.52.45

The Zombie Run was a 5K Cross Country run with proceeds going to the Special Olympics.  Did I mention that I hadn’t ran since October?  It was also freezing cold and spitting snow.  Good work, Iowa.  Good work, silly blogger.

We started the race with 8 flags. The goal was to “survive” the race with at least one flag. If all of your flags were removed, you were infected with the zombie virus.

The race was on Credit Island.  It was a super gloomy day.  The island is creepy and full of old military buildings.  The setting was quite perfect for a zombie apocalypse. It has been raining for the past two weeks which made the entire course a giant puddle of mud.

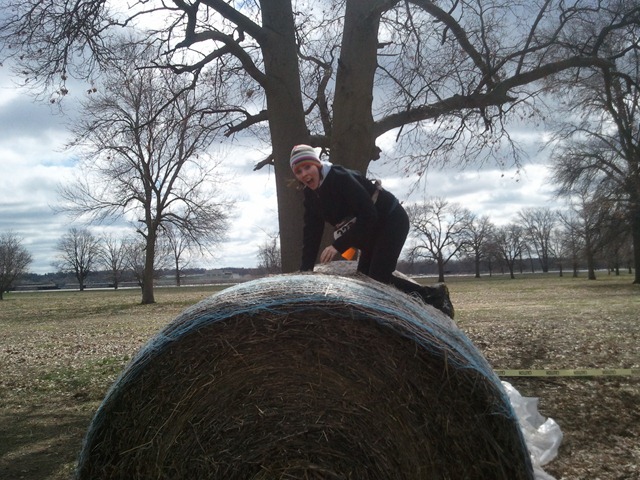
Because running a cross country race through mud away from zombies wasn’t enough, they also added obstacles.  Like hay bales covered in plastic.

2013-04-13 11.01.57

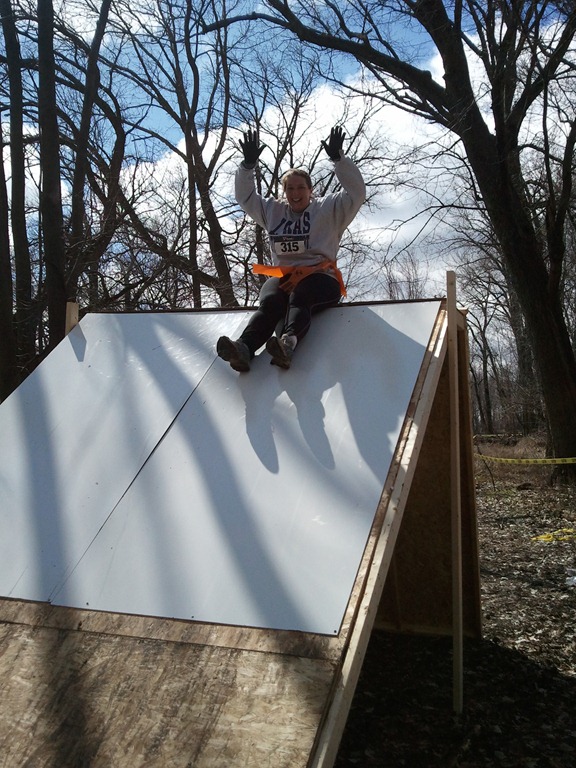
And plywood slides that were super hard to climb with muddy shoes.

2013-04-13 10.49.09

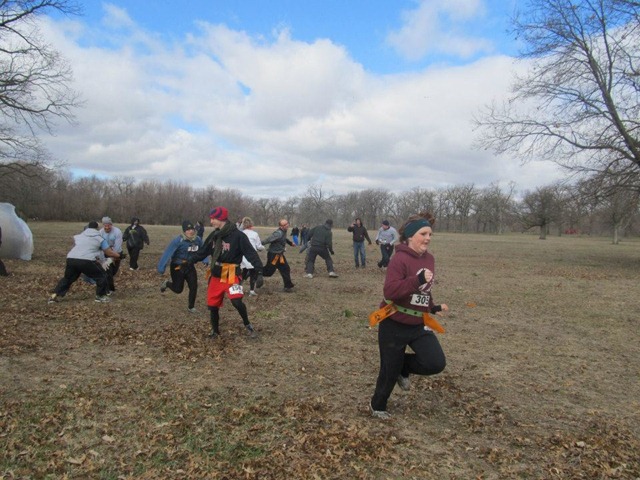
Luckily the zombies left us alone on the obstacles but we were zombie fair game after we got off.

zombies

zombierunning

I made it to the last obstacle with two flags.  And then a zombie kid took both of them at the very end.  Note to self, avoid children during a zombie apocalypse.  Darn zombie kid.

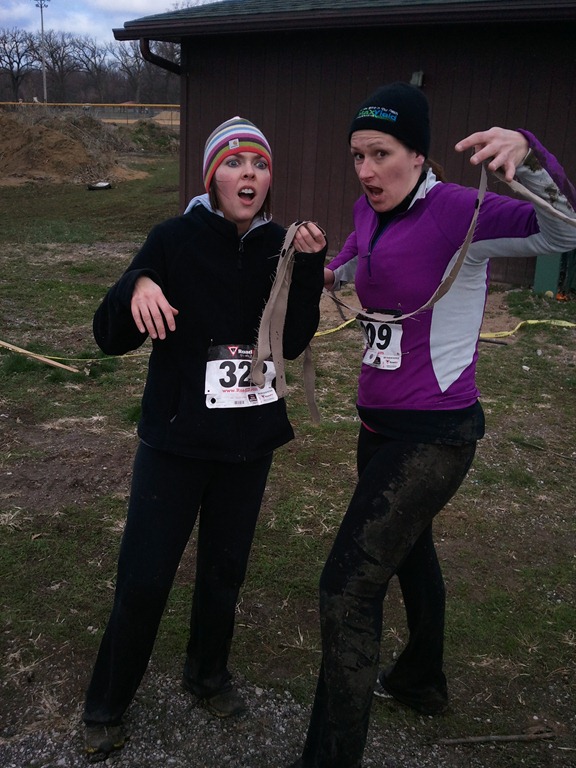
Anna and I became zombies. 

2013-04-13 11.04.39

Megan was still a human but was nice enough to drive us home.

2013-04-13 11.04.26

2013-04-13 11.06.29

Are you into the zombie hype?  Do you think you’d survive an apocalypse? Who wants to bring me some ibuprofen for my sore muscles?

Homemade Dog Biscuits

I swear I haven’t lost my marbles.  Well, I don’t think I have.

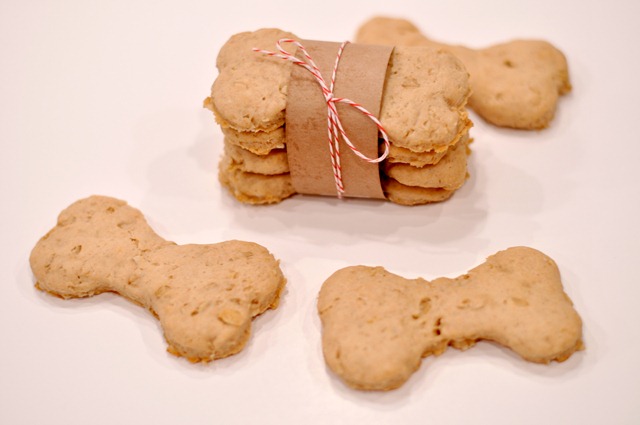
I’m now making my dog homemade dog treats.  And then photographing them with Kraft paper and Baker’s twine. 

Homemade Dog Biscuits

Ok, fine.  I have lost it.

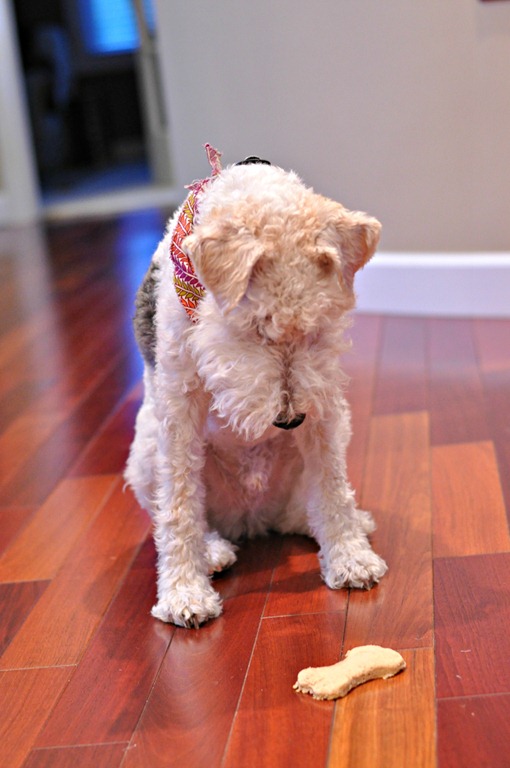
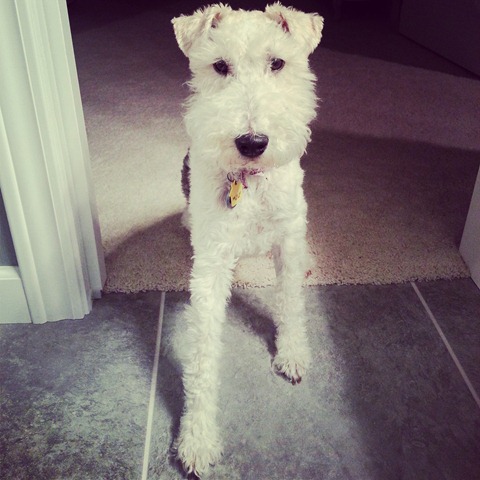
But look at that cute face.  You’d make him his favorite homemade dog treats as too.  And you’d probably wrap them in Baker’s twine.  Don’t lie.

Wire Fox Terrier

Ike’s aunt made him these dog treats for Christmas.  He’s been begging for the recipe ever since.  I get a little nervous with homemade treats because Ike has a pretty sensitive stomach. He LOVES these treats and tolerates them well.

Homemade Dog Biscuits

Ingredients

  • 1 1/4 cup flour
  • 1/2 cup Old Fashioned oats
  • 1/2 tablespoon baking powder
  • 1/2 cup creamy peanut butter
  • 1/2 cup milk
  • 2 tablespoons applesauce

Directions

Preheat oven to 350 degrees. In a medium bowl, mix together all of the dry ingredients. Add the wet ingredients. Mix thoroughly. Place the dough onto a piece of wax paper and then add another sheet on top. Roll the dough out so that it is about a 1/4 –1/2 inch thick. Remove the top layer of wax paper and use a cookie cutter to cut out shapes. Use a spatula to help remove your shapes to a cookie sheet for baking. Continue reforming and rolling the dough until it is all used. Bake for 15-20 minutes or until golden brown. Allow to cool and serve.

Homemade Peanut Butter Dog Treats

Homemade Dog Biscuits for a Wire Fox Terrier

He keeps following me around wanting more dog cookies.  I’ve created a monster. 

Have I officially lost it?  Do you make your dog treats?

I randomly posted on Saturday about a flower display I made.  I kind of like it so be sure to check it out if you missed it….right here!

Easy Lily Display

I’m beginning to think that Spring may never arrive in Iowa. It was here for a today and then it was gone again.

I’ve decided to take matters into my own hands. I think the easiest way to cheer up a room is to add fresh flowers. I made a trip to a local grocery store and picked up some lilies.

 photo EasyLilyDisplay_zps4126b0f8.jpg

Lilies are such a charming flower. There are many varieties to choose from.  Lilies are easy to find at your local grocery store, garden center or flower shop.

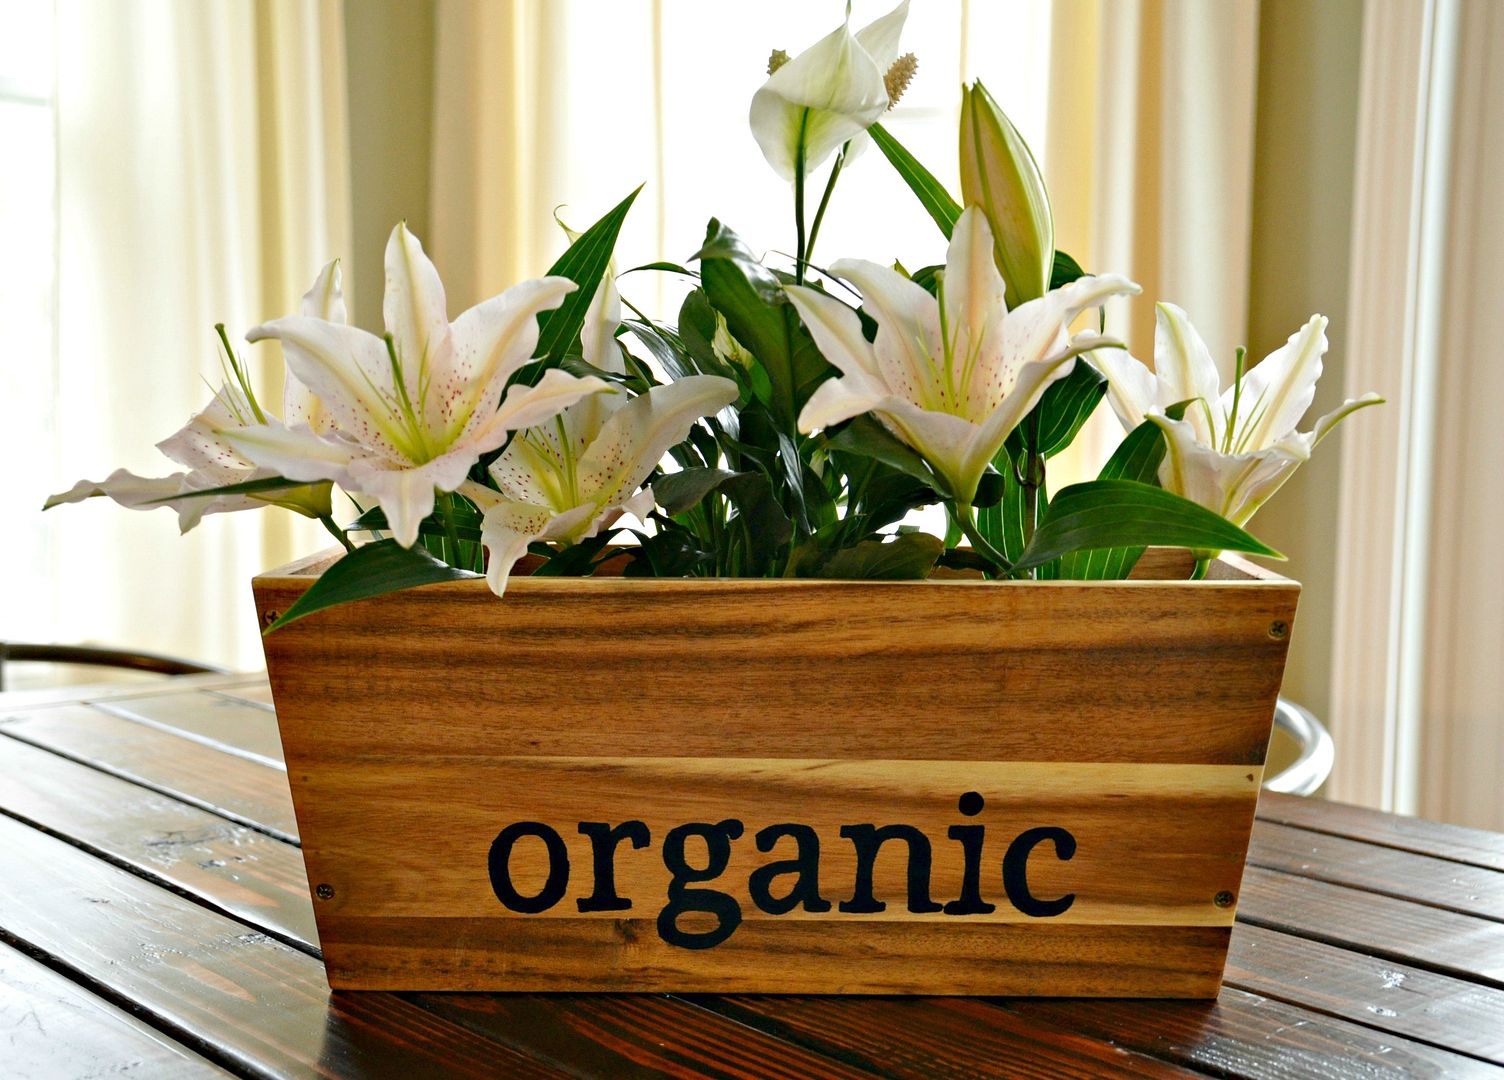
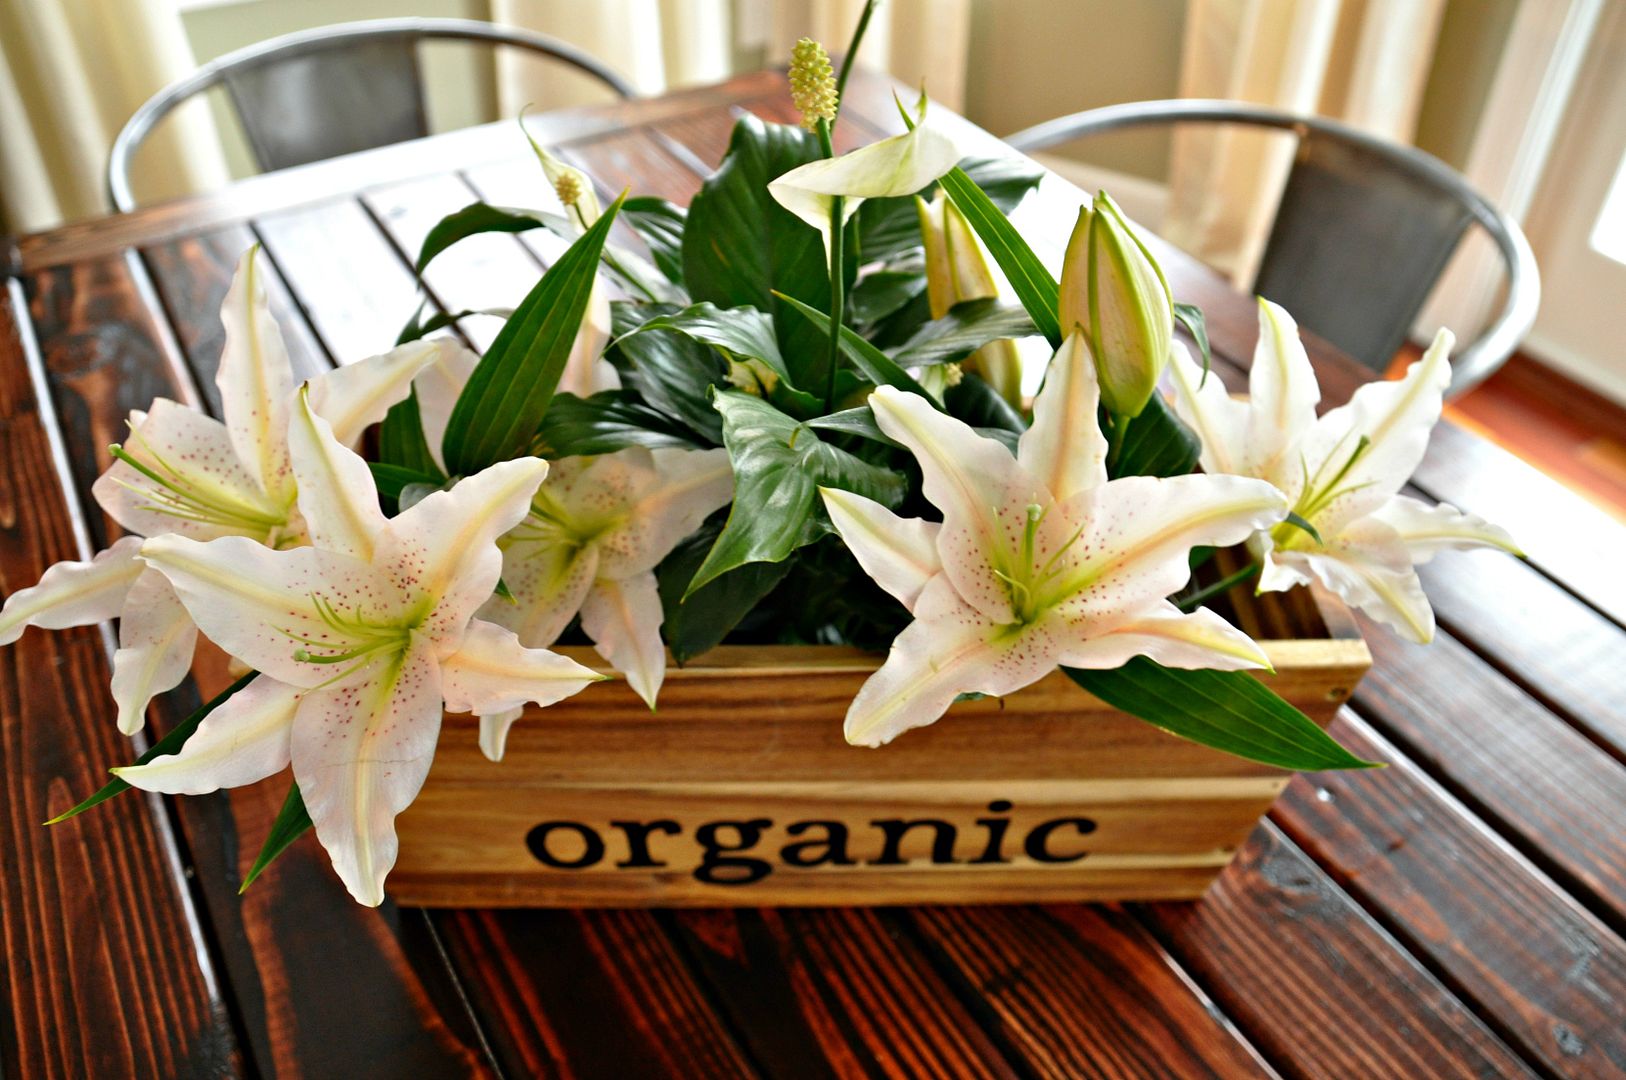
I whipped up this cute little arrangement that I think would make a great gift for Mother’s Day, bridal showers, birthdays, yourself etc. I’m always on the lookout for inexpensive yet meaningful gifts. Lilies for the win!

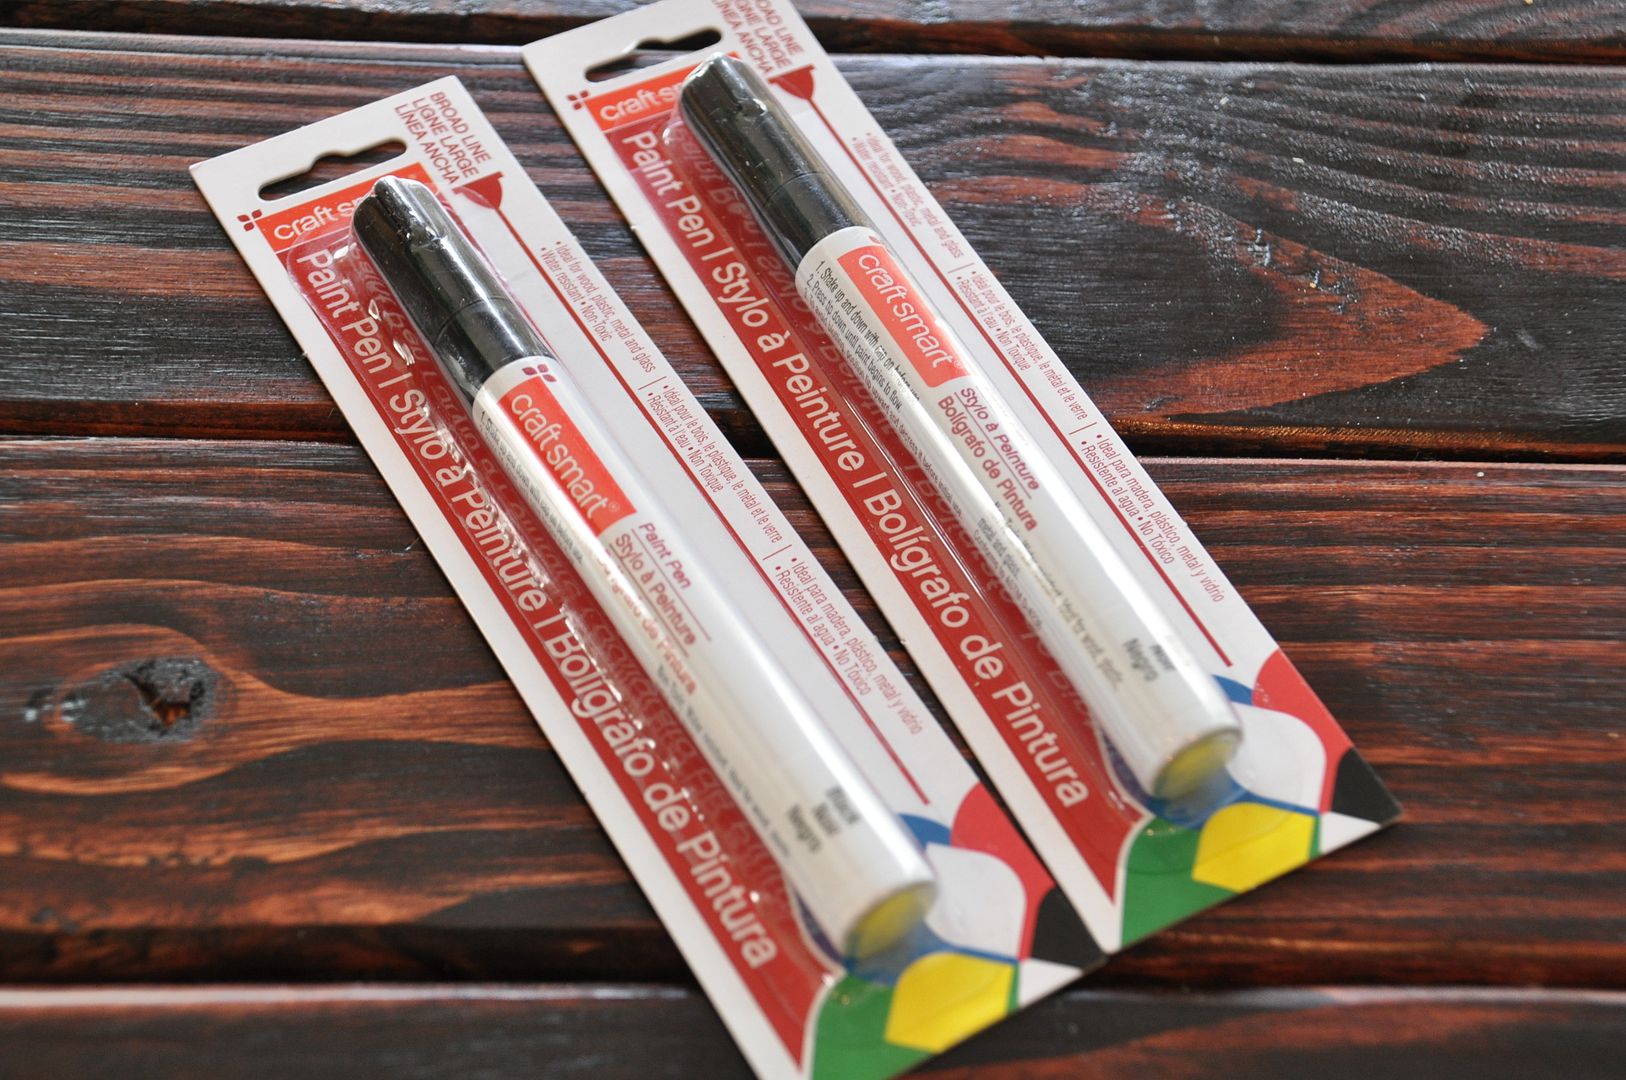
To make this arrangement, I picked up a planter box and some paint markers.

 photo PaintMarkers_zpse9f77d10.jpg

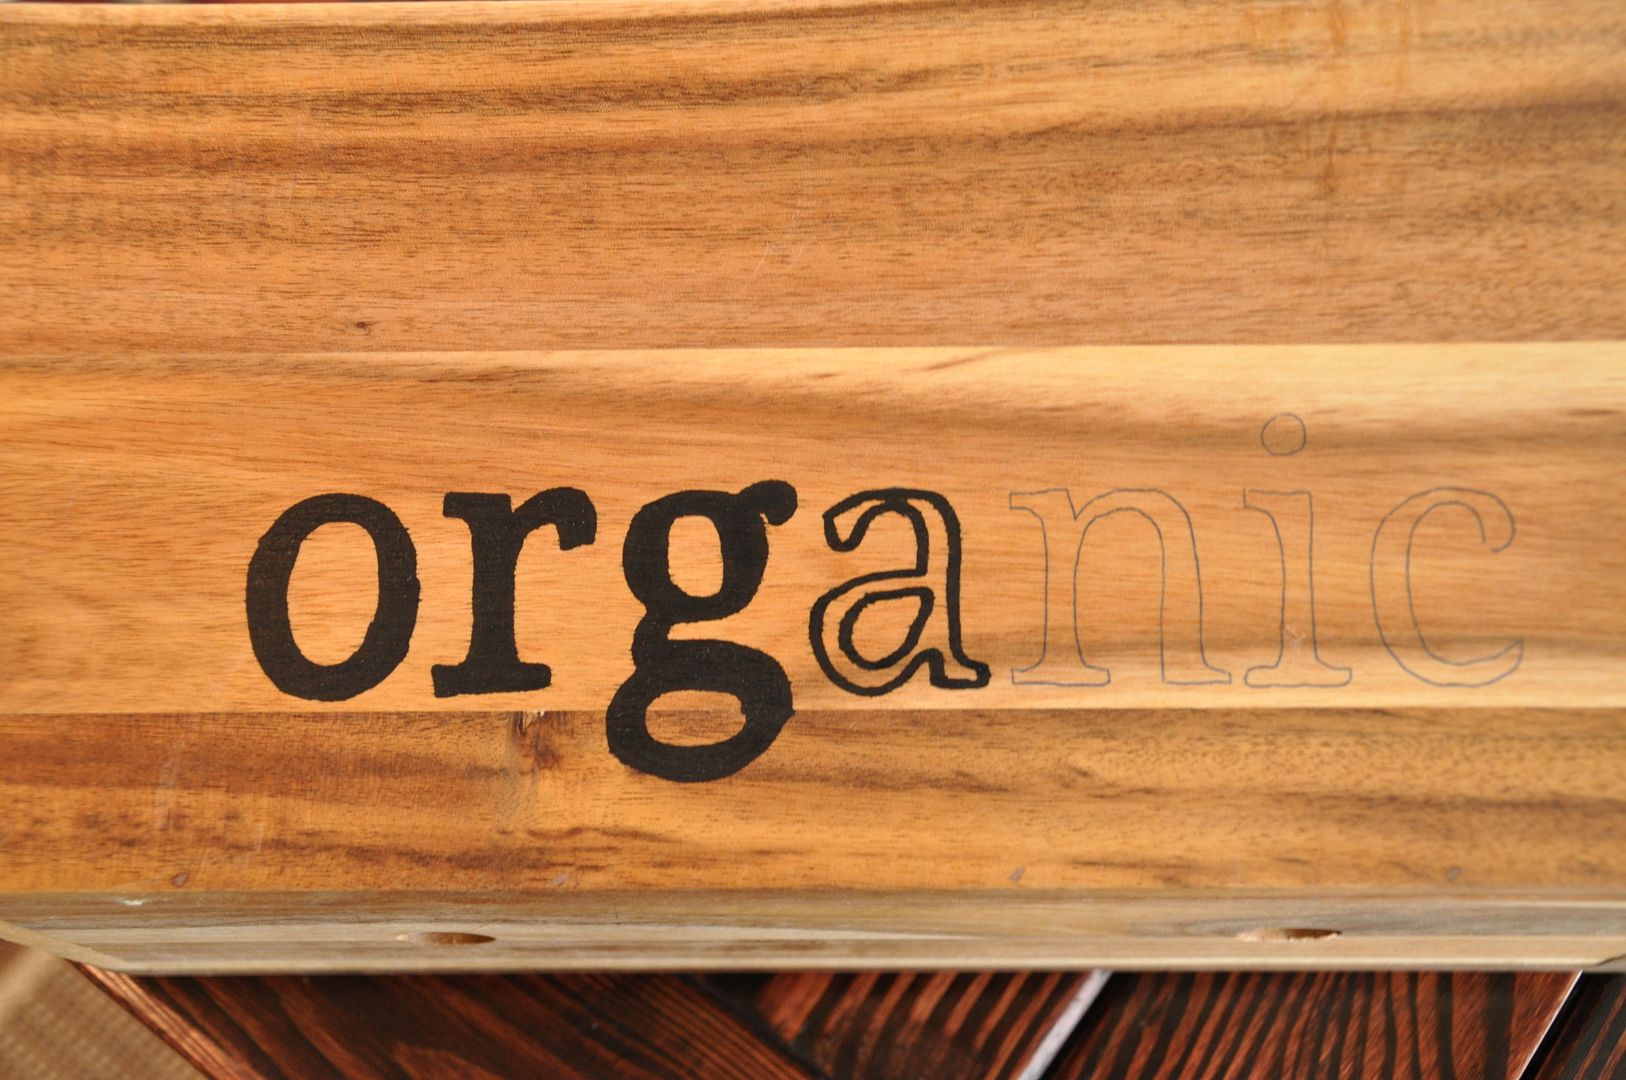
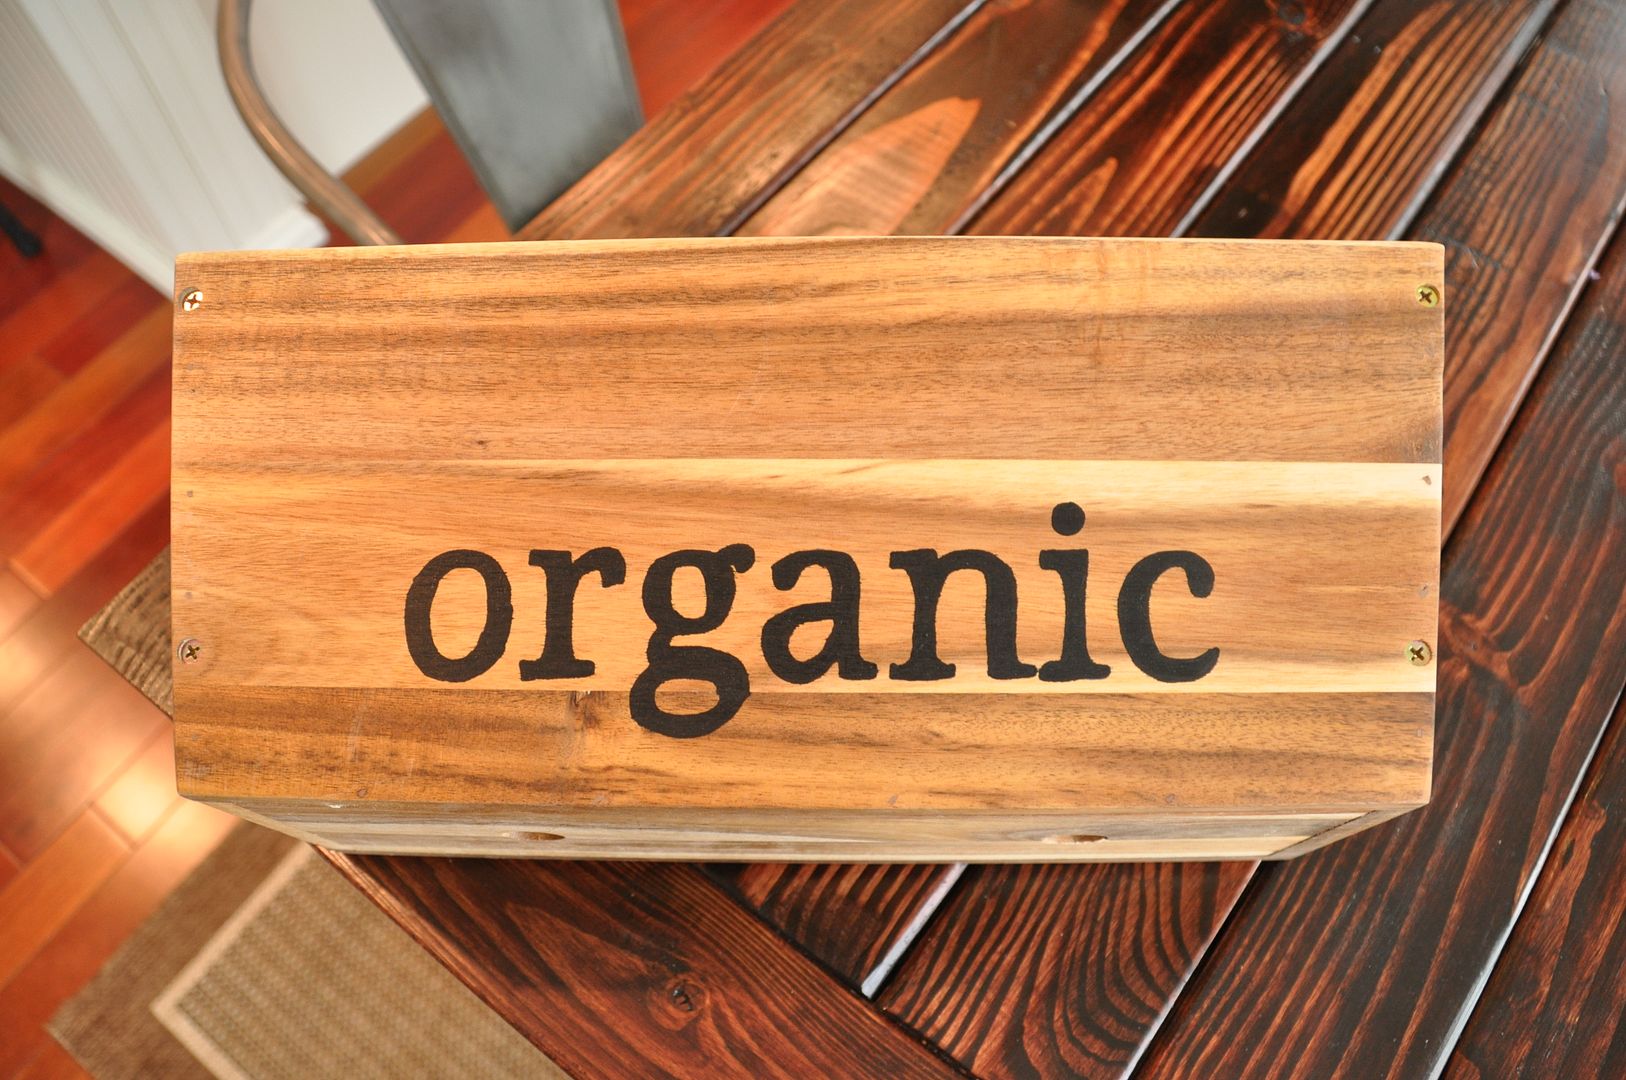
I picked out a word that I thought would look great on the window box. You could use a monograph, name, special phrase, special date, etc.

 photo EasyLilyDisplayfont_zps534cedd8.jpg

I placed the print on top of a piece of carbon paper and traced the word onto the window box.

 photo EasyLilyDisplayCarbonPaper_zps7336a7ce.jpg

I then used a paint pen to trace and fill in the letters.

 photo EasyLilyDisplaylettering_zps109f9e3f.jpg

I was pleasantly surprised with the paint pens. They were super easy to use. If you can trace, you can use a paint pen. I do recommend practicing on a piece of scrap wood to get used to the amount of pressure needed. You don’t want to push too hard or the paint will run.

 photo UsingPaintPensonWood_zps08bf8f72.jpg

I placed a potted Peace Lily in the center. I then placed cut Stargazer Lilies into a Mason jar on each side. Easy peasy.

 photo EasyLilyDisplaybyDecorandtheDog_zps28fd3c0a.jpg

/>

 photo LilyDisplay_zps3753ed78.jpg
 photo EasyLilyDisplay_zps4126b0f8.jpg

There you have it. An easy, inexpensive gift for someone special. Like yourself.

Life Lately

Hey, it’s me.  The world’s worst DIY blogger. 

I’d like to make up excuses like being too busy or something.  But I hate when bloggers do that.  It’s called life and I have been pretty awesome at managing my time poorly.  Eh.  I’m over it.  I have some good stuff planned in the next few months.  You just wait and see dear blog readers.

So what have we been up to?  Instagram tells me that…

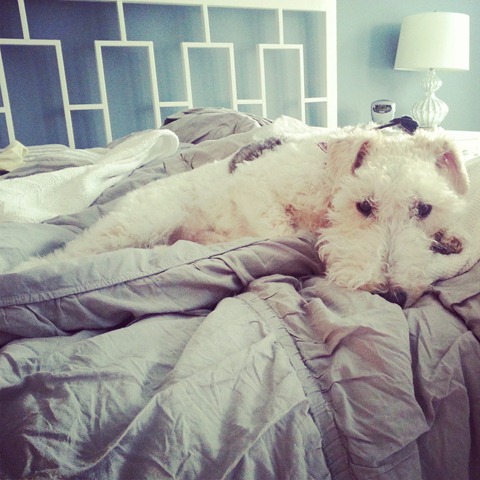
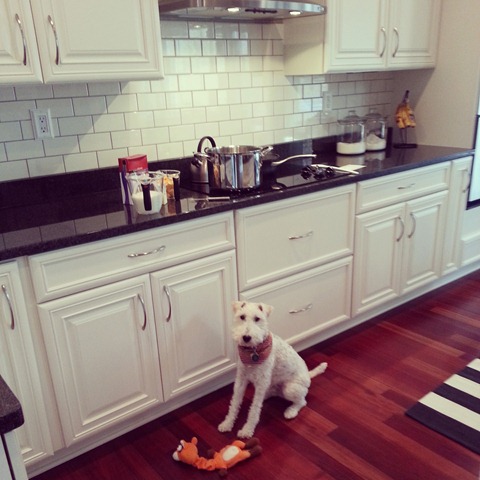
Ike decided last summer that he was afraid of thunderstorms.  We were hoping that wouldn’t continue this year.  It’s stormed almost every night this week.  We had a nice talk about sleeping through storms.  It didn’t go well.  He’s lucky he’s cute.

IMG_20130410_194759

It’s been super gloomy all week but it’s not snowing.  And the grass is an amazing shade of green.  I wouldn’t complain except for the fact that it’s 30 outside in April.

IMG_20130411_080723

Ike has a new best friend.  His name is Fox.  Fox is a trooper.  He no longer has intestines but he still enjoys cooking and snuggling in bed.

IMG_20130403_173809

IMG_20130404_070059

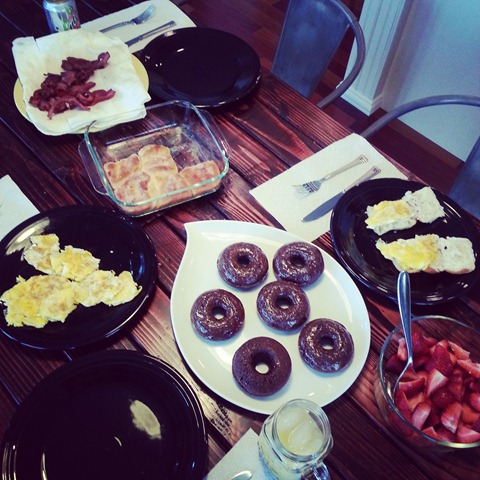
I’ve recently become a pretty decent cook.  I don’t know how it happened.  Nate says it has something to do with paying attention to what I’m doing.  I’m still not sure.  My parents were in town this past week-end and I whipped up a delicious Sunday breakfast.

IMG_20130407_093051

My parents enjoyed the fact that we are still celebrating Christmas.  Don’t rush me.

IMG_20130405_080314

Next week.  There will be real posts.  I promise.  I think.  That is if I live.  Tomorrow I am running a Zombie Run.  I have to survive the race without turning into a zombie.  It’s a 5K.  I haven’t ran since October.  I’m sure I’ll be fine. CARDIO!!!

Big week-end plans?  Who’s pumped for the end of tax season next week???

Blog Questions Answered + Link Party

Let’s talk.

IMG_20130406_165215

About Nate’s wardrobe.  Wait.  Let’s not.  Okay, let’s talk about my lack of motivation to do anything other than sleep, work out and shop for summer clothes.  Wait.  Let’s not talk about that stuff either.

Let’s talk about blogging.  Back when I discussed hanging with my BFFs, there were some questions asked. I promised to answer.  Here it goes.  I’ve also decided to host a party today.  I’m spontaneous like that.  (Anyone that knows me in real life is dying of laughter.)

 First the questions.

How do you get invited to do a guest post/invite others to guest post?

I haven’t written a guest post for awhile but the ones I have done in the past were for people that I had established blog relationships with.  Most of my guest posts were for other bloggers needing to take a break/vacation.  It’s a great opportunity to reach another blog audience.  I’ve invited guest bloggers before when I have been on vacation.  It’s as simple as sending out an e-mail with the topic you’d like to have covered with specific deadlines, etc.

How do you connect with sponsors (like the Home Depot)?

I don’t actively seek sponsors. I’m lazy.  I have a real job.  Seeking sponsors seems like work to me and I try to keep the blog as a hobby.  So how do I have sponsors/work with companies?  I use BlogHer as an ad agency. They pay me to run ads on my blog.  They also market my blog to companies for other sponsored opportunities.  I’ve recently started using SocialSpark also.  The rest/majority is dumb luck (okay, probably my content). The companies contact me and I agree if I feel like it’s a good fit for our house/blog. 

How long did it take for you to garner the following you have now?

I’ve been blogging for a little over 2 years.  It takes time.  Check out my early posts. Crickets, my mom and Mindy.  Blog “following” is interesting too.  It’s really hard to tell how many people actually read your blog.  You can also look at page views versus comments. My page views aren’t extremely high (in comparison to larger blogs) but I feel like I have very engaged blog readers.  You all comment, question, e-mail, etc.  We interact.  It’s something that I would like to do more of.  When I learn to manage my time better.  Or sleep less.  Or invent a time machine.

What would you recommend to others to get followers to their blog?

Be social.  I’m not a super social person in real life but I totally get around in blogland.  (Quote me on that.)  Comment on other blogs.  Get on social media.  I’m on the twitter, facebook, Google+, Pinterest and Instagram.  I’m most active on Instagram and twitter.  I’m working on the others.  Make friends.  Put yourself out there.  It’s a scary thing to do.  The nice thing about bloggers is that most of us are friendly.  I generally am.  Except when I’m hungry or tired. But seriously.  Throw yourself out there!

I also find it helpful to have a close group of blog buddies (similar blog focus and blog size) that you work with.  Use this group to promote each others work.  Encourage.  Support.  Bounce ideas off one another.

There’s also the whole schpeel that you have probably heard before but it’s a schpeel for a reason. Quality content, post regularly, have pretty photos, be yourself, yadda, yadda.

How does one get featured on a big blog? 

Quality content is probably one of the easiest ways to get featured.  Write a post about an awesome project and spread the word about it to the best of your ability!  If it’s awesome, it’ll get noticed.  Big bloggers often ask for your projects.  Submit them.  I’ve been turned down probably as many times as I’ve successfully been featured on bigger sites.  Young House Love asks for before and afters.  Brooklyn Limestone often asks for certain projects.  Don’t fear rejection.  Just do it, man.

How does one host a Pinterest linky party with major bloggers? 

Complete and total dumb luck.  I’m still trying to figure that one out myself.

Any other questions?  I’ll answer them in either the comments or a follow-up post!

Now it’s time for a party. Hopefully it will help us all get to know each other a little better.  Find some new blog buddies.  Spread the love.  Ain’t no party like a Decor and the Dog party because a Decor and the Dog party is mandatory (name that show).  I have 2.5 simple rules to join in on this party.  (Of course my party would have rules.)

1.  You must blog at least once a week.  I want this to be a party for active bloggers looking to expand their blog network.  It’s hard to do this if you only blog once a month.
2. You must visit AND comment on the 2 blogs in front of you.  (If you are the first two, visit the ones that follow you.) We’re making friends remember.  This isn’t a dump your blog link and run.  I will have police at this party.  Don’t doubt me..and my staff.
3. When it’s asks for your name, please list your blog name AND the state you live in.  (For example: Decor and the Dog/Iowa).  If you aren’t comfortable listing your state, I get it.  I just think it’d be nice to see where everyone is from!

Party time. Excellent.

Sibling Dress Up Storage

I keep telling friends and family that I should make a list of things of things I won’t own/delusional thoughts I have about raising a child.

1. I will NEVER EVER EVER EVER own a minivan.  NEVER EVER.  Seriously.  I won’t do it.  Don’t try to convince me how awesome they are to make yourself feel better.  Horrible. Won’t do it.
2. My kid will totally sleep through the night.  After week one.

3.  My house will not be filled to the brim with toys.  Especially that plastic crap.  Nope.  Not gonna happen.  My darling angel will play with 2 or 3 toys of which he/she will put away nicely when they are done playing.

Where’s this post going? I don’t remember.

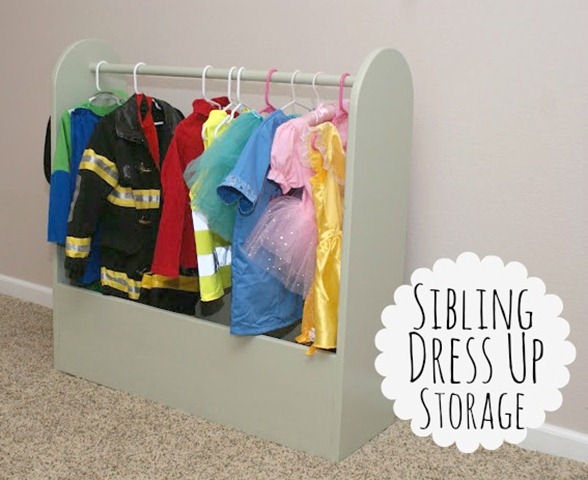
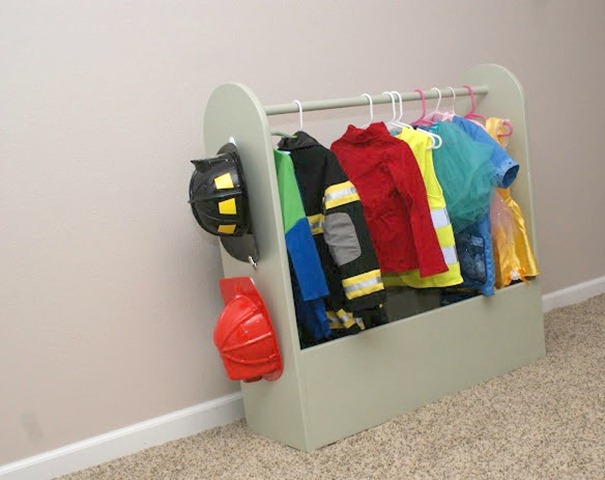
Oh yes, one thing I will allow in my house.  This darling dress up storage that my father-in-law made for my nieces and nephew.

Sibling Dress Up Storage (Boy and Girl Dress Up)

Isn’t it darling?

He did a little modification of the Ana White Dress Up Storage plans to create an adorable (and gender neutral) dress up station. 

Sibling Dress Up Storage 

I love how there are hooks on the side for the helmets.

Sibling Dress Up Storage Side

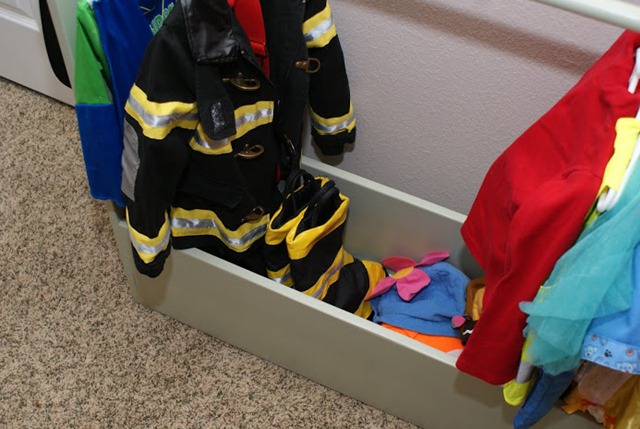
And room at the bottom for accessories.

Sibling Dress UP Storage Inside

I think I want a grown-up version for my dresses.  Or maybe Ike needs one for his ever growing clothing collection (of which makes my husband super happy).

Costume Closet for Boy and Girl

Childless readers: anything you won’t do/own as a parent? Parents: how totally wrong am I? What did you say you’d never do and then did?