Outdoor Christmas Lights

This is a true story of a blogger that posts pictures of her home on the interwebs.

My Chiro:  “Ms. Michelle. I love your Christmas lights.  Now tell me about your secret internet life.”

Me:  “Uhh.”  *stutters*  *embarrassed because a real life person has discovered my blog*

So, my “secret” blog is getting out.  My chiro was talking to another person that lives in town about our lights and that person mentioned my blog (Hi, fellow small town person).  I guess strangers in our little town are reading and the word is getting out.  Weird. So very weird.  And cool.  Unless you are Nate spotted in a Mexican restaurant.  Oh boy, does he love me and this lil’ ol’ blog I’ve created.

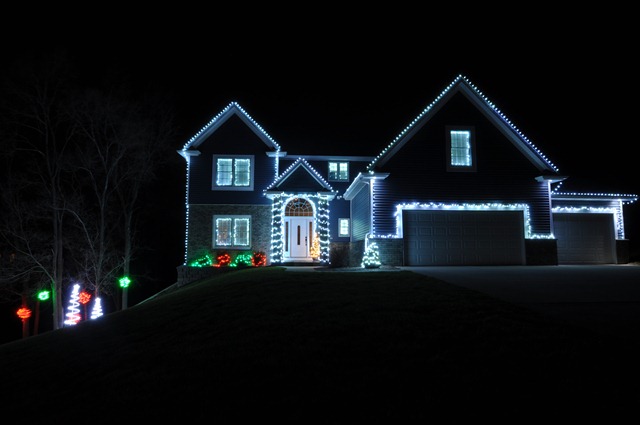
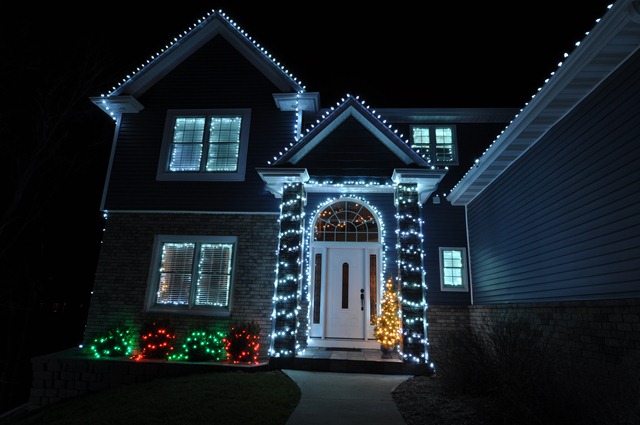
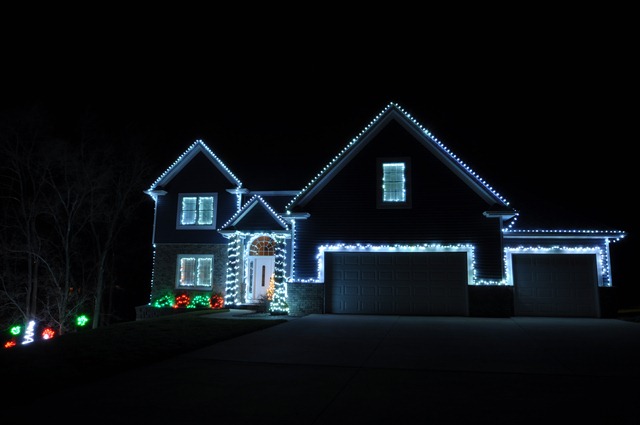
Want to see the lights that are the talk of our little town?

382

We are no where near as cool as the house that is set to music.  We’re pretty jealous of that one.  I can only imagine how much time something like that takes.

Nate is most definitely in charge of the outside lights. I won’t even watch him put them on the peaks.  His dad helps him (thanks, FIL!). I’m just on stand by in the house waiting to call 911.  You only think I’m joking.  The following photo is the short ladder.  I’m still cringing.

20121118_143815

Nate tells me that the secret to great outside lights is lighting the vertical areas and corners of your home.

386

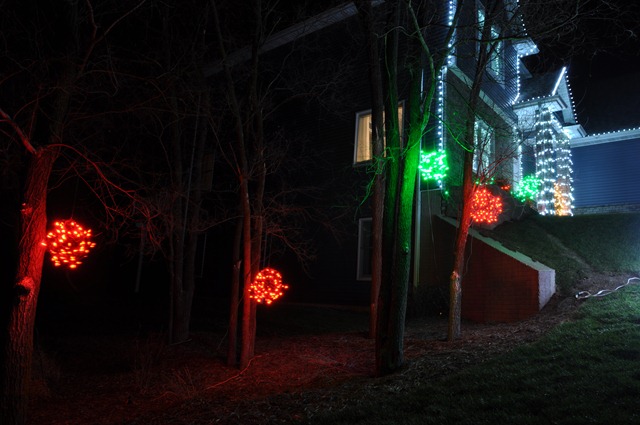
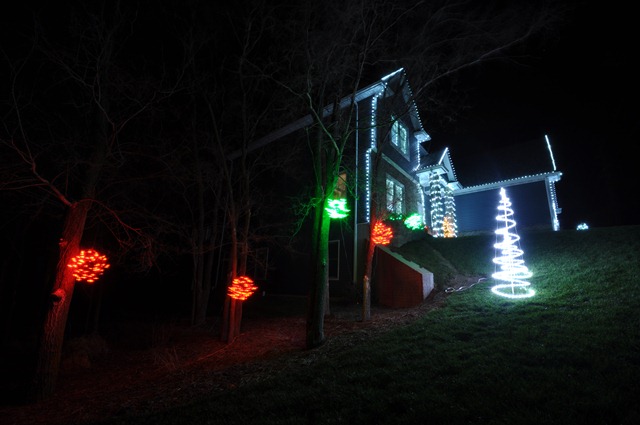
We keep slowly adding lights each year.  This year we added the addition of light balls.  I’ll post more info on them tomorrow.  It was hard to get a good close up of them as it was pretty windy outside last night.  But trust me. They look cool in person.  Ask Kim.

388

387

383

We would like to add more to the entire tree area.  Someday Clark.

Nate’s recommendations for taking photos outdoor Christmas lights are to have your aperture set at f14 and ISO at 100. He recommends a tripod with remote or a self timer.  Each of these photos took about 30 seconds to take.

Do you hang outdoor Christmas lights?  Are your lights set to music?  Any weird blog encounters?

Linking up to: Serenity Now

Insert Clever Christmas Tree Title

Warning:  This post has focus issues. And proper grammar and spelling issues. I thought about re-writing it but I like sleep.  So I decided to warn you instead.  Good luck.

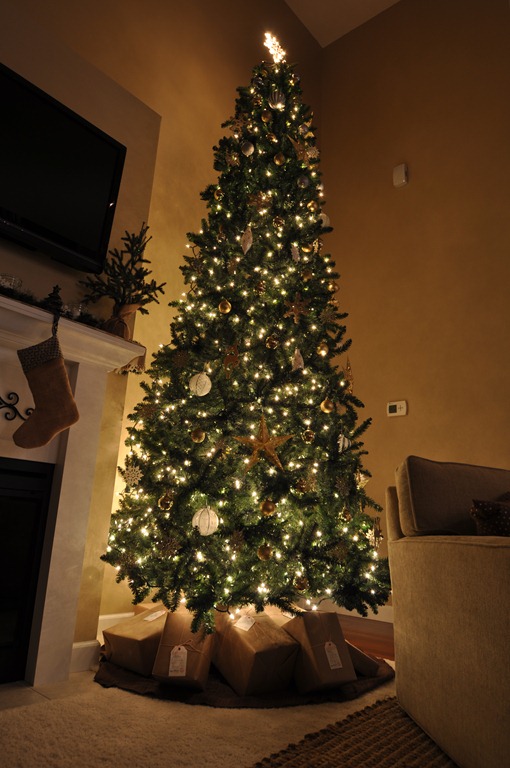
Did you know that decorating the Christmas tree is one of my least favorite holiday activities? The lugging out all of the ornaments, scratchy branches, and twisted lights just don’t do much for me.  I mean, I still like it.  It’s just not my favorite.

The finished product, however, is my favorite.

356

Our tree skirt is super fancy.  It’s a brown 70” round table cloth from Wal-Mart.  I’ve never really understood tree skirts.  They are so stinking expensive and you just cover them with presents.  So what’s the frilly point?

Our tree is 12 feet tall.  And we partly picked our floor plan because it allowed for a giant Christmas tree.  We kind of like the holidays around here.

359
361

We are cheap but wanted a giant tree.  We bought this tree after Christmas 5 years ago. It’s not pre-lit.  We decorate the tree in two parts.  Lights one night.  Ornaments the next.

Most of our ornaments are from Hobby Lobby or the Dollar Tree.  We is fancy. 

Can you tell that Nate took these photos while I wasn’t home?  Lens cap on coffee table.  Smushed couch cushions.  Candles unlit on mantel.  It’s hard being a working blogger with a accountant photographer.  Don’t worry.  I’m going to make him retake more for a full house night tour.  Mwah ha ha.  Wife for the win.  I hope he doesn’t read this before then.  He really is great.  He just needs to work on his décor blog photography.

Let’s stare at our pretty tree some more.

366
380

Christmas tree post out.

Silver and Gold Christmas Tree

Because You Need MORE Gift Ideas

I’m shoving handmade gift ideas down your throat.  Take that.

Are you done with your holiday gift shopping/making?  Yeah, me neither.  I don’t like to start too early.  Takes the fun out of the season, you know.

Today I have compiled 8 posts from days past.  I have tackled and succeeded at these projects.  You will too.

Decor and the Dog Gift Collage

You could sew your dog a long tie or even a bow tie.  Who wouldn’t love a monogram made from washersInfinity scarves are all the rage this year.  I suggest a lingerie bag for that friend that travels a lot?  Want to bang your head against the wall?  You could make a state pillow.  Got 15 minutes before that big gift exchange?  Go with the wood bead necklace.  Got a messy cook or hipster in the family?  Go with the apron in a mason jar.

What’s really funny is that no one on my list will get handmade gifts this year because I’m too busy putting together a post on handmade gifts.  Oh, the irony.

Are you giving handmade?  Are you done shopping?  Who is ready for some stinking snow already?

Dare to Deck the Halls- Burlap Stocking Tutorial

Can you believe that Monday is the last link party for the Dare to DIY?  Where does time go?

Monday’s theme is “Dare to Deck the Halls.”  I’m sure you have been wanting to make something for your home for the holidays.  Hopefully the Dare to DIY is that extra little push that you’ve been needing!

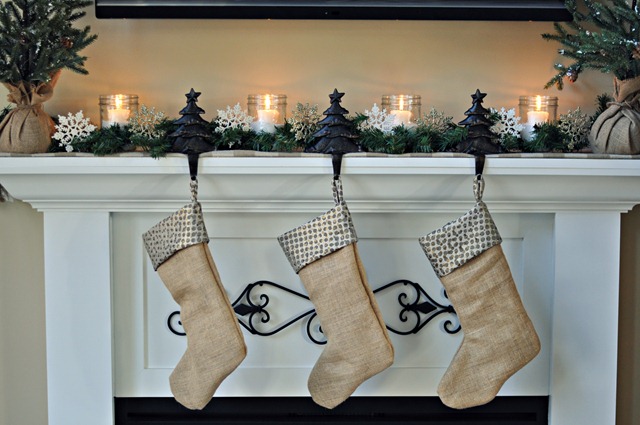
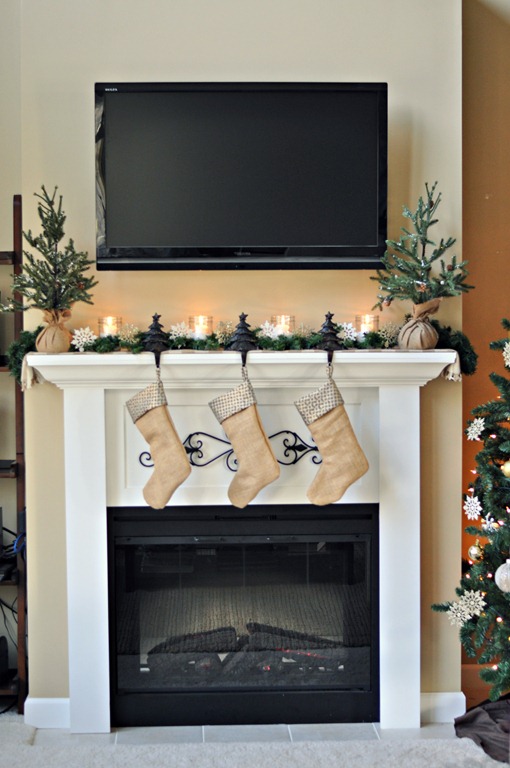
On Tuesday I shared with you our holiday mantel. One of the finishes touches on the mantel was the addition of burlap stockings.

Decor and the Dog Holiday Mantel 3

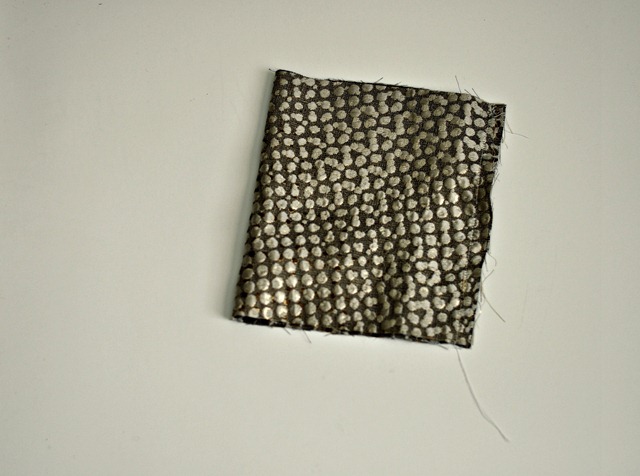
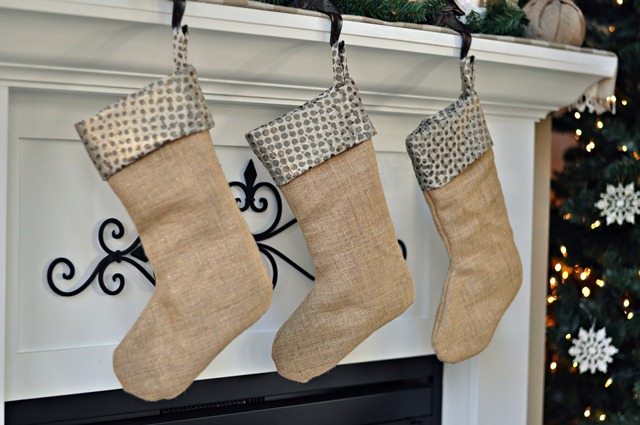
I’ve had my eye on burlap stockings for awhile.  When I found some gold polka dot fabric and burlap with gold flecks in at Joann’s, I knew it was a sign that these stockings were to made in 2012.  Unfortunately I learned that burlap and I don’t get along (major congestions/headache/think I might die/seriously) but I suffered through for these beauties.

Stockings are like the throw pillows of holiday decorating.  There are seriously easy to make.  I will show you how.

You will need:

  • 1/2 yard exterior fabric (I used the gold flecked burlap.)
  • 3/4 yard interior/cuff fabric (I used the gold polka dot fabric.)
  • 6” ribbon or fabric remnant for hanging loop (I used a strip of fabric.)
  • Coordinating thread
  • Stocking template (I’m not smart enough to do this as 1 download so you will need all 3 pages. Page 1, Page 2, and Page 3.)
Burlap Stocking Supplies

Print out the stocking pattern (links above).  Cut out the pattern with a rotary cutter or trace and cut out with scissors. Repeat for the lining.  (You will need 2 exterior pieces and 2 lining pieces.)

Burlap Stockings Step 1

To assemble the body of the stocking, put the two exterior body pieces right sides together. Pin in place. Sew the two layers together with a 1/4-1/2"-ish seam allowance.  I’m super precise when I sew.  I’m having trouble coming up for the right words for this but it’s important to sew as along the circular edges as smoothly as possible.  If you sew them too square or at a point, your stocking will look funny when you turn it right side out.

Burlap Stocking Step 2

Trim the fabric along the edge of toe and ankle to help make the stocking less bulky when you turn it right side out. Turn right side out.

Do the same with your lining pieces except you will not turn the lining pieces right side out.  (My lining fabric was hard to determine which side is right side so don’t let the photos fool you.)

Burlap Stockings Step 4

Place the lining inside the body of the stocking.

Burlap Stockings Step 5

Next you will need to make the cuff.  Cut out a 16" x 9" rectangle.  Fold the fabric in half (right sides together) and sew up the short side.

Burlap Stockings Step 6

Fold this in half so right sides are showing. 

Burlap Stockings Step 7

Place the cuff inside the body of the stocking.  You want the finished/folded edge to go in first.  The raw edges of the cuff should match up with the raw edges of the body.  You also want the seam of the cuff to match up with the back body seam. 

Burlap Stockings Step 8

Cut a 6" piece of ribbon (or use a fabric scrap like I did) and fold in half. Place the ribbon between the lining and the cuff along the back body seam of the stocking. The loop of the ribbon should be facing into the body of the stocking.  Align the raw edges of the ribbon and the body of the stocking.

Burlap Stockings Step 9

Pin body of stocking, cuff, and ribbon.  Sew cuff onto body of stocking.  Fold the cuff over and enjoy your handmade lined stocking!

031
Burlap Stocking Tutorial from Decor and the Dog

Hang by the mantel with care!

Burlap and Gold Stockings from Decor and the Dog
Decor and the Dog Burlap Stocking Tutorial
Decor and the Dog Holiday Mantel 2012

In case you missed them, I also whipped up a Glittery Gold Whispy Ornament Wreath.

Glittery Gold Whispy Wreath

And some reindeer prints.

Decor and the Dog Vignette 2

Are you ready for Monday’s link up?  We double dog dare you on this last challenge! Seriously.  What are you waiting for? Go forth and craft!

Burlap Stocking Tutorial.  Custom stockings are easy to make!
Photobucket Photobucket Photobucket PhotobucketPhotobucketPhotobucketfollow us in feedly

20 Handmade Christmas Gift Ideas (Dare to DIY)

Thank you all for linking up to the Dare to DIY Give Handmade link up!  There were so many great projects that we decided to compile our favorites into one handy post.  Hopefully you can use this compilation to help you out with those last minute handmade gifts.

20 Handmade Christmas Gift Ideas

Click the images or the links below to check out these fantastically awesome gift ideas!

 House Drawing by Planting Sequoias * Card Table Playhouse by Anything Pretty

Dog Silhouette by A Peachtree City Life * Wine Gift Bags by Bowl of Cherrys

Wine Cork Trivet by B&B Build a Life * Christmas Joy Felt Pillow by Our Next Great Adventure

Owl Coasters by Boxy Colonial  * Vanilla Brown Sugar Body Scrub by Wills Casa

Sharpie Mugs by Shannaigans * Travel Jewelry Holder by Naptime DIY

Gold Leaf Agate Coasters by Desert Domicile * Lilly Doll by Home in the Country

Festively Red Spread by Little Rays of Sunshine * R2D2 Stocking by Creative Chaos Art

Geometric Necklace by Ceci Bean * Mason Jar Snow Globes by The Sweetest Digs

Woodbead Necklace by Decor and the Dog * Crochet Blanket by Maybe Matilda

Dish Towels by NewlyWoodwards * State Necklace by Two Twenty One

We will be pinning all of these handmade gifts to the Dare to DIY Projects board.  You can also find all of the co-hosts on Pinterest: Decor and the Dog, Maybe MatildaNewlyWoodwards, and Two Twenty One.

Are you ready for next week’s Dare to Deck the Halls Challenge?  What’s the most fantastically awesome handmade gift that you have received?

Holiday Console Table

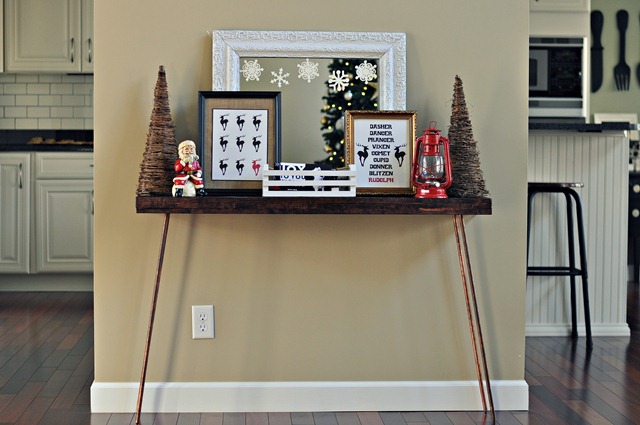
The mantel was my first holiday decorating victim.  Our console table was next.

Decor and the Dog Holiday Vignette 1

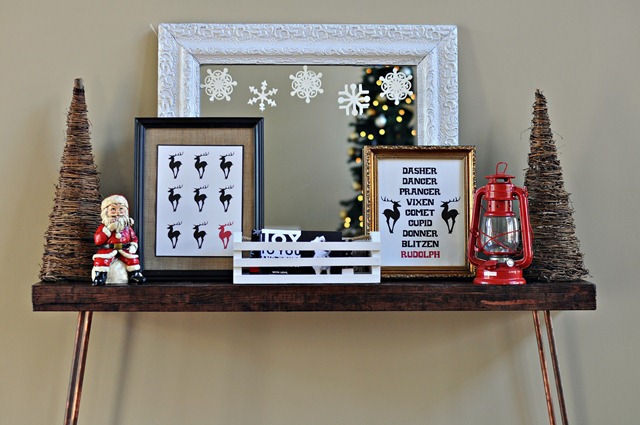
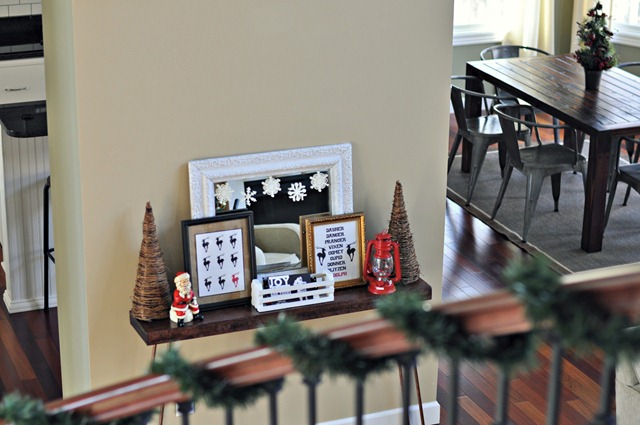
I went with a woodsy/red/black theme.  And snowflakes.  Snowflakes are like the winter version of owls for me.  Obsessed.  The crate in the center was a Salvation Army find and it will hold all of this year’s holiday cards.  I’m not big on holiday card displays.  I’d rather be able to flip through them.  And the crate is tidy.  I like tidy.

Decor and the Dog Vignette 2

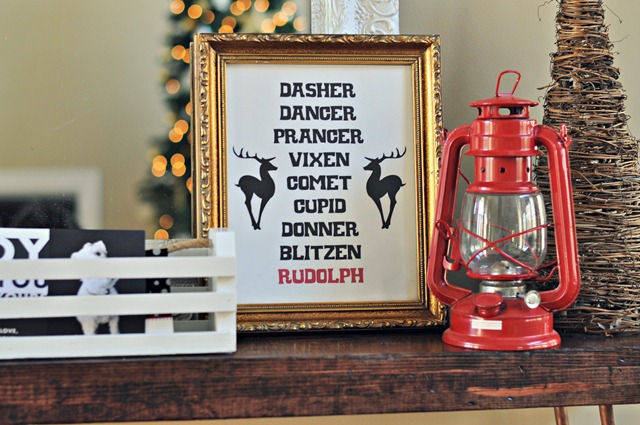
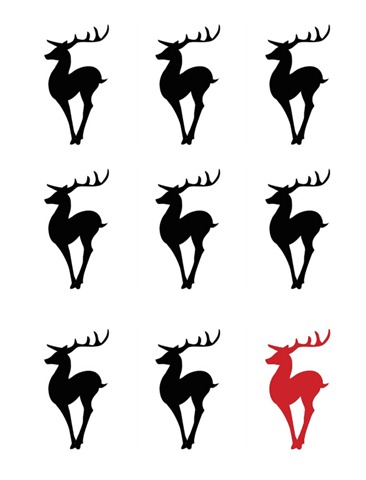
I made the prints. I’m teaching myself to use Photoshop Elements. (I also am teaching myself how to use our DSLR. I took all of these photos with Nate’s 50mm and none of them are blurry. I seriously think the Mayans were right. I’m getting freaked out.) There are links to download the prints at the bottom of the post.

Reindeer Print from Decor and the Dog

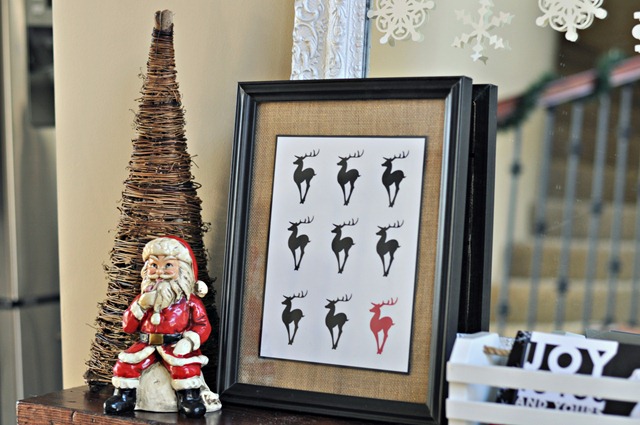
I stuck this reindeer print on some burlap and placed it in a frame from Goodwill.  Cheap yet classy.  That’s how I roll.  (Classy people say stuff like that, right?)

One Red Reindeer Print from Decor and the Dog

The trees are from Hobby Lobby.  Santa, the mirror, the lantern, and the two frames are all from thrift stores.

I like the view as I come down our stairs each morning.  Man, I love Christmas.

Decor and the Dog Vignette from stairs

And because it’s the season of giving.  Free reindeer prints!  Just click the link below the print to download.

1redreindeer

One Red Reindeer


SantasReindeer

Santa's Reindeer

What’s your holiday decorating color scheme this year?  How do you display your holiday cards?

***FYI: I added a Holidays 2012 tab at the top of the blog for easy reference to all things holidays this month!***

Linking up to: Primitive and Proper, Southern Hospitality, A Thoughtful Place

Deck the Mantel- 2012 Edition

‘Tis the season to decorate all surfaces of your house.  Fa la la la la, la la la la.

First up.  The mantel. 

Decor and the Dog Holiday Mantel 1

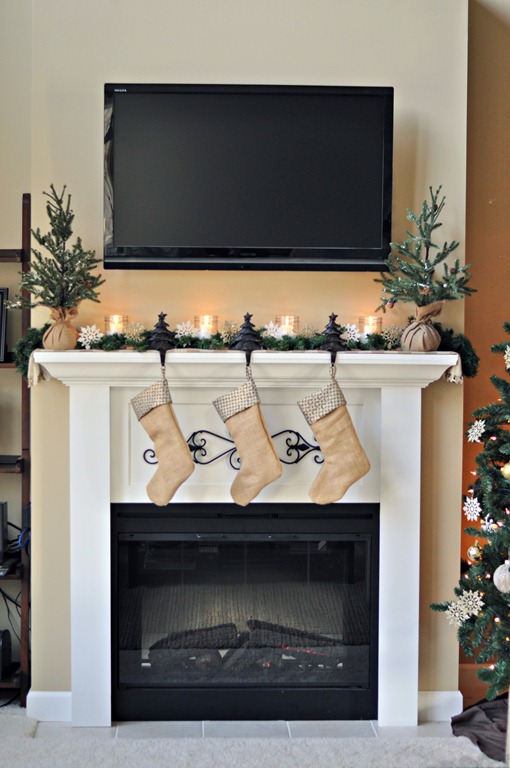
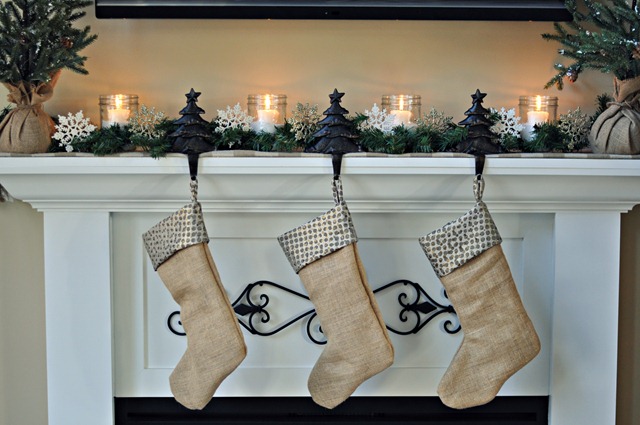
I went with a woodsy snowflake motif this year.  I also embraced the television.  Who wants a beautiful mirror with a ton of snowflakes on it over their mantel?  Not this girl.  Nope.  (That’s a lie.)  Even so, I’m still happy with how it turned out.

Decor and the Dog Holiday Mantel 2

Decor and the Dog Holiday Mantel 4

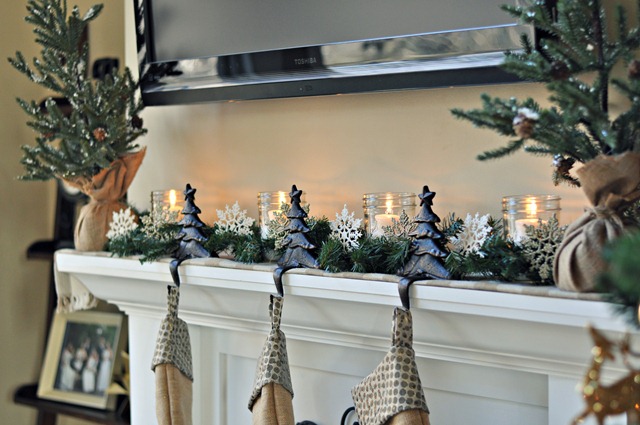
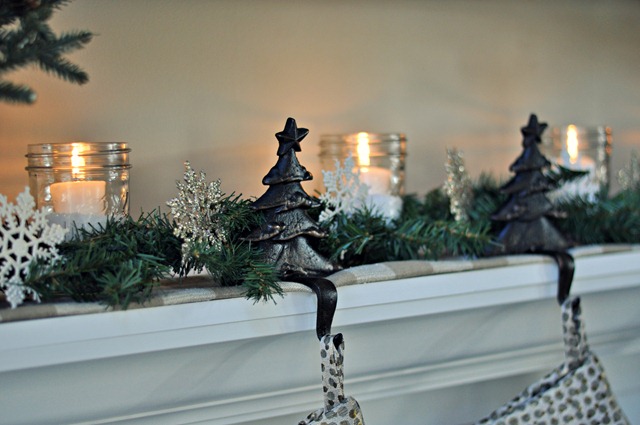
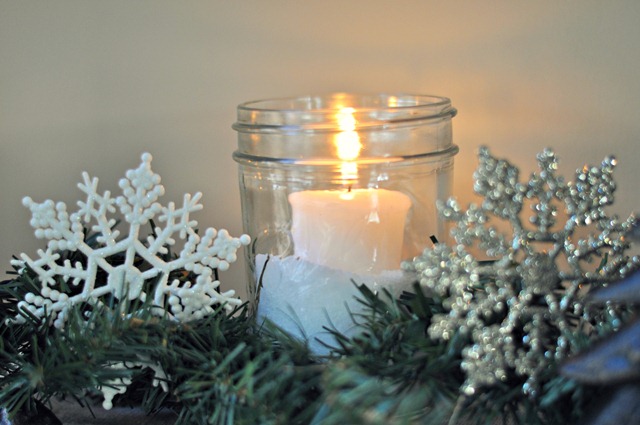
I tried out the ol’ Epsom salt in a Mason jar (a blogger holiday favorite).  The pharmacist in me enjoyed the fact that I was using medicine to decorate.  It’s hard being me.

Decor and the Dog Mason Jar with Epsom salt

I made the stockings that are hanging by the lack of chimney with care.  Turns out I’m allergic to burlap.  (Tutorial on Friday.  Get. Excited.  Because my sinuses aren’t.)

Decor and the Dog Holiday Mantel 3

Burlap and Gold Stockings from Decor and the Dog

This is the point where Nate asked me how many photos one could have of a tiny area.  I had to give him that one.

Fa la la la la, la la la la

Decor and the Dog Holiday Mantel 2012

Sources: Trees (Michael’s), Snowflakes (Salvation Army and Hobby Lobby), Stocking holders (Hobby Lobby 2011), Mason jars (Hobby Lobby), Garland (Target), Stockings (Handmade.  Tutorial on Friday.)

You can see our 2011 mantel here.  I definitely think my mantel eye is improving.

Are you done decking the halls?  Just started?  What’s your mantel motif this year? 

Linking up to:  The Lettered Cottage, Ten June, Finding Silver Pennies

Have a handmade gift post?  Be sure to link up here!

Glittery Gold Whispy Ornament Wreath

A blogger having the same wreath each season is like a celebrity wearing the same dress to two different movie premieres.  Shameful.

I usually use a berry wreath for our holiday decorating.  The berries usually shed all over the floor and it just didn’t seem to go with my glittery gold motif I have going on this year.  So I took matters into my own hands and created my 20 minute Glittery Gold Whispy Ornament Wreath.  Patent pending on the name.

Glittery Gold Whispy Wreath

This

wreath

is super easy.

Head to Hobby Lobby.  Find whispy wreath for $14.99.  Find gold spray paint for $3.  Find gold Glitter Blast spray paint for $7.99.  Holy rip off but my mind was set on glitter.  Logic goes on the window when your mind is on glitter.  Luckily I had a coupon. This will probably take you 5 minutes if you are an expert Hobby Lobby shopper like myself.  Wait in line for at least 8 minutes…because it’s Hobby Lobby.

Once you are home, scrounge around for some ornaments that you aren’t using.  My were pink and purple left over from my college days. I’m sad I didn’t photograph them.

052

Spray the wreath and ornaments with the gold spray paint.  1 minute.

Let dry.  1 minute.  (Because you are impatient and want to spray everything with glittery spray paint.)

Repeat on opposite side of wreath and ornaments. 1 minute.

Let dry. 2 minutes. (Because you are impatient and want to spray everything with glittery spray paint.)

Spray the wreath and ornaments with the Glitter Blast spray paint.  1 minute.  Let dry.  Words of wisdom:  When they say “blast”, they mean blast.  Be prepared.  It was pretty awesome actually.  Glitter explosion.

Attach ornaments to wreath using ornament hooks.  Just wrap the hook around.

148

Give the wreath one more good round of glitter blast.  1 minute.

Hang and enjoy your beautiful Glittery Gold Whispy Ornament Wreath.

155
GlitteryGoldWhispyOrnamentWreath
Glittery Gold Ornament Wreath.jpg

What’s your holiday wreath look like?  Or are you anti-wreath?  I was kind of impartial to wreaths before this gold beauty came into my life.