
Navy and White Herringbone Quilt
/Something unbelievable has happened! I finished our little dude's quilt before his arrival. This is huge for a procrastinator like myself.
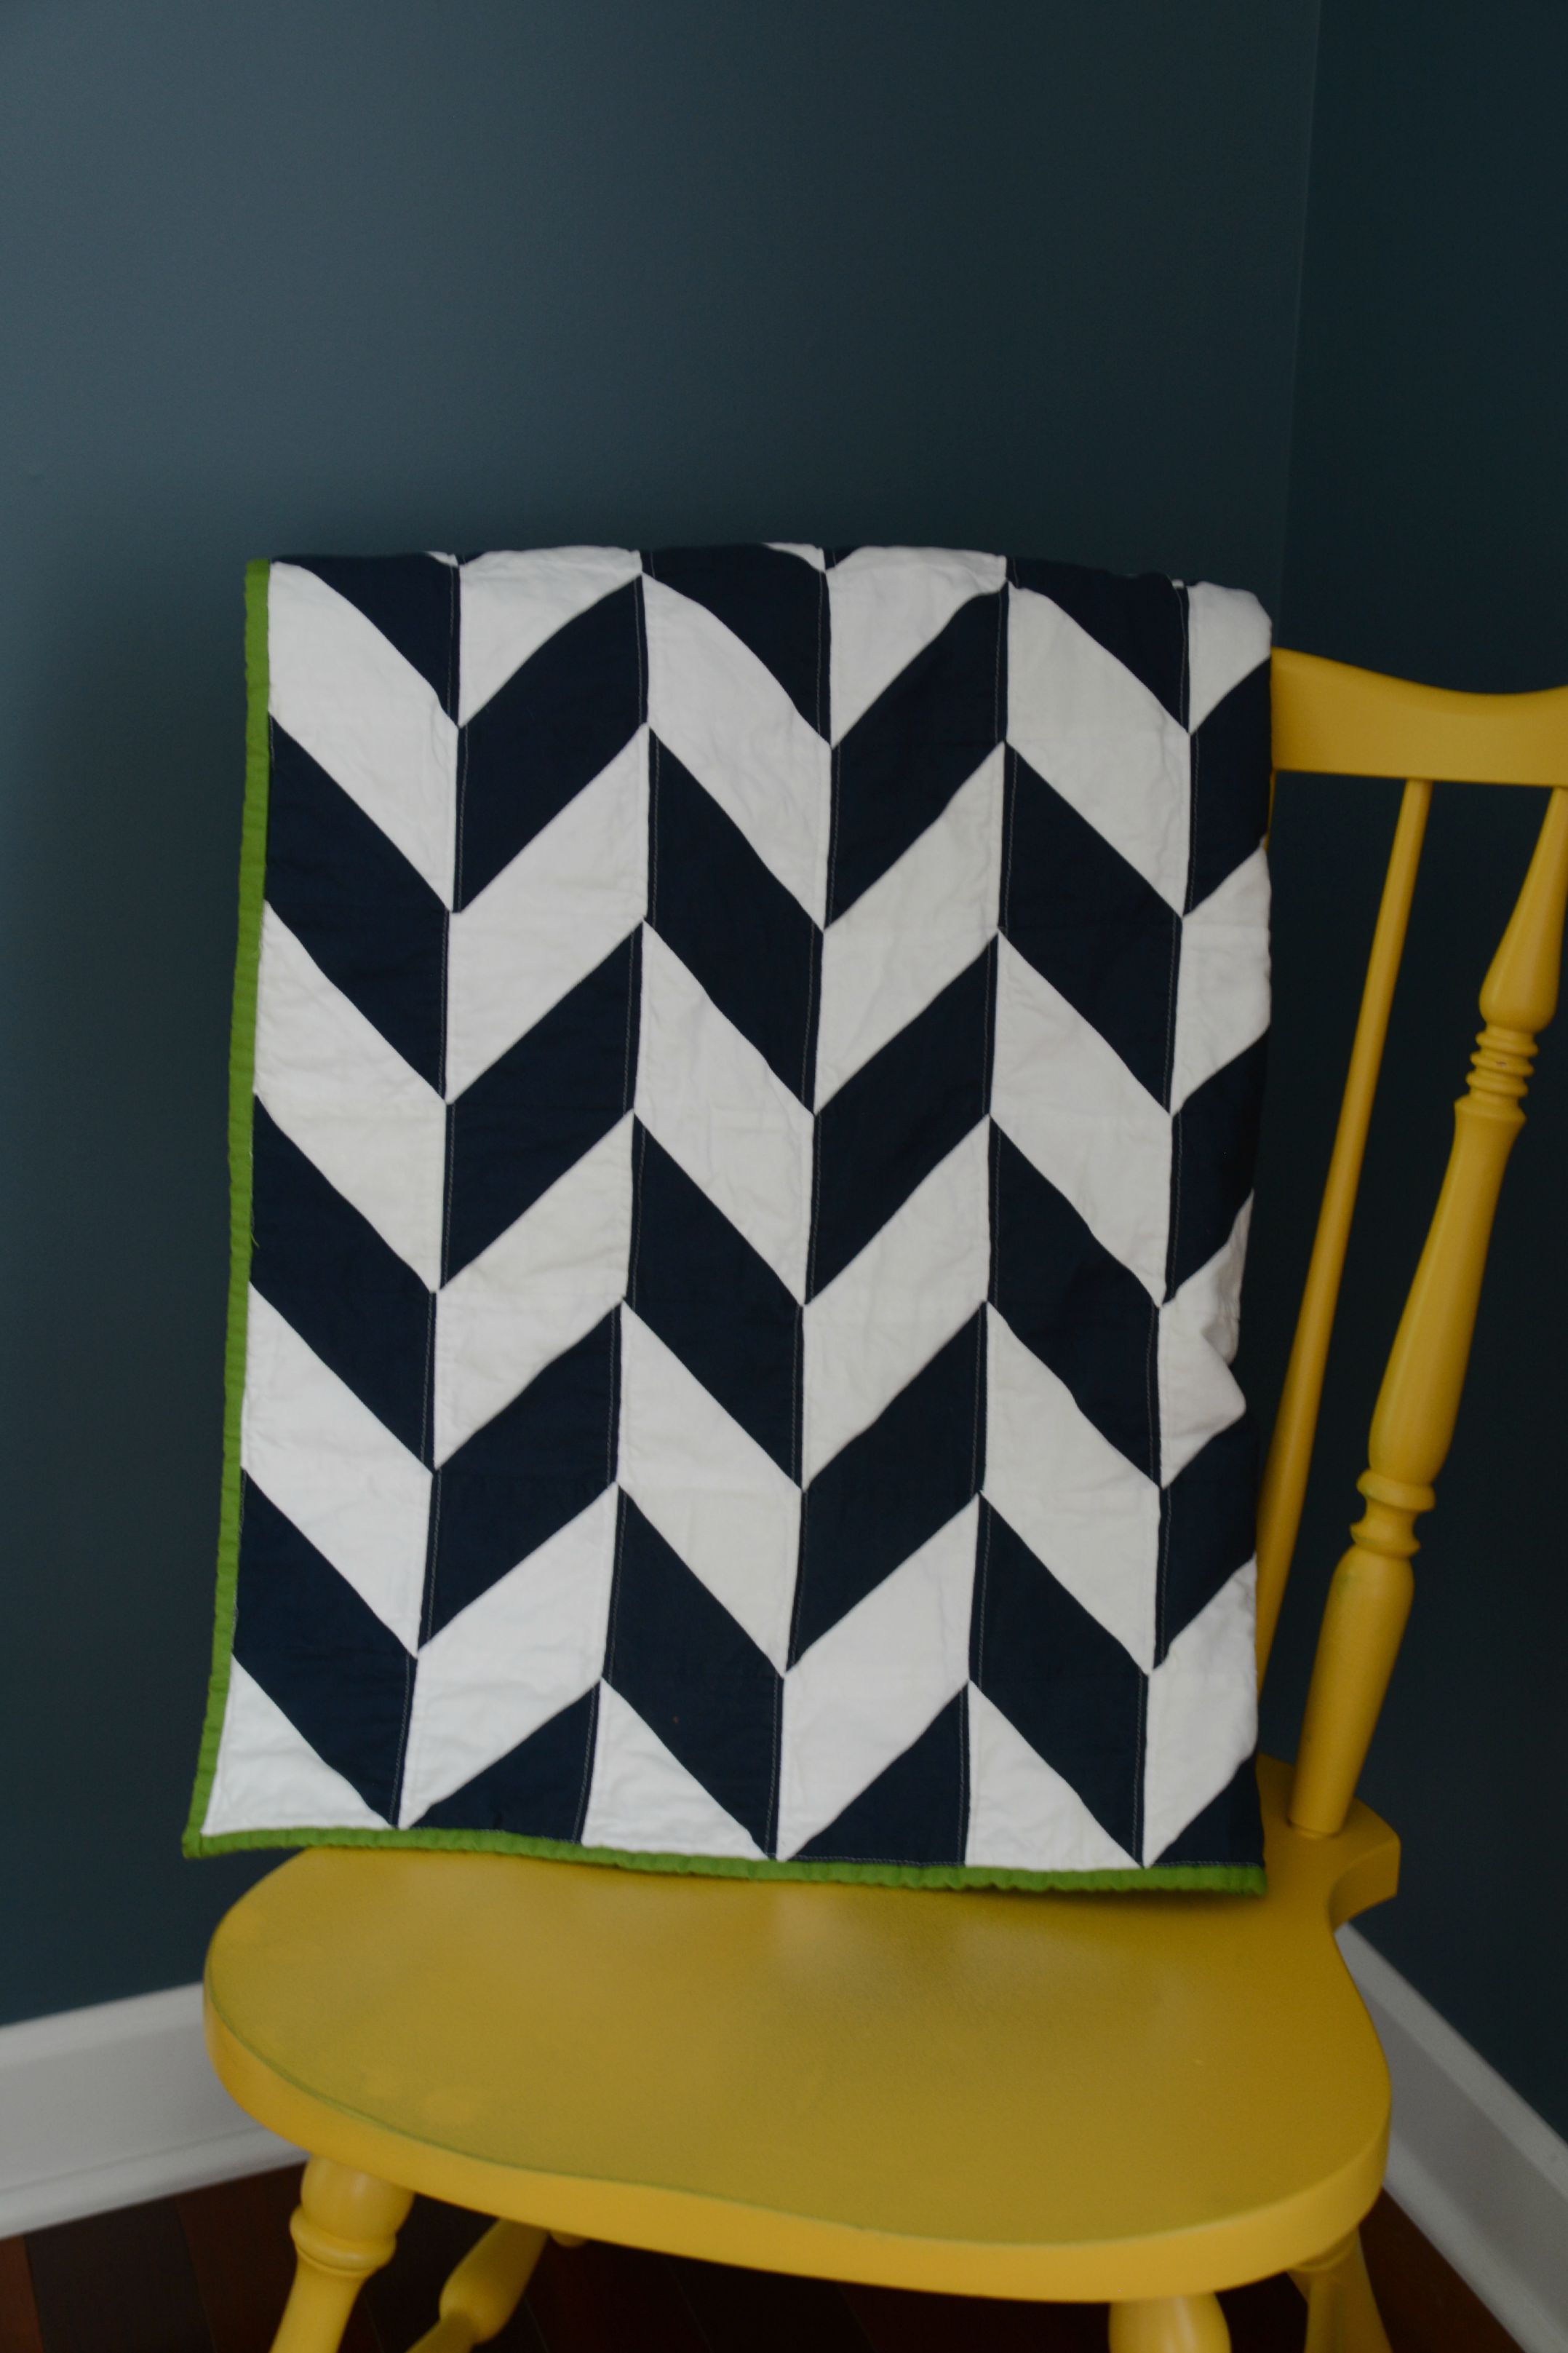
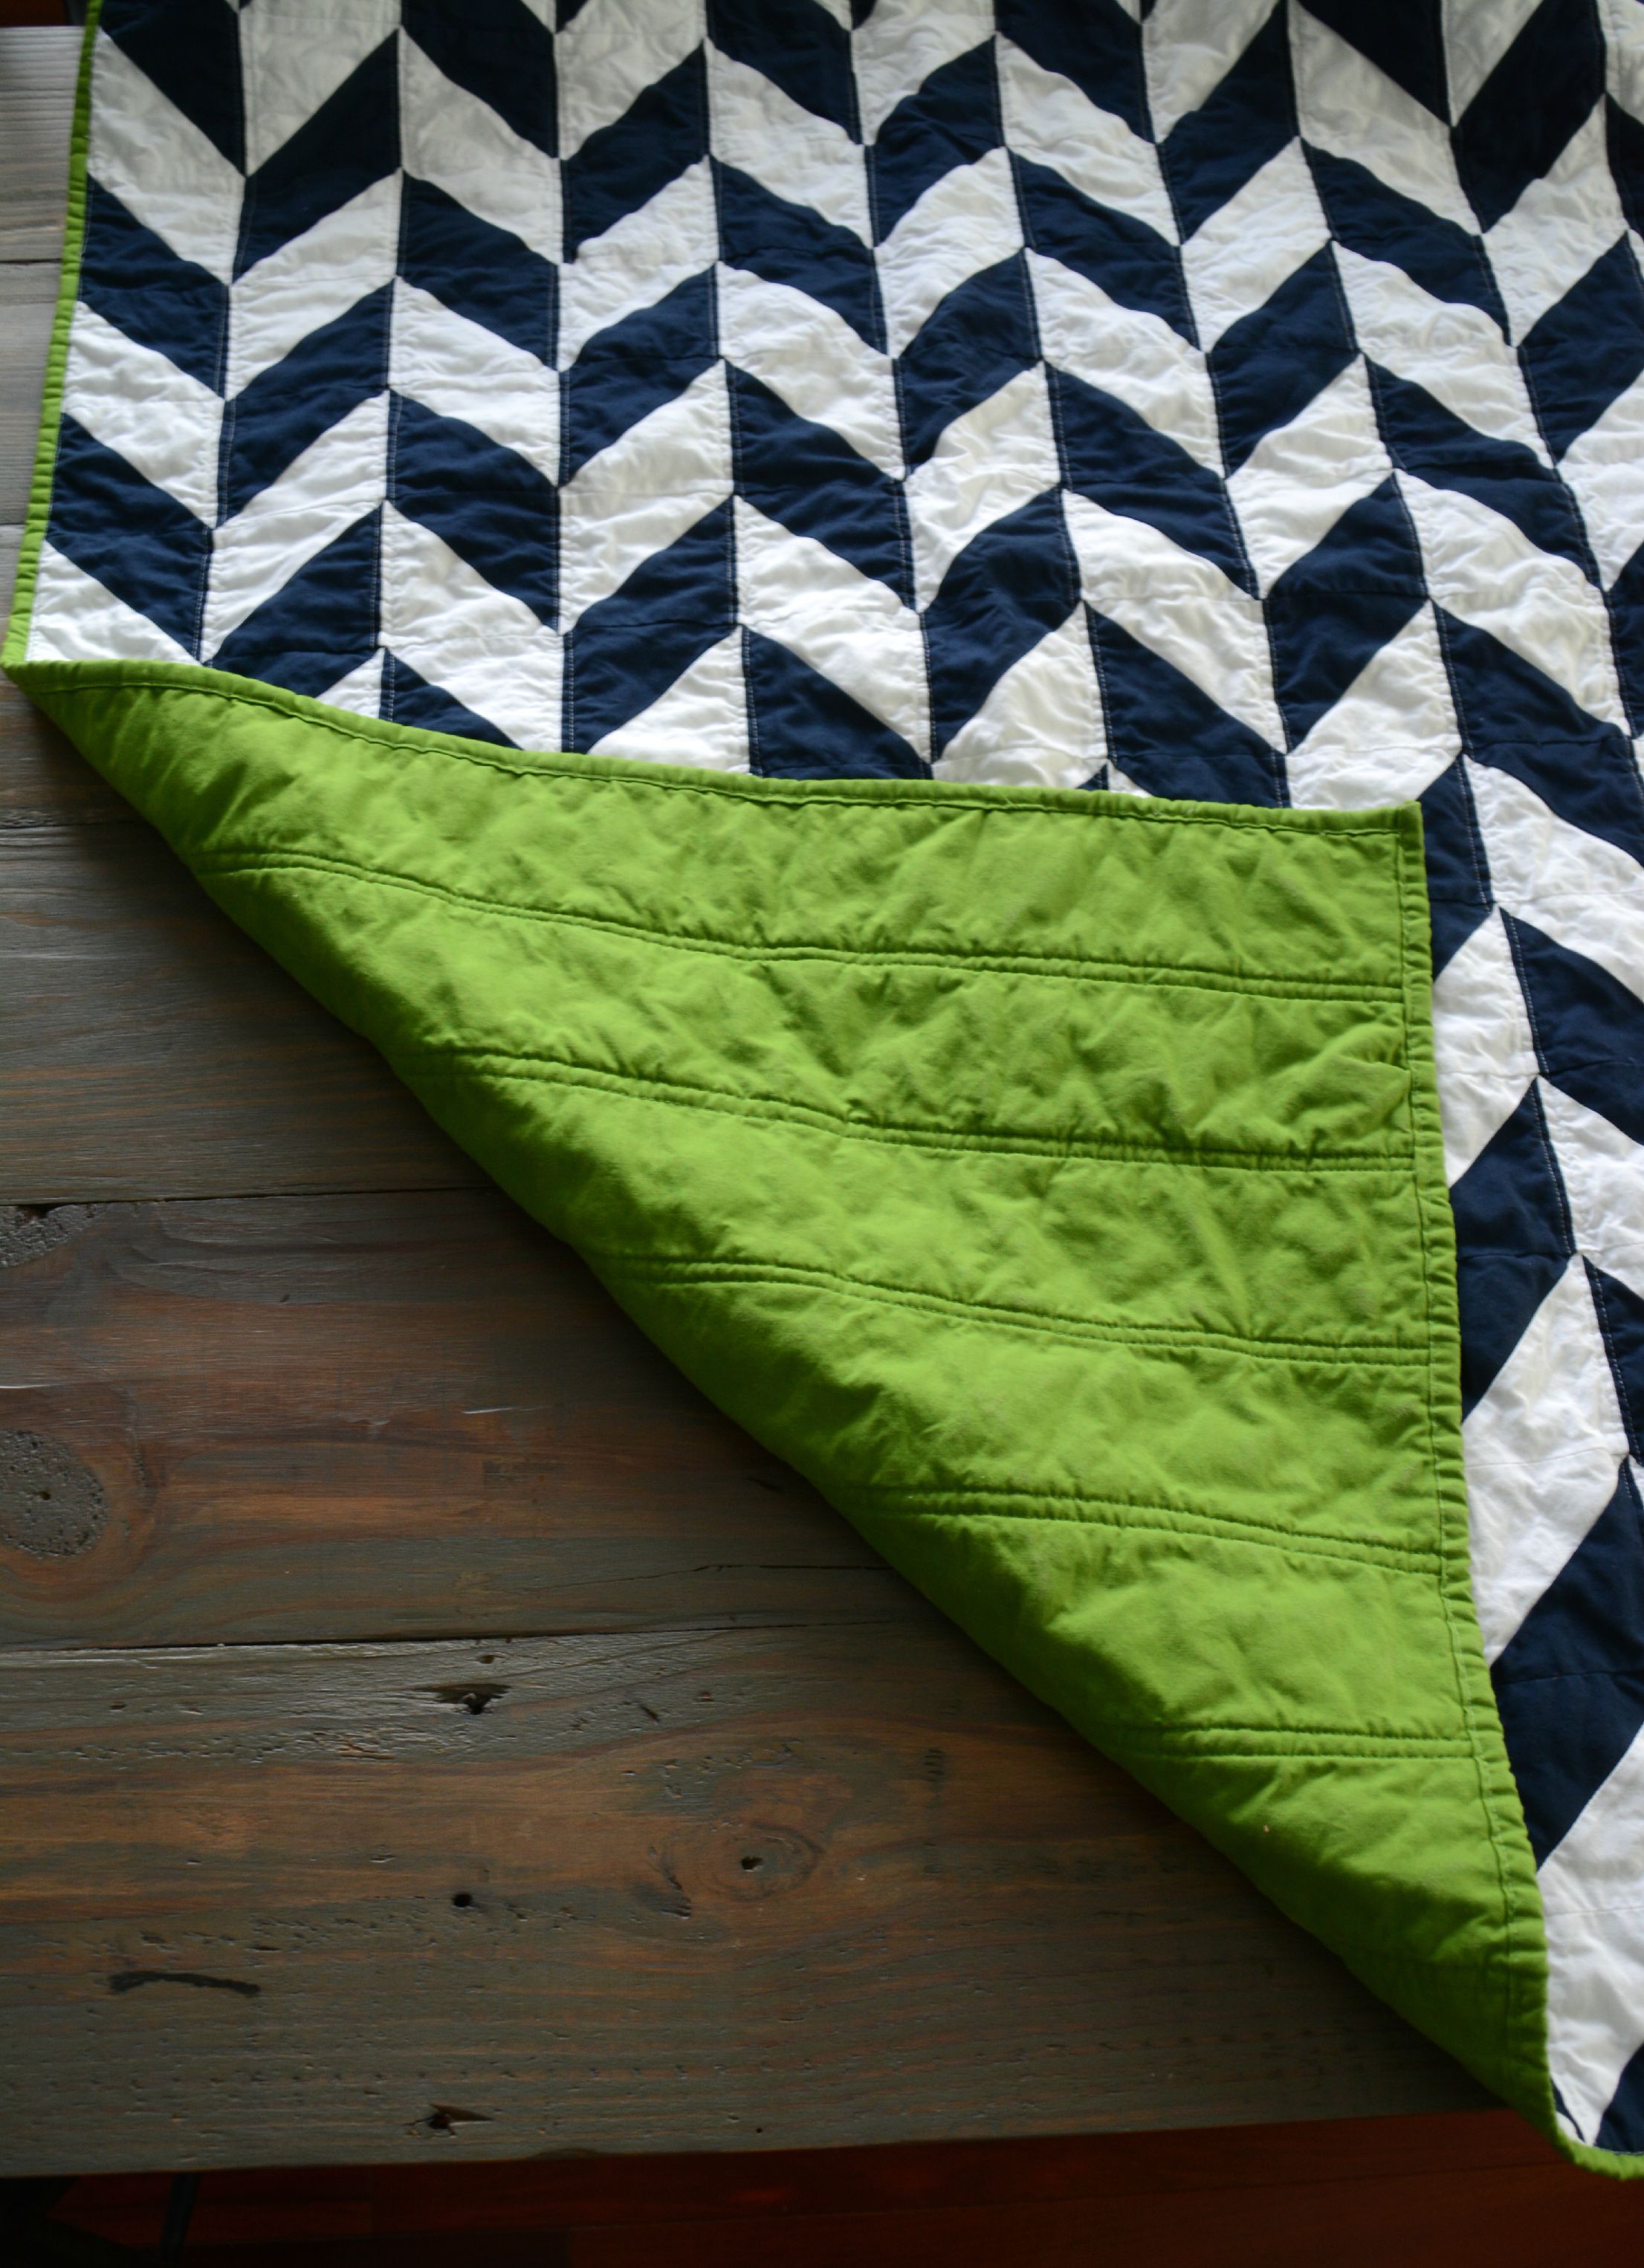
Picking out which quilt I wanted to make took a good month. This was quite the decision. I ultimately decided on a herringbone pattern. I like that herringbone has both modern and vintage properties. Or at least that's what I tell myself. Next up was the ever difficult color decision. I wanted the quilt to be part of the nursery but I also want to use it for his monthly photos. There are so many decisions in parenting already. As you can see navy, white and green won.
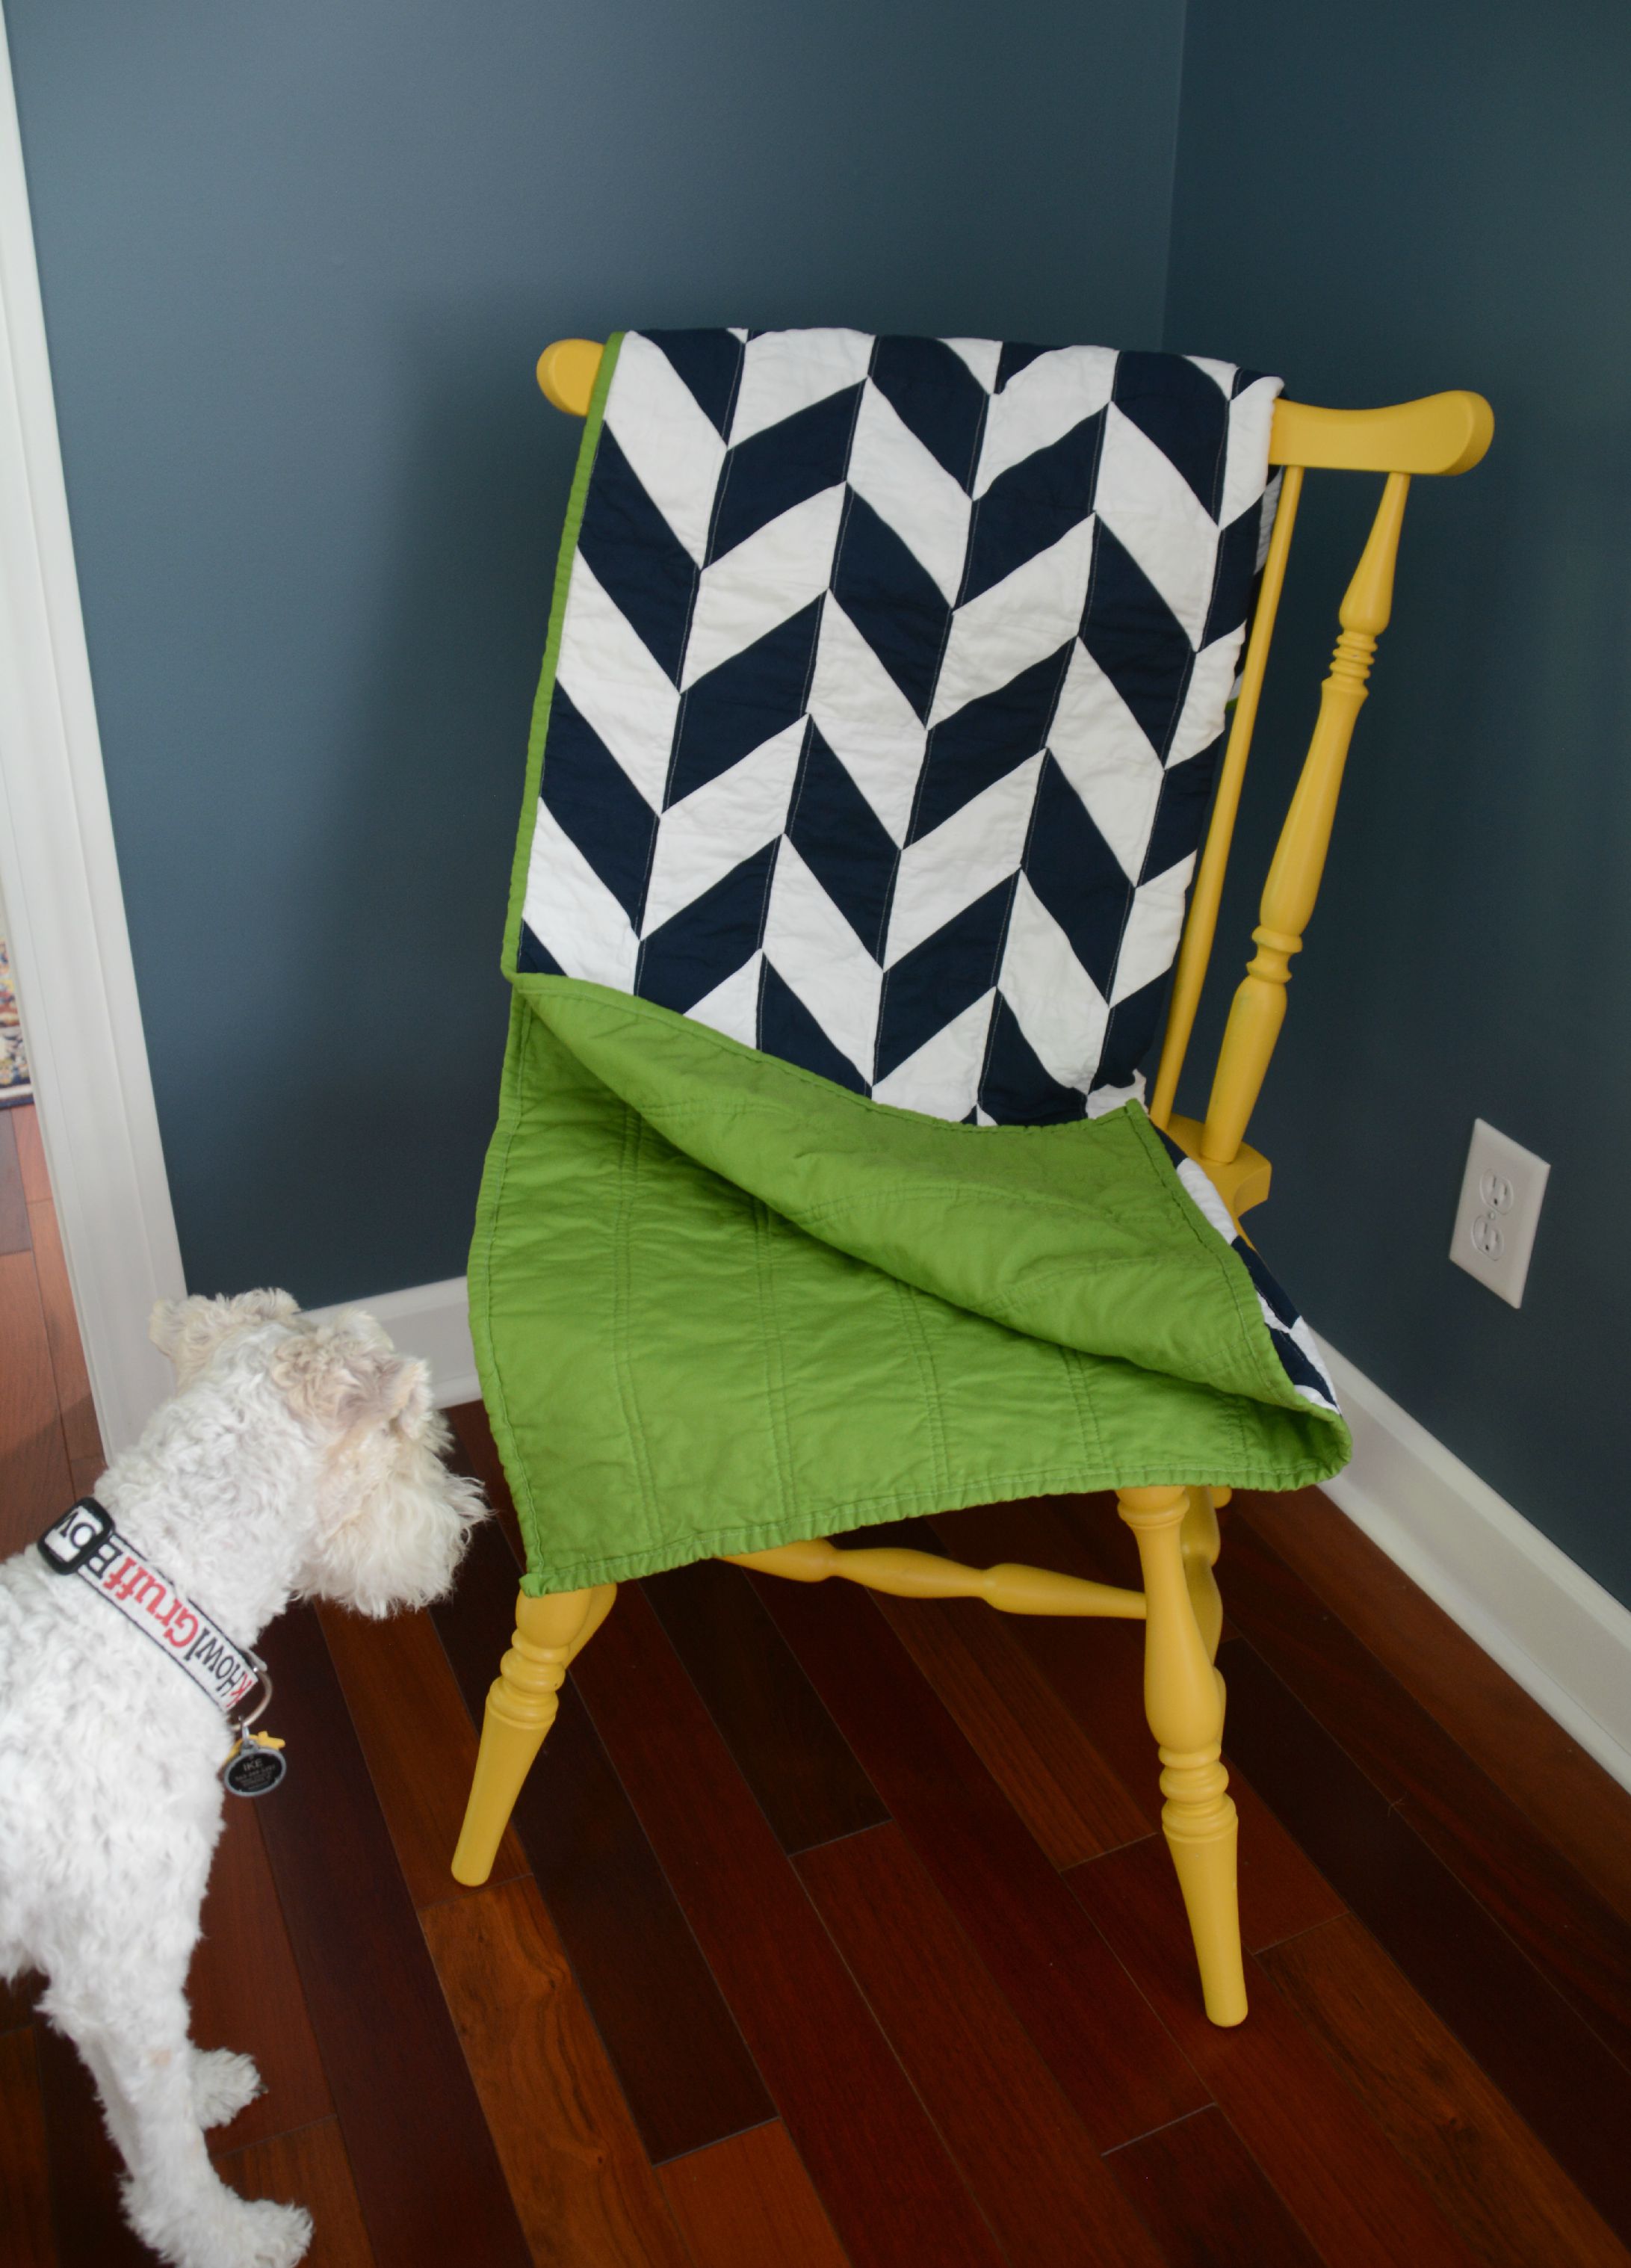
Although Ike appears unsure here, he gives this quilt his full stamp of approval. I mean, he was my trusty assistant and I'm not sure I could have finished without his "help". Note the quotation marks.
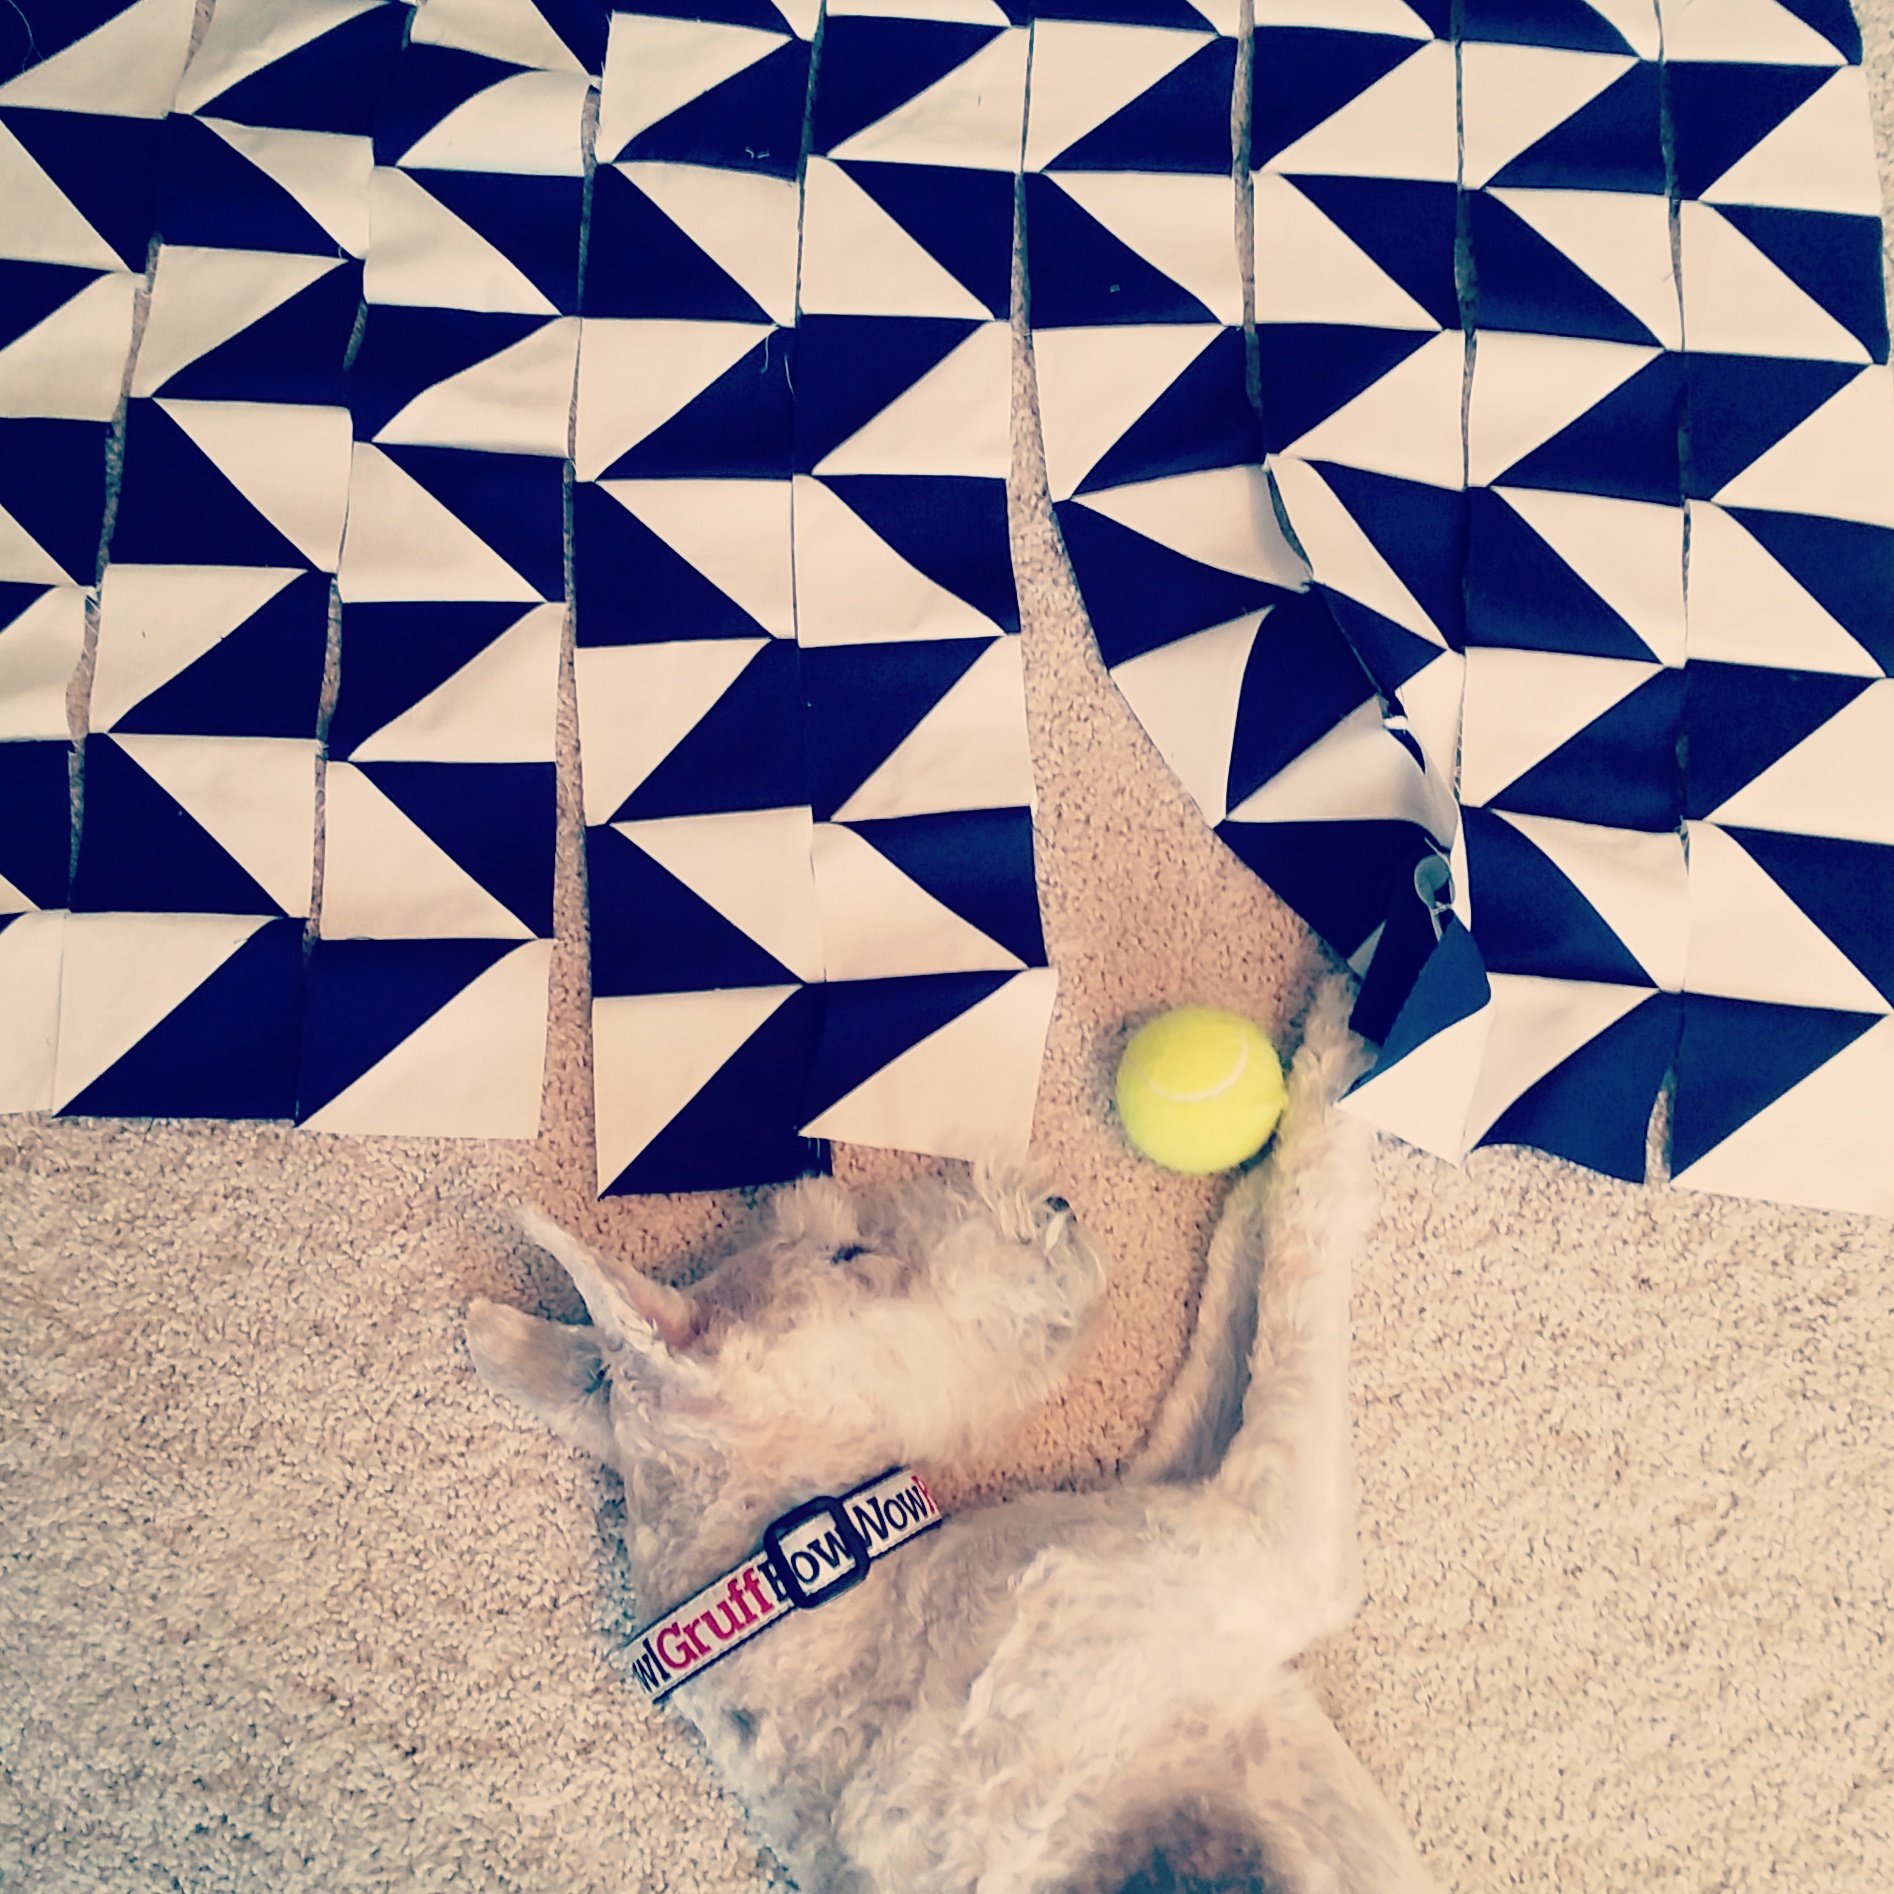
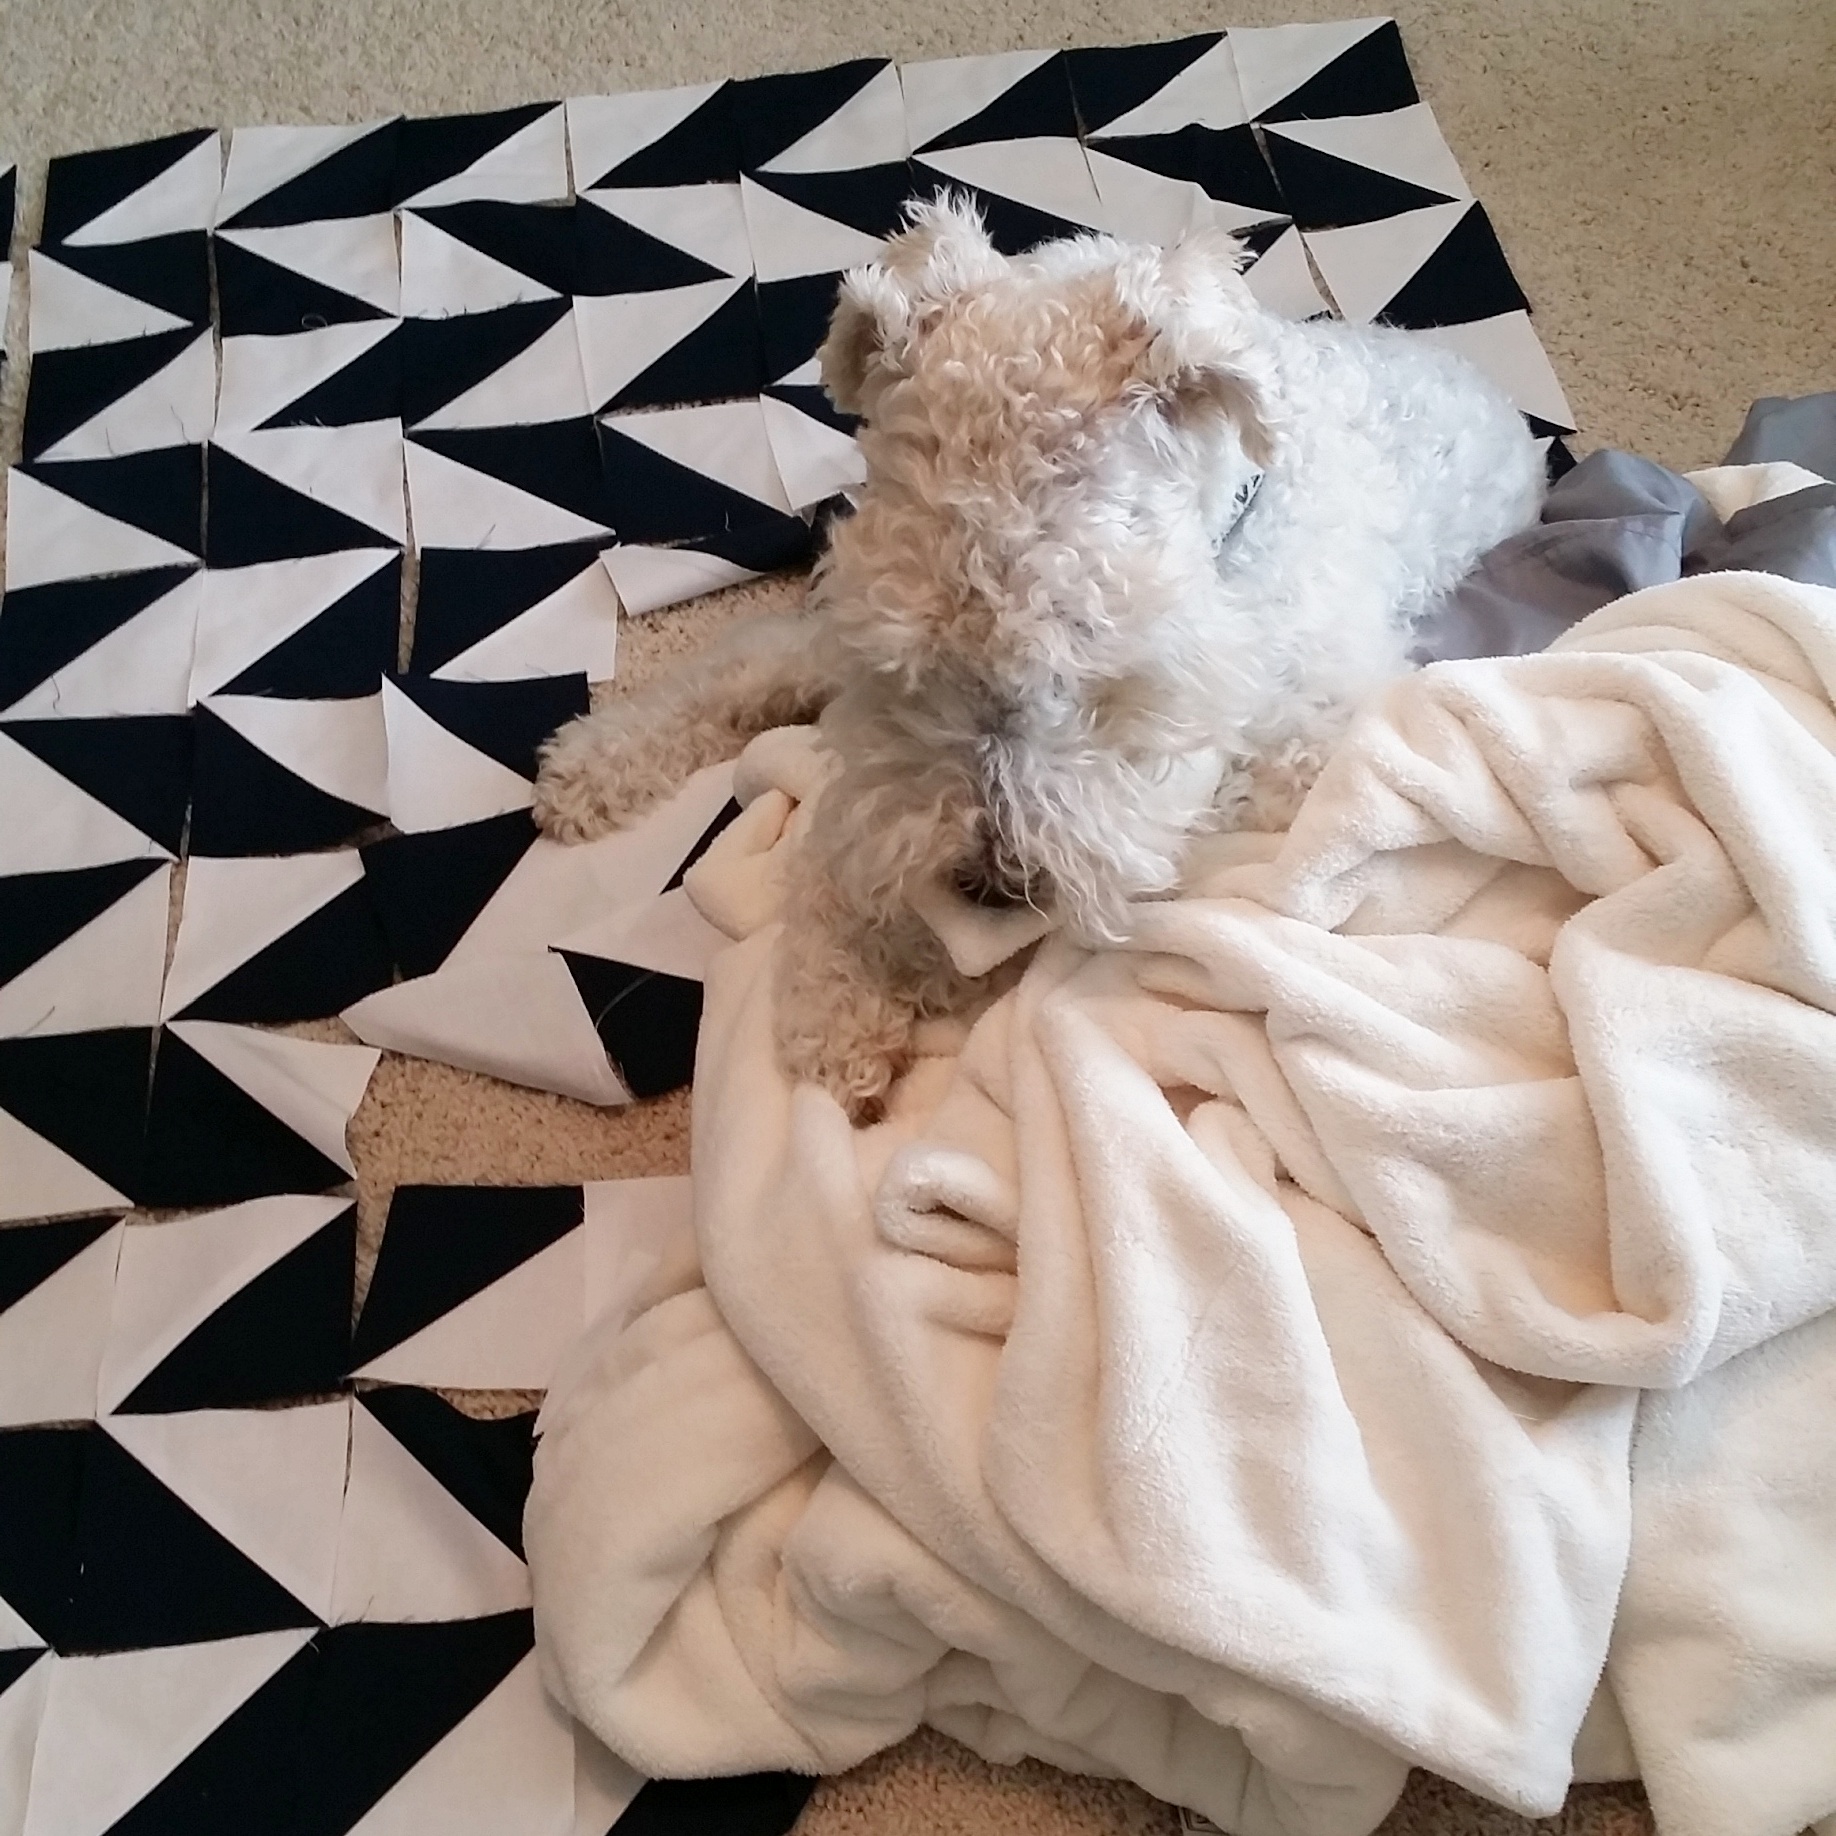
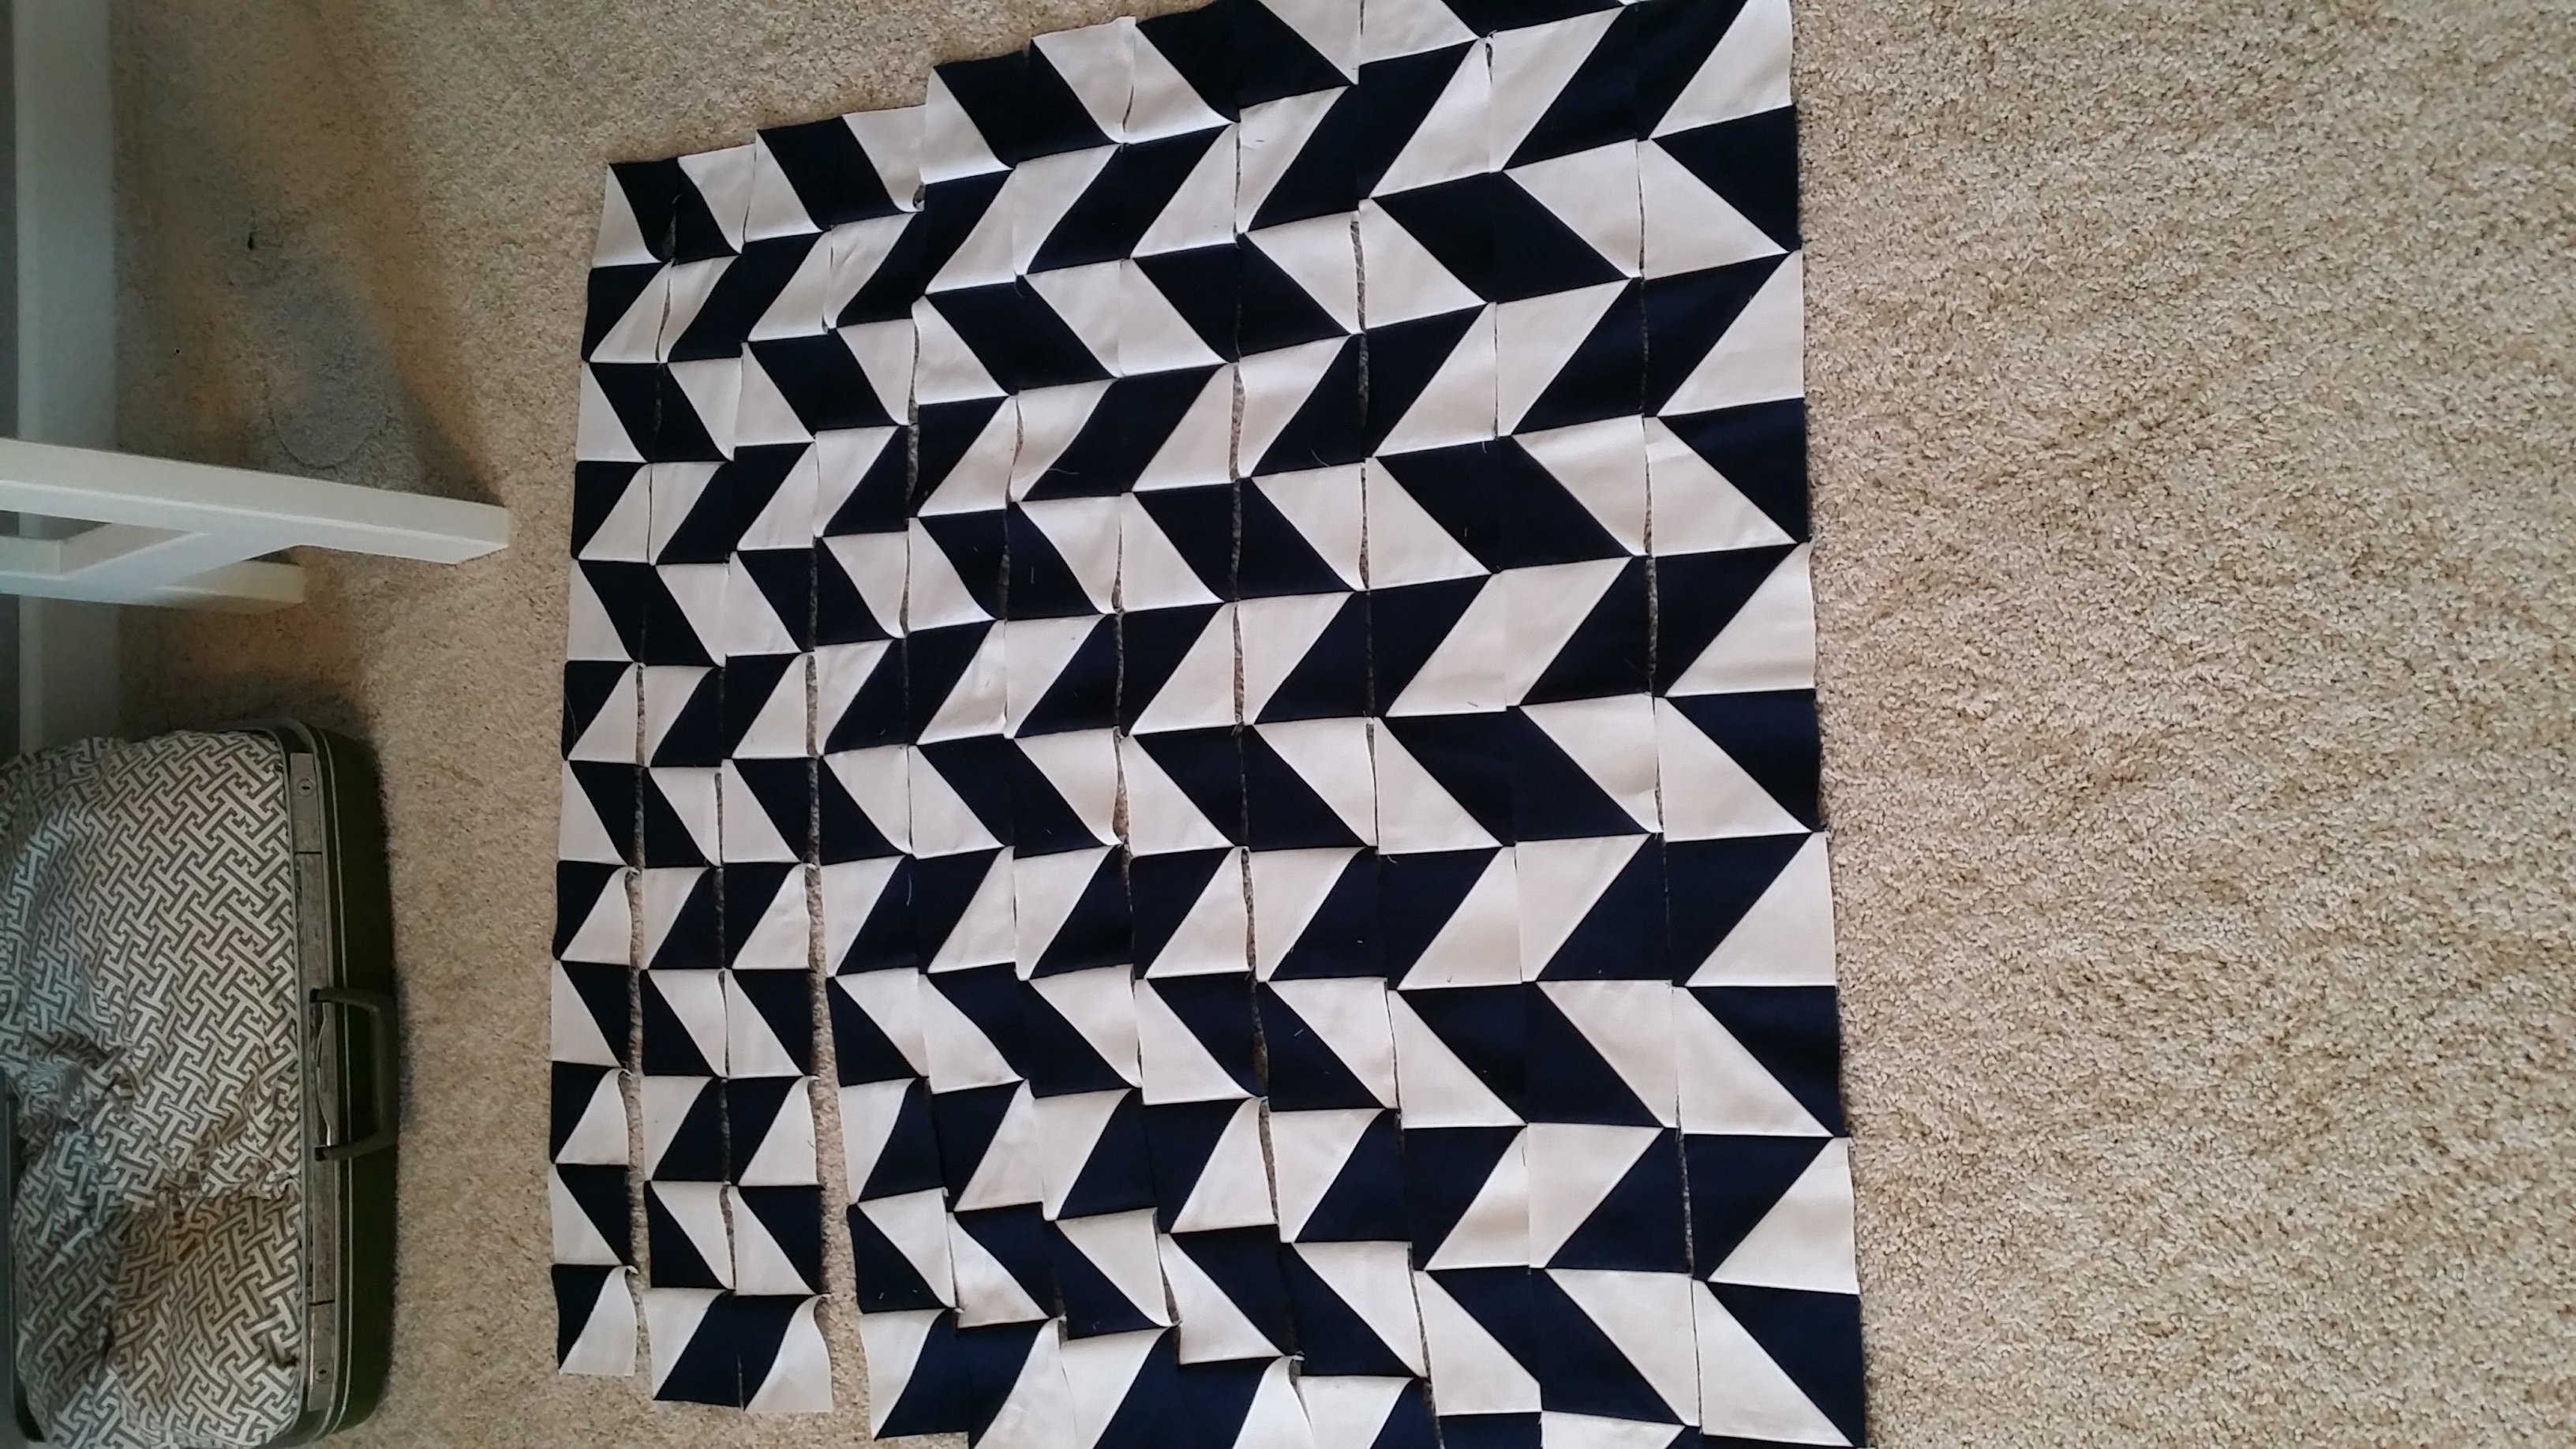
I used the charm packs to make 1 million and 6 half square triangles. I've made half-square triangles before but always refer back to this tutorial because I have a horrible memory. I used this tutorial to trim the half-square triangles. I believe I trimmed mine down to 4". Then it's just a matter of laying out the triangles in the trippy pattern and sewing the squares into rows and then sewing those rows together.
I believe the final dimensions on this quilt are 36" x 52".

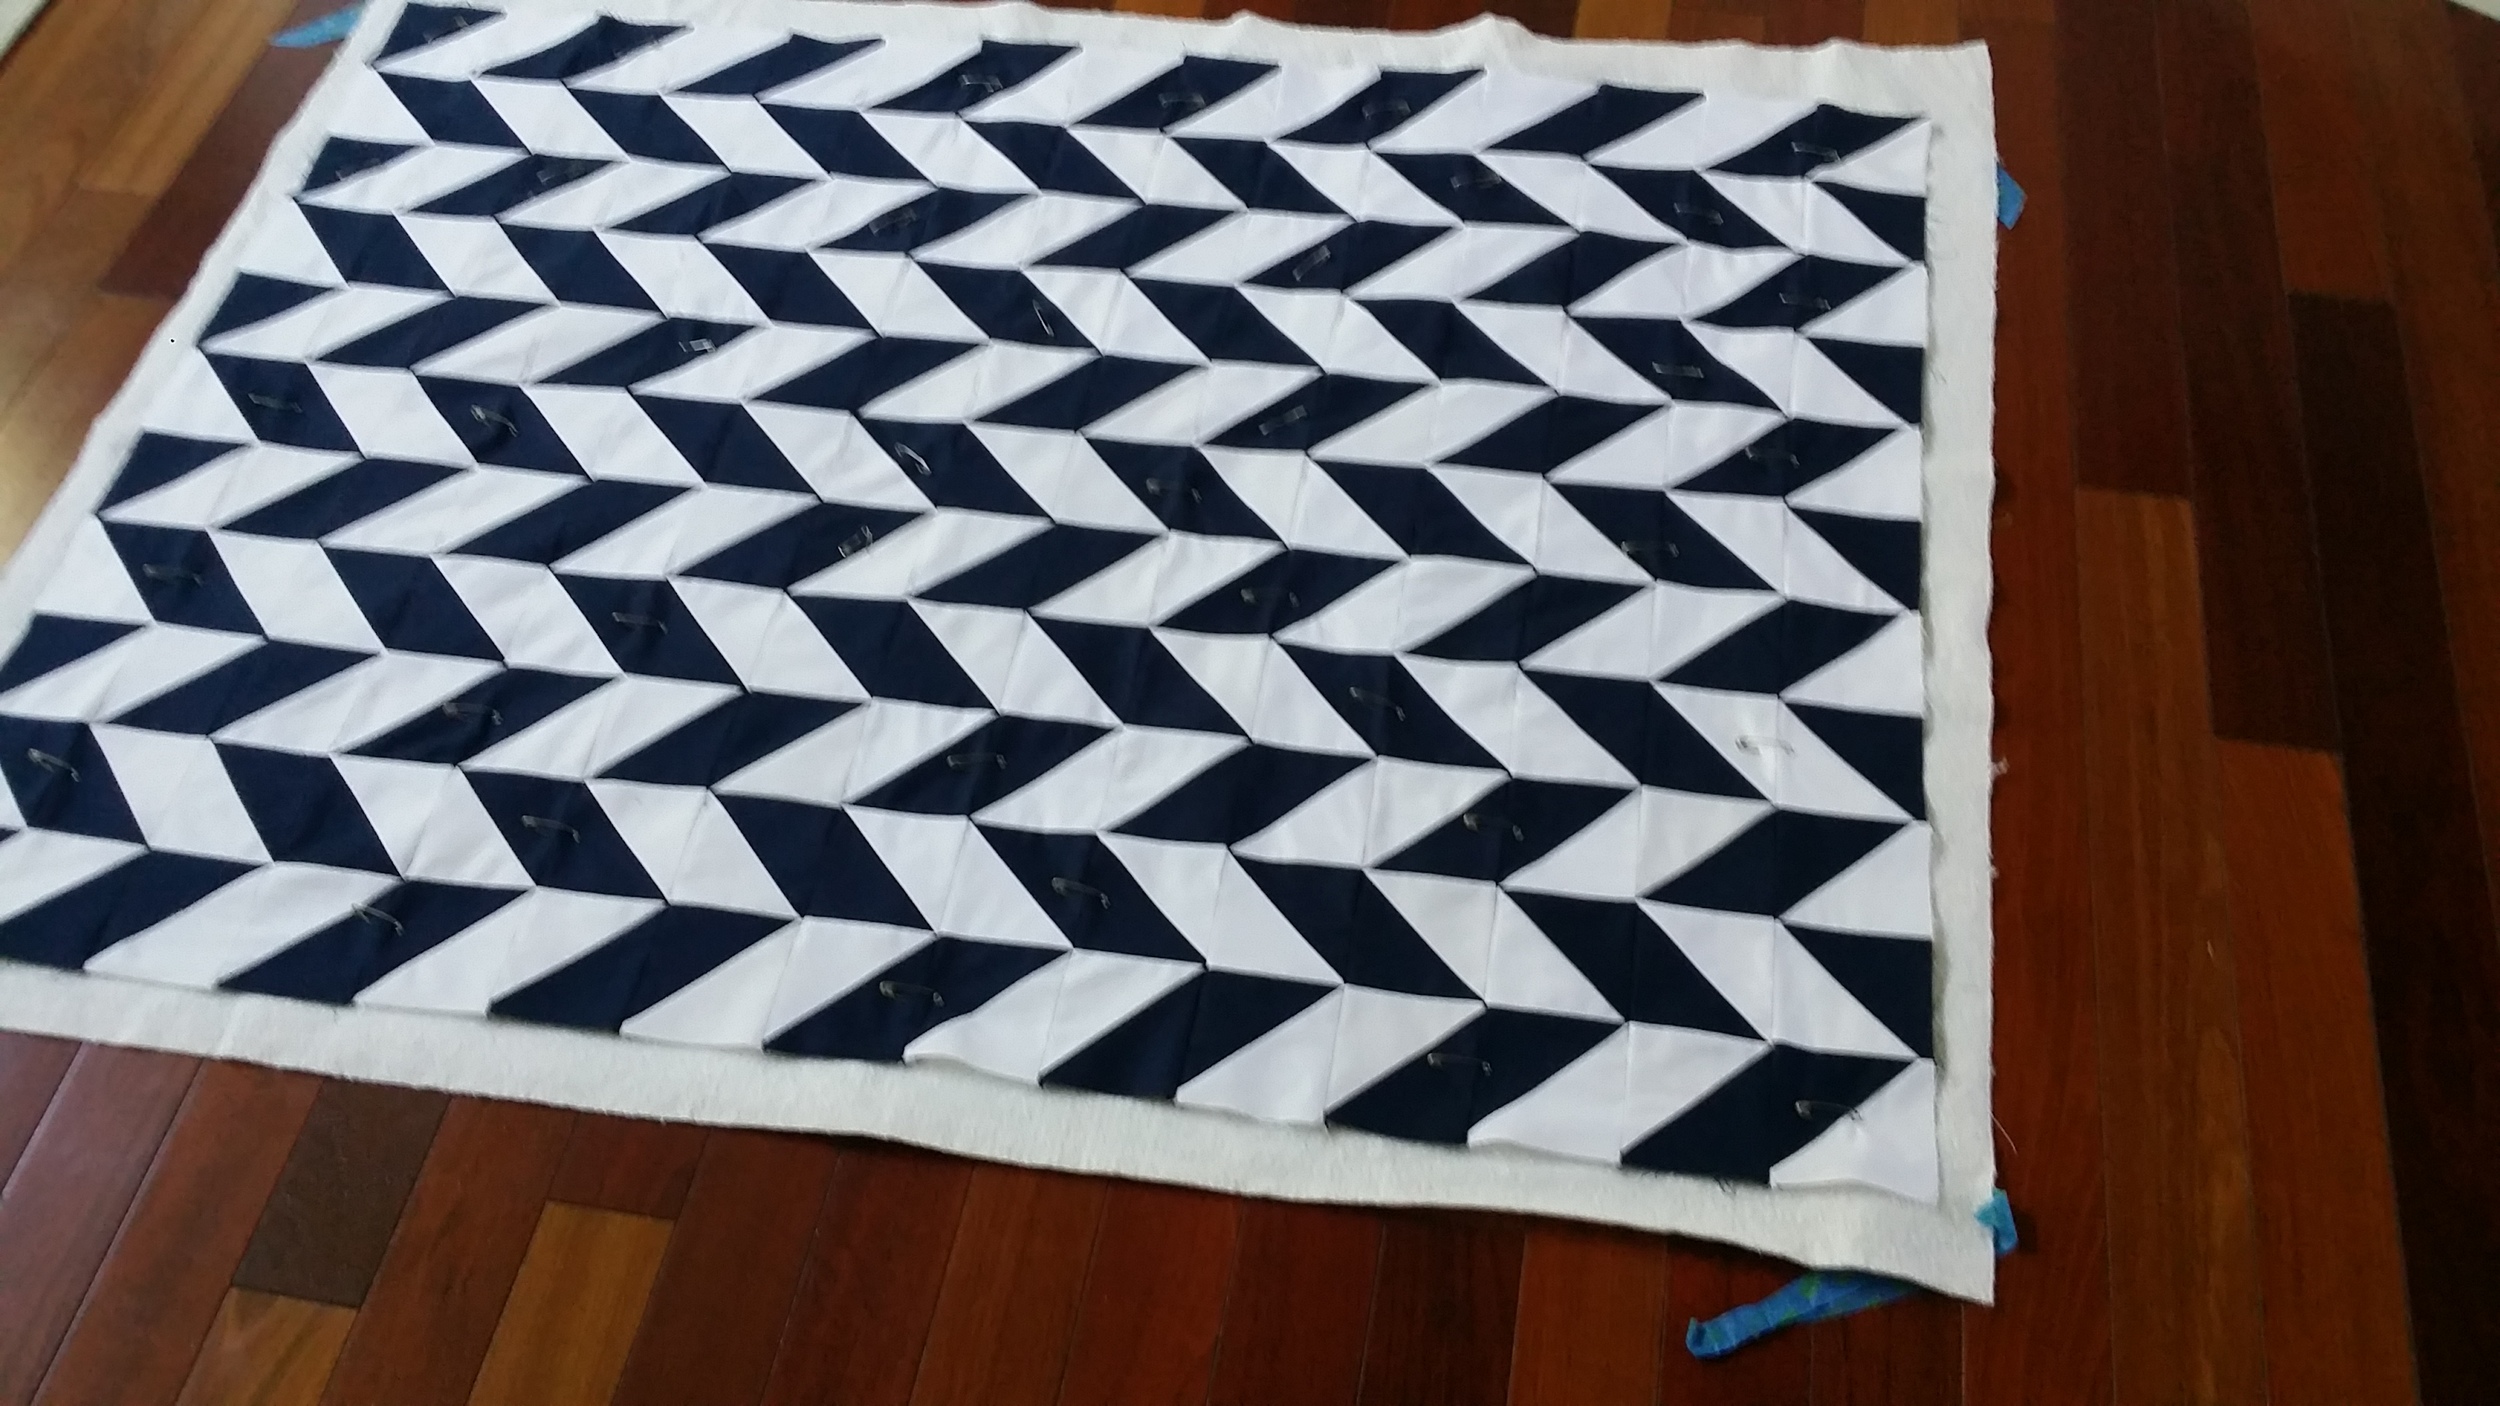
It's then time to quilt. I chose to keep the quilting simple on this one. Mainly because I wanted to finish but also because the pattern is a lot on it's own. It's doesn't need fancy quilting. Two straight lines on each row and I called it good. This is enough to keep the batting secure and still give some of that wonderful quilt puckering.

Lastly it's time to bind the quilt. I always refer to this tutorial for machine binding. Binding is still something I struggle with but I am making improvements with each quilt. I've tried a few other ways of binding but keep coming back to this one because it holds up the best. Finally it's time to throw the machine into the wash and hope it doesn't fall apart. I kid. Sort of.


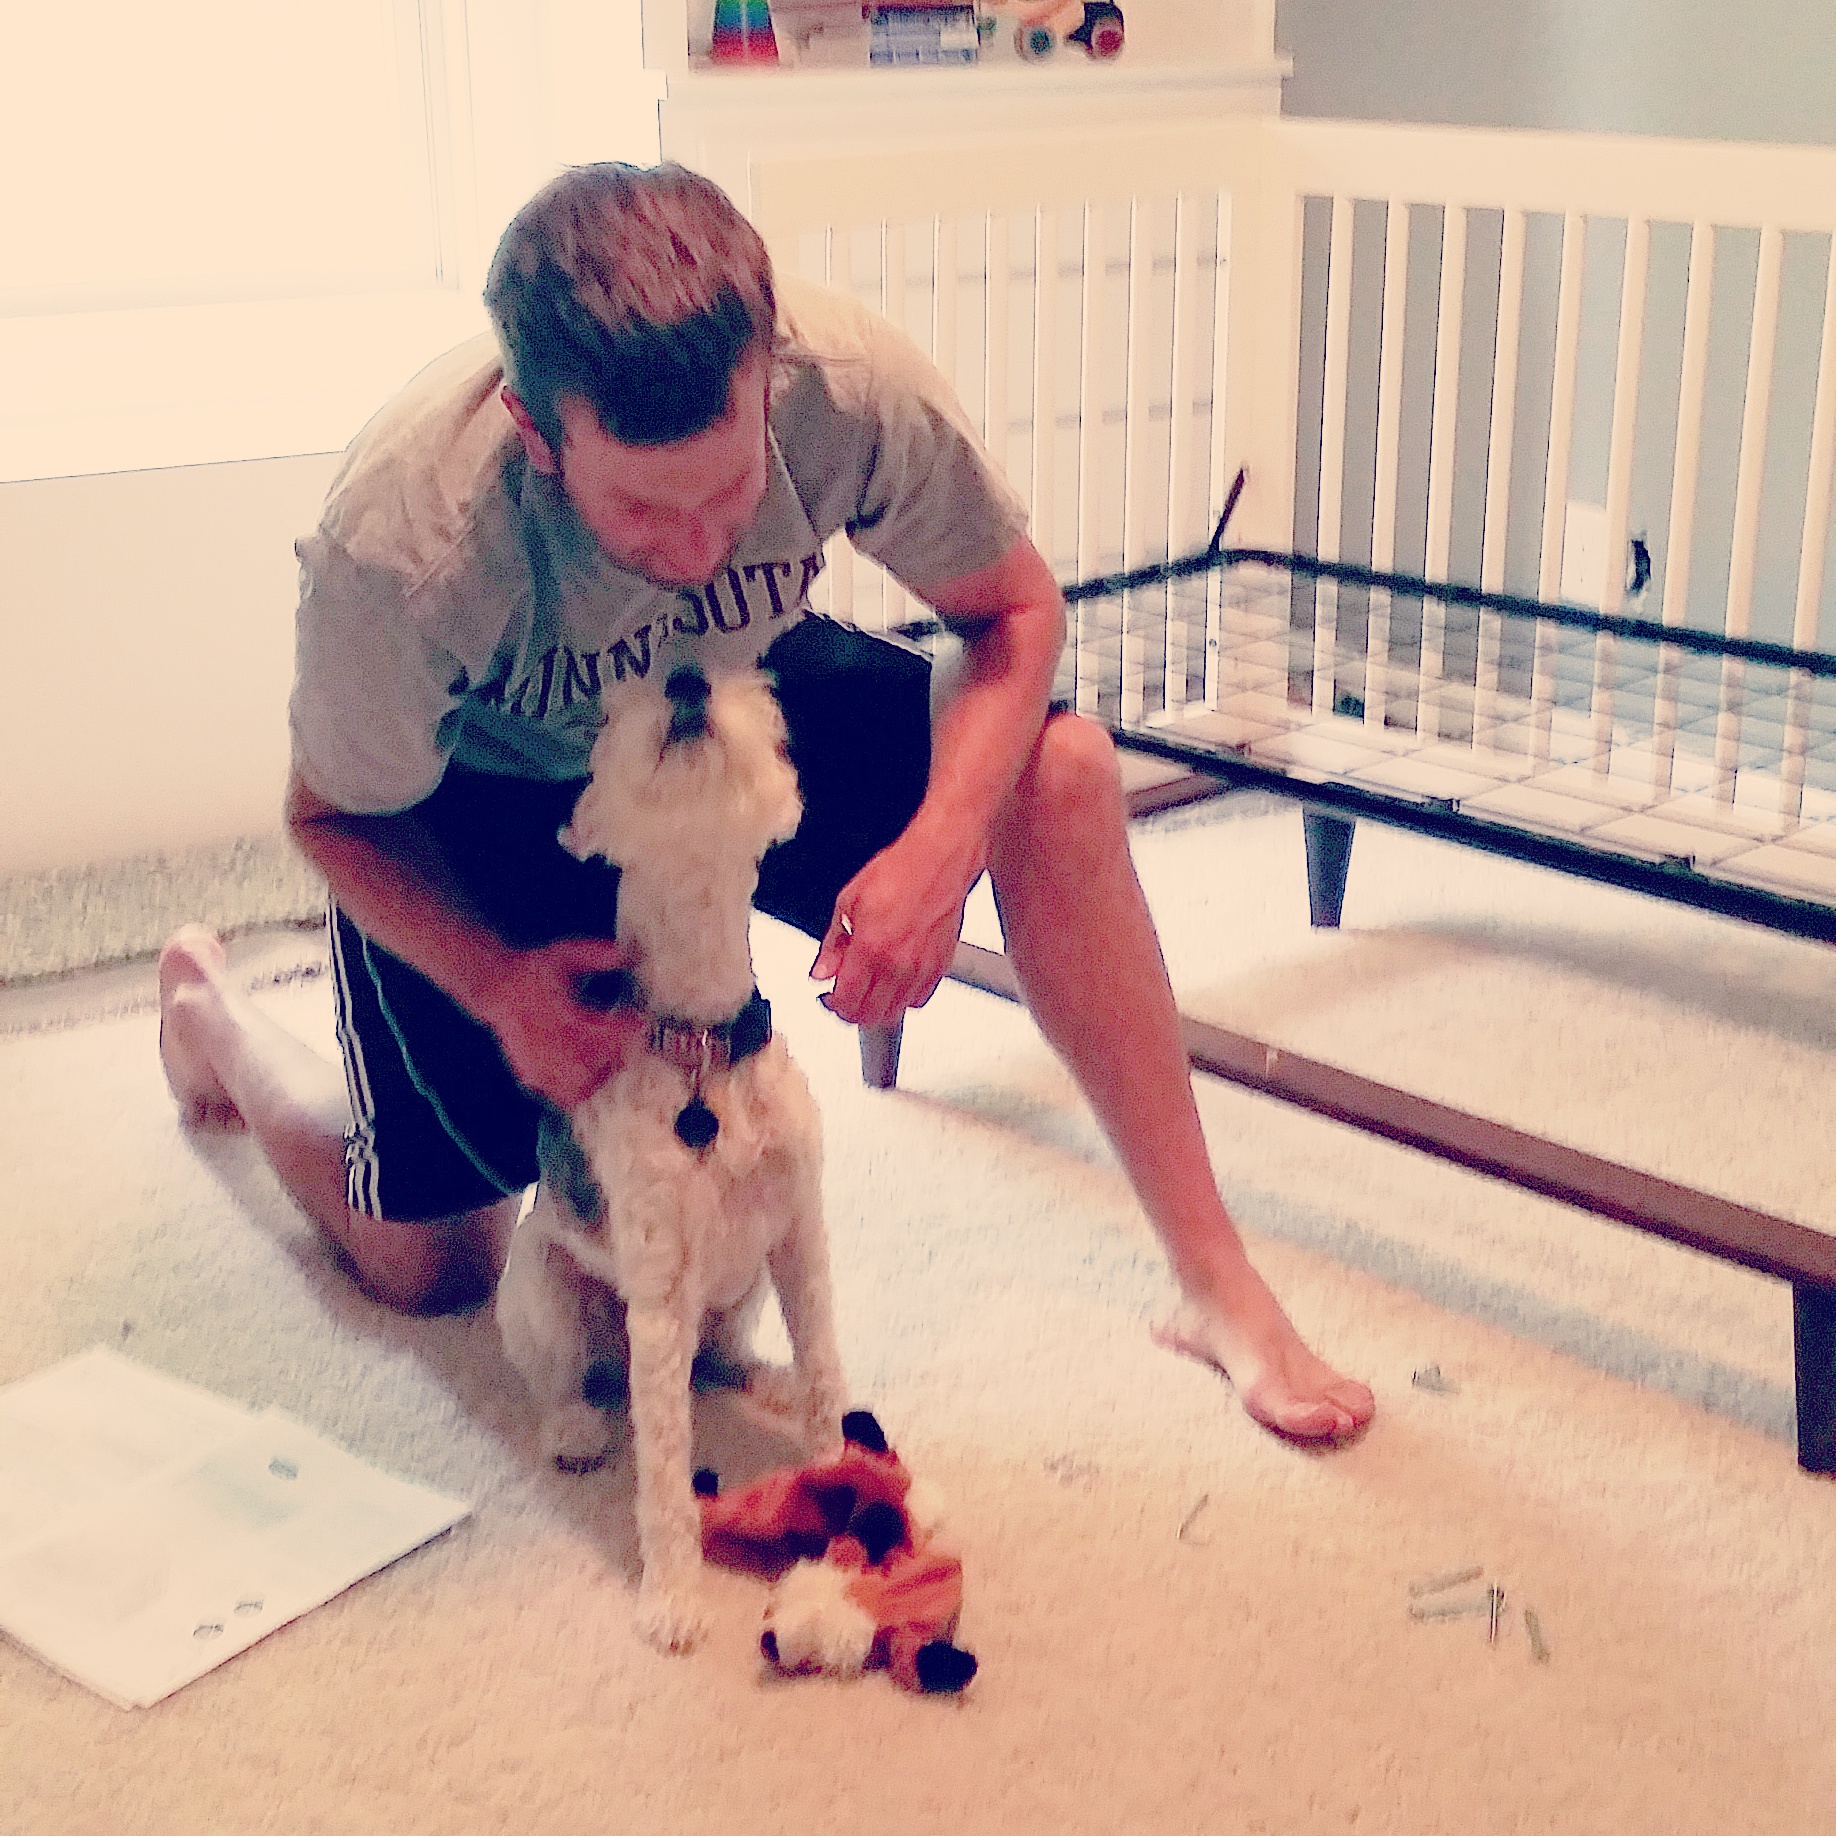
We're getting so excited for little man's arrival. We're making some decent headway in the nursery. Ike's assistance has once again proven important. How else would Nate get the crib together? (The lighting in the nursery stinks but this photo is too good not to share.)
Here's a sneak peek at the nursery built-ins. Nate did a fabulous job on them and we're having fun collecting toys and books!

Five more weeks until the expected arrival of our little guy. Let's hope he hangs in there so we can appear to have our acts together when we bring him home.
Like this quilt? Here are few others I've made in the past: cheater baby quilt, hipster baby quilt, boy pennant quilt, Hawkeye pennant quilt


