DIY Beer Tasting Flight Carrier

This post is for the dudes. And the beer drinking chicks.  Which doesn’t include me.  Unless it’s in the form of a straw-ber-ita. I’m that girl.  I wish I was cool enough to be one of those beer drinking girls. But beer is gross.  And I’m obnoxious enough without alcohol.
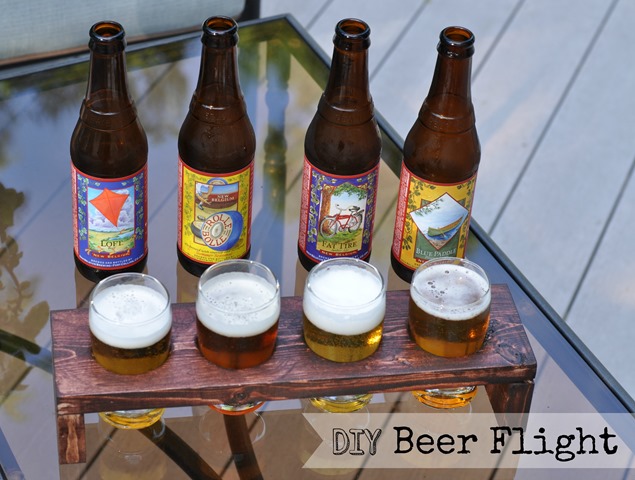
DIY Beer Tasting Flight

Last week, Nate was all like “Hey Girl.  I’m going to make this beer tasting thing.  Wanna blog about it?”  I’d make a dorky Ryan Gosling-esque picture but he may divorce me.  Or not build me stuff.  Equally bad.

Nate likes beer.  Different varieties of beer.  It takes him at least 10 minutes in the freezing cold Target beer aisle to make his selection.  After about two minutes I threaten to head to the clothes department if he doesn’t hurry up. Grocery trips with us are fun.  Don’t even get me started on the trips to Hy-Vee Wine and Spirits when my brother comes to town.  At least TJMaxx is next door.

Back to the beer.

We like to host beer tastings on occasion.  Everyone brings a six pack to share. I drink Sangria that I don’t share.  (I am one heck of a host.)  We usually serve some kind of easy to prepare food like tacos or burgers.  It’s a super easy party to throw because the entertainment is discussing the many varieties of beer everyone brought.  Bam.  Party hosted.

Nate thought it would be fun to make fancy beer flights. 
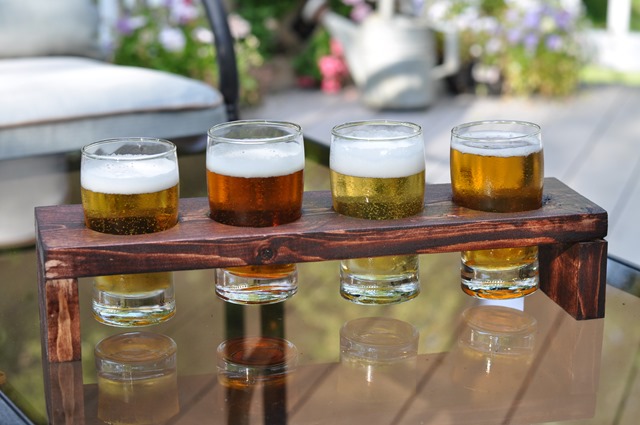
DIY Beer Tasting Flight

Because beer tastings totally need to be fancy. This would make a great gift for the dudes in your life!

Here is Nate’s tutorial. He’s a man of many words.

Materials

  • 1 x 4 - Need about 18" (I had a scrap piece laying around from other projects.)
  • 2 1/8" drill bit
  • 5 oz beer glasses (we bought ours from the dollar spot at Target) that are 2" at the bottom and flare out at the top
  • wood glue
  • clamps

Cut List

  • 1 - 13.5"
  • 2 - 2"

On the 13.5" board, put marks in the middle of the board at 2.25", 5.25", 8.25" and 11.25

Using the marks, drill the holes using the 2 1/8" drill bit
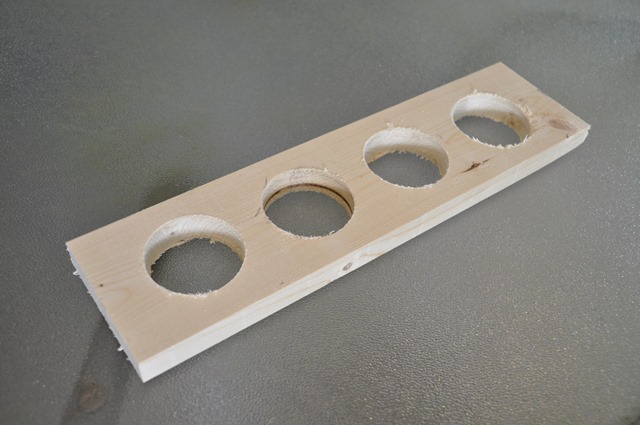
DIY Beer Tasting Flight

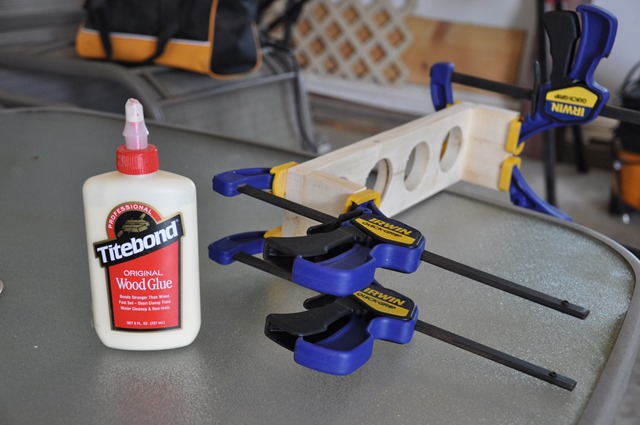
Glue the 2" pieces to the outside bottom of the long board.  Clamp overnight.
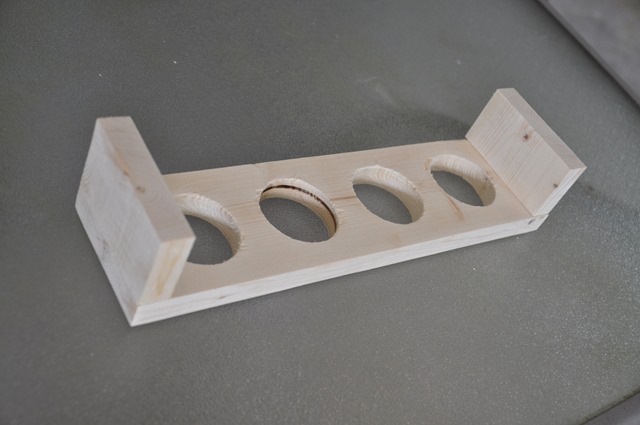
DIY Beer Tasting Flight

Sand smooth. Make sure to sand out the excess glue if you are staining as the stain will not absorb into the glue.

Stain and poly or paint.

Drink beer.

DIY Beer Flight
DIY Beer Flight

Have you hosted a beer tasting?  Or do you prefer to consume your calories in cupcake form?


Photobucket Photobucket Photobucket Photobucket PhotobucketPhotobucketfollow us in feedly

Sew Midwestern Etsy Shop

Today I’d like to share with you my newest favorite Etsy shop, Sew Midwestern.

sewmidwestern

Why’s it my favorite?  Probably because it’s co-owned by the lovely Kim {NewlyWoodwards} and myself. Funny how that works.  Both of us had been wanting to open a shop but neither of us had gotten around to it.  So why not do it together? 

Our shop combines our love for classic and quirky hand-made items.  Items that we make because we love them ourselves.  It’s impressive we got this shop rolling because we kept wanting to keep all of the items that we made.  Seriously.  It’s a problem.  Both of our husbands kept making joking about the opening date of Sew Midwestern.  Guess we showed them?  (Okay, so we started back in February.  We just didn’t want to rush things.)

Our shop items will change along with our ever changing obsessions.  And trust me, they change faster than you can say Sew Midwestern.  I think we dreamt up 20 new ideas during our latest sewing session.  Check back often for new products!

Here’s a sampling of what we are currently offering:

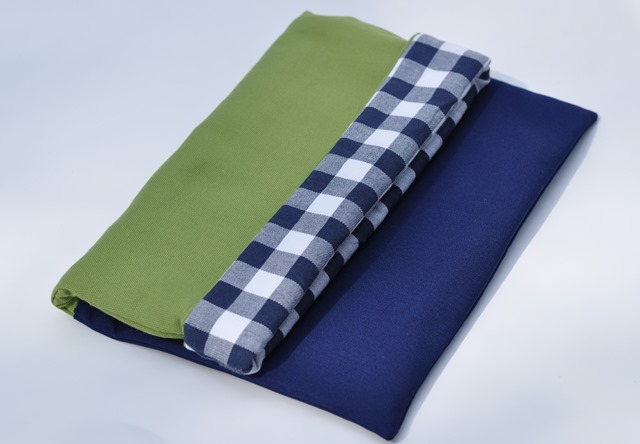
Multi-purpose clutches

022

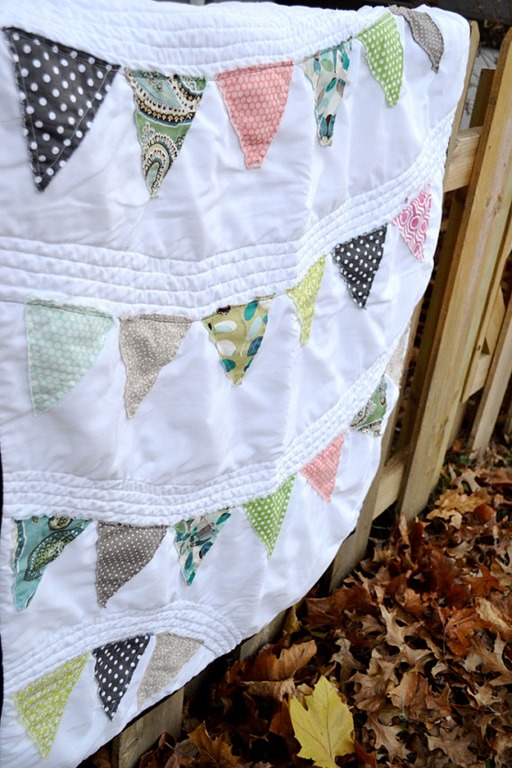
Whimsical custom quilts

quilt

And adorable custom onesies

137closeup

Head on over to Sew Midwestern.  Maybe you’ll find that next baby shower/bridal shower/just because gift.  Be sure to follow Sew Midwestern on twitter and facebook for updates on new products!

What’s your favorite item currently in our shop?  Any suggestions for things you’d like to see available?  Who needs an extra push to get that handmade shop started?

Gallery Wall: Change of Art

Reading blogs pays.  You heard it here first.

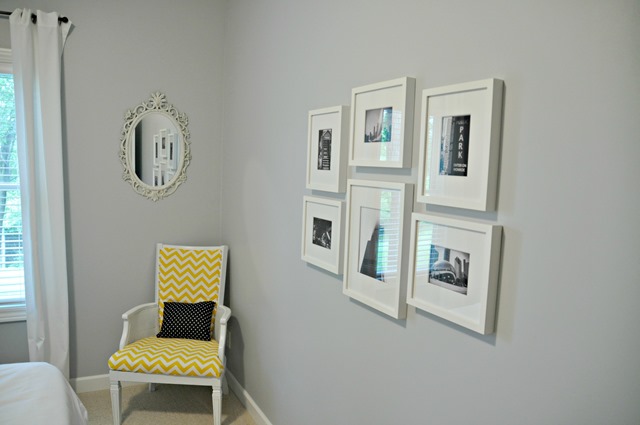
Awhile back, I won a giveaway from Kelly’s blog (View Along the Way).  The giveaway was for a set of six frames from Change of Art

I was super excited about winning this giveaway. I started a gallery wall in our guest bedroom approximately two years ago.  I wish I was over exaggerating. It was missing frames and photos.  My dad would make smart comments about not recognizing the people in the stock images.  Hardy, har, har.  I couldn’t decide what photos to put in the frames. I needed to buy more.  Excuses, excuses.

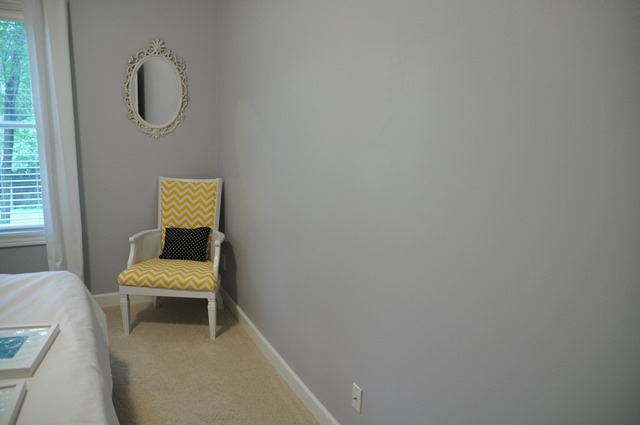
I took down the ratty attempt at a gallery wall.  I wish I had a photo. It was good. I patched and painted holes.  I was left with this big, blank wall.

Gallery Wall Change of Art

My Change of Art frames arrived about three months ago. I hung them on Sunday. I don’t like to rush things.  In about 15 minutes, we had our entire gallery wall hung.  Patience pays off.

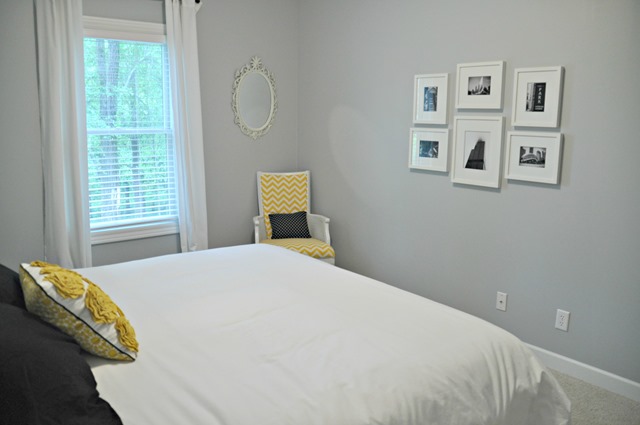
Change of Art Gallery Wall Guest Room

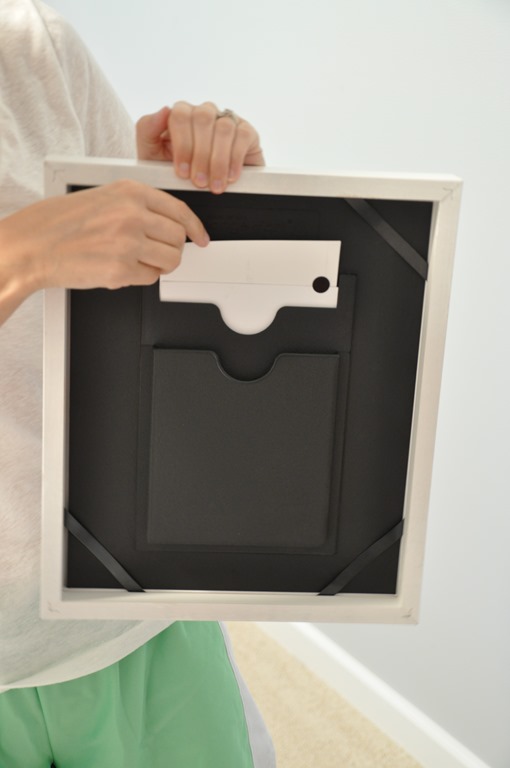
I was super impressed with the Change of Art frames.  The frames are different because you can easily change out the photos/art you want to display. Which is awesome for someone as indecisive as myself. I’m also accident prone and end up stabbing myself with those stupid black tabby things on the back of most frames.  No blood was shed in this gallery wall.  There is also a spot in the back to store additional photos.  Handy!

Gallery Wall Change of Art

The frames were super easy to hang.  Each frame came individually boxed (all materials are eco-friendly).  In the box was the frame, a hanger, a nail and a paper template to use to assist in arranging/hanging the photo.

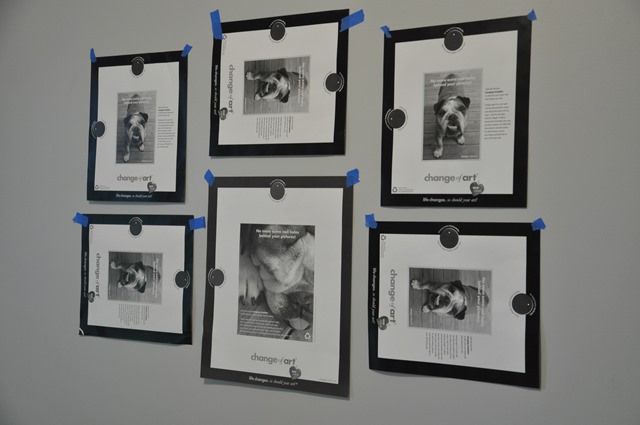
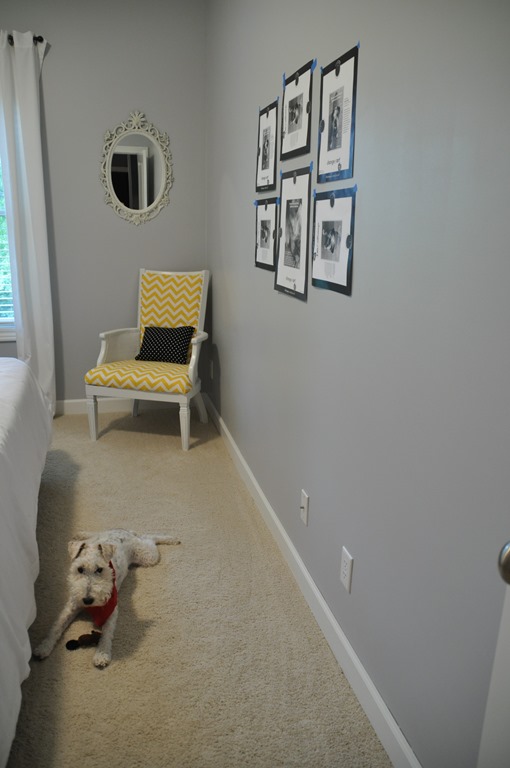
I arranged the paper templates on the wall.  I had Nate help me ensure that I had them evenly spaced/level.  I don’t see straight.  Minor problem.  After that, I was on my own.

Gallery Wall Change of Art

Well, I had Ike to help me out.

Gallery Wall Change of Art

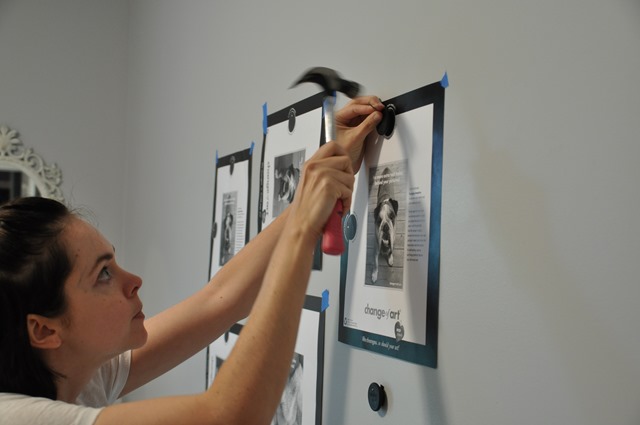
All I had to do was place the hanger onto the appropriate spot on the template and hammer away.  (Excuse the look of fear in my eyes.  I hate putting nails in the wall.)

Gallery Wall Change of Art

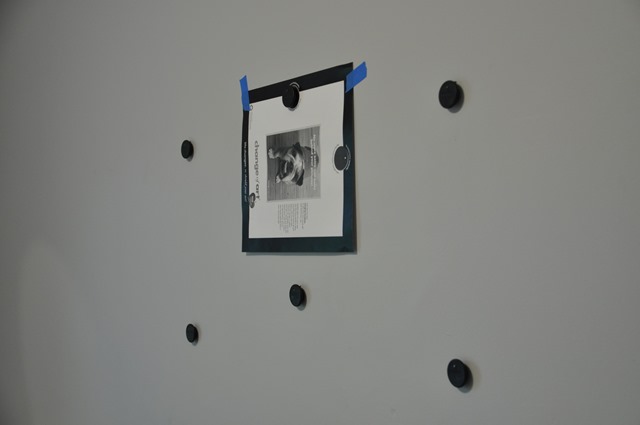
Once the hangers were installed, I ripped down the templates.

Gallery Wall Change of Art

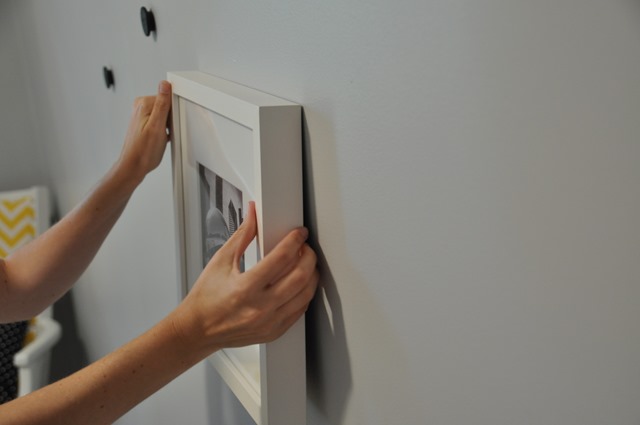
I then gently placed the frame onto the hanger.  There is a little notch that allows it to rest gently and self-level.

Gallery Wall Change of Art

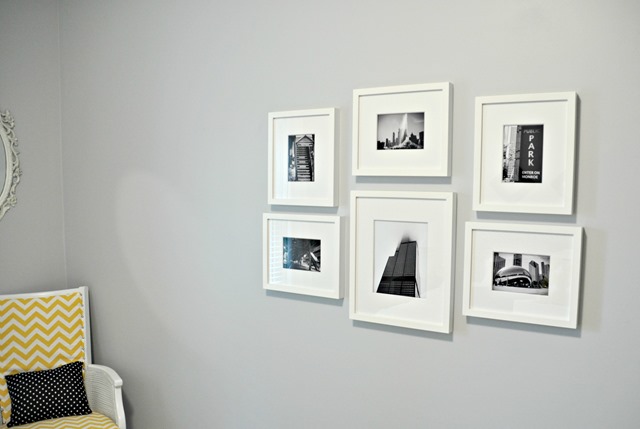
Gallery wall hung.  And to think it only too me two years.

Change of Art Gallery Wall

Gallery Wall Change of Art

For the first gallery wall set-up, I used some black and white Chicago photos from Decor and the Dog Photo.  *shameless plug*

Guest Room Gallery Wall Change of Art

I’m a big fan of the Change of Art frames. Easy to hang, eco-friendly and made in America.  The only downfall I see is that they are a bit pricey for my cheapskate self. Having said that, I will be purchasing another set in the future because I really like how professional they look and how easy they are to hang.  As the old saying goes, sometimes you get what you pay for!

Are you a gallery wall fan?  What’s your longest running project?

***I wasn’t compensated for this post.  I won the frames in a giveaway and was in no way obligated to post about them. Ike and I just thought the frames were pretty awesome.***

Don’t forget to enter the Method Cute Pet Contest!