Blue Soul Designs Giveaway

Because it’s Friday.  Because it’s cold.  Because Sarah is awesome.  Let’s have a giveaway!

Blue Soul Designs Giveaway

Sarah from Blue Soul Designs has offered to give one super lucky reader $25 to spend in her shop.  Sarah’s shop is full of beautiful rings, necklaces, and earrings.  I own a couple of her rings and they are stunning.  I currently have my eye on one of her initial necklaces and that wishbone necklace shown above.

How to enter:

  • PRIZE: $25 shop credit to Blue Soul Designs
  • TO ENTER (required):  Follow the instructions using rafflecopter below!
  • GIVEAWAY CLOSES: January 20, 2013 at 11:59 PM CST
  • NUMBER OF WINNERS: One
  • OTHER STUFF: Sarah will ship anywhere in the US and to Canada.  The winner will be selected using rafflecopter and announced on January 21st.  Check back to see if you are the lucky winner!

 a Rafflecopter giveaway

***I was in no way compensated for this post.  I just think Sarah is a pretty talented lady and I thought you all would think so too !  Do you have an Etsy shop you’d like to promote? E-mail me!***

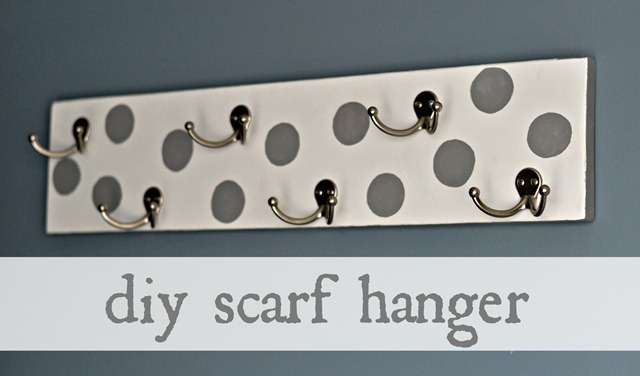
DIY Scarf Hanger

Today I would like to share with you an $8.00/1 hour project that has improved our marriage.

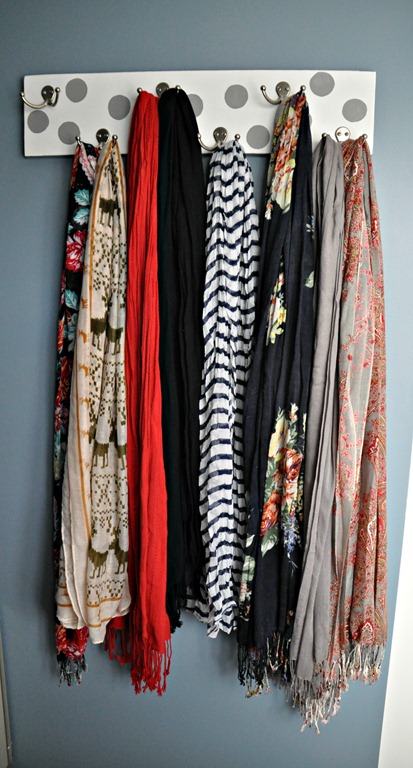
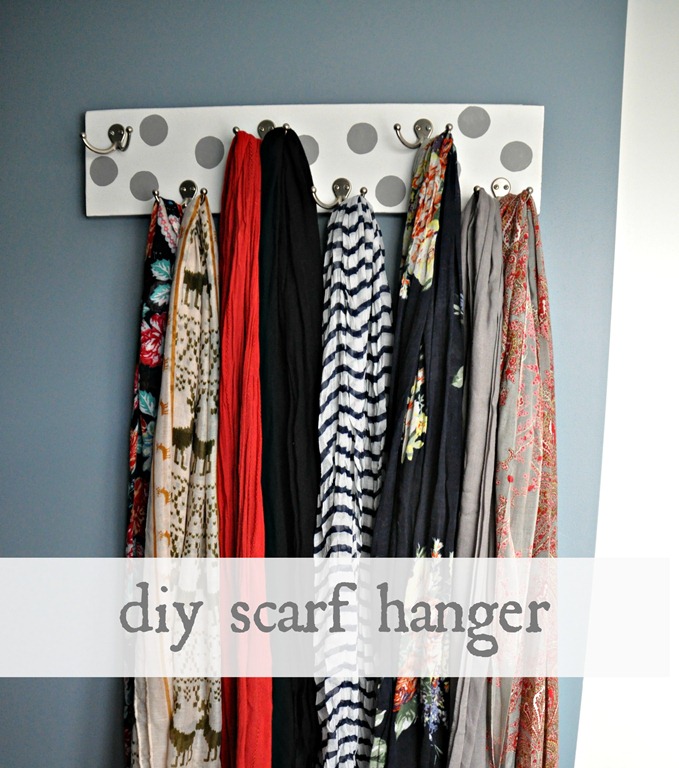
DIY Scarf Hanger from Decor & the Dog

Yes, a scarf hanger has improved our marriage drastically enough that I feel the need to tell the world about it.

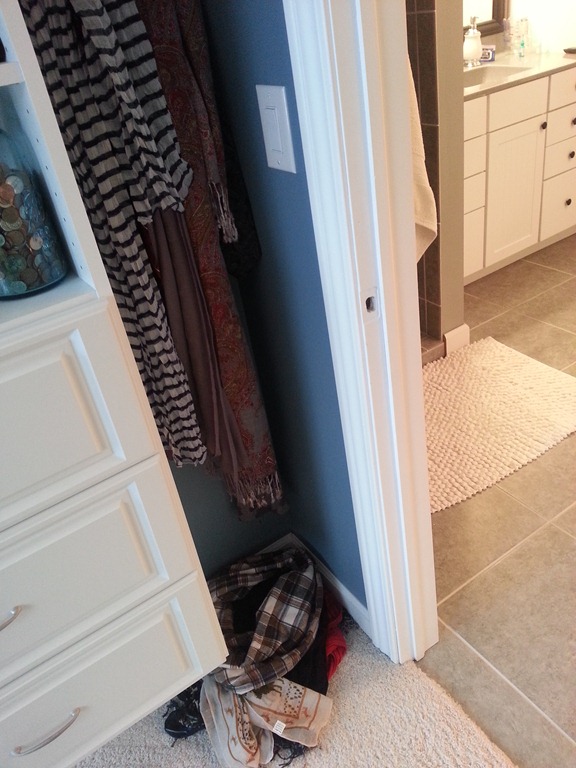
You see, I kind of took over a little area of our closet.  This area has hooks for belts and ties.  Or scarfs.  (I totally Googled the plural of “scarf”.  “Scarfs” and “Scarves” are acceptable.  The things you learn here at Decor and the Dog.)  Nate could no longer reach a belt or tie.  He’d get annoyed and throw my scarves (thought I’d use them both to see which one I liked better) on the floor.  I would be annoyed that my precious scarves were thrown on the floor.  Vicious cycle.

20130113_154505

How’d we make it?

  • We purchased a 1x6.  Nate cut it down to 24” and sanded it nicely.
  • I painted it all pretty like (Polka dots are my new love).
  • We added 6 hooks purchased from Menard’s. 
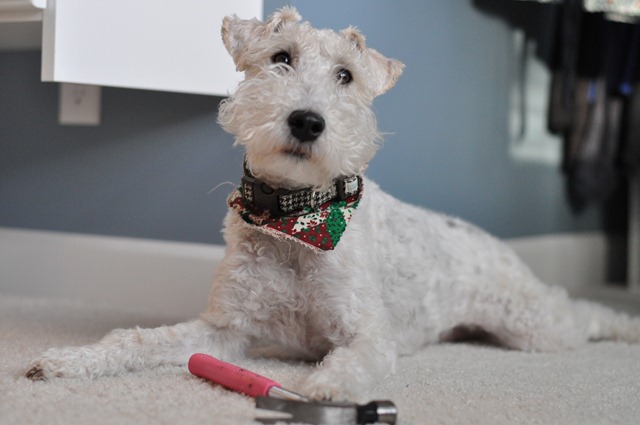
  • Ike kept an eye on the hammer.

137

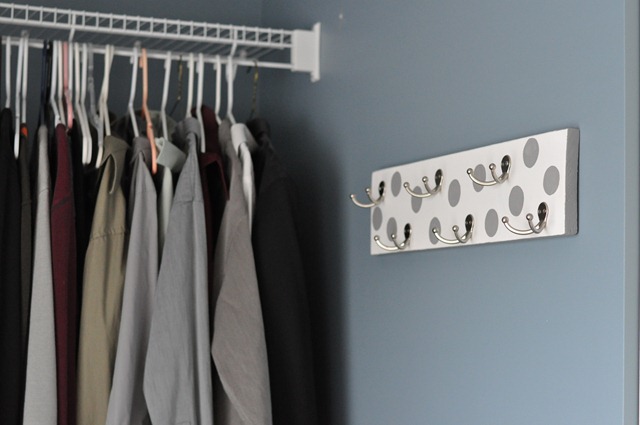
  • Nate hung the scarf hanger on the wall with some screws and wall anchors.
  • All was right again in our closet…and lives.

105

diy scarf hanger by decor and the dog

diy scarf hanger

My scarves are happier.  I am happier.  Nate is happier.  Ike is always happy.  Life is good.  And I have still have room for more scarves. Yes!

Do your scarves need a new home?  Are you a scarf hoarder?  What inexpensive project has improved your love life?

Sign Painting and Resolutions

Let’s talk New Year’s Resolutions.  On the 14th of January.

I like to set one resolution.  Nate thinks resolutions are dumb.  Ike has no idea it’s 2013.

My resolution for 2013 is to be tough.  Tough physically and tough mentally.  The physical aspect is pretty self-explanatory.  I exercise regularly but avoid weights.  Therefor I am a weenie.  I will not be a weenie in 2013.  As for the mental part of this resolution.  I am big on homeostasis. I like to be a certain temperature.  I need a certain amount of sleep.  I need a certain amount of food.  I am Type A and things must go as planned.  If the above things don’t go as scheduled, I shut down.  I am going to be tougher in 2013.  I will not shut down.  Tough. Tough. Tough.

I wanted something to remind myself of my resolution.  I thought a sign by our front door would appropriate.

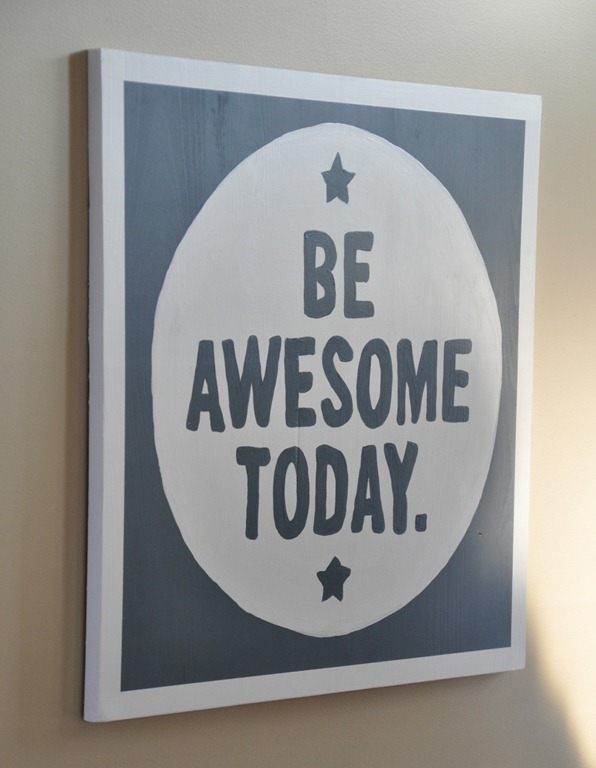
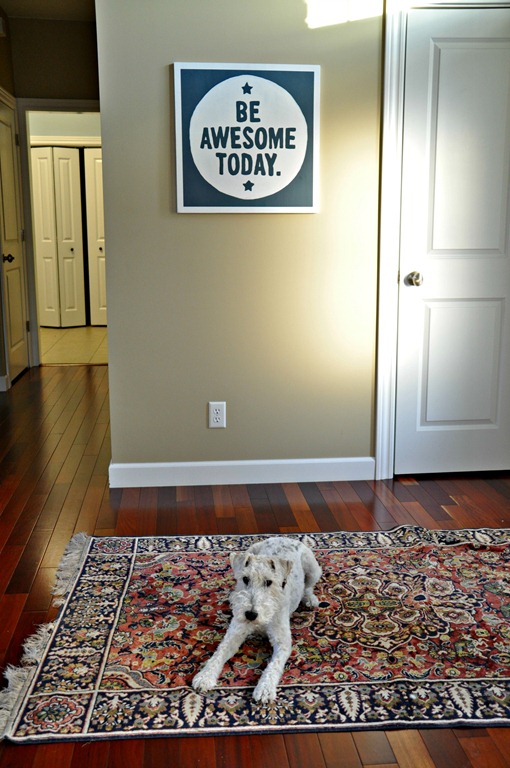
Be Awesome Today Sign by Decor and the Dog

Okay, so a “Be Awesome Today” sign doesn’t really have anything to do with being tough.  Just go with it.  I wanted to make a “Punch Today In the Face” sign but Nate said that was too violent. Being awesome is all encompassing.

I originally saw this phrase from LuciusArt.  There are a bazillion and twelve “Be Awesome” prints on Etsy today but that one was my inspiration.

159

I’ve been getting questions about how I sign paint.  I’m still learning my way.  I generally freak out about 17 times while painting.  I think this sign was only 15.  Tough.  Tough. Tough.  Bring it 2013.

I learned the basic skills from the wonderful Jen ofOnion Grove Mercantile.  (Jen painted the Locally Grown sign hanging next to our laundry room.)  I highly recommend checking our her work!  She is beyond talented.  Jen taught me the basics at a fundraising event hosted by the lovely Kim of NewlyWoodwards.  I’ve been painting away ever since.  It’s very therapeutic…minus the freak outs.

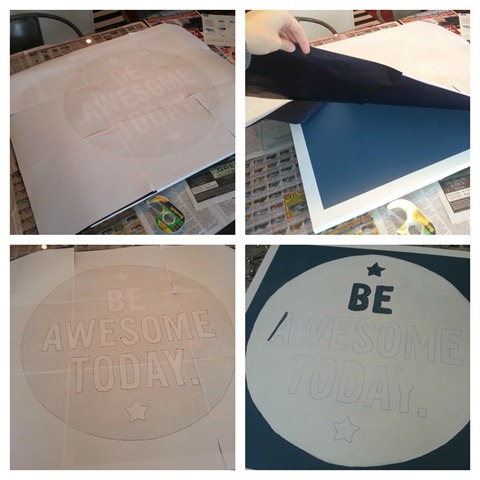
My sign painting steps are as follows:

  • Purchase whatever wood is cheapest at Lowe’s.  (This sign is 24”x24”.) 
  • Paint the background color. I also usually do a border. I use painters tape for a crisp edge. 
    • I use any kind of paint I have laying around in the basement.
    • Design the sign in Photoshop Elements. 
    • Print the design poster sized.  (If anyone has interest in a tutorial on this, let me know!) 
    • Tape carbon paper on the back of the design. 
    • Trace the design with a ball point pen. 
    • Carefully paint away with a small brush.
How to Paint Signs

I have found that I am only capable of painting large letters.  I totally fail at small letters.  It’s okay.  I don’t like little letters anyways. I’m going to blame my paint brush.

Ike is Awesome Every Day
Sign Painting Tips and Tricks.jpg
Photobucket Photobucket Photobucket Photobucket PhotobucketPhotobucketfollow us in feedly