Before and After: Finding Silver Linings
/
Today's "Before and After" guest is Mindy from Finding Silver Linings. Mindy was one of my first regular commentors on this ol' blog. (Thanks, Mindy!) I've enjoyed reading Mindy's adventures in home improvement and furniture make-overs. Mindy is bolder in her color/design choices than I am. (For instance, her chalkboard wall in her kitchen (check it out here)). Her bolder choices keep me checking back each day to see what she is up to! Mindy is going share with you her beautiful desk she scored off of Craiglist for free. Yes, you read that...free. So. Incredibly. Jealous....
***Hello everyone! I'm really excited as this is my very first guest post. My name is Mindy. I'm a newlywed, first-time homeowner, & creator of my blog Finding Silver Linings. Michelle is a master DIYer, and like me, she loves a good makeover. Here's my favorite furniture makeover I've done so far...
It's truly amazing what a little paint can do. It can completely transform something from old and ratty to updated and fresh.
This tutorial is not the end all be all in furniture painting, it's just how I did it.
I started with this desk. (click here to see how I got it)
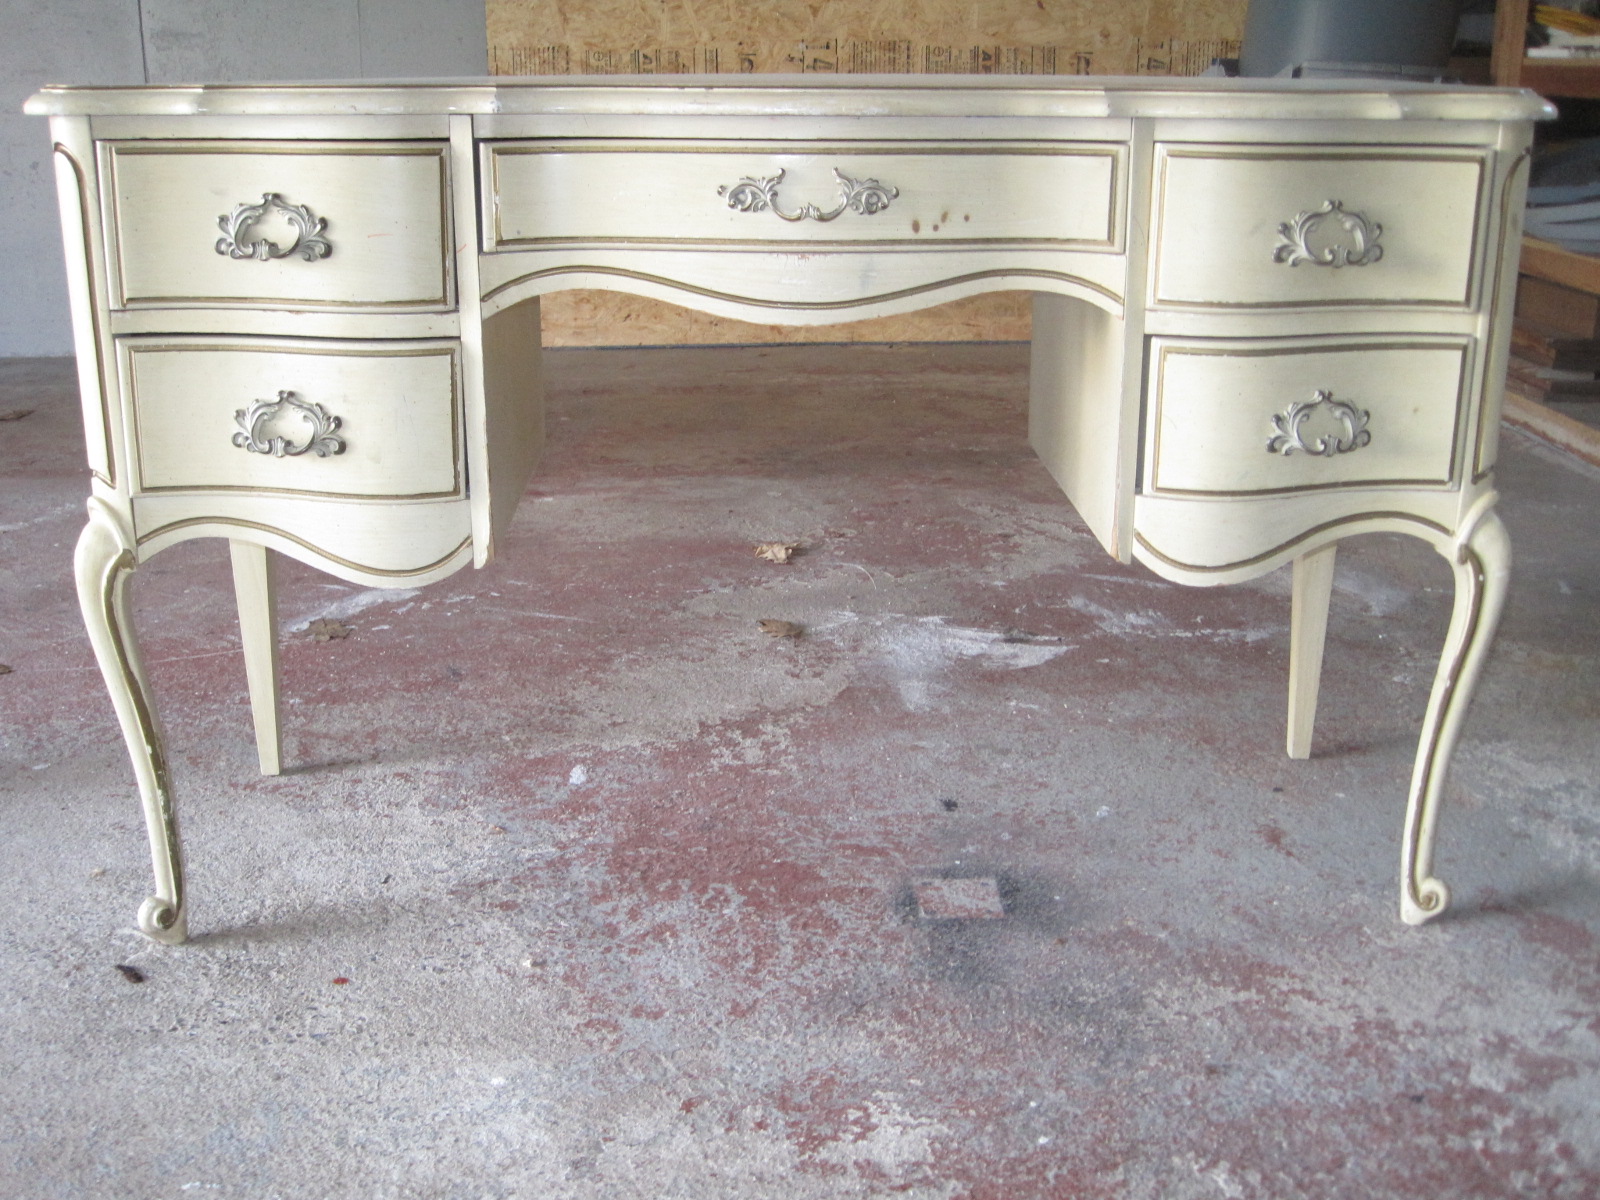
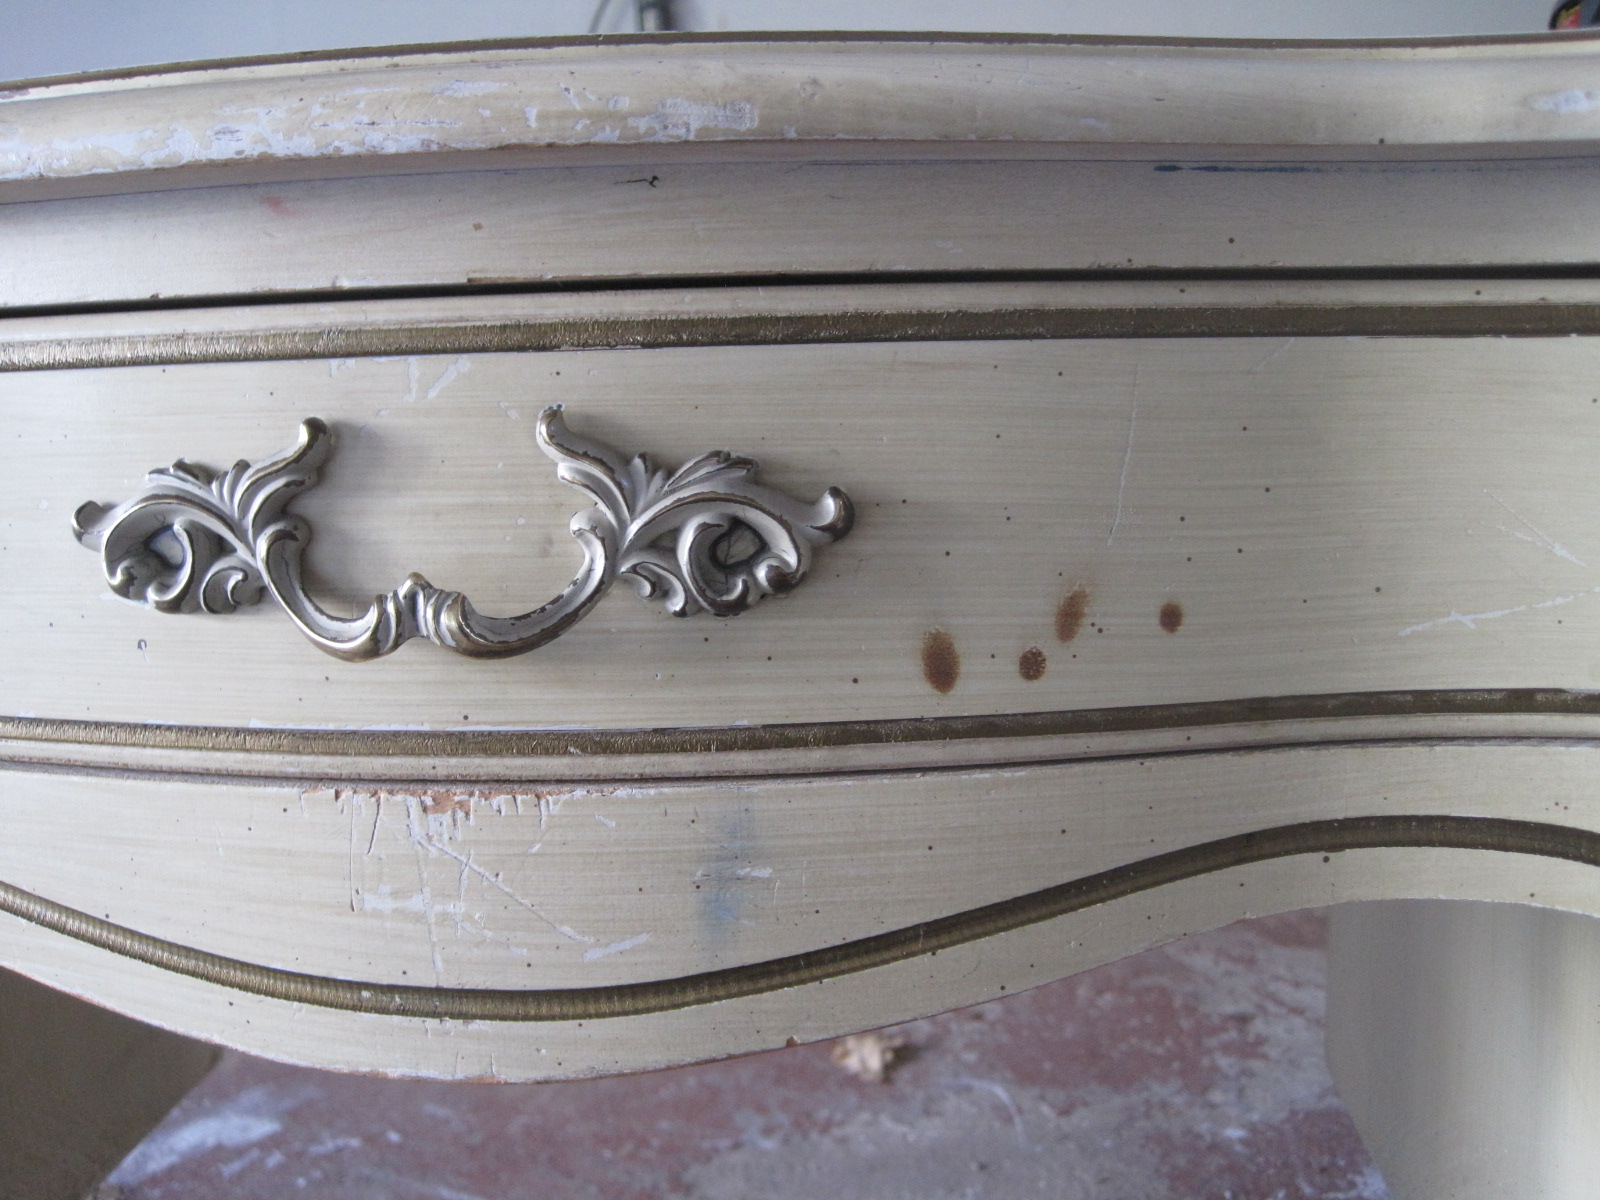
The desk was stained, a little burned, and scratched.
I drove to Lowes and picked up primer, spray paint, clear sealant, fine grit sand paper, and tack cloth. I also bought satin nickel paint for the hardware (but I didn't end up using this because I liked the way the original hardware's finish looked). This all totaled up to about $25. Sweet.

The first thing I did was remove all the hardware with a screwdriver.

I sanded the surface a little to get any previous sealant off. In the places it was dinged or scratched, I used a little elbow grease and just sanded a bit more until it felt smoother. I didn't sand every inch. It didn't need to be perfect.
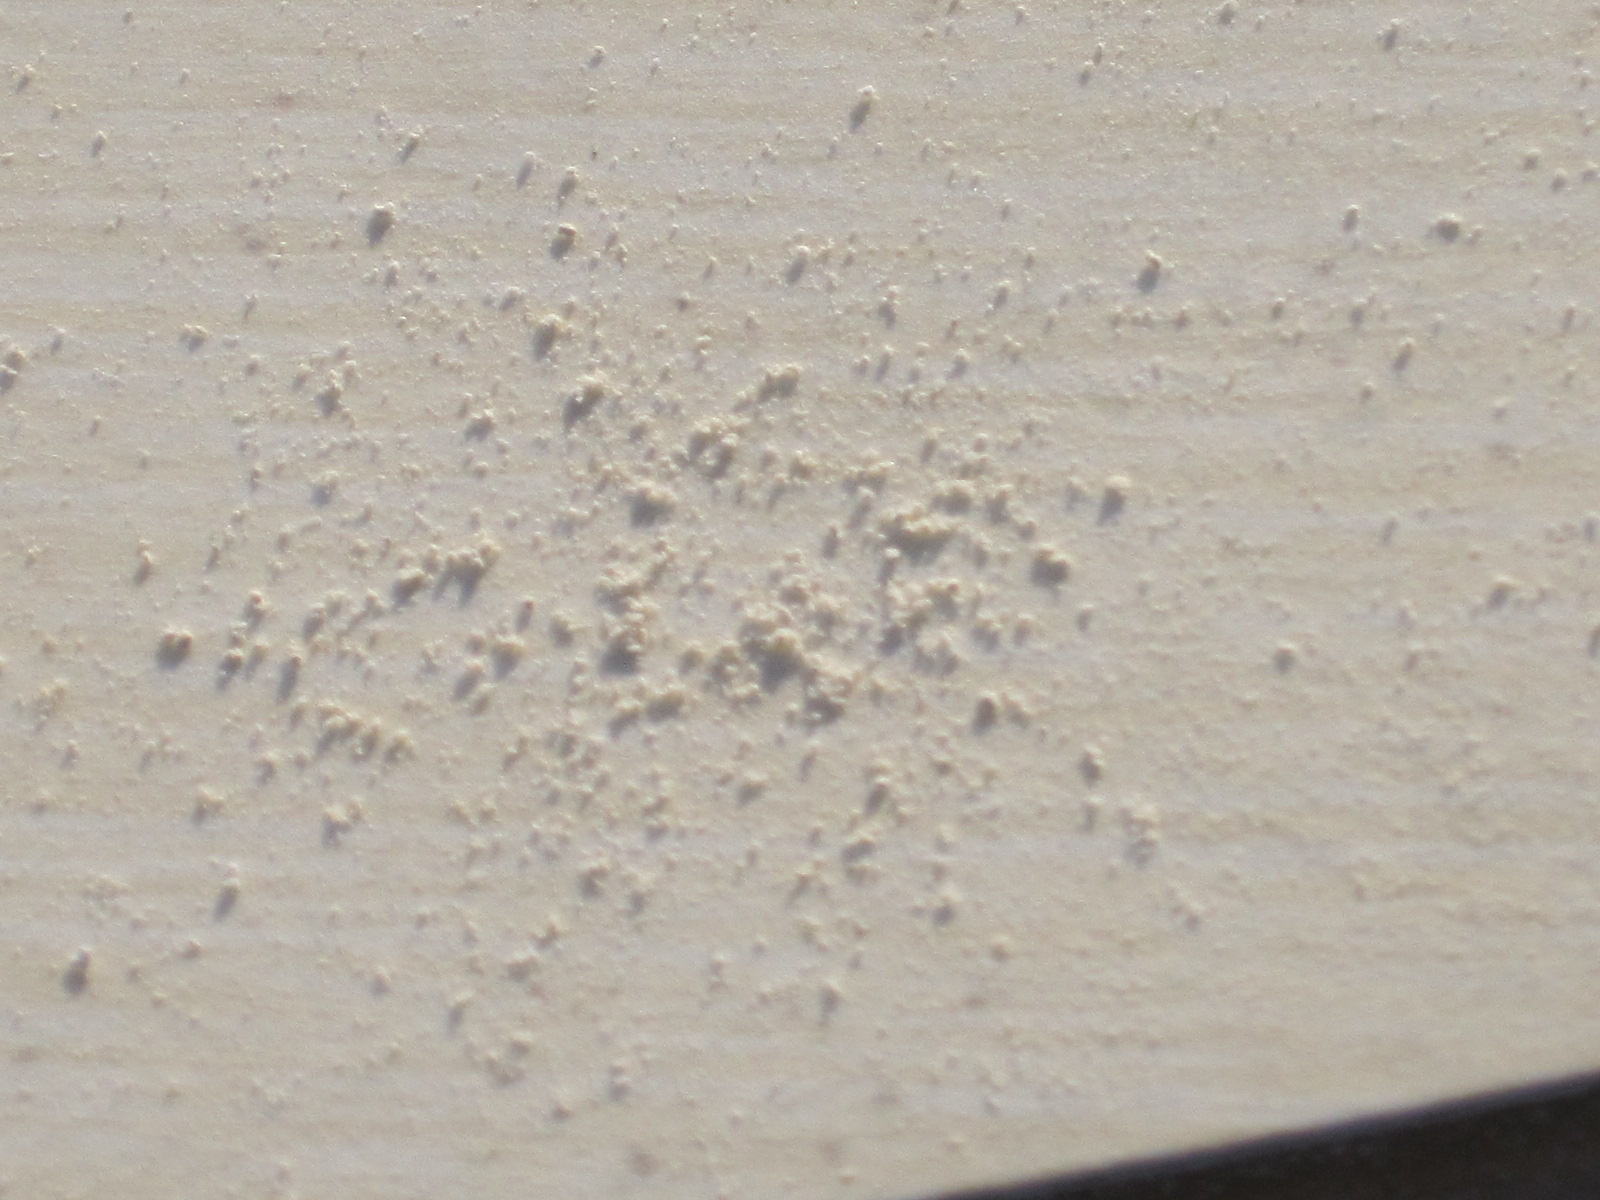
Remove all drawers and give the faces of them a quick sand also.
I used a sandpaper block because the it was easier to hold than paper, plus since it was flat, the desk top was uniformly sanded.

Run over the entire surface area with a tack cloth. I didn't know what a tack cloth was until now. It's like less-sticky fly paper that picks up all the dust from sanding. Don't skip this step. If you have a dusty surface, the paint will stick to the dust, not the desk.

Be sure to do this in a well ventilated space (ideally outside). Also, if you are at all concerned with the floor or grass you are about to paint on, be sure to cover it with a tarp. Don't end up like me. Like me meaning in the dog house for a few days because you have successfully primed and painted your grass a lovely shade of Oceanic Blue.

Spray the primer on in long strokes. Try to hold the can about 8 inches from the desk. I put on 2 thin coats of primer.

Yes, I primed the grass by accident.
I waited about 10 minutes in between coats.
Don't forget to prime the drawers too!

Next up was my favorite part. COLOR!
When you spray paint the color on, use long, even strokes.

(Before I got to this point I found random plastic in our garage to put under the legs in an attempt to save the lawn)
Don't panic like I did when the paint looks like this after one coat...

After 3 thin coats, the streaks disappeared.
Again, don't forget the drawers!

After the paint dries, It's time for the clear sealant. I chose a satin finish to try to mask the spots that I didn't sand as well as I thought I did.
Evenly spray 2 coats of this stuff on the furniture.

I did my happy dance when I knew it was going to turn out nicely! Our poor neighbors!
I let this dry for a few hours.

I am so impatient!
Screw on the hardware when you are sure it's dry.
I am so happy with the end result, and even happier that it was so easy!


I told you she makes bold choices. And don't they turn out beautifully?? I still can't believe that desk was free. As in no money. Be sure to stop by Finding Silver Linings and check out all of Mindy's fun projects!
***
It's truly amazing what a little paint can do. It can completely transform something from old and ratty to updated and fresh.
This tutorial is not the end all be all in furniture painting, it's just how I did it.
I started with this desk. (click here to see how I got it)
The desk was stained, a little burned, and scratched.
I drove to Lowes and picked up primer, spray paint, clear sealant, fine grit sand paper, and tack cloth. I also bought satin nickel paint for the hardware (but I didn't end up using this because I liked the way the original hardware's finish looked). This all totaled up to about $25. Sweet.
The first thing I did was remove all the hardware with a screwdriver.
I sanded the surface a little to get any previous sealant off. In the places it was dinged or scratched, I used a little elbow grease and just sanded a bit more until it felt smoother. I didn't sand every inch. It didn't need to be perfect.
Remove all drawers and give the faces of them a quick sand also.
I used a sandpaper block because the it was easier to hold than paper, plus since it was flat, the desk top was uniformly sanded.
Run over the entire surface area with a tack cloth. I didn't know what a tack cloth was until now. It's like less-sticky fly paper that picks up all the dust from sanding. Don't skip this step. If you have a dusty surface, the paint will stick to the dust, not the desk.
Be sure to do this in a well ventilated space (ideally outside). Also, if you are at all concerned with the floor or grass you are about to paint on, be sure to cover it with a tarp. Don't end up like me. Like me meaning in the dog house for a few days because you have successfully primed and painted your grass a lovely shade of Oceanic Blue.
Spray the primer on in long strokes. Try to hold the can about 8 inches from the desk. I put on 2 thin coats of primer.
Yes, I primed the grass by accident.
I waited about 10 minutes in between coats.
Don't forget to prime the drawers too!
Next up was my favorite part. COLOR!
When you spray paint the color on, use long, even strokes.
(Before I got to this point I found random plastic in our garage to put under the legs in an attempt to save the lawn)
Don't panic like I did when the paint looks like this after one coat...
After 3 thin coats, the streaks disappeared.
Again, don't forget the drawers!
After the paint dries, It's time for the clear sealant. I chose a satin finish to try to mask the spots that I didn't sand as well as I thought I did.
Evenly spray 2 coats of this stuff on the furniture.
I did my happy dance when I knew it was going to turn out nicely! Our poor neighbors!
I let this dry for a few hours.
I am so impatient!
Screw on the hardware when you are sure it's dry.
I am so happy with the end result, and even happier that it was so easy!
***
I told you she makes bold choices. And don't they turn out beautifully?? I still can't believe that desk was free. As in no money. Be sure to stop by Finding Silver Linings and check out all of Mindy's fun projects!
Don't forget about our $50 PetSmart Gift Card Giveaway...enter here!