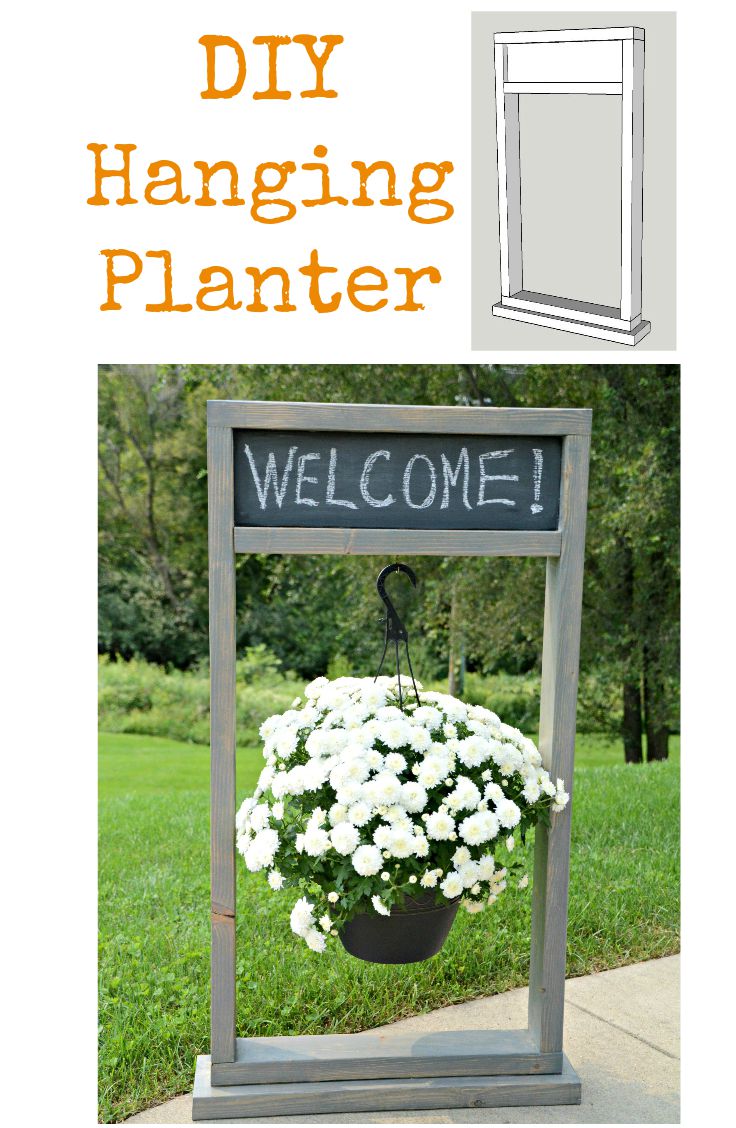
How to Build a Fall Hanging Planter {The Home Depot DIY Workshop}
/*Today's post is brought to you by The Home Depot*
I'm not usually one to rush into Fall. Don't get me wrong, I love everything about Fall. The problem with Fall is that it is followed way to closely by Winter here in Iowa. We try to hang onto those hot Summer days for as long as possible. However, when you are 12 months pregnant and it's 95 degrees with 175% humidity, you openly welcome those cool Fall temperatures.
In order to entertain ourselves while we wait for this baby, we whipped up with hanging planter as part of our collaboration with The Home Depot.

Want to make your own hanging planter? Join us on Saturday at The Home Depot in Bettendorf, IA where we'll be sharing our tips and tricks! We also have a few Ryobi tools to giveaway. It should be a fabulous time. If you're not local, the workshops will be held nationwide.

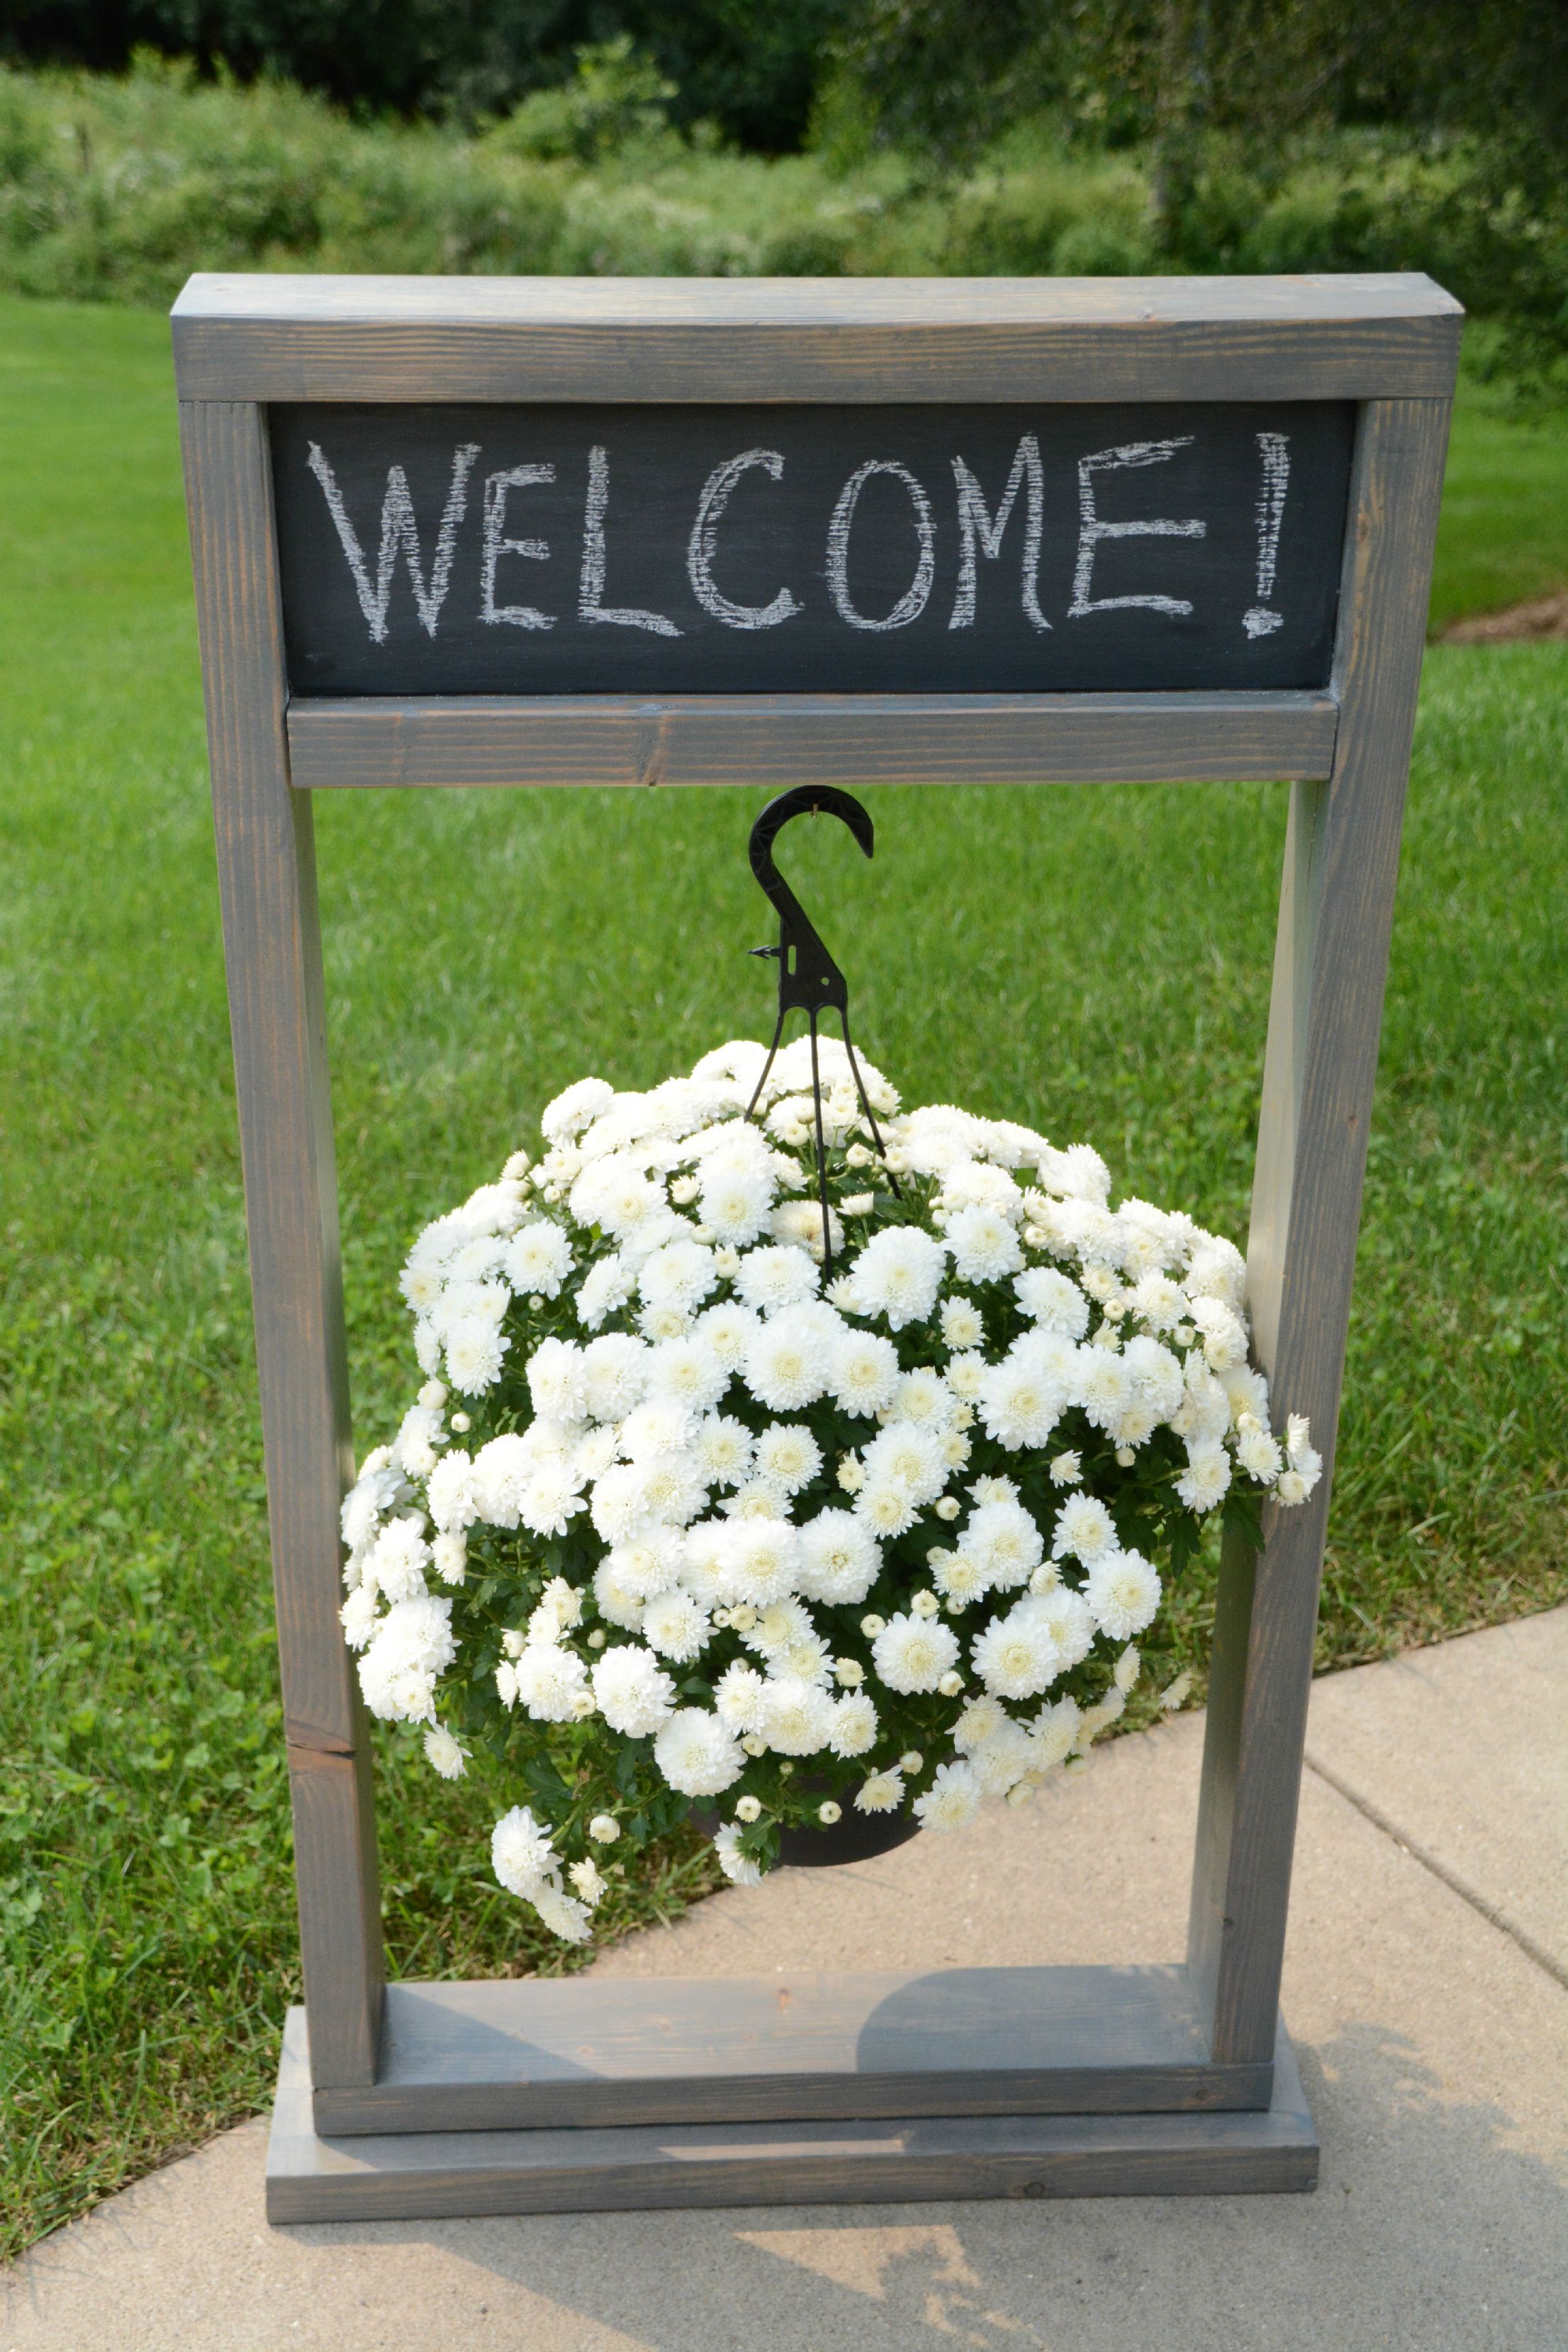
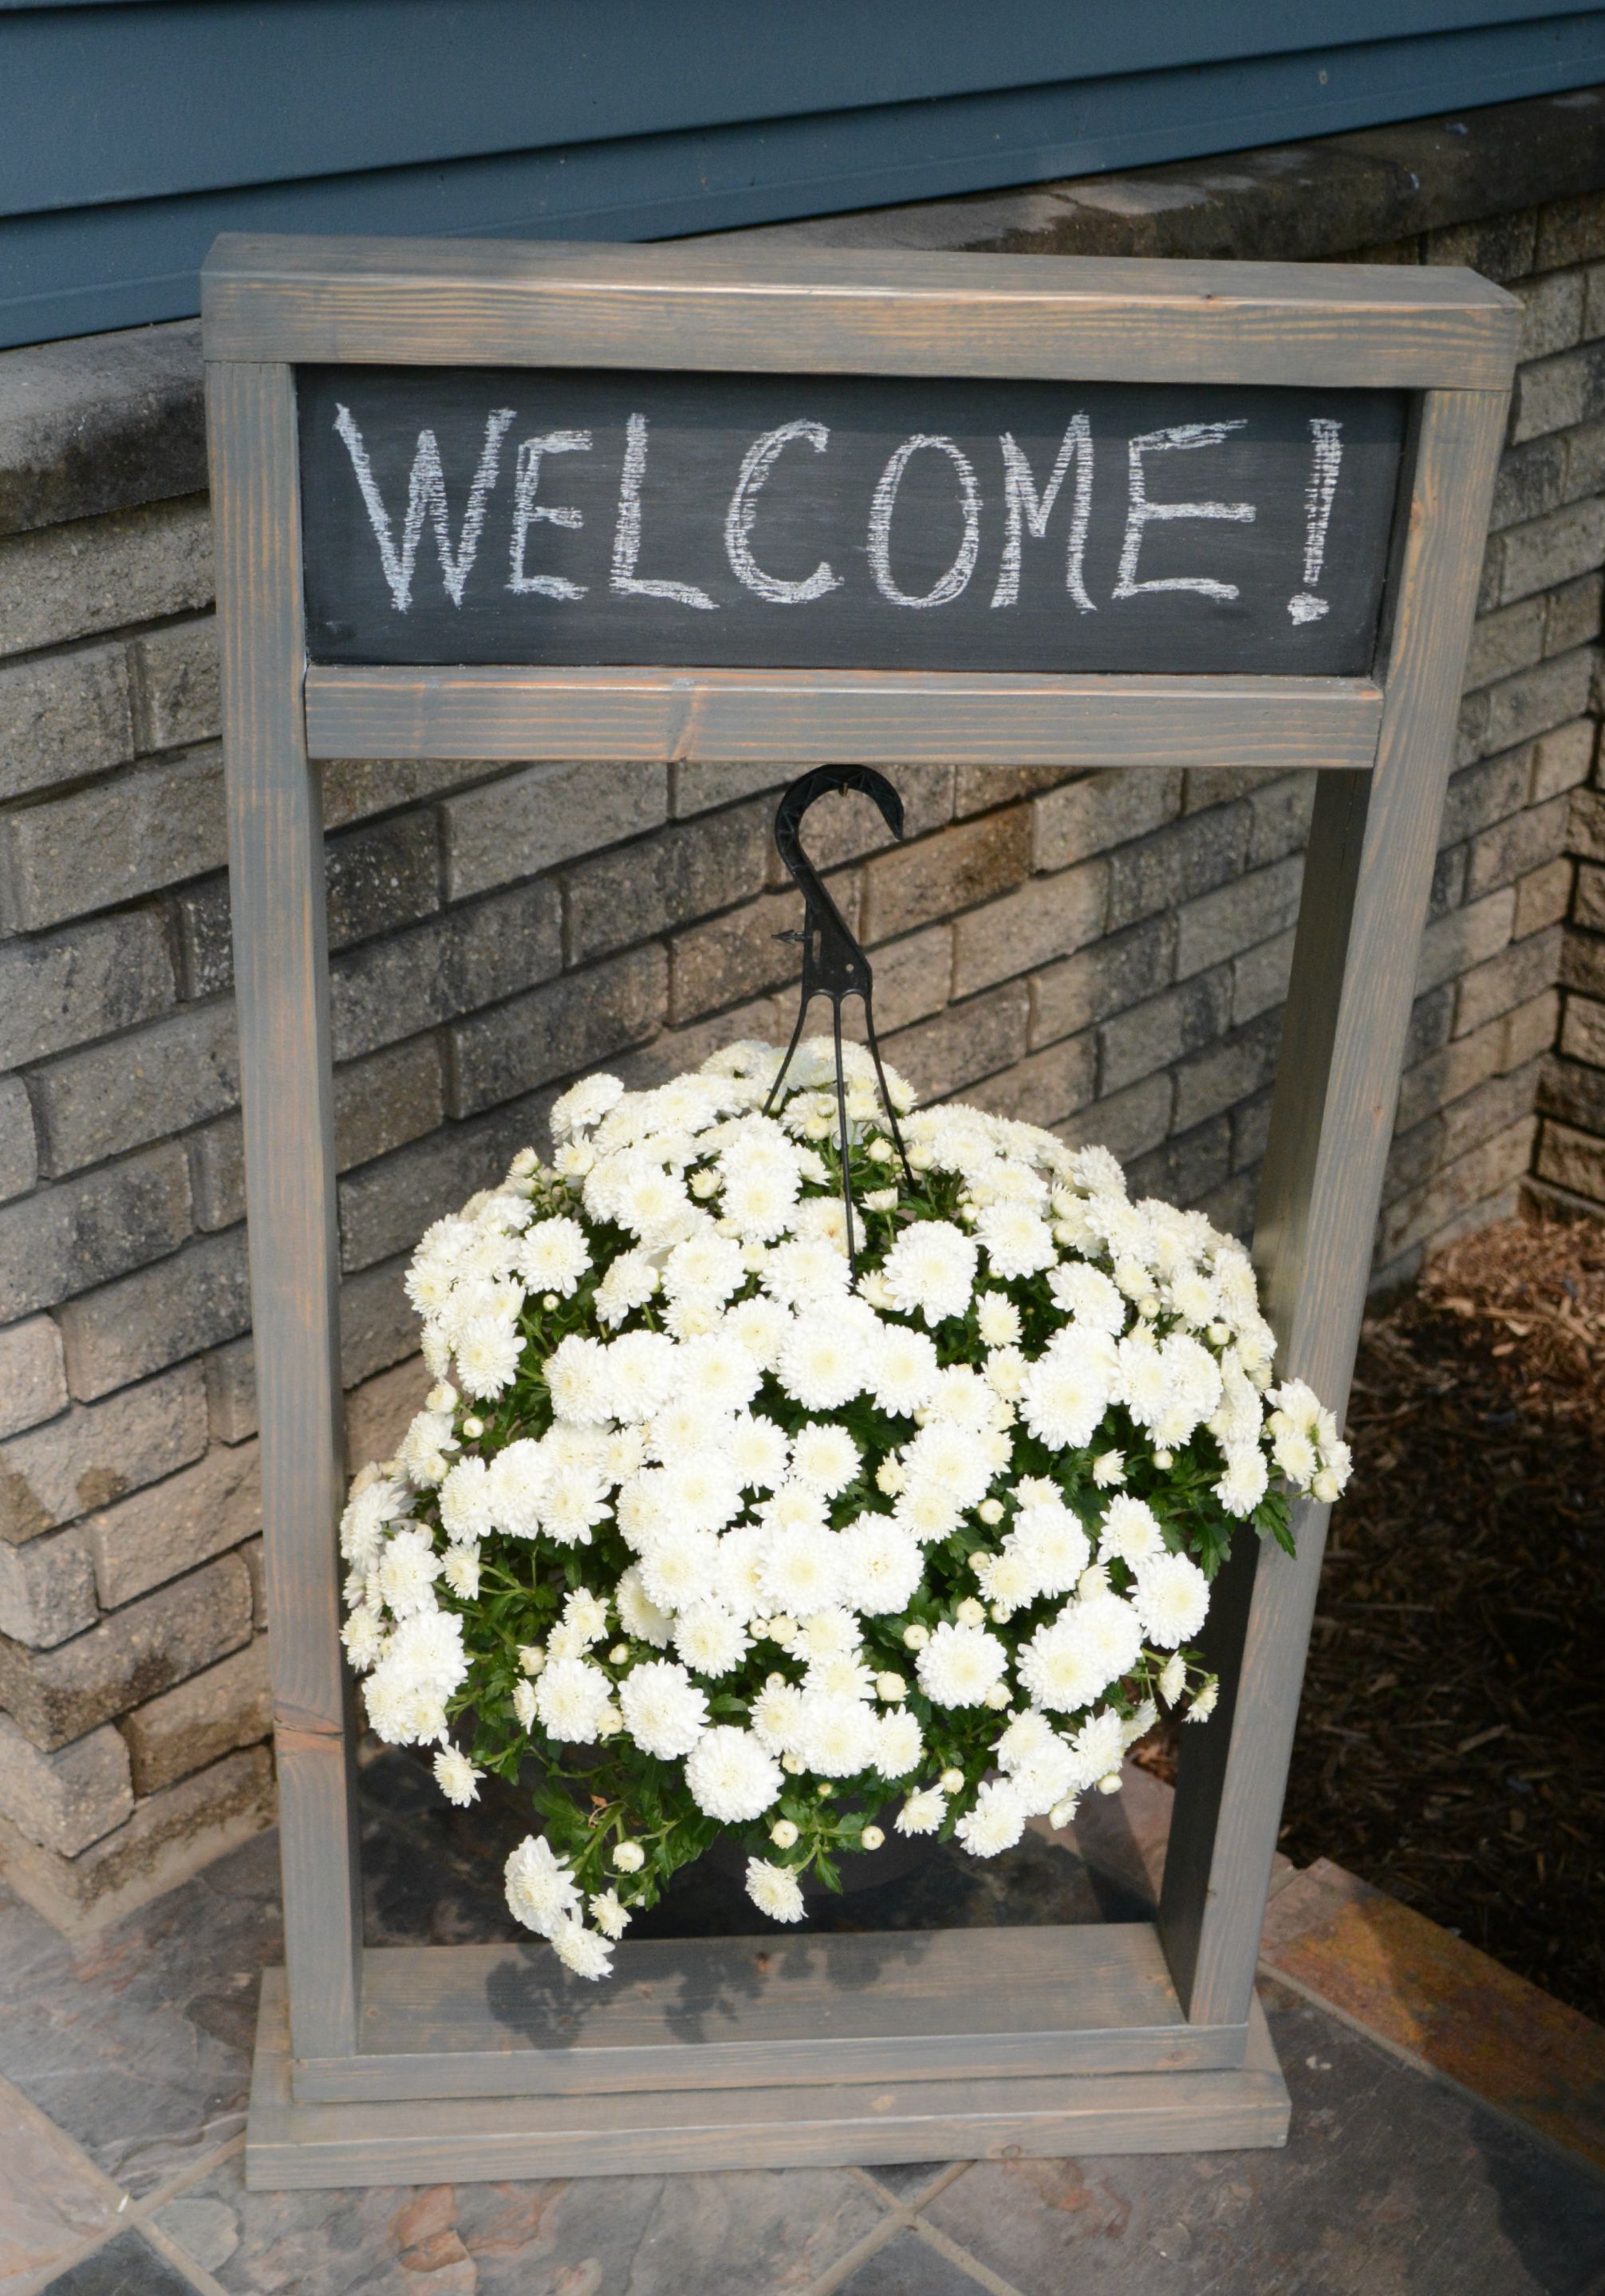
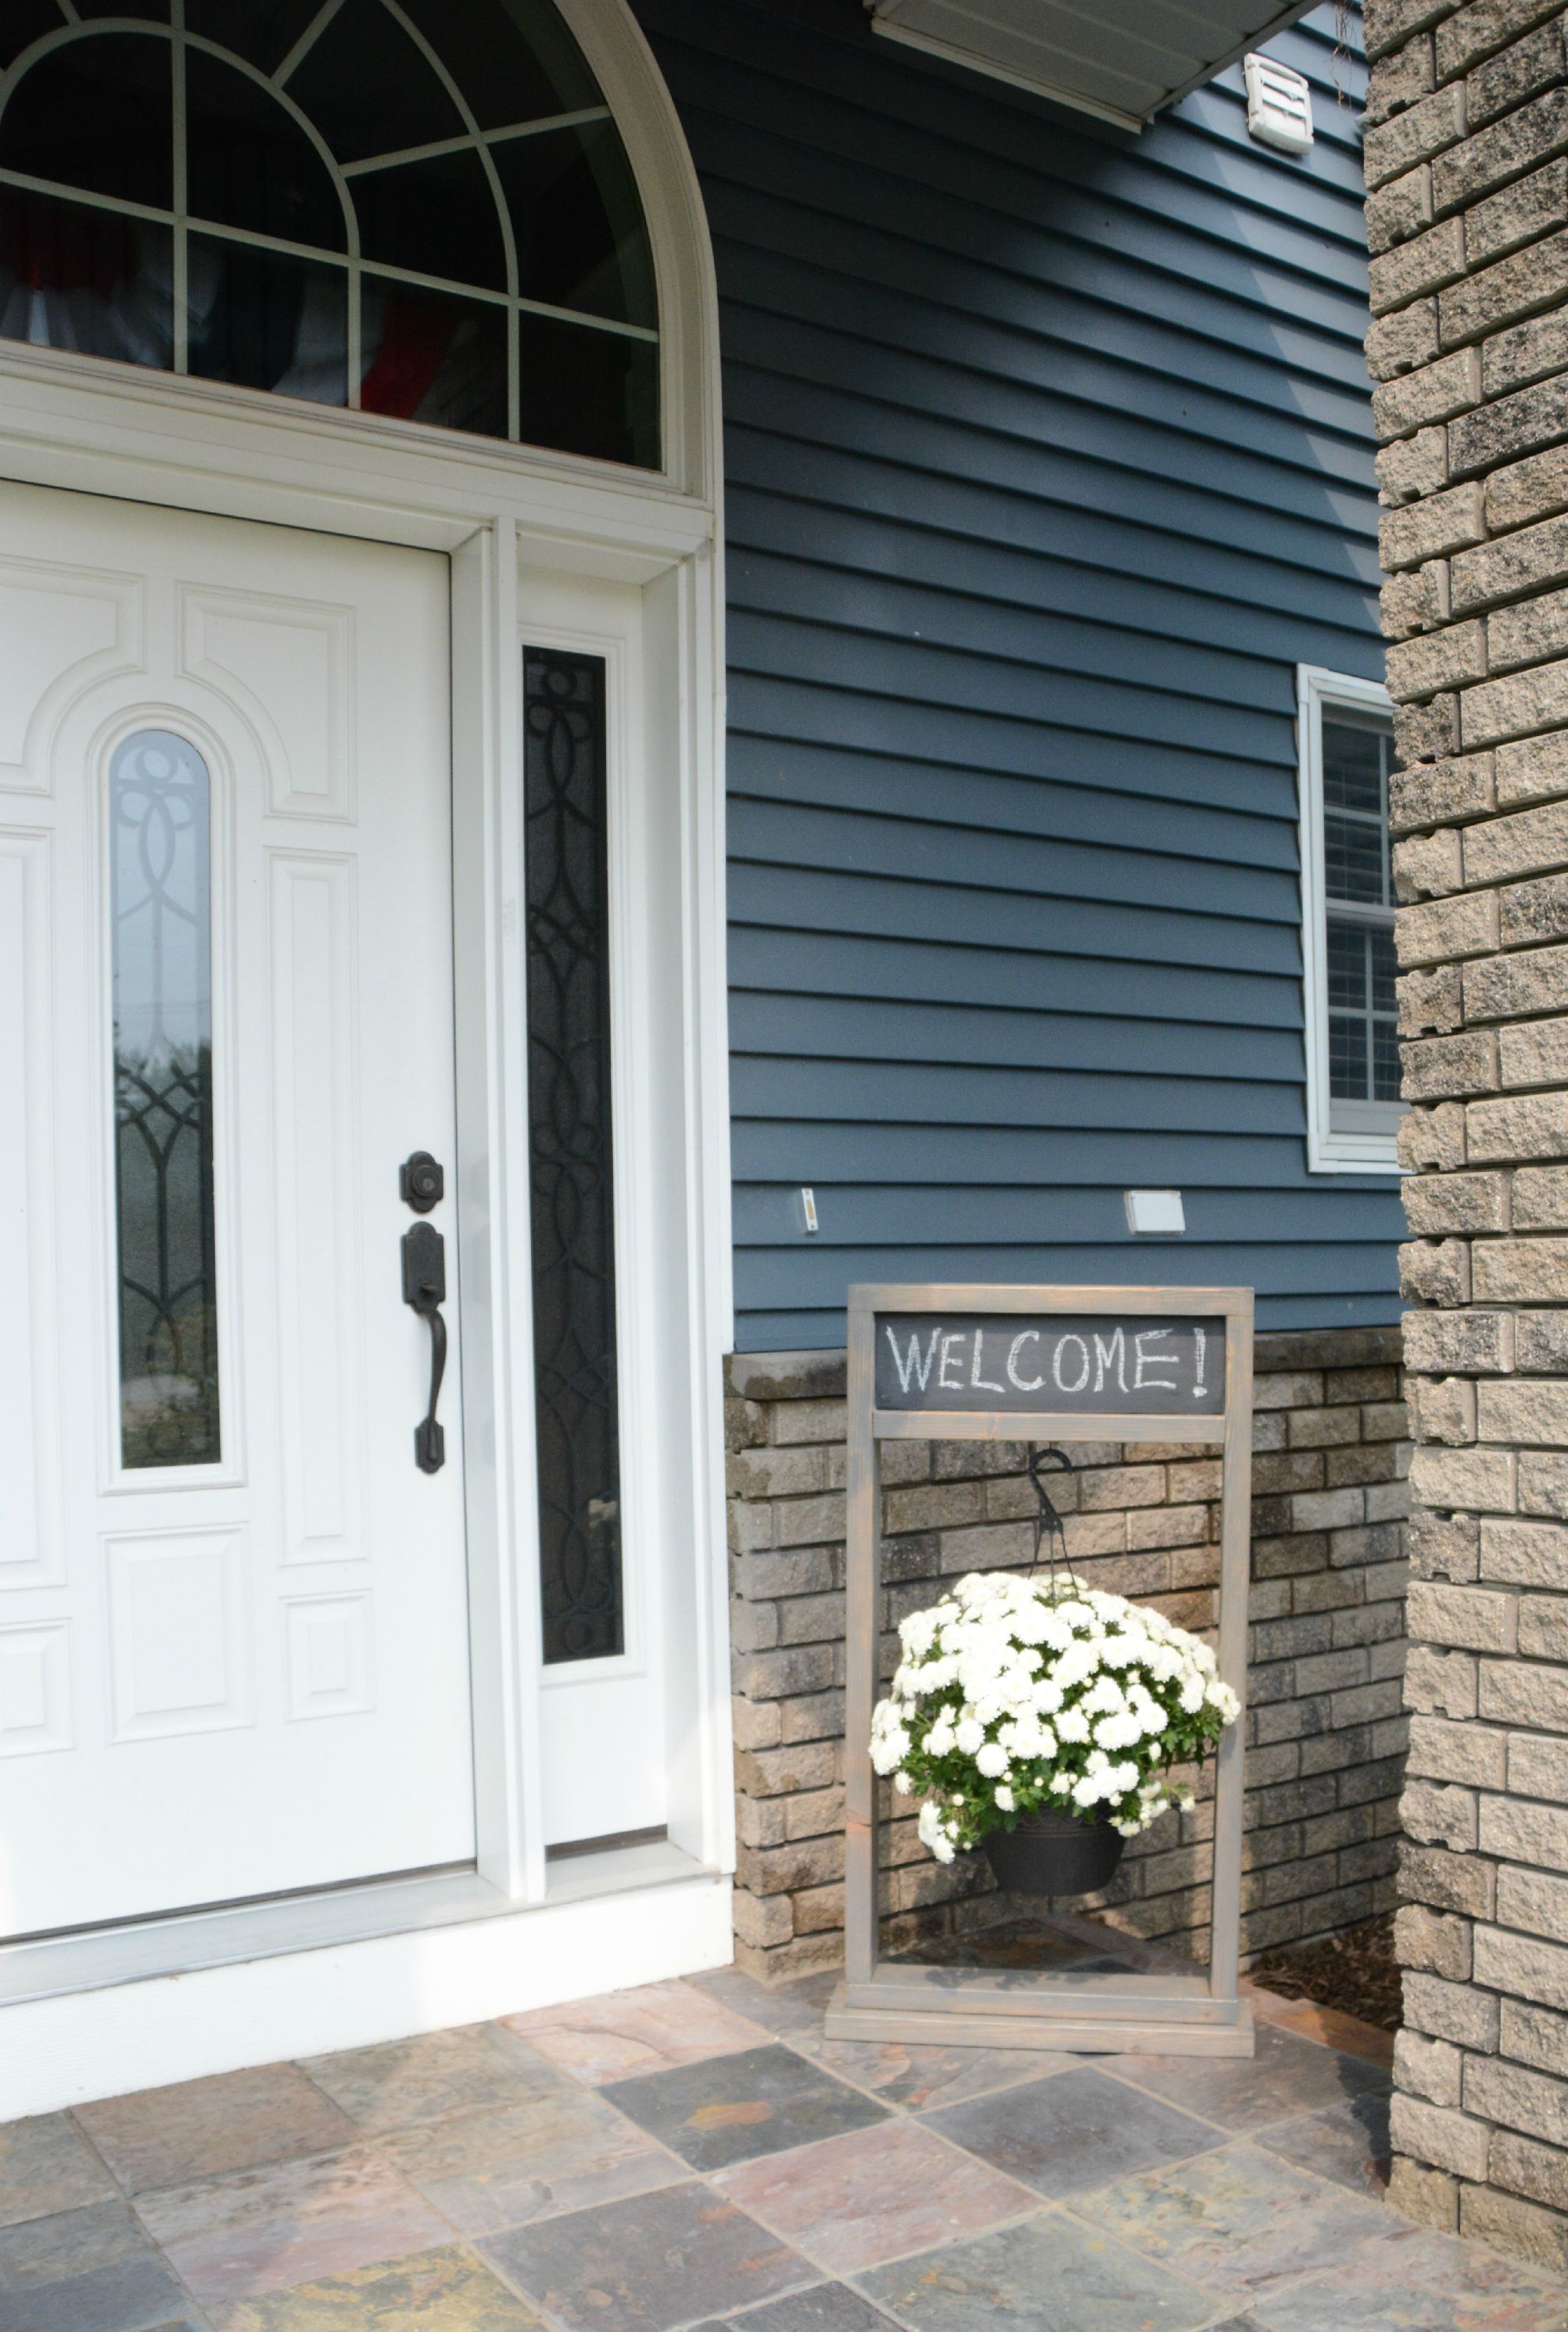
If you're not able to attend, we're sharing the customized version of our project today. You just don't get to see my gigantic belly. This project whips up quickly (the build only takes an hour!). Our "customization" of the project is the addition of a chalkboard area to greet guests at your front door. I wanted to write a bunch of different things but the heat killed my brain cells and motivation so I went with "Welcome".

Material List
- 2 - 2x4
- 1 - 2x6
- 2 1/2" finish nails (finish nailer)
- Outdoor wood glue
- 2 1/2" outdoor screws
- Sandpaper
- Hook
- Kreg HD screws (optional)
- Stain (Rustoleum Weathered Grey)
- Outdoor poly (or can get outdoor stain/sealer in one)
- Prime
- Chalkboard paint
Cut List
- 2x4
- 2 - 22" (top/bottom of frame)
- 2 - 38" (sides of frame)
- 19" (bottom chalk board frame)
- 2x6
- 19" (chalk board)
- 24" (bottom)
Make the frame of the planter with the 2x4's. For the bottomside, attach with wood glue and finish nails through the bottom of the 22" board. For the top, either attach with pocket hole screws (putting the pocket holes in the inside middle of the 38" board which will be hidden by the "chalkboard") or the same way as the bottom with finish nails.

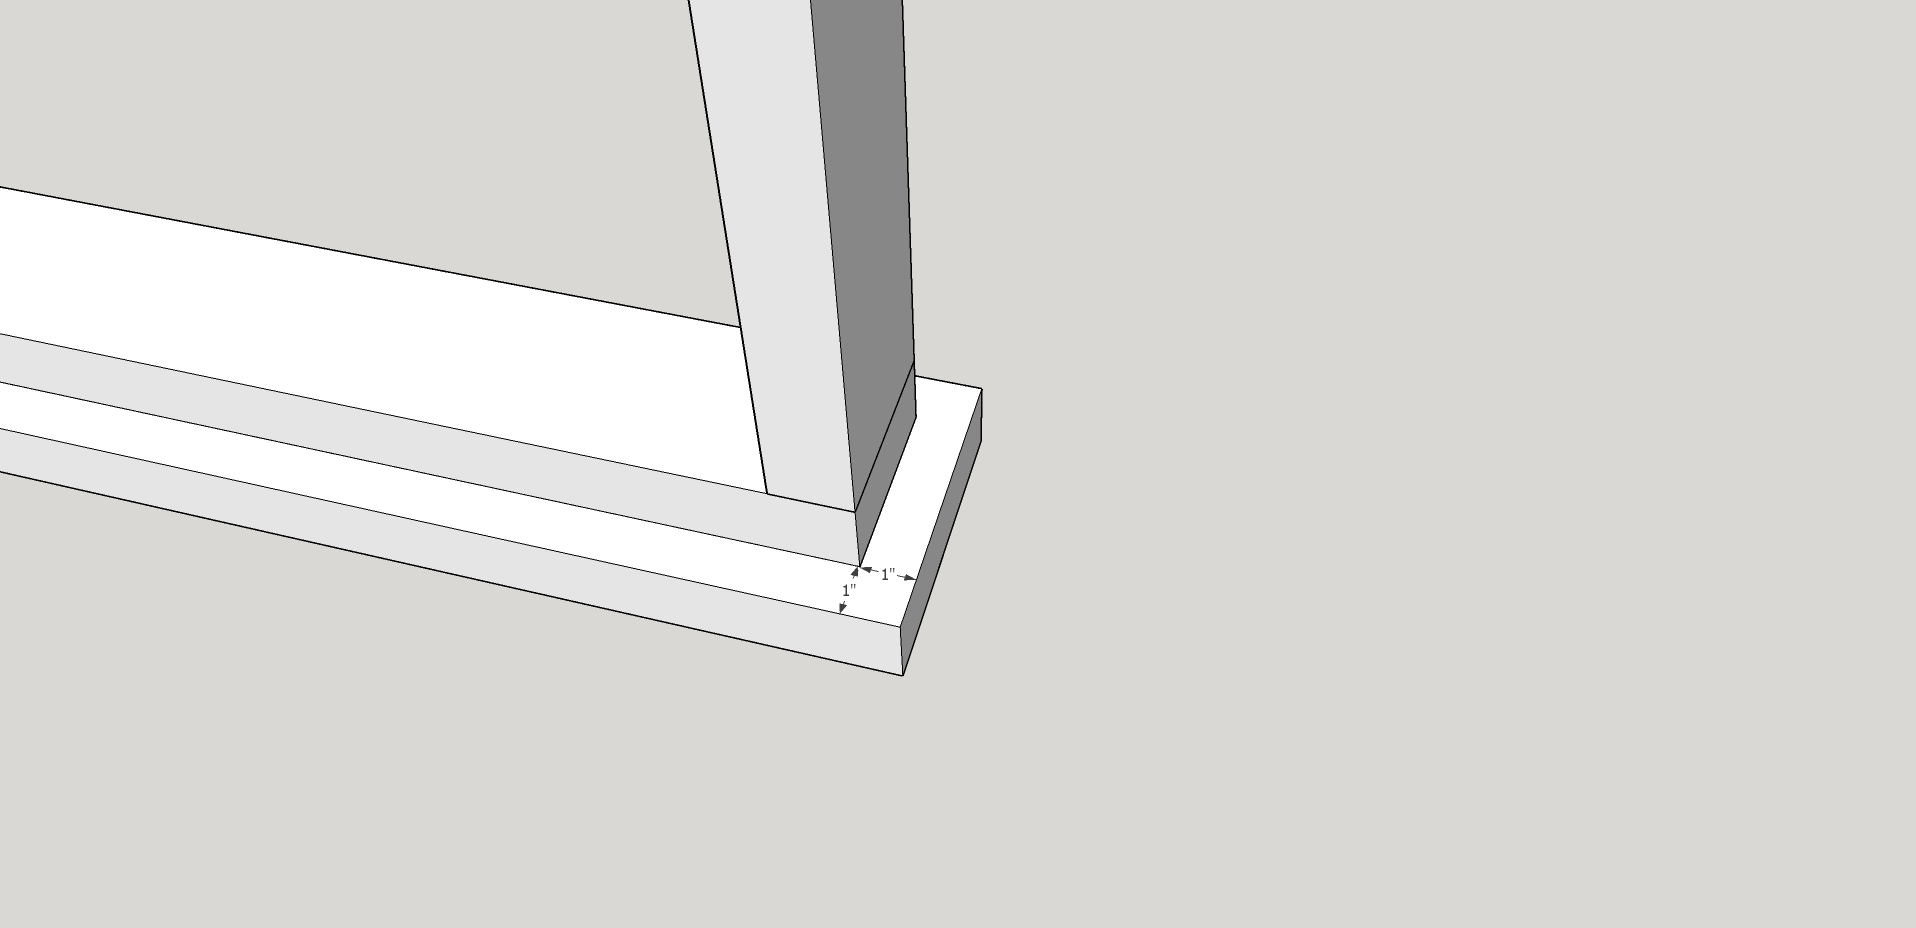
Make a mark 1" from each corner on the top of the bottom 2x6 board. Pre-drill holes in the middle of the 2x6 board, then attach to the bottom of the frame with screws.
Put 2x6 chalk board at the top, 1" from either side, attach with finish nails or pocket hole screws from the back.

Attach bottom 2x4 board under the chalkboard.
Sand all surfaces. Stain and poly (not on face of chalkboard). Prime and paint chalkboard. Attach hook in middle of 19" 2x4.

We plan to use this planter in our front entry which is covered and protected from wind. This planter is sturdy but wouldn't take a cross breeze all that well. Something to keep in mind if building your own!
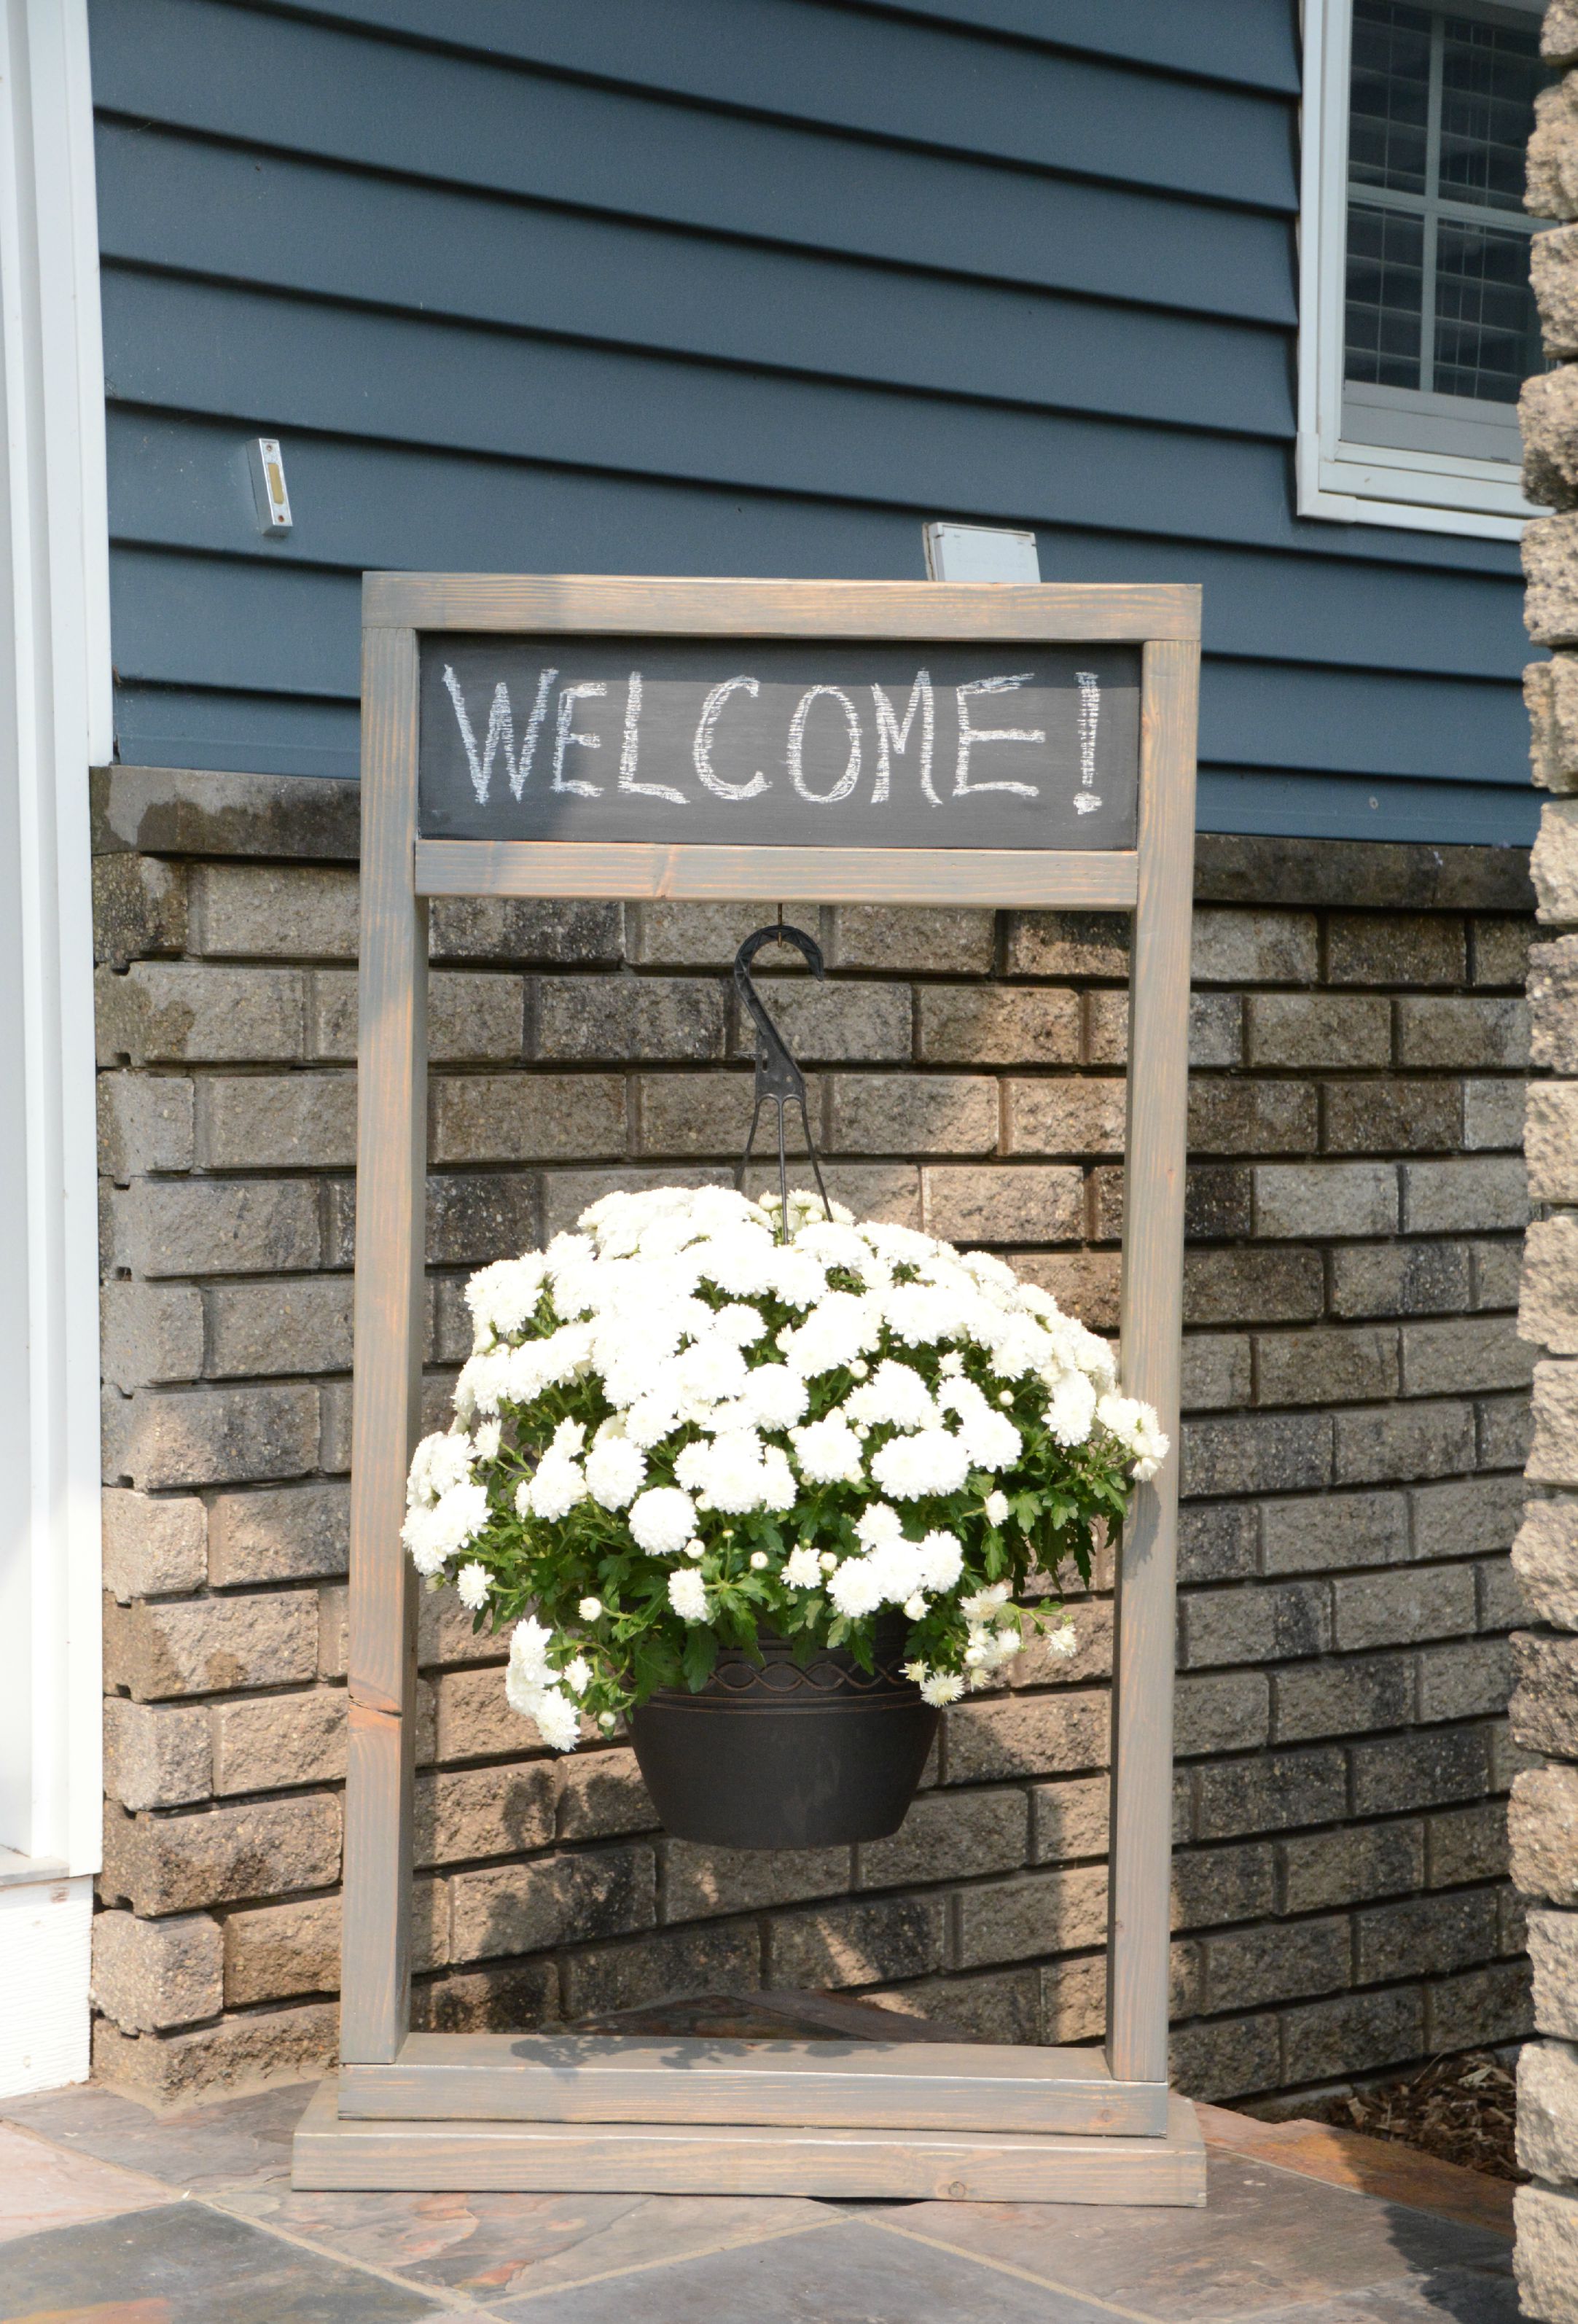
This hanging planter is going to look darling with a porch full of mums!
A quick reminder about Saturday's event:
Who: You! Your friends! Your family! Your co-workers! Everyone you know!
What: Learn how to build your very own hanging planter at The Home Depot Do-It-Yourself (DIY) Workshop. (It's free!)
When: Saturday, September 12th from 10:00-11:30am.
Where: The Home Depot nearest you! Nate and I will be attending at the Bettendorf, IA location (920 Middle Road)... if I'm not in labor.
Register here!

We're excited to see some of you on Saturday! If you're not local, be sure to share using #DIYWorkshop so we can see what you're up to!