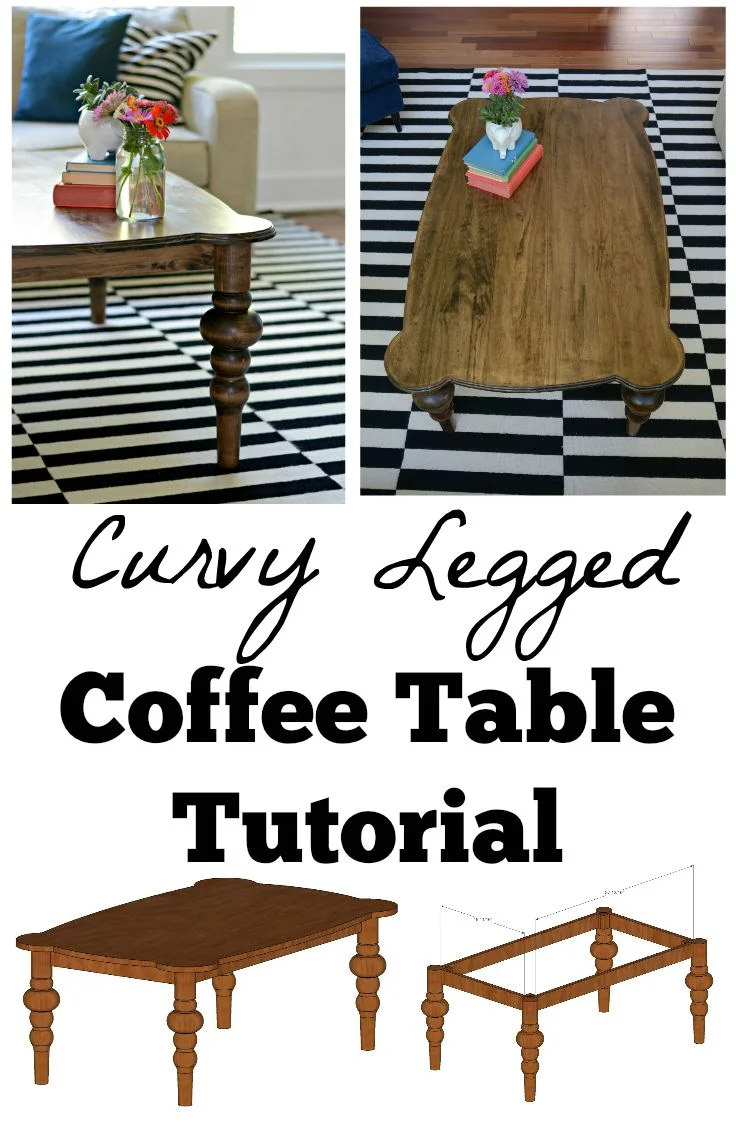
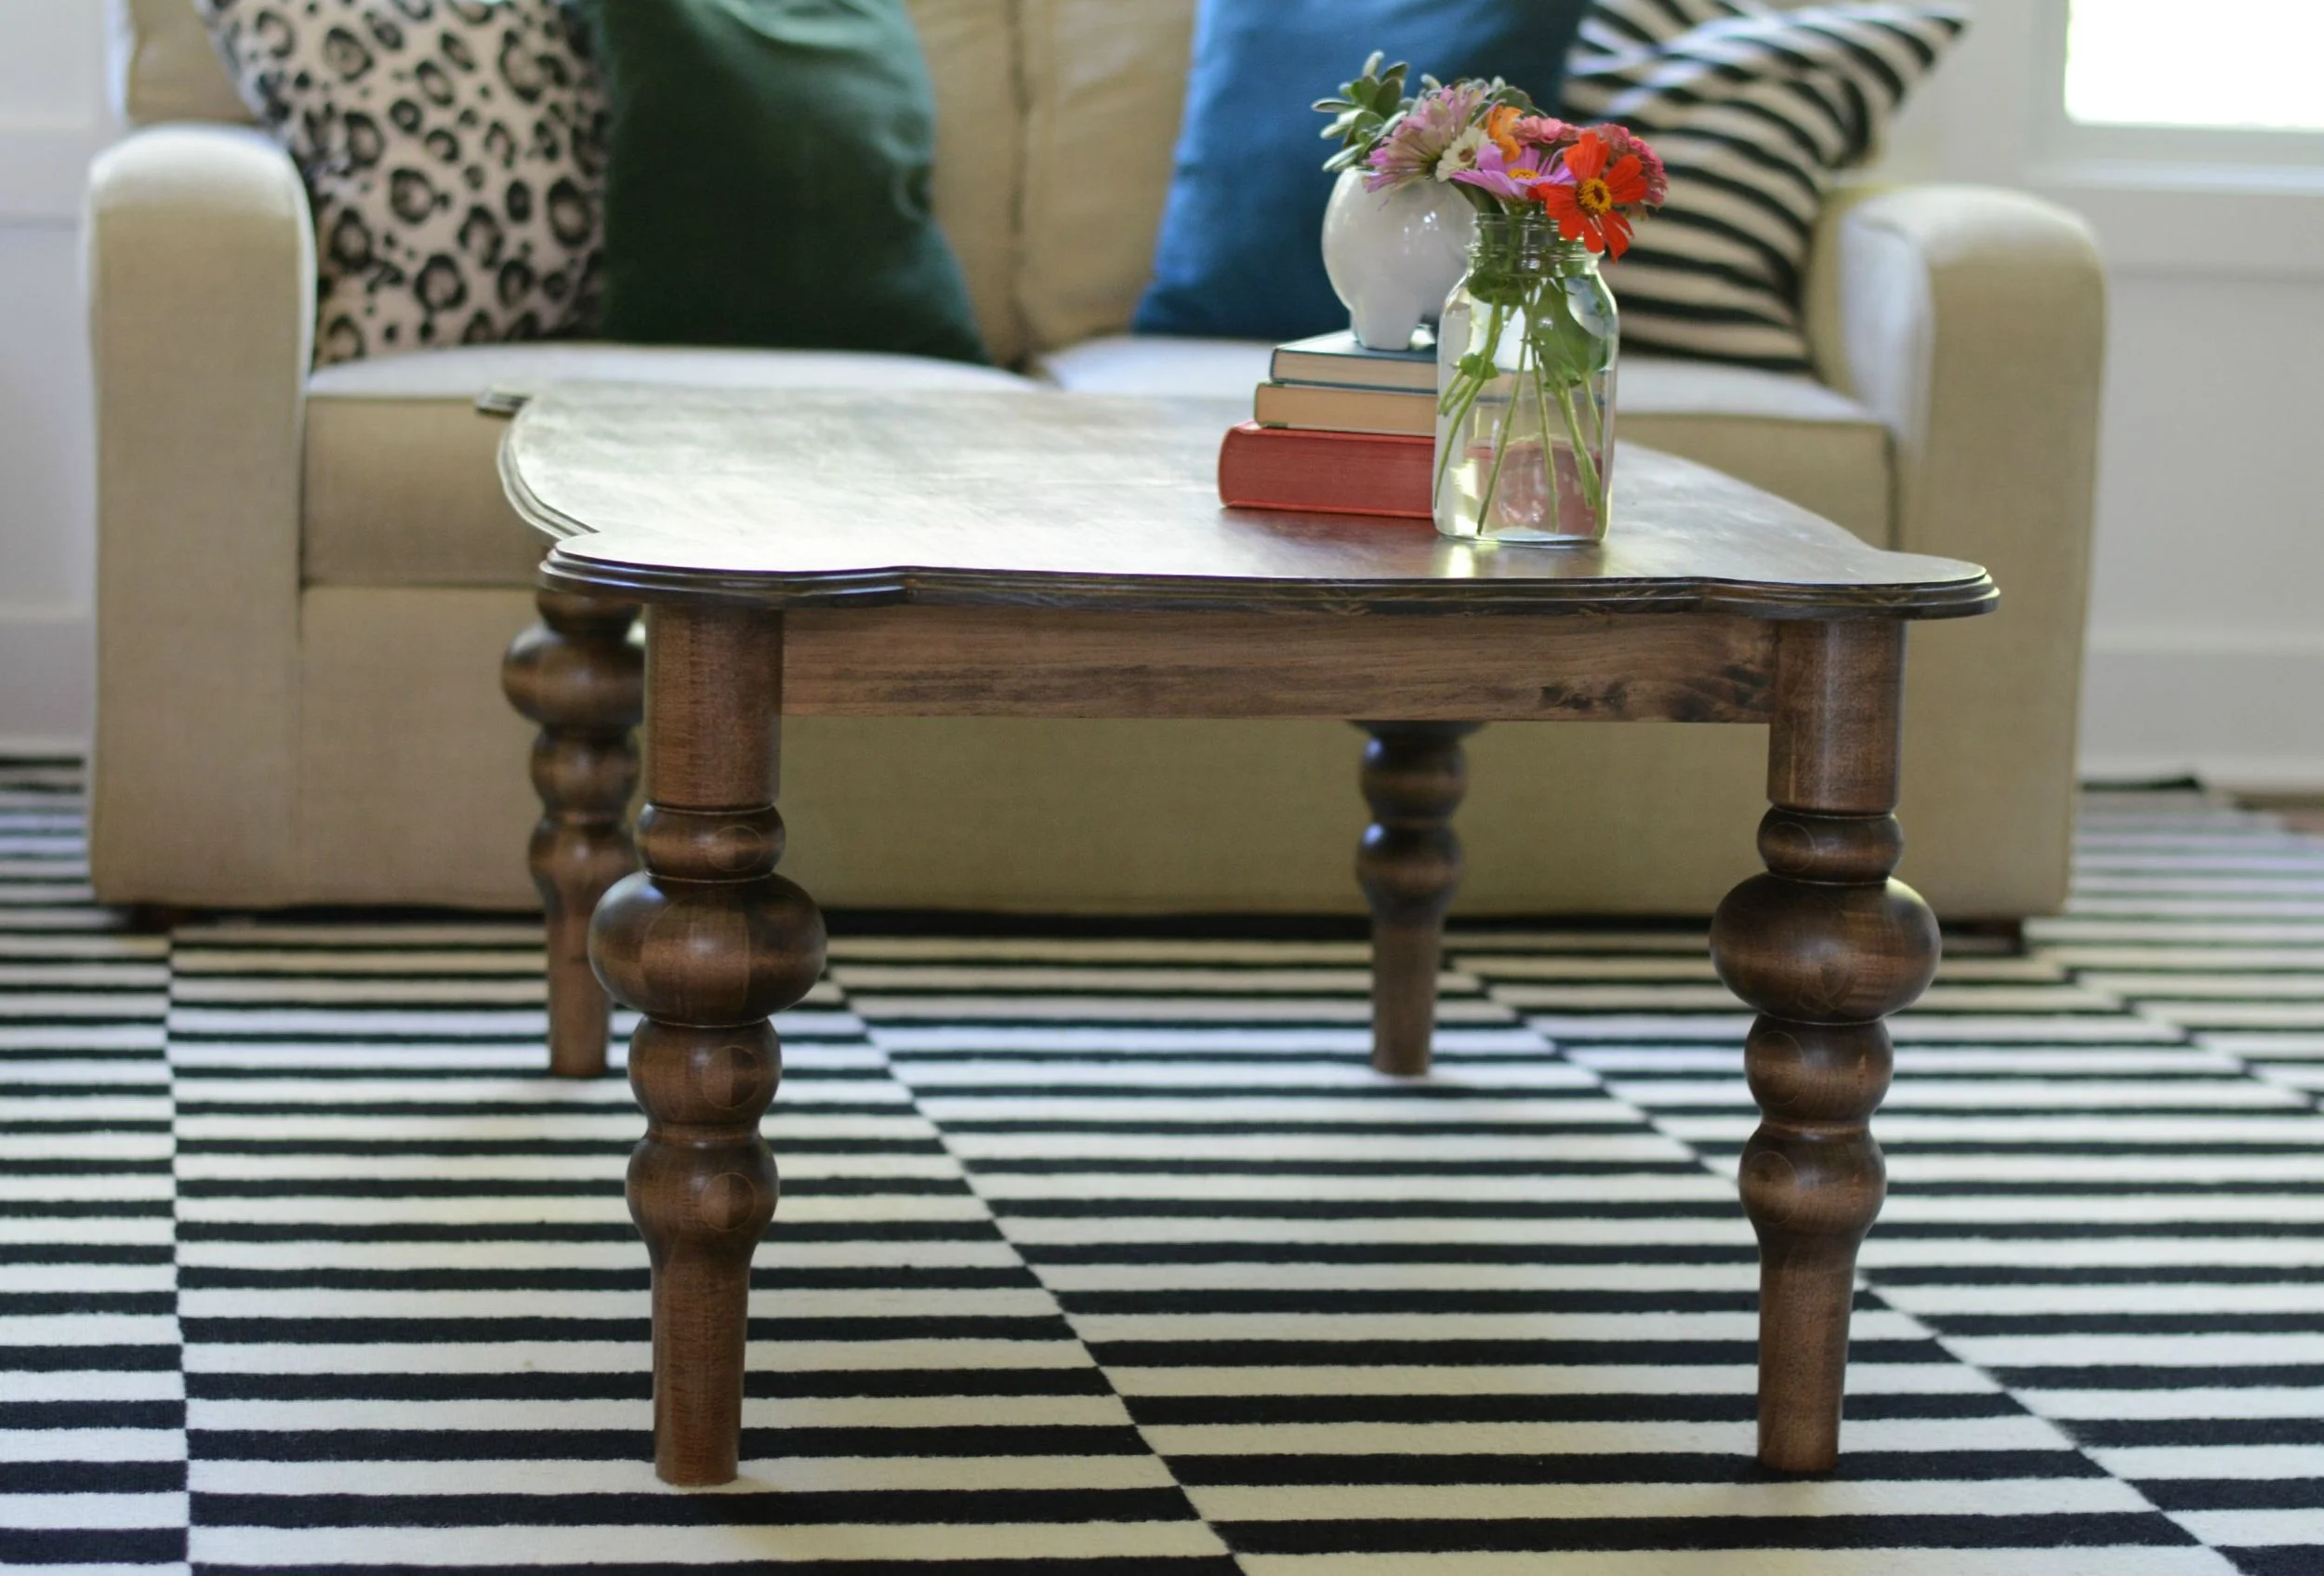
Curvy Coffee Table Tutorial
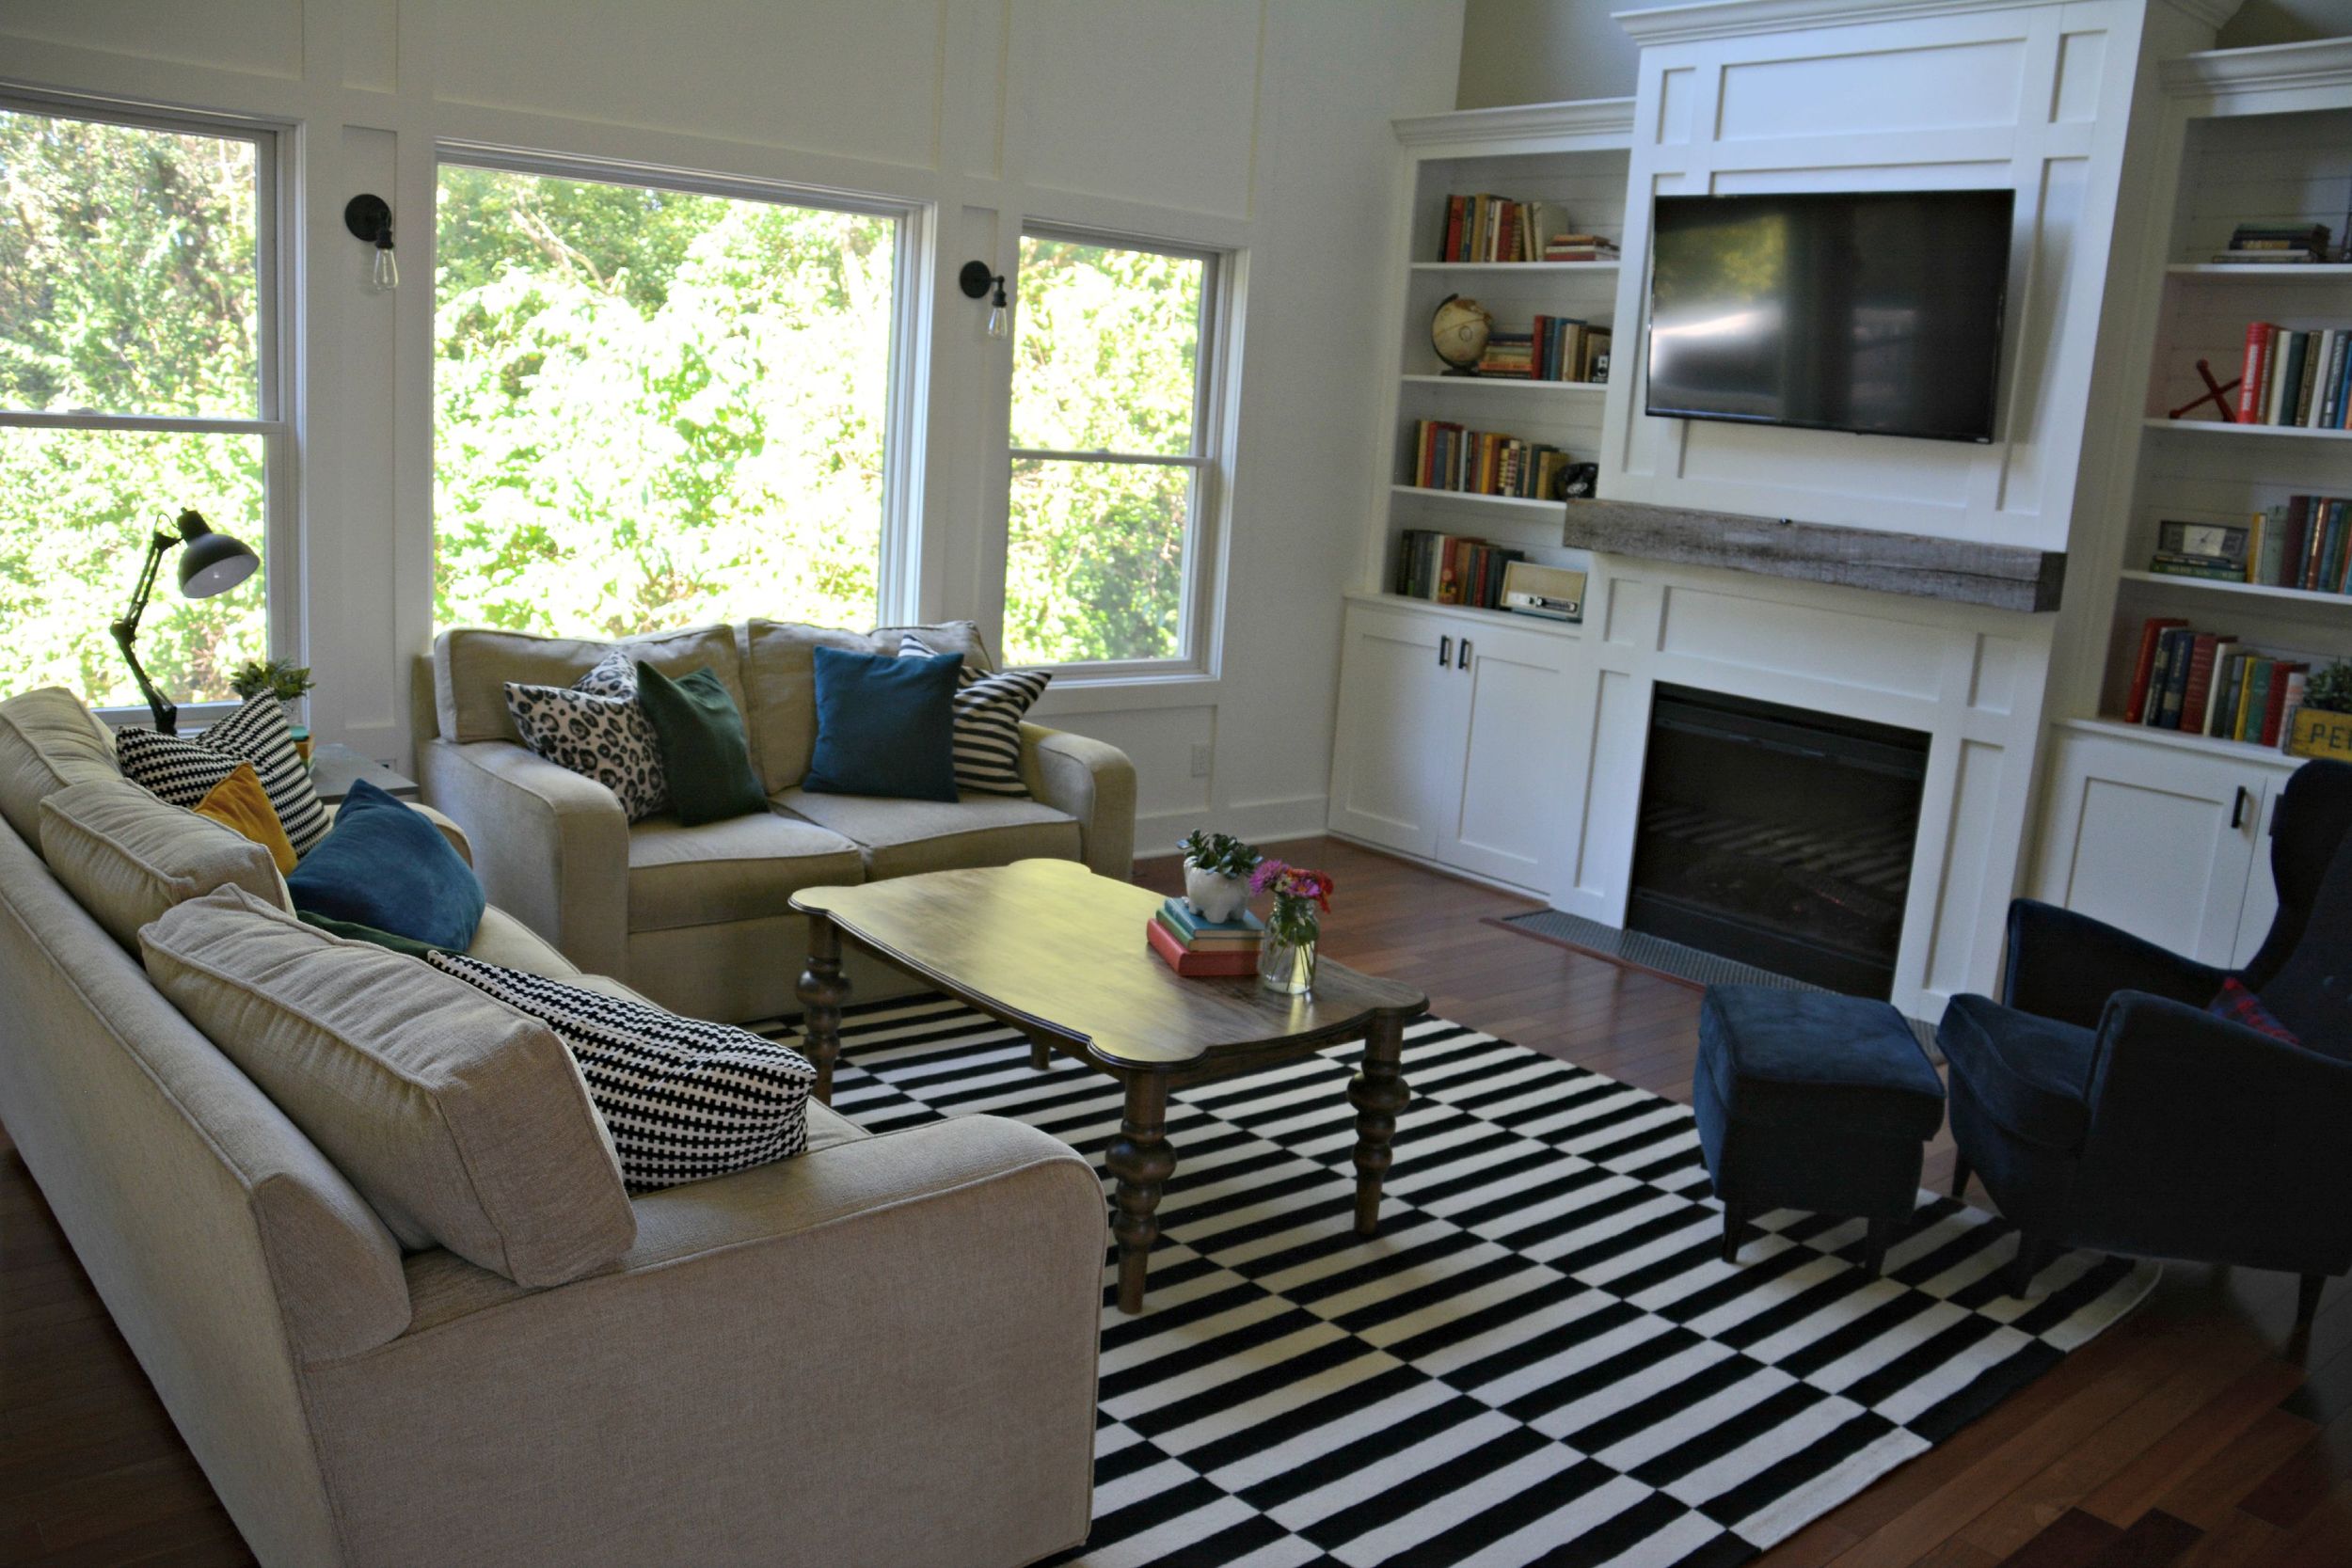
/On Monday we shared the reveal of our new coffee table. Today we're sharing how we built it. And by we, I mean Nate. My idea. His execution. Per usual.
3 - 1"x6"x8' board (we used clear pine)
2 - 1"x3"x8' board
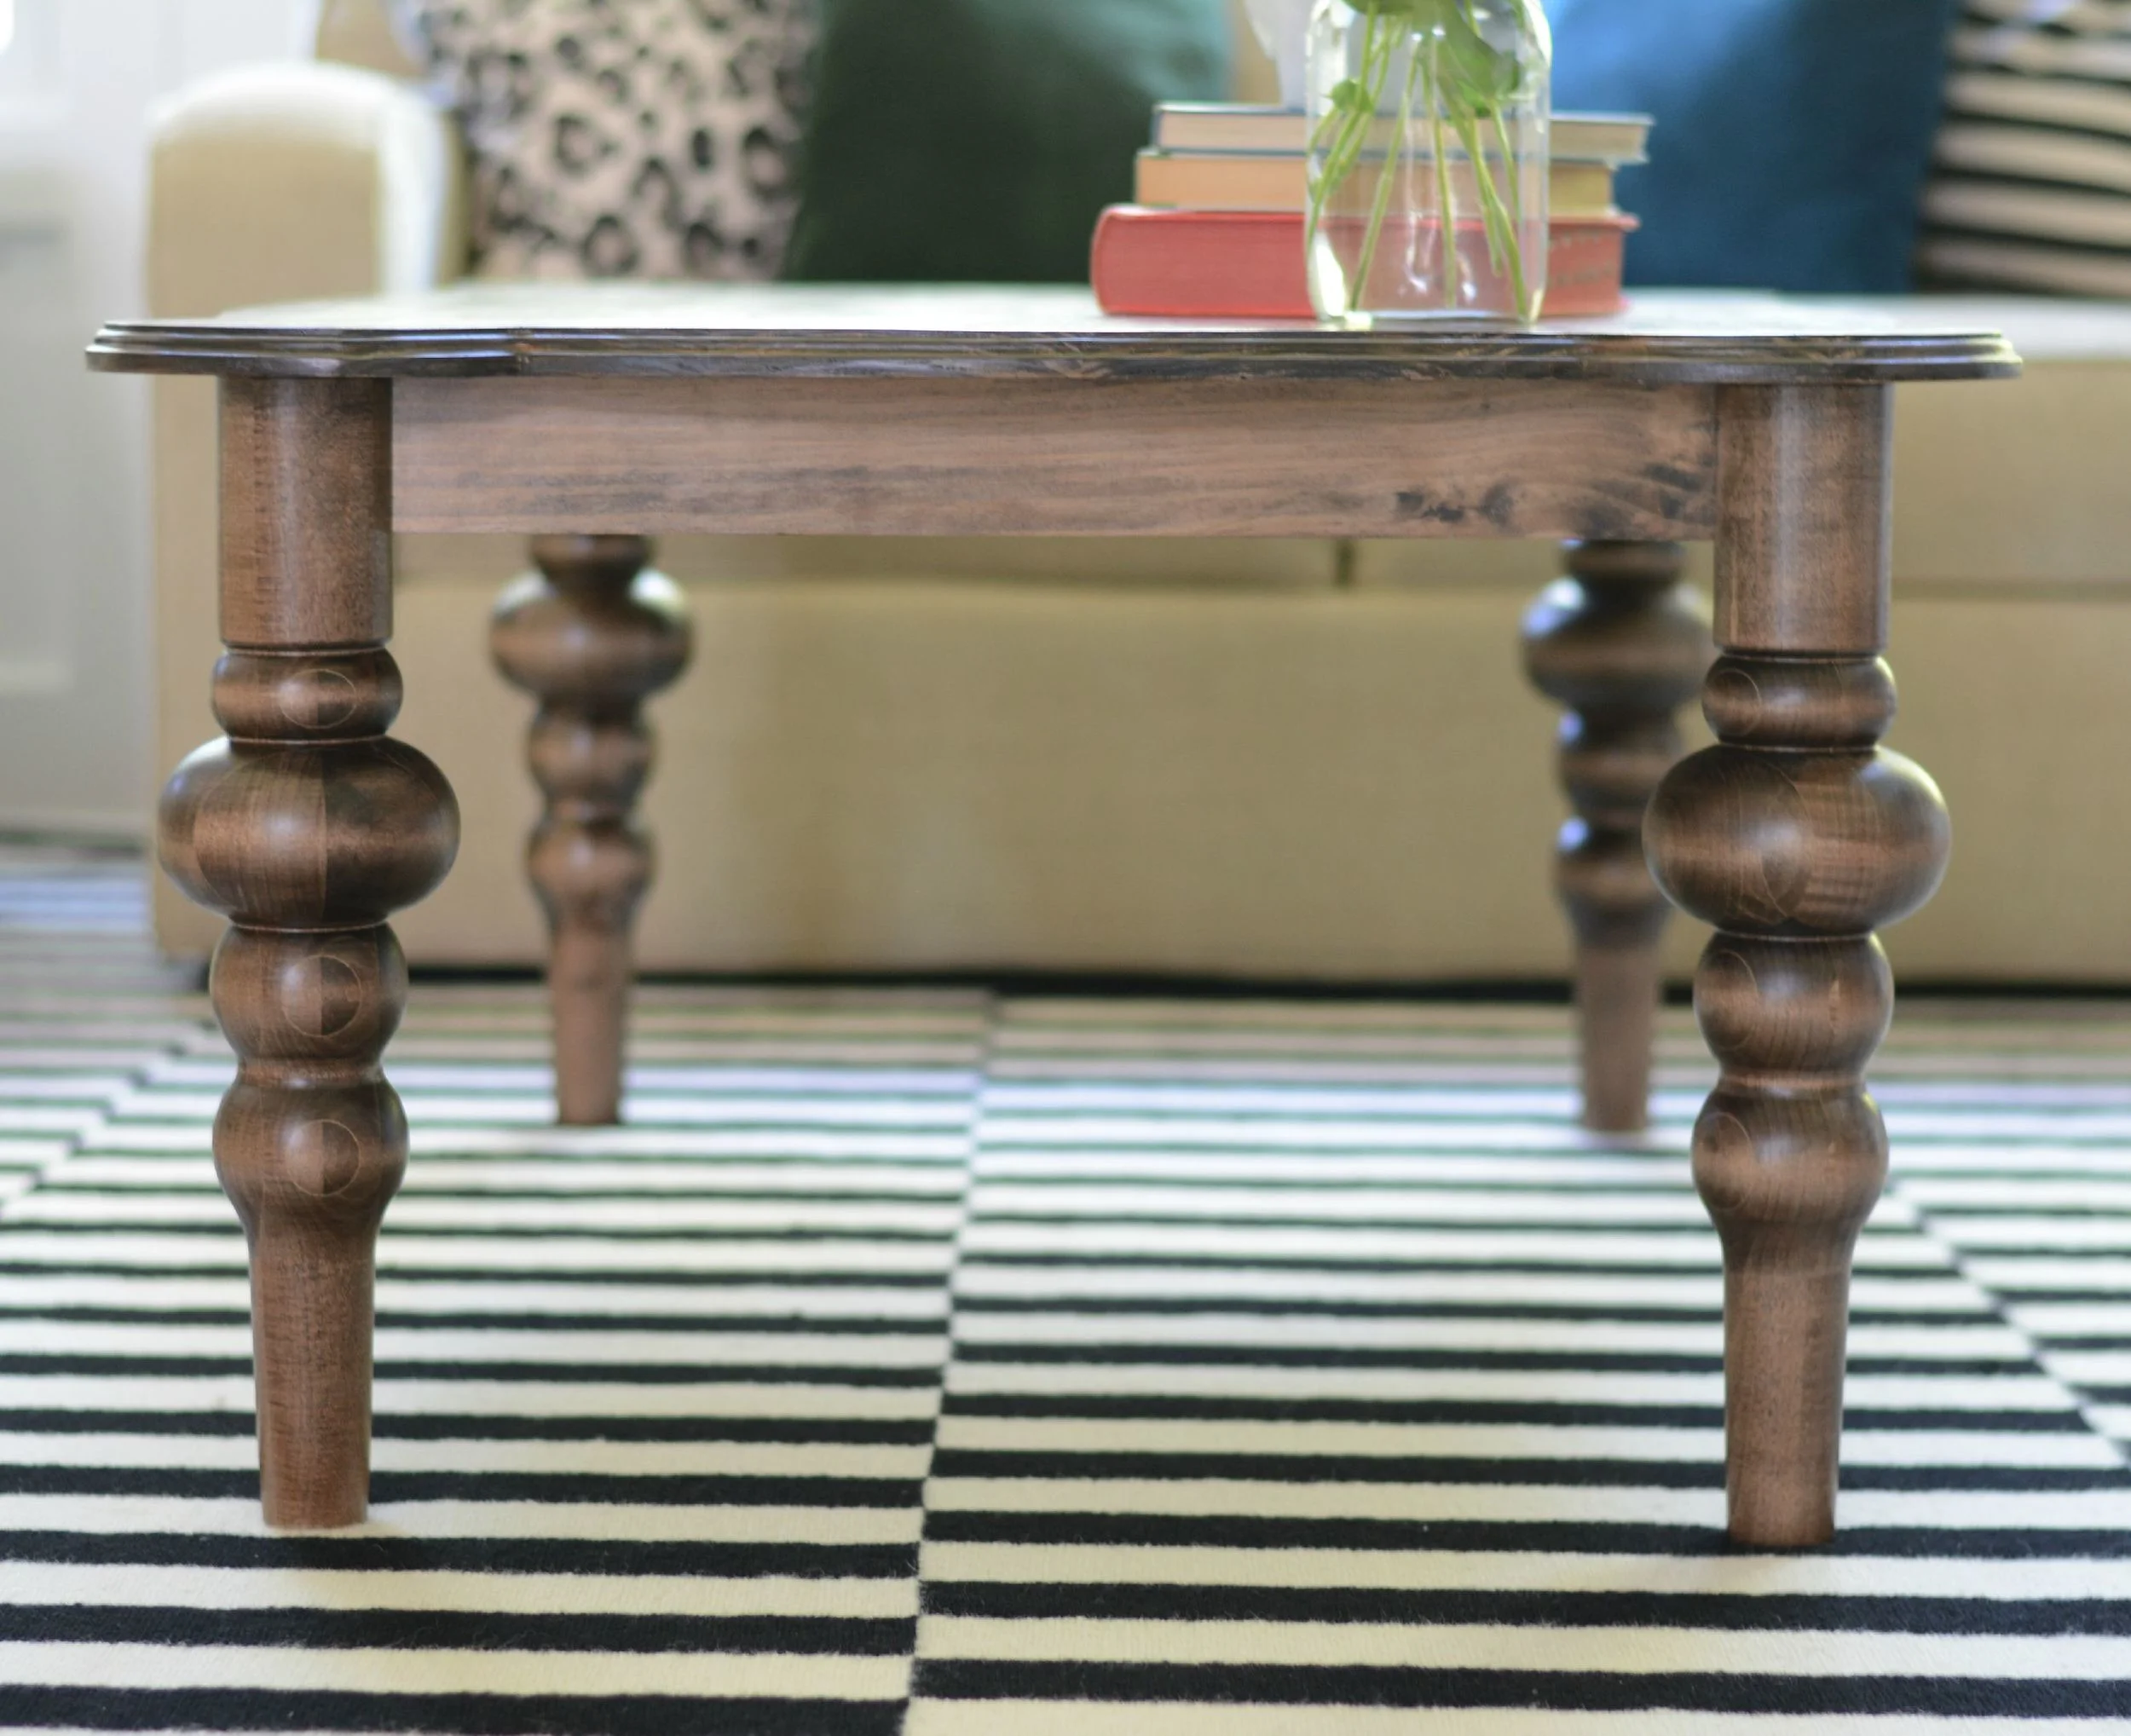
Decor and the Dog Coffee Table Legs
Titebond Original Wood Glue
2-1/2-Inch Wood Screws
36 inch clamp
Mini Kreg Jig Kit
Kreg 1 1/4-Inch screws
Jig Saw
Brad Nailer
3/4" Brad Nails
1 3/4" Brad Nails
Drill Bits
Painter's Tape
Router (optional)
Router Bit Set
Carbon Paper (optional)
Minwax Dark Walnut
Minwax Satin Polycrylic
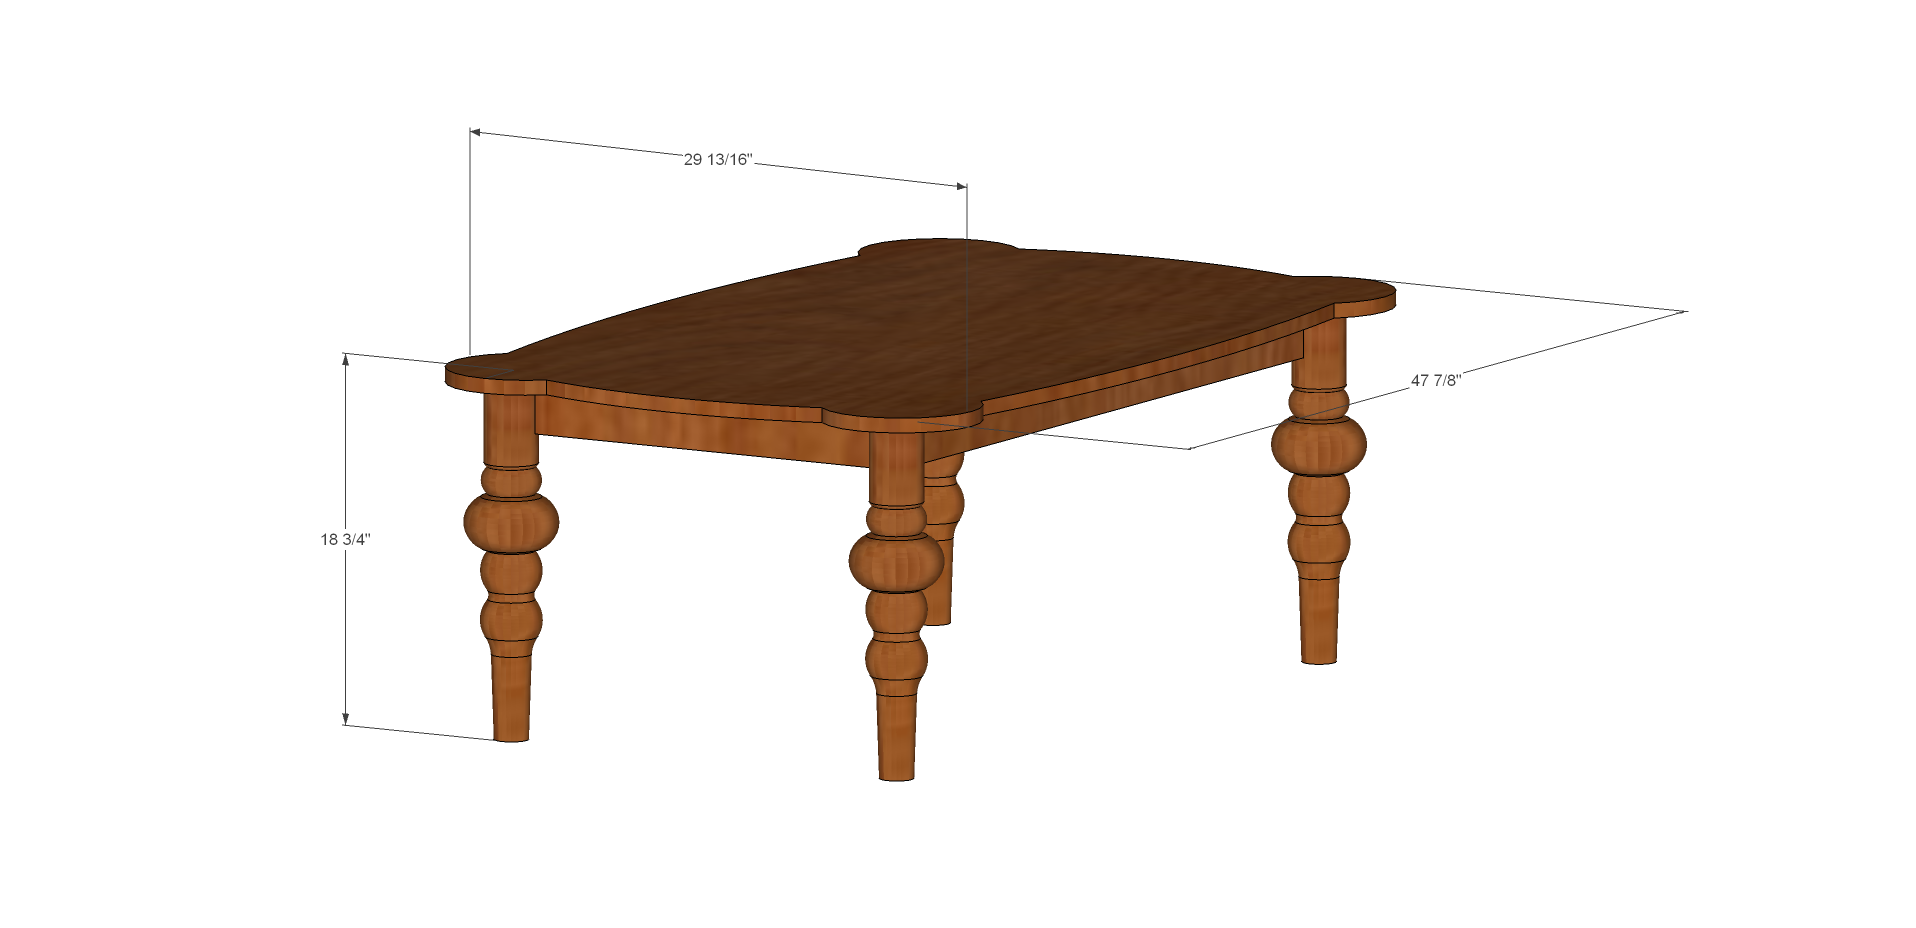
Cut List:
- 1"x6"
- - 48" - 6
- 1"x3"
- - 37 13/16" - 2
- - 19 11/16" - 2
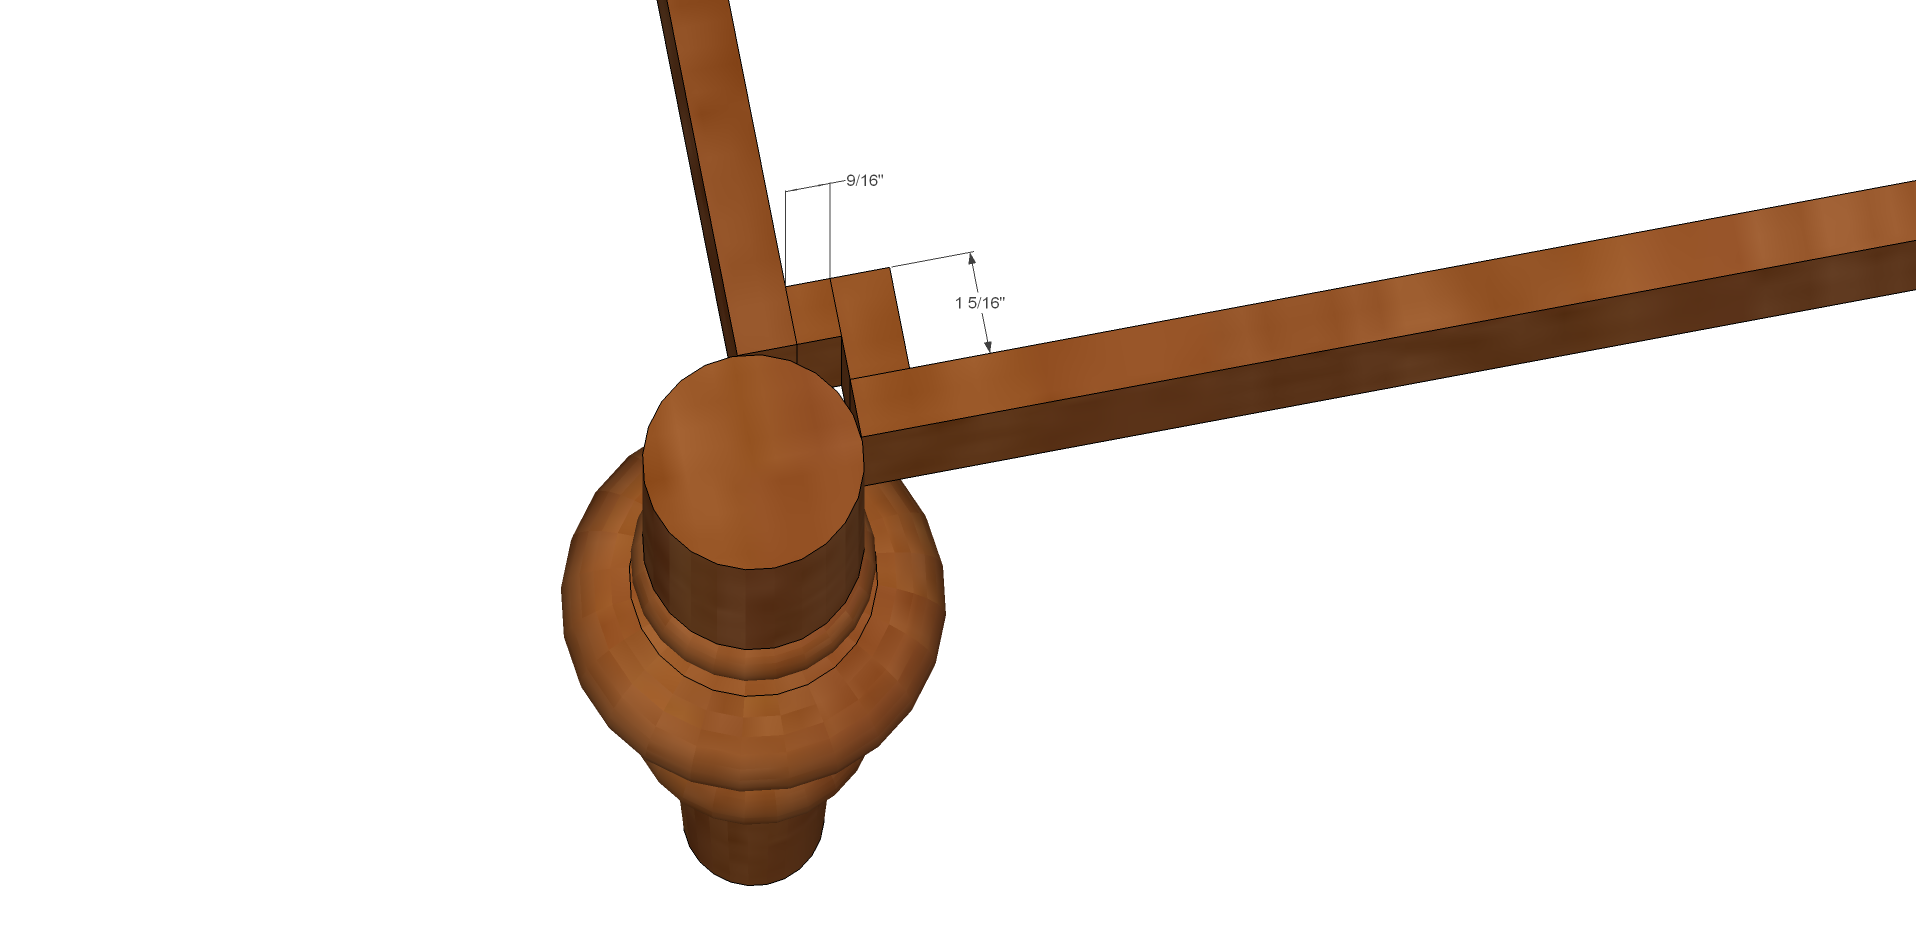
- - 1 5/16" - 4
- - 9/16" - 4
Make a solid board by edge-gluing the 48" 1x6 boards. (Or you could buy a board that is at least 48" x 33". Most of the time boards that are this large aren't the best quality (warped, knotted, etc) and are more expensive.) The key to doing this is to get plenty of wood glue between the boards (You only have to put on one side of each connecting board) and to have enough clamps that are long enough for the project. For this board, it will be 33" wide, so you will need clamps that are at least that wide. I used 6 clamps to put mine together, alternating top and bottom of the board to apply even pressure.
Once the top is dried according to the wood glue's recommendations, sand both sides smooth, making sure to remove all glue on the surface as it will not stain.
To make the curved top, I printed the top-down view of the Sketchup file to scale, which is done by doing the following steps in Sketchup:
- Select Camera, Parallel Projection.
- Select the Camera, Standard Views, Top
- Select the File, Print.
- Uncheck the 'Fit to page' checkbox.
- Set the scale using the Scale fields.
- Click the OK button.
Once it is all printed, tape together matching all the lines. Tape this to the top of the created board, only taping on the inside. This will allow you to lift from the outside and put carbon tracing paper under the printed document. Trace the design with the carbon paper.
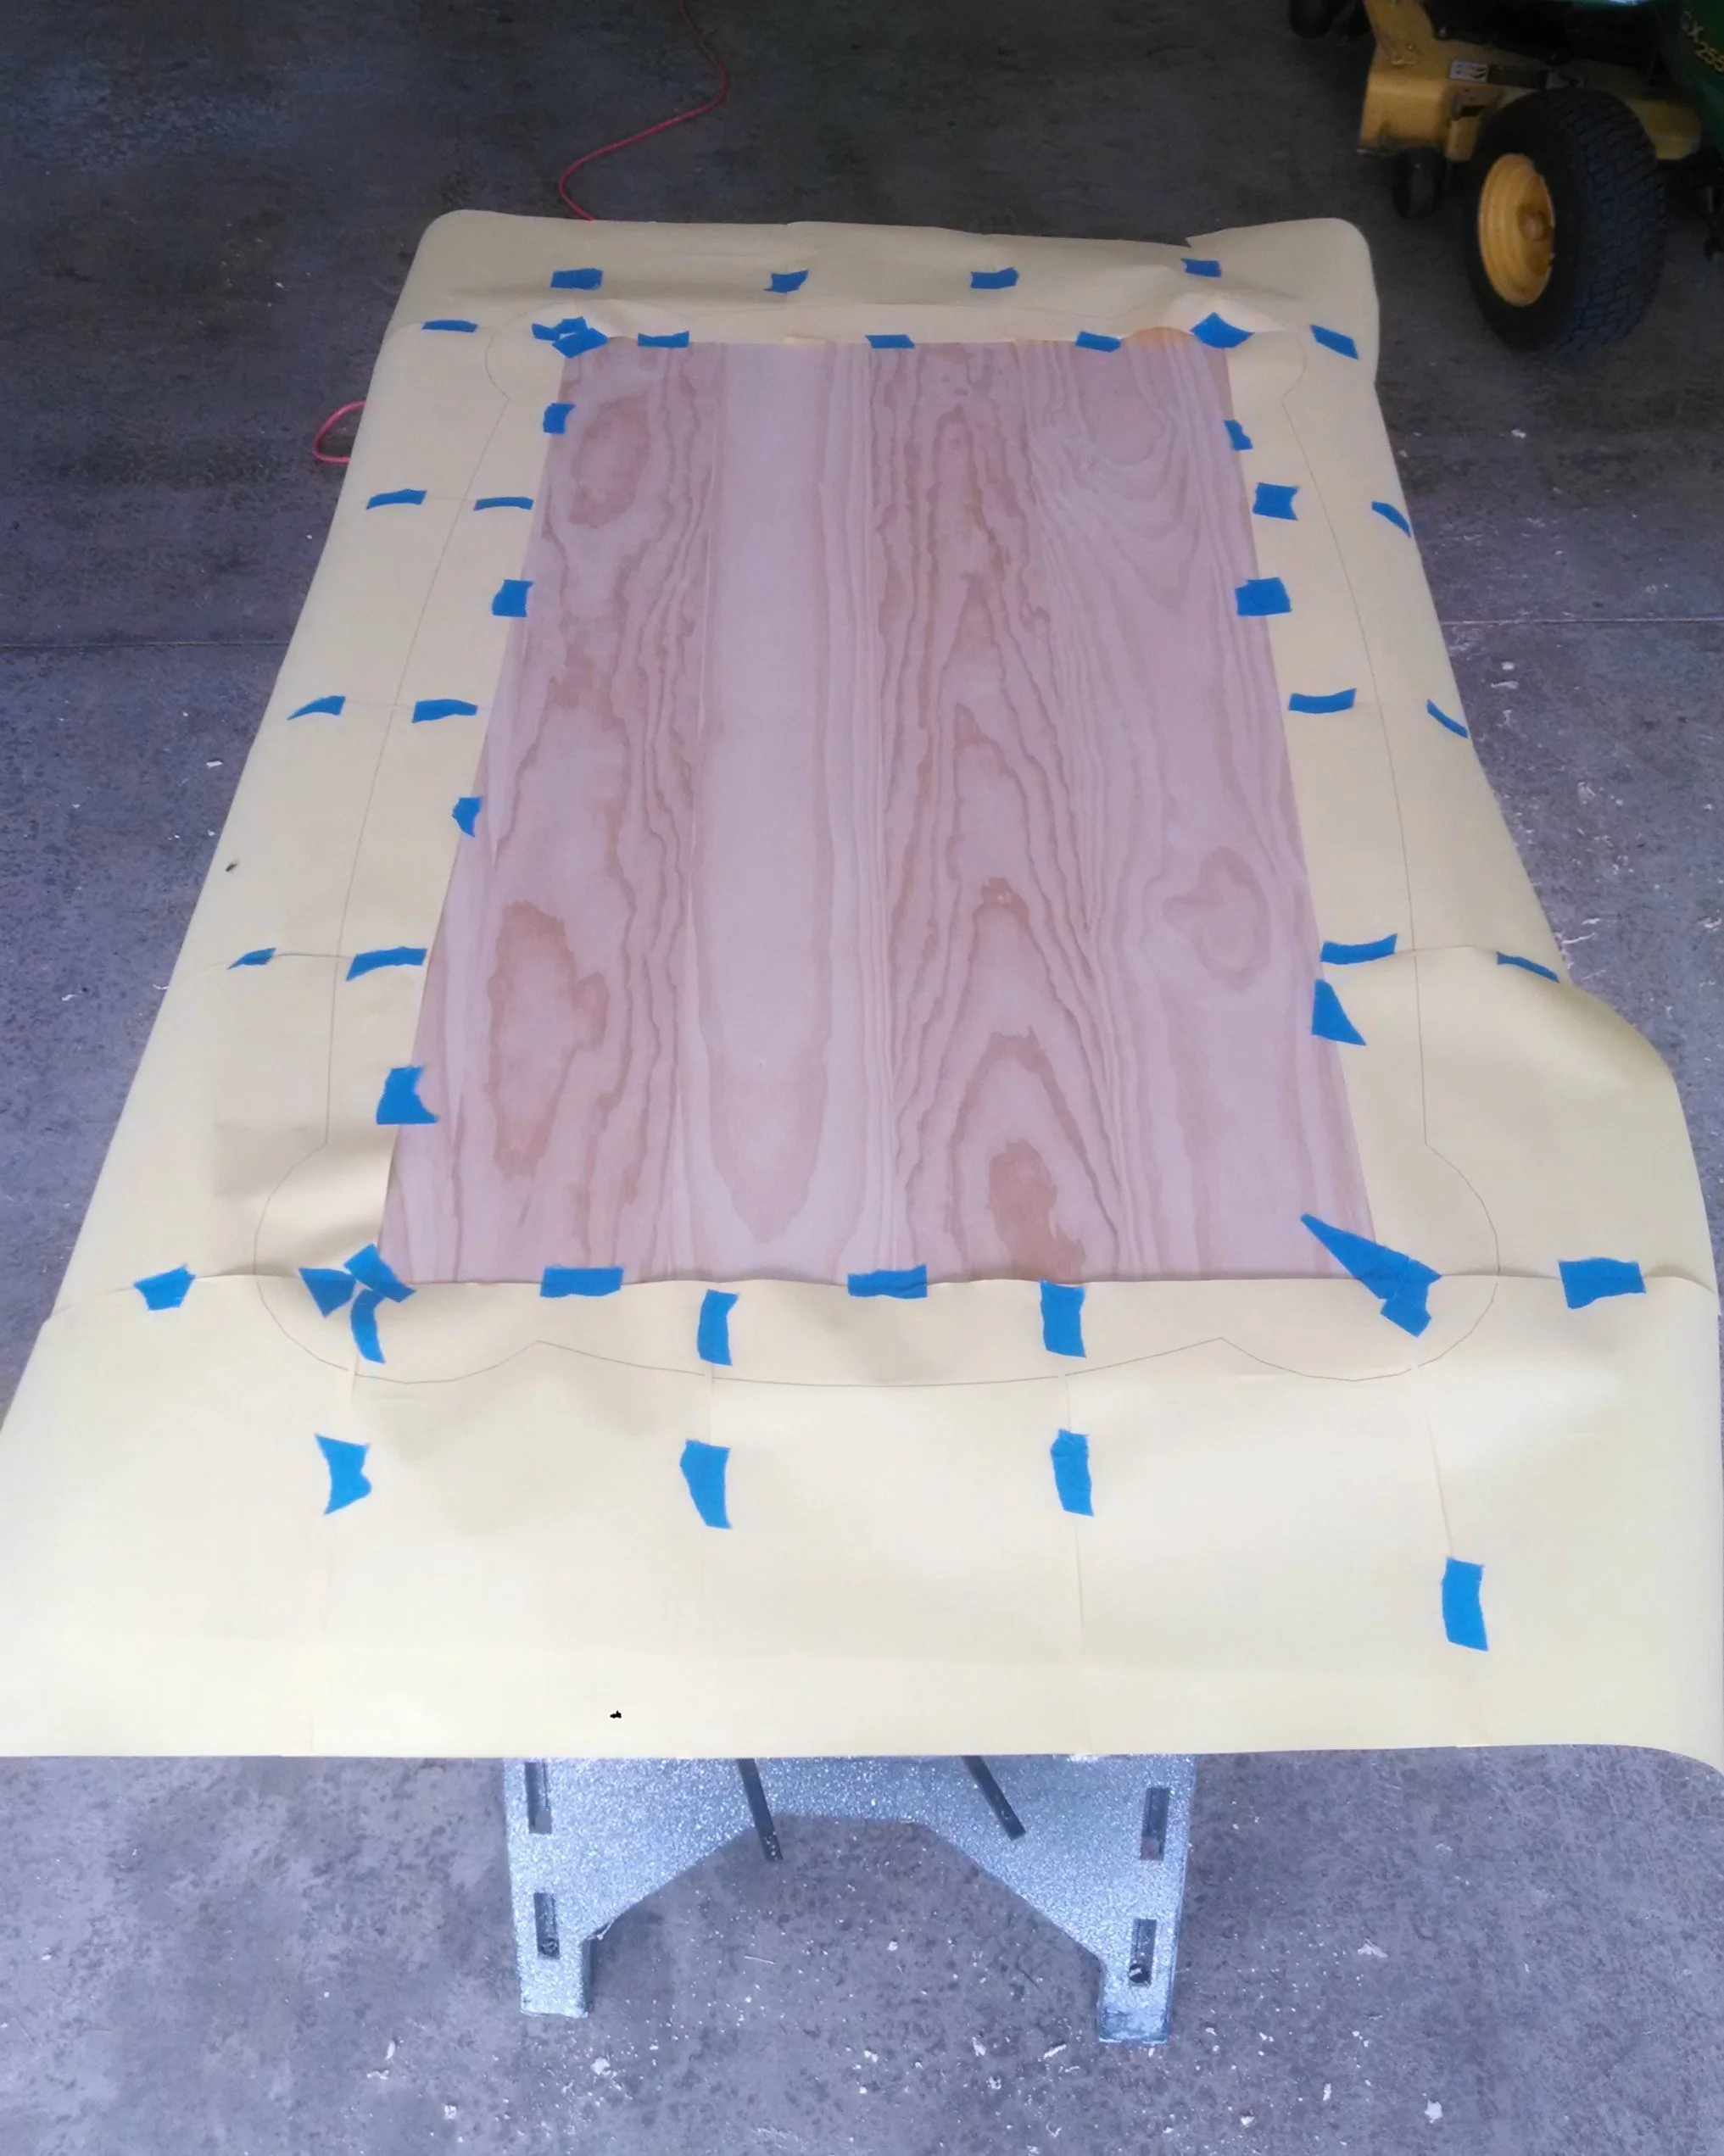
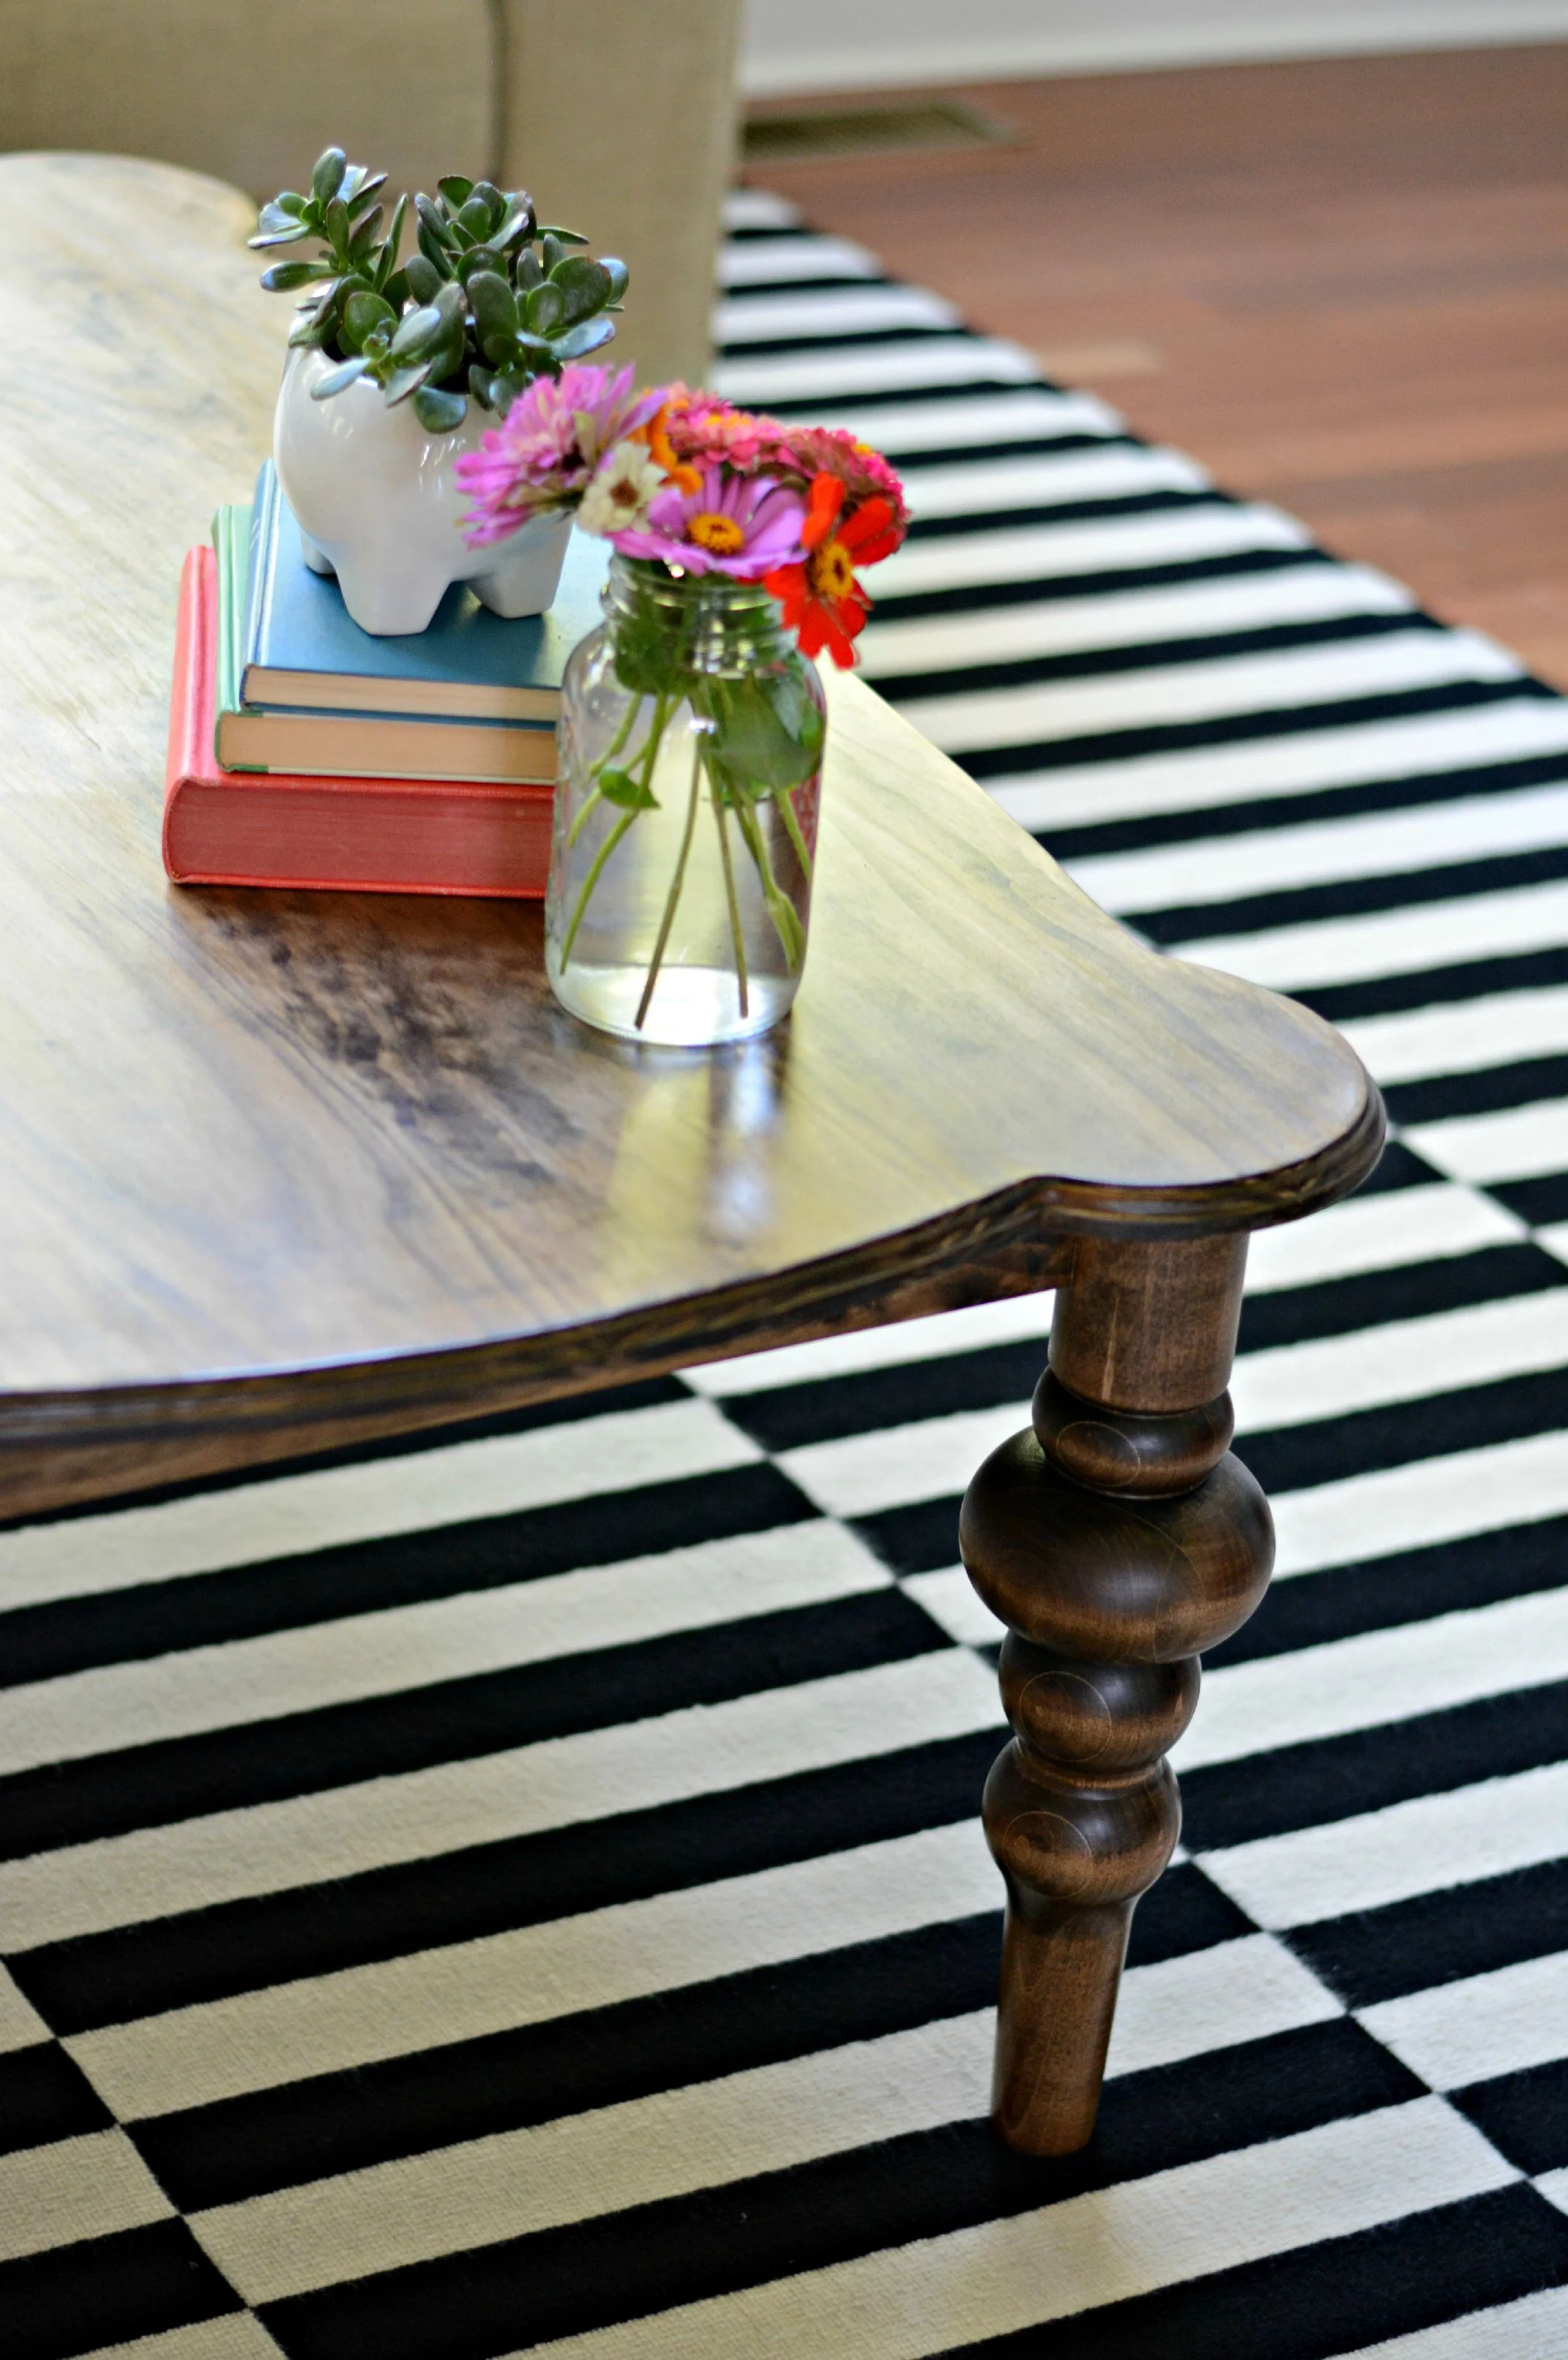
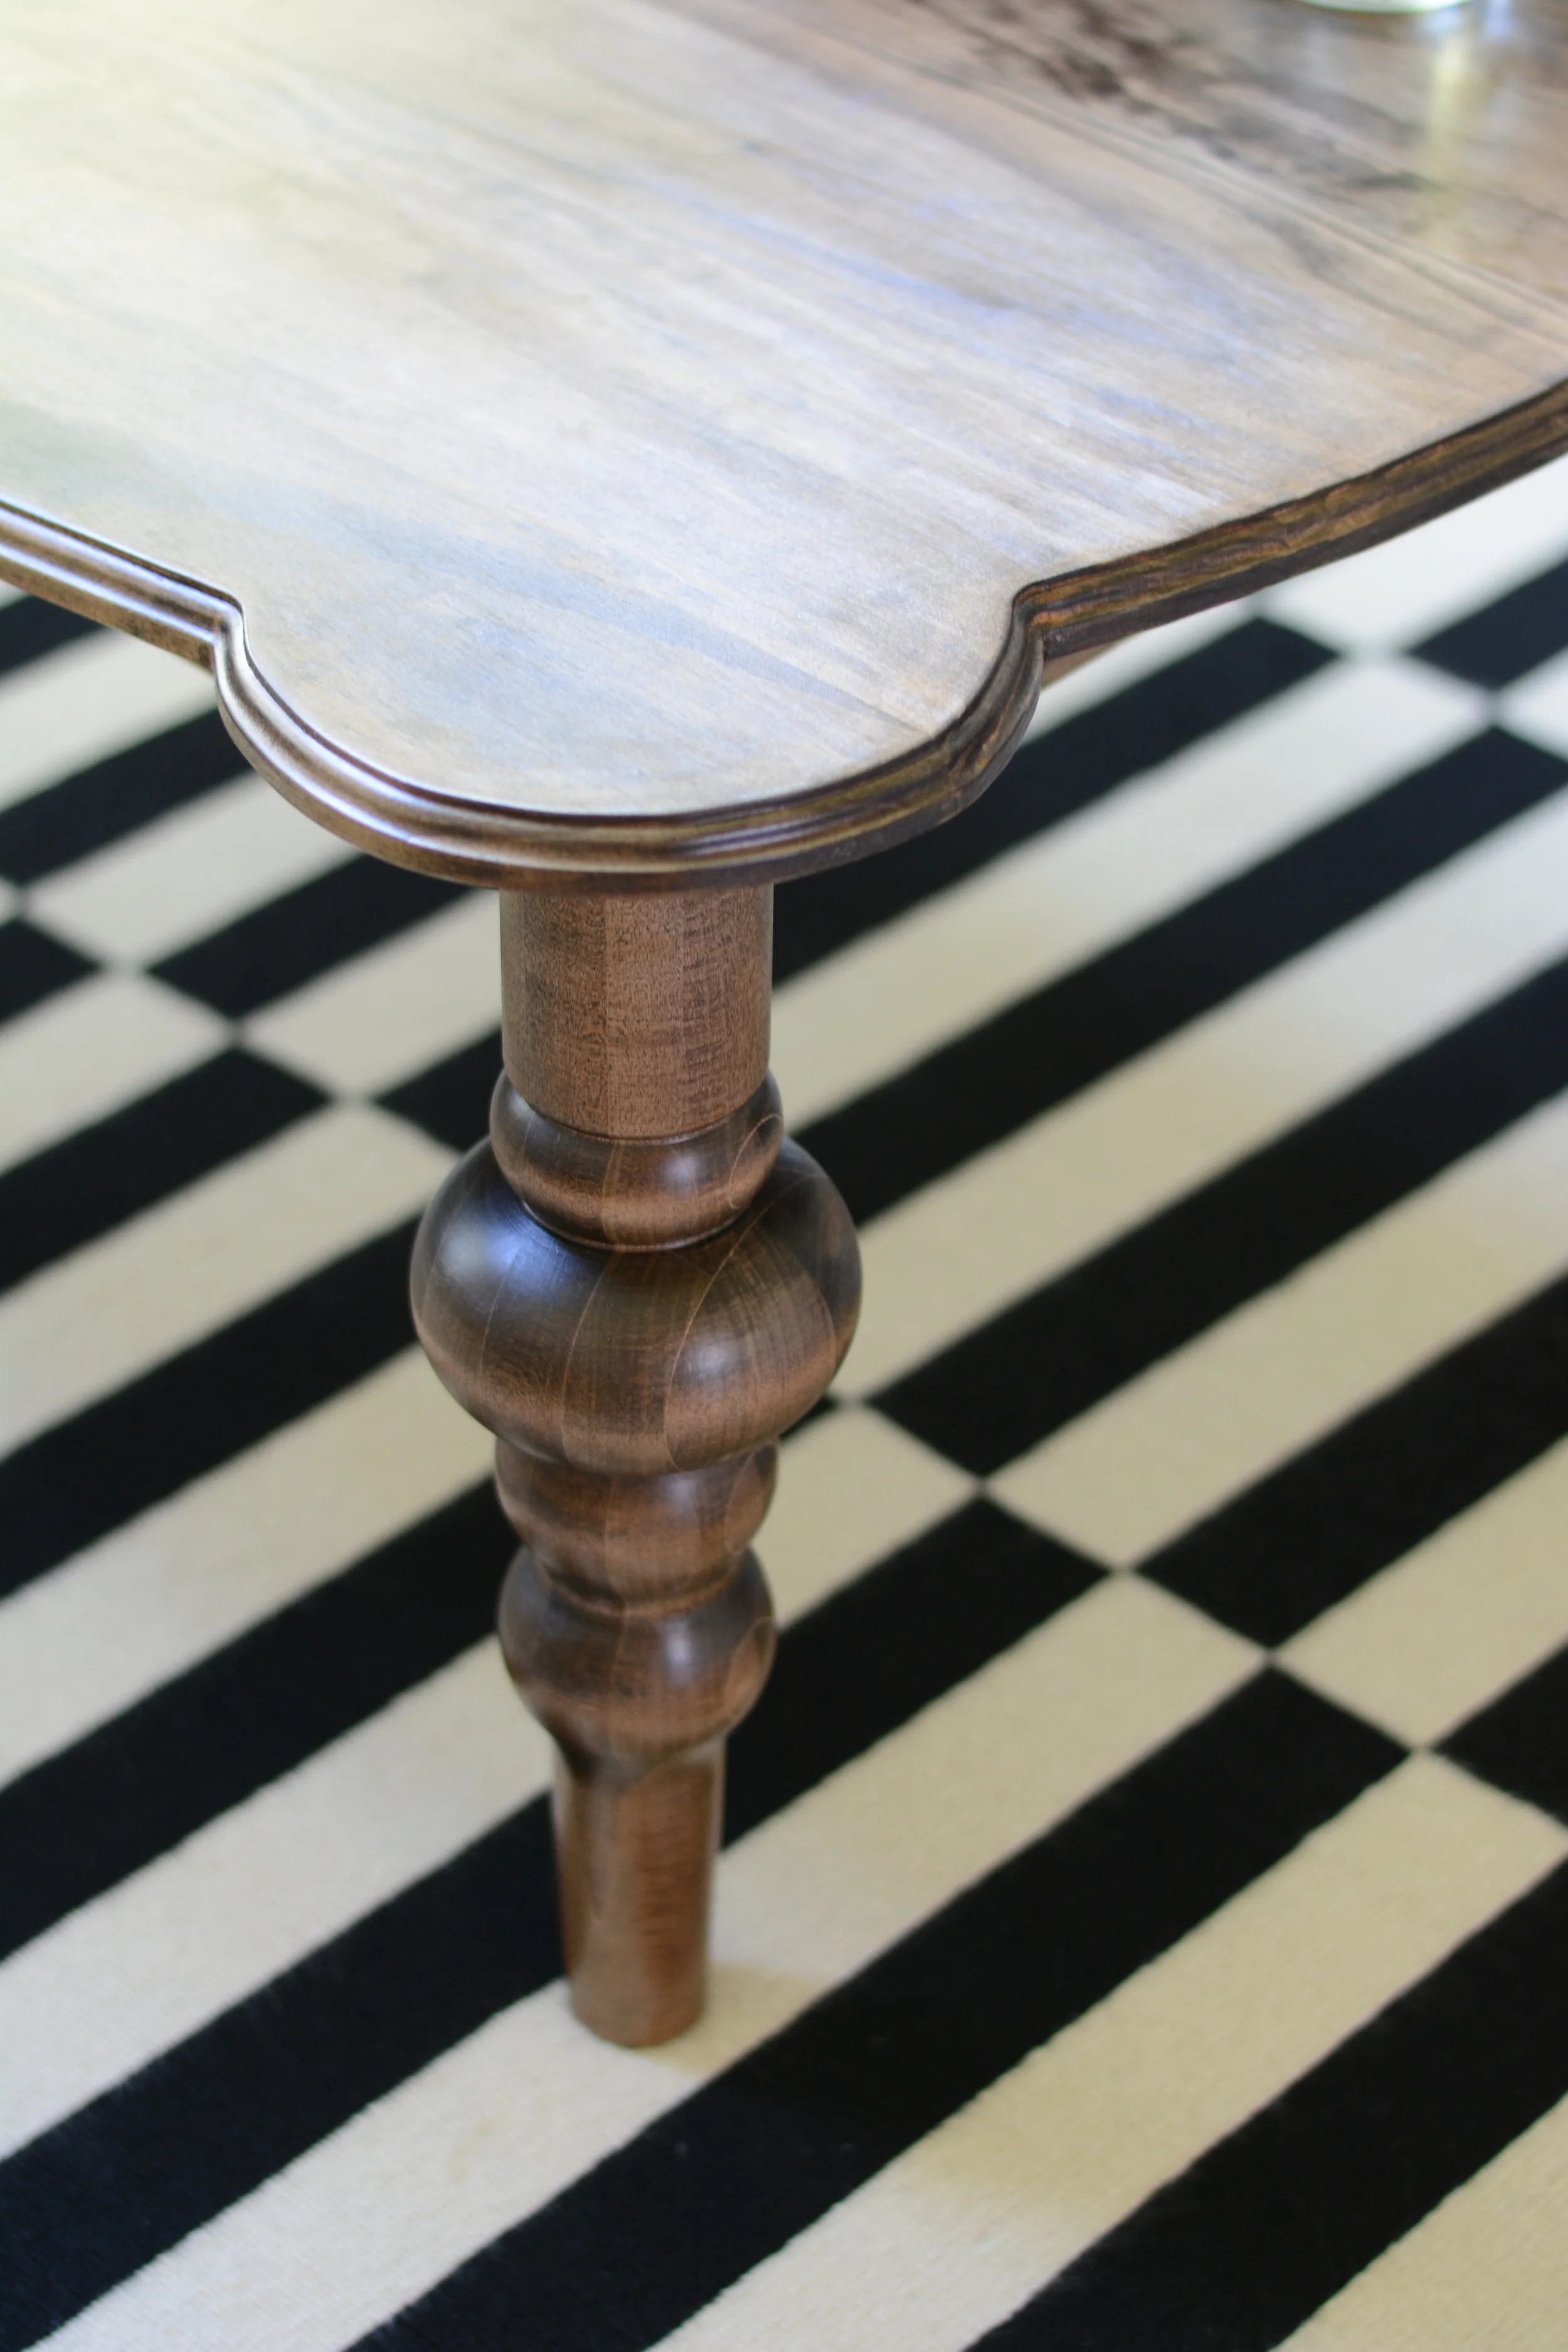
Cut out on the outline with a jig saw. Sand smooth.

As an option, you can use a router to add a decorative edge.
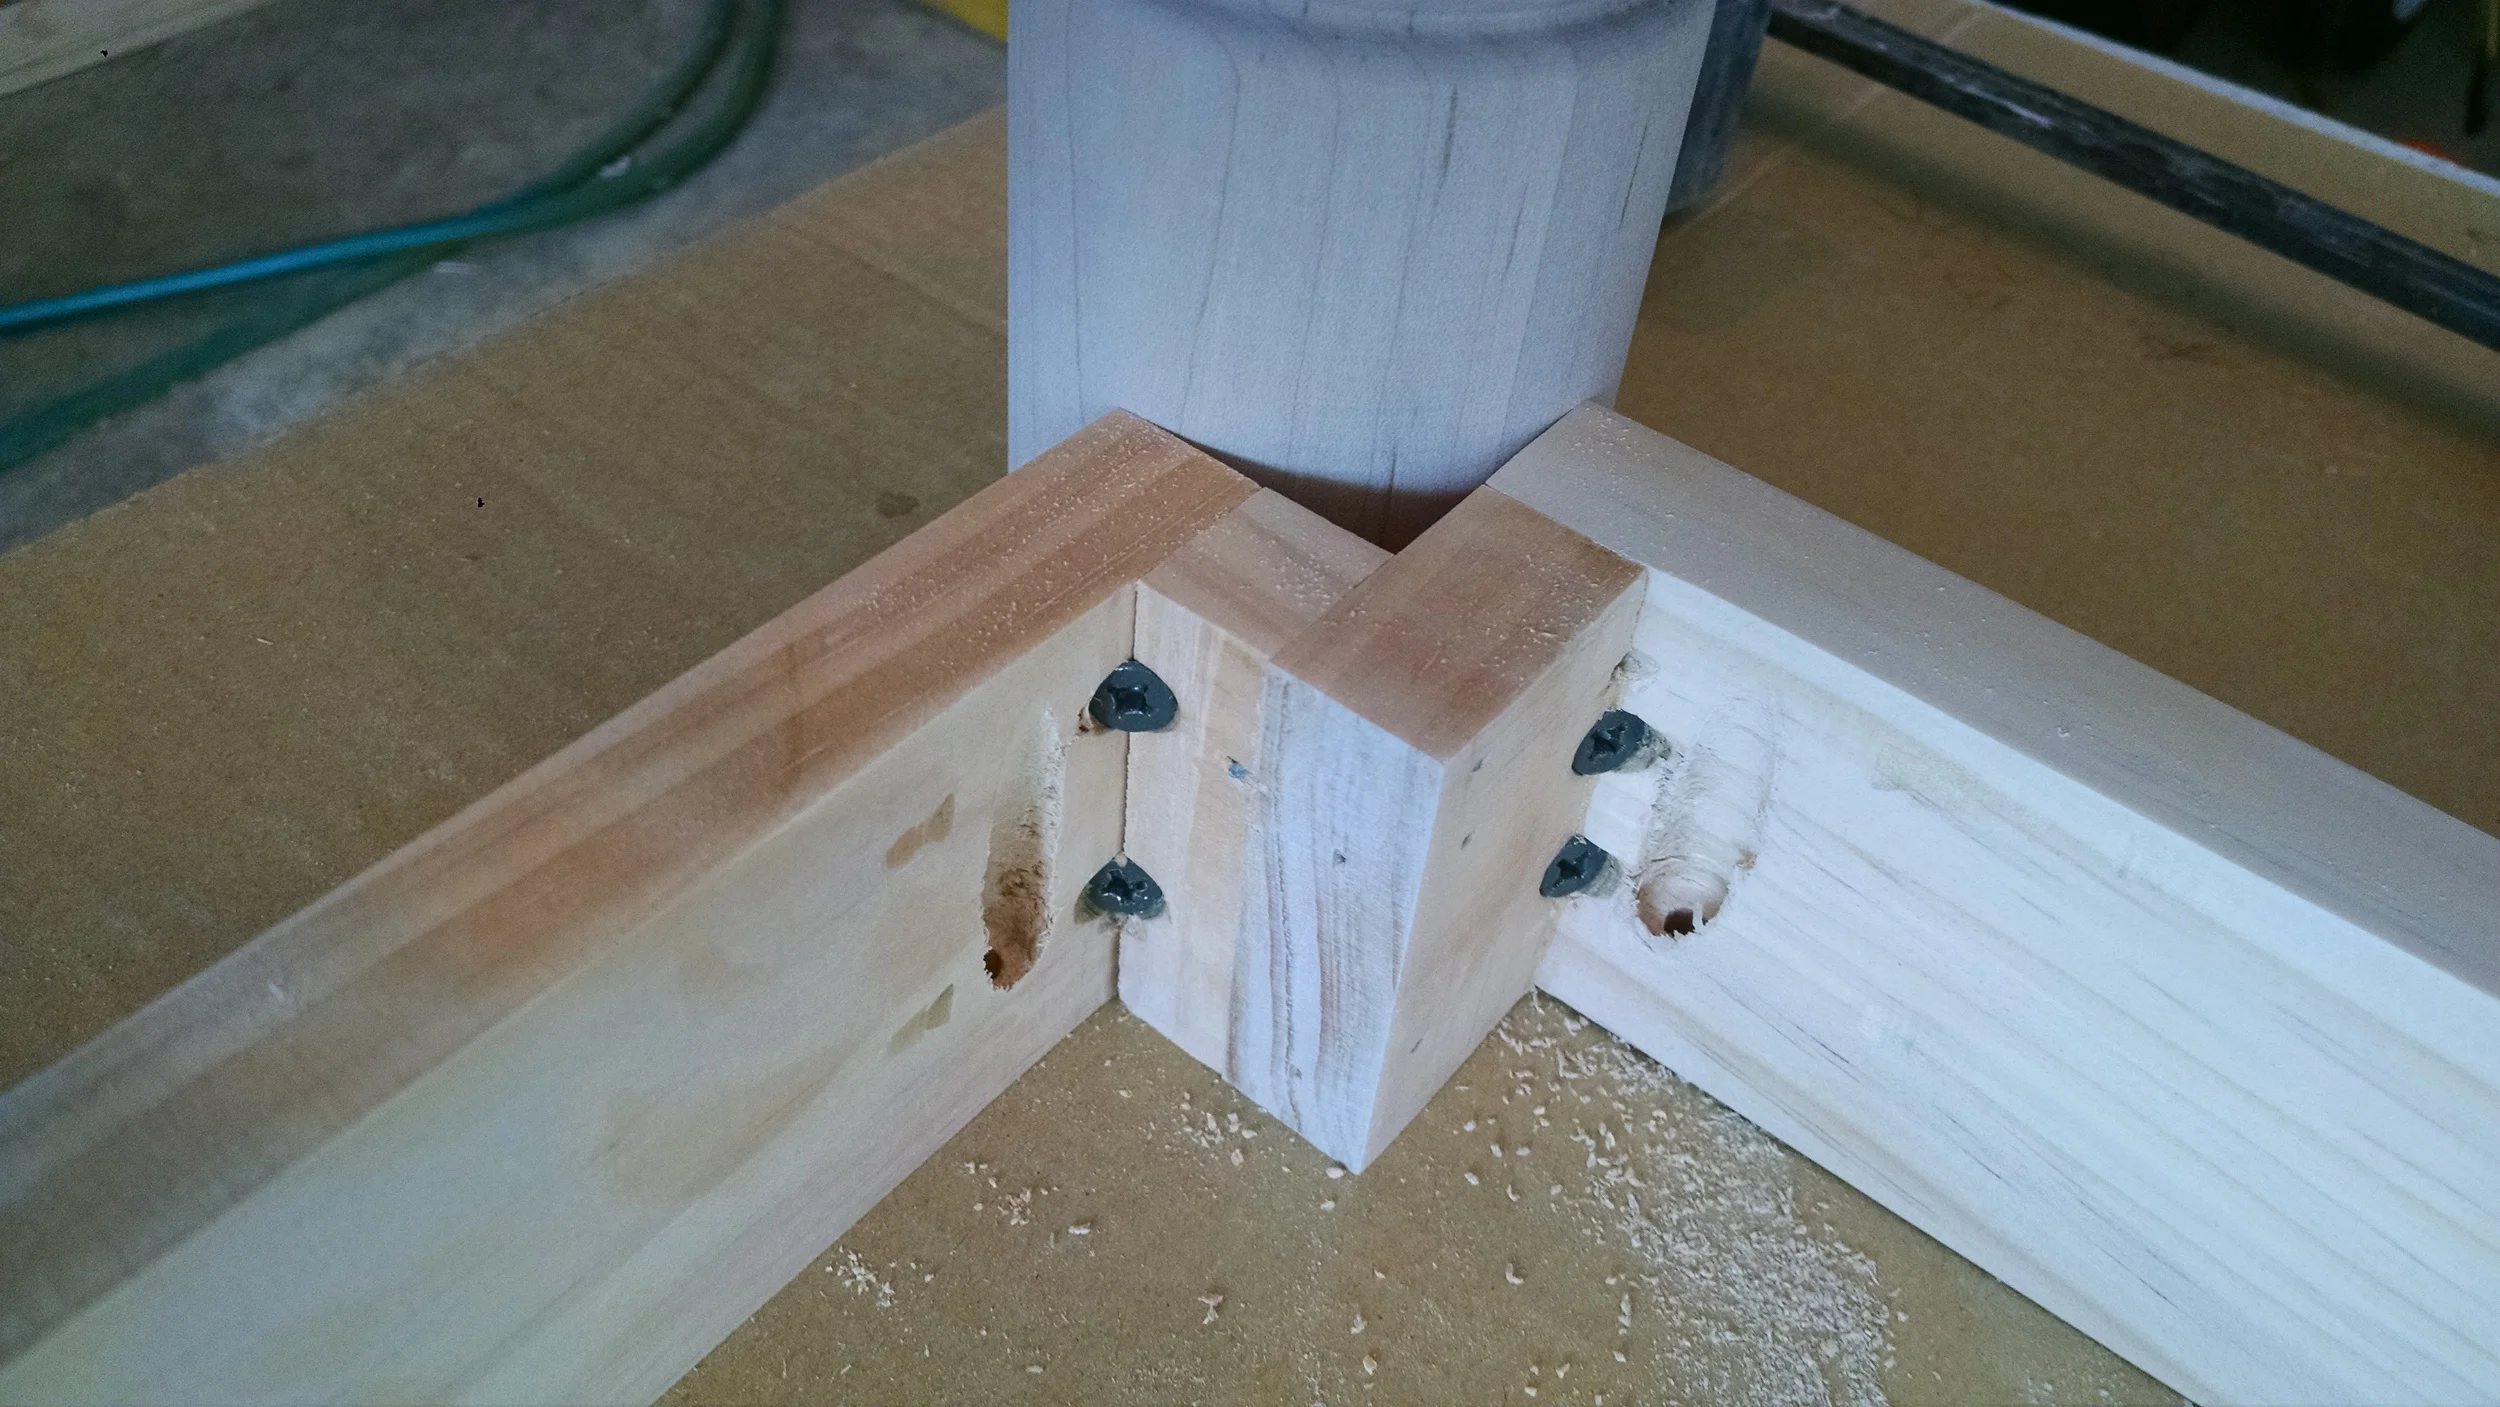
Drill pocket hole screws in the insides of each of the 37 13/16" and 19 11/16" boards towards the top of the boards. These will eventually attach the bottom to the top.
Glue and use 3/4" brad nails to attach 9/16" board to 1 5/16" board. Repeat 4 times to create corners. Attach each corner with wood glue and 1 3/4" brad nails so that the 9/16" board is attached to the ends of each 37 13/16" and the 1 5/16" board is attached to the ends of the 19 11/16" board.

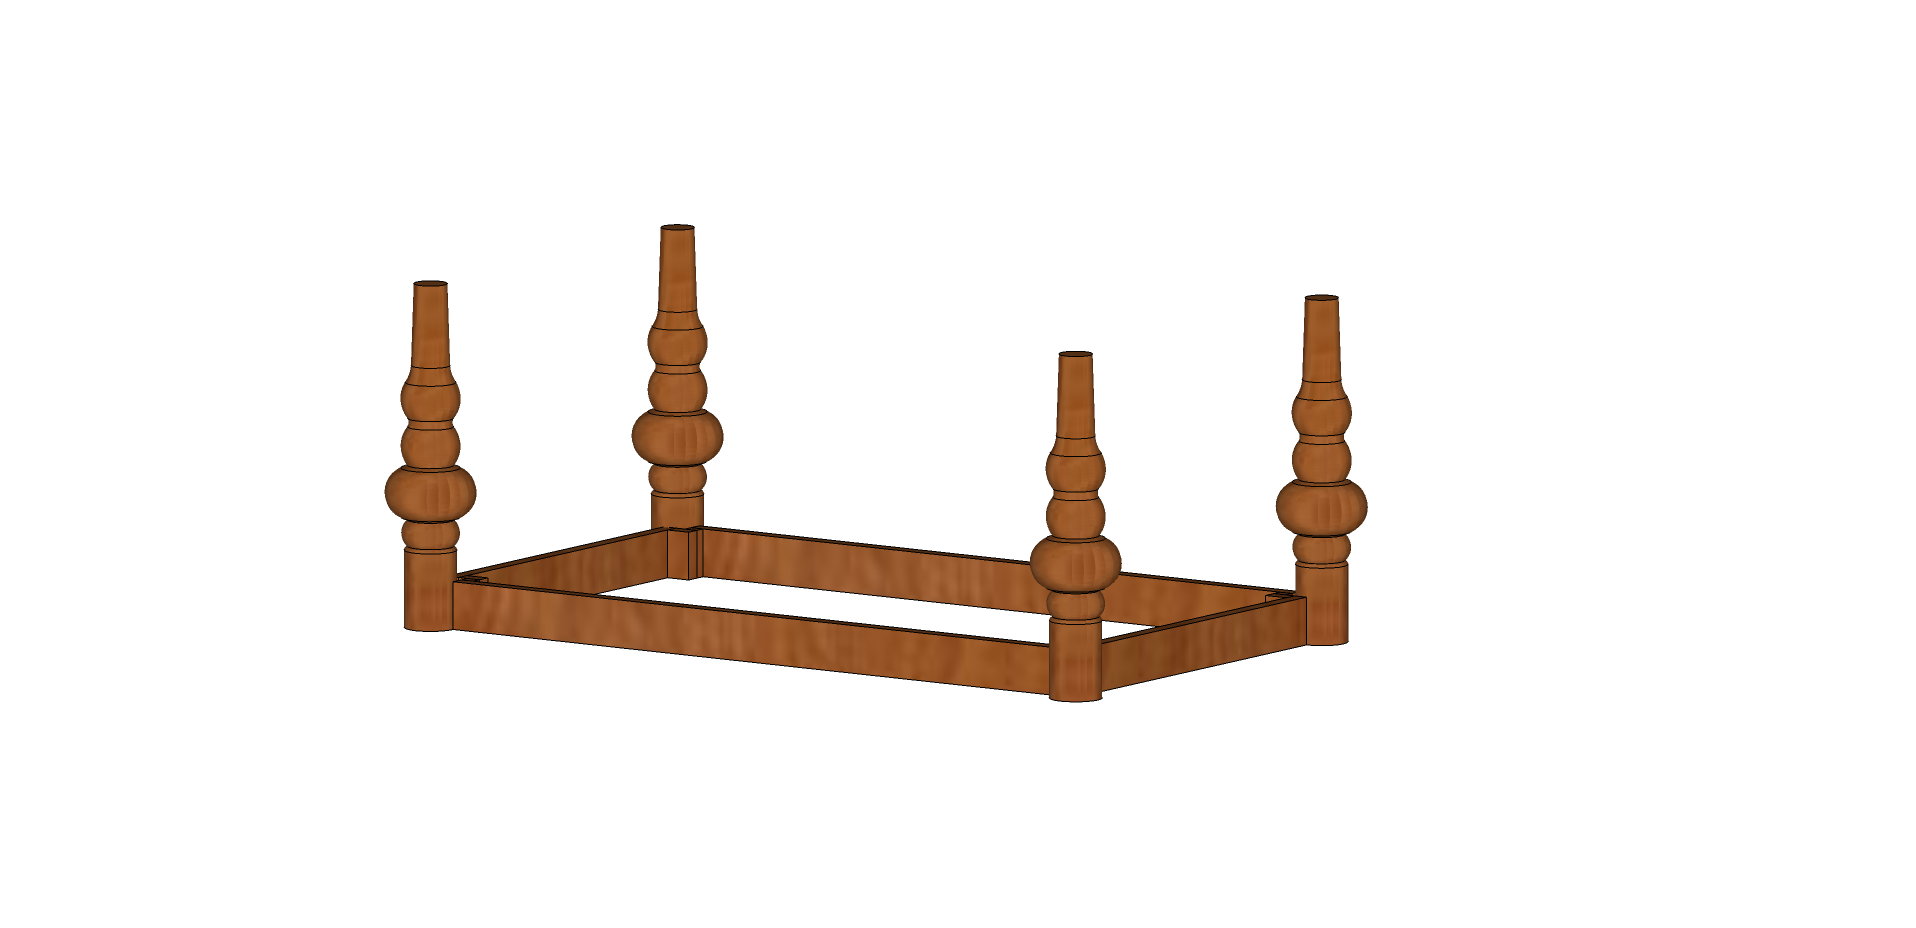
Place each leg into the corner that was created, using a clamp as needed to keep the leg securely into the corner. Drill pilot holes into each corner from the inside of the boards into the leg. Attach with 2 1/2" wood screws. Repeat on each leg.
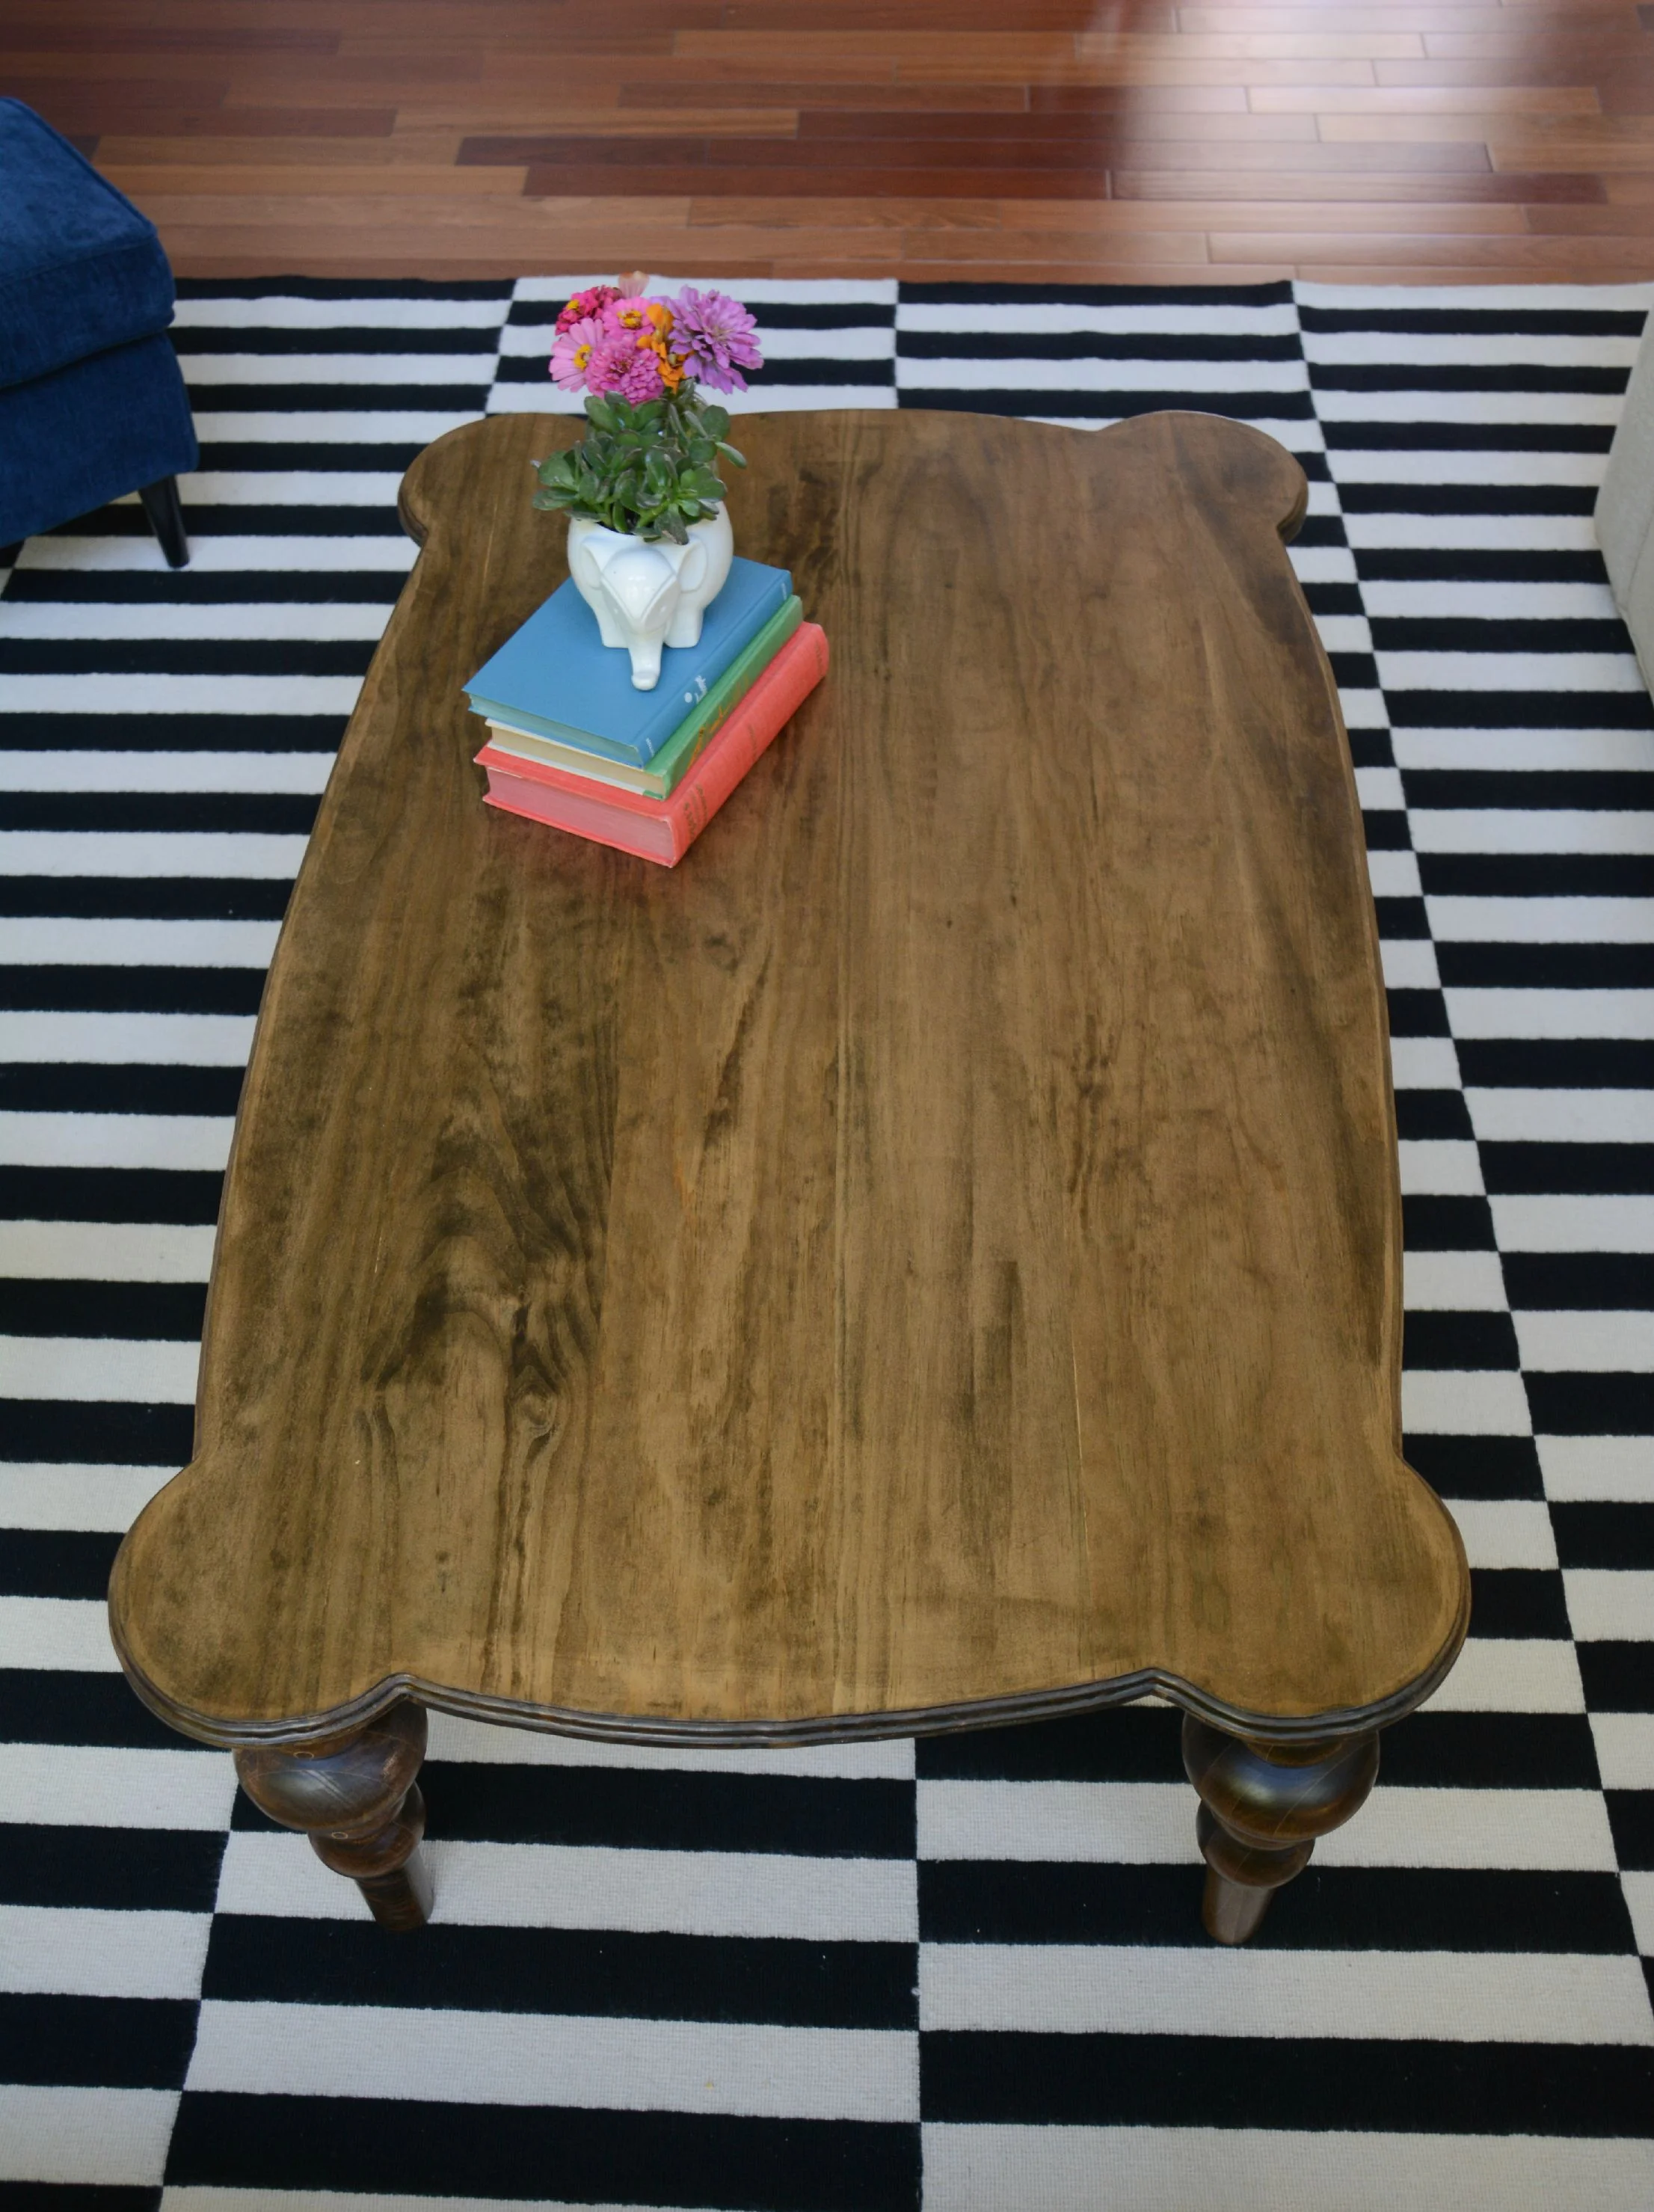
If you are going to finish the bottom different from the top, this would be a good point to finish each. We waited until the end to stain (with Minwax Dark Walnut) beings we chose to use one finish.
Flip the top over, then put the bottom on the top. The legs should be approximately 2 1/8" from the edges. Once all of the legs are in position, screw to the top with pocket hole screws.


You could easily make the top without the rounded corners and it would whip up even easier! But what fun would that be?