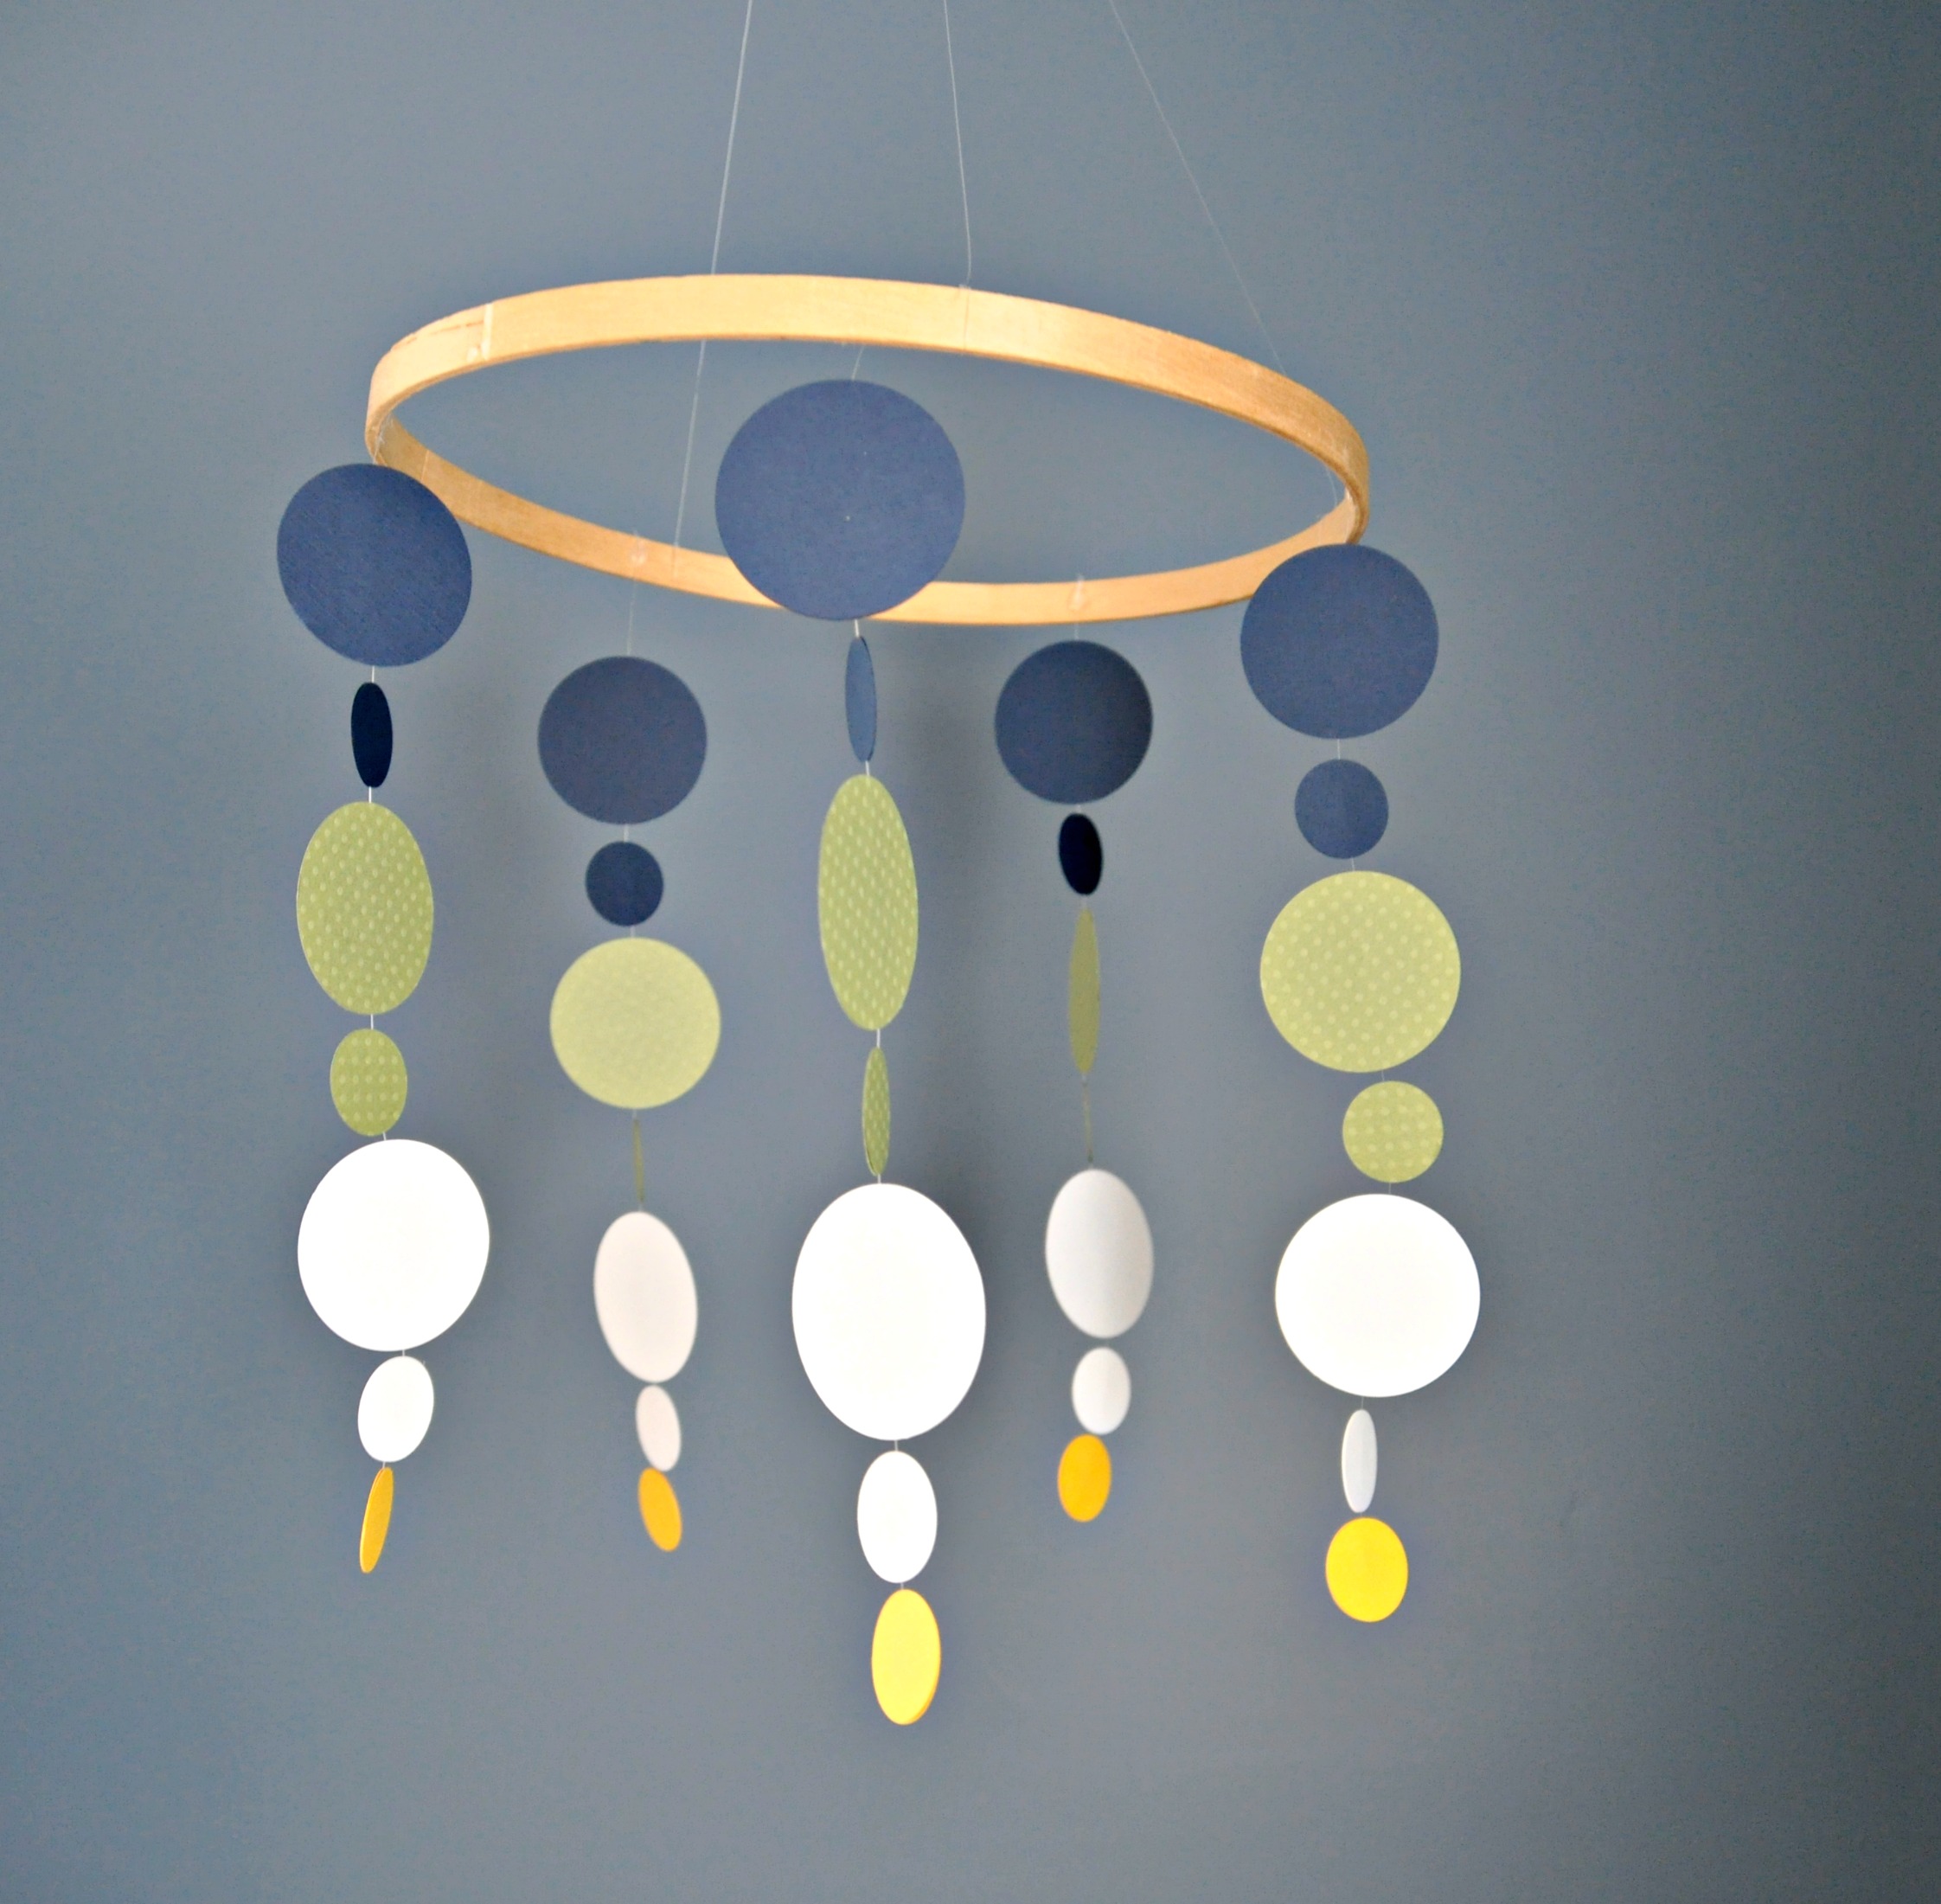
DIY Nursery Mobile | Tutorial
/People that follow me on Pinterest were all like "MICHELLE'S HAVING A BABY!!!" because I was pinning nursery stuff. I was pinning them onto a board titled "Meg's Nursery". Meg isn't my alter ego. She's a college buddy. Don't you worry. I'd totally have a secret board for my own nursery business.
I mentioned last week that I did a couple of quick projects to help Meg with her nursery decor. (See the growth chart here!)
One project was a nursery mobile. Or three. Triplets. Wow.
Meg had pinned some ideas of mobiles she liked. They all involved threading the paper. That seemed difficult. I thought I remembered seeing a mobile similar to the ones Meg liked made by my buddy, Gretchen {Boxy Colonial}. Gretchen is super smart and used double stick tape to keep the circles together. I love blog friends.
Here's how I made my mobile. I'd say it took around 30 minutes to make one mobile.
Supplies:
1" circle hole punch
2" circle hole punch
clear jewelry thread
cardstock (I used 4 colors)
embroidery hoop
glue gun
Cut out 1 million circles. Or if you are making one mobile like mine you will need ten 2" circles of three colors and 1" circles of four colors.
Grab an end of your clear thread. Start with your bottom color (yellow for me). Place a piece of double sided tape on one of the circles. Place the thread on top of the tape. Seal with a second circle. Repeat for each dangly piece. I just eye balled the spacing. I think they look best with small gap between circles. Leave a couple of inches of clear thread at the top to attach to the embroidery hoop.
Grab your hoop. Apply a small dab of hot glue to the embroidery hoop. Attach the clear clear to hot glue. Allow to cool. Move onto next strand spacing evenly apart.
Apply string to hang from the ceiling using a hook.
These nursery mobiles were a lot easier to make than I expected. Always a pleasant surprise.
Hiding anything good on your Pinterest boards? Do tell.


