Dare to Deck the Halls- Burlap Stocking Tutorial
/Can you believe that Monday is the last link party for the Dare to DIY? Where does time go?
Monday’s theme is “Dare to Deck the Halls.” I’m sure you have been wanting to make something for your home for the holidays. Hopefully the Dare to DIY is that extra little push that you’ve been needing!
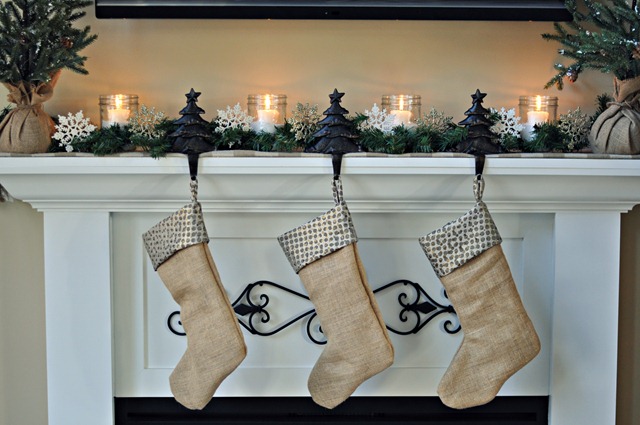
On Tuesday I shared with you our holiday mantel. One of the finishes touches on the mantel was the addition of burlap stockings.

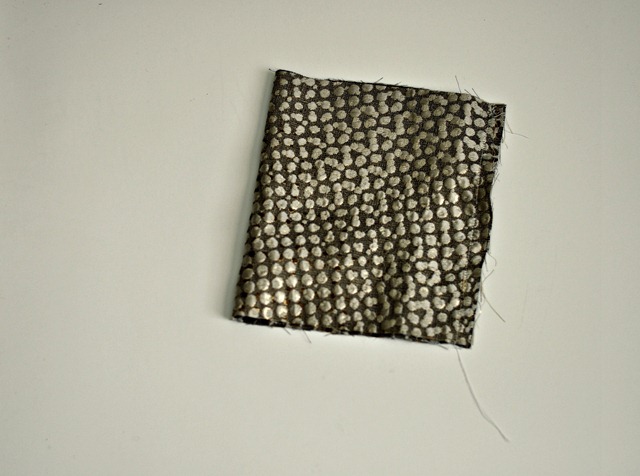
I’ve had my eye on burlap stockings for awhile. When I found some gold polka dot fabric and burlap with gold flecks in at Joann’s, I knew it was a sign that these stockings were to made in 2012. Unfortunately I learned that burlap and I don’t get along (major congestions/headache/think I might die/seriously) but I suffered through for these beauties.
Stockings are like the throw pillows of holiday decorating. There are seriously easy to make. I will show you how.
You will need:
- 1/2 yard exterior fabric (I used the gold flecked burlap.)
- 3/4 yard interior/cuff fabric (I used the gold polka dot fabric.)
- 6” ribbon or fabric remnant for hanging loop (I used a strip of fabric.)
- Coordinating thread
- Stocking template (I’m not smart enough to do this as 1 download so you will need all 3 pages. Page 1, Page 2, and Page 3.)

Print out the stocking pattern (links above). Cut out the pattern with a rotary cutter or trace and cut out with scissors. Repeat for the lining. (You will need 2 exterior pieces and 2 lining pieces.)

To assemble the body of the stocking, put the two exterior body pieces right sides together. Pin in place. Sew the two layers together with a 1/4-1/2"-ish seam allowance. I’m super precise when I sew. I’m having trouble coming up for the right words for this but it’s important to sew as along the circular edges as smoothly as possible. If you sew them too square or at a point, your stocking will look funny when you turn it right side out.

Trim the fabric along the edge of toe and ankle to help make the stocking less bulky when you turn it right side out. Turn right side out.
Do the same with your lining pieces except you will not turn the lining pieces right side out. (My lining fabric was hard to determine which side is right side so don’t let the photos fool you.)

Place the lining inside the body of the stocking.

Next you will need to make the cuff. Cut out a 16" x 9" rectangle. Fold the fabric in half (right sides together) and sew up the short side.

Fold this in half so right sides are showing.

Place the cuff inside the body of the stocking. You want the finished/folded edge to go in first. The raw edges of the cuff should match up with the raw edges of the body. You also want the seam of the cuff to match up with the back body seam.

Cut a 6" piece of ribbon (or use a fabric scrap like I did) and fold in half. Place the ribbon between the lining and the cuff along the back body seam of the stocking. The loop of the ribbon should be facing into the body of the stocking. Align the raw edges of the ribbon and the body of the stocking.

Pin body of stocking, cuff, and ribbon. Sew cuff onto body of stocking. Fold the cuff over and enjoy your handmade lined stocking!


Hang by the mantel with care!


In case you missed them, I also whipped up a Glittery Gold Whispy Ornament Wreath.

And some reindeer prints.

Are you ready for Monday’s link up? We double dog dare you on this last challenge! Seriously. What are you waiting for? Go forth and craft!


