Dare to DIY Handmade: Wood Bead Necklace
/Who’s ready for the Dare to Give Handmade link up on Monday?
Monday’s challenge is Dare to Give Handmade. We dare you to DIY a gift made by you. Nothing is more special to give than something you created. Ideas include bath and body items, kitchen gifts, hand-sewn clothing or home decor.
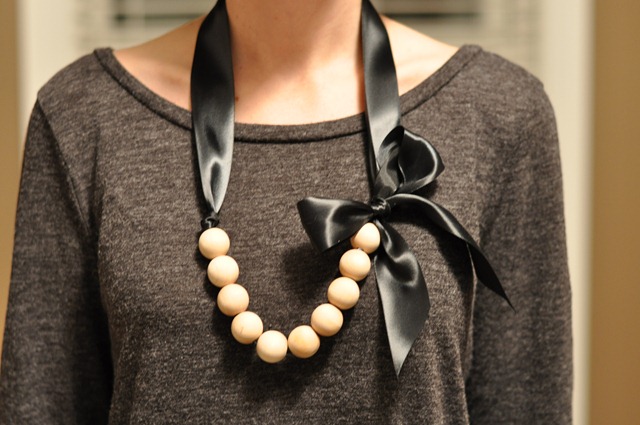
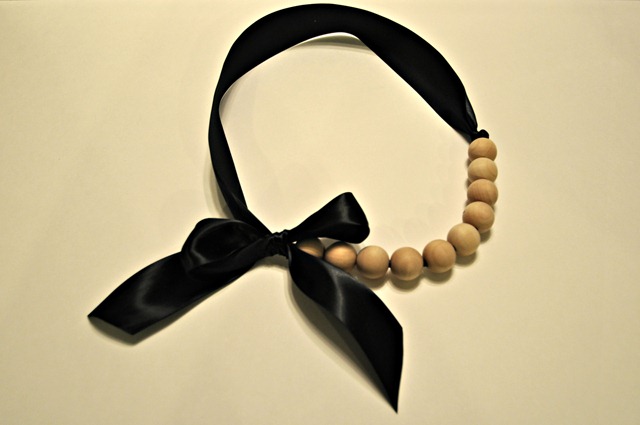
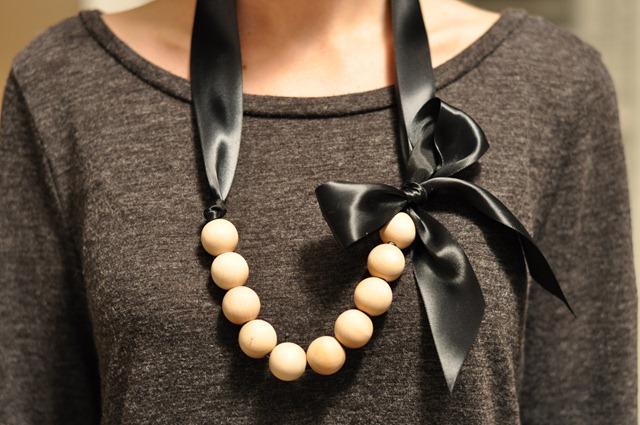
My handmade gift is a ribbon and wood bead necklace that I made for my mom.
Well, I made her help me design one and then I made one for her. If that isn’t love, I don’t know what is.
This necklace takes about 15 minutes to make and will cost you about $2 per necklace.
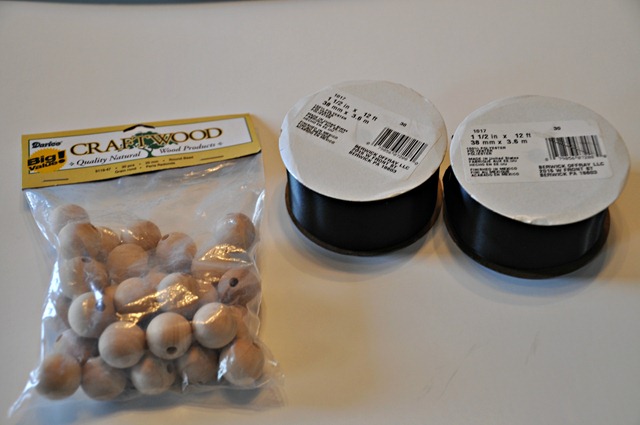
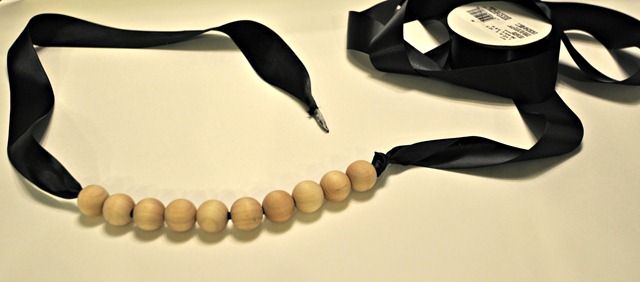
You will need 1.5” ribbon in the color of your choice. 10 wood beads. (I purchased both of these items at Joann’s. You will only need one spool of ribbon. Don’t let the photo mislead you.)
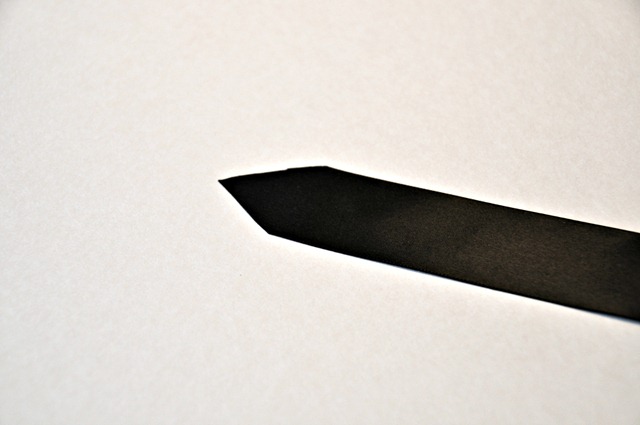
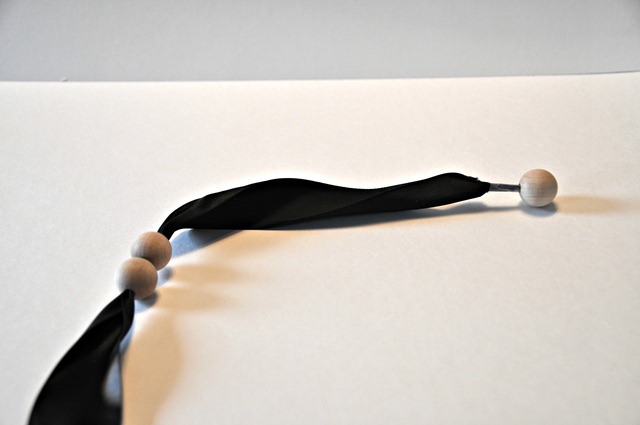
Step 1: Cut the end of your ribbon into a point.
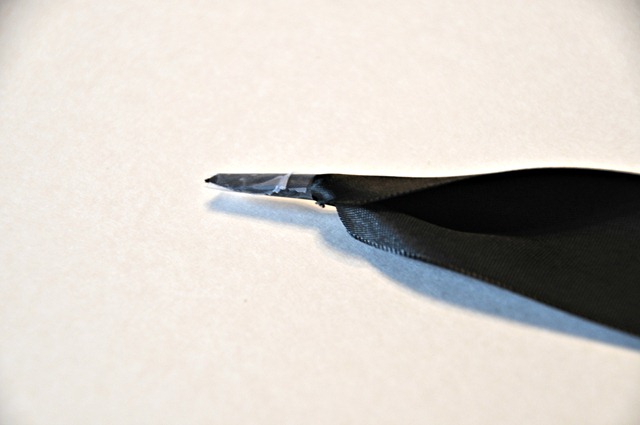
Step 2. Fold this point in half and cover in tape. The tape isn’t completely necessary but we did find it was easier to place the beads on the ribbon by using it.
Step 3: String your ten beads onto the ribbon. You need to string them on so you have at least 10 inches of ribbon on the end that you are stringing them from. Be gentle while adding the beads. We found that we scratched the ribbon a little if we fought with the beads too much.
Step 4: Tie a knot at the end of the beads. The knot should be tied at the end where the ribbon is still attached to the spool.
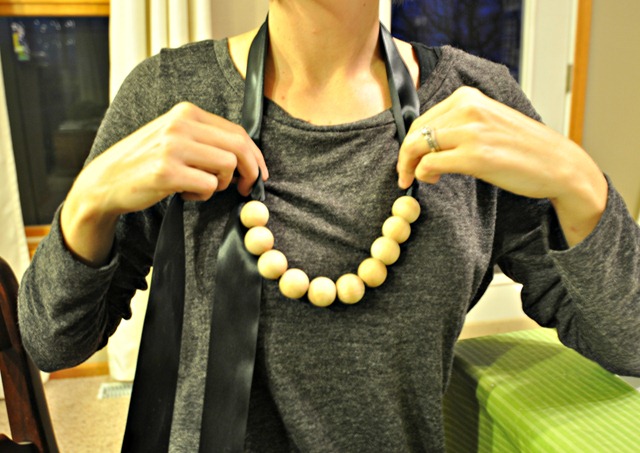
Step 5. Determine the length of your necklace. I did this by holding the ribbon and beads. You need enough ribbon to get the necklace over your head easily plus some additional to tie the bow. I erred on the side of having too much ribbon.
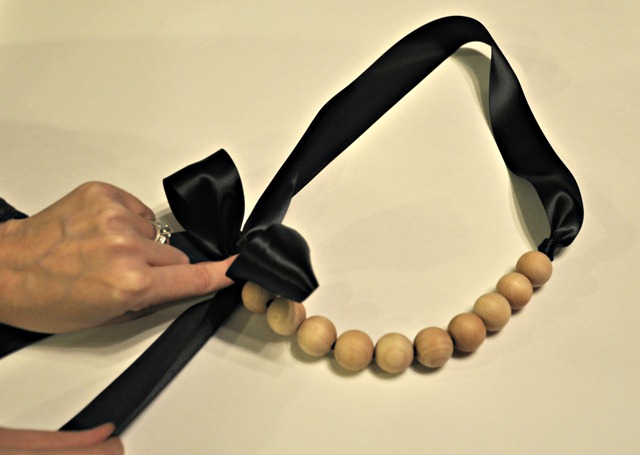
Step 6: Tie a bow. This step is just like tying your shoes. Seriously. Don’t over think it. My bow looked worse when I thought about it. Be sure that your ribbon is not twisted when you tie the bow. You don’t want to give your recipient a necklace that looks wonky around the neck, do you?
Step 7: Trim the ribbon ends to your desired length and you have completed your super easy (yet adorable) handmade gift.
Why is the bow on different sides in these photos? Good question. You can twist the necklace. I took the final photos at a different time than when I made them. I probably had the ribbon twisted on my neck and didn’t pay attention. Eh. Guess that not twisting step isn’t so important.
I looking forward to seeing your handmade gifts on Monday! If you want more Dare to DIY inspiration, check out my co-hosts' projects at Maybe Matilda, NewlyWoodwards, and Two Twenty One.
Next week we get all holiday decorating up in here. Get ready to brush the glitter of your clothes now. That’s what you get when you wake up reading Décor and the Dog. *sing to similar Katy Perry’s Waking Up in Vegas*
Linking up to: Funky Junk Interiors

