Scrappy Iowa Pillow Cover
/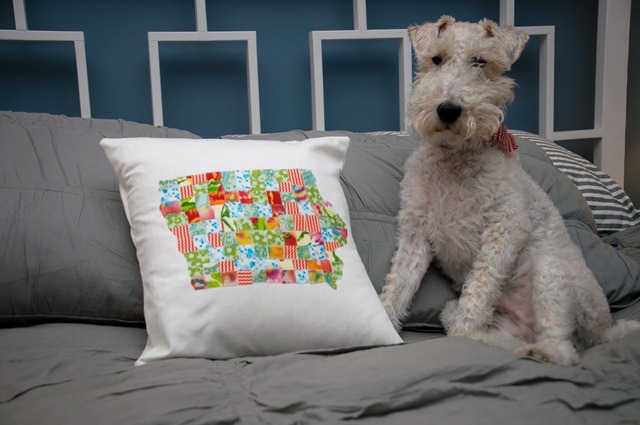
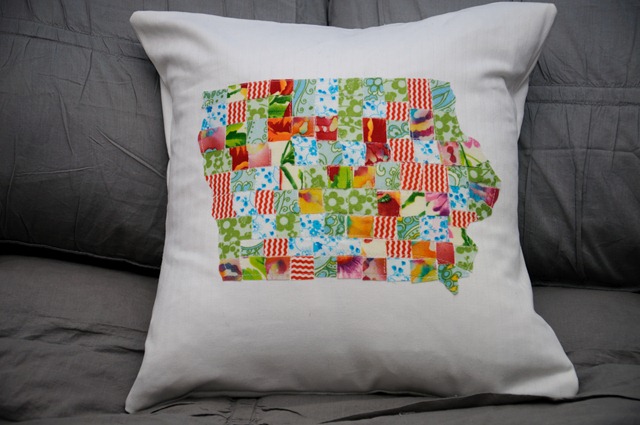
We made this Iowa pillow cover with exactly 99 little pieces of fabric. By “we” I mean, I cut a ton of fabric pieces while he drug stuff out of my fabric closet. Super helpful, Ike. Super helpful.
I was inspired by this pin…
My take on this project was to make the state of Iowa instead of the United States. Sometimes it’s hard having a doctorate. You see, I thought the WHOLE United States seemed like a lot of work and Iowa would be much easier. Until I dove right into the project and soon realized that the 99 counties of Iowa would make my take on the project almost twice the work. Genius. The upside is that Iowa counties are pretty square so the top stitching was easier. (That’s what I kept telling myself when I realized my genius ways.)
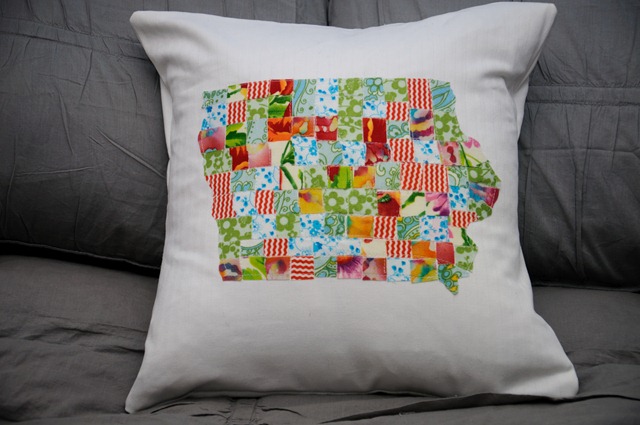
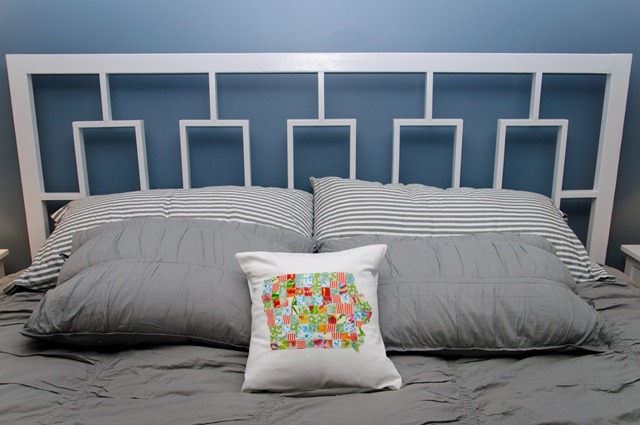
I do love how it turned out though. It is currently living happily in our master bedroom next to our headboard. I like the little dose of happy color it brings to the room!
Want to make your own state? It’s honestly fairly easy. It is, however, time consuming.
- Print 2 maps of your state (counties included). Cardstock is preferred.
- Number each county on both maps.
- Line up some fabric scraps. Apply Heat N Bond to them as directed on the package.
- I recommend buying the strongest Heat N Bond. I had a little trouble with the counties coming off as I continued to work on the project. Annoying.
- I placed the counties in a Ziploc bag and randomly drew them. Neighboring counties sometimes had the same fabric. But I was okay with that. I told myself to forget my perfectionist ways and just have fun with this.
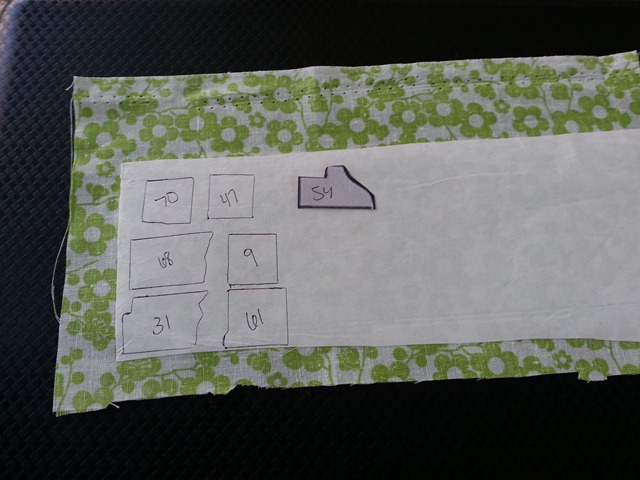
- Cut the counties out of the cardstock and use them to trace on each fabric scrap. When tracing, remember to flip your county or you’ll end up with backwards pieces. Not that this happened to me…

- Place the completed counties on your intact map.
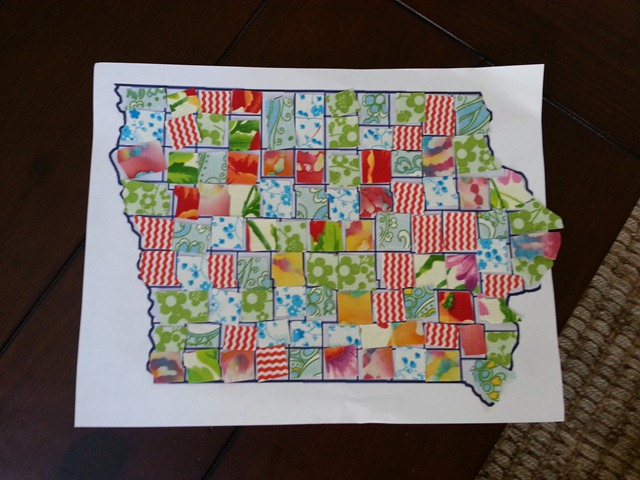
- I decided to make my map into a pillow cover. You could frame this, hang it on the wall, etc.
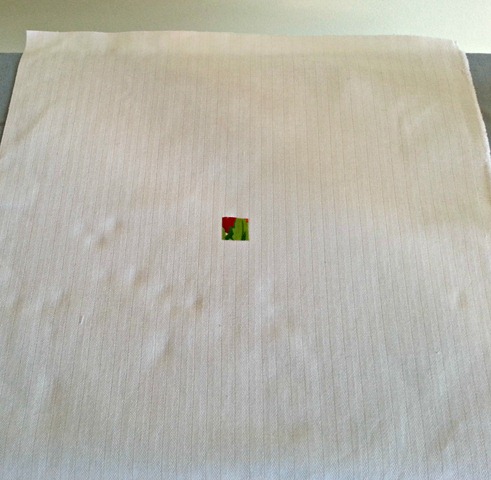
- Find the center of your piece of fabric and find your center county. Remove the back of the Heat N Bond and iron away. Be sure to take crummy cell phone photos on your dirty ironing board for your tutorial.
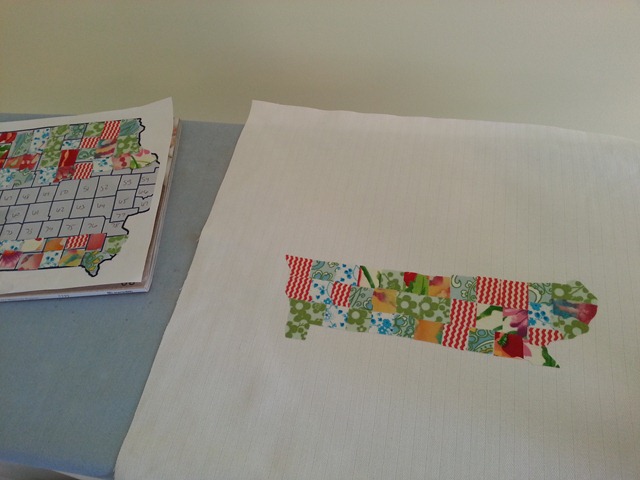
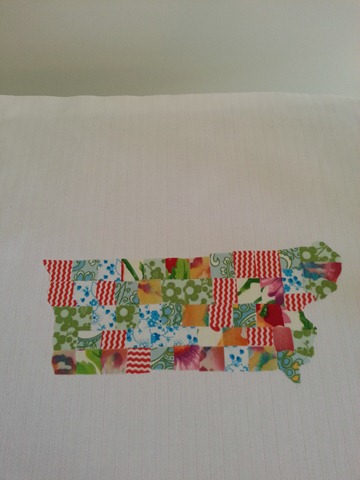
- Keep on ironing. I promise you will make it. Looking back on this, I’m not sure how I didn’t burn myself. Go me.
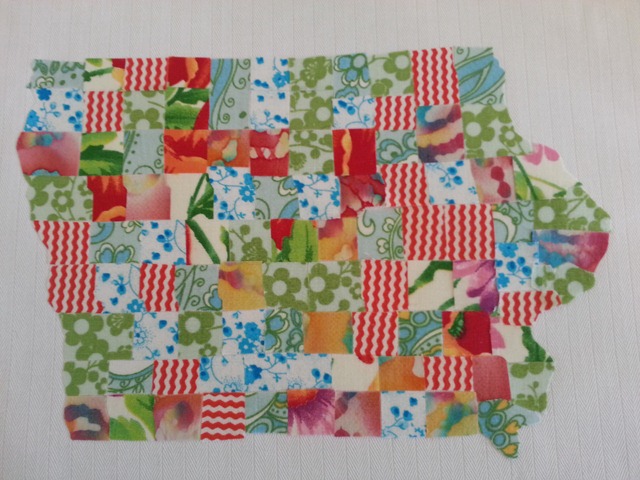
- Now for the fun part. Top stitching. If you used strong Heat N Bond you could probably get away with leaving it. I think the top stitching gives it that great scrappy/quilted feel though. I did mine with my sewing machine but by hand may have been easier.
- From here, I finished off my pillow cover and told myself I’d never make another one. But now I’m thinking a little black and gold Iowa Hawkeye pillow might be pretty cute. Hmmm…
Did you take on the Pinterest challenge? Anyone with a dog assistant? Who is sad that work interferes with taking quality daylight photos? Would your state/country/homeland be easier or harder?
***Check out our past Pinterest challenge projects…. West Elm Inspired Bedframe, Stenciled Powder Room, Painted Tub Claw Feet, and a Washer Monogram!***
Linking up to: Young House Love, Our Fifth House, The Ugly Duckling House, Bower Power


