Travel Lingerie {Undies} Bag
/I’m back! We enjoyed our trip to Arizona but it’s definitely good to be home. I’m also excited to spend time with females. If I never hear another Super Troopers quote, fart joke, or Fantasty Football stat again, it will be too soon. We’ll share some of our vacation favorites with you later this week or next.
Today I’m going to share with you one of my favorite recent creations…a travel undies bag.

My brother asked me what I was making. I told him I needed a bag to hold my underwear in my suitcase. I hate when they get all mixed up. I can never remember if they are clean or not. They never stay in the pocket I put them in. He didn’t understand. Nate didn’t understand either. (This is why I need more estrogen in my life.) Am I the only one with this underwear problem?
I can’t be. Today I’m here to help. This bag was super helpful on our trip. We lived out of a suitcase and my suitcase ended up being a hot mess. My underwear, however, were neatly confined to their cute little bag.
This bag contains a zipper but don’t let that scare you. Zippers really aren’t a big deal. I promise. I think this bag took me about 45 minutes to make..and that was after I sewed something the wrong way.
You will need:
- 1 zipper. Any length. See below.
- 4 rectangles. You can make them any size…probably depending on the size of your zipper. My zipper was 18 inches so I went with four rectangles that measured 10”x20”.
- The fabric I used is from the Salvation Army. The grey stripes were a sheet and the coral floral was a torn table cloth.
- Heat N’Bond
- Fabric scraps for the “C” (clean) and “D” (dirty)
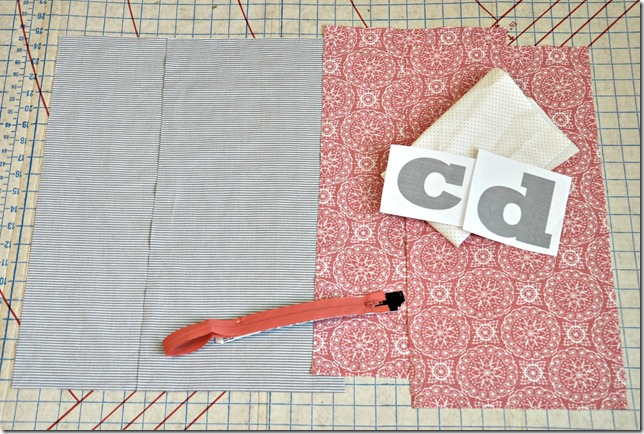
Your first steps depends on if you want to sew on your “C” and “D” or if you want to just iron them on (my choice). If you want to sew them on, this would be the time to do that.
Place 1 rectangle of lining fabric right side up. Place the zipper on top of that followed by a rectangle of outside fabric (right side down).
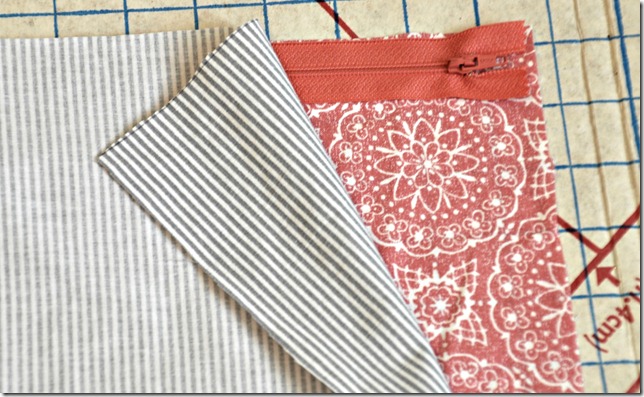
Sew along the top edge. I’m horrible with seam allowances but just make sure you are sewing through the three layers.
Place these two rectangles wrong sides together.
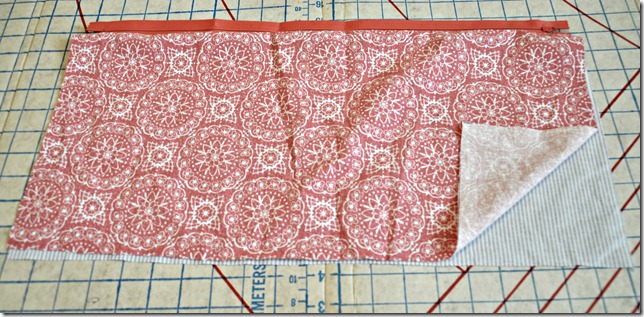
Next layer your fabric as you did previously (lining right side up, zipper, outside right side down). Pay special attention to how I have the zipper placed. If you turn the zipper, you will have liner on the outside. Not that I would know. Sew along the top edge.
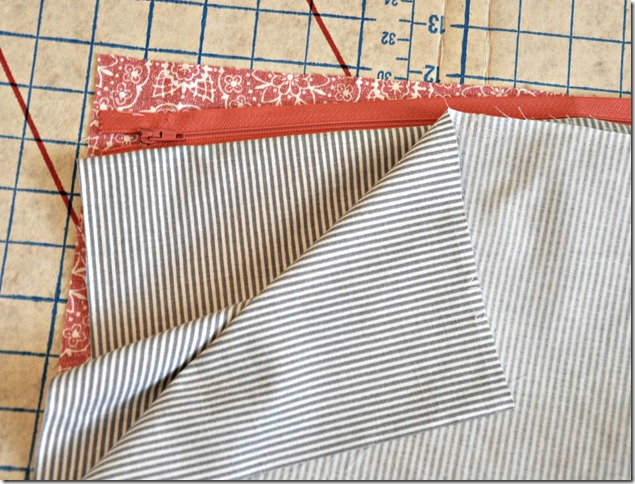
Now it’s time to open the zipper a little. This is an important step. Don’t forget it or you won’t be able to flip your bag right side out and that would be sad.
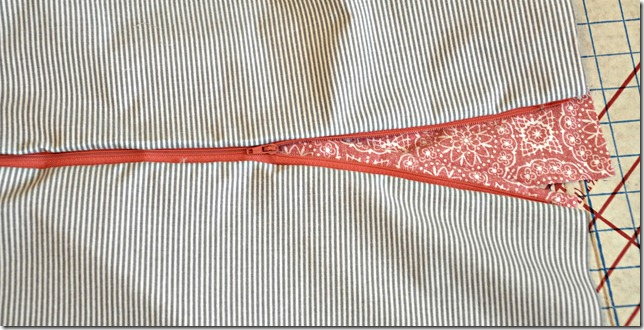
Next place your outside fabric right sides together and your lining fabric right sides together…as shown below.
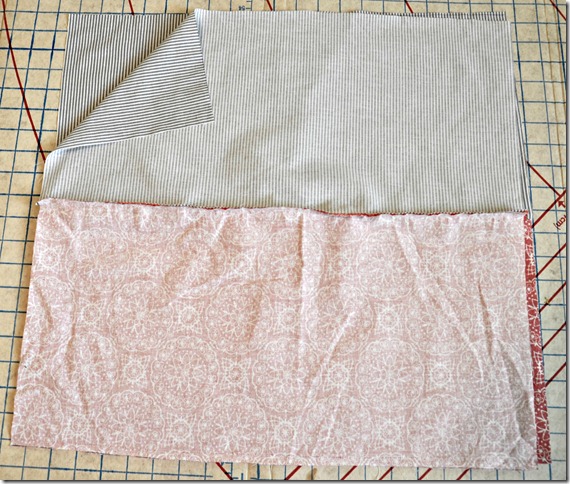
Sew around the perimeter of the bag leaving a small opening on one of the lining short sides. You will use this opening to turn the bag right side out. Turn bag right side out.

Close the opening in the lining either by secret stitching or just sewing over the top. I sewed over the top because it’s an underwear bag for myself. I’m okay a few stitches showing on the inside.
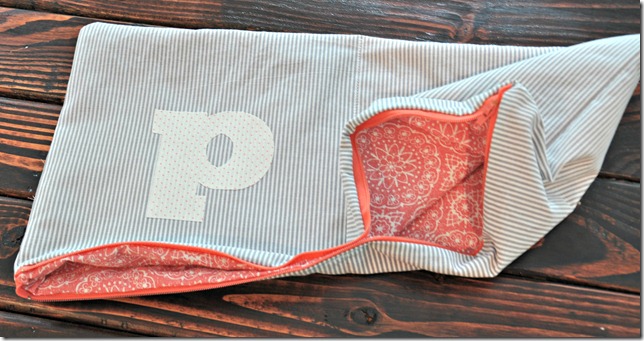
Ooo, look. It’s a bag.
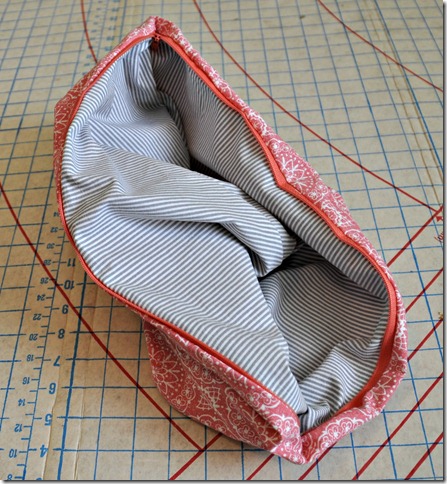
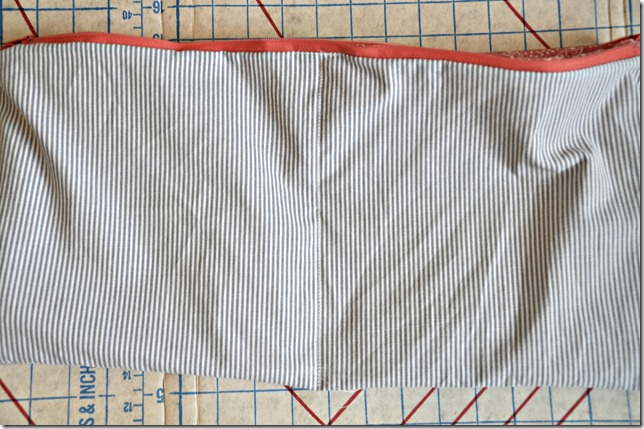
Turn the bag right side out. Find the center of your bag and sew to divide your bag into two halves. I sewed over the same line 3 times.
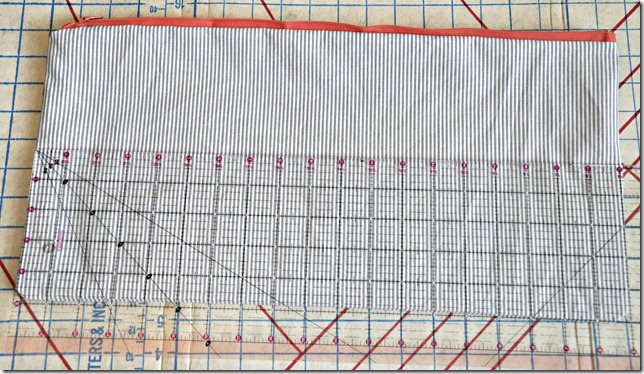
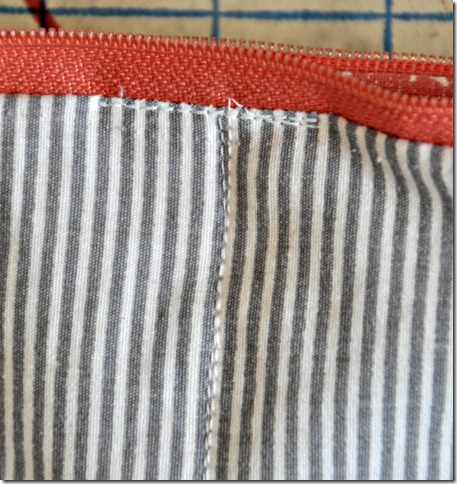
This line will keep the dirty undies from the clean. Very important. I also sewed a small (about an inch) line at the top along the zipper.
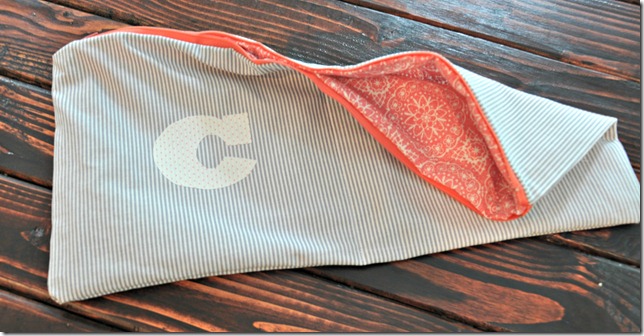
Iron on your letters (I traced letters that I printed out and the used Heat N’Bond applied to my fabric.) and enjoy your fancy lingerie bag!
Anyone else struggle with stray underwear? Have you traveled recently? Any plans to travel soon?


