Reupholstering a Wingback Chair
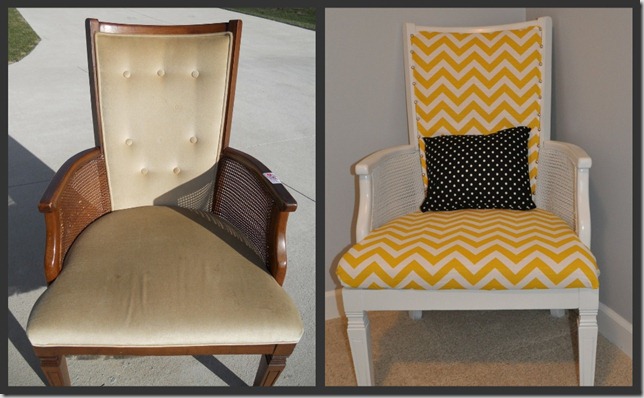
/How did I change this $7 chair from 1970 to 2011 (See more photos here.)
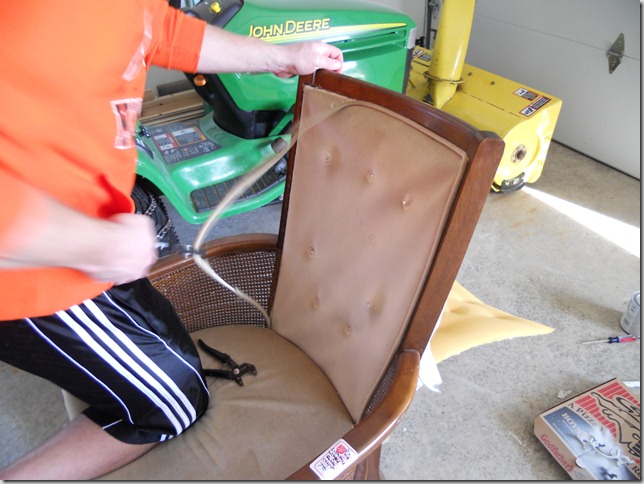
First we torn the chair apart (read about that process here)…
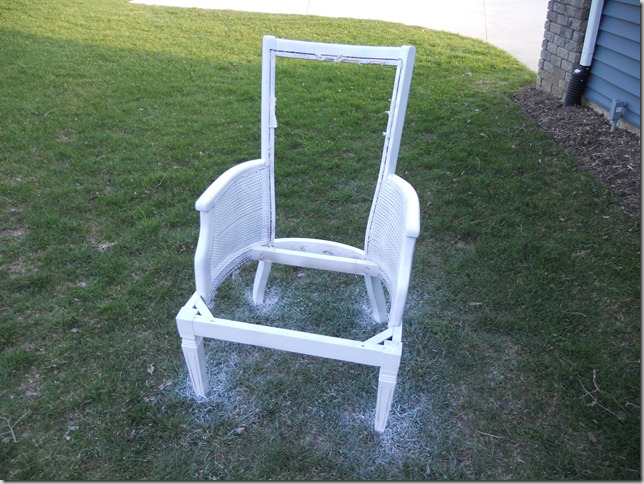
I then sanded, primed, and spray painted the chair…(Use cardboard under you chair when spray painting…or you might get an annoyed look from your significant other…just saying…)
The chair sat in this stage in our garage for a couple of weeks because I was too chicken to reupholster it. I’m not a big fan of failure and I really wasn’t sure I would be successful with this one.
This past Saturday was the day. I was going to do it. I stopped in Hancock fabrics and they had a perfect yellow chevron outdoor fabric on sale for 40% off plus an additional 10%. Deal. It’s mine. I can totally do this.
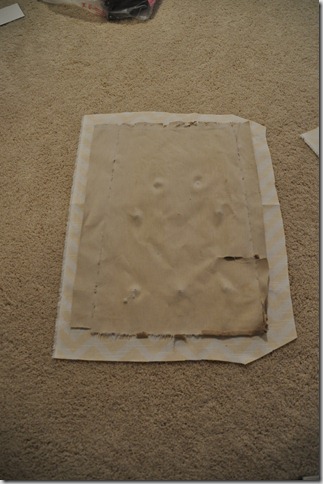
I used the old nasty fabric as a template for my new fabric and I cut the 3 pieces I needed…
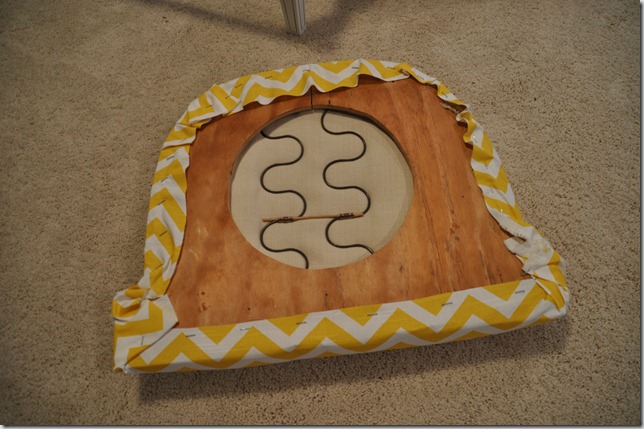
I started on the seat because I knew I could handle that part (read about another chair I’ve tackled here)…
Easy. I can totally do this. And then I looked at the back of the chair. I called Nate in for help..and he so willingly agreed…oh wait, this isn’t a fantasy blog…I begged for his help. He gave in after he couldn’t handle my whining any longer.
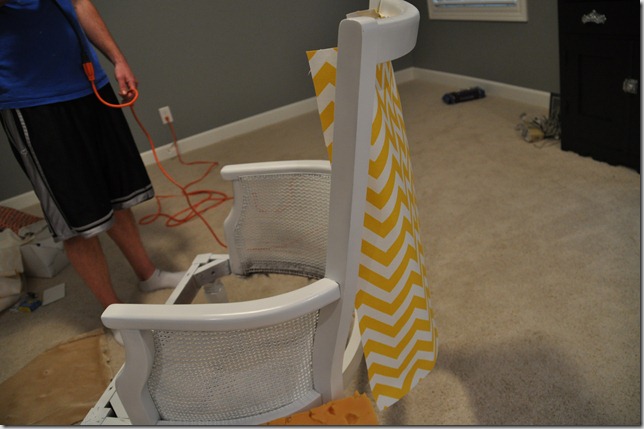
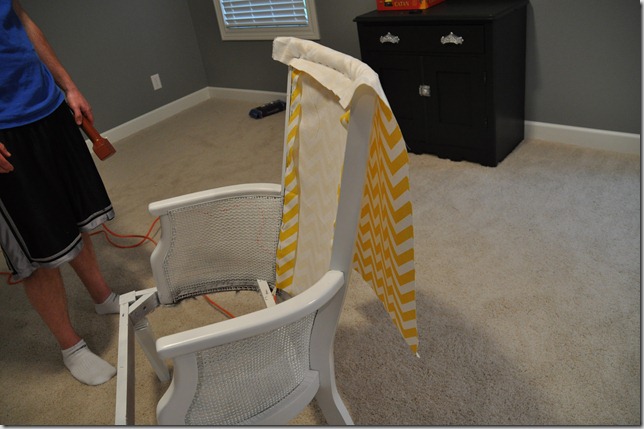
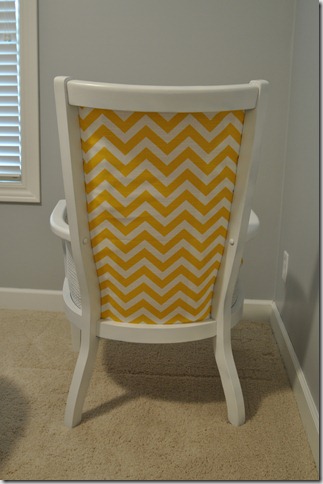
With double the brain power, we decided to staple the back piece of fabric first…
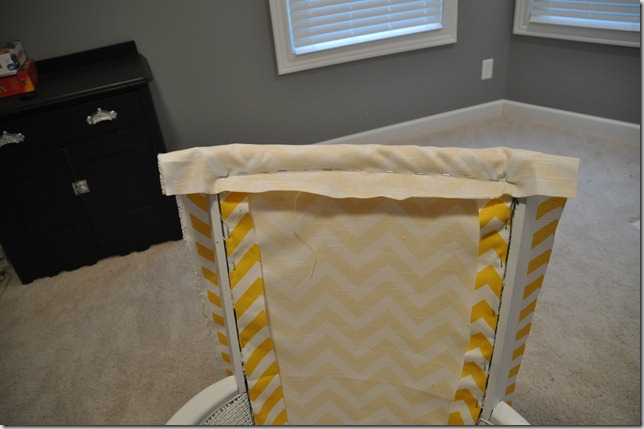
We then stapled the top edge of the front fabric….kind of cape-like…
This is where it gets a little….weird. I feel for the person who reupholsters this chair in another 30 years.
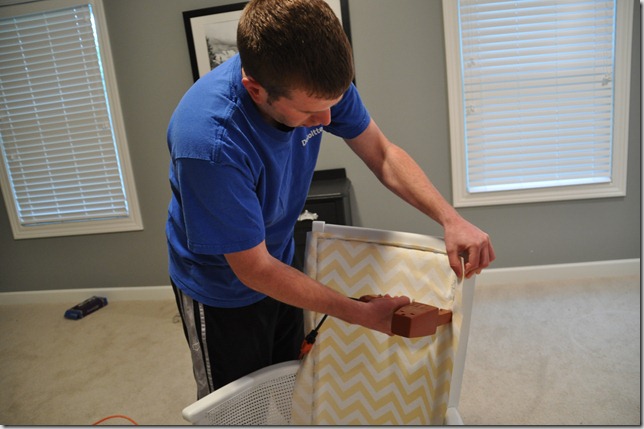
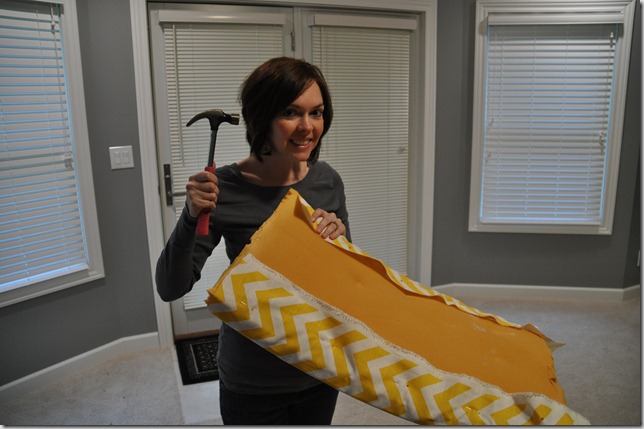
We slid the foam underneath the “cape” and pinned the excess fabric around the foam…I don’t remember why I had a hammer at this point…but it’s the best picture of the weirdness…(and my new hairdo)…I should have pinned an apology note for the next person. Don’t worry…the foam is super think so there is no chance of someone getting poked.
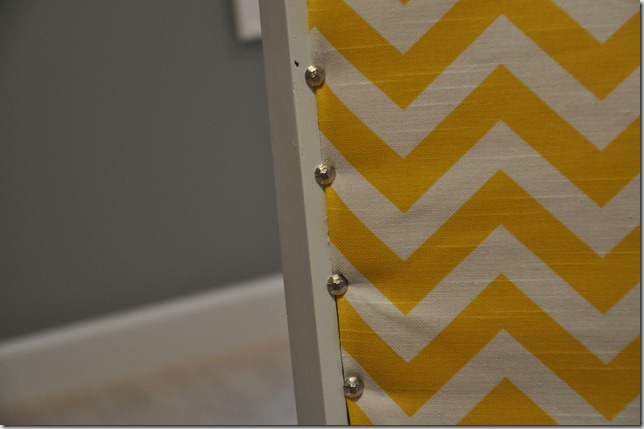
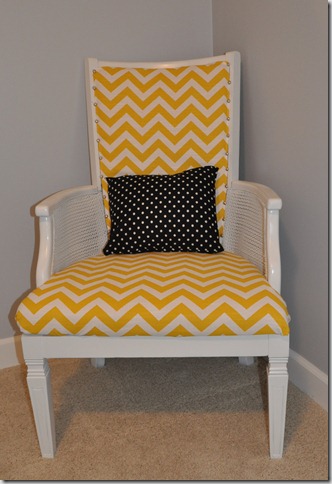
We placed the professionally covered foam in it’s final position and added nail head trim. We used the nail head trim to hold the back cushion in place. We used this in place of staples for a cleaner look.
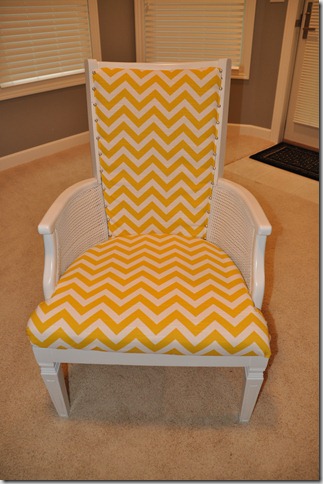
Nate screwed the seat in place..and ta-da…a finished chair…
I think I made it sound easy. It wasn’t. And it obviously isn’t a professional finish. But I’m happy with the result.
There you have it…a wingback chair reupholstering tutorial!
Who’s brave enough to attack one of these babies?? Any questions or have I sufficiently scared you away?
Linking to: DIY Show Off, A Bowl Full of Lemons, Type A Decorating, Primitive and Proper, Wow Us Wednesdays, Not Just a Housewife, The Stories of A2Z, A Diamond in the Stuff, Tuesday's Treasures, Domestically Speaking, Someday Crafts, Handy Man, Crafty Woman, House of Hepworths, Shabby Chic Cottage, Remodelaholic, French Country Cottage, Simple Home Life, The Lettered Cottage, Thrifty Decor Chick

