Life According to Instagram

Happy Friday!  Friday is always a good day but a long day. Followed by two glorious days off.  Let's focus on that.

Let's not focus on all of this stupid snow and ridiculously cold weather we're getting.  It's pretty much miserable here in Iowa.  Anytime you ask someone how they are doing the answer is usually "Surviving."  "Trying to stay warm."  I mentioned on Saturday that we shouldn't even bother that poor groundhog because I could tell you what his answer would be.  I had your back, Phil.

IMG_20140205_095717.jpg

To make Winter more tolerable I ordered some new boots.  I've been drooling over Hunter boots but have been to cheap to spend the cash.  I decided to see if the rumors of youth boots fitting adults with small feet.  Turns out it's true.   And they are half the price. I usually wear a women's size 7.  I ordered a youth size 5.  They fit like a glove.  Er, boot.  They are slightly shorter than the women's boots but work well for my short self.

They definitely aren't warm enough for the current below zero temps.  Hunter boot socks are $30-40.  I ordered this pair from Target and they work perfectly!  Look at that money savings.  My accountant husband thinks my math is flawed.

Hunter Boots Youth for Adult.jpg

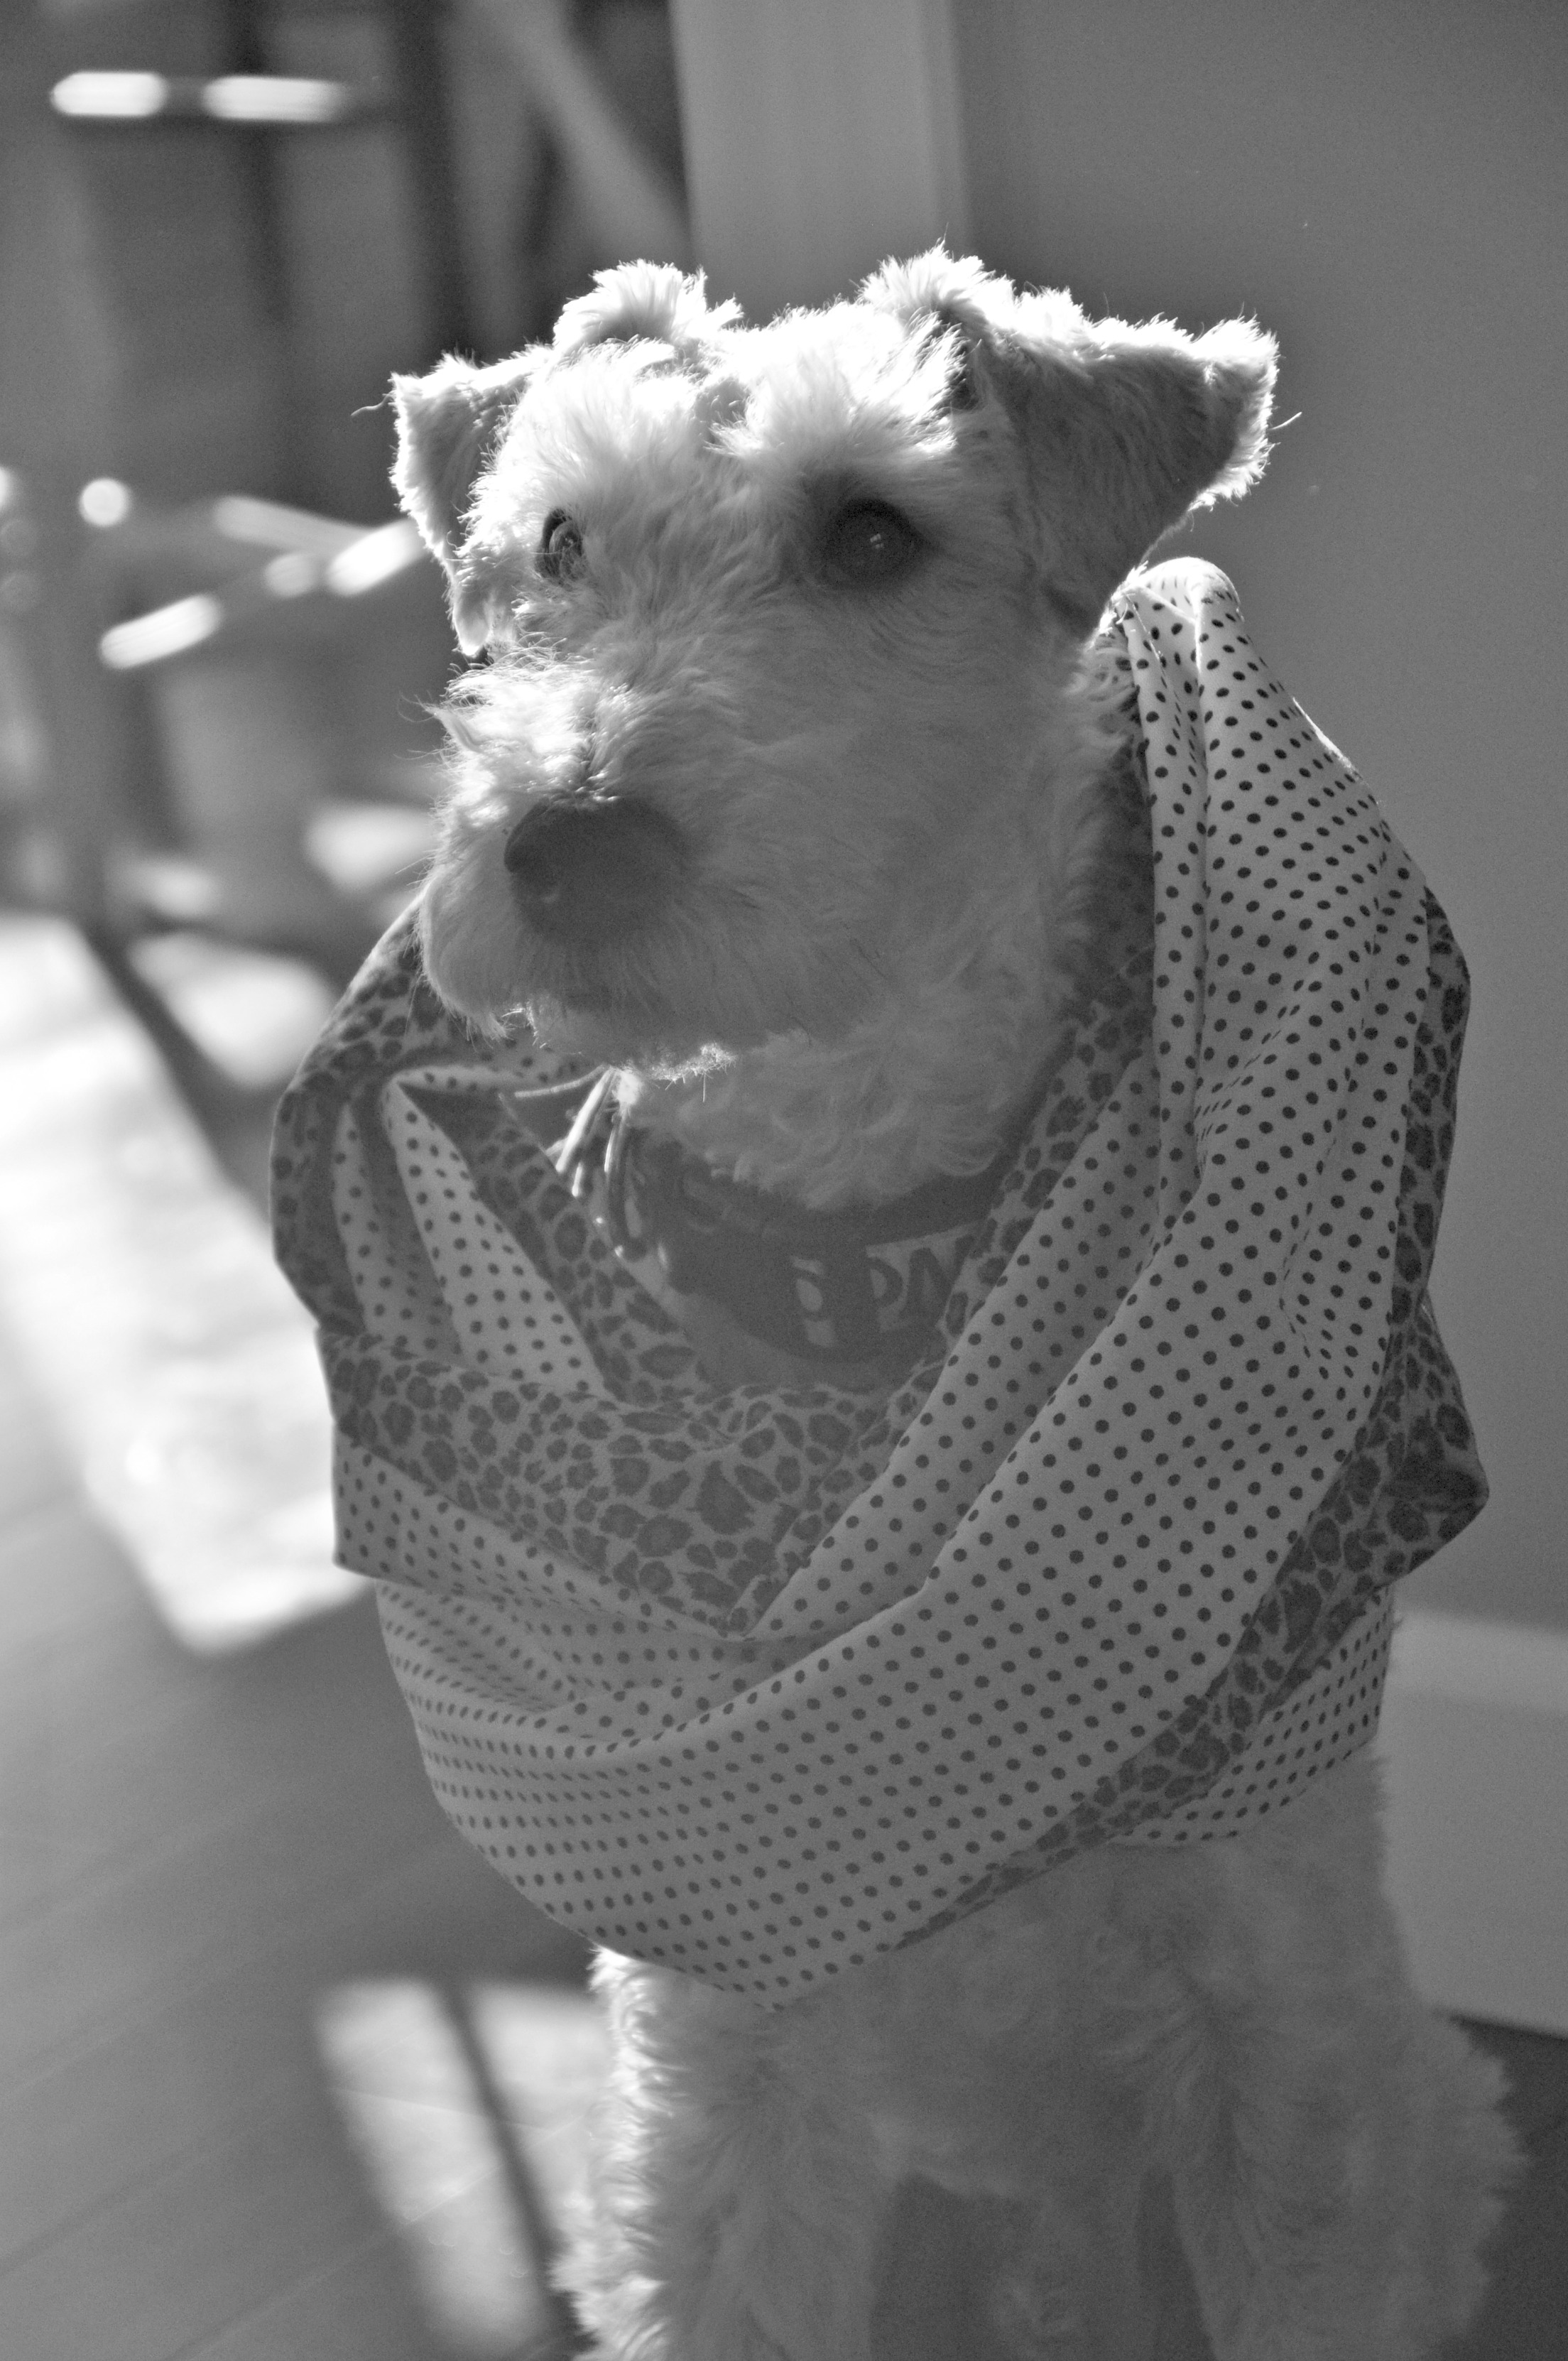
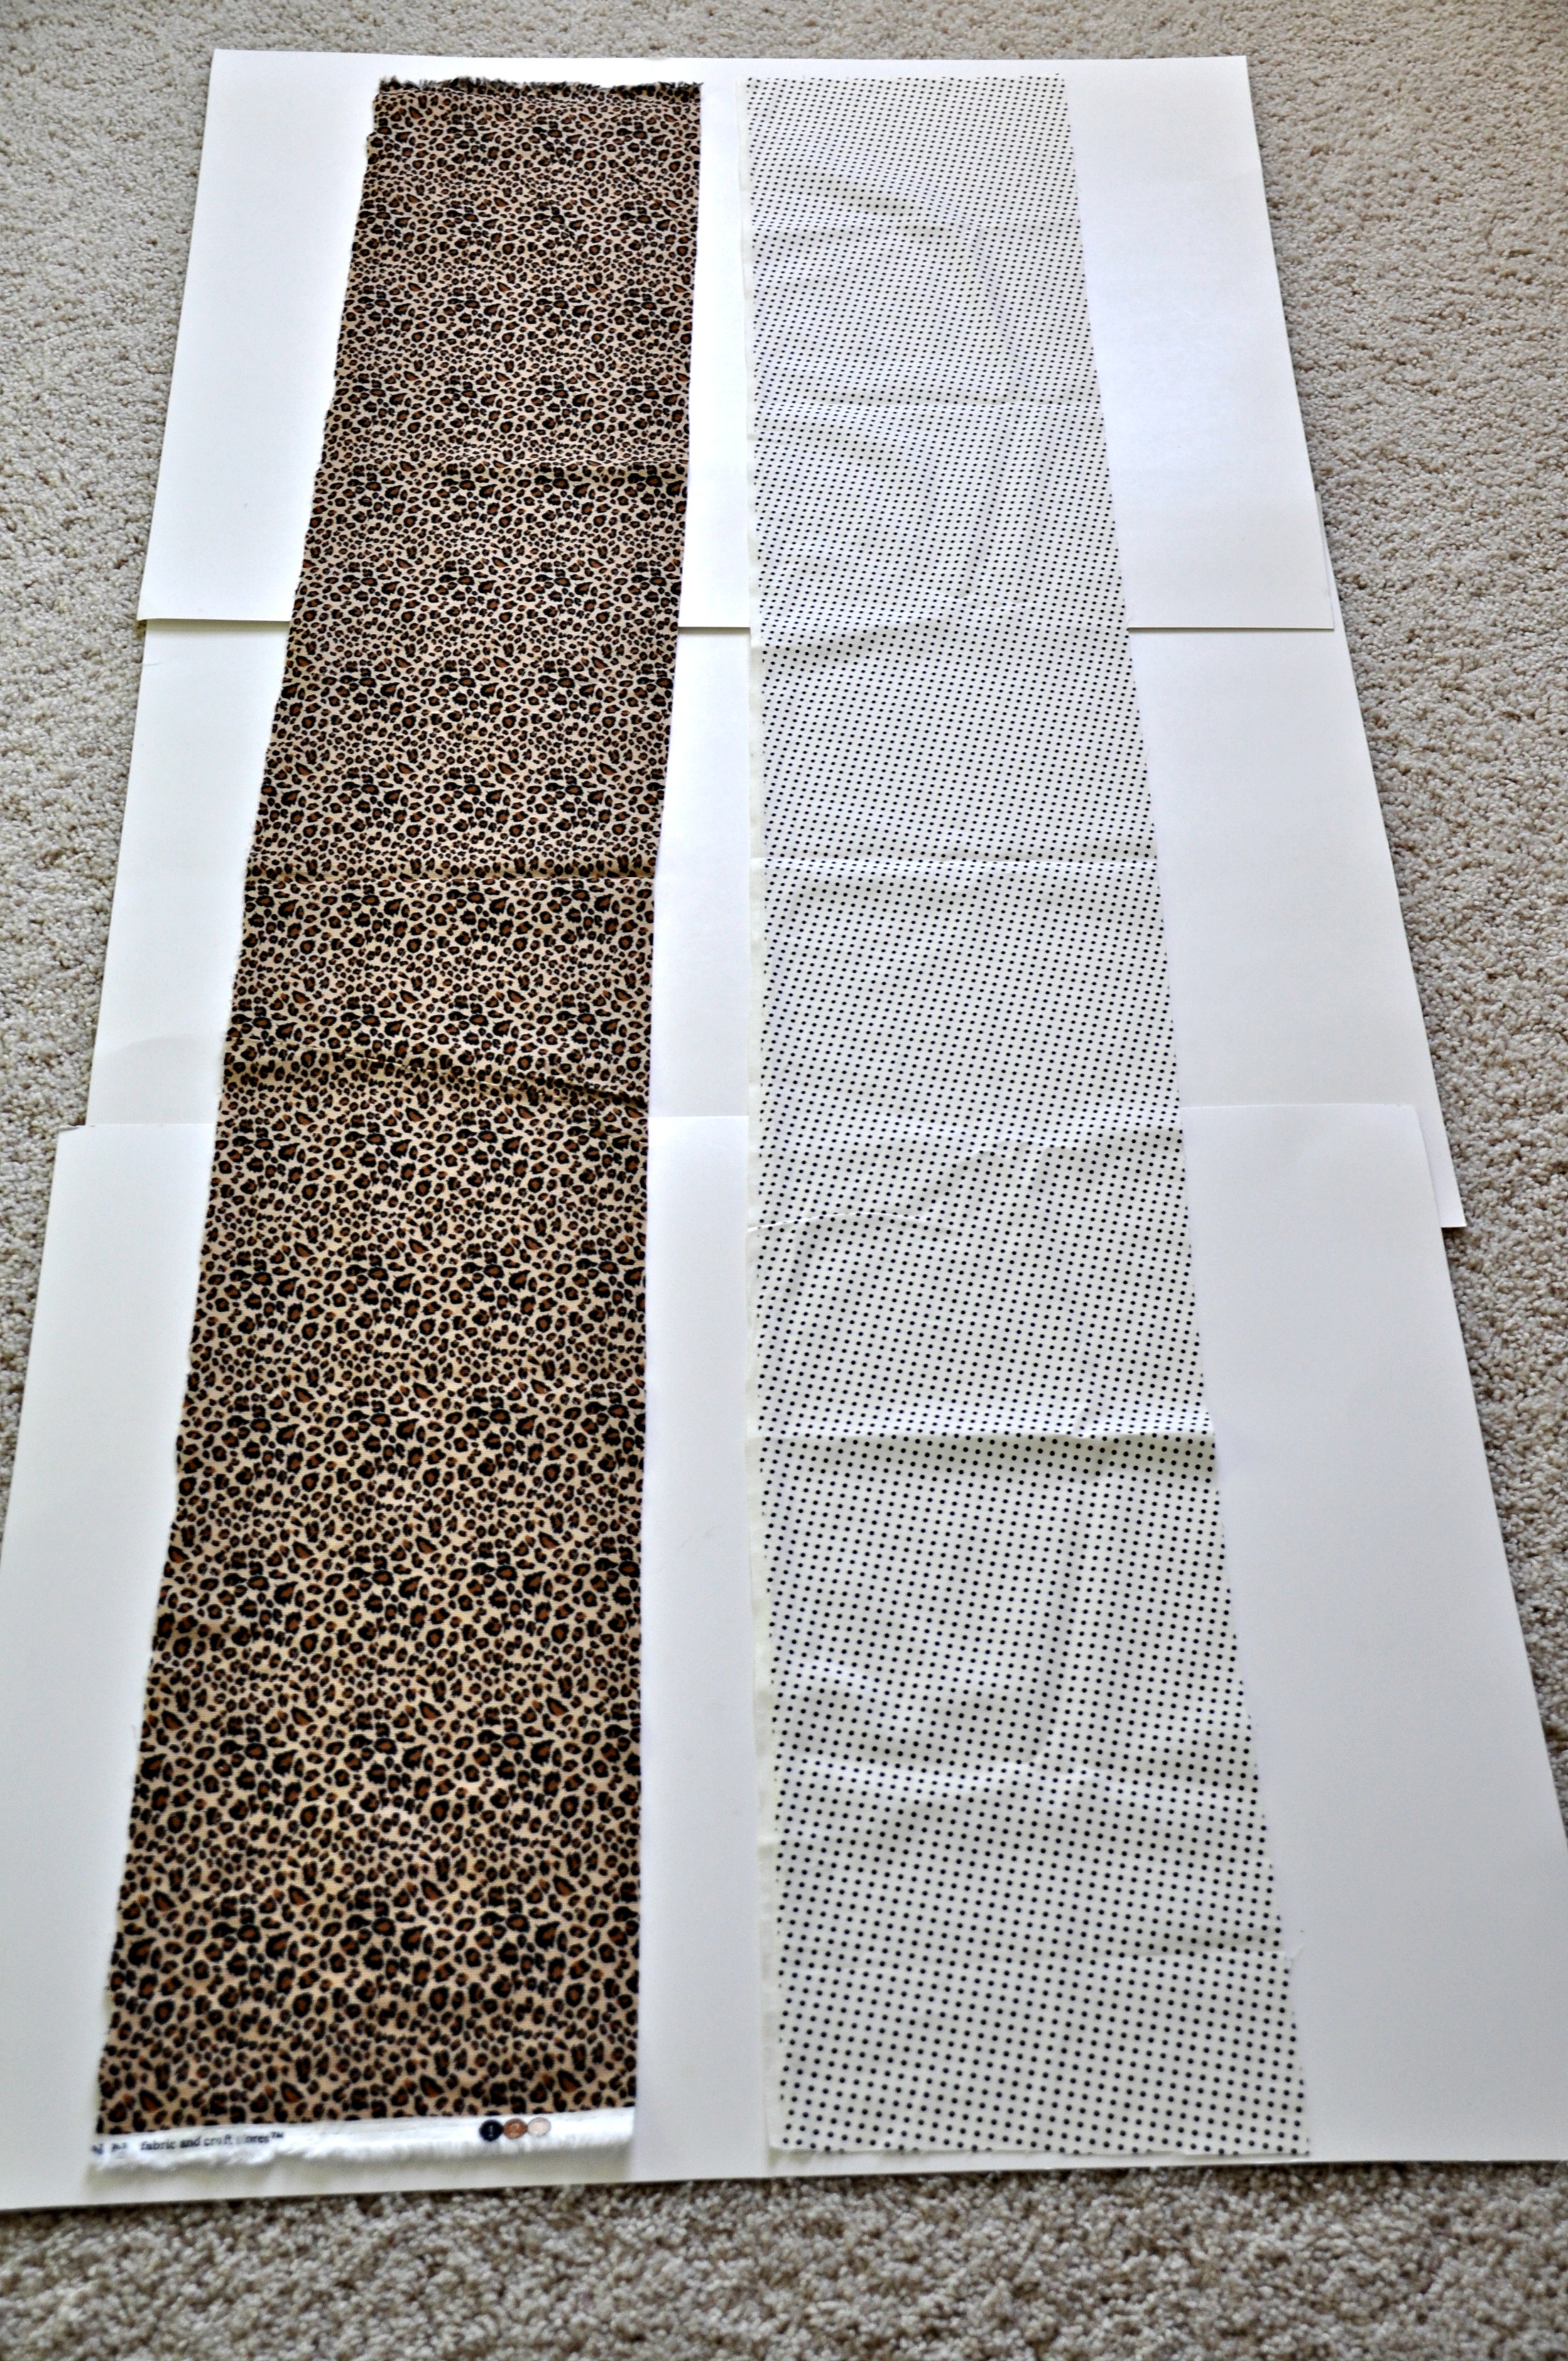
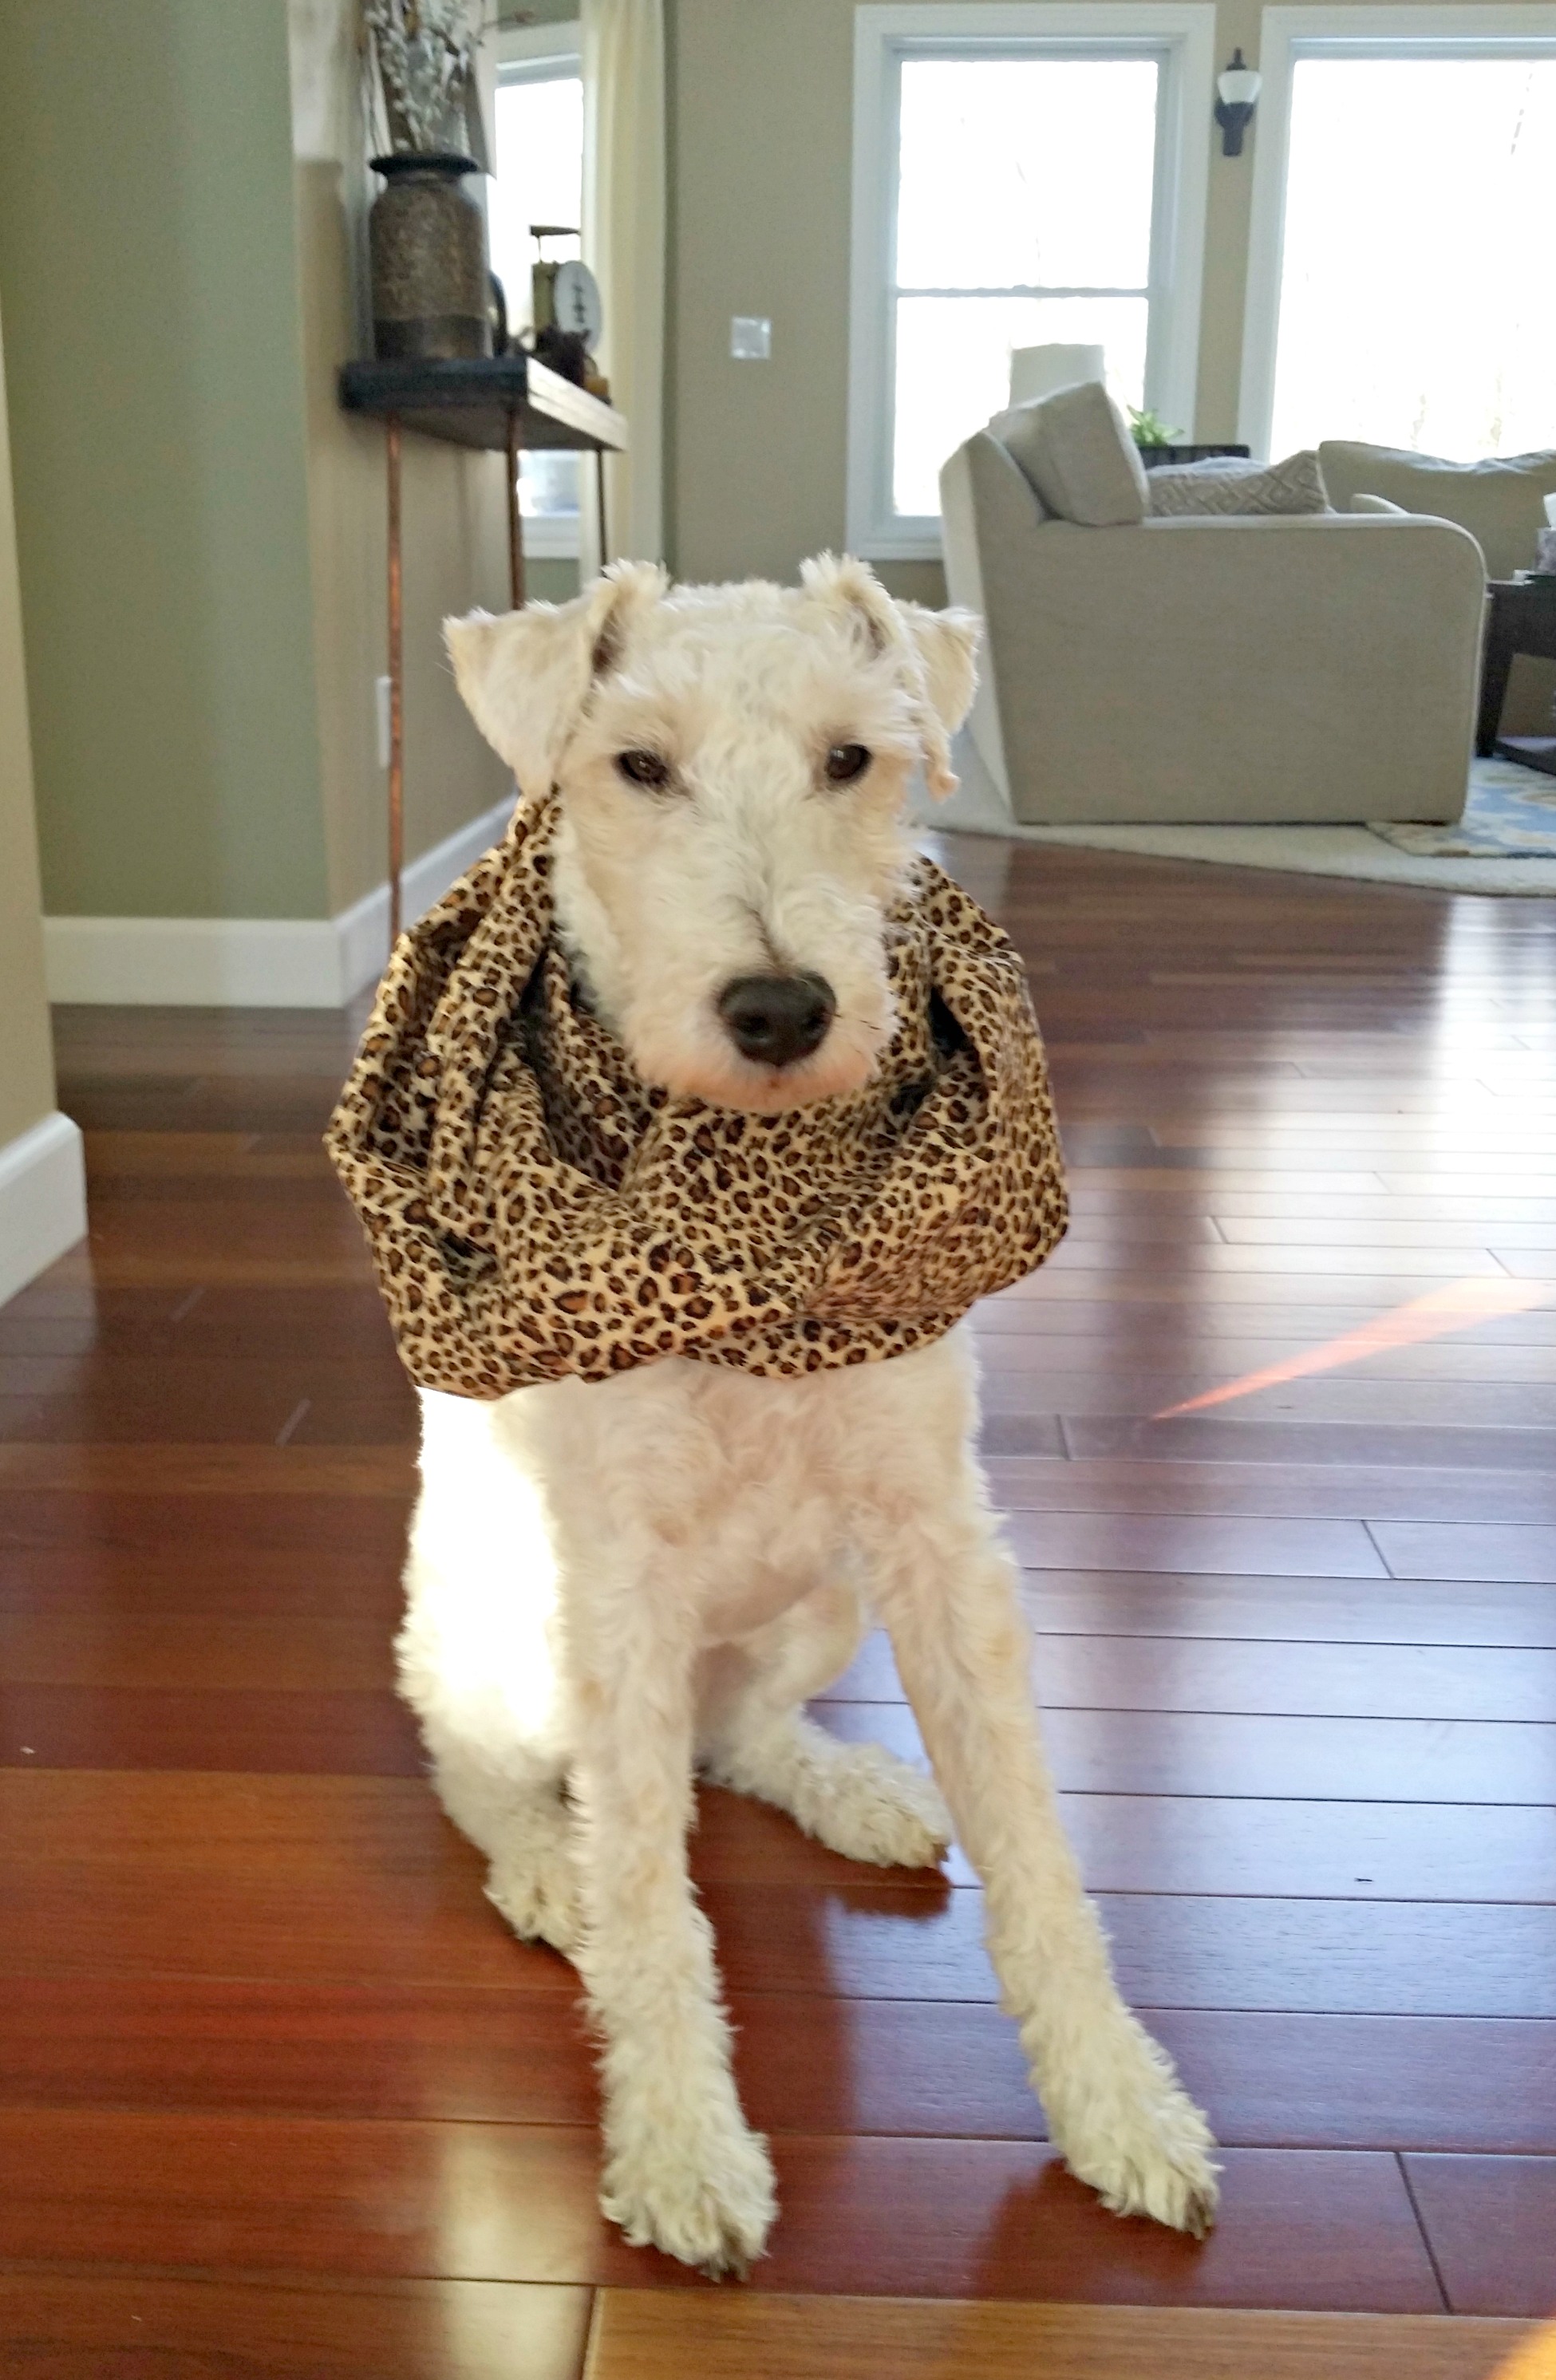
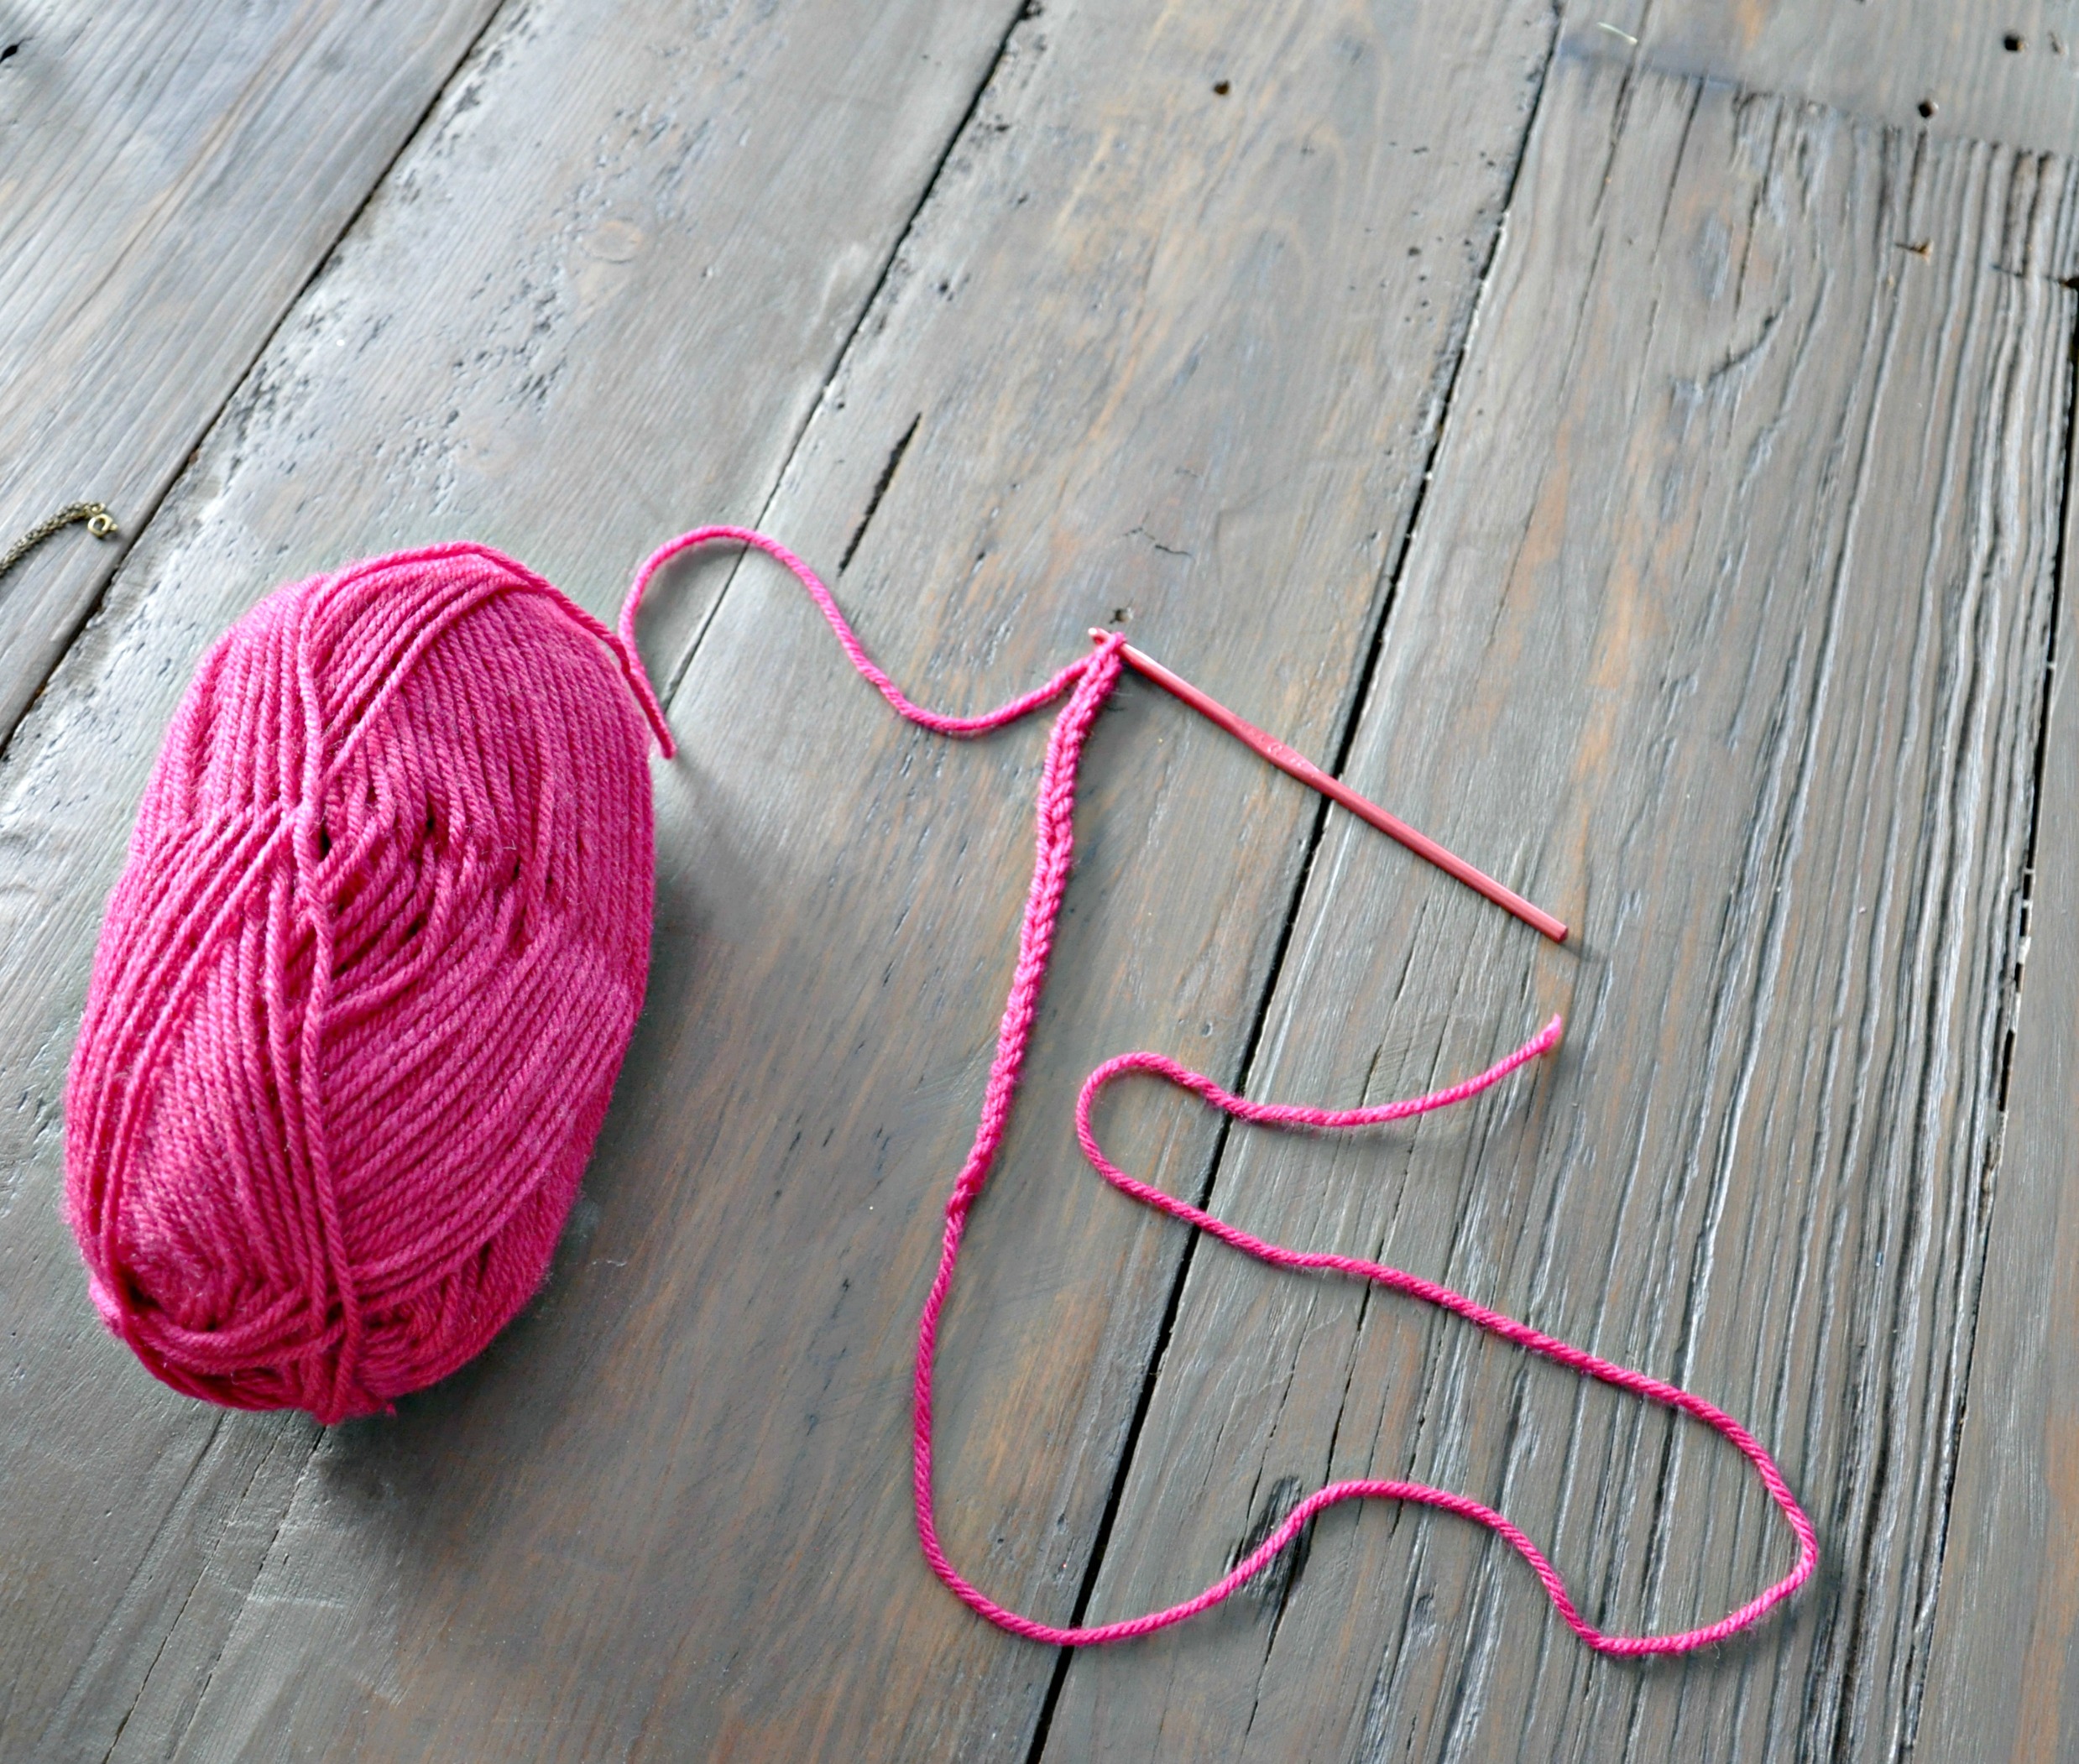
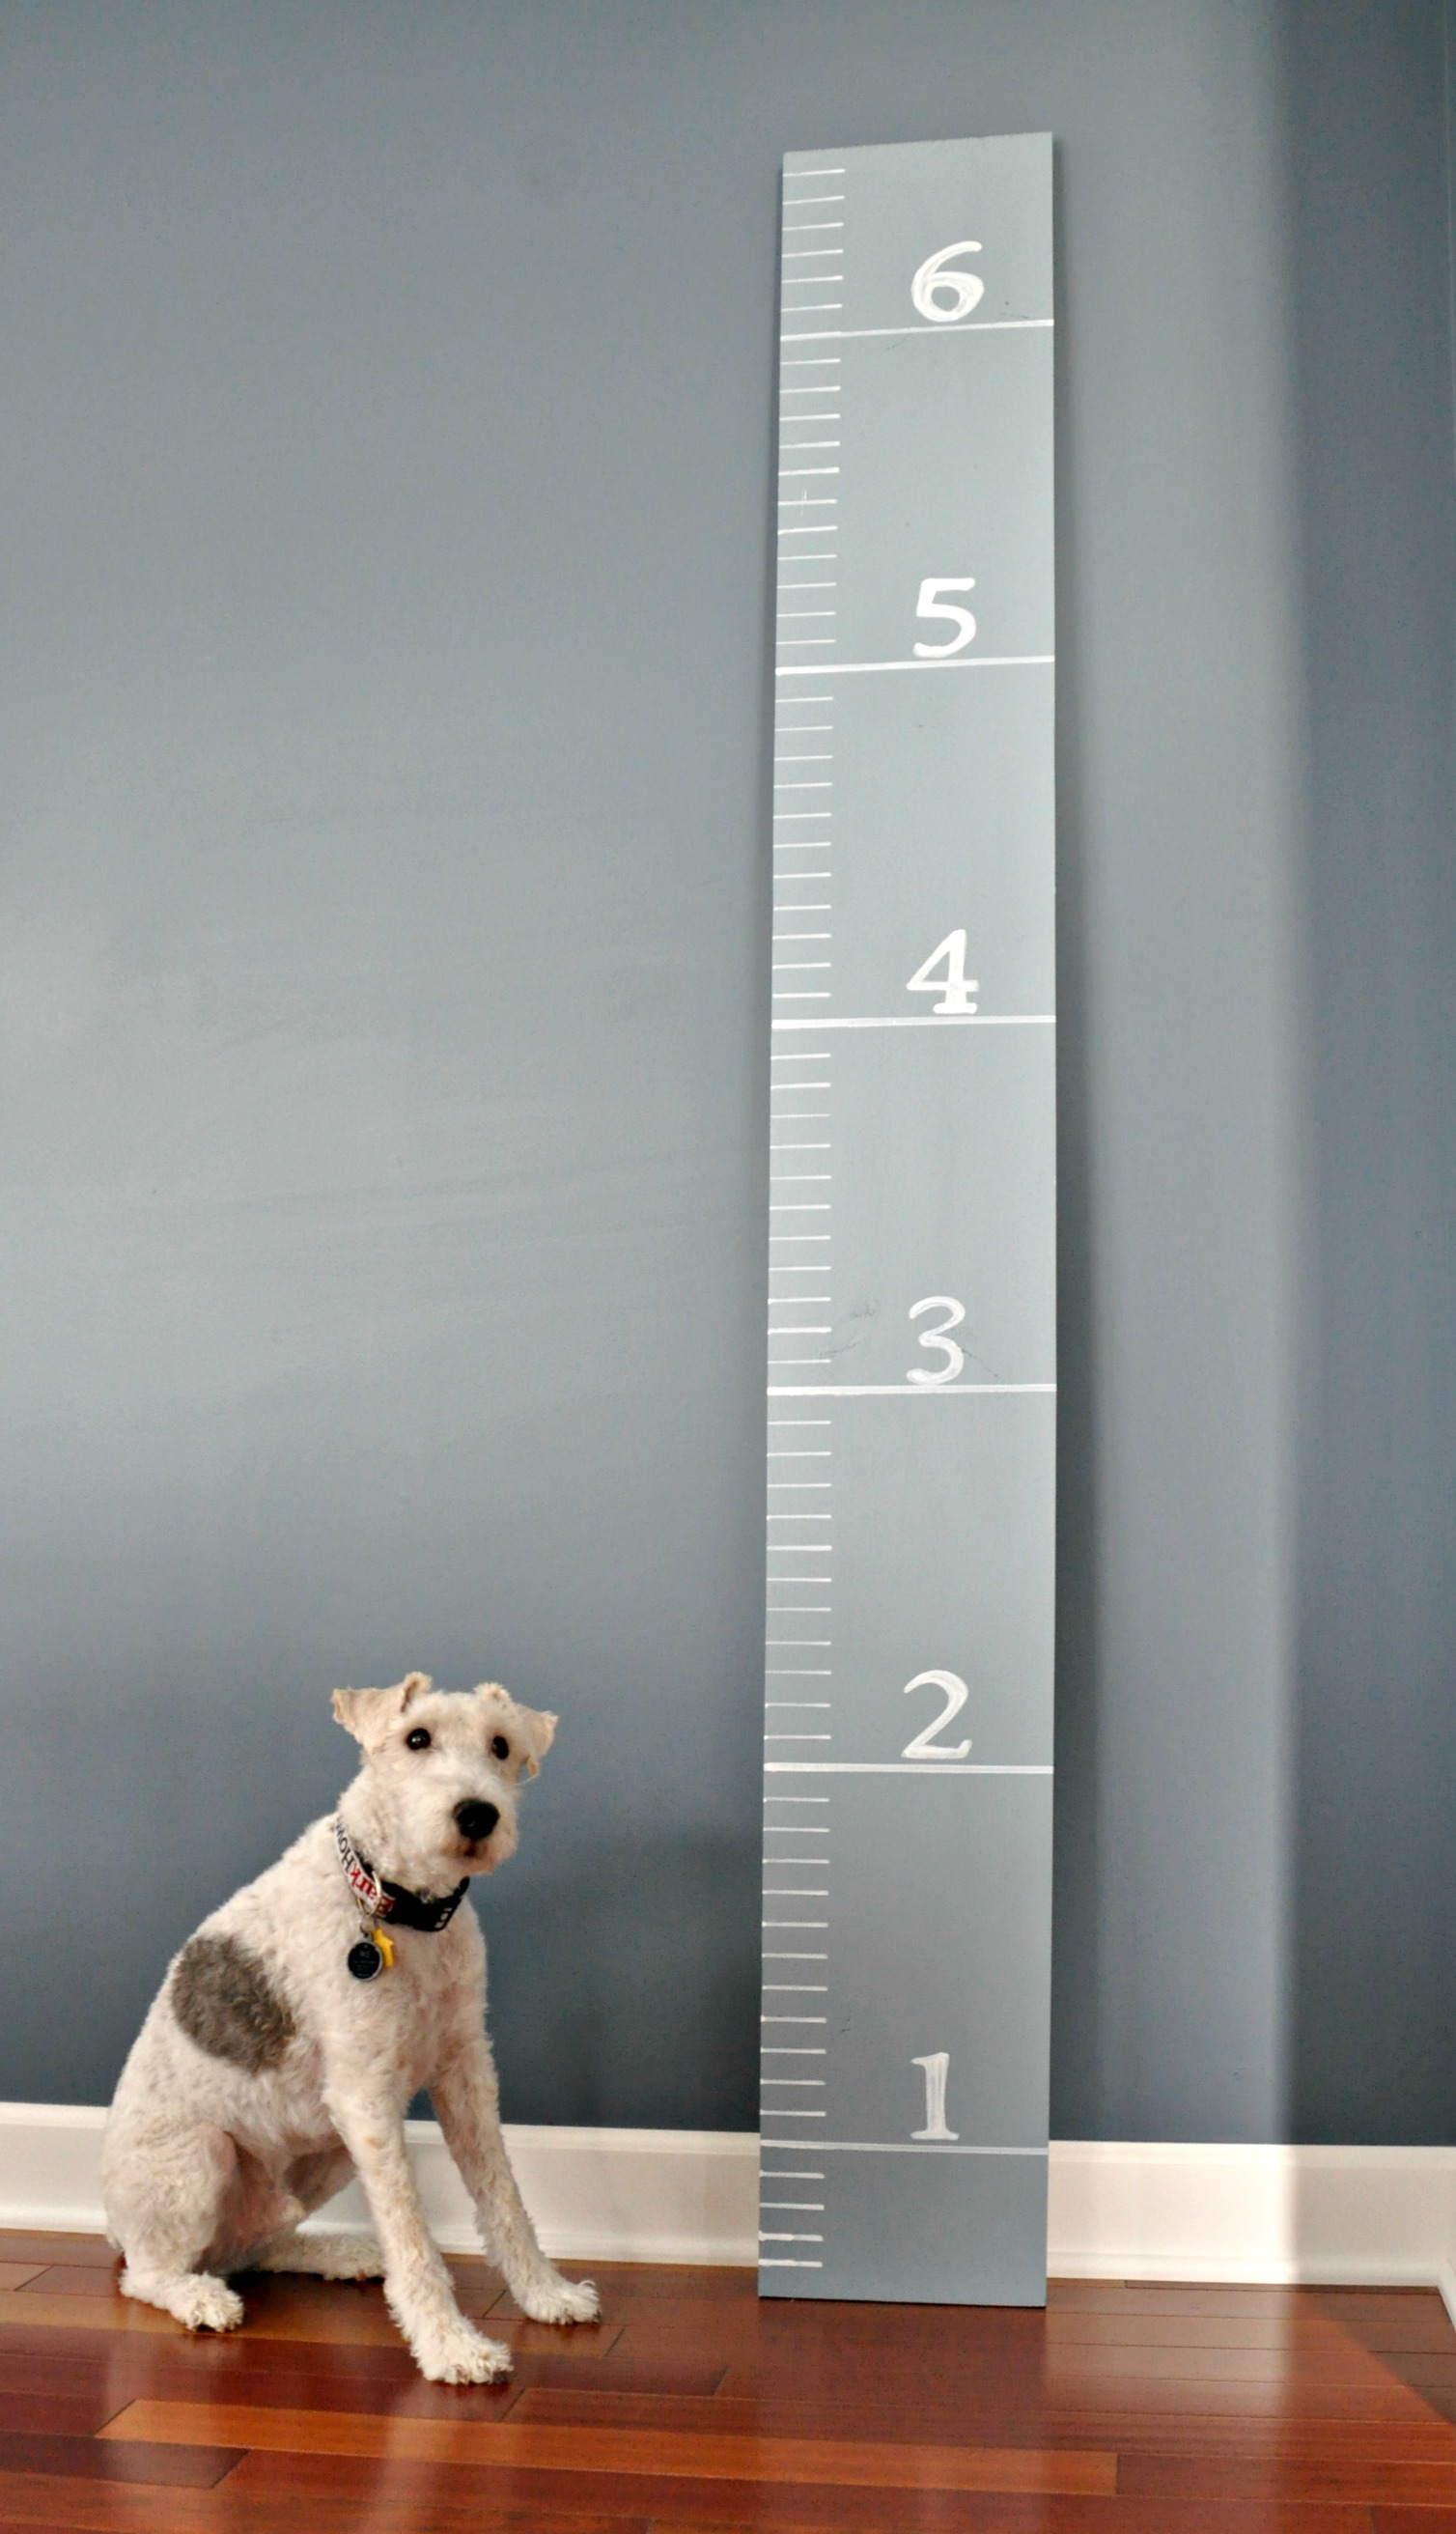
Ike is mad at Winter too.  The poor thing hasn't been able to go for a walk because it's seriously not safe for a poor puppy with little fur to spend more than a few minutes outside.  He's trying to stay busy by practicing yoga, sunbathing in the closet and being my crochet assistant.

Ike  Decor and the Dog.jpg

I'm training to become the next Iron Chef.  I'm actually turning into a decent cook.  I'm also doing very well at eating little processed food during the week.  The weekends on the other hand.  They call for Whitey's.  I wish you all had a Whitey's near you because it's the most magically tasting ice cream in all of the land. 

Food.jpg

Nate and I are now going on dates on Saturday nights.  I used to make fun of married people "dating".  And now I'm one of them.  Nate is working extra long hours.  We spend approximately 10 minutes together each day during the week.  If we're lucky.  We've decided to spend Saturday nights unplugged (at least for a few hours) and catching up.  Ike is fine if I date Nate on Saturday night but Sunday is Ike's day.  He doesn't leave his side.  

IMG_20140104_192647.jpg

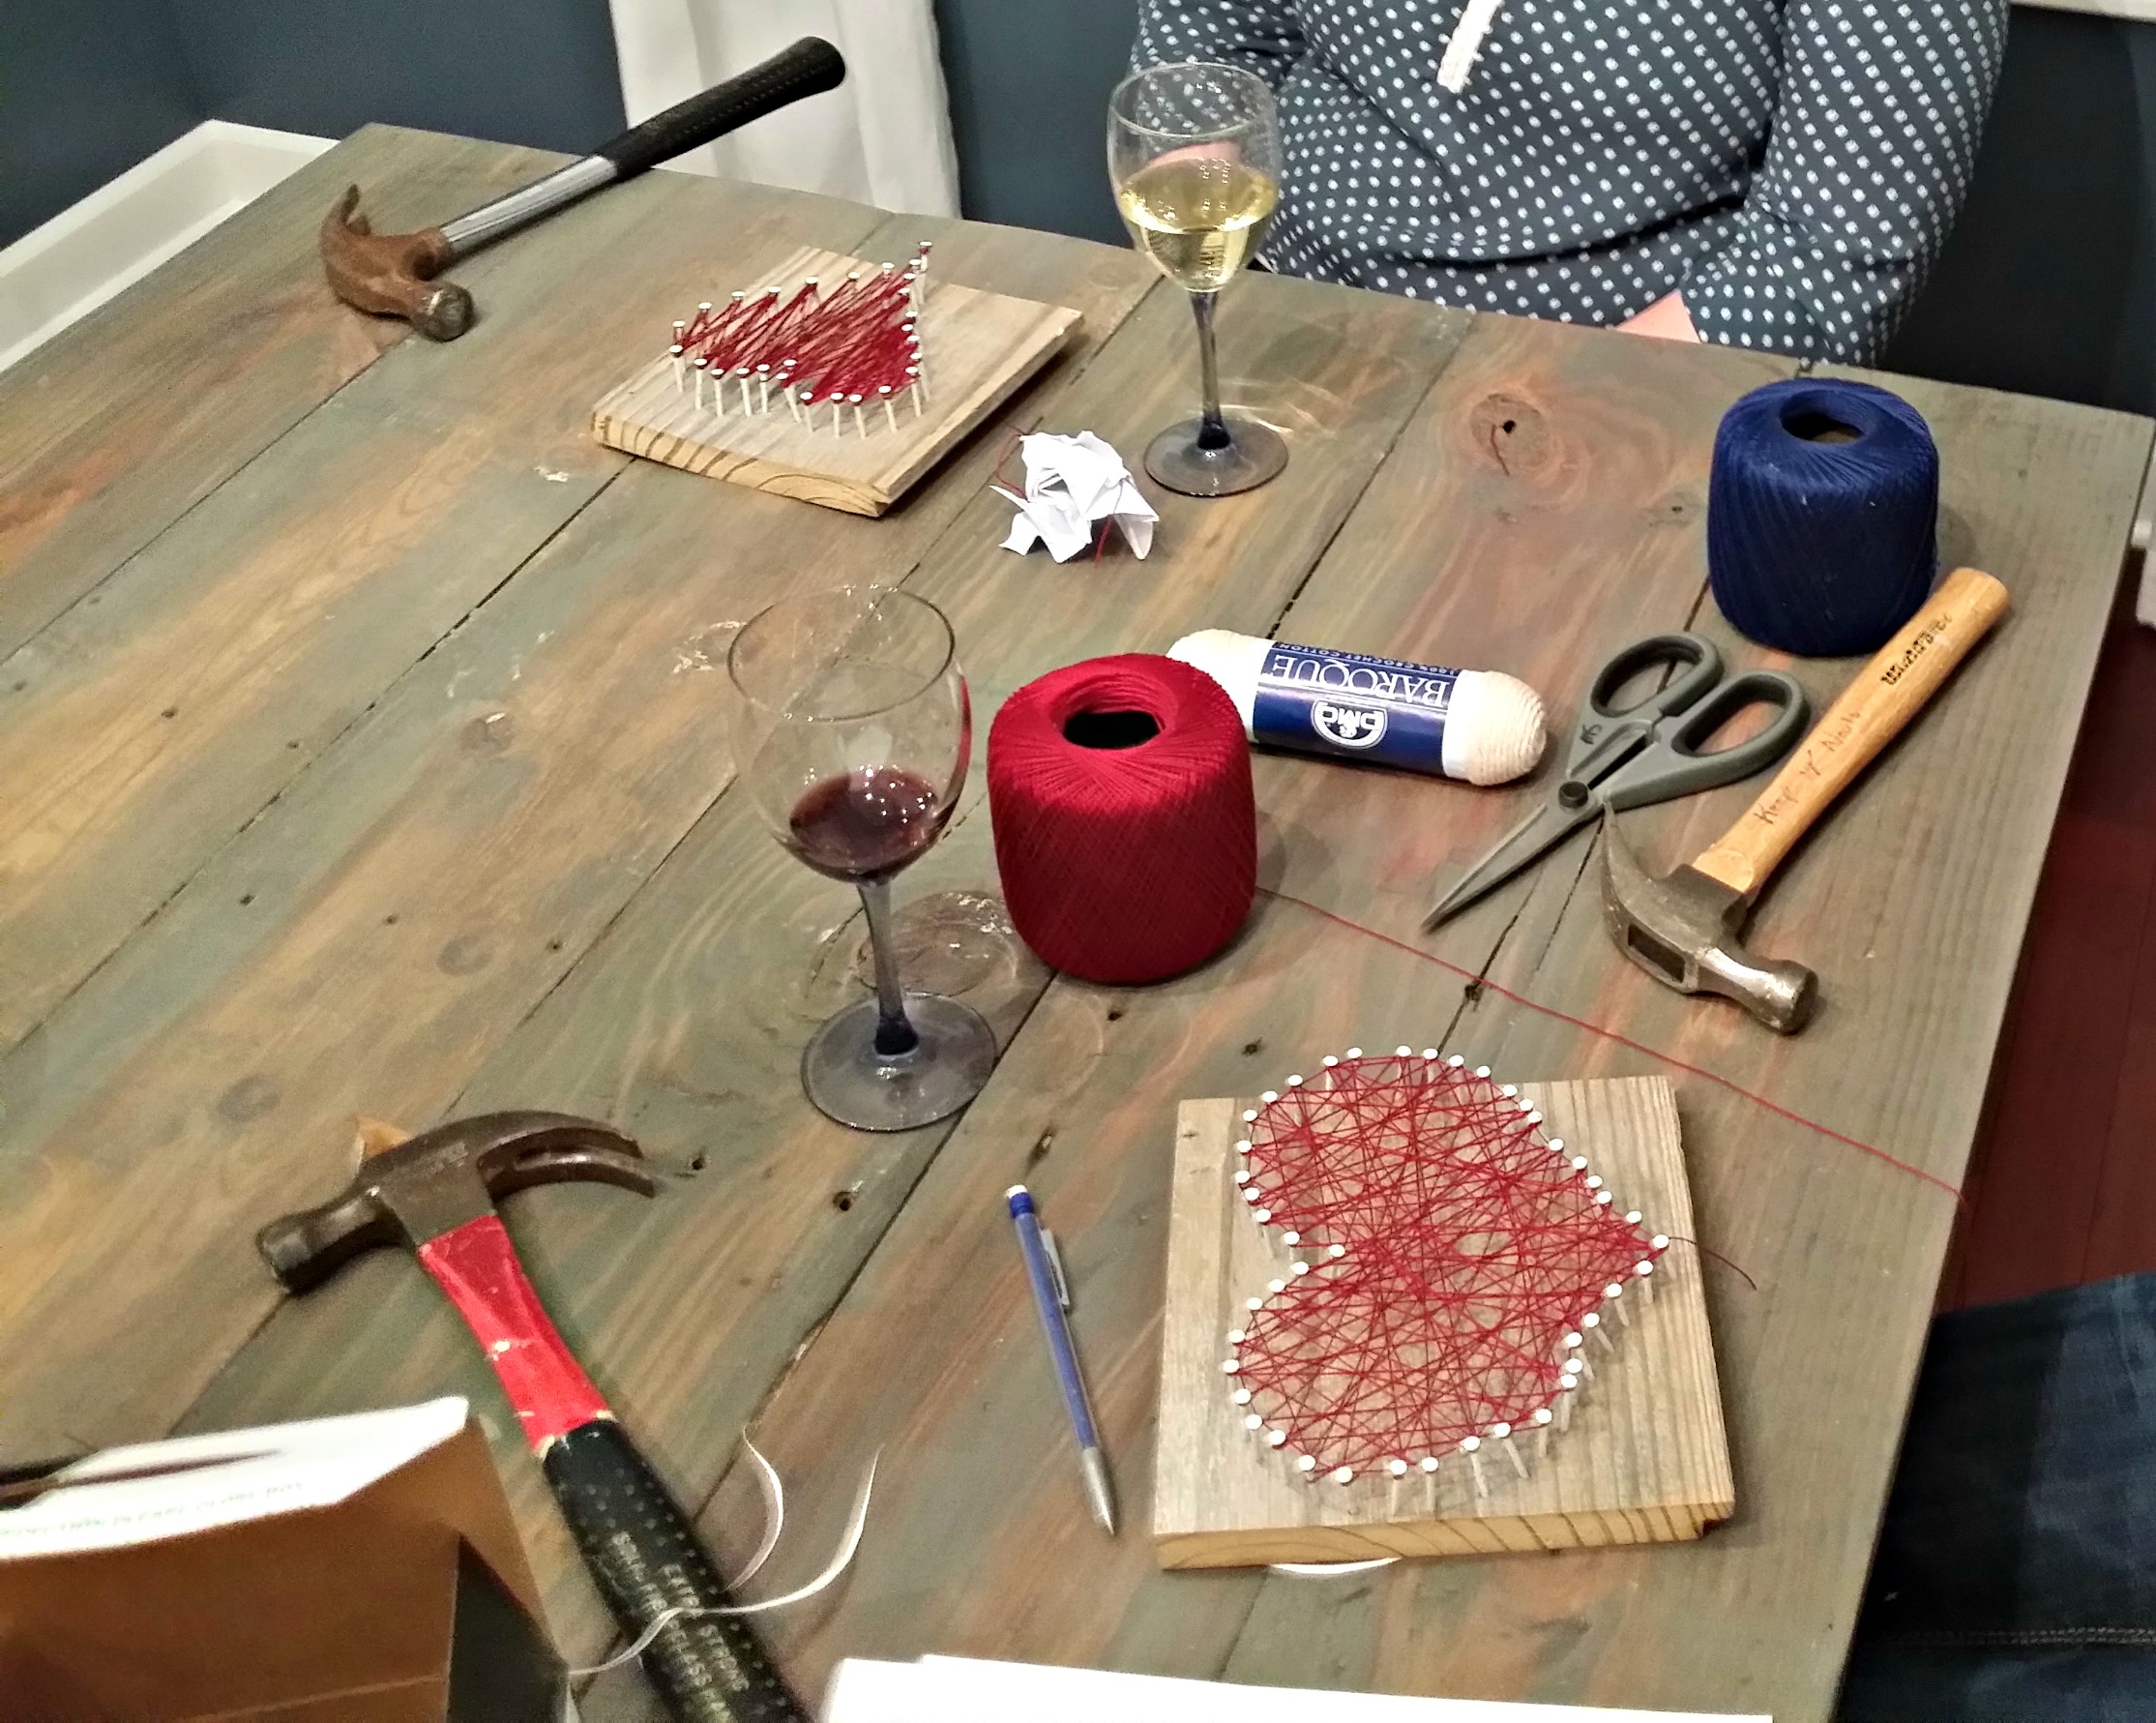
Lastly, local readers mark your calendars!  I'm helping host a Pinterest party at the Michael's in Davenport on February 16th from 1-4pm.  This is kind of a big deal for introvert Michelle.  My hermit self was super close to turning down the offer.  I hope you can come experience me being socially awkward in person!  More info on Monday!

IMG_20140206_141531.jpg

Got any big weekend plans?  Anyone living in warm climate have a guest room Ike and I can borrow for a few months?  Be careful what you offer up. ;)

New Shop Photos

You ask and you shall receive here at Decor and the Dog.  (Unless your request is less Ike photos or for me to not type random nonsense.  I can't grant those wishes.)

We had requests for Miley to be added to our Photo Shop.  (I really should have given her a better name. Not that Miley is a bad name. What I mean is that I should have named her after someone more dignified. Is this how parents feel when naming a newborn?  So much pressure.) 

Our lovely dining room cow is paired with some other great Midwest farm photos that Nate took this fall.  The black and white rolling hills photo was taken a couple of miles from our house.  The lower three photos were taken in South Dakota.

The photos are listed in the shop individually and also as a bundle.

Head on over to our shop to check out the new additions and the option to add Miley to your home!  (They're located at the bottom of the page!) We'd love to see how you use them in your home decor!

Dining Room Cow

Ike and I want to adopt a cow.  This cow.

Cow Art | Decor and the Dog

I named her Miley.  The tongue.  It kills me.

Nate snapped this shot in October while staying at his cousin's house in South Dakota.  It's a good thing I wasn't along because I think I would have had to buy a trailer to bring her home with me.

Instead she is now living in our dining room.  Because every "formal" dining room needs a cow on the wall.  Am I right?  

I think she complements our antiques sign quite nicely

Cow Art | Decor and the Dog

I smile every time I walk by.  I love that she is now our front door greeter.  Well, along with Ike.

Cow Art | Decor and the Dog

We ordered the canvas from CanvasLifestyle during an Amazon Local deal.  The price was right.  We're happy with the quality of the canvas.  Our only complaint is that it took a month to arrive.  (Their estimated turn around time is 10-22 business. Ours took closer to 30.)

Cow Art | Decor and the Dog

I think our dining room is now complete.  I think.  Until next month.

***Psst.  Miley is now up for sale in our Photo Shop!***

Crockpot Rotisserie Chicken

Fact: Meat, although delicious, is disgusting looking and therefore hard to photograph. (Sorry vegetarians.)

Crockpot Rotisserie Chicken | Decor and the Dog

Fact:  This recipe will change your life.  Or allow you to be really lazy on Sundays.  Both have happened to Nate and I.

I had seen 1 million recipes for crockpot rotisserie chicken floating around on the ol' Pinterest.  They were all basically coat the chicken in olive oil and rub on spices to your liking.  We've finally concocted our liking.

I hate crockpot recipes that require 40 minutes of prep.  What's the point of a crockpot?  To be a lazy cook.  This recipe. 5 minutes.  We eat it almost every other Sunday. It's such an easy meal idea.   It's also the best way to make sweet potatoes.  Slow cooked and soaked in chicken fat.

The only bummer of this recipe is pulling the junk out of the chicken's bum.  I always get really excited when Target has the chickens without the junk inside.  (Tip: If the grossness is still inside, wrap your hand in a baggy and scream like a school girl when you pull it out.  Totally helps.)  Who's hungry?

Crockpot Rotisserie Chicken | Decor and the Dog

Happy weekend!  Any big plans? I honestly haven't thought that far ahead.  I do know we have another round of snow coming.  Awesome.  Not.

Looking for more recipes?  Check out our Cook It page!

Two Sided Infinity Scarf Tutorial

Last week I mentioned my obsession with crochet.  I'm also currently obsessed with Hershey's Hugs and sewing infinity scarves.  The infinity scarf thing is becoming an issue. The Hugs are not.

My latest scarf need was an animal print scarf.

Infinity Scarf Tutorial | Decor and the Dog

This obession is the direct result of this pin.  Stupid, beautiful Pinterest.

I had to have that animal print scarf.  

Infinity Scarf Tutorial | Decor and the Dog

Ike felt just as strongly about the situation.

Non-cheesy animal print scarves are hard to come by.  The ones I did find were like $30.  Yep.  Not gonna happen.  I picked up some ol' animal print fabric at Joann's and whipped me up two beauties.  One is solid animal print.  The other is a two sided infinity scarf with some dots mixed in.  I like that the two side one can show more dot or more leopard depending on my ever changing mood.

Here's how to make your own infinity scarf!

Start by cutting two 9" x 54-58" rectangles.  I used 58" on the animal print only scarf.  I used 54" on the dot/animal print combo. I personally like the 54" but it is a tighter fit.

Infinity Scarf Tutorial | Decor and the Dog

Pin the right sides together and sew along the long edges.  You'll be left with a long tube.

Infinity Scarf Tutorial | Decor and the Dog

Turn inside out.  Pin the two inner layers right sides together.

Infinity Scarf Tutorial | Decor and the Dog

This part is a little hard to explain but it's easier than my old way.  Start sewing around in a circle.  Keep pulling the fabric and sew until you are left with about a 2 inch hole.  (For alternate directions that might be easier to understand, read my flannel infinity scarf tutorial!)

Infinity Scarf Tutorial | Decor and the Dog

Hand stitch that opening shut and your scarf is complete.  $4-5 and about 15 minutes.  Not too shabby!

I'd take a poll of who modeled the scarves best.  But I hate losing.

Infinity Scarf Tutorial | Decor and the Dog
Easy Sew Double Sided Infinity Scarf

What's your latest addiction?

DIY String Art + Craft Night

Oh, craft night.  One of my favorite nights each month.  Our craft night group marked our one year anniversary this month.  We celebrated with delicious food, wine and crafts.  Wait, we do that every month.

DIY String Art + Craft Night | Decor and the Dog

Each month, one person hosts.  We all bring an appetizer or dessert to share.  Each month we try a different craft.  We've made yarn wreaths, embroidered tea towels, boxwood wreaths, pottery,  rubber stamps, etc.  Craft night is great for tackling crafts that have been on our lists but we just haven't gotten around to trying.  Craft night also allows us to try crafts that we never would have otherwise.  And my craft night group is made of some of my favorite people in the area.  Aww, mushy.

I hosted this month.  Our craft was string art. 

Ike was super helpful.  Here he is supervising my nailing.  This was in between stealing food and a baby's blanket.  He's a good host.

DIY String Art + Craft Night | Decor and the Dog

I have so many favorites about craft night but one of them is that we each take our spin on the project.  So even though we all did hearts, they all look a bit different.  (Well, except for Kim.  I think she was in my garage beating her board to smithereens during this photo.  We don't all win every month at craft night.)

DIY String Art + Craft Night | Decor and the Dog

Here's how mine turned out.  I think it's quite charming.

DIY String Art + Craft Night | Decor and the Dog

A few people commented on Instagram that they wanted a tutorial.  There are probably 100 better tutorials out there but this is how we did ours.  None of us researched it.  We just assumed nail, wrap string, done.  And that was pretty much right.

Here are the supplies we used for our string art:  nails (small is better), string, wood, hammer.

DIY String Art + Craft Night | Decor and the Dog

I started another one (that I need to finish).  We traced our design onto the wood and then went to town nailing.  It's probably best to space them evenly.  I tried to do about a fingers width in between but it didn't always work out that way.  Some of my nails are crooked.  I call it rustic.

DIY String Art + Craft Night | Decor and the Dog

Once all of the nails were in, we wrapped the string.  There was no rhyme or reason to this.  I wrapped until it looked pretty.  How's that for scientific?

DIY String Art + Craft Night | Decor and the Dog

I then stuck it on my half decorated book shelves in the living room.  Hey, at least my Christmas decorations are finally down.

DIY String Art + Craft Night | Decor and the Dog

It's currently living next to baby Nate and Michelle on their wedding day.  Awwww.  Love.

DIY String Art + Craft Night | Decor and the Dog

Craft night success.

Do you have a craft night group?  Any great ideas for our upcoming craft nights?

DIY Nursery Mobile | Tutorial

People that follow me on Pinterest were all like "MICHELLE'S HAVING  A BABY!!!" because I was pinning nursery stuff.  I was pinning them onto a board titled "Meg's Nursery".  Meg isn't my alter ego.  She's a college buddy.  Don't you worry.   I'd totally have a secret board for my own nursery business.

I mentioned last week that I did a couple of quick projects to help Meg with her nursery decor. (See the growth chart here!)

One project was a nursery mobile.  Or three.  Triplets.  Wow.

mobile 3.jpg

Meg had pinned some ideas of mobiles she liked.  They all involved threading the paper. That seemed difficult. I thought I remembered seeing a mobile similar to the ones Meg liked made by my buddy, Gretchen {Boxy Colonial}.   Gretchen is super smart and used double stick tape to keep the circles together.  I love blog friends.  

Here's how I made my mobile.  I'd say it took around 30 minutes to make one mobile.

Supplies:

1" circle hole punch

2" circle hole punch

clear jewelry thread

cardstock  (I used 4 colors)

embroidery hoop

glue gun

mobile 5.jpg

Cut out 1 million circles.  Or if you are making one mobile like mine you will need ten 2" circles of three colors and 1" circles of four colors.

Grab an end of your clear thread.  Start with your bottom color (yellow for me).  Place a piece of double sided tape on one of the circles.  Place the thread on top of the tape.  Seal with a second circle.  Repeat for each dangly piece.  I just eye balled the spacing.  I think they look best with small gap between circles.  Leave a couple of inches of clear thread at the top to attach to the embroidery hoop.

mobile 6.jpg

Grab your hoop.  Apply a small dab of hot glue to the embroidery hoop.  Attach the clear clear to hot glue.  Allow to cool.  Move onto next strand spacing evenly apart.

mobile 7.jpg

Apply string to hang from the ceiling using a hook.

Mobile.jpg

These nursery mobiles were a lot easier to make than I expected.  Always a pleasant surprise.

nursery mobile.jpg

Hiding anything good on your Pinterest boards?  Do tell.

DIY Dining Cart Tutorial

Remember our precious dining cart that we posted about last year?  (I love jokes like that in January.)

We're here with the dining cart tutorial so you can build your very own.

DIY Dining Cart Tutorial | Decor and the Dog

I'm glad Nate humors me and my crazy furniture building ideas.  I like that he now makes my ideas come out better than I can even imagine.  That's love.  Enough mushy stuff.  Let's get to the tutorial which Nate wrote for the blog.  (Also love.)

Material List

8 - 2"x4"x8'

2"x3" - Only need 28", so get the smallest one possible, or rip a 2"x4" down

2 - 3/4" x 6' black iron pipe

4 - black iron end caps

4 - industrial wheels

2 - corner brackets

2 1/2" pocket hold screws

Kreg jig mini

wood glue

Construction adhesive (we use Loctite Power Grab)

Black spray paint

Small nails or upholstery tacks 

Cut List

2"x4"

4 - 30.5" (sides)

6 - 45" (outsides of shelves)

6 - 38" (middles of shelves

6 - 7" (ends of shelves)

Β 

2"x3"

4 - 7" (middles of sides)

Start by building the sides, using pocket holes and glue.  Attach the 7" 2x3 to the top and bottom of the 30.5 2x4.  I used one hole at the tops of the 2x3's as it will be hidden by the shelves.

DIY Dining Cart Tutorial | Decor and the Do

Β 

Next, build the 3 shelves.  I attached the two outside 7" 2x4's to the 45" 2x4 with wood glue and pocket holes on the bottom of the shelf.  

DIY Dining Cart Tutorial | Decor and the Do

Using wood glue and pocket holes attach the two 38" middle 2x4's, then attach the other outside 45" board.  Repeat for other 2 shelves.  If some of the boards are a little uneven, sand with belt sander or use a planer to even.

DIY Dining Cart Tutorial | Decor and the Do

Using pocket hole screws, attach the bottom shelf to the bottom of the 2 sides.  

DIY Dining Cart Tutorial | Decor and the Do

Then mark 13 3/4" up from the bottom shelf on the sides, attach the middle shelf using those marks with pocket hole screws. 

DIY Dining Cart Tutorial | Decor and the Do


Finally, attach the top shelf to the top of the sides.

DIY Dining Cart Tutorial | Decor and the Do

Β 

Drill holes for the rods in the back, measure up 5" from the bottom and middle shelves, then in 5/8".  Drill hole slightly larger than the pipe, the hole for ours was 7/8".  When drilling, put a scrap board behind the 2x4's in order to prevent the back side from "exploding" when the bit goes through.

DIY Dining Cart Tutorial | Decor and the Do

Β 

Sand any remaining uneven surfaces.  Stain or paint and poly.  We used Rust-Oleum wood stain in weathered gray.

DIY Dining Cart Tutorial | Decor and the Do

Β 

Using a hack saw, cut the black iron pipe so when a cap is placed on one end it will go into the opposite hole about 3/4". Test fit the cut, leaving it in the board, measure the remaining length needed (probably about 1 1/2" or so).  Cut that length off of the remaining pipe, making sure to keep the threaded part.  I did this in order to keep the threads on both sides so the cap will screw on.  There is probably a tool that will put threads on the end of the pipe after it is cut but I don't do that much work with this material so this seemed cheaper than buying a tool only to use it once.  Put end cap on short piece. Test fit making adjustments as necessary.  Put construction adhesive around the end of the cap and down pipe a bit, and on the longer pipe put adhesive on the end once just before putting it into the opposite hole.  Repeat for second shelf.  Let glue dry.

DSC_0061.JPG

If you cannot find vintage corner brackets and wheels, use new brackets (inexpensive ones from any hardware store) and beat them up a bit with a hammer.  We spray painted ours black.  We purchased these wheels and gave them the same treatment.

Attach the corner brackets with nails or tacks to the top front corners. We used upholstery tacks.  Note: You will have to spray paint nail or tack heads to match brackets.

DIY Dining Cart Tutorial | Decor and the Do

Attach wheels to bottom of the cart, I placed mine on the outside, with the end of the wheel on the end of the shelf.

DIY Dining Cart Tutorial | Decor and the Do

Place your dining cart in it's home and fill it with beautiful Pyrex.  Or whatever you want to store, I guess.

Antiques sign 1.jpg

Nate and I are now talking built in shelves for the living room.  Pesky tax season is going to make that a long process but we'll get there!

Check out our "build it" page for more free furniture building tutorials!

Any furniture builds in your future?

Linking up to: Thrifty Thursday

Crochet Bow Necklace | Tutorial

I have a new obsession.  Crochet.  All things crochet.  Crochet necklaces. Crochet baby hats. Crochet granny square blankets. I can't get enough crochet.

You may be asking "How old are you, Michelle?"  The answer is 87 trapped in an almost 32 year old body.

Before I go drink my prune juice, I'd like to share with you a tutorial for a crochet bow necklace.  I had seen a few on Etsy but couldn't find a tutorial that I liked.  The bows were either too flat or the steps looked way too long and drawn out for a silly necklace.  But I must have a bow necklace.  I mean, look how cute it is!

Crochet Bow Necklace Tutorial | Decor and the Dog

Please excuse the lack of face in these photos. I had a wicked sinus infection and no one needs to see what was happening above my chin.

Crochet Bow Necklace Tutorial | Decor and the Dog

I made two sizes.  I like them both but I'd choose the little yellow guy as my favorite if I had to.  I want to make an even tinier one but I need a smaller hook.

This is a fairly easy crochet project.  I have had people ask how I learned to crochet.  My grandma taught me how to knit and crochet when I was around 10.  I've mainly been a knitter since then but knitting takes so darn long.  I just never really caught on to crochet.   As I've aged, I've become increasingly impatient and I needed a quick yarn fix.  I started making a baby hat about a month ago and it just clicked.  As in, I get it. I get complicated patterns.  I'm not sure what happened but I like it.

If you want to learn (or re-learn in my case), I recommend the Learning Center at Lion Brand Yarn.  There are always Youtube tutorials.  My buddy, Rachel {Maybe Matilda}, has a great step-by-step guide for stitches.

For this "pattern", I realized that if I scrunched a basic tube in half I'd have a bow.  A bow that has some dimension to it.

Here's how to make your own!  You can do this.  Trust me.  I'm a doctor...of pharmacy.  

I'm going to write this in Michelle instead of normal crochet pattern.  Hopefully it will make it easier for beginners to understand.  And annoying for everyone else that crochets.

Crochet Bow Pattern

Size G hook

worsted weight yarn

Step 1: Little Bow: Cast on 20 stitches leaving a very long starting tail (~20 inches).

              Big Bow: Cast on 28 stitches leaving a very long starting tail (~20 inches).

Step 2: Join to first chain using a slip stitch to work in the round. Be careful to not twist your chain!

Step 3: Chain 2

Step 4: Double chain evenly around.  Join to first stitch using slip stitch.  Chain 2.

Step 5: Repeat step 4

Step 6: Repeat step 4

Step 7: Repeat step 4

Step 8: Fasten off leaving a very long tail (~20 inches).

Step 9: Wrap the two tails around the middle of the bow.

Step 10: Tie a knot to secure the ends.

Step 11: Thread chain onto necklace.

Step 12: Be proud of your new granny necklace!

Here's some visuals for you.

Step 1

Step 1

Step 2

Step 2

End of Step 4

End of Step 4

End of Step 7

End of Step 7

Step 8

Step 8

Step 9

Step 9

Step 10

Step 10

Step 11

Step 11

Step 12

Step 12

What's your favorite elderly pastime?

DIY Growth Chart Tutorial

Kids.  They grow up so fast.  You want to remember every stage.

That's why I made Ike a growth chart.

DIY Growth Chart Tutorial {Decor and the Dog}

Look how tall he's getting.

I kid. I kid.

I whipped up this ol' ruler growth chart for a friend that is expecting triplets any day.  (Yep.  You read that right.  Triplets.)

I'd previously seen these growth charts all over the interwebs.  Turns out they are super easy DIY.  Here's how I made my wooden growth chart!

I purchased a 6 foot 1x10 from Lowe's.  I sanded it down a little (probably should have done a little more. Slacker).  I then gave it two coats of Sherwin Williams Pool House beings it was free in my basement.

DIY Growth Chart Tutorial {Decor and the Dog}

I used a ruler and lightly made 1 inch marks along the side.

DIY Growth Chart Tutorial {Decor and the Dog}

I applied painter's tape 2 inches from the side to help keep my lines crisp.  I then used a Sharpie paint pen and my ruler to draw many tiny straight lines.

DIY Growth Chart Tutorial {Decor and the Dog}

At each 12" mark I made a larger line across the board.  Keep in mind how far off the ground you will be hanging your sign.  I started my sign about 4 inches before the 1 foot mark.  We then hung the sign accordingly.

DIY Growth Chart Tutorial {Decor and the Dog}

I printed off numbers 1 through 6. I then traced them onto my board. I usually use tracing paper but this wood was soft enough to just trace onto the board by pushing hard with a pen.

DIY Growth Chart Tutorial {Decor and the Dog}

I then filled in each with my Sharpie paint pen.  Seriously easy project.  I think it took me about 45 minutes to do all of the marking and painting.

DIY Growth Chart Tutorial {Decor and the Dog}

All that's left is to hang it.  Which I failed to get a picture of in the nursery.  Weak.

DIY Growth Chart Tutorial {Decor and the Dog}

I was too busy figuring out how to break the news to Ike that this isn't his growth chart.

DIY Growth Chart Tutorial {Decor and the Dog}

He's still not understanding.