How to Paint a Vintage Sign

They say imitation is the sincerest form of flattery.  

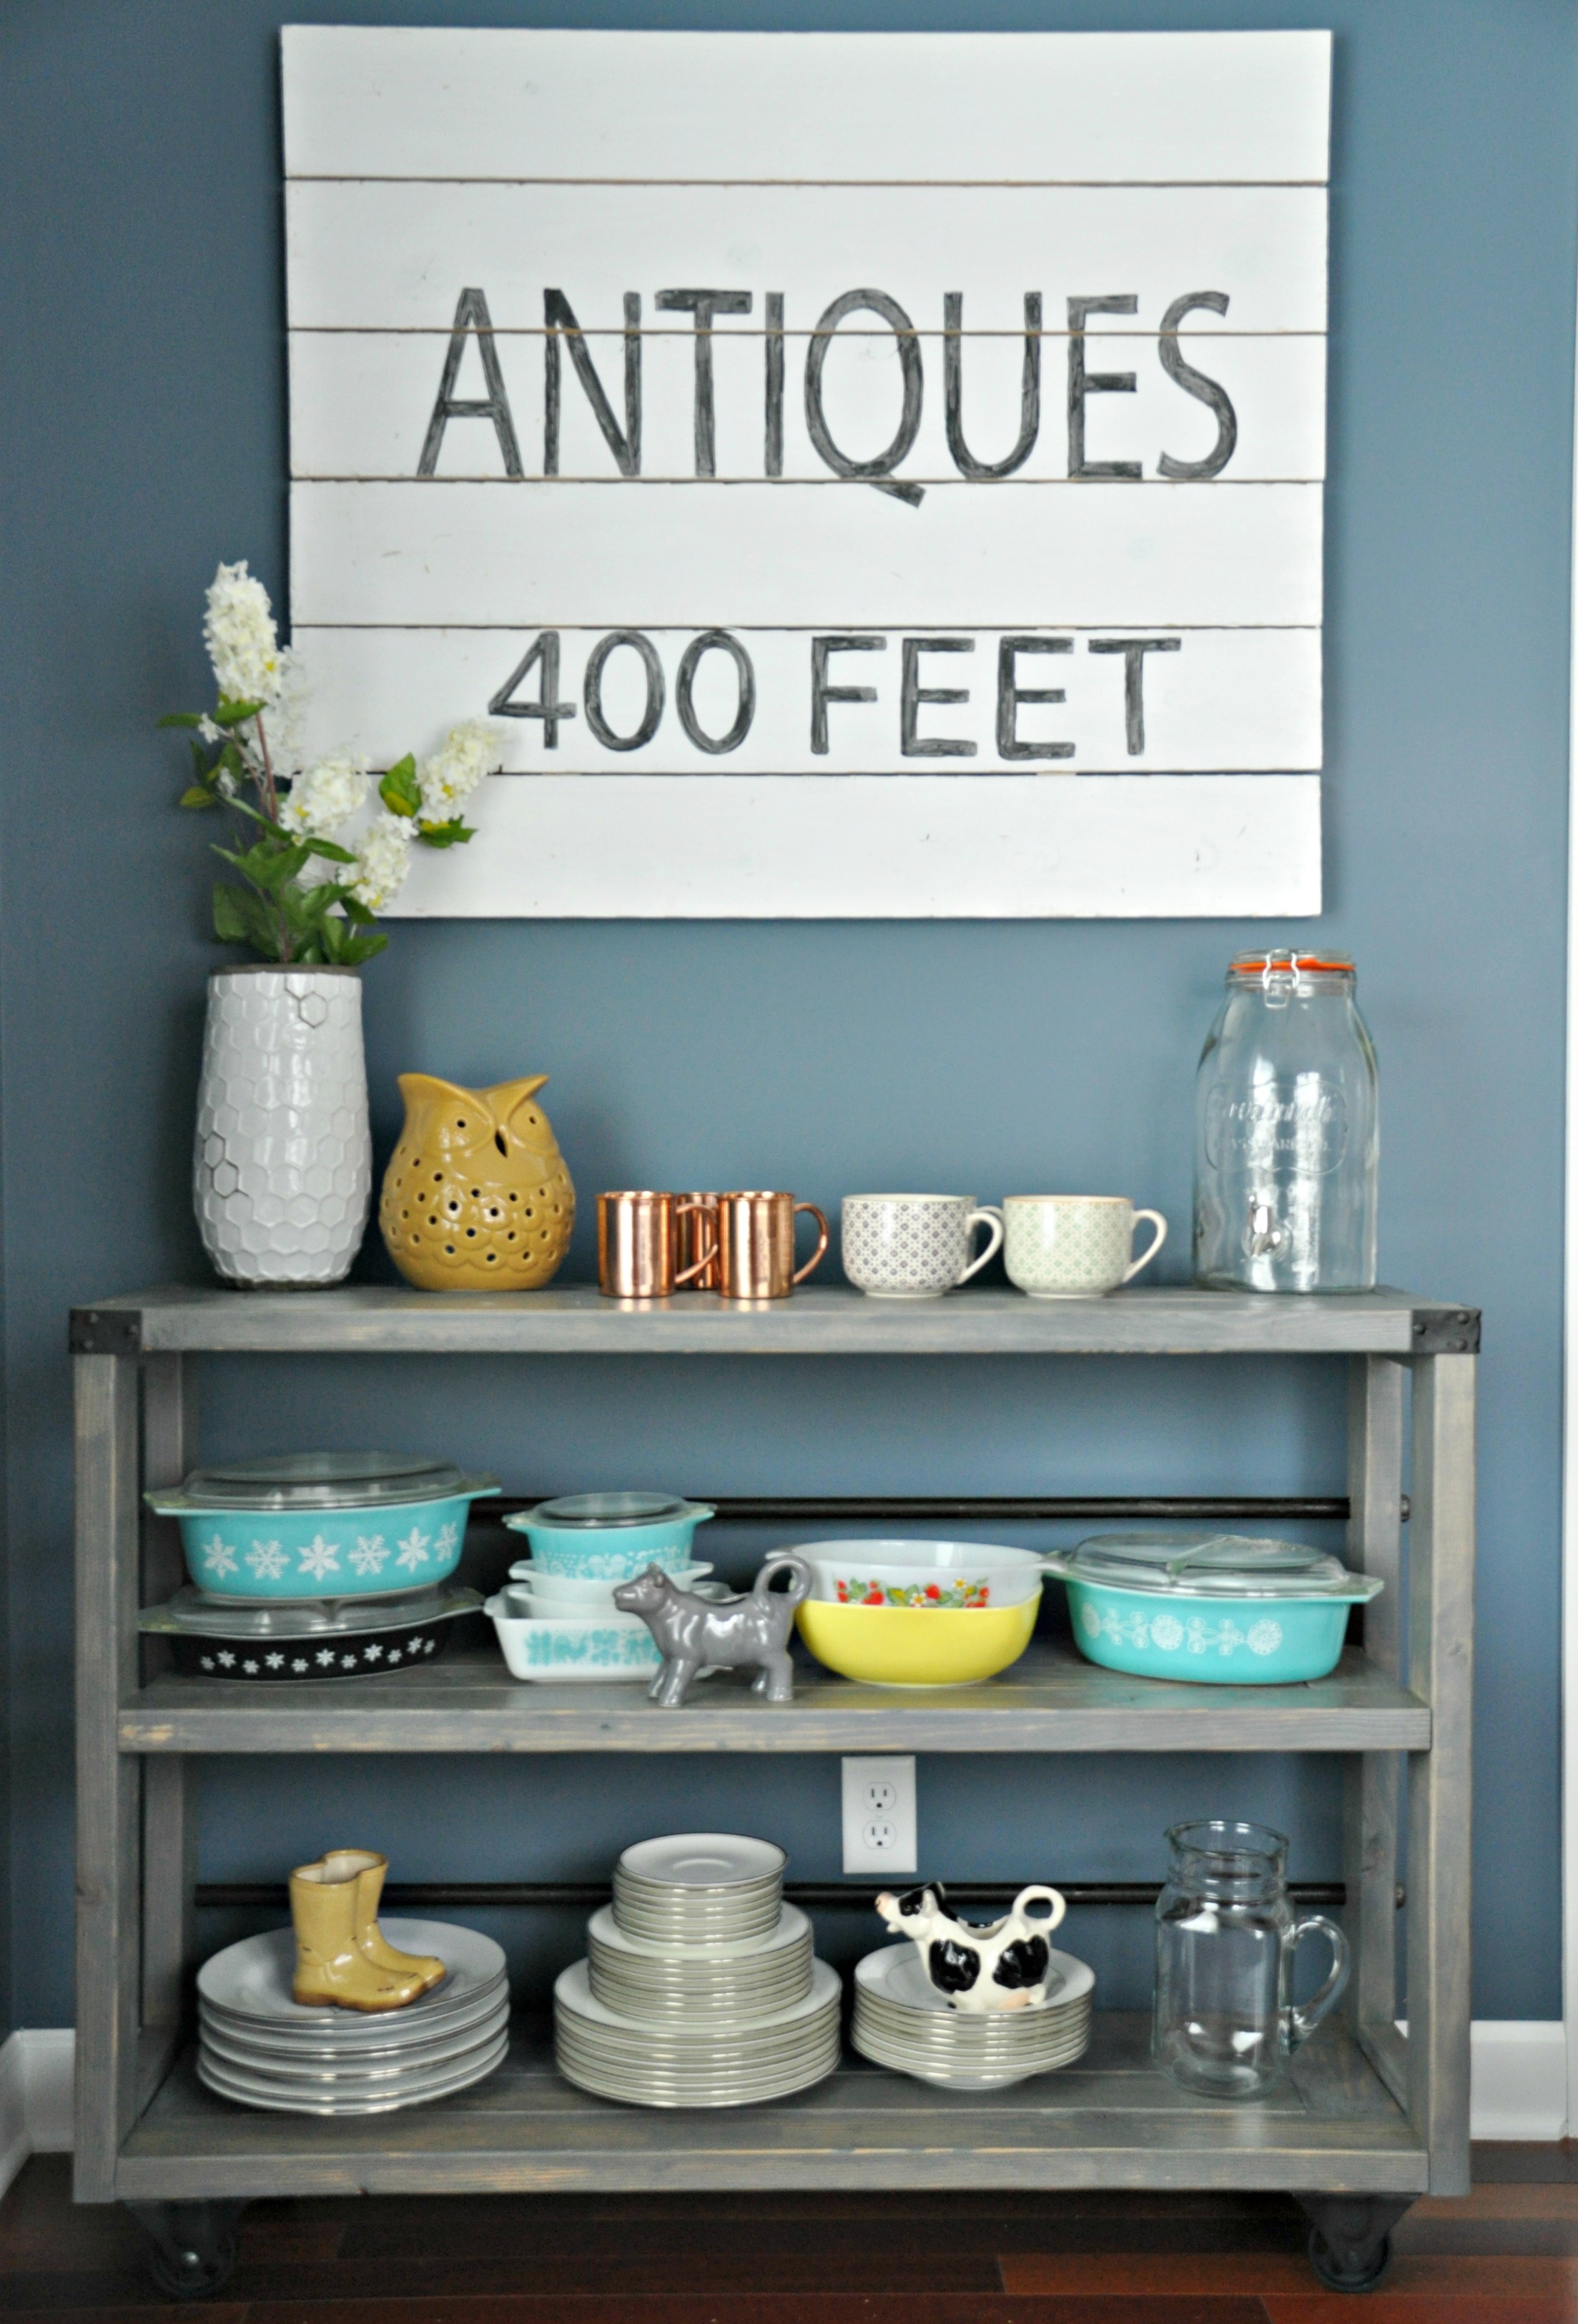
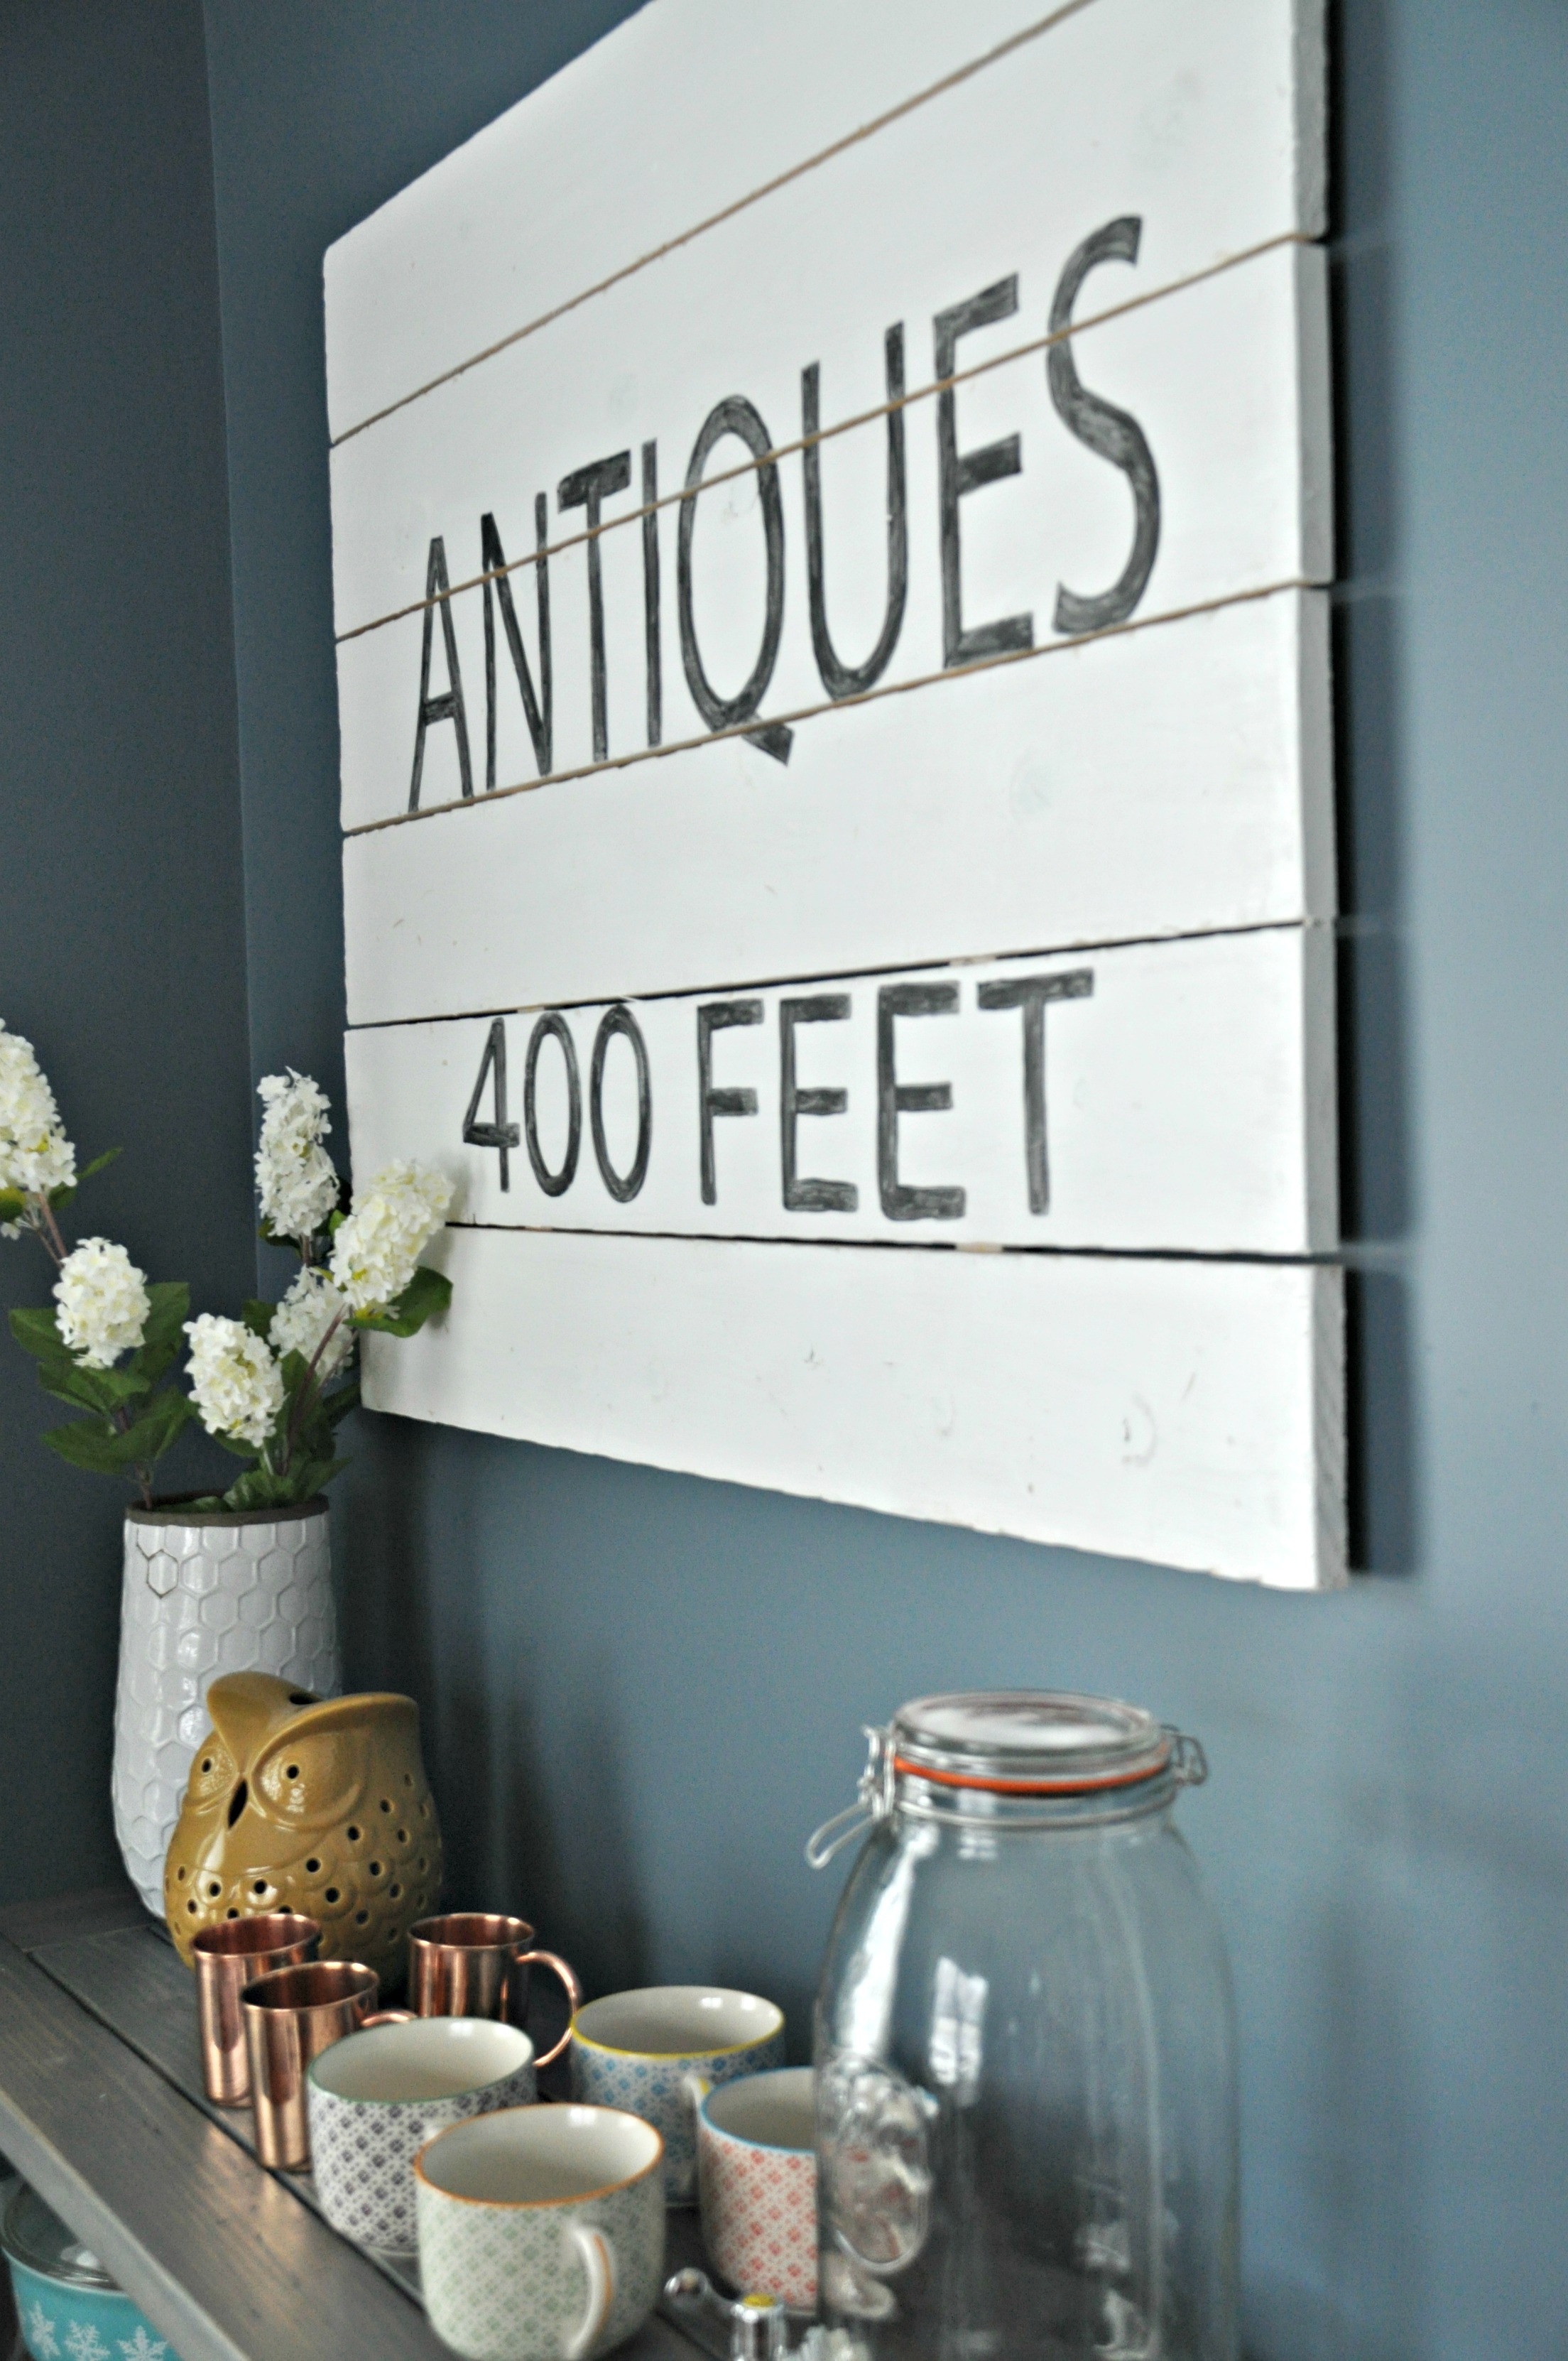
If that's the case, I hope that Cassie {Primitive and Proper} is flattered.  I have had my eye on her painted wood antiques sign for quite some time.  Something about it spoke to me.  I really wanted it for my dining room.  

My options were:

  • Borrow it from Cassie during the Winter while she is using her fireplace (she offered). 
  • Steal it (illegal).
  • Make my own (good choice).
Vintage Sign Tutorial {Decor and the Dog}

I had Nate cut some 1x6's to size.  (Our sign is 34" long x 40" wide.)  We then beat up the boards with a hammer and screw driver to give the painted sign a "vintage" look.

Nate then placed the boards on a flat surface using a nail to space them evenly. 

Vintage Sign Tutorial {Decor and the Dog}

He then cut two 1 x2's a little shorter (1/2 inch) than the length of the sign.   (33.5" in our case.)

Place the 1x2's about 6" from each edge and put a screw in each board.

Vintage Sign Tutorial {Decor and the Dog}

After the sign was assembled I gave it two quick coats of white paint.  I applied the paint thinly and didn't worry about even coverage or painting into grooves or holes.  Again, I wanted this to look old.

It was then time to add the lettering.  I started by designing my sign in Photoshop.  I wanted my sign to resemble something that would have been quickly hand painted and stuck outside a store back in the day.  A fancy font wouldn't have looked right.

Vintage Sign Tutorial {Decor and the Dog}

I placed my printed design on top of the wood.  I placed tracing paper under the sign.  I used a ball point pen to trace over my design.

Vintage Sign Tutorial {Decor and the Dog}

I then used some black paint and small paint brush to carefully fill in my tracings.  

Vintage Sign Tutorial {Decor and the Dog}

I was going to do two coats but I thought it would look more vintage if I did one coat and then a light sanding.

Vintage Sign Tutorial {Decor and the Dog}

After the painting and sanding, we hung it on the wall.

Vintage Sign Tutorial {Decor and the Dog}

I like how the vintage painted sign looks above our dining cart (tutorial coming soon).

Vintage Sign Tutorial {Decor and the Dog}
Antique Sign DIY Tutorial {Decor and the Dog}

It's always good when you can use your DIY skills to keep you from jail time, right?  

Cheeseburger Cups with Homemade Biscuits

Happy Friday!  It's been quite the week weather-wise here.  We started the week with -50 windchills.  Today it's supposed to rain.  Iowa is weird.

I'm blogging about the weather.  Oh, boy.  I have projects for next week.  Pinky swear.  And my Christmas tree might be down then.  Bonus.

Today I'd like to share with you an update to one of our  favorite quick and easy dinner recipes, Cheeseburger Cups.

Cheeseburger Cups {Decor and the Dog}

Nate and I have been trying to eliminate processed food from our diet. (We're not clean eaters.  We like flour.  We like ketchup.  We just want our food to no longer come in a box, bag or can.)  We've done fairly well over the past 4 months or so.  The problem is that like all good people from the Midwest, we like our comfort food.  We were missing our cheeseburger cups.  The problem with our old cheeseburger cups is that they are made with refrigerated biscuits.  Although delicious, the biscuits don't really fit well into our new eating plan.

The other night we decided to make them using our favorite baking powder biscuits.  (We also shred our own cheese now instead of buying the packaged stuff.)  Nate and I figured there was no way they would taste as good.  Turns out we both thought they were better.  Yay for real food.  

Enjoy this easy dinner idea!

Cheeseburger Cups with Homemade Biscuits {Decor and the Dog}

Be sure to check out our "cook it" page for more recipes!

Hope your weekend is fabulous!  We have plans to help a friend with her nursery and get our house in order. See you Monday!

Super Mustache Pillow Cover {Easy Sew Envelope Pillow}

I decided that beings my Christmas tree is still up, let's talk about a Christmas gift today.  Seems fitting.

My brother was in desperate need of pillows for his living room couch.  He's also a nerdy hipster wannabe like his sister so I thought some easy sew pillows with way too many mustaches seemed like a fitting handmade gift idea for him.  (That was a really long sentence.)

Totally adorable (I mean, manly) nerdy hipster, right?  I thought so.

More importantly, Ike approved. 

(Side note: Ike got a pretty bad hair cut right after these photos were taken.  Ike misses his fur. I miss his super furry face. HE'S SO FLUFFY!!!)

Ike was happy to assist me in the pillow making because he has a special relationship with his uncle.  They get each other. 

Oh, brother.  Someday he'll earn that Christmas card photos go faster if you stop messing around.  But then again, we wouldn't have this gem if he behaved.  

Back to the pillow making.  Through many rounds of trial and error, I have finally mastered the art of pillow cover making in under 10 minutes.  Seriously.  You can sew a pillow case in the same amount of time it takes to make macaroni and cheese.

Warning: this tutorial is super technical. And by super technical I mean that it is totally not at all.

First you need to cut your fabric to a size that correctly fits your pillow.  You don't want it too loose or too tight.  I err on the side of tight because I hate sloppy pillows.  

To determine the size of fabric I grab my pillow form (or whatever old pillow I'm covering) and my fabric.  I fold one end about half way on the pillow.  I fold the other end up and determine where to cut across.  I leave about a 3" overlap for the "envelope" on the back of the pillow.

To determine how wide to cut the pillow, I leave a small amount (1/4"ish) on each side.  Again, err on the side of tight.

After those wonderful instructions that make total sense, you should haven something like this.

You will need to hem each short end.  I fold under about 1", iron and sew a straight line.  The hard part of sewing isn't actually sewing. It's the dumb cutting.  Seriously.

Once both ends are hemmed, you fold the fabric right sides together.  I place my fabric next to the pillow and use the pillow as a guide for the size. Make sure to leave the 3"ish overlap.  (FYI, whatever hemmed side you put on the bottom will actually be on the top of the back of the pilllow.)

Pin and sew along both sides (I use a 1/4" seam allowance).  Fold inside out.  Bam!  Pillow cover sewn.  Look at you!

Now that your cover is sewn, you can add a mustache (or whatever your heart desires) on the front on the pillow.  I don't have a fancy cutting device so I go the old school route.  Google "mustache clip art".  Print one you like.  Trace it onto some Heat n' Bond.  Apply following Heat n' Bond's instructions.  (Once you trace and cut out your mustache, you will peel back the paper back backing and apply with an iron.)

Mustache pillow complete.

10 Minute Envelope Pillow Tutorial.jpg

Ike says he mustache you a question.  "Do you like his mustache pillow?"

You knew I couldn't go a whole post without the mustache line, right?

Photobucket Photobucket Photobucket PhotobucketPhotobucketPhotobucketfollow us in feedly

2014 Goals

I'm starting 2014 today.  Why?

1. Because my New Year up to this point has been lame.  I backed Nate's car into the garage and busted his driver's side rear view mirror. (Thankfully, that is all.)  I then proceeded to get that awesome stomach virus that the rest of the world had before me.  Awesome.  

2. Who starts a new year on a Wednesday?  The only thing I am ready for on Wednesday is a nap.  I'm totally not ready for a whole new year.

Happy 2014!  Since it's the new year today I'm totally not behind on the 2013 recap and 2014 goals.  (Don't tell me otherwise.)

I was going to do a round up of our best posts from 2013.  That seemed like a lot of work (and I was bored with my Feedly last week) so I HIGHLY encourage you to check out the new archives tab at the top of the blog.  From there you can select 2013 and choose your own favorite.  There is also now an archive for all blog posts.  We lost that in the transfer and now it's back!  I've also updated a few of the other tabs and I added a "pin it" button that actually works.  Wait.  I'm killing it in 2014.

Now that the extended 2013 is behind us.  It's time to focus on our home and life goals for 2014.

Goal 1. Take down the Christmas decor.  Our house still looks like this (minus the presents under the tree).  It's January 6th.  I'm hoping to complete this by... February.  Let's not rush things.  That tree is large.  

Goal 2. Fix Nate's car window.  I want to DIY this but suppose I should take it to a professional.

Goal 3. Add built-ins to the the living room and spruce up the mantel.  This will be our first major project for 2014.  We are still trying to figure out what we want to do for the fireplace/mantel.  The book shelves are designed.  I am wanting to do more in terms of actual furniture building this year.  Nate and I are just deciding if it's worth the potential ER costs.  (See above Goal 1 for photo.  See goal 2 for concerns about me touching power tools.)

Goal 4. Finish the office.  You may remember that the office was on my list of house plans for 2013.  Zero progress has been made in this room.  It actually wish it looked this orderly now.  We have plans to purchase a sectional and paint the walls.  Any color suggestions?  I'm torn between light and dark.  We'll also need some new curtains and some art work.  This room continues to baffle me on how to make it presentable.

office[4].jpg

Goal 5. Update our living room decor/furniture.  Goal 3 will more than likely spawn more changes in the living room so I'm going to go ahead and include them.  We have a couple of ideas for DIY coffee tables/end tables.  I'll probably find a new rug. I want something  a little more neutral.  I'll wait to tell Nate until I sell this one on Craigslist.  The living room just doesn't have that modern yet antiquey farmhouse feel that the rest of the first floor is sporting.  It still looks very JcPenney catalog to me.  The couches will stay because they are molded to our hineys.  I would love a leather side chair if I can find one for the right price.

Living Room 1.jpg

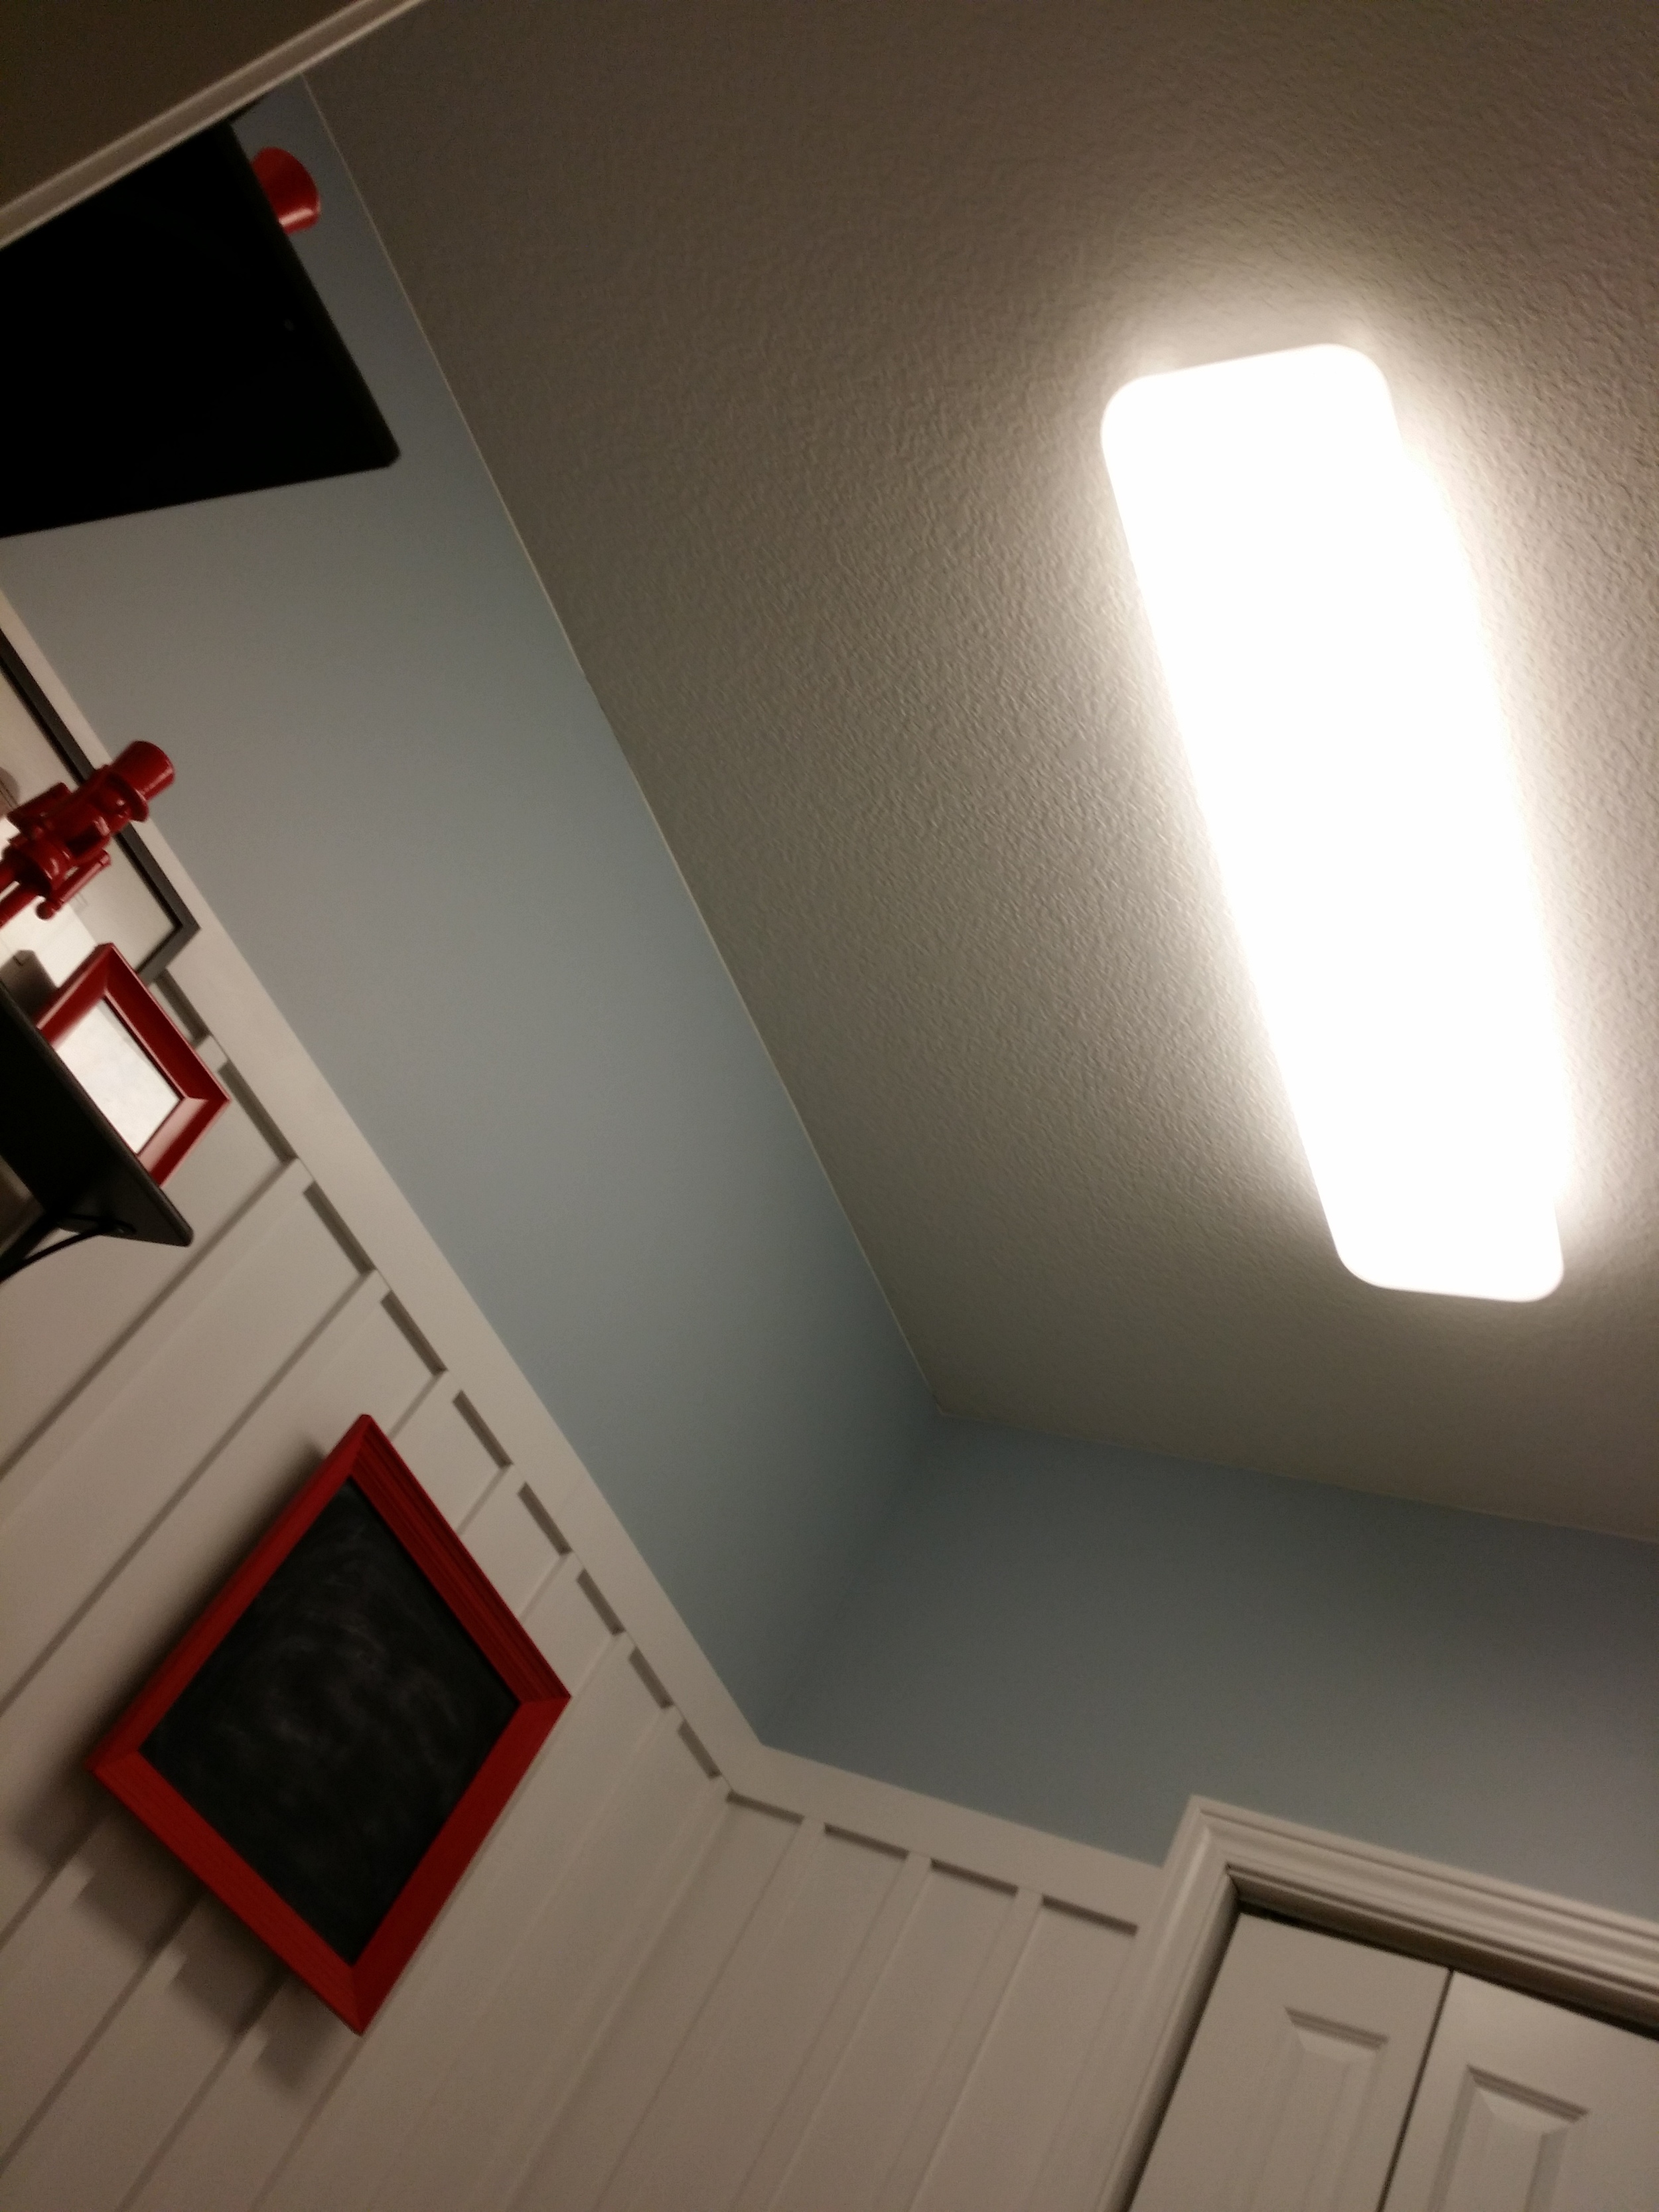
6. Clean up the mudroom ceiling.  Nate and I have weekly arguments about updating the mudroom ceiling.  I think it needs beadboard, crown molding and a school house light.  He thinks it's just fine.

20140105_155837.jpg

Gross.  There goes my blog resolution of not posting crappy photos.

Goal 7. Build a work bench in the garage.  We need a place to work, yo.  

Extra lofty goals: Add crown molding to the master bedroom and powder room.   Rip up the carpet and install wood floors in the bedroom.  Work on our mess of a basement.

As for personal goals, Nate has none.  He doesn't make goals.  Until I told him mine.  

My New Year's resolution/goal is to stop putting little things off that end up making me feel all stressed and wigged out.  For example, I am going to stop walking over those boxes in the garage and thinking that I should do something about them and just take them to the stupid recycling.  I will not let our pantry become a mess because it is the product of 1000 "I'll do it laters."  I feel like this doable.  Annoying.  But doable.

Ike has decided to bark more at the poodle across the street and relax more. He's totally showing 2014 who is boss.

Are you a resolution maker?  Are your Christmas decorations still up?  

Back At It

Hi, everybody!  Long time, no blog!

How were your holidays?  Nate, Ike and I had a fabulous Christmas and New Year's Eve.

We were able to enjoy time with both of our families.  There was a shortage of gifts at each location.  Can anyone guess what my dad (on the right) got?  We so tricky. 

Christmas gifts 2013.jpg

Ike loves opening gifts.  He loves to help each person open until he realizes that the gift is not a dog bone or dog toy.

ike and christmas.jpg

Speaking of Ike, he was looking quite fashionable during the holidays.  On Christmas he sported a red plaid jacket and his Charlie Be Good tie.

Dapper Ike.jpg

We went for a snowy hike on New Year's day and he threw on a scarf.  Because it was chilly.  He's always prepared.

IMG_20140101_182306.jpg

This is turning into one of those crazy animal blogs, isn't it?  Someone call an intervention once Ike starts writing the posts. I feel like we're just steps away from that happening.  Seriously. Intervention.  I need to put someone in charge.

Squirrel. 

Speaking of being in charge, Nate and I spent a good chunk of time unplugged this past week.  I felt like the internet was controlling my me.  I have control issues.  So I kicked the interwebs to the curb.  (Except for Instagram.  Instagram is basically like electricity.  A necessity.)  We completed a puzzle.  We watched movies.  We took walks in the snow.  I became obsessed with crochet (more on that later).

Blogland is sucking me back in but I'm back to being in charge.  Look out.  We'll be back next week with quick recap of 2013 and new goals and projects for ol' 2014.

How were your holidays?  Let's get all first world and tell us about your favorite gift (given or received).

Photobucket Photobucket Photobucket PhotobucketPhotobucketPhotobucketfollow us in feedly

Peppermint Oreo Truffles

Merry Christmas Eve!  It's frigid here in Iowa. As in below zero frigid.   After I finish this post I am going to research real estate in Key West.  I think decorating a beach house would be fun.  Ike would love the year round walks.  Now if only we can get Nate on board.

We spent a lovely few days at my parents' house. We did some baking. I love baking. I mentioned earlier that I decided to actually record some of our favorites so I can easily find the recipes next year!

I whipped up these peppermint Oreo truffles.  

Peppermint Oreo Truffles 4.jpg

As I was photographing them, my dad wanted me to be sure to mention that I didn't make the Oreos or the candy canes.  Always helpful.  So just so we're clear, I didn't make the Oreos. Or candy canes.  But I totally made all of the truffles.  And I ate all of the truffles.

Peppermint Oreo Truffles

This recipe is adapted from Kraft.

Peppermint Oreo Truffles {decor and the dog}

Enjoy!

Peppermint Oreo Truffles {decor and the dog}

We hope you all have a fantastic holiday!  We'll be back sometime next week!

Decor and the Dog
Photobucket Photobucket Photobucket PhotobucketPhotobucketPhotobucketfollow us in feedly

Dolly's Mix: A Party Snack Mix

Happy Monday morning!  Nate, Ike and I have been enjoying a laid back weekend with my family.  I'm pretty sure the only things I have done in the past two days is eat, crochet, nap, crochet, eat, nap, crochet.  You get the idea.  I even got bored once or twice.  I haven't been bored in ages.  It's been amazing.

My mom told us that she cut back on baking.  Which means there are only 87 varieties of cookies and snacks instead of 98.

Dolly's Mix: A Party Snack Mix {decor and the dog}

Nate and I both demanded Dolly's Mix.  Dolly's Mix is the absolute best snack mix in the world.  I broke down and asked my mom for the recipe.  I was pretty sure it included something illegal in it because it's so amazingly delicious.

Dolly's Mix: A Party Snack Mix

Turns out the amazingness is from popcorn oil and ranch dressing packets.  It all makes sense now.  I should be disgusted but it tastes too good for me to care.  Sorry arteries.  I'll eat something healthy later this week.

This is a recipe my mom has been making for years.  She's not sure of the source other than a co-worker from the past.

Dolly's Mix A Party Snack Mix

I've gotta go sucker punch my brother and steal the Dolly's Mix bag he just opened.  (Yay, exercise.)

Dolly's Mix A Party Snack Mix {decor and the dog}

Be sure to check out our "cook it" page for more recipes!

Photobucket Photobucket Photobucket PhotobucketPhotobucketPhotobucketfollow us in feedly

Andes Mint Cookies

I have a confession.  I'm on a cookie only diet for the past 3 meals.  (True story.)  It's okay.  They're all from scratch.

I'm sure it's bound to catch up with me.  I am sort of craving a clementine.  Maybe I'll just drink some sangria?

I'm going to share some of my favorite holiday baking recipes over the next few days. Mainly so I don't have to dig through my mess of a recipe box next year.  Blog good. Recipe box bad.

First up are some Andes Mint cookies that are a family favorite of Nate's.  

Andes Mint Cookies 4.jpg

I always get nervous making family favorites.  I would really hate to screw them up.  I made my first batch of these for a cookie exchange hosted by NewlyWoodwards.  This recipe is perfect for cookie exchanges because it makes a lot (~80) and they package easily.

Andes Mint Cookies {decor and dog}

And they were so easy to make that I didn't screw them up.  Nate even thought they tasted like his mom's.  Excellent.

Andes Mint Cookies {decor and the dog}

They are also Santa approved.  Always important.

Now for the recipe.  Right click to print!

Andes Mint Cookies {decor and the dog}
Photobucket Photobucket Photobucket PhotobucketPhotobucketPhotobucketfollow us in feedly

Chicago Weekend + Dare to DIY Features

Last Wednesday night....

Nate:  *hands me a wrapped box*  "You need to open this tonight."

Michelle:  "Ummm.  It's not Christmas. I don't want to open it."

Nate: "You need to open it tonight."

Michelle:  "But I don't want to open it.  Why are you being weird?"

Nate:  "You're being weird. Open it."

Inside was tickets to see Elf the Musical in Chicago.  He had a hotel booked.  Activities planned. The whole shebang. 

Chicago Weekend

Michelle:  "Is this for real?  THIS weekend.  The weekend I have so many very important things today."

Nate: "Yeah. I knew you'd freak out so I'm giving you a few days to adjust.  You'll have fun.  I"ll help with the other stuff."

Sometimes your husband surprises you.  And it's good.  I truly don't remember what all of those "important" things were.  We had a very wonderful, relaxing weekend.  And now I'm going to bore you with it.  Because blogging is good record keeping and my memory is bad.

We ended up leaving Friday night instead of the planned Saturday morning due to a snow storm.  We left after work and managed to beat the storm.  We stayed at the Hyatt (thanks, Priceline) and woke up to this view.  Check out Navy Pier there in the middle..

Chicago Weekend

It snowed the entire day.  We dressed appropriately and loved seeing the city covered in snow.

We started with breakfast at Yolk.  A favorite for both of us.

Chicago Weekend

Yeah, that's cinnamon roll French toast.  I think I could eat it for every meal.

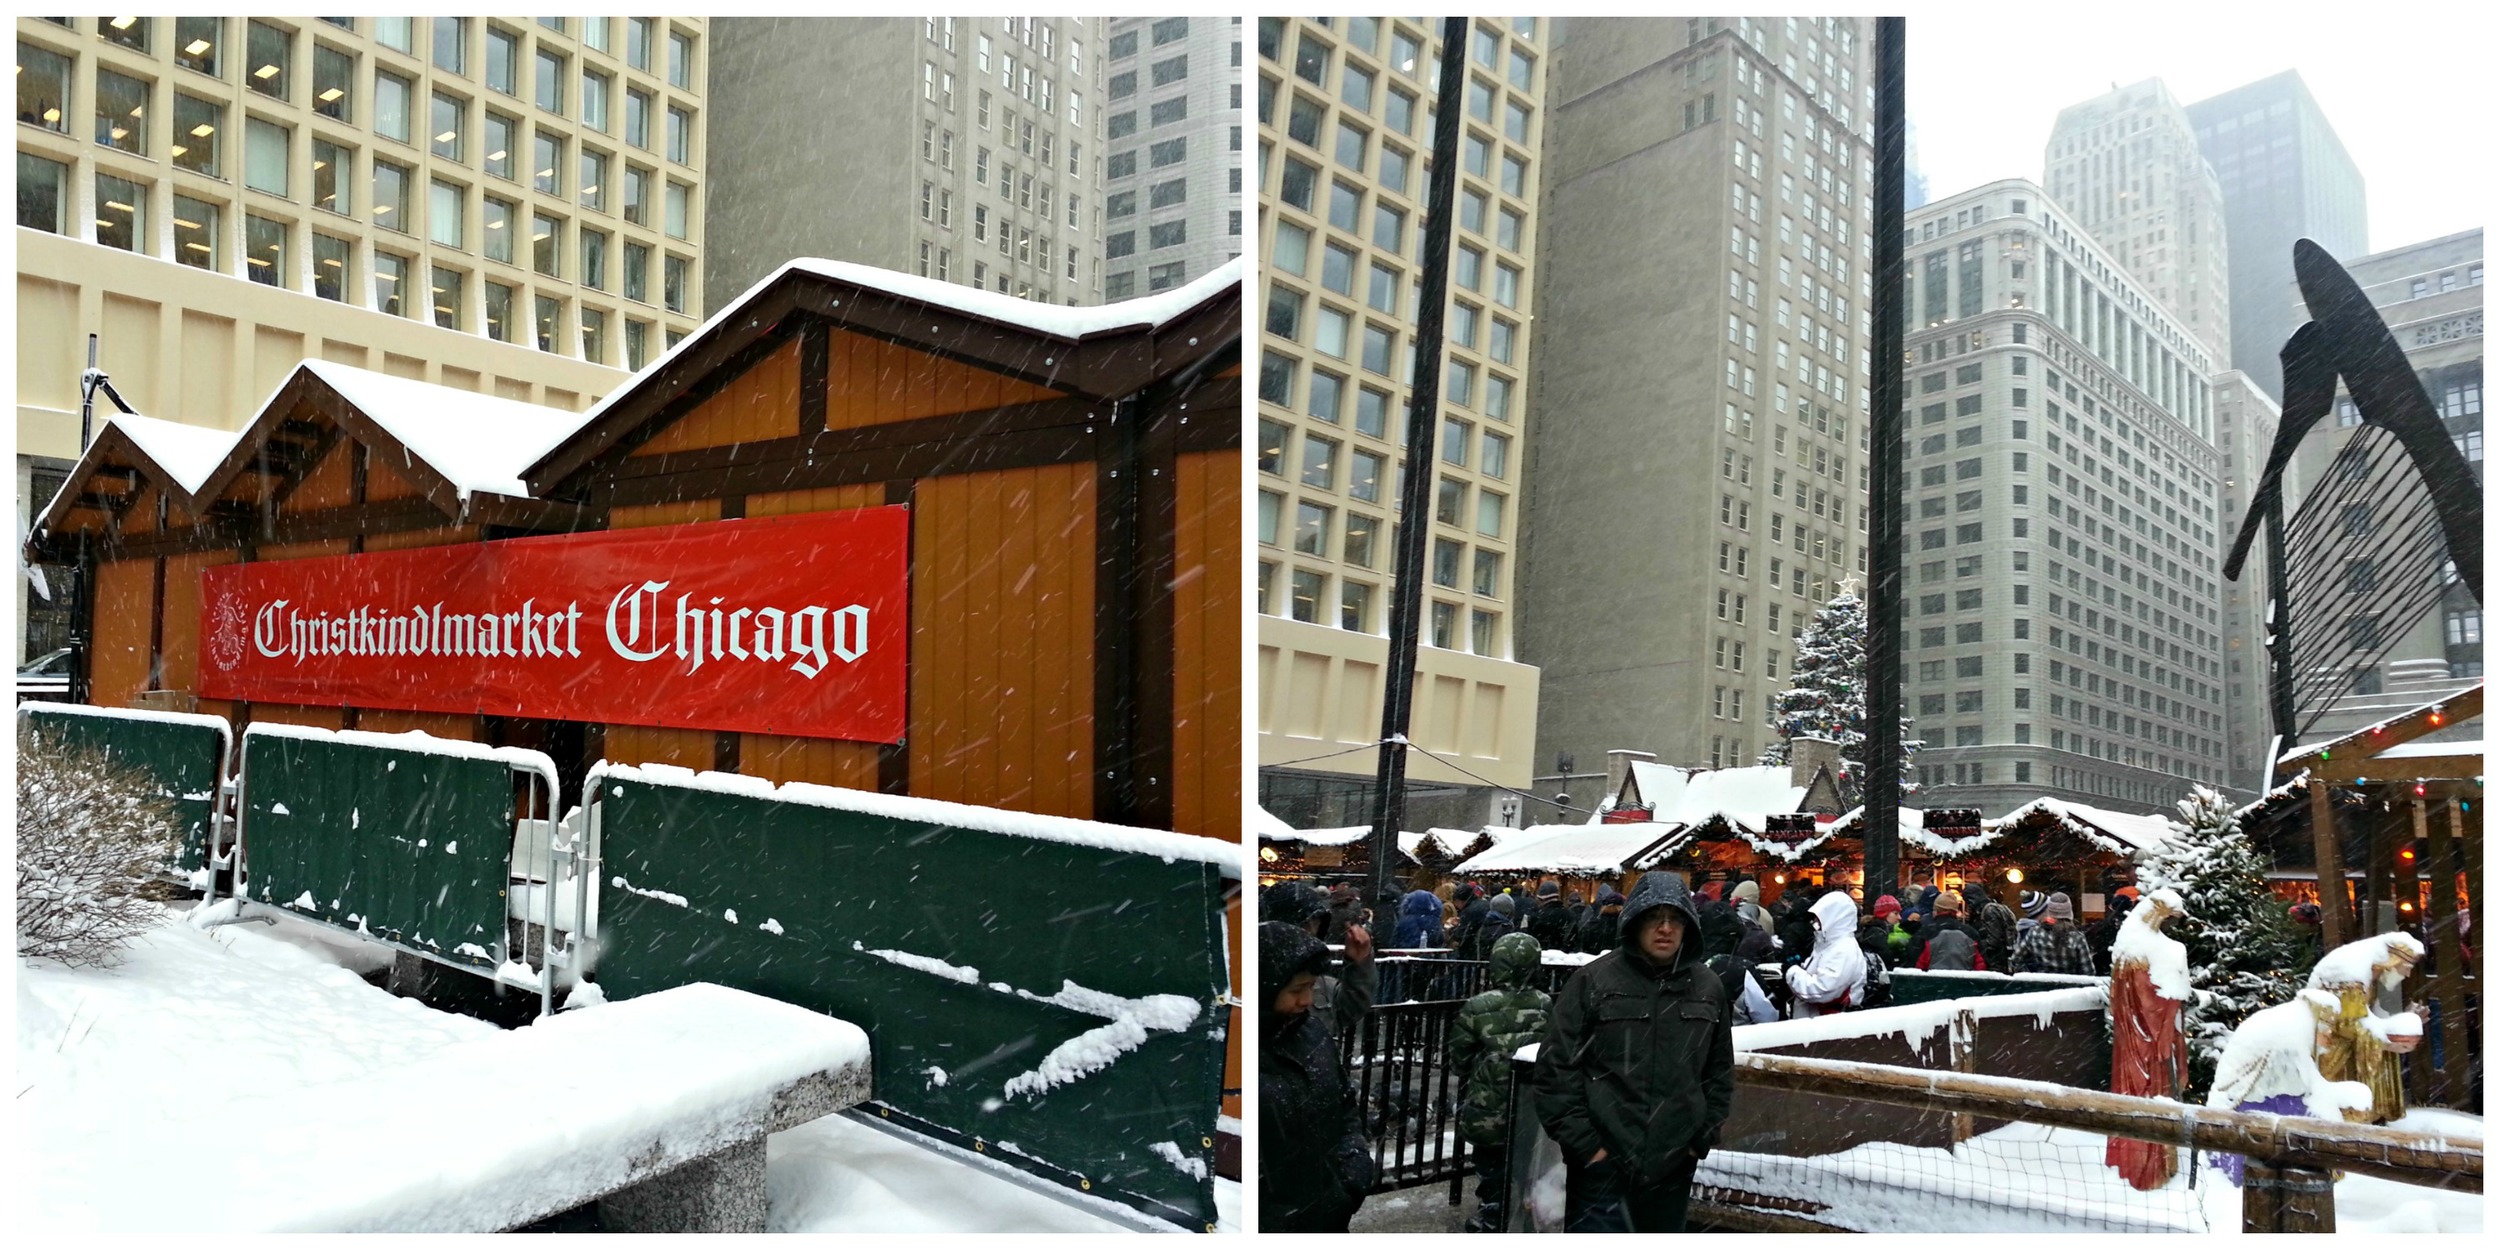
We then decided to walk around downtown.  We stopped at the Christkindlmarket and checked out the store fronts on State street.

Chicago Weekend
Chicago Weekend

Next we hit up Millennium Park for an obligatory "bean" shot. Or three.  Or 60.

That's us in the Santa hats.  I kid.

Chicago Weekend 8.jpg
Chicago Weekend

We watched people fall on their hineys.  I think I could have sat here all day.  Fun fact.  I can't skate.  Any kind.  I am not meant to glide.  But I sure do enjoy watching other people try.  Okay, I think I mainly like watching the failing part.  It makes me feel better about my lack of skating skills.

Chicago Weekend

We ate some Chicago style pizza.  We headed to the musical which was really cute.  The story line is different than the musical. Once we both got over that we really enjoyed it.  It ended up not getting over until 10:45 (we're old).  So we headed to bed. Because we're old. 

We got up early on Sunday morning to grab some Glazed and Infused donuts and headed back to the land of cornfields and lack of amazing donuts.

Chicago Weekend

Fabulous weekend. I truly lucked out in the husband department.  He's a keeper.  

Now it's time to check out some features from this week's Dare to Deck the Halls.  Two of my favorites were the nutcracker door from Desert Domicile.  It's so festive!  I also adore these paper ball ornaments from Nalle's House. I must make some next year!!!

Dare to Deck the Halls Features

Be sure to check out the other features from Maybe Matilda, NewlyWoowdards and Primitive and Proper!

I have some recipes to share.  Probably sporadically throughout the weekend.  See you then!

5 Minute Wood Bead Garland

Good Thursday morning.  Less than one week until Christmas.  Ahhhhhh. Everyone panic.

Actually I've stopped wigging out.  The gifts are bought.  They are partially wrapped.  There are a few cookies baked.  My only concern is that I have at least 3 holiday movies that I need to get in.  I must get my priorities straight.

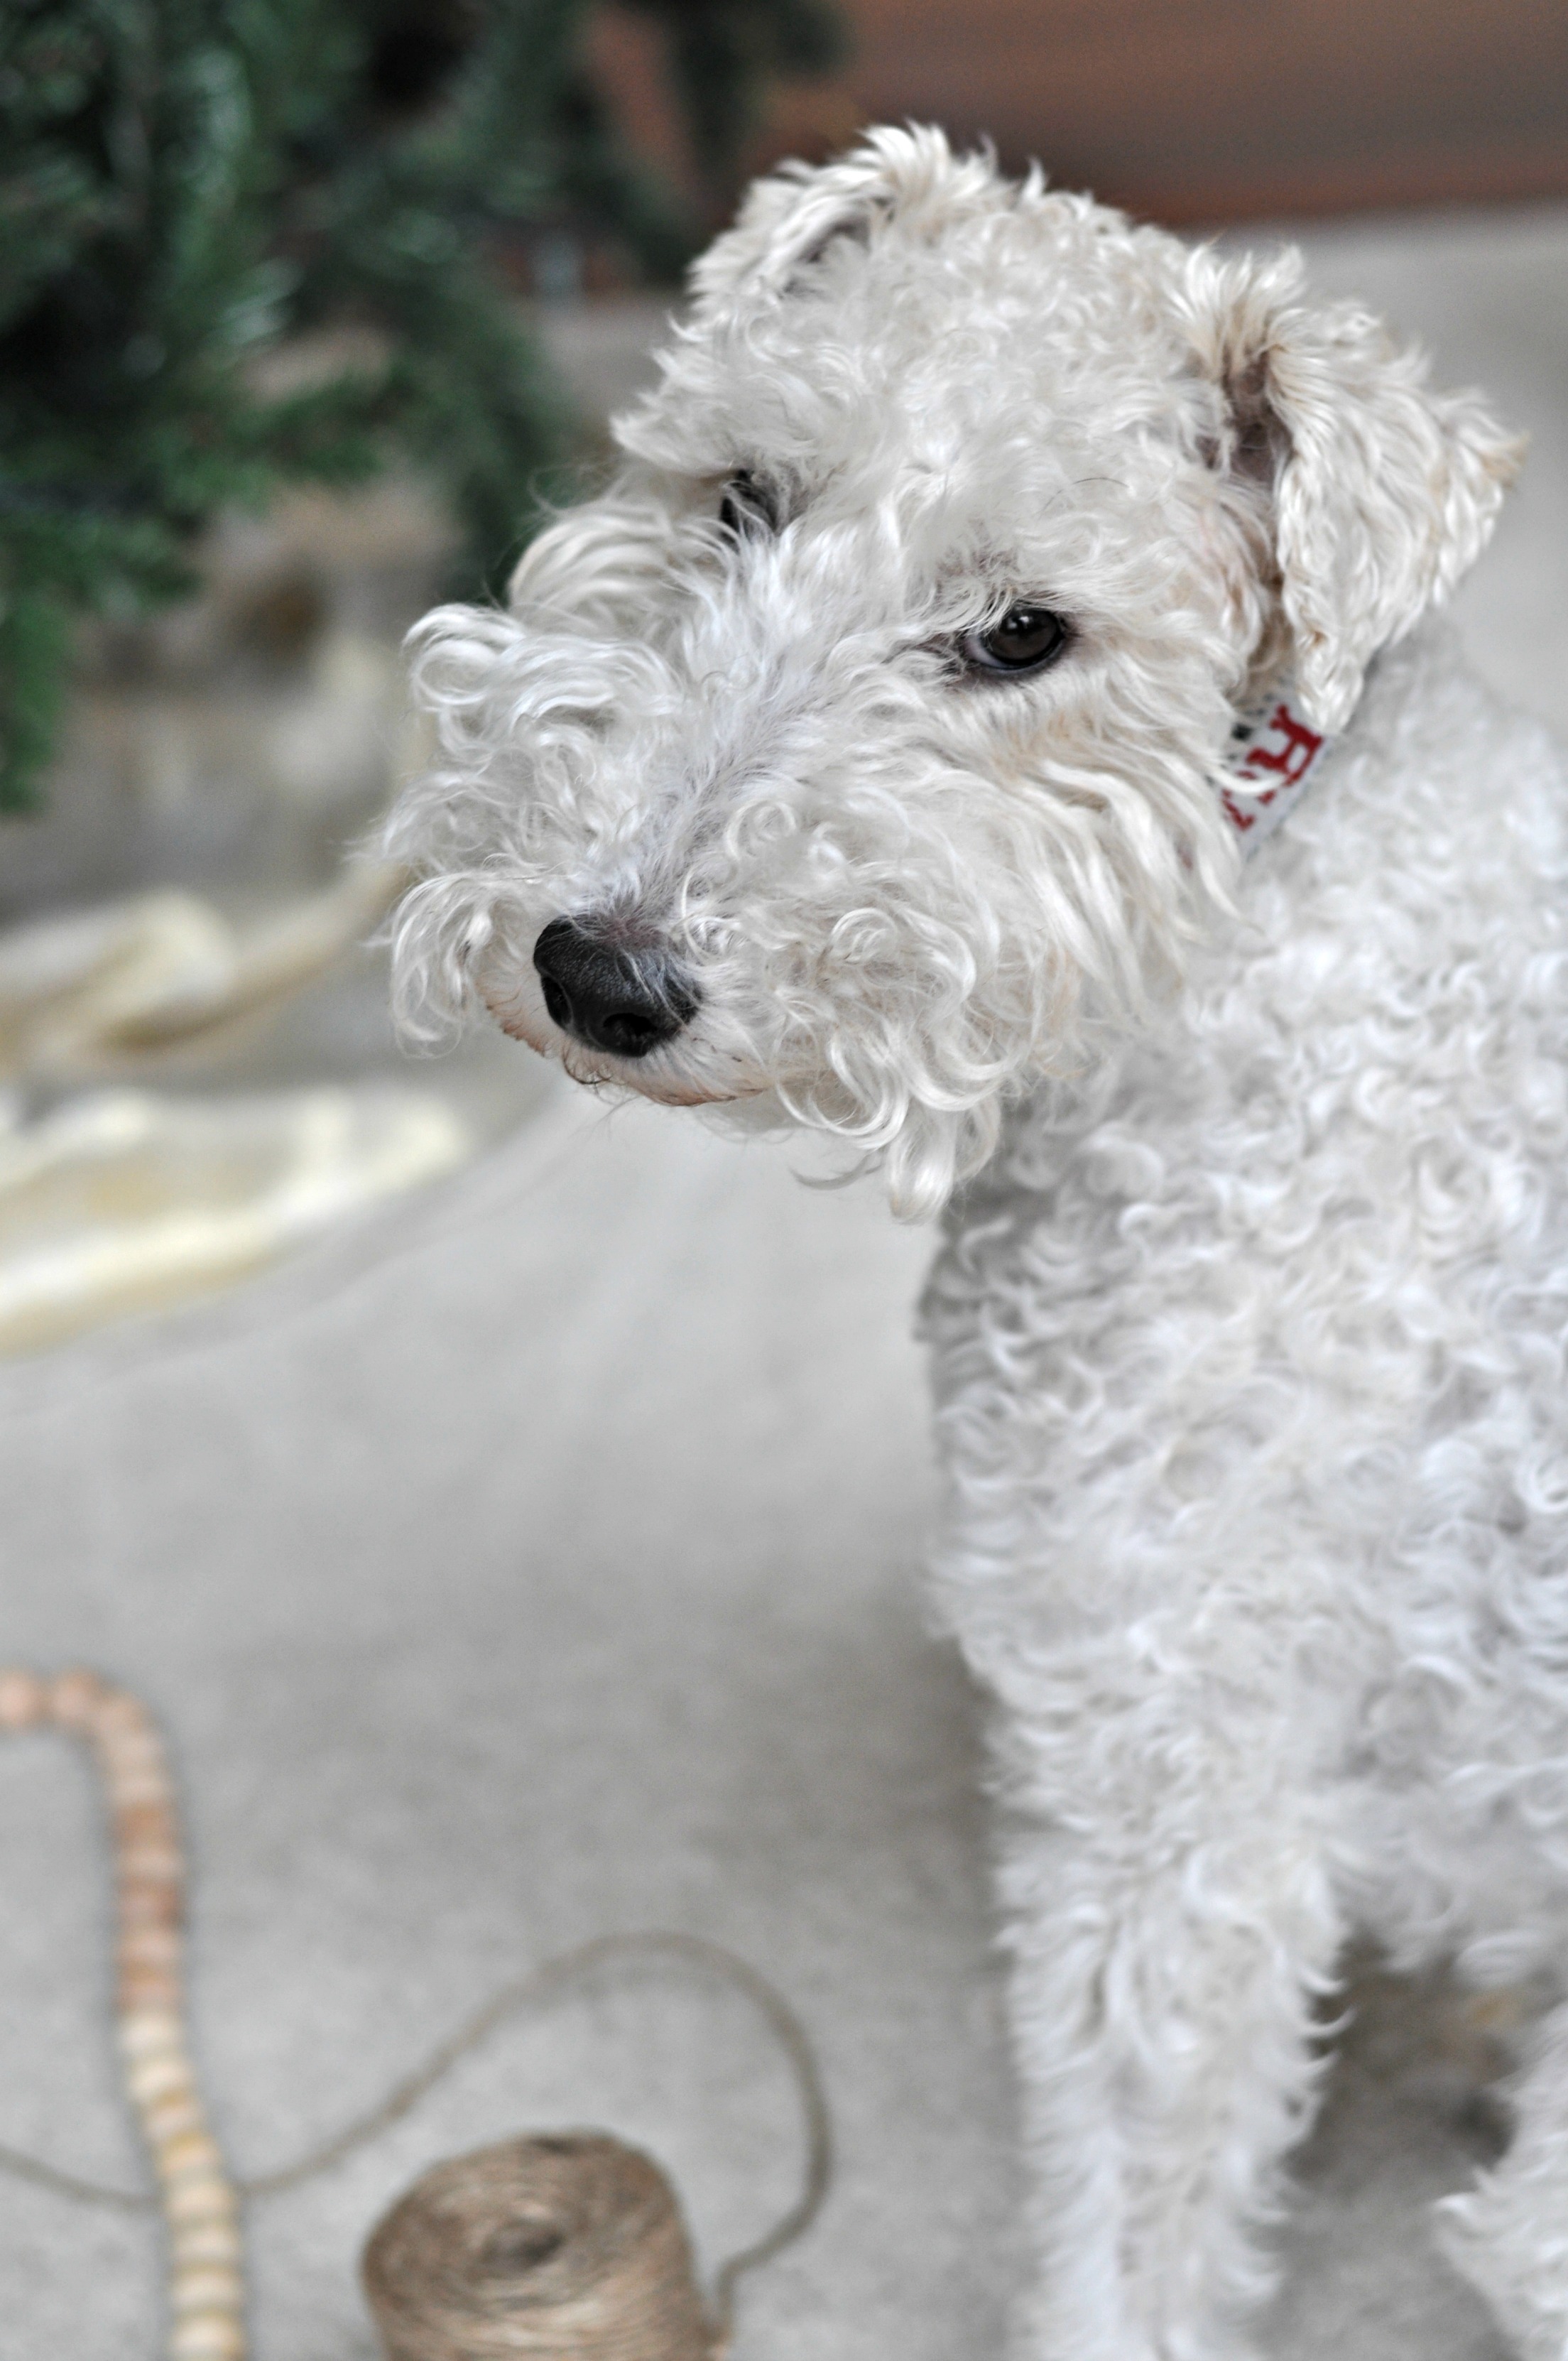
Today I'd like to share with you a holiday craft you can whip up in 5 minutes flat.  I had some questions on how to make the wood bead garland from my holiday mantel post.  It's actually stupid easy.  There are Ike pictures to make up for the fact that it is so easy.

5 Minute Wood Bead Garland

Supplies:

  • Wood beads (you can find them at most craft stores)
  • Twine, yarn, something string like
  • Optional:
    • Spray paint
    • 3M strips

Directions:

If painting beads, start there.

String wood beads onto twine.  I used a small piece of tape wrapped around the end to make the stringing easier.  (Similar to the wood bead necklace I made last year.)

5 Minute Wood Bead Holiday Garland

Be under close supervision of your furry friend.  Make sure furry friend gets his wet dog nose all over the beads.  (See far right.)

5 Minute Wood Bead Garland 2.jpg

Keep stringing until you have reached your desired amount of beads.  I think I used 55-65 for my strands.

5 Minute Wood Bead Garland 3.jpg

Get an annoyed look from your dog when you tell him to find something else to do other than make wet nose marks all over the holiday decorations.

5 Minute Wood Bead Garland 4.jpg

Get an angry look from your dog when you tell him to stop chewing on the beads.  They are not wooden balls for the dog to play with.  They are a choking hazard for crying out loud.  This is why we don't have children.

Edit:  This project may only take 3 minutes if you don't have "help" from a furry monster.

Hang the beads in your desired location.  I tied mine to the garland.  You could also use 3M hooks.

Easy garland done.  

5 Minute Wood Bead Garland.jpg
Holiday Mantel with wood bead garland

Does your dog like to make holiday crafts?  What's your favorite quick craft this season?

Photobucket Photobucket Photobucket PhotobucketPhotobucketPhotobucketfollow us in feedly