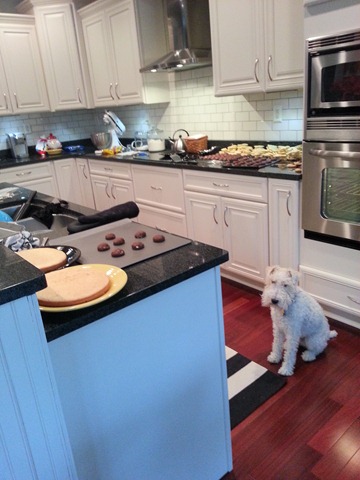
Decor and the Dog Photo: New Photos

Hey.  Remember our shop that we opened way back in November? Our shop that is doing surprisingly well.  (Thanks to all that have ordered photos!!  We super duper appreciate your support. Seriously.)

We finally got around to putting up a new bundle of photos for the start of the new year.  Well, sort of the start of the year.  Let’s go with the start of tax season.  Not much reason to celebrate but we’re going with it.  See ya in April dear husband of mine…

Nate picked out five more of his favorite photos.  Like the first bundle, they are farm themed.  We’re from Iowa.  What can we say?

Bundle 2 Collagepost

We are now offering the option to purchase prints in addition to the digital files.  We know that sometimes it’s just easier to get a print in the mail than have to deal with the hassle of ordering/picking up/etc.  We are here for you.

Head on over to Decor and the Dog Photo for additional details and to purchase a Decor and the Dog masterpiece for your home!

Which photo is your favorite this month?  Any photo theme requests?  Big week-end plans?

Homemade Soft Pretzels

Nate and I have a new addiction.  Homemade pretzels. 

I had no clue you could make pretzels at home.  The things you learn in the ripe old age of 30. 

I also learned how to use the broil feature on our oven for the first time last week.  I blame 8 years of college for making me miss out on learning these amazing life features.

Our recent reader survey also said that recipes were your least favorite posts.  I give my readers what they want post what I want.

Homemade Pretzels by Decor and the Dog

These pretzels are so good that you are going to be begging for recipes from me.  Seriously.

Homemade Soft Pretzels

Recipe adapted from Alton Brown. (Side note: I fell asleep to Alton Brown for about 2 years straight.  Nate had a slight addiction to ol’ Alton.  Man knows his pretzels.)

Yields: 8 pretzels.  (We use half of the dough for the two of us.)

Ingredients

  • 1 1/2 cups warm (110 to 115 degrees F) water
  • 1 tablespoon sugar
  • 2 teaspoons kosher salt
  • 1 package active dry yeast
  • 4 1/2 cups all-purpose flour
  • 2 ounces unsalted butter, melted
  • 10 cups water
  • 2/3 cup baking soda
  • Butter (melted) for brushing (~1-2 tablespoons)
  • Optional: Kosher salt for cheese dipping pretzels or cinnamon/sugar for sweet pretzels.

Combine the water, sugar and kosher salt in the bowl of a stand mixer and sprinkle the yeast on top. Allow to sit for 5 minutes or until the mixture begins to foam. Mmm, foam.

Add the flour and butter and, using the dough hook attachment, mix on low speed until well combined. Change to medium speed and knead until the dough is smooth and pulls away from the side of the bowl, approximately 3 to 5 minutes. Remove the dough from the bowl and place into greased bowl.  Cover with plastic wrap. 

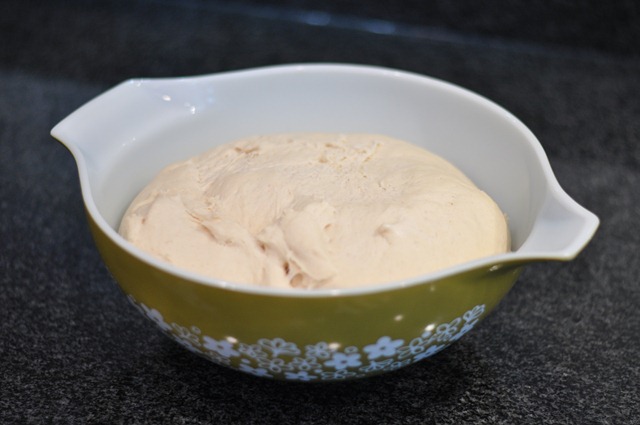
Sit in a warm place for approximately 50 to 55 minutes or until the dough has doubled in size.  We turn on our fireplace and shut the office door.  Instant sauna.  I suggest napping during this step.  Mmm, napping.
002

Preheat the oven to 425 degrees F. (I bold this step because I always forget it.)

Bring the 10 cups of water and the baking soda to a rolling boil in an 8-quart saucepan or roasting pan.

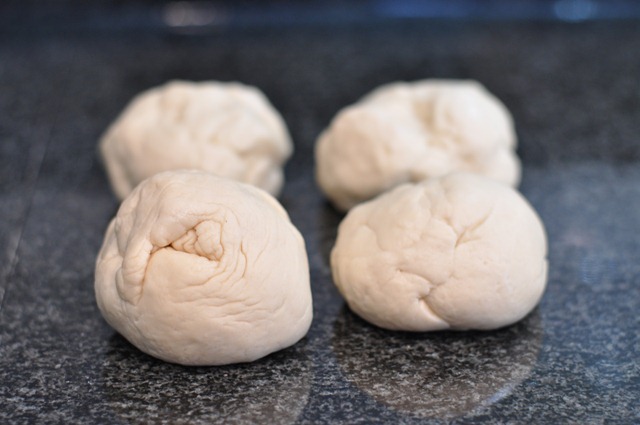
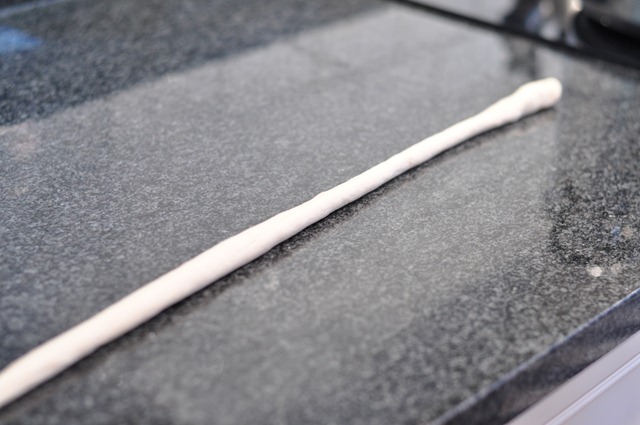
In the meantime, divide the dough into 8 equal pieces. Roll out each piece of dough into a 24-inch rope.
009

010

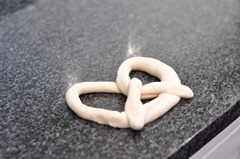
To make the traditional pretzel shape: Make a U-shape with the rope, holding the ends of the rope, cross them over each other and press onto the bottom of the U in order to form the shape of a pretzel.


013014

015016

To make the pretzel bites: Slice the rope into ~1 inch pieces.

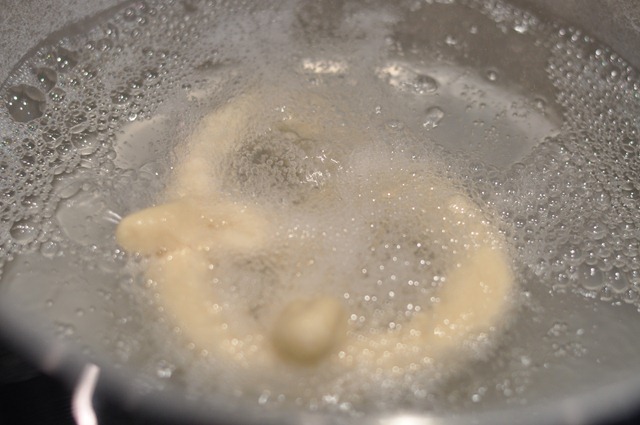
Place the pretzels into the boiling water, 1 by 1, for 30 seconds.
012

Remove them from the water using a large flat spatula. Drain the best you can.  Place on a baking sheet.

To make pretzels for cheese dipping:  Brush the top of each pretzel with the melted butter and sprinkle with Kosher salt. Bake until dark golden brown in color, approximately 10 – 12 minutes. Brush with remaining melted butter before serving. Serve warm.

Cheese sauce recipe:

  • 2 tbsp unsalted butter
  • 2 tbsp all-purpose flour
  • 1 cup milk
  • 8 oz extra sharp cheddar cheese, shredded (Shred your own for better taste/consistency!)
  • Kosher salt
  1. In a small saucepan set over medium heat, melt the butter.  Whisk in the flour and cook for 30 seconds, whisking constantly.
  2. Slowly whisk in the milk until no lumps of flour remain.  Stirring constantly, bring the milk to a simmer over medium-low heat until it thickens, about 3-5 minutes.  Remove the pan from the stove and stir in the shredded cheese until all of the cheese has melted. 

To make pretzels for cinnamon/sugar:  Brush the top of each pretzel with the melted butter. Bake until dark golden brown in color, approximately 10 – 12 minutes. Dip into melted butter and then into cinnamon/sugar mixture.  Serve warm.

037

Enjoy!  We found that the pretzels weren’t very good later in the day so enjoy them quickly!

Homemade Pretzels by Decor and the Dog

Are you a pretzel fan?  Did you know you could make them at home or did you think they were only a mall specialty?  Did you know you could bake brownies without a box mix?  Yeah, learned that one recently too.  Life’s miracles.

Tidy Kitchen Tips

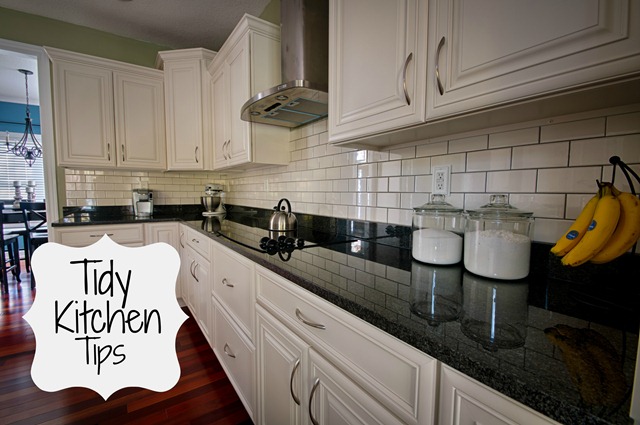
Tidy Kitchen Tips from Decor and the Dog

I often get asked a series of multiple questions about our kitchen.

  • Your kitchen is so clean.  How do you do it?
  • Does your kitchen always look like this?
  • Do you all cook? Because your kitchen is way too clean.

The answers are as follows.

  • Yes.  Read below.
  • Mostly.  Except when we’re cooking.  We are horribly messy cooks.  Seriously.  Awful.
  • We do cook. I would love to eat out all of the time but then we’d be poor and unhealthy.  And that would make me sad. We generally only eat out once a week (sometimes twice).  Breakfast is eaten at home.  Lunches are packed.  All but one or two suppers are prepared in our kitchen.

Today I’m going to share with you my secrets.  They don’t require multiple expensive storage containers.  They aren’t super time consuming. They aren’t rocket science.  I swear.  Pinky swear. 

Tip #1:

Have a place for everything. At the end of each day, put everything back in it’s place. If you don’t have a place for something, get rid of it!

  • It’s simple.  Everything in your kitchen must have a home.  If it doesn’t, do you need it?  If it does, find it’s permanent home. 
  • Do you only use that turkey platter and gravy boat one time a year?  Maybe store it in your storage area (basement, closet, etc).  Who wants to fight with the turkey platter every time you try to grab a dinner plate?  Not this girl.
  • How many pans do you really cook with?  Do you need 15 bread pans? (I’m talking to you, Mom.)
  • I also realize that I have a lot of kitchen storage.  Our last house had a smaller kitchen and it was equally as tidy.  I just stored more things in our basement/owned less kitchen items.
  • (I shared this tip over at View Along the Way last week.  Be sure to check out other great organizing tips there!)
084
083

Tip #2:

Don’t go to bed with dirty dishes/counters/appliances.

  • This is one that I picked up from my mom.  I don’t ever remember waking up to dirty dishes and it’s something that has always stuck with me. 
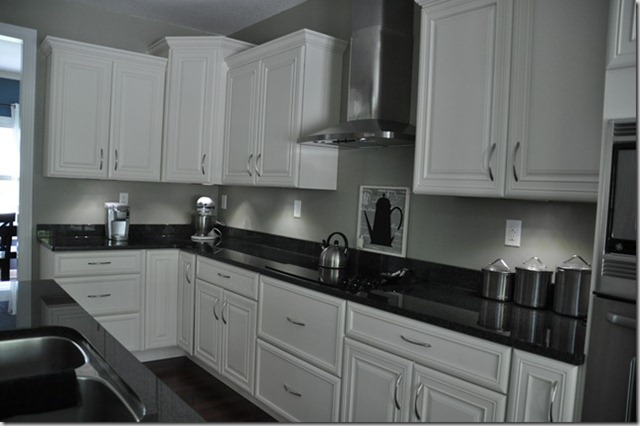
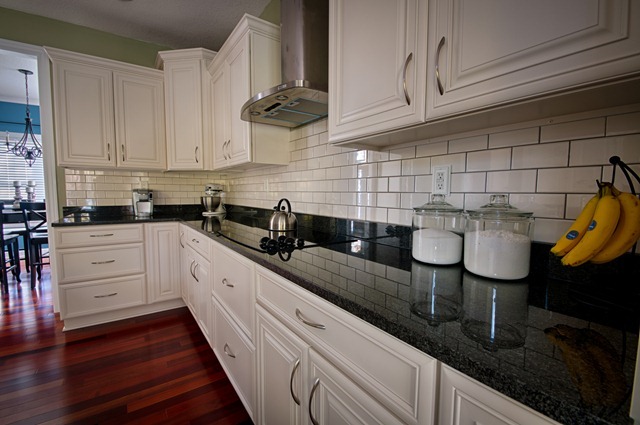
  • I spend 10-15 minutes every night washing up the dishes from the day, putting things back where they belong, and wiping off the counters.  10-15 minutes. That’s it.
    • Most nights I just use a wash rag to wipe the counters.  About once or twice a week I use Method’s granite cleaner to clean the counters.
    • I use Rubbermaid’s Stainless Steel cleaner on the appliances once a week.
    • I wipe down the cabinet faces about every other week or when visibly dirty.
    • I clean the stovetop when visibly dirty.
Backsplash-3

Tip #3

Be neurotic/borderline being diagnosed with OCD.

  • That should probably be tip #1.  And it probably explains most of our kitchen.  But keep reading for more helpful tips.

Tip #4.

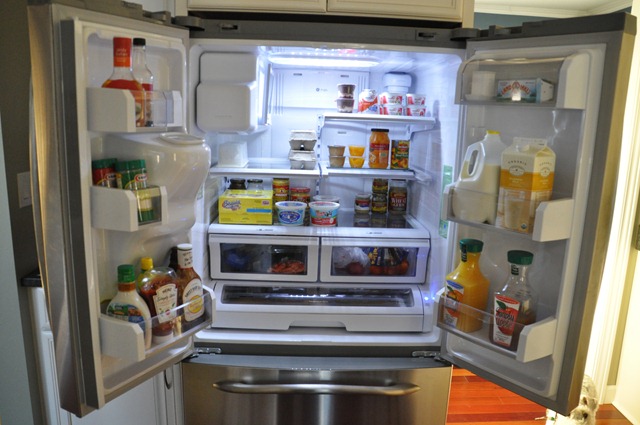
Clean out your fridge often.

  • It sounds simple but even I can be known to find a melted kiwi in the fruit drawer from time to time.  Keep like items grouped together.  Healthy stuff up front, of course.  I also place leftovers up front so I don’t forget about them.
  • Throw away leftovers after 3-4 days.  Again, sounds simple but do you do it?
  • I have also found that meal planning cuts down on fridge waste.  Leftovers are planned to be eaten.  We only purchase what we need for meals.  Nothing more.
  • I wipe the fridge shelves down every 3 months or when visibly dirty.
070

Tip #4:

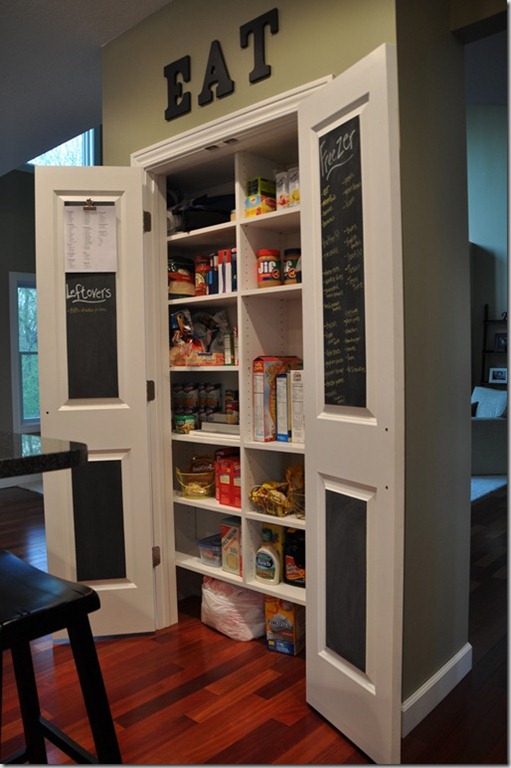
Use those pantry doors as a kitchen command center.  Don’t have a pantry?  Use the back of a cabinet door.

062
  • Our pantry houses a list of items in the freezer, our weekly grocery list, and a spot to record leftovers so they don’t get lost in the fridge/freezer.
    • Having lists will seriously make your life easier.  It’s takes a little set up time but maintenance is easy.
    • You will notice that my pantry is organized yet not super duper pretty.  It doesn’t have a hundred pretty glass containers, chalkboard labels, or any of those other dream blogger pantry necessities. I don’t know about you but I don’t really care to spend $5 on 100 containers to store all of my pantry staples.  I also don’t want to spend an hour each week dumping cereal, noodles, etc into containers.  I have Downton Abbey to watch.  I don’t need chalkboard labels to tell me where my cereal or canned goods are located.  Got it covered.  I do have some random baskets that I picked up from the Salvation Army that corral things like baking supplies.

    • Again, meal planning has also helped us reduce the amount of items/waste in the pantry.

Tip #5:

Keep your utensils in one location and within easy reach.

095
  • We are nothing on the counter type of people so our utensils go in a drawer right next to the stove.  A utensil caddy is perfectly acceptable in my book as long as it’s not overflowing.
  • We group all of our utensils with their similar friends.  Spoons together, spatulas together, measuring spoons together, etc.  This makes cooking very easy.  Again, a place for everything and everything in its place.

Tip #6:

Organize your spice cupboard.  It will change your world.

spicecupboard
  • Our spices are stored on cheapo Wal-Mart spice racks.  They are alphabetized because I’m neurotic like to be able to find spices quickly.
    • Again meal planning comes into play.  I can easily glance through the racks to see if we need to purchase any spices for the upcoming week’s meals.
    • We have kept this spice cupboard like this for almost a year so the system works.  And it works well.

Follow these helpful tips and you too will have a tidy kitchen. *Cue infomercial music*

Backsplash-4

Are you a person with a tidy kitchen or are you a “Why bother. It’s just going to get dirty again” person?”  What’s your #1 tidy kitchen tip?

Like this post? Check out our meal planning tips here!

House Plans for 2013

I’ve been pondering our house a lot lately.  I’m itching to start something but Nate is heading into tax season.  Tax season means I lose my carpenter for 4 months.  But at least I have my dreams, right?  I should learn to use power tools.  And double check my health insurance deductible for when I eventually injure myself.

Here are my house dreams for the year twenty thirteen.  If we complete even one or two of these, I will be pleased. 

diningroom

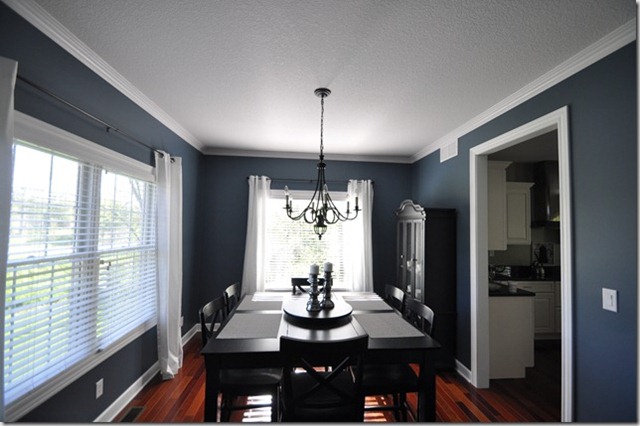
I like our dining room table but it just doesn’t feel like us anymore.  The table scratches easily.  The bar height is annoying.  I’m over it.  I’m now on the hunt for a set of 6 chairs that I can paint.  I will then purchase 2 fancy grown-up chairs to go with them.  And then Nate will build us a table that seats 8.  We’re thinking a white/grey or white/black two-toned look.  If you are in the QC and spot a set of 6 chairs for awesome price, send me a message yo.

office

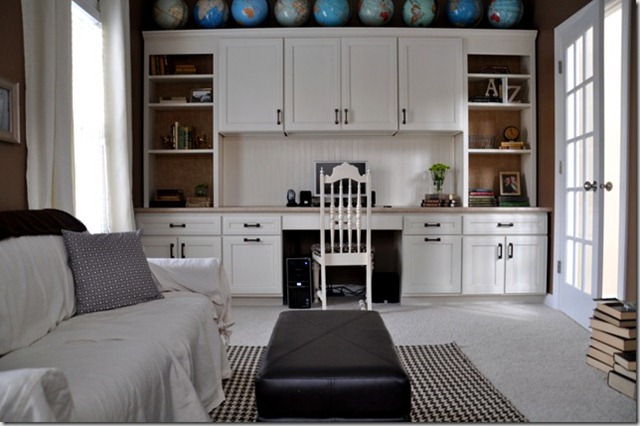
Our office still needs love.  I just can’t get this room right.  The main hurdle is that couch.  We will be purchasing a sectional in 2013.  I also need to work on the curtains situation.  And wall stuff.  No biggie.

basement

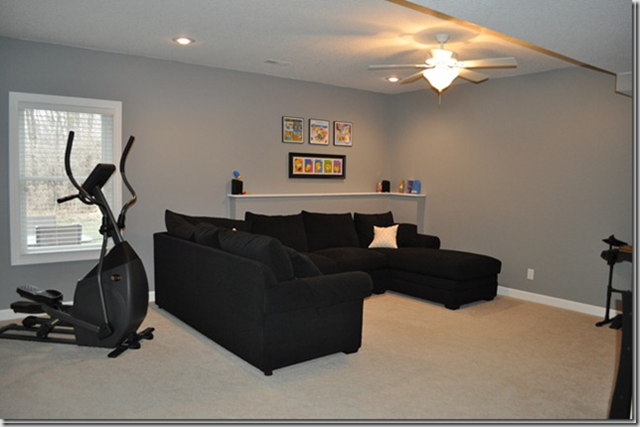
Our basement gets little blog time.  For the reason seen above.  We are still rocking the too small Simpsons decor.  I think I read that Homer is totally in this year.  We have been talking about this room a lot.  Nate is going to build a little media center.  There will be wall moldings.  Bright pillows.  A rug?  And probably lots of black and white photos taken by Mr. Nate.  Any other suggestions for this room?

craftroom

Another rarely seen room is my craft room.  I only wish I could tell that it is this clean now but starting 2013 with lies is bad karma.  This will probably eventually become a child’s room.  But that is a ways away so I decided I am going to make my craft room look pretty.  I spend a decent amount of time in here and I think I can do it for little dinero.   I have some mental plans already.

Do you have big plans for 2013?  What project would you like to see us tackle first? 

Top 10 of 2012

Did you make it to midnight on New Year’s Eve?  I made it to midnight…eastern standard time.  Totally counts, right?

It’s time to jump on the blogging bandwagon and post the top 10 posts of 2012 from Decor and the Dog! 

2012 was actually kind of a slow year for us on the home front.  I think we were a little burnt out on house projects.  I think that shall change in 2012.  Get. Excited.

The posts are listed in order of page views. 

1. Rust-Oleum Cabinet Transformation Review

rustoleumcabinetreview

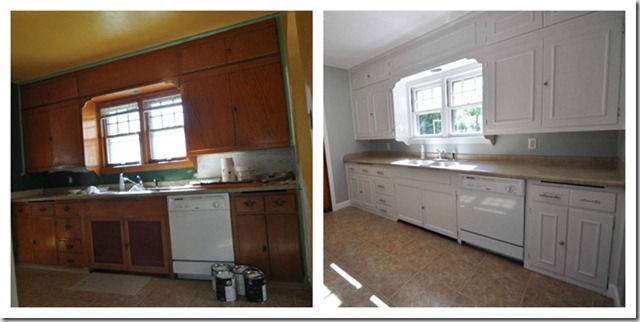
We helped my brother transform his fiesta kitchen into a fresh and airy one.  You can read about the whole transformation here.  Nate also helped little brother add some moldings to the cabinets which you can read about here.  And surprisingly, his kitchen was pretty spotless when we stopped by last week.  Did I mention he’s single? 

2. West Elm Inspired Bedframe Tutorial

bedframe

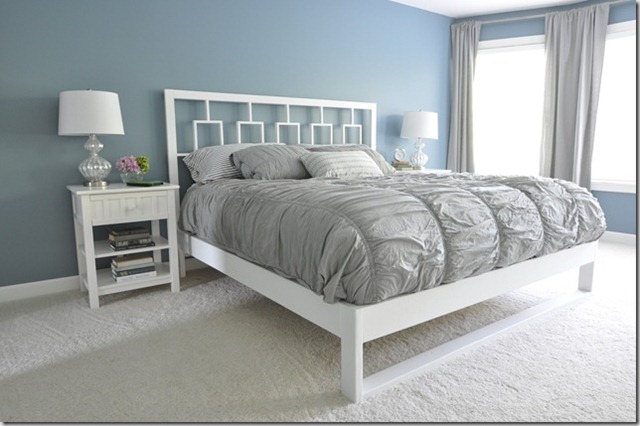
Our window headboard was ready to break up with the not so becoming bed skirt.  We gave it a mate with this simple bedframe.  Nate designed and built the bedframe.  I painted it and tested it out with several naps. I like to be useful.

3. Organization Baby Steps

pantry

This one surprised me a little. I think Pinterest and link parties may have contributed to its number 3 position.  The pantry is still fairly organized but I haven’t touched the chalk writing since I initially wrote on it.  #bloggerfail  We still love our grocery list on the door though!

4. Burlap Wallpaper How To

burlap 

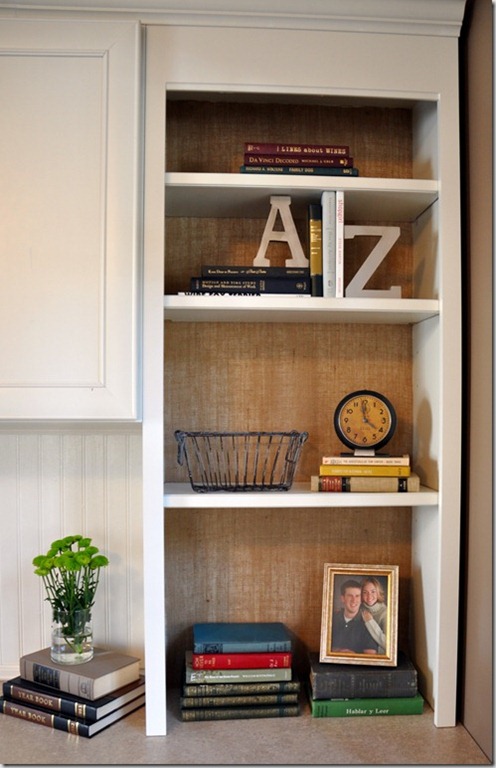
Who knew cornstarch could be used to stick fabric to a bookshelf?  It does.  The burlap is still held firmly in place almost a year later.  I still love the texture and color the burlap brings to the space.

5. Under Cabinet Lighting

undercabinet

What do you do when you forget to account for under cabinet lighting when designing your kitchen?  You use some battery operated lights purchased at Sam’s.  We accidently left them on one night and had to take them down and replace all of the batteries.  Oops.  We rehung them using Velcro strips for easier battery changes in the future.

6. Kitchen Backsplash: Subway Tile Edition

Backsplashsubway

The backsplash was probably my favorite project of the year.  The backsplash was that little something that our kitchen was missing.  It’s so shiny and perfect.

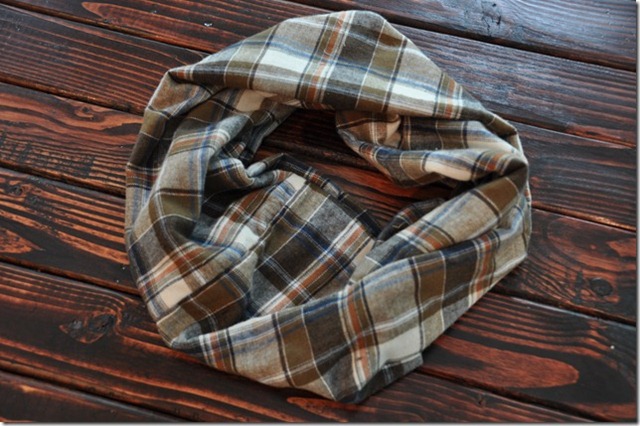
7. Easy Sew Flannel Infinity Scarf

scarf

I need to start Scarf Wearers Anonymous.  Who will join with me?  All of you after reading this post on how easy these things are to make!

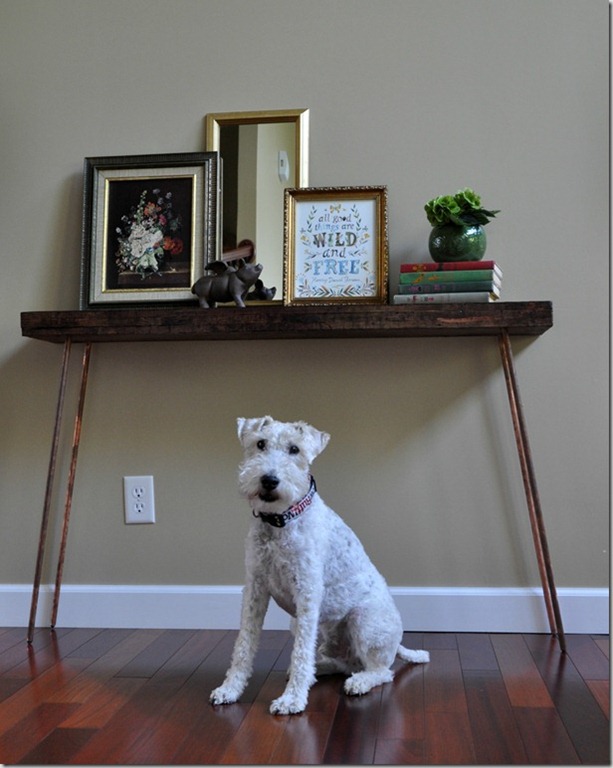
8. DIY Console Table

diyconsoletable

This table also tops the list of my favorite projects of 2012.  The table is such a great fit for our home.  I will always have fond memories of beating the heck out of that wood.

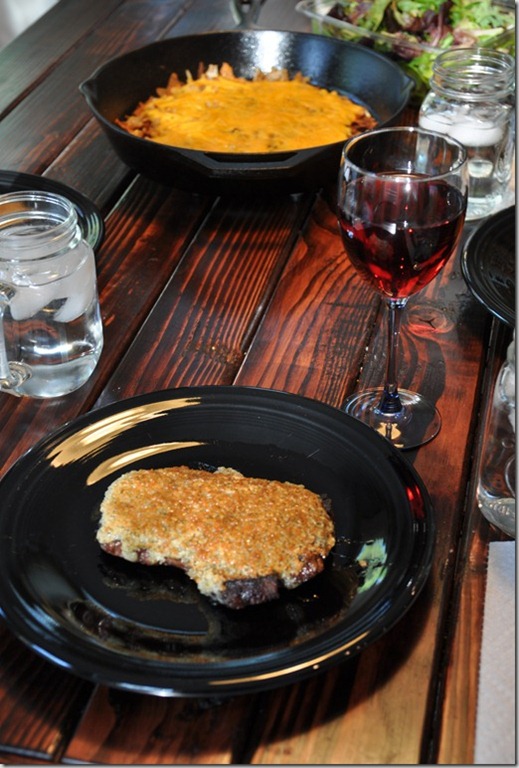
9. Parmesan Crusted Steak

parmesancrustedsteak

Typing about this steak has me longing for grilling season…and cheesy hashbrowns.

10. Double Shower Curtain

doubleshowercurtain

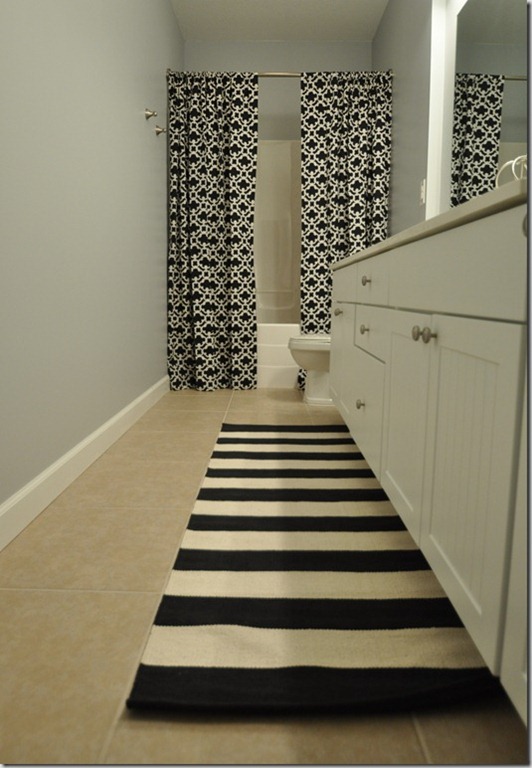
After trying approximately 987 shower curtains, I settled on the use of two window panels hung on a double curtain rod.  I have since stolen that rug and moved it to my kitchen.  Must purchase new rug for awesome double curtains.

Looking back was pretty fun.  2012 wasn’t too shabby but I’m pretty sure 2013 will be super awesome.

What was your favorite post of 2012?

Christmas 2012 Edition

Guess who is back?  This girl.

I’m not going to lie. I enjoyed the amount of free time I had due to a lack of blogging. I enjoyed it so much that I almost decided to just stop.  And then I realized that was crazy.  I am, however, going to switch to mainly Monday, Wednesday, Friday posting.  I still love to blog.  I just remembered how much I also love free time.  Like watching 10 episodes of Downton Abbey loved it. 

Anywho, let’s discuss the holidays.  How was yours?  Fantastic I hope!

We split our time between my family and Nate’s.  We left a little earlier than planned to beat a blizzard that ended up shutting down almost the entire state of Iowa for a day or two. We made it and got to enjoy the aftermath of our first big snowfall of the season.

Christmas 020

Christmas 137

Christmas 139

We tried to sneak if a few walks to help aid in the digestion of the ridiculous amount of food we consumed.  He does know how to walk.  He just loses all brain cells in the snow.  We’re talking about Ike and not Nate.  Just to be clear.

Christmas 261

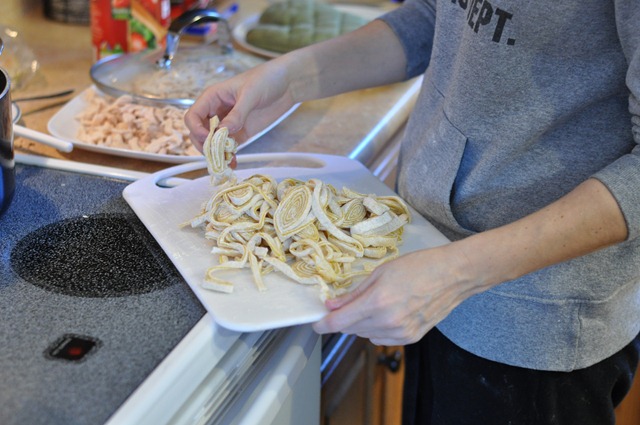
After walking we made and ate more food.  What I wouldn’t give for another bowl of homemade chicken and noodles.

Christmas 284

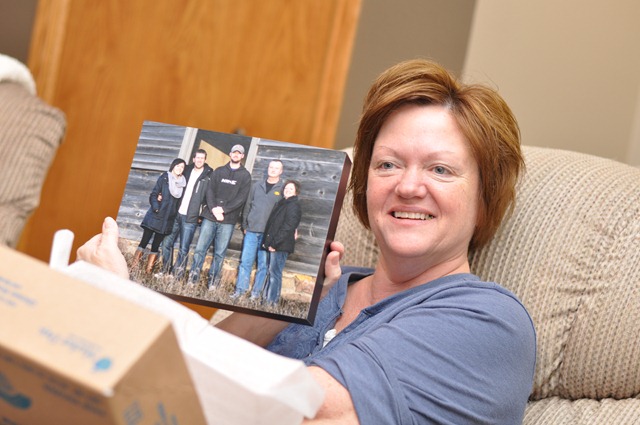
We opened gifts.  We gave my mom a photo of the family because you can’t hate a photo of your family.  (I forgot to post these photos.  Nate took them.  Remind me to post about it.)

Christmas 343

Dad got booze.  It’s locally made.  Because we’re hipsters like that.

Christmas 382

Hipsters also wear obnoxious shirts.  I’m thinking about wearing it all year. Just to mess with my brother.

IMG_20121222_155228

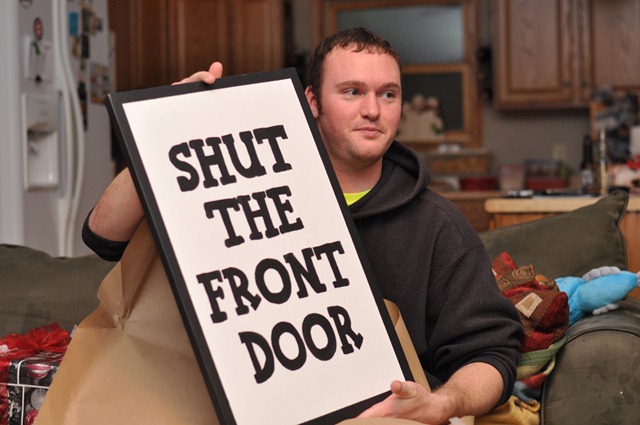
Speaking of my brother.  I made him this sign.  It’s our favorite sibling phrase. I’m not sure the parents have caught on to it yet.  It’s probably best.

Christmas 351

We said our good-byes and headed back home to spend time with Nate’s family.

Nate refused to share his popcorn ball…a family tradition.  The popcorn ball.  Not the lack of sharing.

Christmas 425

We snuggled babies.  Ike sniffed them.

Christmas 498

Christmas 599

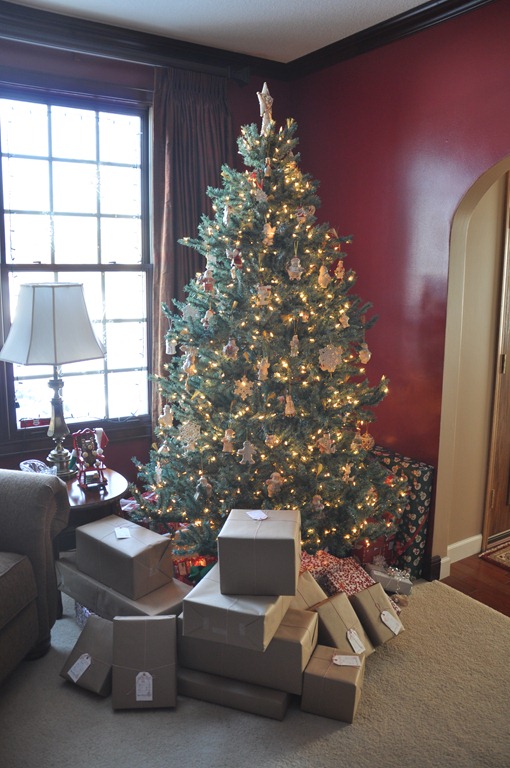
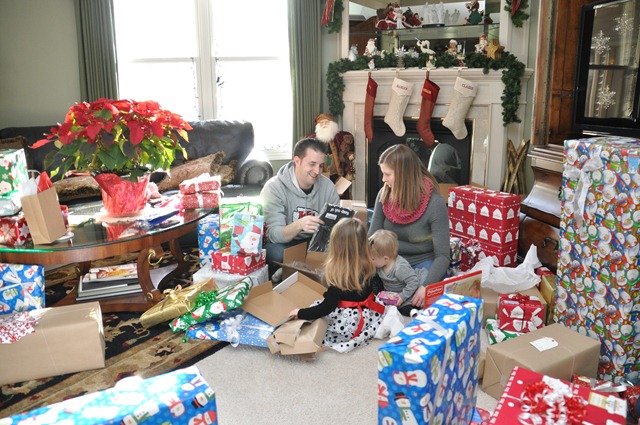
There was a shortage of presents.

Christmas 542

Christmas 682

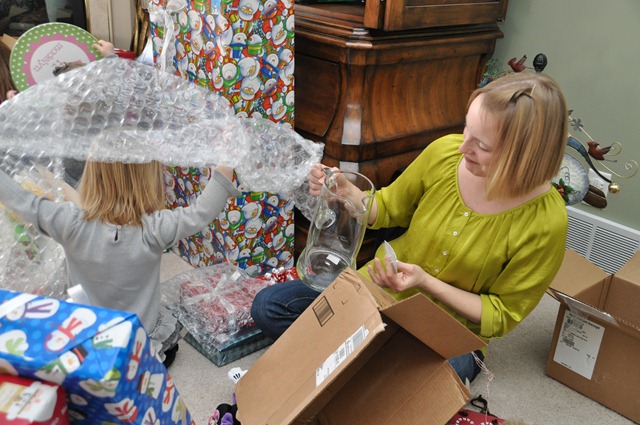
Our sister-in-law gets the same gift from us each year…a glass pitcher.  Because we’re jerks..and she keeps breaking them.  Let’s hope this one makes it to 2014. ;)  Looks like our niece is getting bubble wrap next year.  #noted

Christmas 708

One can never have too many semis or princess nightgowns.  #fact

Christmas 702

Christmas 677

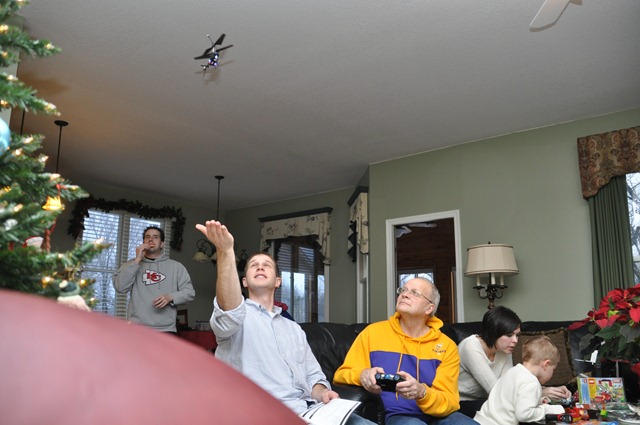
After present opening we played with Legos, flew planes and ate a whole stinking lot.

Christmas 803

And to all a good night.

How was your holiday?  What was the favorite gift that you gave?  How about the favorite gift you received?

Easy Goodie Bags

I’m obsessed with Kraft paper and Baker’s twine.  It’s become a problem.  It’s like the new spray paint for me.  Wrap anything in Kraft paper and twine and it’s instantly cute.  No matter what.

480

I mentioned earlier this week that I have been baking up a storm.  I usually take in a giant tray to work but this year I decided that I wanted to individualize things a little.  Make my co-workers feel special.  Or something caring like that. 

481

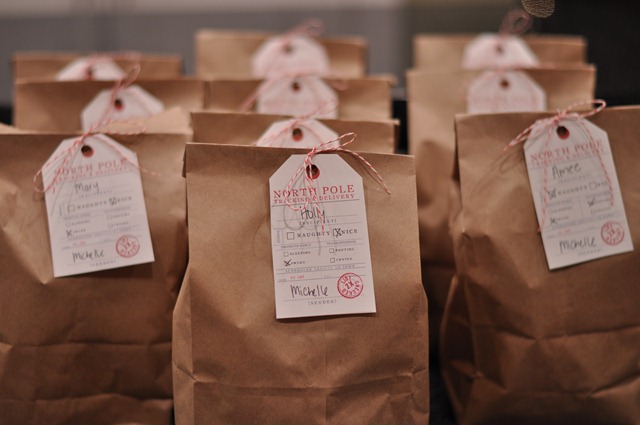
I stuffed the bags full of goodies.  Each type of treat was wrapped separately.  I hate when baked goods share their flavors. It’s a Michelle thing.

472

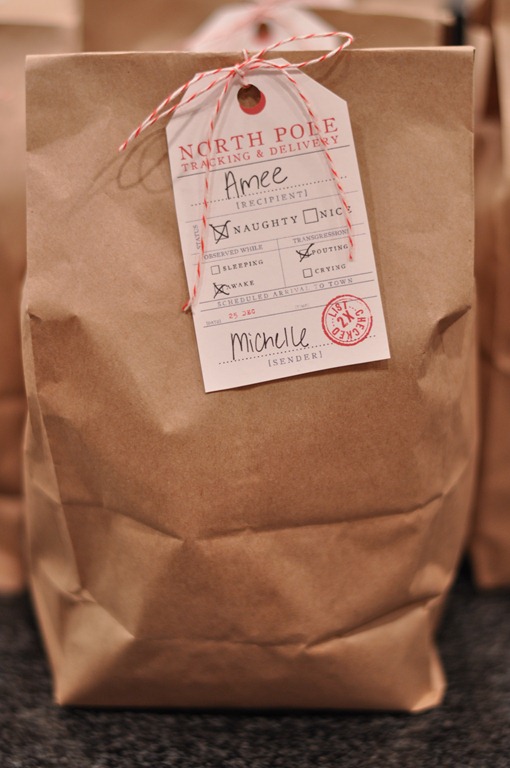
The tags are from Brooklyn Limestone. I had thought about designing my own but these are too cute. Maybe next year. 

483

Don’t worry, Amee loves me.

Any quick and easy co-worker gift ideas out there?  I can always stock up for next year!

Andes Mint Truffle Cookies

Man. I was doing so well with not putting crappy photos on my blog. But when you’re trying to do 100 things in one night in order to try to beat out a snow storm to your parents’ house, your food photography suffers.  If I was a good blogger I would have taken the time to pick out the prettiest truffles. Instead I grabbed the top few that were stuck together in the container.  Life goes on.  Make these. They may stick together.  They are still delicious. You will thank me. 

Andes Mint Truffle Cookies

Andes Mint Truffle Cookies

  • 1/4 cup butter, cubed
  • 1 cup (6 oz.) semisweet chocolate chips, divided
  • 1 egg
  • 1/3 cup sugar
  • 1/3 cup packed brown sugar
  • 1/2 tsp. vanilla extract
  • 1/8 tsp. peppermint extract
  • 1 cup all-purpose flour
  • 1/3 cup baking cocoa
  • 1/4 tsp. baking powder
  • 1/8 tsp. salt
  • 1 pkg. (4.6 oz) mint Andes candies, chopped, divided
  • 2 tsp. shortening, divided
  • 1/2 cup vanilla or white chips

In a small saucepan over low heat, melt butter and 1/2 cup chocolate chips. Remove from the heat; stir until smooth.  Cool slightly. Stir in the egg, sugars, and extracts.  Combine the flour, cocoa, baking powder and salt; stir into chocolate mixture. Fold in 3/4 cup Andes candies.

Roll rounded tablespoonfuls of dough into balls.  Place 2 inches apart on ungreased baking sheets.  Bake at 350 for 8-10 minutes or until tops appear slightly dry.  Cool for 1 minute before removing to wire racks to cool completely.

Andies Mint Truffle Cookies

In microwave, melt 1 tsp shortening and remaining chocolate chips and Andes candies; stir until smooth. Melt vanilla chips and remaining shortening in microwave until smooth.

Dip half of the cookies in melted chocolate mixture; dip remaining cookies in melted vanilla mixture.  Immediately sprinkle with toppings of your choice.  Let stand until set.

Photobucket Photobucket Photobucket PhotobucketPhotobucketPhotobucketfollow us in feedly

World’s Best Sugar Cookies

This past week-end, Ike and I were baking up a storm.

20121216_131611

Since blogland is pretty quiet this week, I figured I’d post a few of our favorite holiday recipes.  Mainly because I like having easy access to them.  It pays to blog.

Our very favorite holiday recipe is our sugar cookie recipe.  I know others claim to have the best sugar cookie recipe.  But they are wrong.  Ours is the world’s best.  Which makes me think of Elf. “You did it! Congratulations! World's best cup of coffee! Great job, everybody! It's great to be here.”

But seriously.  Our sugar cookie recipe is the best.  Make it.  Try to prove me wrong.

World’s Best Sugar Cookies

  • 1 1/2 cup butter
  • 2 cups white sugar
  • 4 eggs
  • 1 tsp. vanilla extract
  • 5 cups all-purpose flour
  • 2 tsp. baking poswer
  • 1 tsp. salt

In a large bowl, cream together butter and sugar until smooth.  Beat in eggs and vanilla.  Stir in the flour, baking powder, and salt.  Cover.  Chill dough for at least one hour (or overnight).  Preheat over to 400.  Roll out dough on lightly floured surface 1/4 to 1/2 inch thick.  Cut into shapes with any cookie cutter.  Place cookies 1 inch apart on ungreased cookie sheet.  Bake 6-8 minutes in preheated over.  Cool completely.

Frosting for World’s Best Sugar Cookies

Combine:

  • 2 Tbsp butter (softened)
  • 1 cup powdered sugar
  • ~1 Tbsp milk (more or less)
  • 1/2 tsp. vanilla

World's Best Sugar Cookies

I left out the yellow snowman that Nate made…

Got a sugar cookie recipe to rival ours?  Does your significant other make inappropriate sugar cookies?