Travel Lingerie {Undies} Bag

I’m back!  We enjoyed our trip to Arizona but it’s definitely good to be home. I’m also excited to spend time with females.  If I never hear another Super Troopers quote, fart joke, or Fantasty Football stat again, it will be too soon.  We’ll share some of our vacation favorites with you later this week or next.

Today I’m going to share with you one of my favorite recent creations…a travel undies bag.
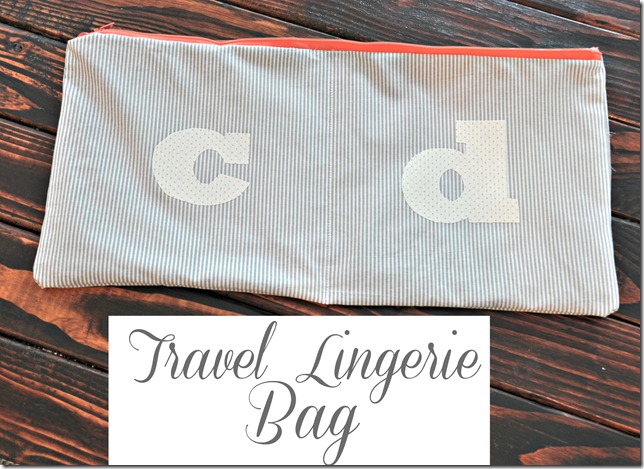
travellingeriebag

My brother asked me what I was making.  I told him I needed a bag to hold my underwear in my suitcase.  I hate when they get all mixed up.  I can never remember if they are clean or not.  They never stay in the pocket I put them in.  He didn’t understand. Nate didn’t understand either. (This is why I need more estrogen in my life.)  Am I the only one with this underwear problem? 

I can’t be.  Today I’m here to help.  This bag was super helpful on our trip.  We lived out of a suitcase and my suitcase ended up being a hot mess.  My underwear, however, were neatly confined to their cute little bag.

This bag contains a zipper but don’t let that scare you.  Zippers really aren’t a big deal.  I promise.  I think this bag took me about 45 minutes to make..and that was after I sewed something the wrong way.

You will need:

  • 1 zipper.  Any length.  See below.
  • 4 rectangles.  You can make them any size…probably depending on the size of your zipper.  My zipper was 18 inches so I went with four rectangles that measured 10”x20”.
    • The fabric I used is from the Salvation Army.  The grey stripes were a sheet and the coral floral was a torn table cloth.
    • Heat N’Bond
    • Fabric scraps for the “C” (clean) and “D” (dirty)
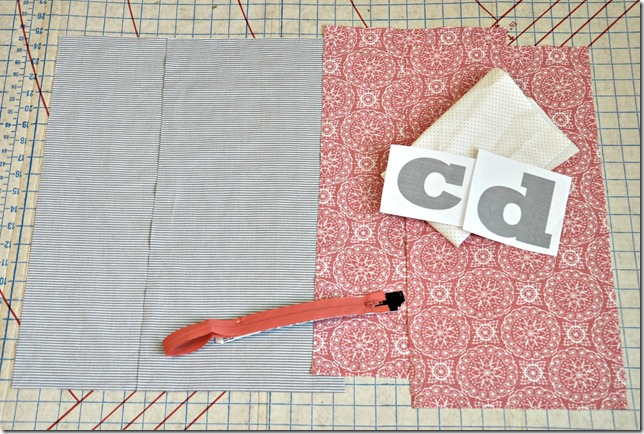
421pm

Your first steps depends on if you want to sew on your “C” and “D” or if you want to just iron them on (my choice).  If you want to sew them on, this would be the time to do that.

Place 1 rectangle of lining fabric right side up.  Place the zipper on top of that followed by a rectangle of outside fabric (right side down).
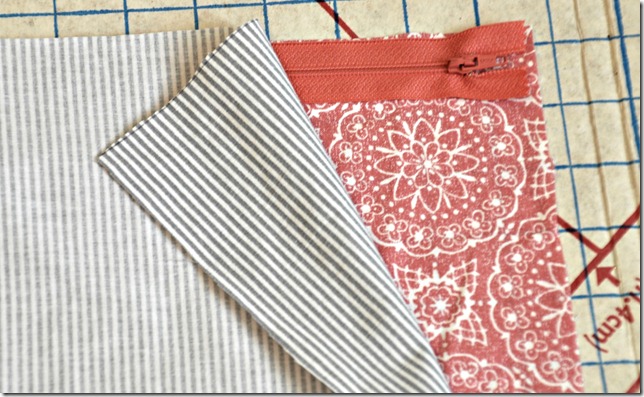
424pm

Sew along the top edge.  I’m horrible with seam allowances but just make sure you are sewing through the three layers. 

Place these two rectangles wrong sides together.
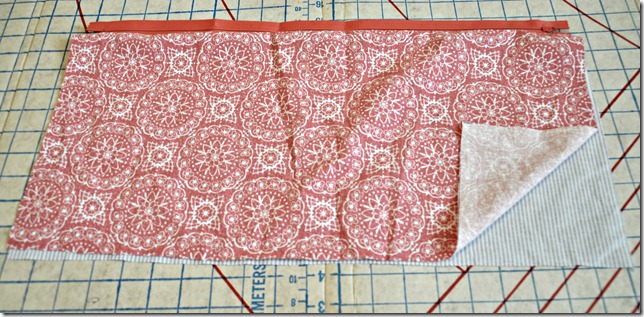
426pm

Next layer your fabric as you did previously (lining right side up, zipper, outside right side down).  Pay special attention to how I have the zipper placed.  If you turn the zipper, you will have liner on the outside.  Not that I would know.  Sew along the top edge.
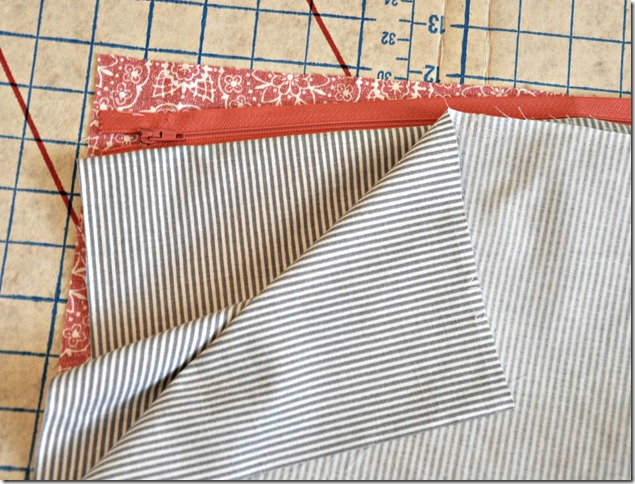
430pm

Now it’s time to open the zipper a little.  This is an important step.  Don’t forget it or you won’t be able to flip your bag right side out and that would be sad.
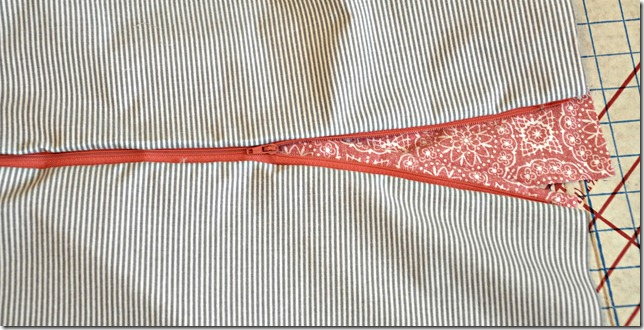
433pm

Next place your outside fabric right sides together and your lining fabric right sides together…as shown below.
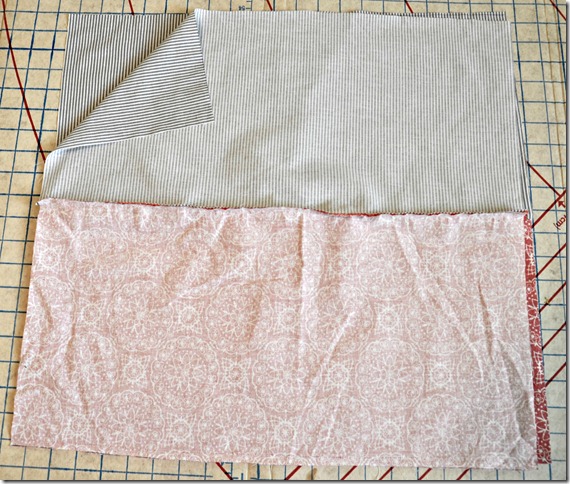
434pm

Sew around the perimeter of the bag leaving a small opening on one of the lining short sides.  You will use this opening to turn the bag right side out.  Turn bag right side out. 

437pm

Close the opening in the lining either by secret stitching or just sewing over the top.  I sewed over the top because it’s an underwear bag for myself.  I’m okay a few stitches showing on the inside.

Ooo, look.  It’s a bag.
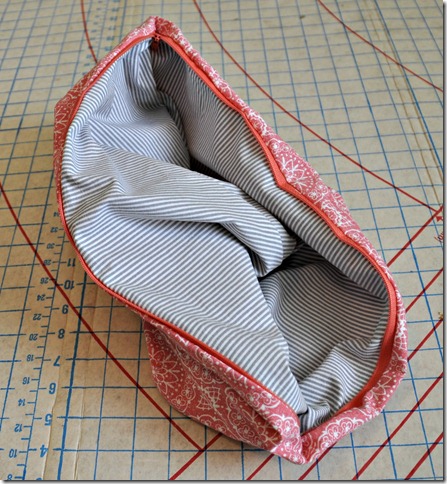
438pm

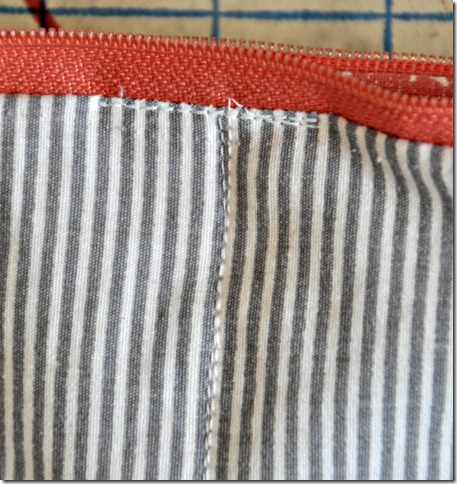
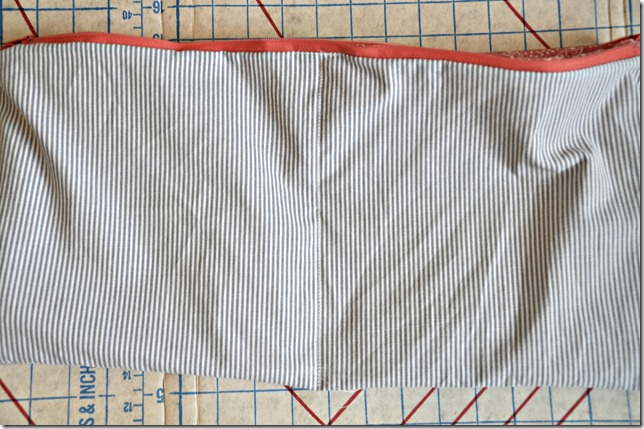
Turn the bag right side out.  Find the center of your bag and sew to divide your bag into two halves.  I sewed over the same line 3 times.
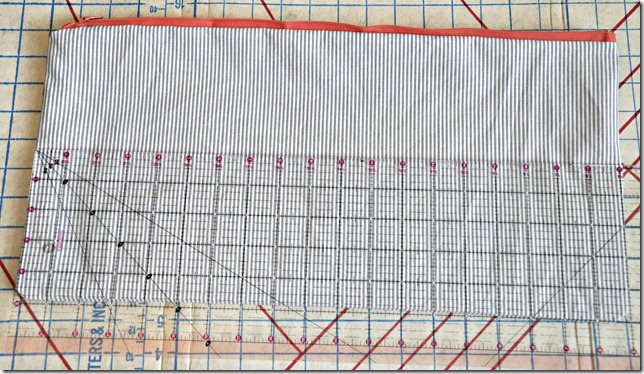
440pm

This line will keep the dirty undies from the clean.  Very important.  I also sewed a small (about an inch) line at the top along the zipper.
444pm
442pm

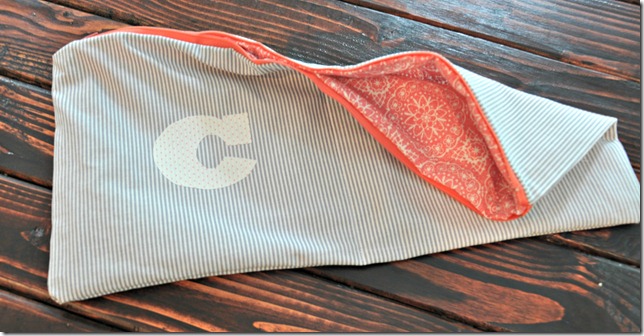
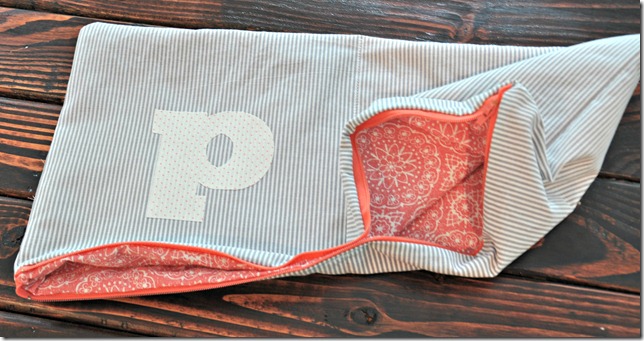
Iron on your letters (I traced letters that I printed out and the used Heat N’Bond applied to my fabric.) and enjoy your fancy lingerie bag!
454pm
lingeriebag
Make Your Own Travel Lingerie Bag!

Anyone else struggle with stray underwear?  Have you traveled recently? Any plans to travel soon? 

Easy Sew Apron Pattern and Tutorial

Last week I shared with you my Pass It Along Project which was easy sew aprons gifted in Mason jars.  Shove anything into a Mason jar and a blogger will love it.   Seriously.  Anything.  Use your imagination.

Easy Sew Apron Pattern and Tutorial

I chose aprons because I knew my recipients like to cook/bake.  Why I chose sewing as my contribution to the project, I am still not sure.  I like to sew.  I’m okay at it but I have this attention deficit problem.  I should have switched up apron fabric or something to keep me interested.  I have made a pact with Nate.  Anytime I decide to be crazy and ponder opening an Etsy shop, he will remind about the time I made four aprons.  He could even direct me to this post.  But don’t worry, one apron is a piece of cake!

It doesn’t help that my sewing machine has it out for me.  Seriously.  I’m adding a new sewing machine to my Christmas list and my current one will find a new home….where it can torture someone else with it’s bobbin issues.

Anywho, today I’m going to share with you the easy sew apron tutorial.  Be prepared to be amazed at how easy this is.  Don’t worry if you’re afraid of your sewing machine.  You can do this.  I mean, my sewing machine has it out for me and I still made four.

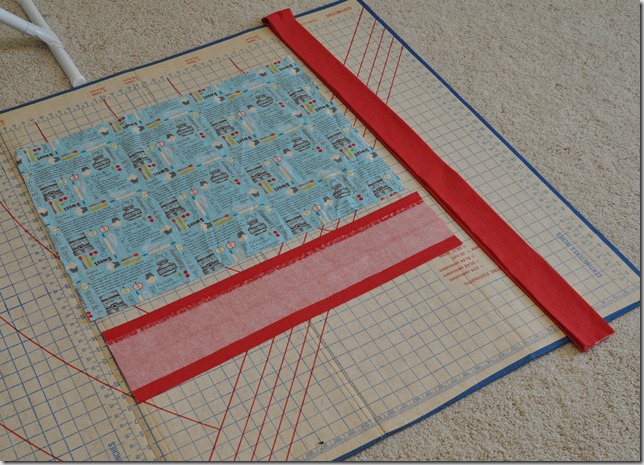
For one apron, you will need:

  • One 26x18  inch rectangle (for the body of the apron) 
  • One 26x8 inch strip (for the bottom trim of the apron) 
  • One 95-105x8 inch strip (for the sash/tie) 
    • The length can vary on this.  I used a little shorter (95”) on these because I was too cheap to buy more fabric.  The shorter lengths tie in the back.  Longer will allow you to tie in the front. 
    • You can either cut one continuous length if you have enough fabric or you can sew pieces together to make the length desired.
Easy Sew Apron Pattern and Tutorial

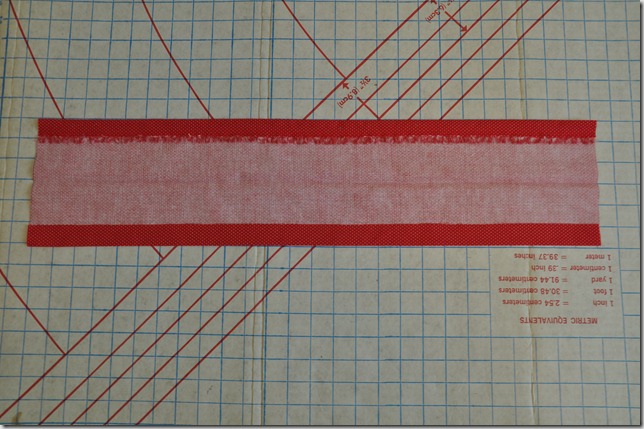
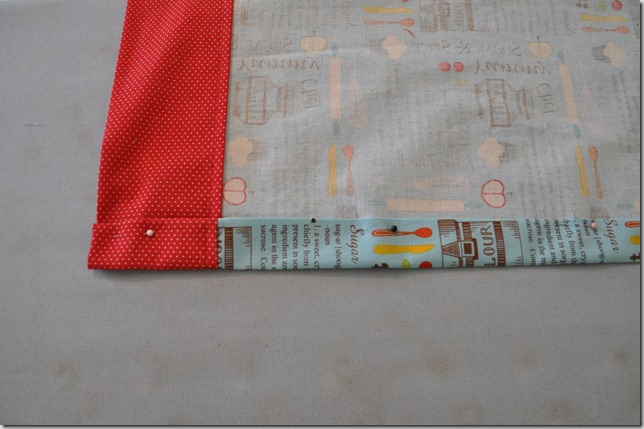
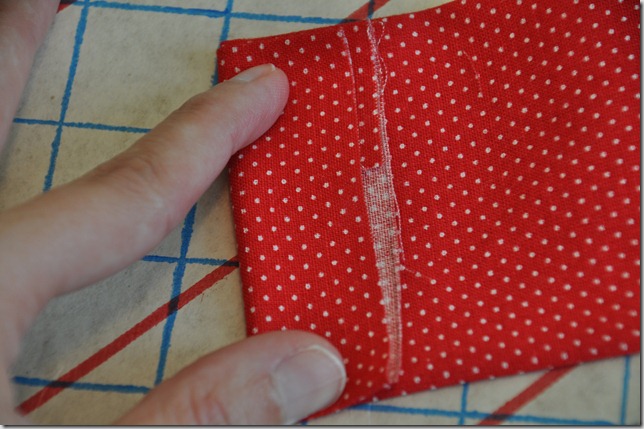
Start by ironing the 26x8 inch strip in half.  Then iron in 1” on each long edge.

Easy Sew Apron Pattern and Tutorial

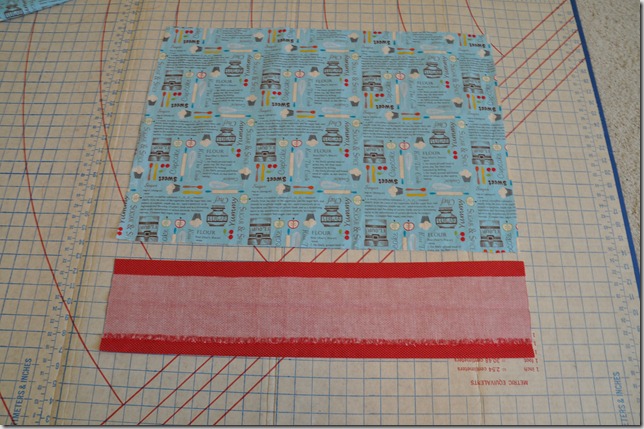
Open the 26x8” strip.  Place the 26x18” rectangle on top.  Align the fabric along the 1” fold.

Easy Sew Apron Pattern and Tutorial

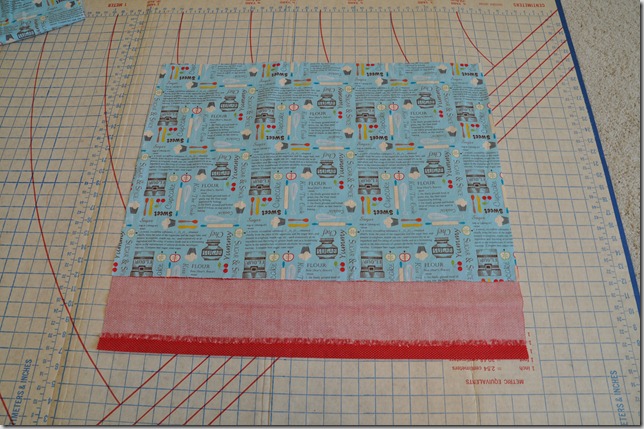
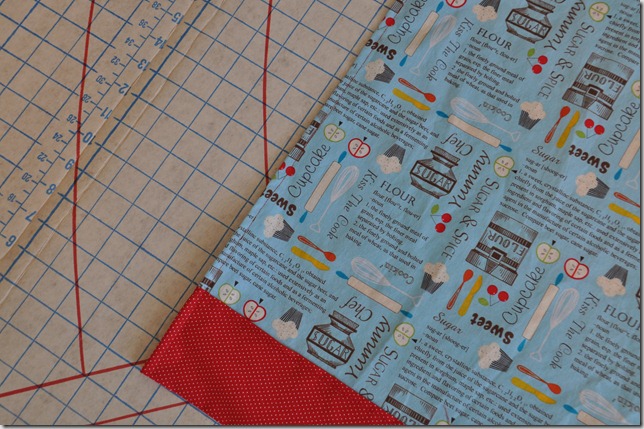
Pin the two pieces together and sew along the top edge.  (I have no idea what seam allowance I used.  I just pick something that will hold the fabric together.  Fancy pants sewer.)

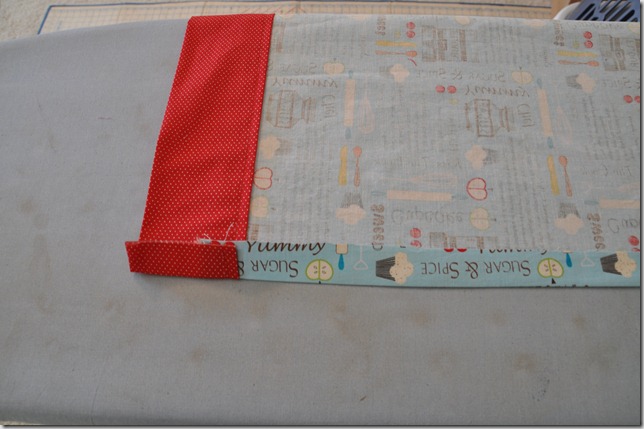
Fold and press in 1" on each side of the 26x8” piece.  Fold over and press another inch on each side.  Pin and sew along both edges.

Easy Sew Apron Pattern and Tutorial

Look at the pretty apron front.  You’re almost there. You can totally do this.

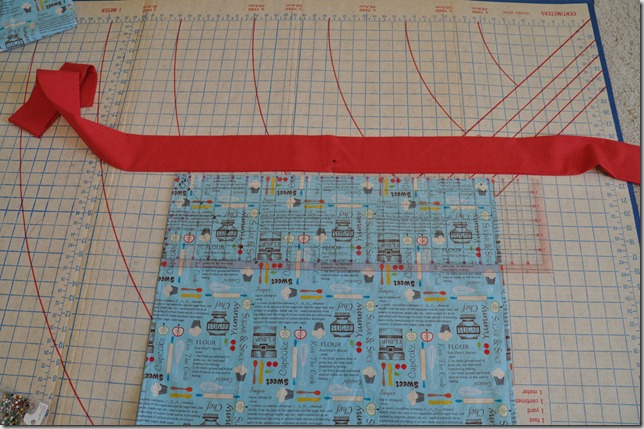
Grab your 95-105x8 inch strip.  (You will need to press this strip in half and also 1” on each side like you did with the 26x8 inch strip.  Stupid pressing.)

Easy Sew Apron Pattern and Tutorial

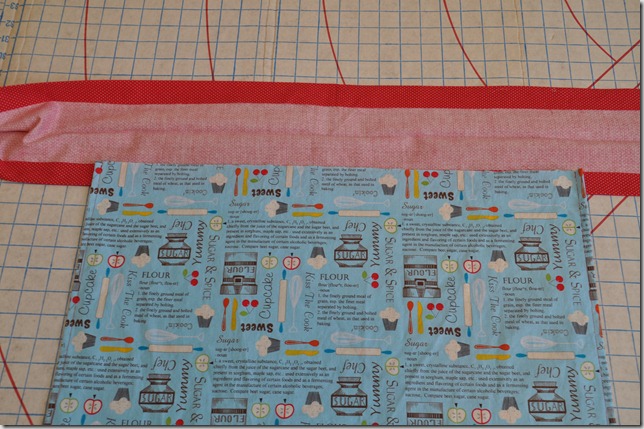
Center the apron on the strip.  Place the apron on top of the 1” fold in the strip.

Easy Sew Apron Pattern and Tutorial

Pin closed.  (Pretend the following photo has pins.)

Easy Sew Apron Pattern and Tutorial

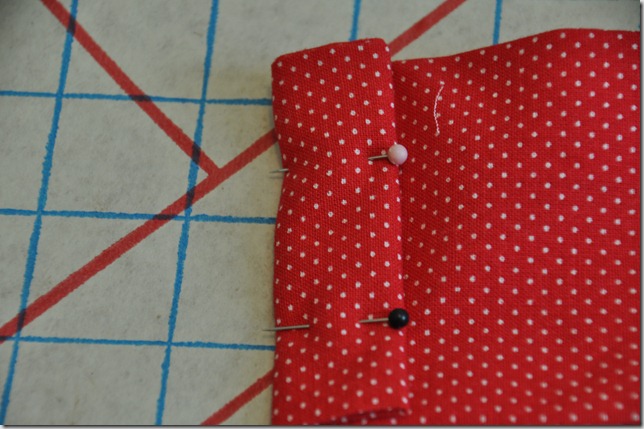
You need to tidy up the ends before sewing the whole shebang together.  Fold in about 1” and then fold over again.  Pin.

Easy Sew Apron Pattern and Tutorial

Start at one edge and sew along the bottom of the entire sash.

Easy Sew Apron Pattern and Tutorial

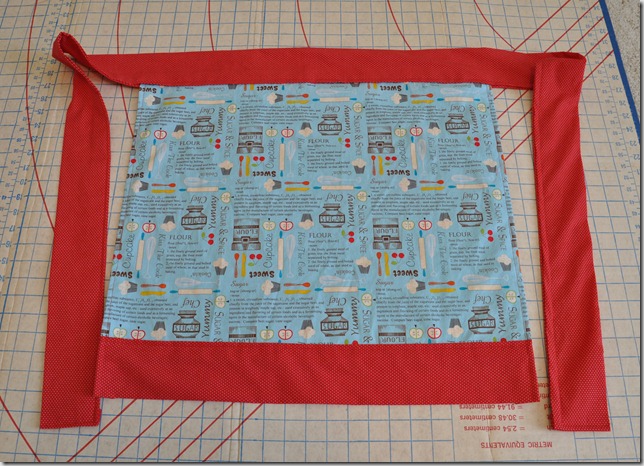
Yay!  You made an apron.  I knew you could do it.

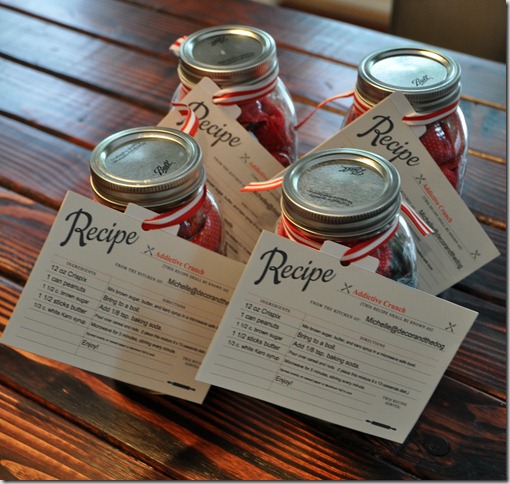
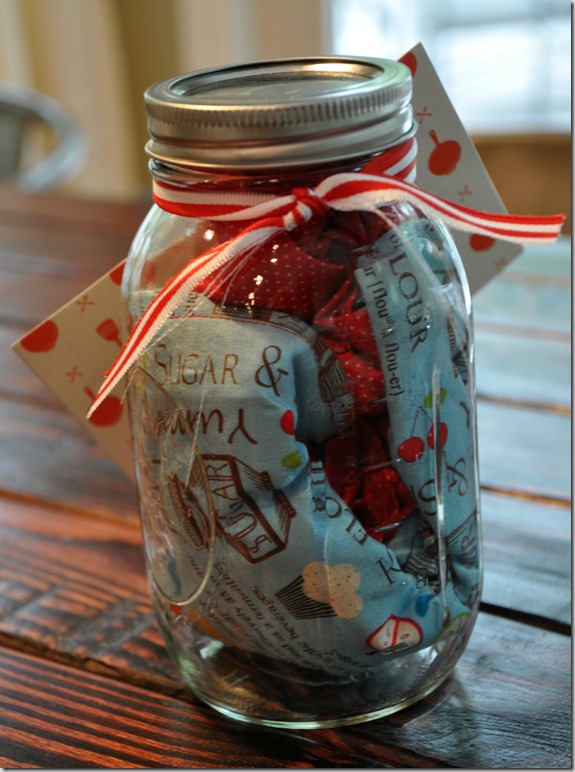
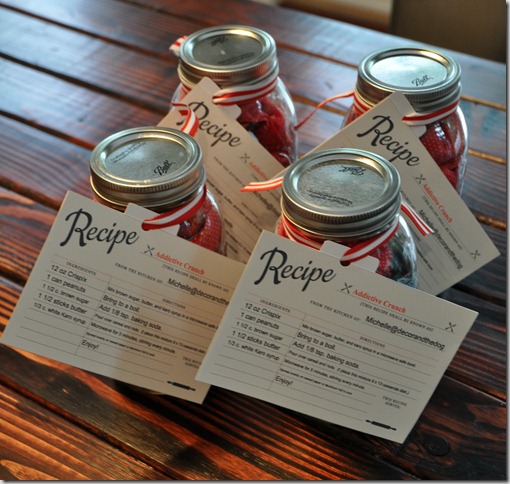
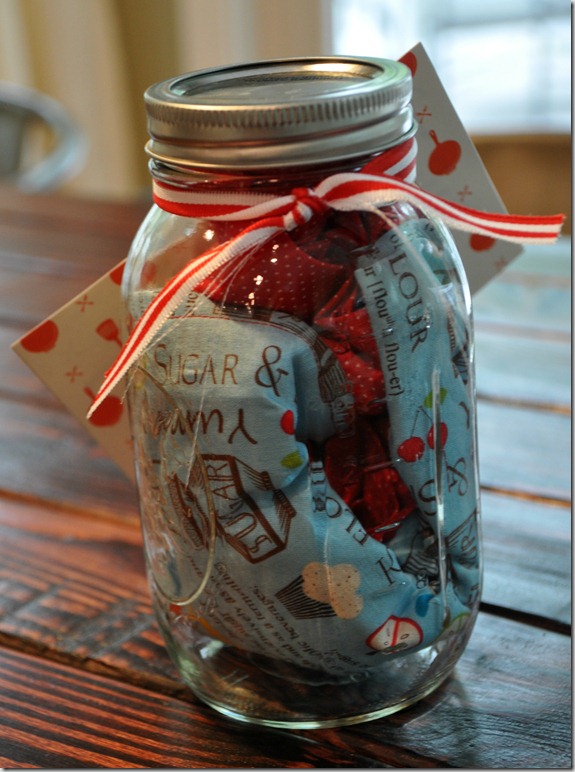
To complete the project, get yourself a Mason jar.  I found these four in the clearance section of Target for $1.00 a piece.  Awesome.  Fold the apron and shove it in the jar…nicely, of course.

Easy Sew Apron Pattern and Tutorial

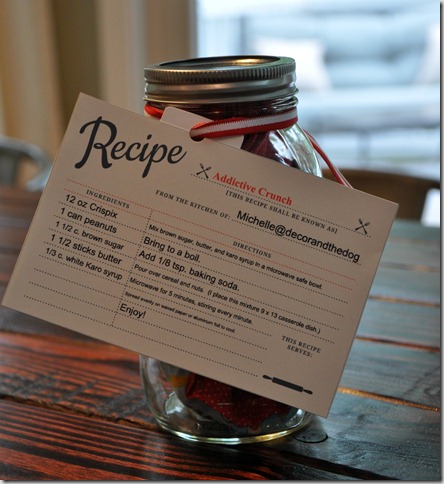
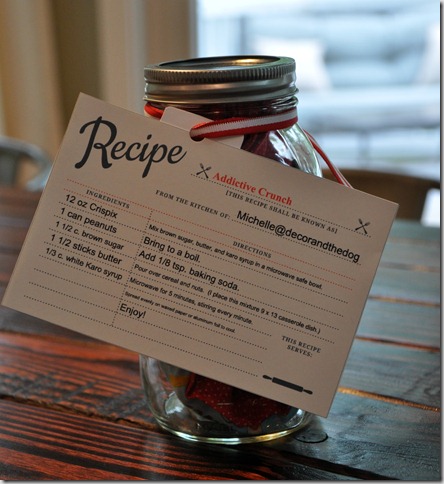
I attached a favorite recipe with a ribbon.  I used the free vintage printable recipe cards from Love vs. Design.  Can’t beat free.

Easy Sew Apron Pattern and Tutorial

Any questions?  Are you an apron fan? What would you love delivered to you in a Mason jar?  I’m thinking cookies would be perfect right now…

Easy Sew Apron Tutorial.  Gift it in a Mason jar!.jpg

Be sure to check out our other sewing and craft projects here!

Photobucket Photobucket Photobucket Photobucket PhotobucketPhotobucketfollow us in feedly

Pass It Along Project

Do you all remember when I mentioned the Pass It Along Project? Of course you do.  But in case you need a refresher…

The Pass It On Project is all about spreading joy through handmade items.  The principle is simple.  You receive two handmade items.  One if yours to keep, the other is to pass on to someone who could also use some joy.  Who couldn’t?  You then make two items and then send them along to a blog friend.  Your blog friend then repeats.  It’s one vicious joy cycle.

I finally got around to finishing my gifts and sending them off to Mindy and Maury.  So what did I end up making?  Something simple?  Something that didn’t require me to rip my hair out?  Nope.  I never pick the easy route when it comes to crafting. I knew that both Mindy and Maury liked to whip things up in the kitchen so I went with…

105pm

Aprons packaged in mason jars with recipes attached.  The recipe cards are a bit large but that just means extra joy, right?

110pm

108pm

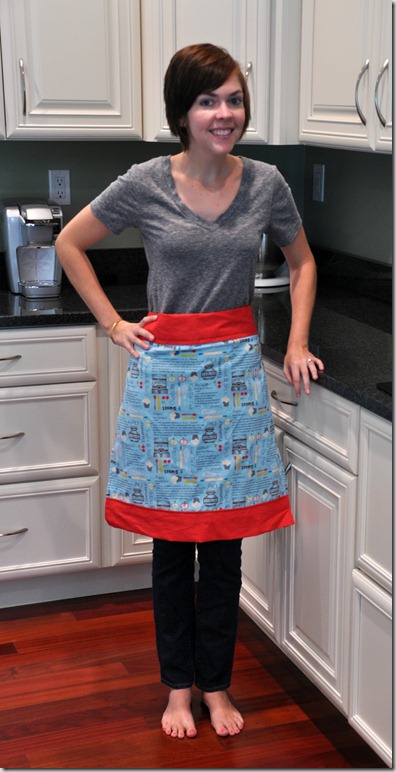
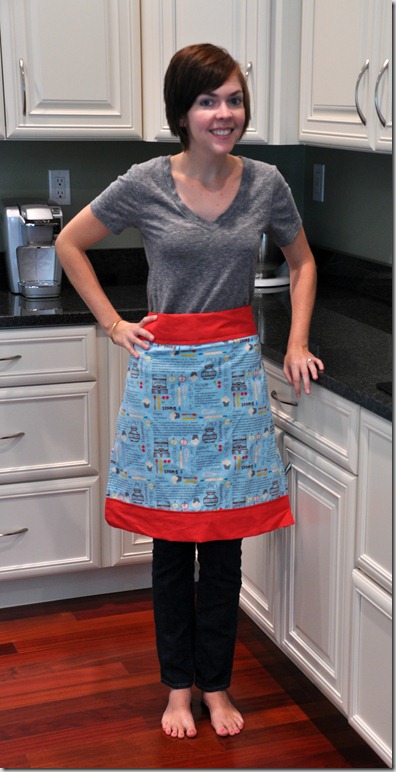
The aprons look like this….

085pm

I’m quite the natural apron model.  Probably because I’m such a pro in the kitchen.  Apron wearing comes naturally for me.

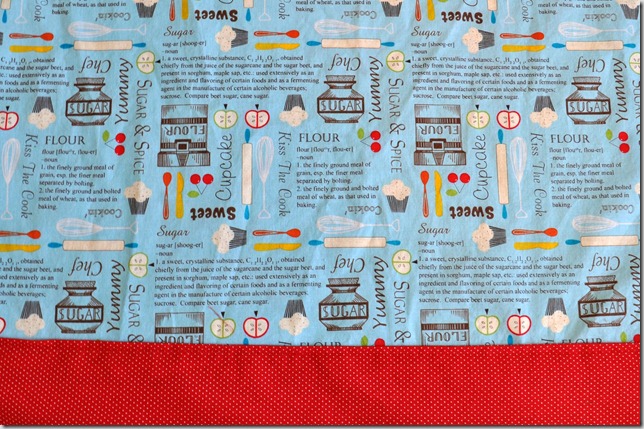
I loved the baking fabric paired with the tiny red polka dots. I’m a sucker for polka dot fabric.

DSC_0023pm

I’ll share the apron tutorial later this week.  Along with that DIY console table tutorial.  Tutorials require too much concentration during the Olympics.  Focus.

Thanks to Amy for passing the project on to me. I can’t wait to see what Mindy and Maury pass on!

Have you participated in the Pass It Along Project?  Feel free to share your link below.  Are you an apron fan?  How about polka dots?

Speaking of crafty things, Erin posted more info about the Random Acts of Craftiness.  Click the button below to get the scoop!  We have cheerleaders, husband choice awards, and goodies.  Are you a business/Etsy shop owner that would like to contribute to the goodies?  If so, e-mail me at decorandthedog (at) gmail.  You really don’t want to miss out on this. 

random acts small button

Easy Sew Dog Tie

Nate won’t let Ike wear dog clothes.  He’s very opposed.  Normally I do things to test our marriage but I don’t push the dog clothes situation.  That’s how strongly Nate feels about the dog in outfits.

Nate surprisingly does not oppose accessories though.  Well, he probably will after he reads this post and realizes I wasted part of an afternoon making the dog a tie instead of doing something useful like cleaning windows or laundry or something. 

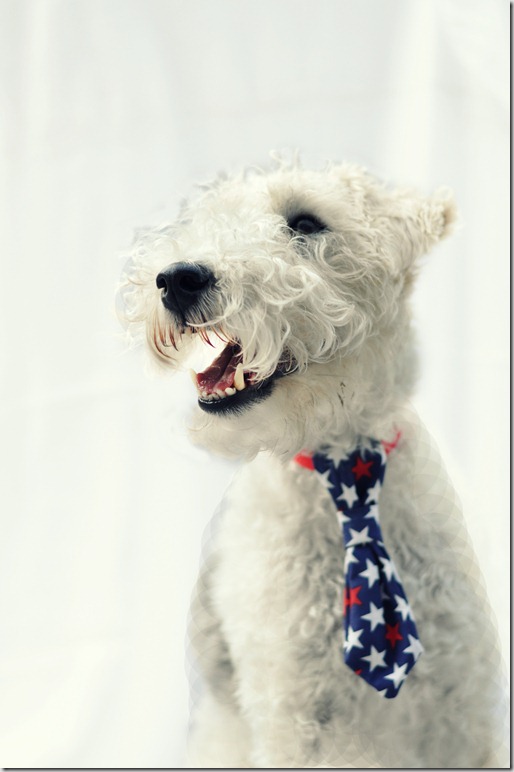
Ike loves accessories.  He’s normally a bandana type of dog but he’s always willing to dress up for the holidays.  Like the 4th of July for instance.  Nothing like a good dog tie to celebrate our country’s freedoms!

Easy Sew Dog Tie. So Cute
Easy Sew Dog Tie

Want to make your furry friend a dog tie?  Of course you do!

Here’s what you’ll need:

  • One 14'” x 3” piece of fabric with pointed ends 
    • This piece makes the long tie piece. 
    • I used a piece of iron on interfacing on the back of this piece for extra support.
    • One 4” x 3” piece 
      • This piece is what your dogs collar will slide through.
      • One 3” x 2.5” piece 
        • This piece is that little portion that is wrapped around the long tie.
805112211

You can be flexible with these measurements. Ike is about 24 pounds and 16 inches tall. You can adjust for your dogs size. It may take some experimenting but the ties are pretty easy to make.

Take your 3” x 2.5” piece and place the ends right side together.  Sew with a 1/4” seam allowance. 

805112207

Turn right side out.  I use a pen to assist me with this step.  Press so the seam is in the middle.

805112208

Fold this piece right sides together, sew together, and turn right sides out.

805112209

Place the 4” x 3” piece on top of the tie piece (centered).  You will want the wrong right sides (the pretty sides) together.

805112212

Sew 1/4 inch seam along the two edges of the 4” x 3” inch piece.

805112214

Turn this right side out.  You may want to press it flat if it’s too bulgy.

805112202

Fold the pointed ends of the tie right side together and sew with a 1/4”ish seam allowance around the edges.  Try to get a few stitches up into the covered piece to help hold the tie together better.

805112215

Trim the edges up so you get a pointy tie.  (I need to learn to switch out lenses.  The wide angle does wonders for close ups.  But you get the picture, right?)

805112216

Turn the dog tie right side out.  You will now have the tie piece and the little wrap piece.

805112218

Scrunch (technical term) the tie at the top and slide the wrap piece over the tie.  (A better use of your time may be repainting your nails but you’ve made it this far without me telling you this so continue on.)

805112223
805112224

Admire your pretty tie!

805112210

Place your dog’s collar through the loop at the top.

805112206

Watch your dog smile because he loves his fancy new dog tie.  He seriously loves this thing.

Easy Sew Dog Tie

This is a good beginners project because if you screw up, your client will still be happy!  Just remember that the tie should only be worn with supervision!.

Easy Sew Dog Tie

How do you feel about dogs in clothes?  Accessories?  What dog doesn’t need a tie?

Linking up to: Serenity Now, Honey We're Home

Pass It On Project

Have you all heard about the Pass It on Project?

The Pass It On Project is all about spreading joy through handmade items.

The principle is simple.  You receive two handmade items.  One if yours to keep, the other is to pass on to someone who could also use some joy.  Who couldn’t?  You then make two items and then send them along to a blog friend.  Your blog friend then repeats.  It’s one vicious joy cycle.

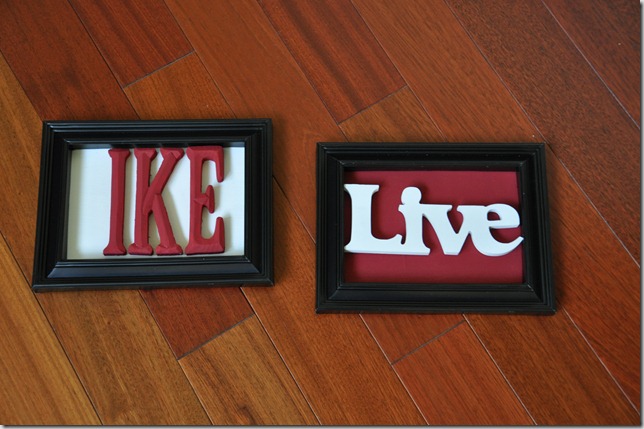
Guess what? I recently received some handmade joy in my mailbox from the lovely Amy over at Buffalo Roam.  Amy is hilarious. You should 100% read her blog. She just moved into her new home that her family put a lot of love into.  Beings Amy had nothing better to do, she whipped up these beauties.

805112041

Aren’t they cute?  Such a simple idea that has big impact.  And who doesn’t love a personalized gift?

805112043pn

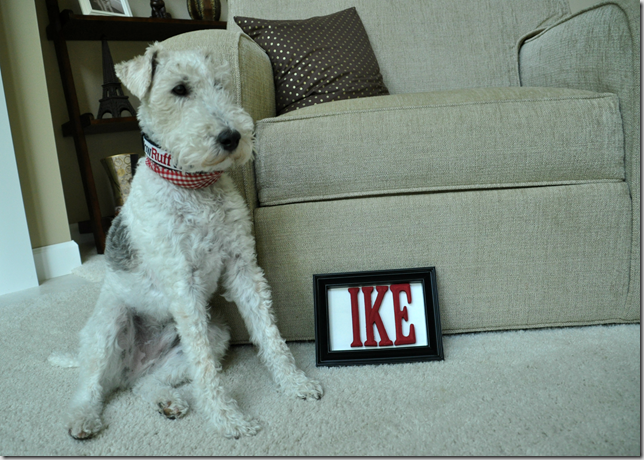
Ike loved it.  Really.  He did.  He just hates the camera now.  Silly dog.

The framed letters looked perfect in our mudroom.  Amy’s good!

391

Thanks so much Amy! I smile every time I look at it.  The frame is a nice reminder of the fabulous people I have encountered through this little blog!  The “Live” frame will soon find a home with one of my good friends.

I’m going to do my joy spreading a little differently.  Because I’m different. 

Who would like to receive some handmade joy from me?  I will send two people some handmade goodness for them and a friend. I already have an idea in mind.  It’s fun.

Leave a comment below if you’re interested in participating in the Pass It on Project.  If there are more than two of you (I’m waiting for crickets on this one), I will use random.org to select two bloggers that I will announce sometime next week.  If you’re not one of those two, I will encourage you all to look through the comments and find others to continue on the spreading of handmade joy.  Deal? Deal.

I’m 30 Quilt

So, I’m participating in this Block a Month thing over at In Color Order.  Well, sort of participating.

To quote myself… “Once a month.  That’s pretty low pressure.  Finish a quilt top in a year.  That’s about right on schedule for my normal projects.  Let’s do this!”

Ummm.  Yeah.  I finished January's on time.  I finished February's at the end of March.  Follow through isn’t one of my strong points.

I have now decided that this quilt is going to be named the “I’m 30” quilt.  When I snuggle up with it as a rocking old lady, I will remember that I made it in my 30th year of life.  I’m using this as motivation to actually finish it in my 30th year.  And beings that June is half over and I was only on February, I decided to get to work.

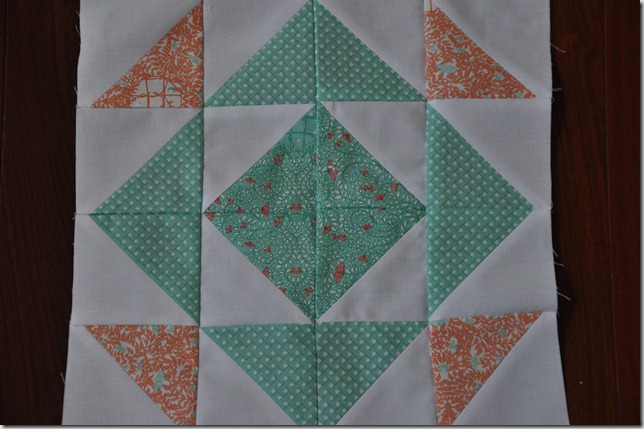
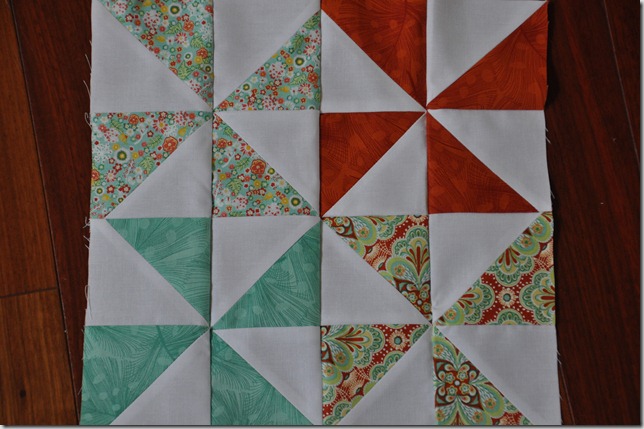
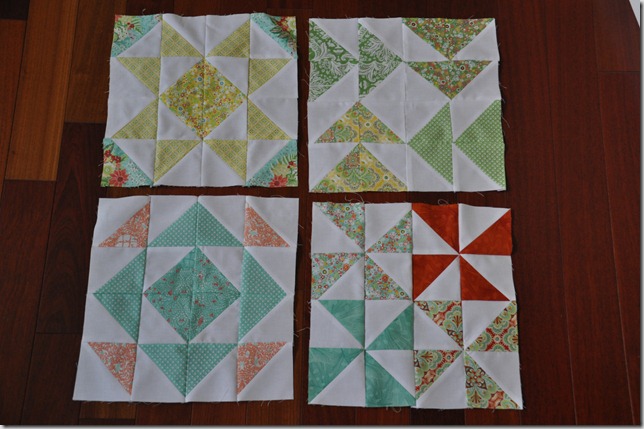
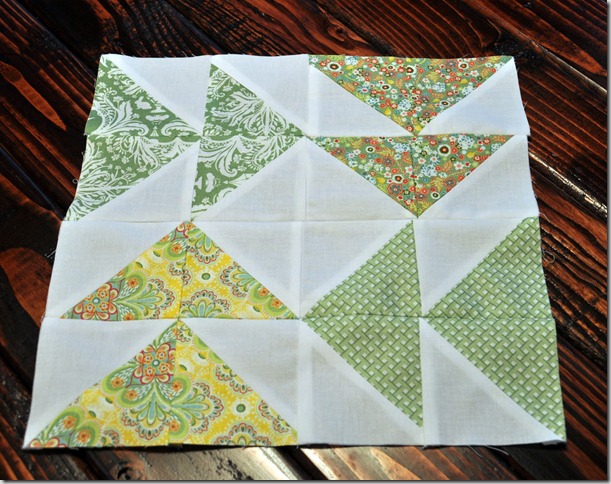
I now present you with March’s block.

376

And April’s block.

378

April’s pattern is my favorite so far!

I’d totally be killing this quilting thing….if it was April.  At least I’m not extremely far behind now.

373

That would totally keep my….arm warm? 

I’ve been eyeing old quilts at antique shops.  Most of them sell for around $80. I can totally see why now.  Quilting is no joke.  My squares aren’t perfect but I can’t wait to have a quilt made by little ol’ me.  I will finish this thing.

Anyone else stink at follow through?  What’s the most recent thing you’ve started and failed to complete?  Anyone else participating in the Block a Month?

Little Travel Totes

What did I learn this week-end?  I learned that my sewing machine likes to see me cry.  That’s what I learned.

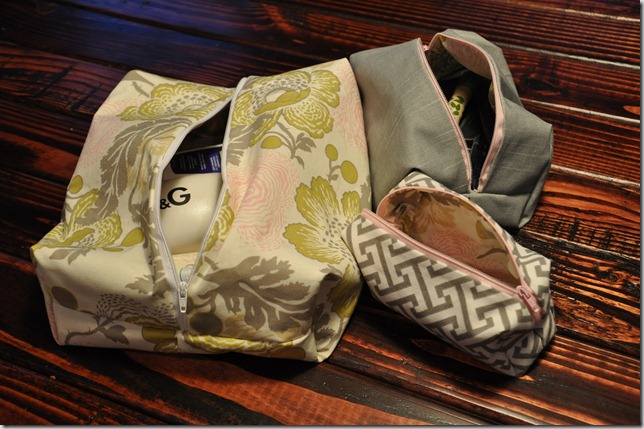
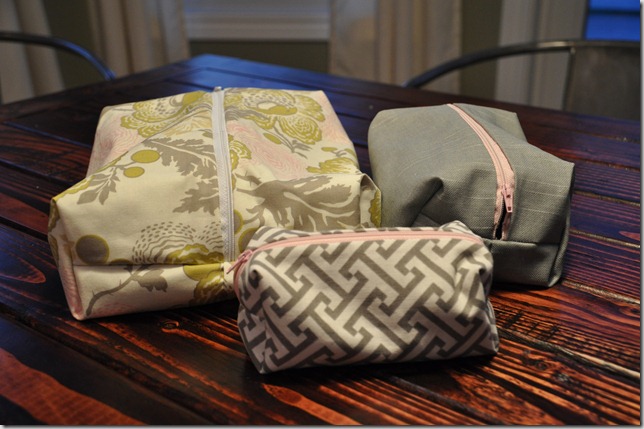
I did eventually manage to sew myself some darling little travel cases.

4982

Aren’t they cute?  I sewed them using a pattern from Say Yes to Hoboken.  I had some issues following the instructions but I also have this amazing skill of making every sewing pattern 20 times harder than it needs to be. The fabric is really cute though.  I have had the Amy Butler fabrics since forever.  They make me happy.

4971

4975

I always like to see what products people use.  I’m that girl that will search through your medicine cabinet.  Yep, that’s me.  So now I will take my turn at sharing.

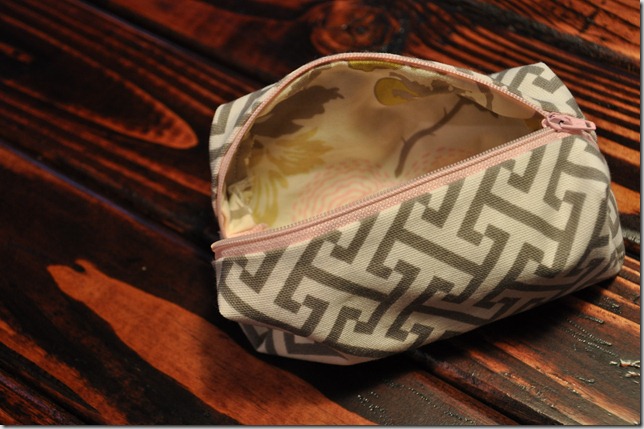
First is the baby tote.  This one will be placed in my purse.  It will hold my precious Stila lip gloss. I thought I lost the strawberry one this week. I almost cried. And then I found it. And then I cried happy tears. I also have some Burt’s Bees chap stick sans wrapper, a Tide pen, and a bottle of mixed medicines in an Ibuprofen bottle.  I’m a pharmacist. I know what they all look like.  Plus the Tums coat the Ibuprofen and make it easier on your stomach.  Trust me. I’m a doctor.

4974

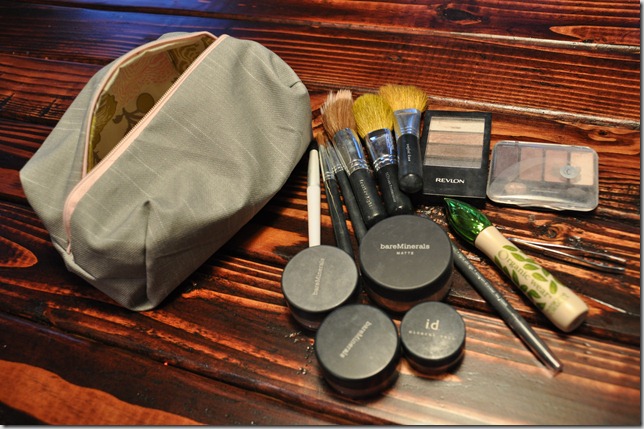
The medium size bag is for the ol’ make-up.  I’m a big bare Minerals fan.  It’s the only make-up I can wear without my face freaking out.  I use only the fanciest eye shadows.  I also love my Organic wear mascara.

4978

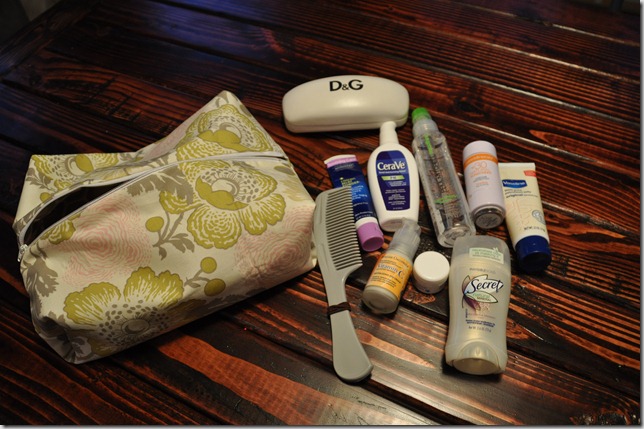
The largest bag will hold all of my odds and ends stuff. As you can tell, I’m pretty high maintenance.  The face gets some CeraVe lotion, Monistat Chaffing Relief Powder Gel, Bare Minerals face sunscreen, and some Avalon C anti-old lady eyes.  The boy hair is currently digging Paul Mitchell Super Skinny Serum.  The Vaseline is to help prevent my inch long mole removal incision from scarring.  I’ve been applying it about 6 times a day.  The dermatologist asked what I was doing because they hadn’t seen an incision look as good as mine.  Pharmacist for the win.  (P.S. Wear sunscreen!) Of course there is deodorant and lip balm.

4979

That’s it.  My life in three bags.  Now I just need to figure out what else I need to pack for Costa Rica.

What’s one product you can’t live without?  Ooo, I need beach read recommendations.  I would prefer funny/romance/light reads.  I don’t like to tax the brain on vacation. Or make it sad.

February Old Lady Quilt Square

Do you remember when I decided to join the block a month project over at In Color Order? (If not, you can read about it here.) Do you remember how I told you all that a block a month was pretty low pressure and I could totally do it?  Well, I just finished February’s square…

963pn

Good thing it’s not almost April.

Again, the block isn’t perfect but it makes me happy.  I had to reteach myself how to sew the half squares beings it had been about 2 months since I completed the first square.  I should probably get to working on March’s before I forget…again!

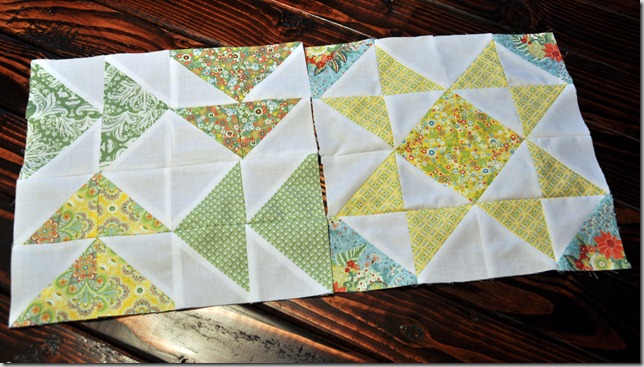
February’s square looks mighty cute with January’s.

971pn
972pn

There’s still time for you to join in!  Peer pressure.  Head on over to Involving Color to catch up on the fun.  You can seriously do this.  Trust me.  You might need a seam ripper.  And hopefully you haven’t recently given up on swearing.  But other than that, you are good to go!

Tell me I’m not alone in having to reteach myself things if it’s been over 2 days.  Anyone else working on an old lady craft?

Pinterest Challenge- Kindle Case

It’s that time again.  Time for the Pinterest challenge. The challenge to use Pinterest as a good source of inspiration and not as an evil time suck.

(If you’re new here, we usually do more exciting projects than this.  Check out our Projects tab and House Tour tab!) 

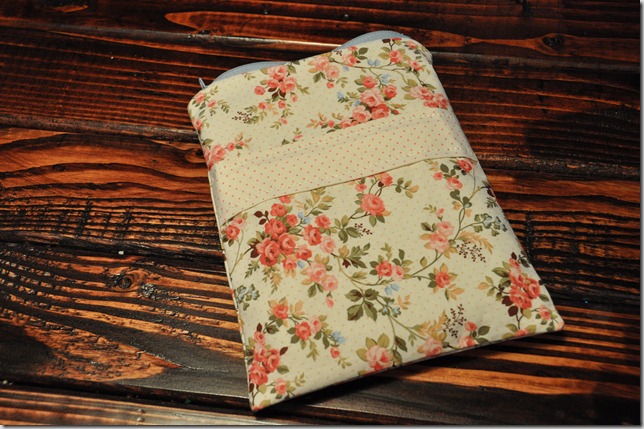
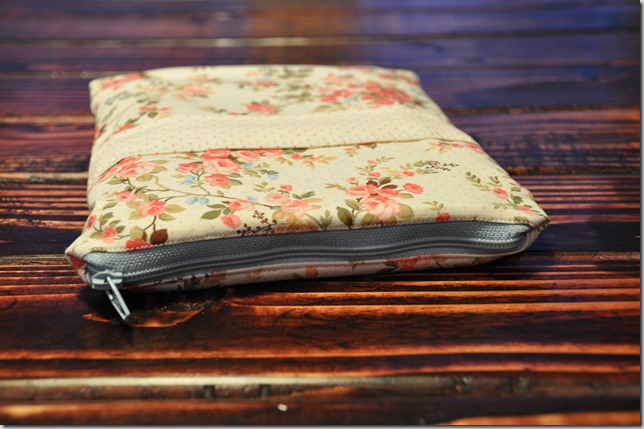
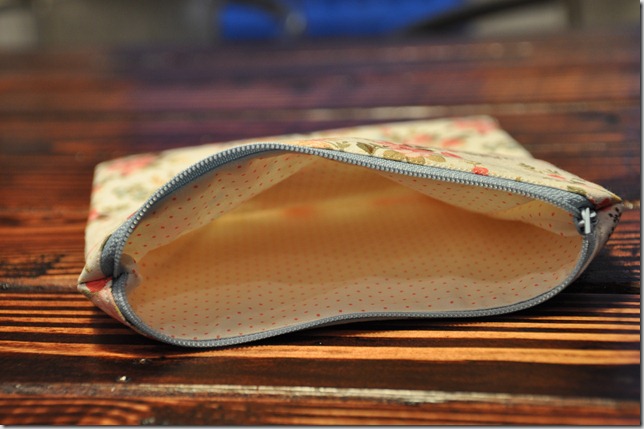
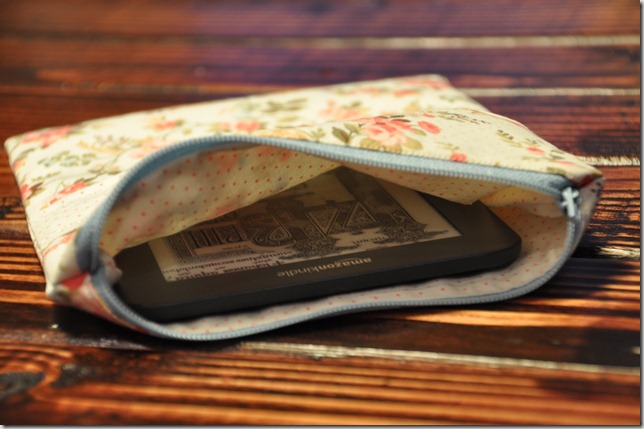
I decided to make a case for my Kindle. What else are you going to do with swollen lymph nodes?  Might as well cut some fabric. Some lovely old lady floral fabric at that. I can’t tell you the name of it.  I’ll call it “Elderly Lady Stash From My Sewing Room.”  I think it was originally from Joann’s. 

I have a lovely green cover for my Kindle but it’s only a cover.  I want to use my Kindle more at the beach on our upcoming trip to Costa Rica.  On previous beach trips I have found that the cover traps sand.  It gets sunscreen on it while in the beach bag.  Water bottles sweat all over it.  General grossness. Hence my need for a case.

A case would involve a zipper.  Yikes! Can I actually do this? 

Oh, I did it.

625

629

638

641

I followed the directions found from this pin…


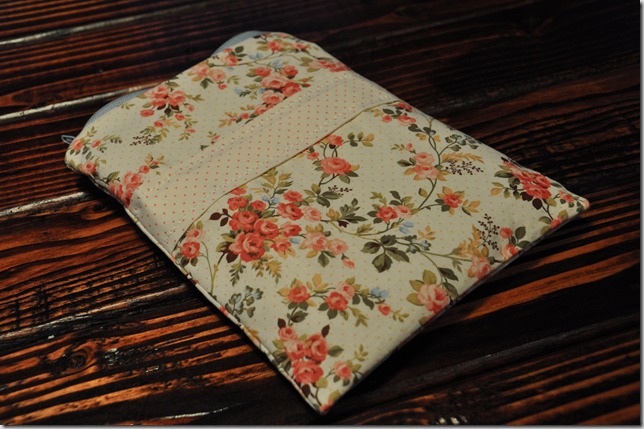
The instructions were easy to follow.  As in, I sewed a zipper (for the first time) in a bag after 8 hours of working with a viral infection.  That easy.  The only modification I made was adding the strip of fabric on the front.  Fancy pants.

It wasn’t meltdown free though. I broke my sewing machine needle.  (I’m still unsure how I managed this.)  I couldn’t get the screw loosened to replace the needle.  I called Nate bawling.  He didn’t care.  Tax season. Blah. Blah.  My sinus infection worsened.  My lymph node swelling increased.  I finally got the needle replaced.  The dog was barking his silly little head off at his archnemesis (the poodle across the street). Barking is a new thing for Ike.  I am not impressed. Sewing drama.

592

Even with all of that, I still completed the cover in around 1-1 1/2 hours.  I’m killing this sewing stuff lately.  I think I’ll make myself a dress. *knee slap*

Pretty old lady Kindle cover was totally worth it.

627

Anyone else tackling the Pinterest challenge?  Do you follow me on Pinterest?  Do I follow you? (Leave your link.)  Any good beach read recommendations for me?  Are you on Goodreads?  (Find me here!)