Gruesome Rug

I love thrifting.  Especially when I find awesome things.

This past week-end Nate and I headed out with my family.  I really didn’t have anything on my “must find” list.  That’s usually when I get in trouble.

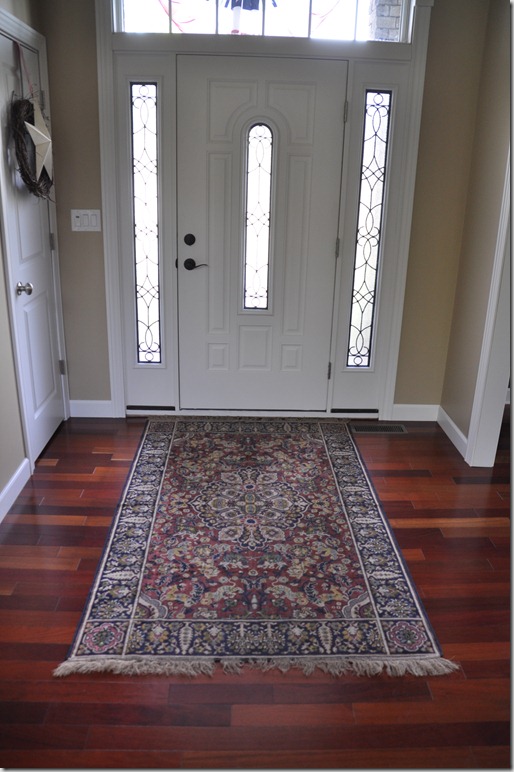
On our last stop I spotted a beautiful rug.  The colors spoke to me.  Rugs speak to you too, right?  I was expecting it to be pricey but thought I’d check.  $30.  What the what?  No stains.  No rips.  No weird makings.

058

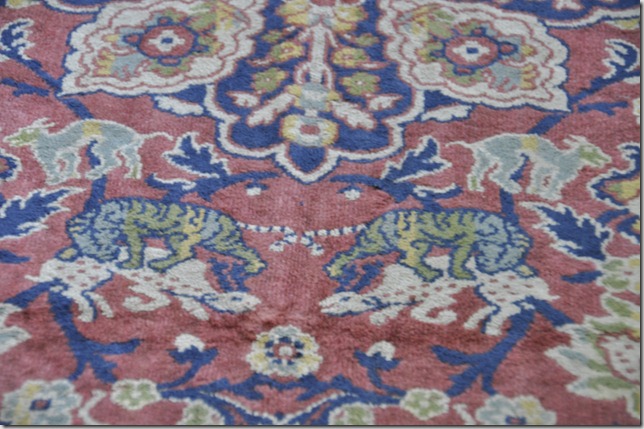
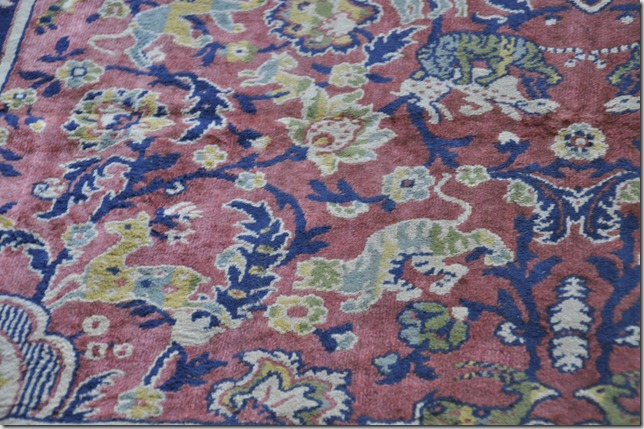
Just animals killing other animals.  Oh my.  Gruesome.  My brother gave me his seal of approval once he saw the carnage.

054

055

I don’t know what says “Welcome to Our Home” more than Ligers (they’re mythical) attacking gazelles.

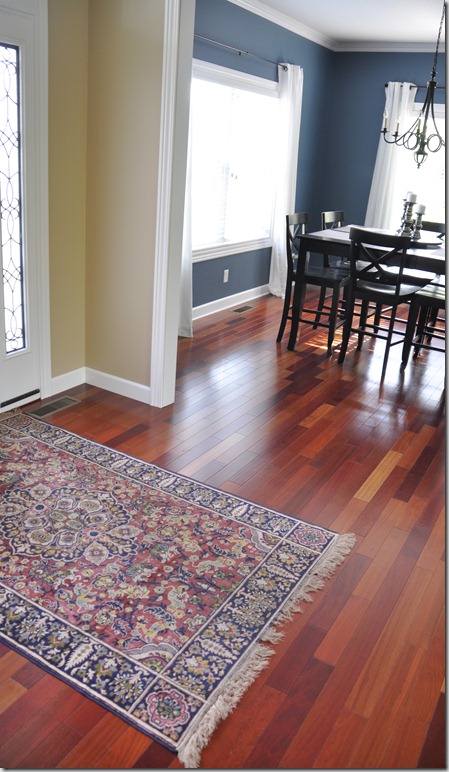
I like how it plays well with the Macademia color in the entry and the Smoky Blue in the dining room.  It was meant to come home with me.

061

It’s missing a little fringe on the ends but I think it gives it even more character.  Ike agrees.

070

Any fabulous thrift finds recently?  Do items with animal attacks have good feng shui?

Awesomely Random Friday

I have some tutorials to share.  They seem like a lot of work to put together right now.  And I’m lazy.  You all understand, right?  Good.

Instead you get a really random post about really random things in my life.

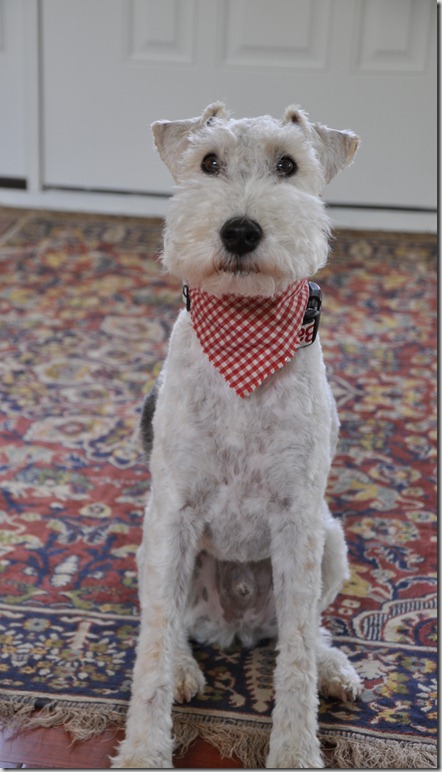
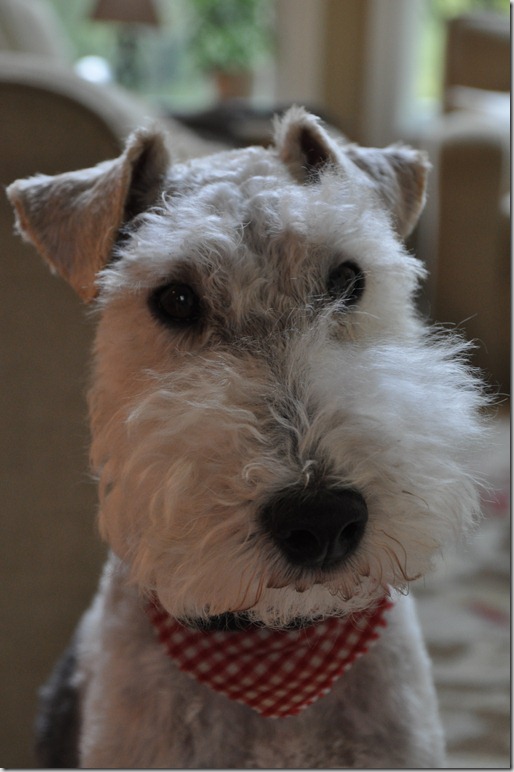
1. Ike got a hair cut.  He has Andy Rooney eye brows and fluffy mustache.  Poor thing.

DSC_0039

DSC_0048

2. I had a mole scraped from my scalp yesterday.  The anesthetic didn’t work.  The rest of the day it felt like someone was repeatedly jabbing my skull with a needle.  I need a cute hat.  You all are resourceful.  Any cute hats out there?

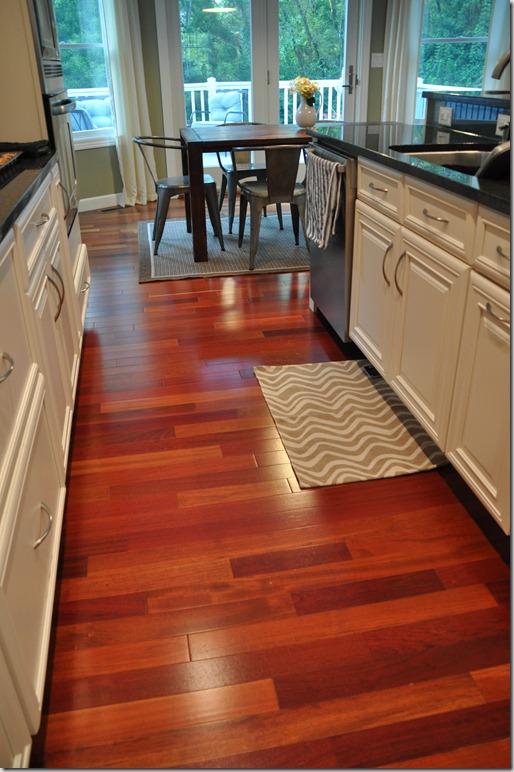
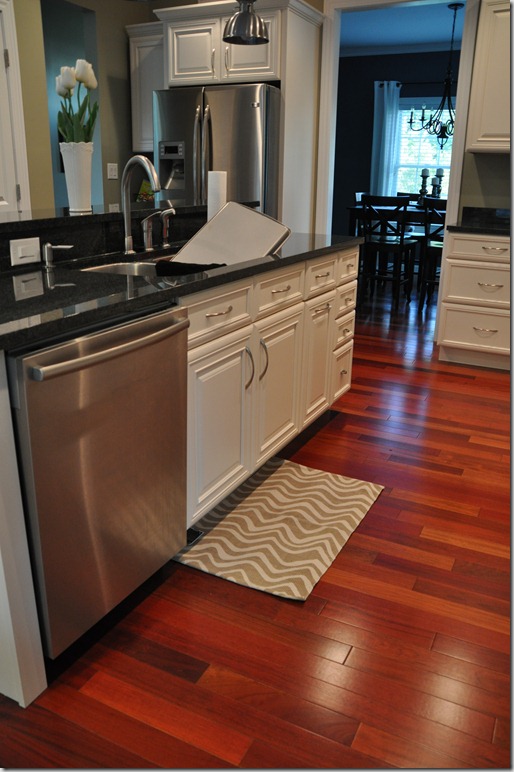
3. I shouldn’t be allowed in Target alone.  I bought this rug.  It’s a little wild.  I’m debating.  Don’t mind my dishes in the sink.  I don’t.

DSC_0054

DSC_0056

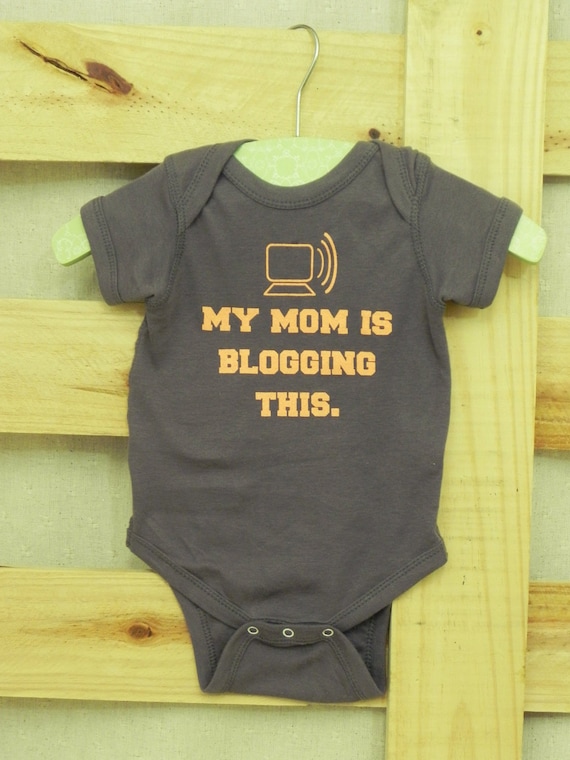
4. I purchased this onesie for Kim's (NewlyWoodwards) baby Henry.  It makes me laugh.  Kim and I had a lunch date turn business date yesterday.  We plan to take over the world.  We’re not sure when or how.  But look for it.

My Mom is Blogging This Baby Bodysuit (You Choose Size)
via Etsy

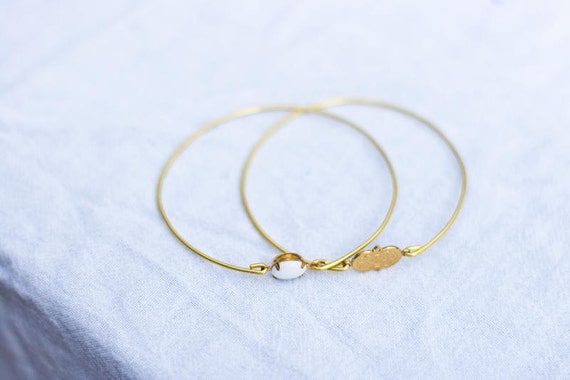
5.  I had only purchased one thing via Etsy up until a couple of weeks ago.  I’m on a roll.  I ordered these bangles as a “Yay, I paid off my student loans” gift to myself.  I can’t wait for them to arrive.

White Vintage Set Stone Bangle
via Sweet Auburn Studio

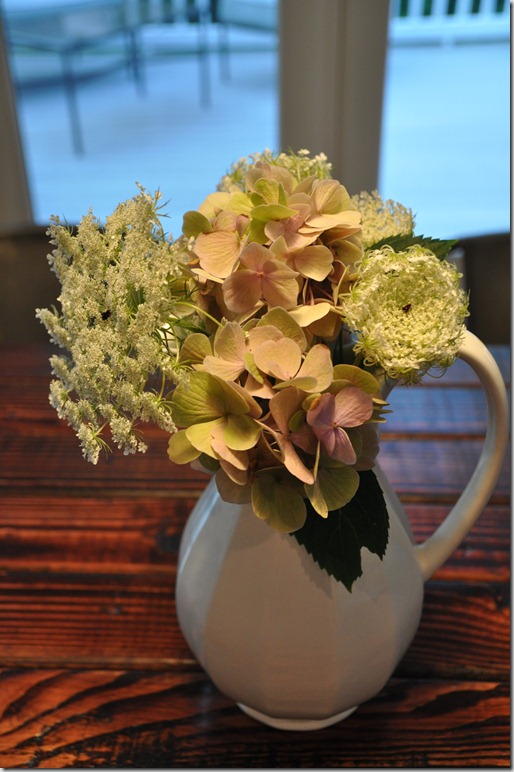
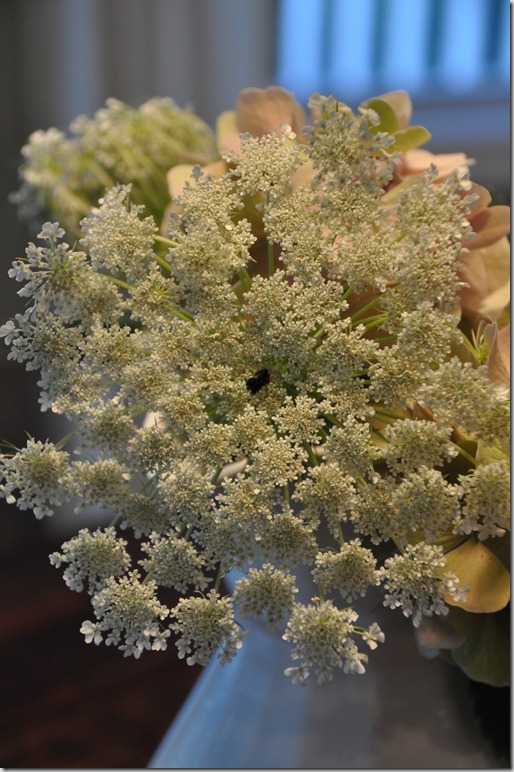
6.  I like a weed.  Queen Anne’s Lace to be specific.  Did you know you can eat it or use it as contraception?  (I am not promoting either one.)  It also looks a lot like Poison Hemlock.  (You know, the stuff that killed Socrates.  Why do I remember that but not what I had for supper last night?)  So, be careful.

DSC_0060

DSC_0062

7.  Both of are families are in town this week-end.  Should be a fun time. It’s always weird when the families co-exist.  It’s unnatural.  Our families are different.  Holidays at my parents’ house include eating meals off of paper plates in front of the television.  Nate’s family has meals in the formal dining room on China.  You know.  I love the variety.

Tell me something awesomely random?  Cute hat suggestions?  Big week-end plans?  Awesome Etsy finds?

Simple Bedframe Tutorial

On Monday, we shared with you the bedframe we recently built.

DIY Bed Frame Tutorial

We’re pretty ecstatic that we’ve slept on it for a week without falling through.  So ecstatic that we’re going to share with you how we built it!


purchaseDIY Bed Frame Tutorial
queentwin

We're also going to get fancy pants blogger on you.  SketchUps and real life photos.  Be prepared to be amazed.

Start by putting together the front and back of the frame using pocket hole screws.  Nate is a big fan of our $20 Kreg jig.


DIY Bed Frame Tutorial

DIY Bed Frame Tutorial


DIY Bed Frame Tutorial

DIY Bed Frame Tutorial

Attach the sides to the front and back sections with pocket hole screws.  Clamps help to position the boards correctly.

DIY Bed Frame Tutorial

DIY Bed Frame Tutorial

DIY Bed Frame Tutorial

DIY Bed Frame Tutorial

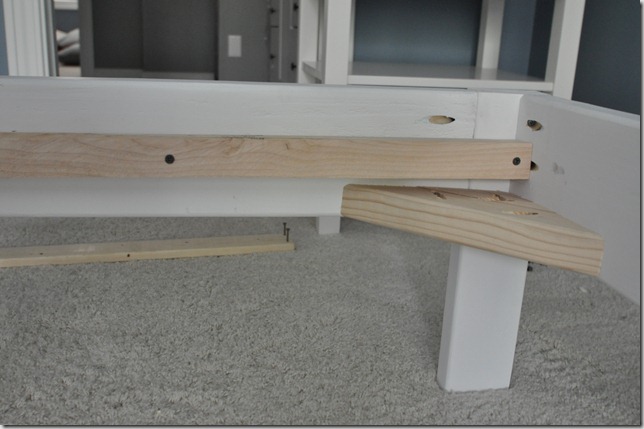
Attach the corner supports at the bottom of each 2x6, first in the front corner, then the opposite corner as this will help square the bed frame.

DIY Bed Frame Tutorial

DIY Bed Frame Tutorial

DIY Bed Frame Tutorial

Attach the side supports so the top of the board is 2" from the top.  Wood glue will help secure the board.

DIY Bed Frame Tutorial

DIY Bed Frame Tutorial

DIY Bed Frame Tutorial

Attach the center support leg to the center support in the middle of the board with a couple of pocket hold screws.  This is only recommended for a King size bed.  It wouldn’t hurt with a Queen.  The center support leg isn’t needed for a Twin.


DIY Bed Frame Tutorial

DIY Bed Frame Tutorial

Attach the center support in the middle of the front and back boards, so the bottom of the support lines up with the bottom of the 2x6.


DIY Bed Frame Tutorial

DIY Bed Frame Tutorial

Attach the first support slat at the top, flush with the top 2x6.  Then attach each slat 4" from the previous one.  You should end with the last slat against the bottom 2x6.


DIY Bed Frame Tutorial

DIY Bed Frame Tutorial

Check it out! You’ve built a bedframe.  Unfortunately, it’s not quite nap time.  Man, I love nap time.  I want to make nap time a requirement in the world.  I digress...


DIY Bed Frame Tutorial

DIY Bed Frame Tutorial

Inform the dog that the bed will not permanently reside in front of the window for his barking/viewing pleasure.
 

DIY Bed Frame Tutorial

Attach your bedframe to your headboard (may we recommend our DIY Window headboard).  We used a couple large screws and L-brackets to attach ours.

Use wood filler to close up any gaps in the joints. Sand.  Paint. (I did two coats prior to assembling and 1 coat after because Nate has disgusting, slimy hands.  I tried not to complain.  But seriously.)

Throw on your pretty comforter and enjoy your hard work!

DIY Bed Frame Tutorial


Any questions?  Who wants tips on how to con their husband into building them things?  Who wants a nap?  Yeah, me too...

Like our headboard?  Check out the tutorial here!  Be sure to check out more free furniture plans on our "Build It" page!  

Build Your Own Bed Frame. Learn how with these free plans!

Any questions?  Who wants tips on how to con their husband into building them things?  Who wants a nap?  Yeah, me too...

Linking up to: East Coast Creative

Photobucket Photobucket Photobucket PhotobucketPhotobucketPhotobucketfollow us in feedly

West Elm Inspired Bedframe

The following is an actual conversation from a Thursday night.

Michelle:  "Wanna build a bedframe this week-end?"

Nate: “Grumble. Grumble.”

Michelle: “Ike, Nate is being a Grouch-a-saurus-rex again today.  Guess we’ll have to continue to live with our ugly bed skirt.”

The next day I come home to SketchUp drawings of a bedframe on the computer.  I started jumping up and down.  Nate pretended to grumble while I knew deep down he was pumped for another furniture build.  We headed to Lowe’s where we spent ~$50.  One week-end later we had a simple and beautiful bedframe.

Bed Frame 045
Bed Frame 125_HDR

We think it pairs well with our DIY Window headboard.

Bed Frame 119
Bed Frame 079_HDR

It’s crazy how $50 worth of wood can class a place right up.

bedframe

I’m linking this baby on up to the ol’ Pinterest challenge tomorrow.  This beauty of a bedframe was inspired by a West Elm bedframe that no longer exists.  Luckily, my pin lives forever.

Source:

westelm.com

via

Michelle

on

Pinterest

We’ll be back on Wednesday with the how-to. We’ve slept on it for over a week and haven’t fallen through so we feel safe sharing how we built it.  Nate even got all fancy with SketchUP.  Deep down he likes being married to a blogger.

Are you a fellow bed skirt hater?  Whose spouse secretly likes being married to a blogger? 

7Up Biscuits

I’ve been doing this weird thing lately.  It’s called cooking.  Me.  Cooking.  Without Nate’s help.

Yep, pretty sure the Mayans were right.  This is the end.

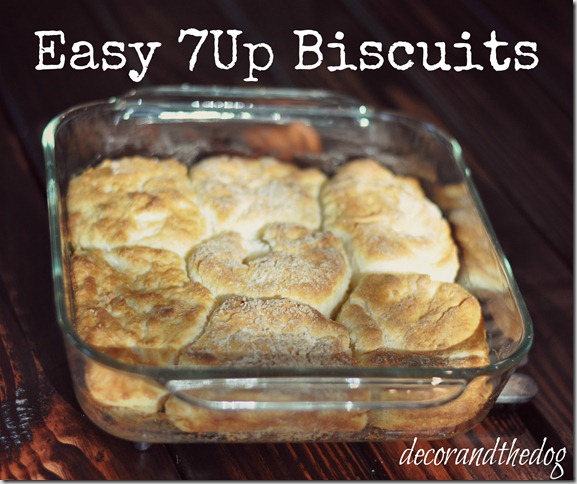
One of my most delicious endeavors lately has been the 7UP biscuits I made the other evening.

Easy7UpBiscuits

I originally heard about these biscuits from Maury who made them using the recipe found here.  Unfortunately, the original directions weren’t super clear.  I made it work and now I will clarify things for the recipe challenged…like myself.

Easy 7Up Biscuits

Ingredients:
  • 1/2 cup sour cream
  • 2 cups Bisquick
  • 1/2 cup 7Up
  • 1/4 cup melted butter
Directions:
  1. Preheat oven to 450 degrees.
  2. Cut sour cream into Bisquick.
  3. Add 7Up.  Stir until combined.
  4. Sprinkle some Biquick on counter and pat out the dough.  It’s pretty sticky but mush it around the best that you can.
  5. Cut out biscuits from the dough.  You could use a biscuit cutter if you’re fancy and own such a thing.  We aren’t fancy so I used a glass that sprayed well with cooking spray. Fancy.
  6. Pour melted butter into a 9 inch square pan.
  7. Place biscuits in pan.  They don’t have to be perfect.  They will taste so good that no one will care what they look like.
  8. Bake for 15-20 minutes or until golden brown on top.
These biscuits are a beautiful mix of buttery and fluffy goodness.  I ate mine plain.  Nate had honey on his.  They would work great for biscuits and gravy or breakfast sandwiches.  They will be making many appearances in our humble abode.

Have you been doing things lately that are making you question if the world is ending?  How would you enjoy these beautiful biscuits? Gravy? Sandwich? Plain?

Side Note:  Get excited for next week.  We have a furniture build reveal.  It’s pretty.  I keep petting it…

Fireworks Photos

While we recover from doing nothing on the 4th of July, I will share with you all some fireworks photos.  (If you would like tips for photographing fireworks, check out Friday’s post here!)

We enjoyed the show along the Mississippi river.  It was extremely hot and humid. I threw a cardigan in the car.  Nate laughed at me.  I most definitely did not need the cardigan beings it was still 85 degrees at 10:00PM.  You can never be too prepared when it comes to having a cardigan though.  I take cardigan carrying seriously.

I think next year we shall buy a boat and watch the fireworks on the river.  Wait, I get motion sick. Never mind.

I swear I’m only 30.

This is going downhill fast.  Enjoy the show!


Fireworks 2012 295
Fireworks 2012 301
Fireworks 2012 354
Fireworks 2012 373
Fireworks 2012 384

How’d you spend the 4th?  Did you get to catch a fireworks show or were they cancelled in your area?  Who else thinks I should only eat ice cream until this Extreme Heat Warning is lifted?

Easy Sew Dog Tie

Nate won’t let Ike wear dog clothes.  He’s very opposed.  Normally I do things to test our marriage but I don’t push the dog clothes situation.  That’s how strongly Nate feels about the dog in outfits.

Nate surprisingly does not oppose accessories though.  Well, he probably will after he reads this post and realizes I wasted part of an afternoon making the dog a tie instead of doing something useful like cleaning windows or laundry or something. 

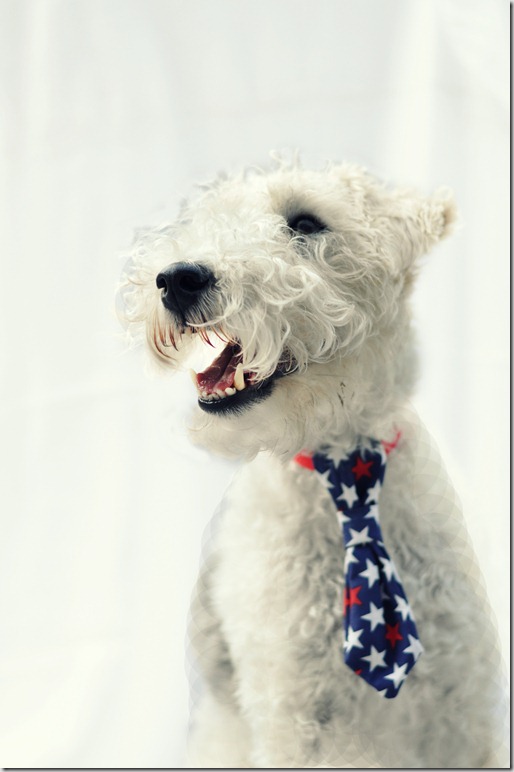
Ike loves accessories.  He’s normally a bandana type of dog but he’s always willing to dress up for the holidays.  Like the 4th of July for instance.  Nothing like a good dog tie to celebrate our country’s freedoms!

Easy Sew Dog Tie. So Cute
Easy Sew Dog Tie

Want to make your furry friend a dog tie?  Of course you do!

Here’s what you’ll need:

  • One 14'” x 3” piece of fabric with pointed ends 
    • This piece makes the long tie piece. 
    • I used a piece of iron on interfacing on the back of this piece for extra support.
    • One 4” x 3” piece 
      • This piece is what your dogs collar will slide through.
      • One 3” x 2.5” piece 
        • This piece is that little portion that is wrapped around the long tie.
805112211

You can be flexible with these measurements. Ike is about 24 pounds and 16 inches tall. You can adjust for your dogs size. It may take some experimenting but the ties are pretty easy to make.

Take your 3” x 2.5” piece and place the ends right side together.  Sew with a 1/4” seam allowance. 

805112207

Turn right side out.  I use a pen to assist me with this step.  Press so the seam is in the middle.

805112208

Fold this piece right sides together, sew together, and turn right sides out.

805112209

Place the 4” x 3” piece on top of the tie piece (centered).  You will want the wrong right sides (the pretty sides) together.

805112212

Sew 1/4 inch seam along the two edges of the 4” x 3” inch piece.

805112214

Turn this right side out.  You may want to press it flat if it’s too bulgy.

805112202

Fold the pointed ends of the tie right side together and sew with a 1/4”ish seam allowance around the edges.  Try to get a few stitches up into the covered piece to help hold the tie together better.

805112215

Trim the edges up so you get a pointy tie.  (I need to learn to switch out lenses.  The wide angle does wonders for close ups.  But you get the picture, right?)

805112216

Turn the dog tie right side out.  You will now have the tie piece and the little wrap piece.

805112218

Scrunch (technical term) the tie at the top and slide the wrap piece over the tie.  (A better use of your time may be repainting your nails but you’ve made it this far without me telling you this so continue on.)

805112223
805112224

Admire your pretty tie!

805112210

Place your dog’s collar through the loop at the top.

805112206

Watch your dog smile because he loves his fancy new dog tie.  He seriously loves this thing.

Easy Sew Dog Tie

This is a good beginners project because if you screw up, your client will still be happy!  Just remember that the tie should only be worn with supervision!.

Easy Sew Dog Tie

How do you feel about dogs in clothes?  Accessories?  What dog doesn’t need a tie?

Linking up to: Serenity Now, Honey We're Home

Flag Cake Awesomeness

Dude.  Where’d the week-end go?  Holy cow.

I say “dude” way more than anyone of my age and education level should.

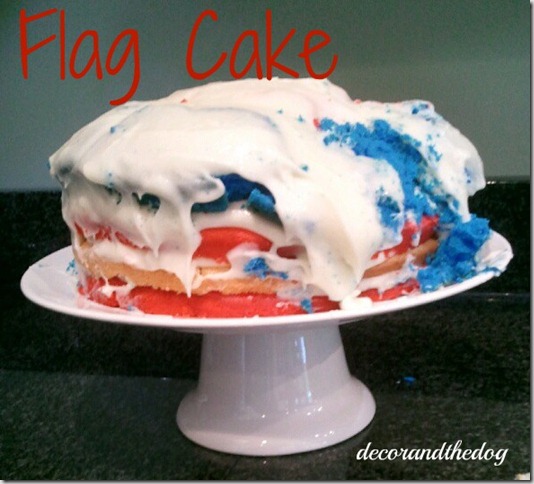
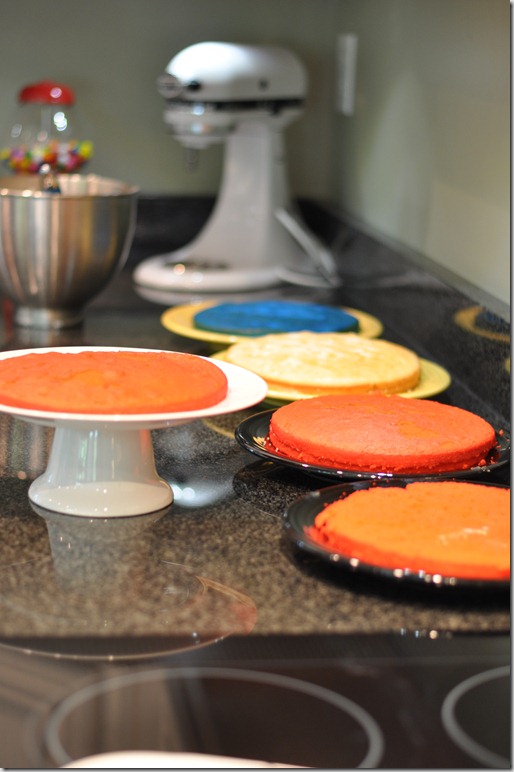
Dude. Have you seen that Flag Cake floating around on Pinterest? 

Yeah, I made it.

flagcake

And I watermarked that photo.  I don’t want anyone stealing my stuff.

It started out pretty decent.

805112379

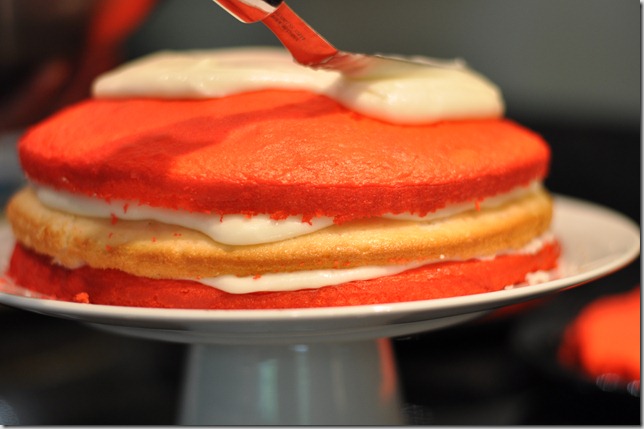
Pretty!

805112387

We’re killing this flag cake thing.  Boo-yah.

805112390

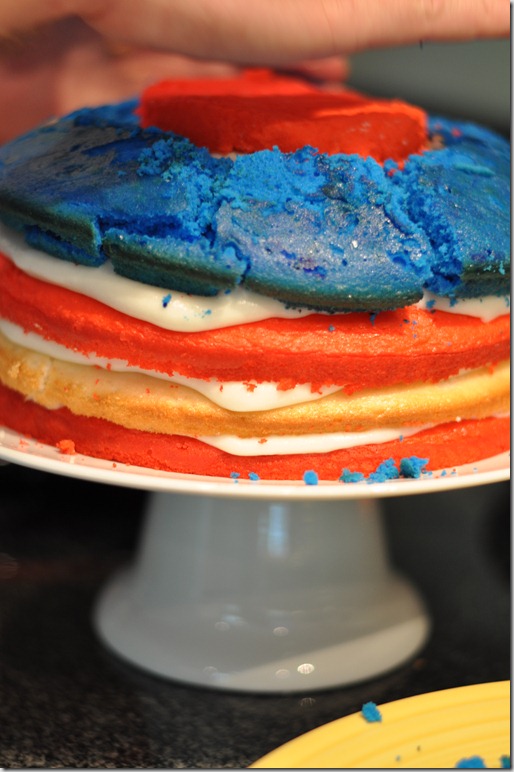
Uh oh. Should have greased that blue cake pan a little better.

image

God bless America.

Where’d we go wrong?  We didn’t level the cake layers enough and the frosting was too runny. And we were trying to cook a delicious supper and didn’t give this cake our undivided attention.  It’s obviously a needy one. You win some.  You lose some.  Luckily the in-laws are good sports and laughed at us with us.

Part of the inside was pretty though!

image

If you would like to attempt to make your own disaster, you can find some decent instructions at Glorious Treats.

Are you whipping up anything good for the ol’ 4th of July?  Any other great cakes I should attempt next?

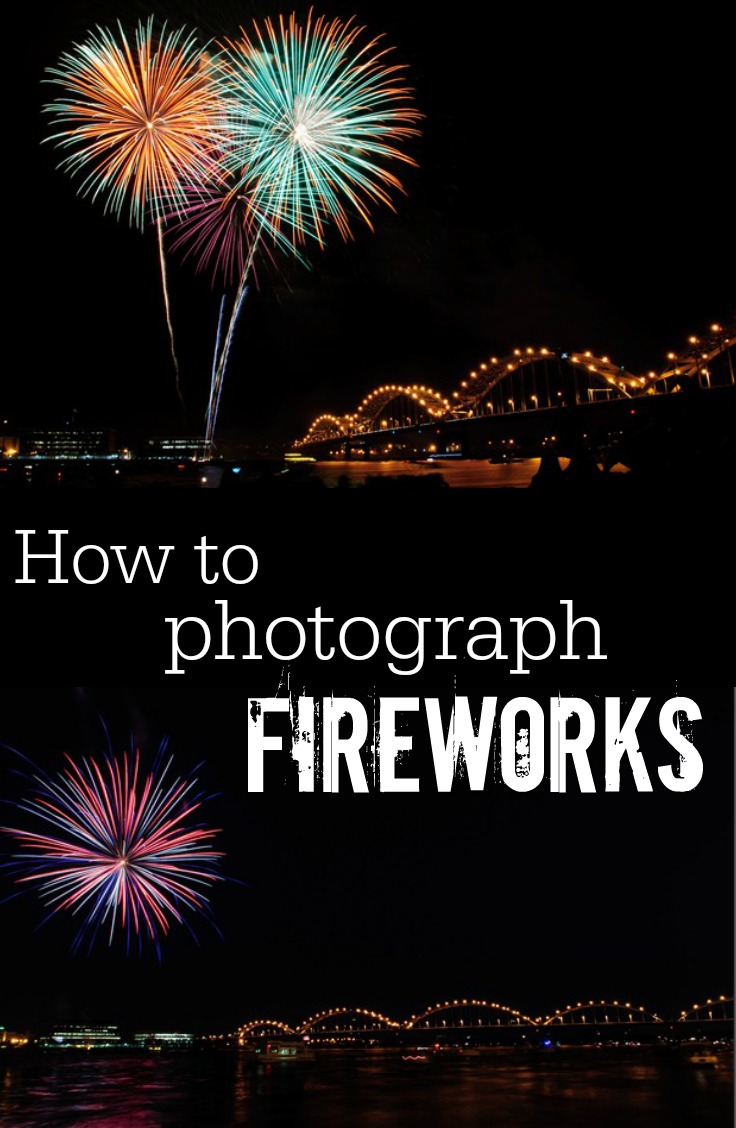
How to Photograph Fireworks

Who’s ready for fireworks?  They are saying that our local fireworks are supposed to be bigger and better than ever this year.  Don’t they always say that?  I’m holding them to it.  Well, if I can stay up that late. I do have to work at 8am on the 4th.  Rough, right?  Maybe I’ll just have Nate photograph the fireworks for me. Hmmm…

How to Photograph Fireworks.  Great tips!

Here are some tips for capturing awesome fireworks memories:

  • Use a tripod as capturing fireworks requires a long exposure. 
  • Set the focus to manual.
  • Change the adjustment ring to infinity (the sideways 8). 
  • Switch the camera mode to manual (M on Nikon).  Select “Bulb”mode (for Nikon it will say TIME on the screen for the exposure time) and then set the aperture to something between f8 and f16 (I used f16 for all our shots last year).
    • Bulb mode lets you set the amount of time the shutter is open.  Use one press to open the shutter and then another press to close it.  This allows you to leave the shutter open as long as you need to capture the fireworks.
    • If you do not have a remote  then do not use Bulb mode.
    • Use a remote shutter release for best results.
      • Pressing the button on the camera will create shake in the camera and the picture will not be as sharp. 
      • If you do not have a remote shutter release, set the shutter speed to at least 2 seconds (most of my shots were somewhere around 10 seconds) and use the self timer at 2 seconds to avoid shake.
      • These photos were shot in RAW and I did some minimum processing in Photoshop Elements Camera Raw (changed white balance, made the color pop a little bit through the camera profile settings) but shooting in JPEG would work as well.

Check out more fireworks photos here and here!

Check out more photography tips on our photography page!


Are you pumped for fireworks?  Anyone else going to have trouble staying up that late?  Any other poor saps have to work on the 4th?

Chicago in Black & White

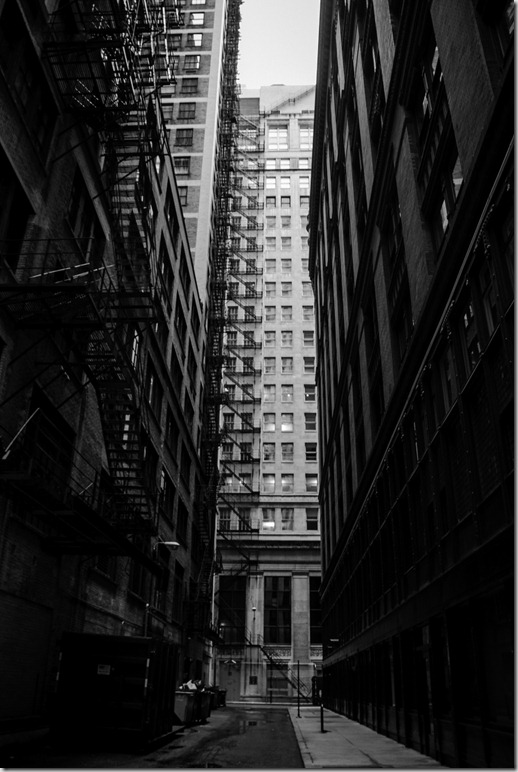
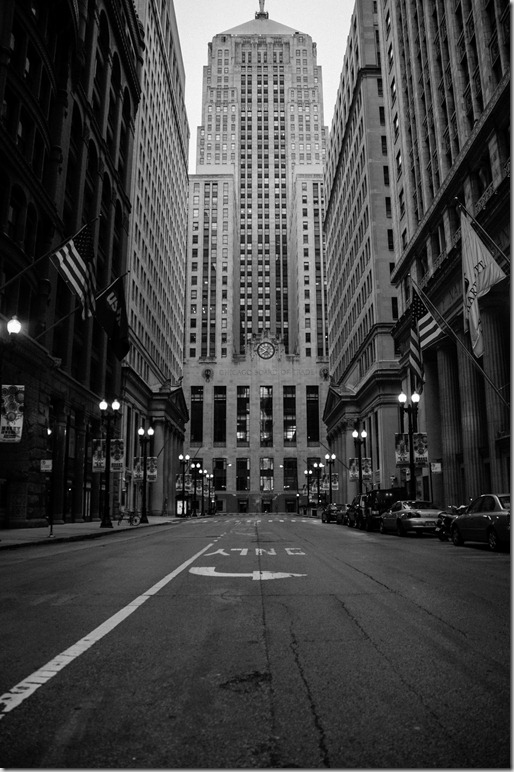
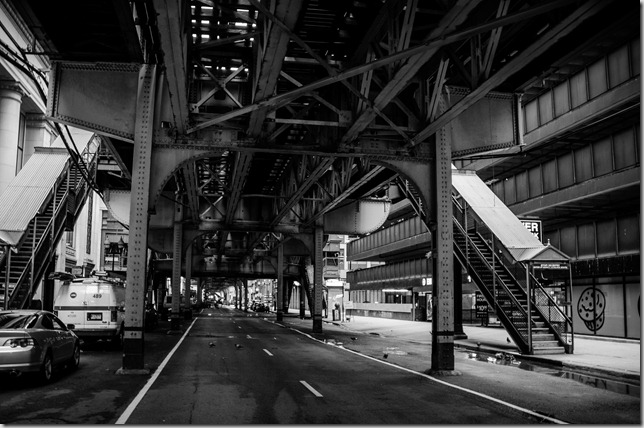
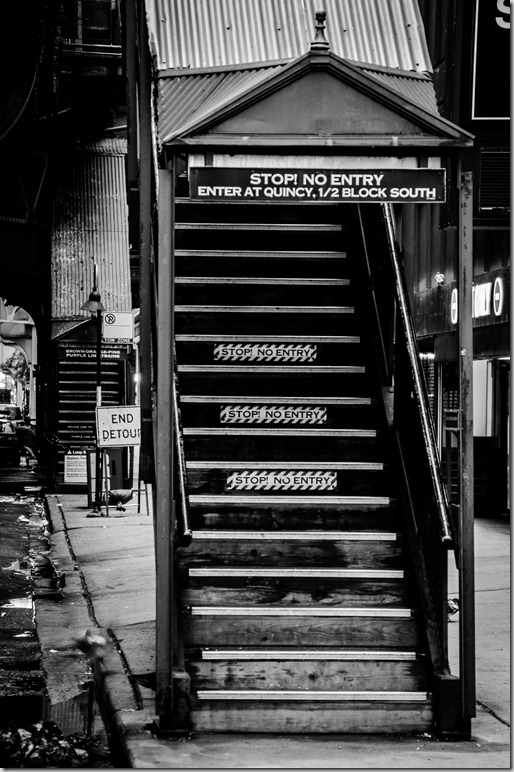
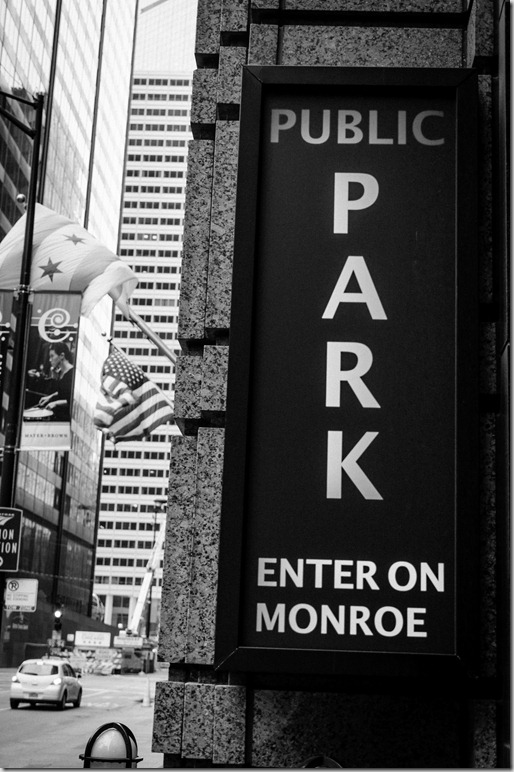
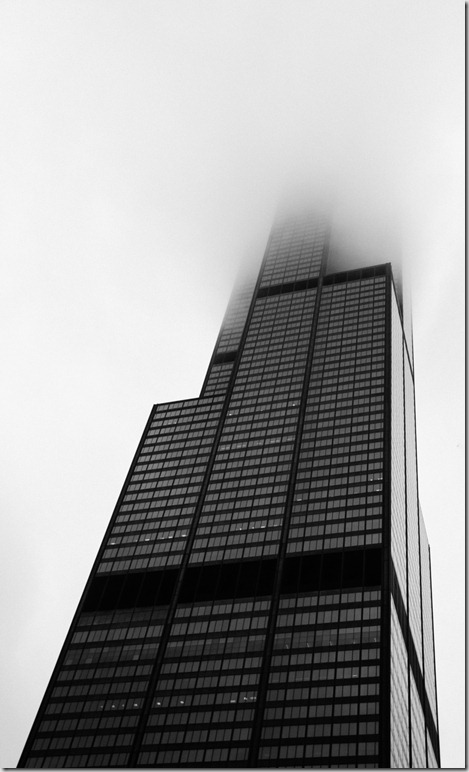
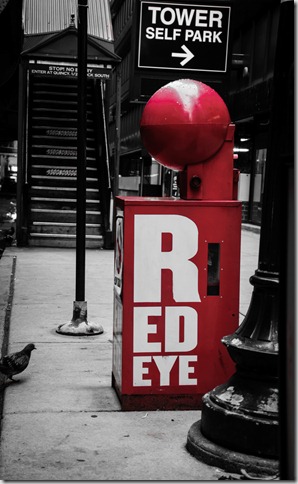
Nate and I set out early the morning we left Chicago.  The morning was gloomy and damp from the rain the night before.  The city was quiet. 

The photos Nate took that morning lent themselves to being edited in black and white. Black and white photos always speak to me.  Very moody.  Very city.  Very I want to move to downtown Chicago.  Yesterday.

Nate and I keep day dreaming about a studio downtown as a vacation home.  We talk like it could happen.  You know, after we both get second jobs or win the lotto.  Doable, right?

Guess we’ll keep day dreaming…

Chicago 2012 221-2

Chicago 2012 225

Chicago 2012 227

Chicago 2012 232

Chicago 2012 240

Chicago 2012 234

Chicago 2012 233-2

I’m not sure why this city has sucked me in.  But it has. Big time. We’re already pondering our next trip!

Anyone else dreaming of a vacation home?  If so, where?  Any black and white photo fans out there or do you prefer the color photos?