Animals in the Bed

Ike doesn't feel like he's getting enough blog time.  Poor Ike.

Our precious furry child has developed a naughty new habit.  Normally, he sleeps happily in his cage next to our bed.  He sleeps.  We sleep.  Beautiful.

The past couple of weeks have been different.  The sun has positioned itself so it shines brightly in our room at about 5-5:30am.  Naturally, Ike thinks this is now a good time to get up. I mean, the sun is shining.

Nate and I aren't big on getting up at 5:30am.  We definitely aren't big on getting up at 5:30am on the week-ends.  The past couple of week-end nights we have let Ike sleep in the bed with us.

He wakes up well rested on Saturday...


Nate was previously anti-dog-in-the-bed.  Now he's decided it's better than waking up at 5:30am.  I've always been okay with the monster sleeping with us.

I'm curious.  How do you feel about animals in the bed?  Do your furry friends get to join you or do they sleep where else?  Do you and your significant other agree on this issue?

Rust-Oleum’s Cabinet Transformations Review

Earlier this week I shared with you my little brother’s painted kitchen.

655 copy

We used Rust-Oleum’s Cabinet Transformation kit in Linen.

image

via Rust-Oleum

The kit contains a deglosser, bond coat, decorative glaze, and a protective top coat.

Here’s our thoughts.

My brother was in charge of using the deglosser. 

IMG_20120526_162446

We were only slightly worried…

He scrubbed down all of the cabinet doors before we arrived.  It was hard to tell if the deglosser was really doing anything.  The paint adhered well so we’re assuming it did what it was supposed to do.  The deglossing step was time consuming but cleaner than sanding.

The bond coat is a primer and paint in 1.  The kit recommends two coats.  My brother’s cabinets needed three coats (as did many other reviews that I read).  Two coats covered okay-ish.  You could get by with two but three looked a lot better.  The extra coat isn’t a huge problem other than you need to consider that when calculating the amount of paint needed.  My brother purchased the small kit.  It wasn’t enough to cover his kitchen in 3 coats.  We ended up using a stain blocking primer from Sherwin Williams for the fronts of the cabinets followed by two coats of the base coat.

The base coat adhered well and went on very smoothly.

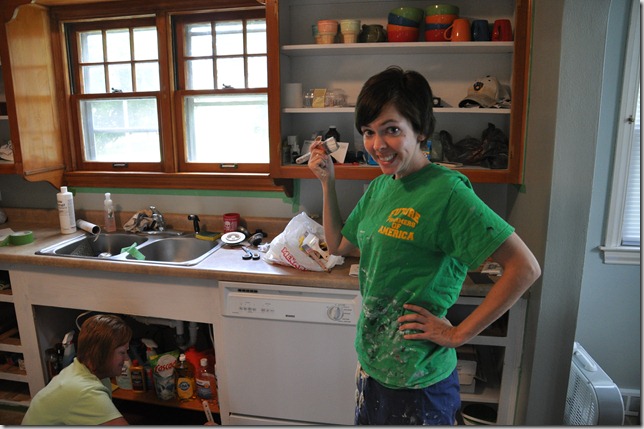
We skipped the glaze step because this wasn’t the look brother was going for.  The instructions stated to use a brush to apply the base coat because it approves the appearance of the glaze.  We decided to be rebels and try using a mini-roller beings we weren’t going to use the glaze.  The paint bubbled with the mini-roller so we went ahead with brushes.  It never pays to be a rebel.

587

(My mom worries about me.)

The protective top coat was easy to apply.  This step was definitely the quickest.  Just brush the solution on evenly and you’re done.

Overall, we thought the kit worked well.  My brother had a couple of small yellow spots show through on the cabinet fronts.  We tried using a latex primer on them and it did nothing.  Next step is some oil based primer.  The paint adhered well and was easy to work with.  One of the downfalls is that you have to purchase another kit if you are short on paint.  No bueno.  We would use this kit again…but I really hope we don’t have more kitchens to paint in our future!

Have you tried this kit?  Any cabinet painting pros?  Who’s jealous of my sweet painting clothes?  Anyone want to date my brother?  Maybe I’ll do a giveaway for him. Bahahaha.

***I was in no way compensated for this post.  Rust-Oleum doesn’t know I exist.***

Barn Light Electric Giveaway

I’m sick of writing about my brother’s kitchen.  Let’s talk about lighting.

Do you all remember when I won a $1000 gift certificate from Barn Light Electric?  How could you forget?  Maybe you’re new around here.  I used that $1000 to purchase these beauties.

image

Bermuda Pendants in Satin Steel
image
Laramie Pendant in Vanilla Cream
image
Altus Hugger Ceiling Fan

Well, guess what?  The annual B.L.O.G. contest (Barn Light’s Online Giveaway) for 2012 began yesterday!  The first place prize is a $1,000 gift certificate, second prize is a $500 gift certificate, and third prize is a $250 gift certificate. All you have to do to enter is write a blog post explaining which light fixtures you would choose and send your blog link to the nice people over at Barn Light Electric. How’s that for a super easy blog post? Click here for the official rules!!

You seriously need to enter.  I figured I had zero chance in winning. I assumed Barn Light Electric would select a blog with a larger following for better press.  Nope.  Little ol’ Décor and the Dog hit it big.  I’m still pinching myself.  And jumping up and down each time I look at my pretty lights.  (It’s good exercise.)  (You can read my entry post here!)

Are you going to enter?  Which lights are your favorites? 

***I was in no way compensated for this post.  I’m just madly in love with my free lights and want you all to have the chance to jump up and down in your kitchen while drooling over your new pendants.***

How to Add Cabinet Molding

Today’s post is brought to you by Nate. 

He is going to tell you all about adding simple molding to plain ol’ boring cabinets and how my brother can’t measure…

Adding molding to old cabinets, DIY, tutorial

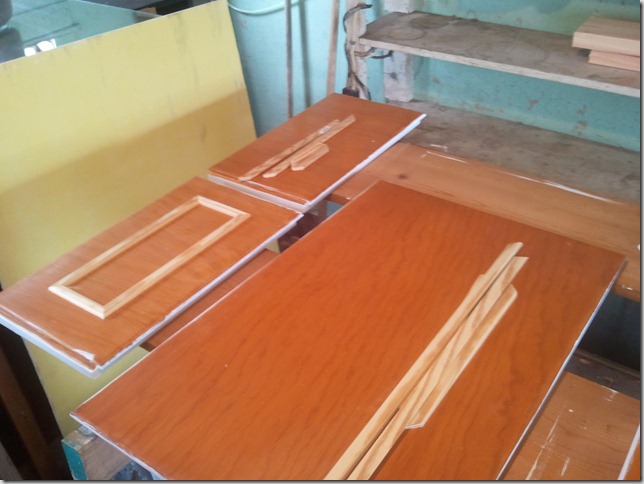
The first step in the molding process was picking out the molding.  We need something simple and on the thinner side.  We purchased the molding above from Lowe’s.

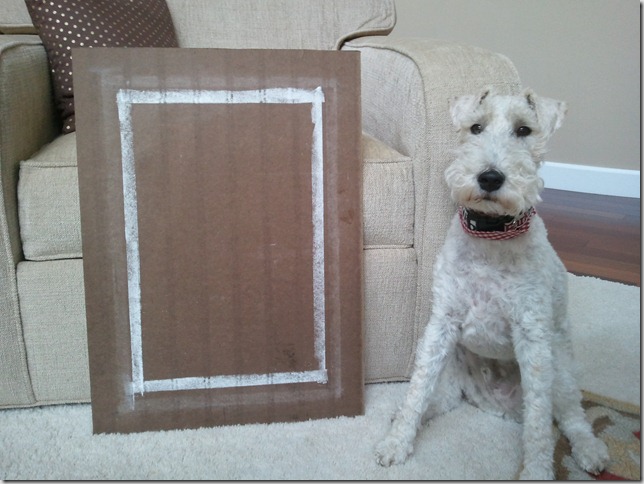
The next step in adding cabinet molding was deciding where to place the molding on the cabinet.  We used a spare piece of wood and marked 1” from the edge with chalk.  The 1” placement did not look right so we went to 2.5” in from the edges.  Ike approved of the 2.5”.

Adding molding to old cabinets, DIY, tutorial

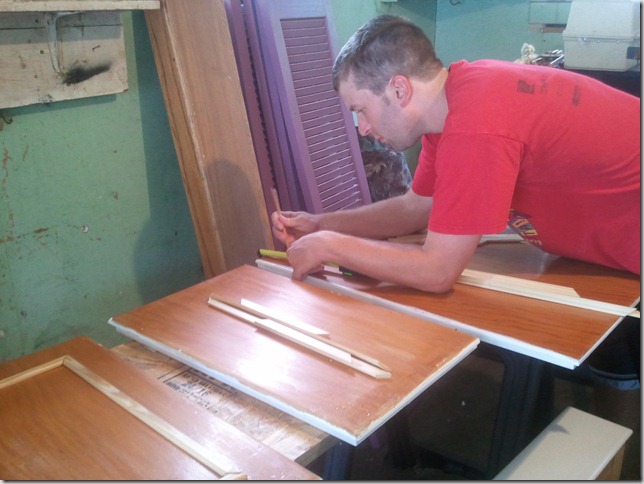
Marshall (Michelle’s little brother) provided us with all of the dimensions before hand. (They were all incorrect.  Always measure from the edges.  It makes things a lot easier when installing. I could cut all the pieces (with a miter saw at 45 degrees on each side) the weekend before to save some time. Or so I thought.

On all of the doors, I marked the selected length in from all sides.  I laid out the pieces to make sure the person that originally measured did so correctly.  After discovering that all doors were measured incorrectly, I made the necessary adjustments and remarked all of the doors (I should have verified before marking all doors, but I assumed he knew what he was doing.  A learning lesson for both of us.).

Adding molding to old cabinets, DIY, tutorial

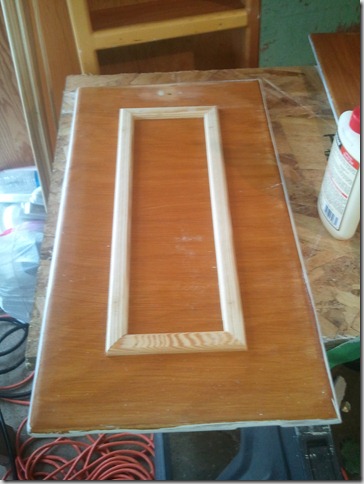
I put a little bead of wood glue on the molding and placed it on the door at the selected marks. I then used a brad nail gun to securely attach to the molding to the doors. I used 5/8” brads as they were just long enough to get through the molding into the door but not all the way through the door.  Repeat on all doors.  Fill in the holes and corners with wood filler and sand.

Adding molding to old cabinets, DIY, tutorial

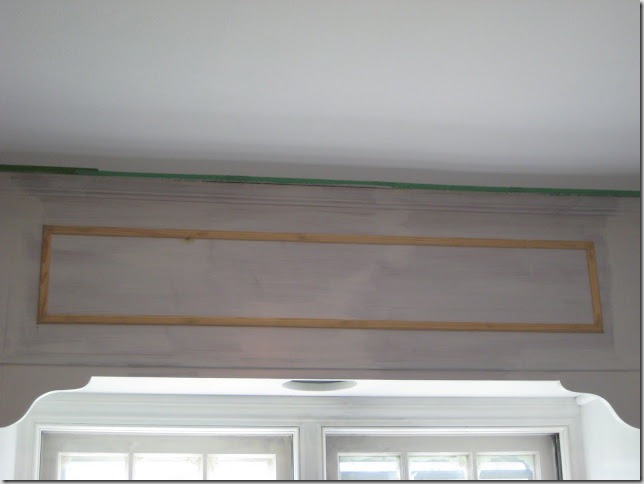
I also installed molding on a plain area of the cabinets.

Adding molding to old cabinets, DIY, tutorial

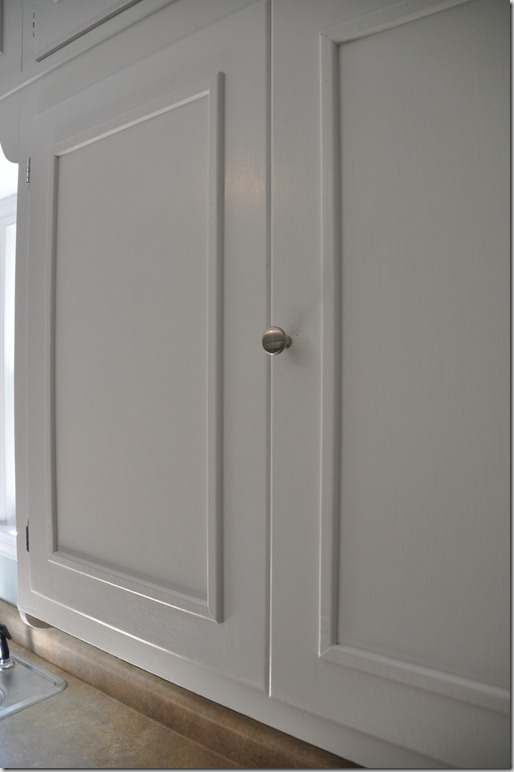
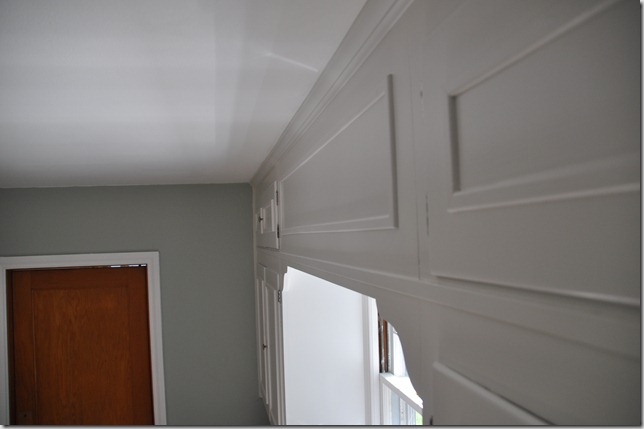
The next step is to paint over the entire thing (read about that here and here) and enjoy the added dimension.

Adding molding to old cabinets, DIY, tutorial

$50 in molding definitely helped improve the looks of this kitchen.

Adding molding to old cabinets, DIY, tutorial
Add Molding to Old Cabinets.jpg


Read about the paint we used here.

See more before and after photos here!

Anyone’s kitchen in need of some molding love?  Anyone else out there struggle with measuring?

Painted Cabinets Kitchen Reveal

Nate and I spent Memorial Day week-end helping my baby brother paint his kitchen.  We only threatened to ditch the place and go tubing about 10 times.  But we didn’t.  Sibling love.

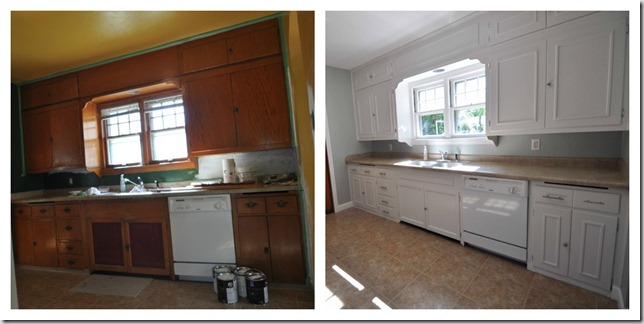
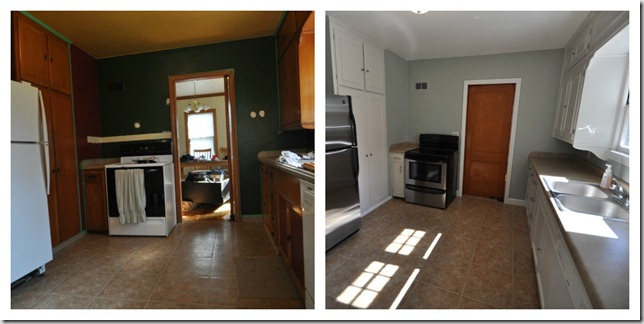
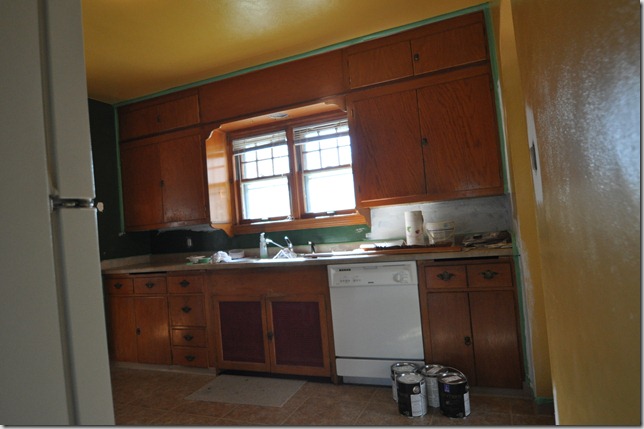
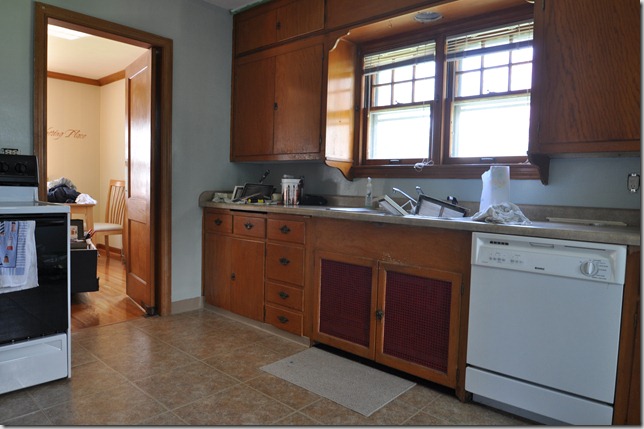
This is what my brother’s kitchen looked like when he purchased the home.

Painting kitchen cabinets Before and After
029

Pretty, no?  Fiesta is always my favorite color scheme.

I told little brother not to worry.  We can make this kitchen pretty for not a lot of dinero.

A few weeks back we painted the walls Comfort Grey by Sherwin Williams.  It definitely lightened up the room and made me want to barf less.  Just less.  I still wanted to barf.

Painting kitchen cabinets Before and After

Those cabinets were in such sad shape.  Nothing some new moldings, hardware, a loving family and paint couldn’t fix.

Painting kitchen cabinets Before and After

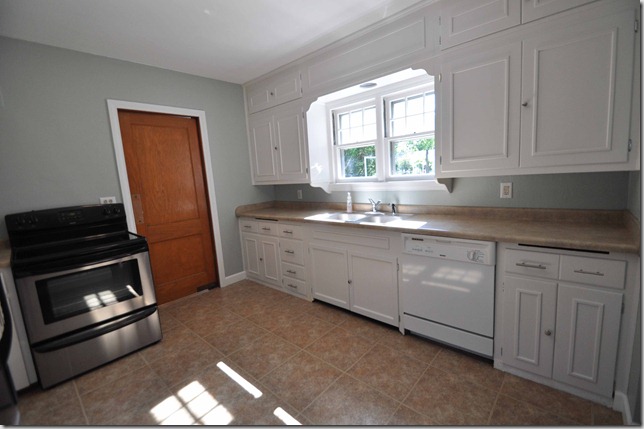
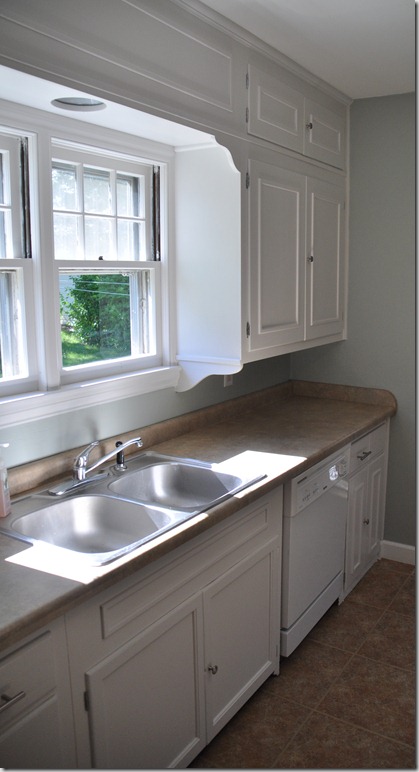
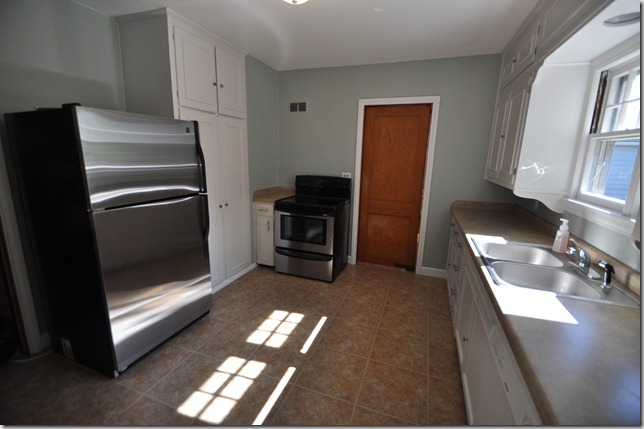
Hard to believe it’s the same room, right?

My brother got a great deal on the stainless appliances purchased from a friend’s brother.  $700 total for both.  The oven had been used 3 times.  The fridge was spotless.

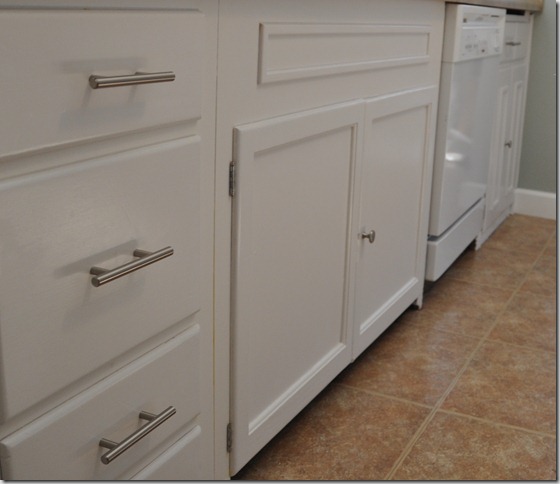
Nate added some simple molding to add dimension to the cabinets.

Painting kitchen cabinets Before and After

Nate also replaced that lovely red mesh with some plywood.  Cheap and easy fix!

649

Nate also installed some floor trim to replace the plastic trim.  Little brother is moving up in the world.

Brother still needs to install some molding underneath the cabinets under the sink and replace the cutting boards (holes under counter) but otherwise this kitchen is done!  Unless he’ll let me add some decorative touches.  Or paint that door.

Source List:

  • Wall color:  Comfort Grey by Sherwin Williams ($30) 
  • Cabinet color:  Rust-Oleum’s Cabinet Transformations kit in Linen ($70) 
    • Review to come!
    • Hardware:  Handles from Lowe’s, knobs from Menards (no clue on names) ($50) 
    • Cabinet molding:   Lowe’s ($50) 
    • Floor molding:  Menard’s ($20)
Before + After Budget Kitchen Reveal.jpg
Photobucket Photobucket Photobucket Photobucket PhotobucketPhotobucketfollow us in feedly

Instagram Life

I’m still addicted to Instagram. I usually jump on a bandwagon and then jump back off right away because I’m bored.  But that darling Instagram.  It’s my favorite form of social media.

I love Instagram because I find that I take more pictures of our everyday life. For those of you not on the Instagram, let’s check out what we’ve been up to the past couple of weeks. 

I went down to 32 hours at work this week.  Ike and I totally enjoyed yesterday off. Well, I cleaned while he did this.

image

Downtown Davenport was looking mighty pretty earlier this week.  Just don’t look across the street to the bus station.  Definitely not Davenport’s prettiest.

image

We spent last week-end with the family painting my little brother’s kitchen.  Here’s a sneak peak.  Big reveal next week.

image

Nate enjoyed my brother’s outdoor living space.

image

The skies on the way to brother’s house were intense.

image

Ike is the subject of most of my Instagram posts. Because he’s cute.

Here he is wanting to go for a run.

image

Here he is snuggling with his uncle.

image

Here he is on a windy walk.

image

Man, I love Instagram.

You can follow me under the username decorandthedog.

Big plans for the week-end? Fun stuff? Projects? Crafts?  We actually have very few plans.  This is one of our only week-ends this summer with no commitments. I wonder how we’ll squander it…

Ike Goes Shopping at Mr. Chewy

I promise this isn’t one of those posts where we pretend like Ike writes the entire blog post.  I don’t want to offend anyone that writes an entire blog based off of what they think their pet is saying.  But I’m here to help.  It’s weird.

Having said that…

Awhile back, the fine folks over at Mr. Chewy wanted to know if Ike wanted a promotion code to shop around their site and review it.  Ike made me hit reply faster than he can pounce on a fly. 

Ike and I got on-line and started searching around the Mr. Chewy site.  Nate and I usually purchase Ike’s food/treats at a local big box pet store.  Shopping on-line for dog food was a first for us! Luckily I had help from my furry assistant.

545

We were both impressed with their selection of dog products.

image

Ike was a little overwhelmed at first.  How would he ever decide what to purchase?

564

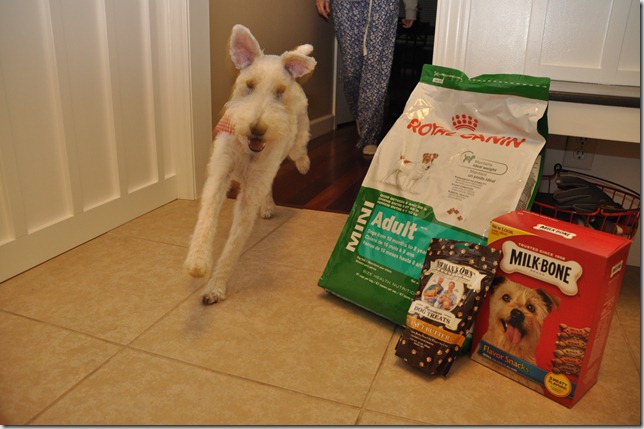
We decided to search for Ike’s favorites. We easily found them!  We found his Royal Canin dog food.  This is the food the breeder had him eating and we never switched.  Royal Canin is pricey but it is about $4 cheaper on Mr. Chewy than it is at our usual big box pet store.  Bonus!  Ike also wanted some of his favorite treats (Newman's Own Organic PB and Milk-Bones).  The dog loves treats!

We were over the $49 price point so we qualified for free shipping. 

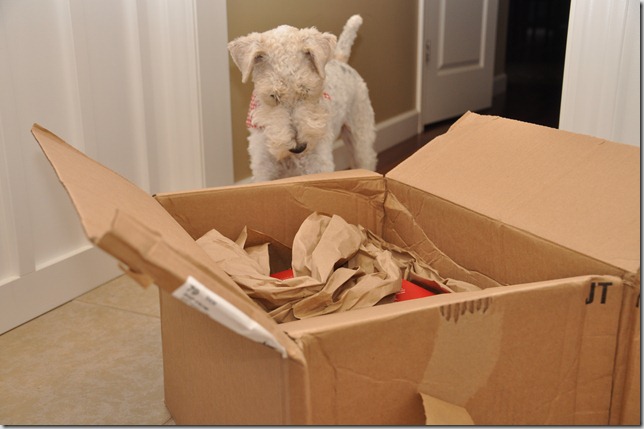
The packaged arrived a couple of days later.  Ike was quite excited about the package’s arrival.
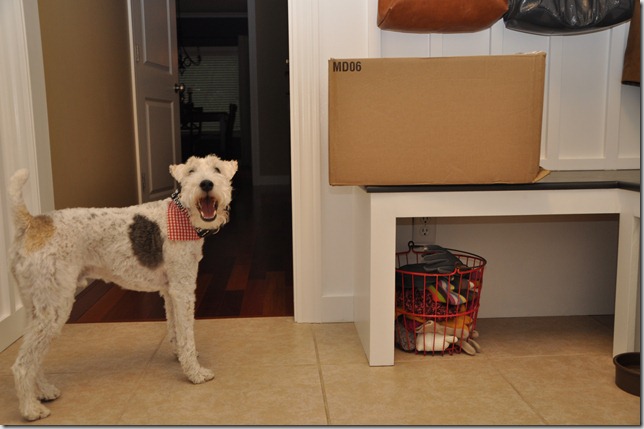
475

“Chelle, my Mr. Chewy order arrived.  Chelle, chelle. Mr. Chewy order.  Can we open it?”
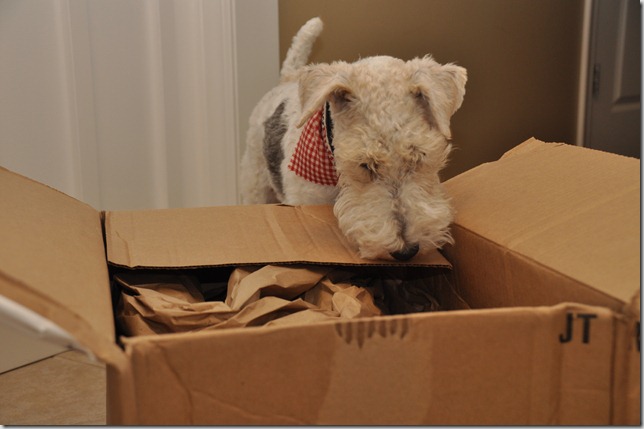
492

506

“Hey guys, it’s treat time!!”

515

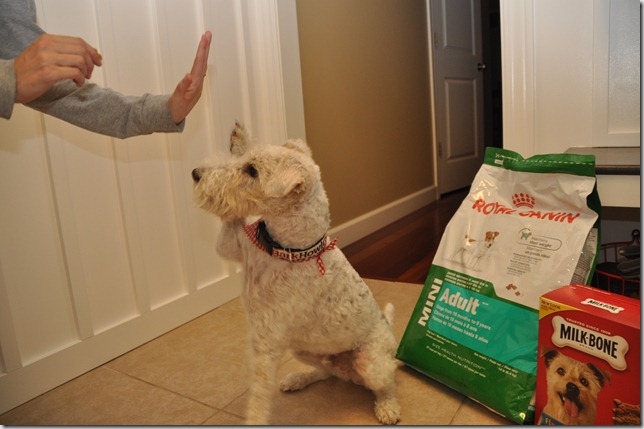
High five for Mr. Chewy!

530

Ike and I will definitely be shopping at Mr. Chewy again!  Their selection is wonderful.  The website is easy to use.  The pricing is great! Free shipping never hurts! 
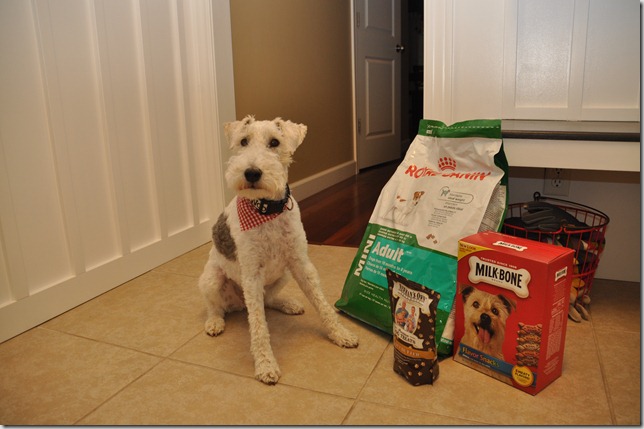
533

Mr. Chewy also has a great referral program.  Use my referral code – SCHE7931 - and you will receive 10% off of your first order.  For each code used, Mr. Chewy will donate $10 to one of their three partner charities (North Shore Animal League, Best Friends Animal Society, and Bideawee).  I am only compensated with the knowledge that Ike and I are helping out other animals with this little blog of ours….which is much more rewarding than any kind of referral cash!

Head on over to Mr. Chewy and see what Ike and I are raving about.  You can also follow Mr. Chewy on facebook and twitter!

Do you shop for your pets on-line? Who’s impressed with that awesome referral program?  What’s your favorite dog trick?  We need to teach Ike some new ones!

***Ike and I were compensated with a promotion code for product but no additional payment.  All opinions are 100% our own.  The dog’s face doesn’t lie.  We love promoting great companies that love pets!***

Flag Bunting

Nate, Ike and I spent our long week-end helping my little brother paint his kitchen cabinets.  Well, Ike didn’t paint.  He was on guard dog duty.

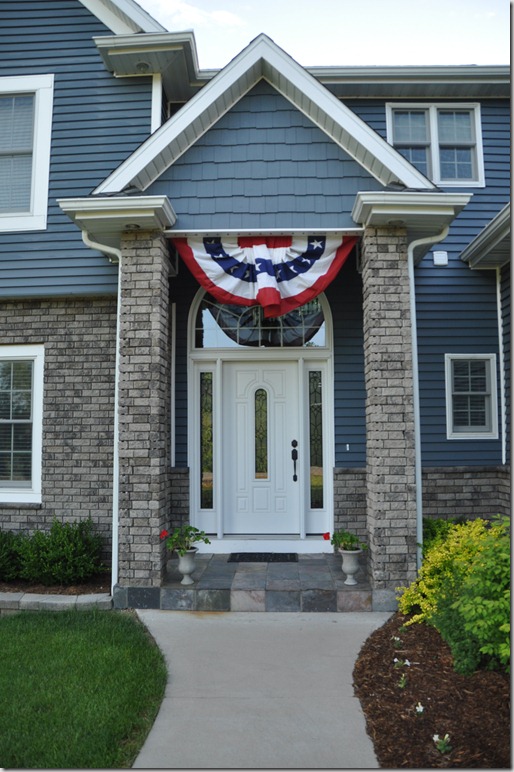
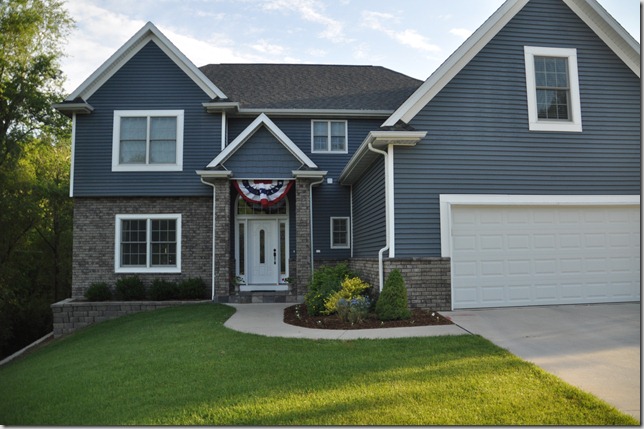
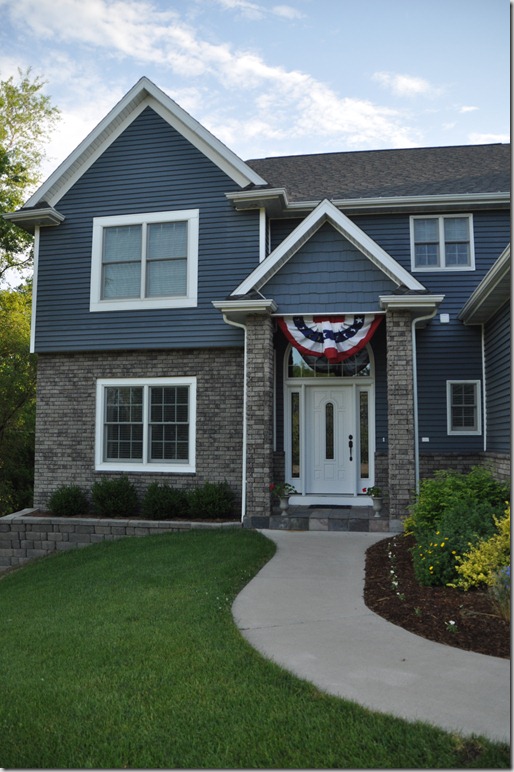
Even though we weren’t home, I was pretty excited to display our new flag bunting for Memorial Day.

572

I’m not really a fan of the word “bunting” but this flag bunting is just too charming.  I can’t stop drooling over it.  I almost put my car in the ditch each time I drive by.  I’m a good driver.

570

I purchased it from Amazon (here).  I love Amazon’s two day shipping. I decide I want a flag bunting three days before we are to leave for a long week-end.  Two days later I have my pretty little flag bunting to hang.  Nate was pretty excited about hanging it.  He was.  Seriously.

571

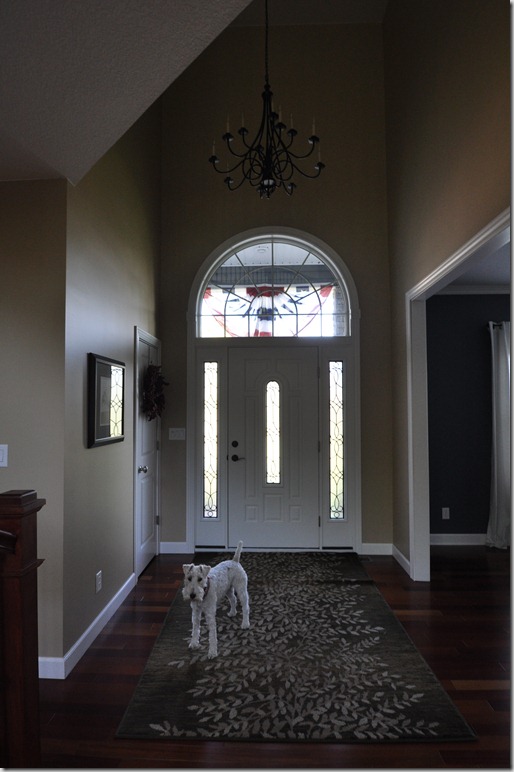
The view from the inside is fun too.  Ike noticed it from the upstairs landing at 5:30 the morning after we hung it.  He proceeded to bark at it.  He doesn’t mess around with guard dog duty.  Or messing the rug up duty.  (Yes, I still have a berry Christmas wreath up.  Classy.)

666

Did you display the ol’ stars and stripes this week-end?  Is your dog as observant as the Ike man?  Any lingering winter decorations around your parts?

Rubbermaid Hidden Recycler Winner

What a busy holiday week-end! I’ll hopefully be back tomorrow with a new post. If I survive the day after a holiday in the pharmacy.  Big if.

Today I’m happy to announce the winner of the Rubbermaid Hidden Recycler.  I consulted my trusty friend random.org and the winner is….

image

Comment #4 was..

image

Please send me your e-mail!!

Thanks to everyone that entered!  I’m glad I’m not alone in this recycling fairy business. 

And to make you all feel better…your recycling situation can not be worse than my brother’s car.  Just saying.

image

That is real. 

I wonder what Rubbermaid has for that….

Rubbermaid Hidden Recycler Review + Giveaway

A really long time ago (think months), the nice folks over at Rubbermaid sent me a Hidden Recycler to test out and tell you about.  I am a horrible blogger and totally missed the due date.  Luckily those nice folks at Rubbermaid are understanding.  So today is the day!  Better late than never, right?

434

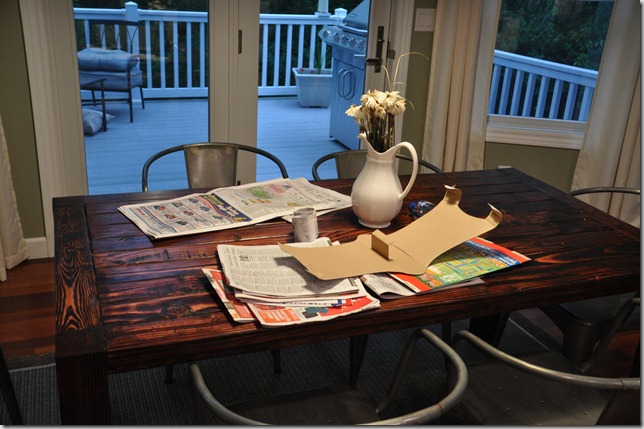
Let me tell you how recycling works at our house.  We throw everything onto the kitchen table until I decide that I can’t take it anymore and haul the stuff out to the garage.

462

I love when I get comments about how we have everything so together.  If by “having it together” you mean crumbs, dead flowers and trash on the table (and missing blogging deadlines), then yes, we have it all together.

Nate thinks we have a recycling fairy and there is no need for recycling assistance.  If only this recycling fairy thing was true…

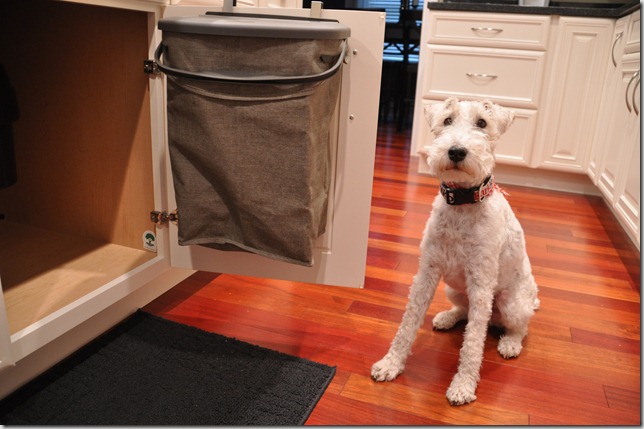
Ike and I decided to test out the Hidden Recycler. We thought underneath the kitchen sink would be the perfect spot.

452

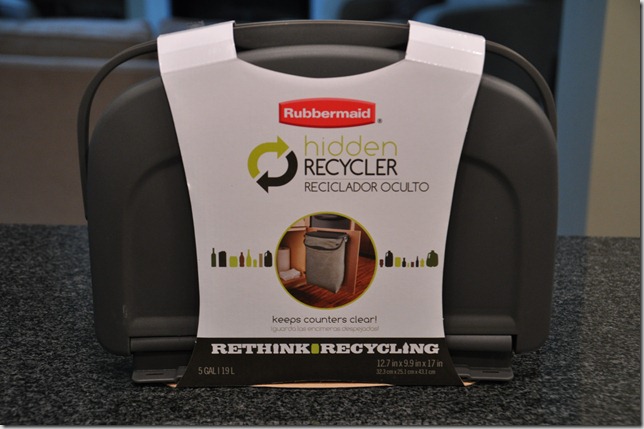
The Hidden Recycler can be installed with screws or hung on the door.  It is a 5 gallon bag with a leak-proof liner. The bag is also made from recyclable material, and the product is recyclable.

One of the best features of the product is the detachable bag that allows you to easily take it your recycling bin…in your pajamas.

459

Nate still thinks we have a recycling fairy.  The recycling fairy thinks the Hidden Recycler is a handy product to have in our kitchen.  Now I only have to work on the crumbs, dead flowers, and blog deadlines!

Would you like to win a Hidden Recycler of your very own? 

  • PRIZE: One Hidden Recycler
  • TO ENTER: Leave a comment telling me if you believe in the recycling fairy or if you are the recycling fairy!
  • GIVEAWAY CLOSES: Sunday, May27th 11:59 CST
  • NUMBER OF WINNERS: One
  • OTHER STUFF: The winner will be selected using random.org and announced on Tuesday, May 29th!

Disclaimer: I received my Hidden Recycler for free.  I was not compensated to review this product or for this giveaway.  All opinions are 100% my own.  Yo.