
How Install a Barn Beam Mantel
/Before we talk about how we installed our fancy barn beam mantel, I would like to send extra happy vibes out to my fellow retail pharmacists. Hydrocodone (a pain med) becomes a schedule II medication today. That means lots more paper work and annoyance for pharmacy staff. If you're picking up a med today, be extra nice to your pharmacist. We'll totally appreciate any friendliness we can get!
Anywho, enough boring day job talk. Let's talk about how we installed our barn beam mantel.
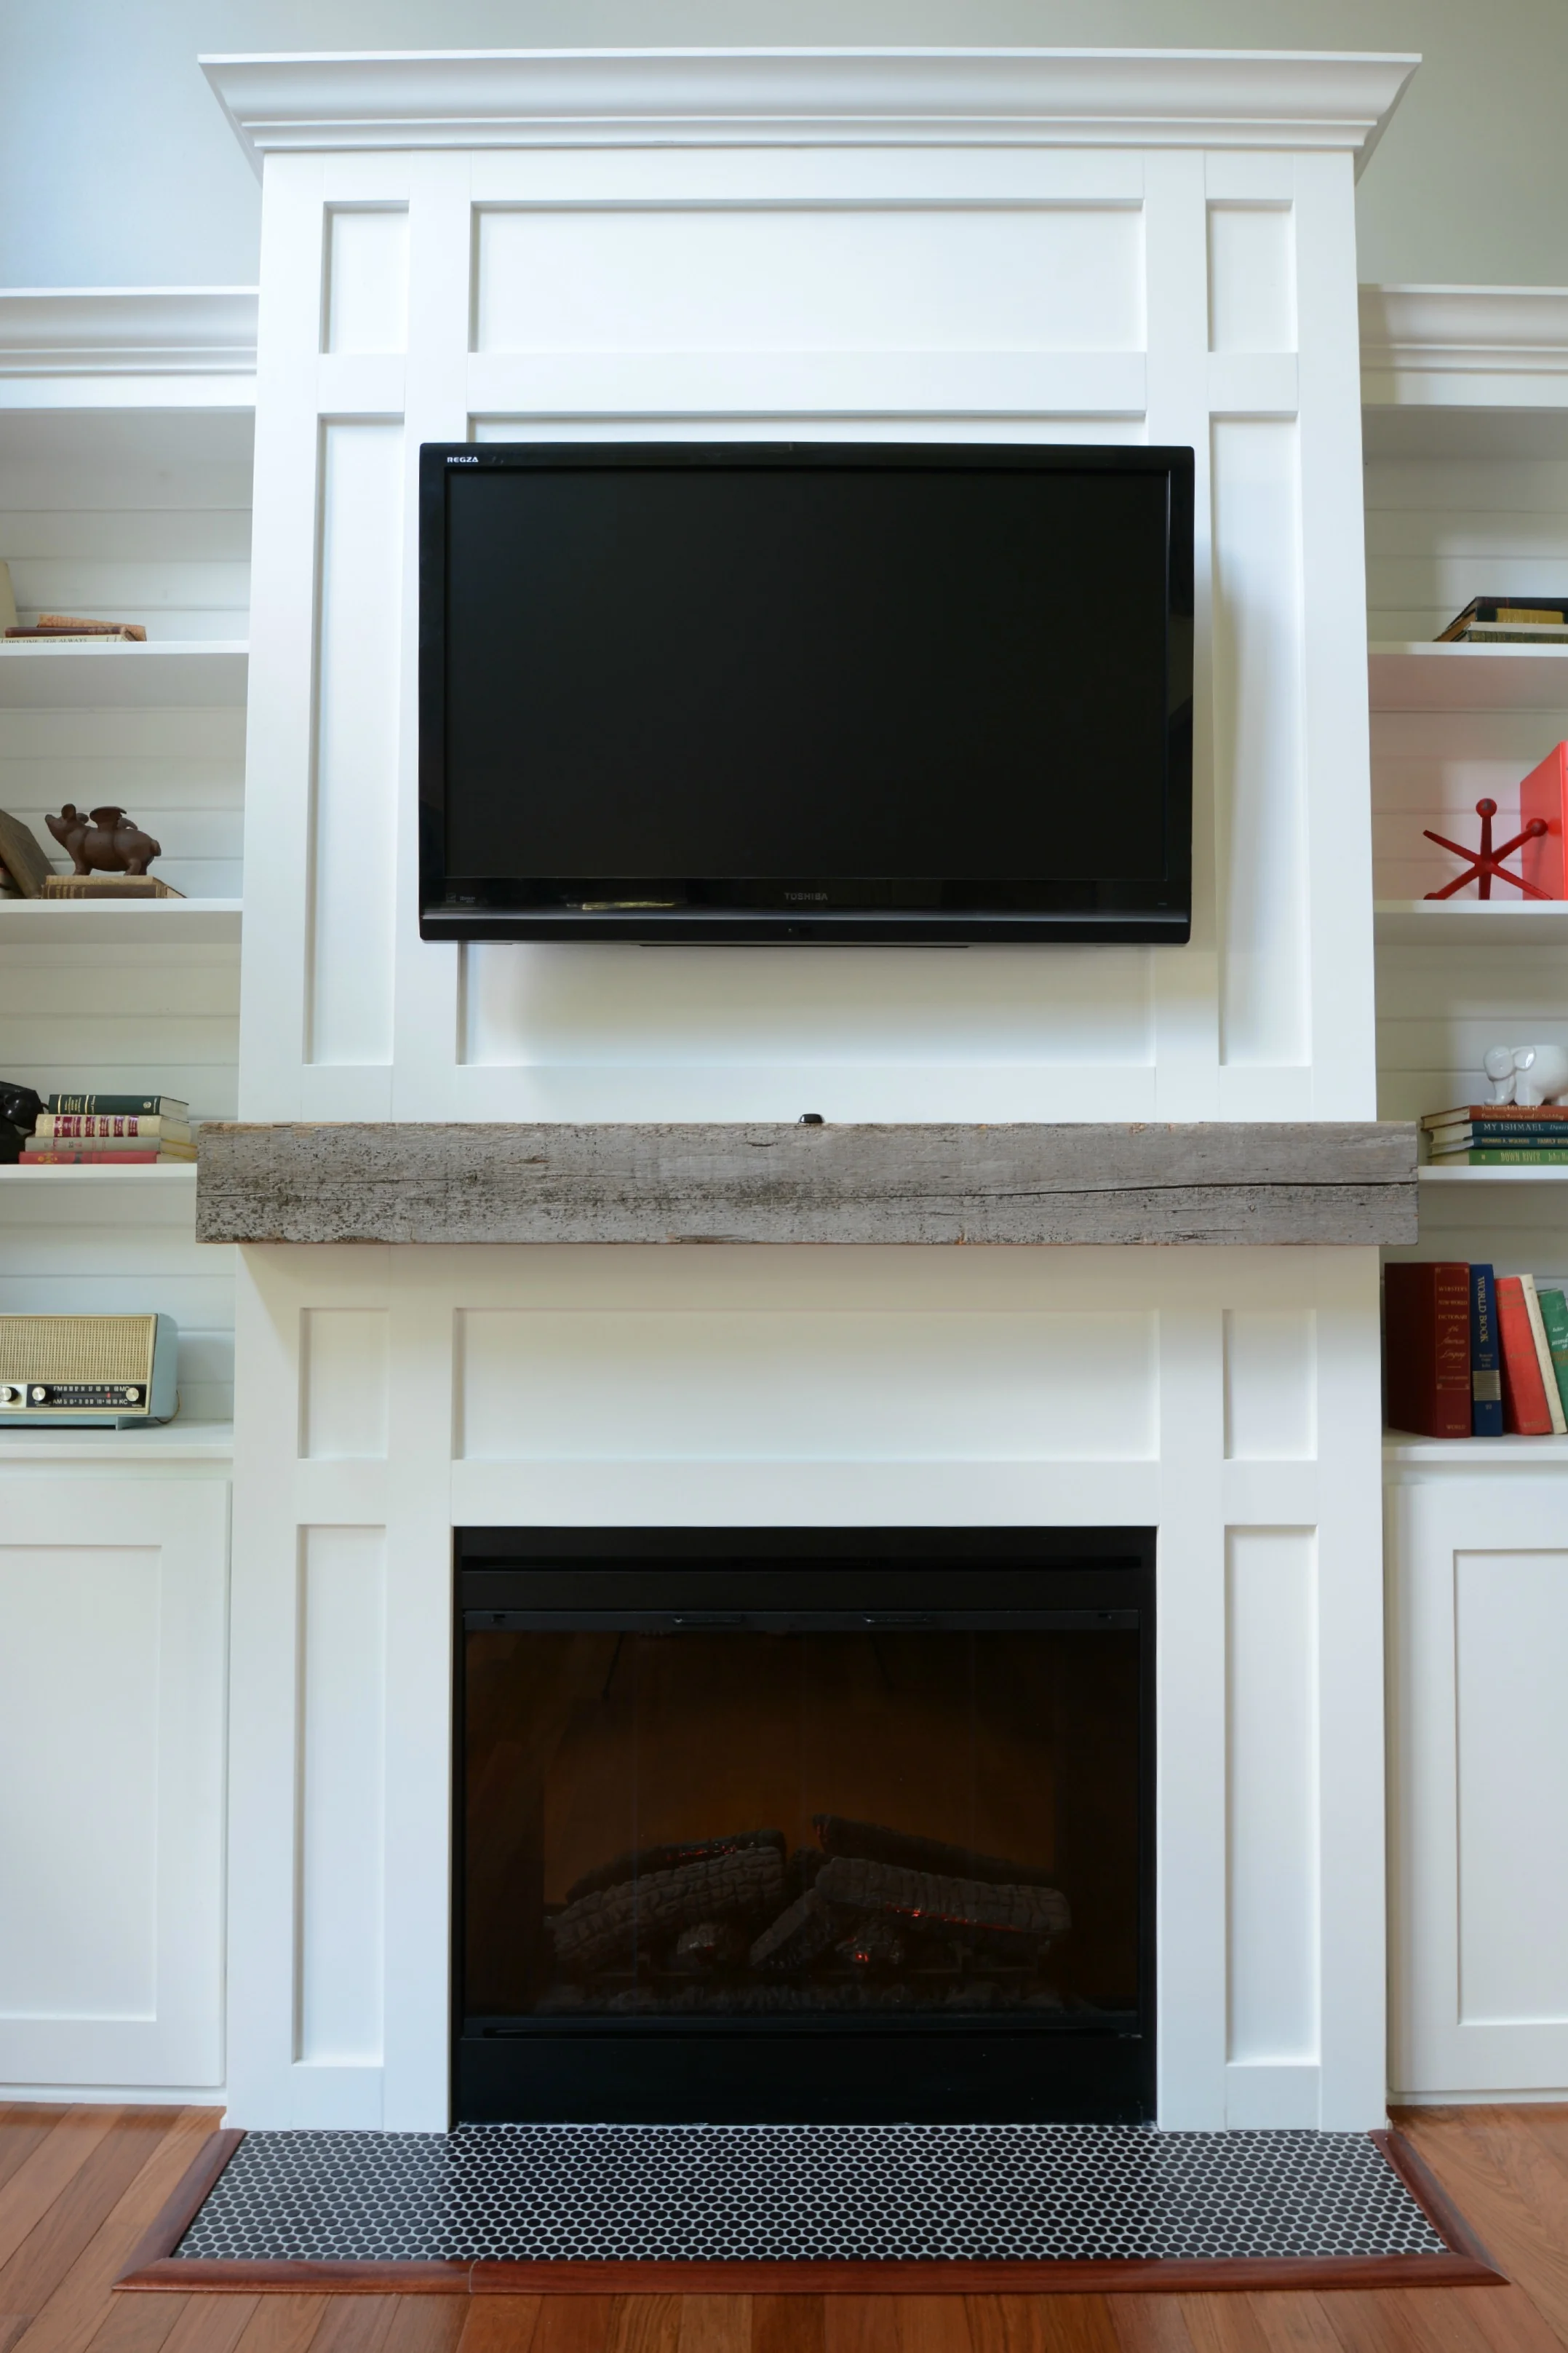
Last week we shared our built-in cabinets. Part of our built-in plan was to update the fireplace/mantel. I picked up this barn beam from a craft night friend a few months back. It was pretty much meant to become our new mantel. Unfortunately it had to sit in our garage until just recently. I whispered sweet nothings to it as I would walk by on our nightly walks. I promised I'd give it a proper place in our home as quickly as I could boss Nate around.
I brought the barn beam home and was like "Here you go, Nate. Slap that up on the fireplace."
Luckily he's pretty genius when it comes to this stuff and here's how he hung ours.
How to Install a Barn Beam Mantel
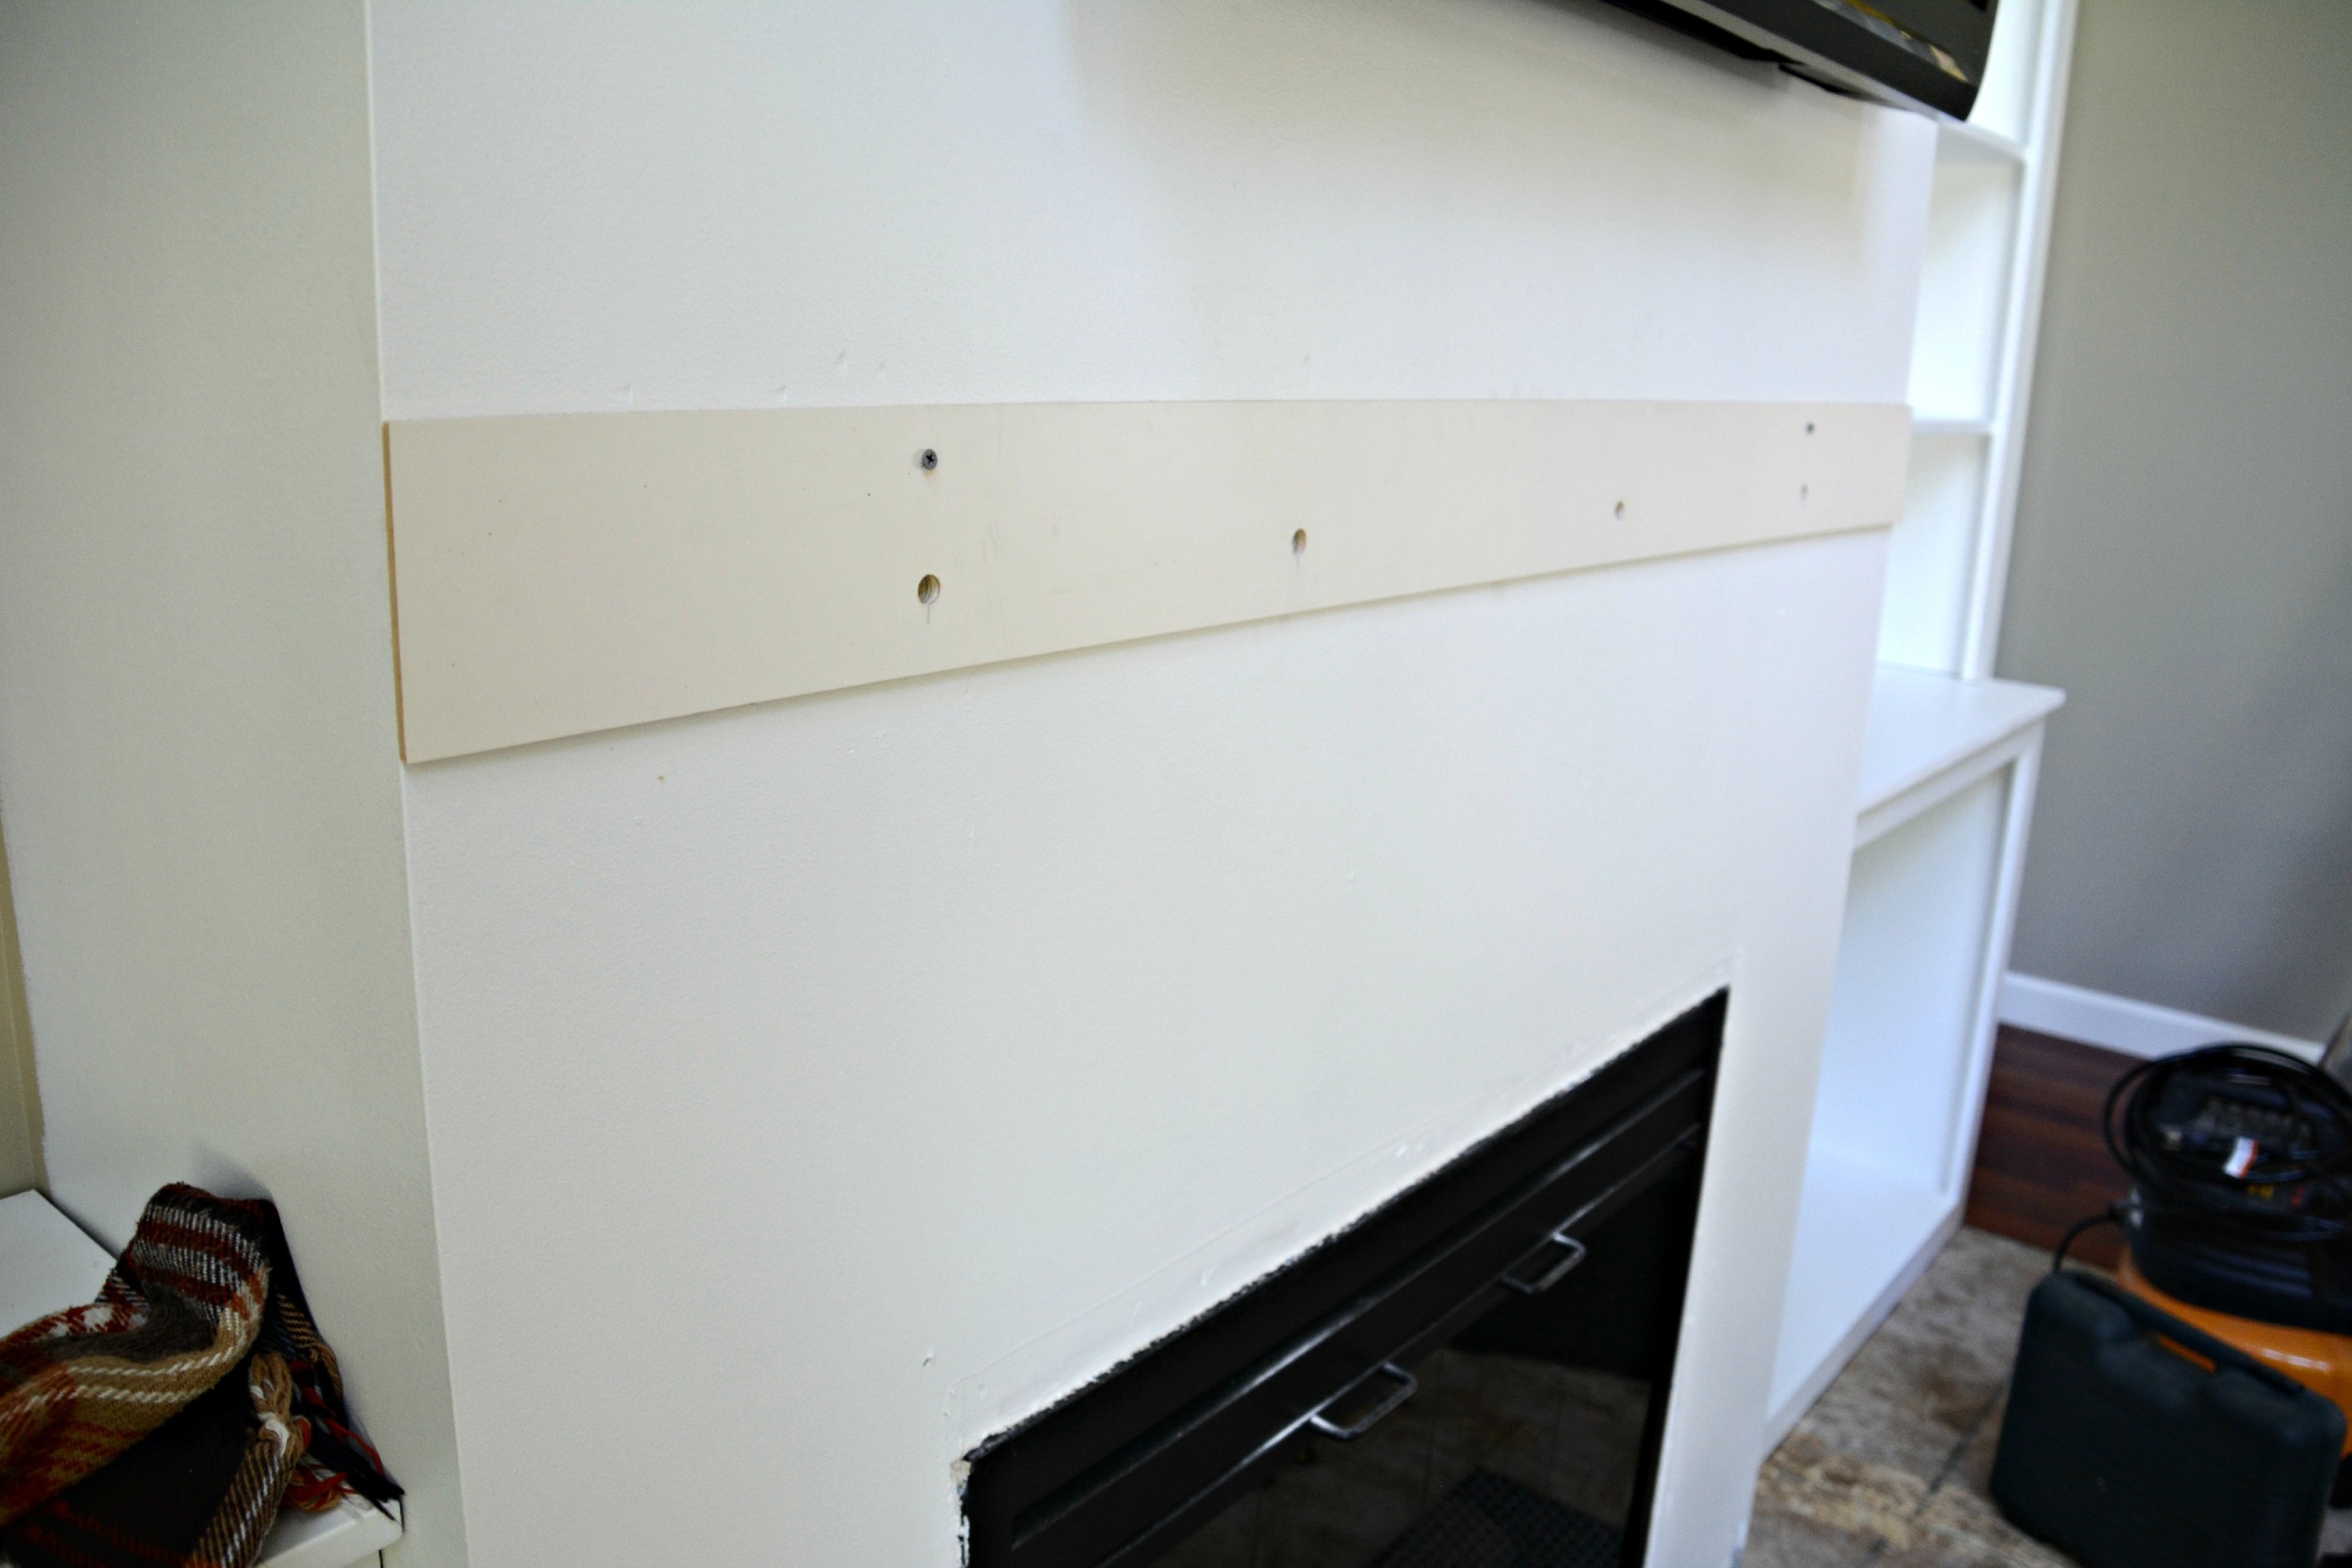
Build a template using an old board. Cut the board to the width of your fireplace. The board must be at least 3/4 of the height of your beam.
Locate the studs and mark.
Drill pilot holes into the template board (not attached to the wall at this point) at the locations of the studs. Drill holes half of height of your beam. (Our beam was 6" tall so Nate drilled down 3".)
Determine desired height of your mantel.
Attach the template board to the wall using 2 screws on the outermost studs. (The top of your board is at the top of the desired mantel height.)
Use the board as a guide to drill into the studs. Use a bit that is smaller than the threads on the screws that you used. Drill all the way through to the back of the stud.
Remove the board.
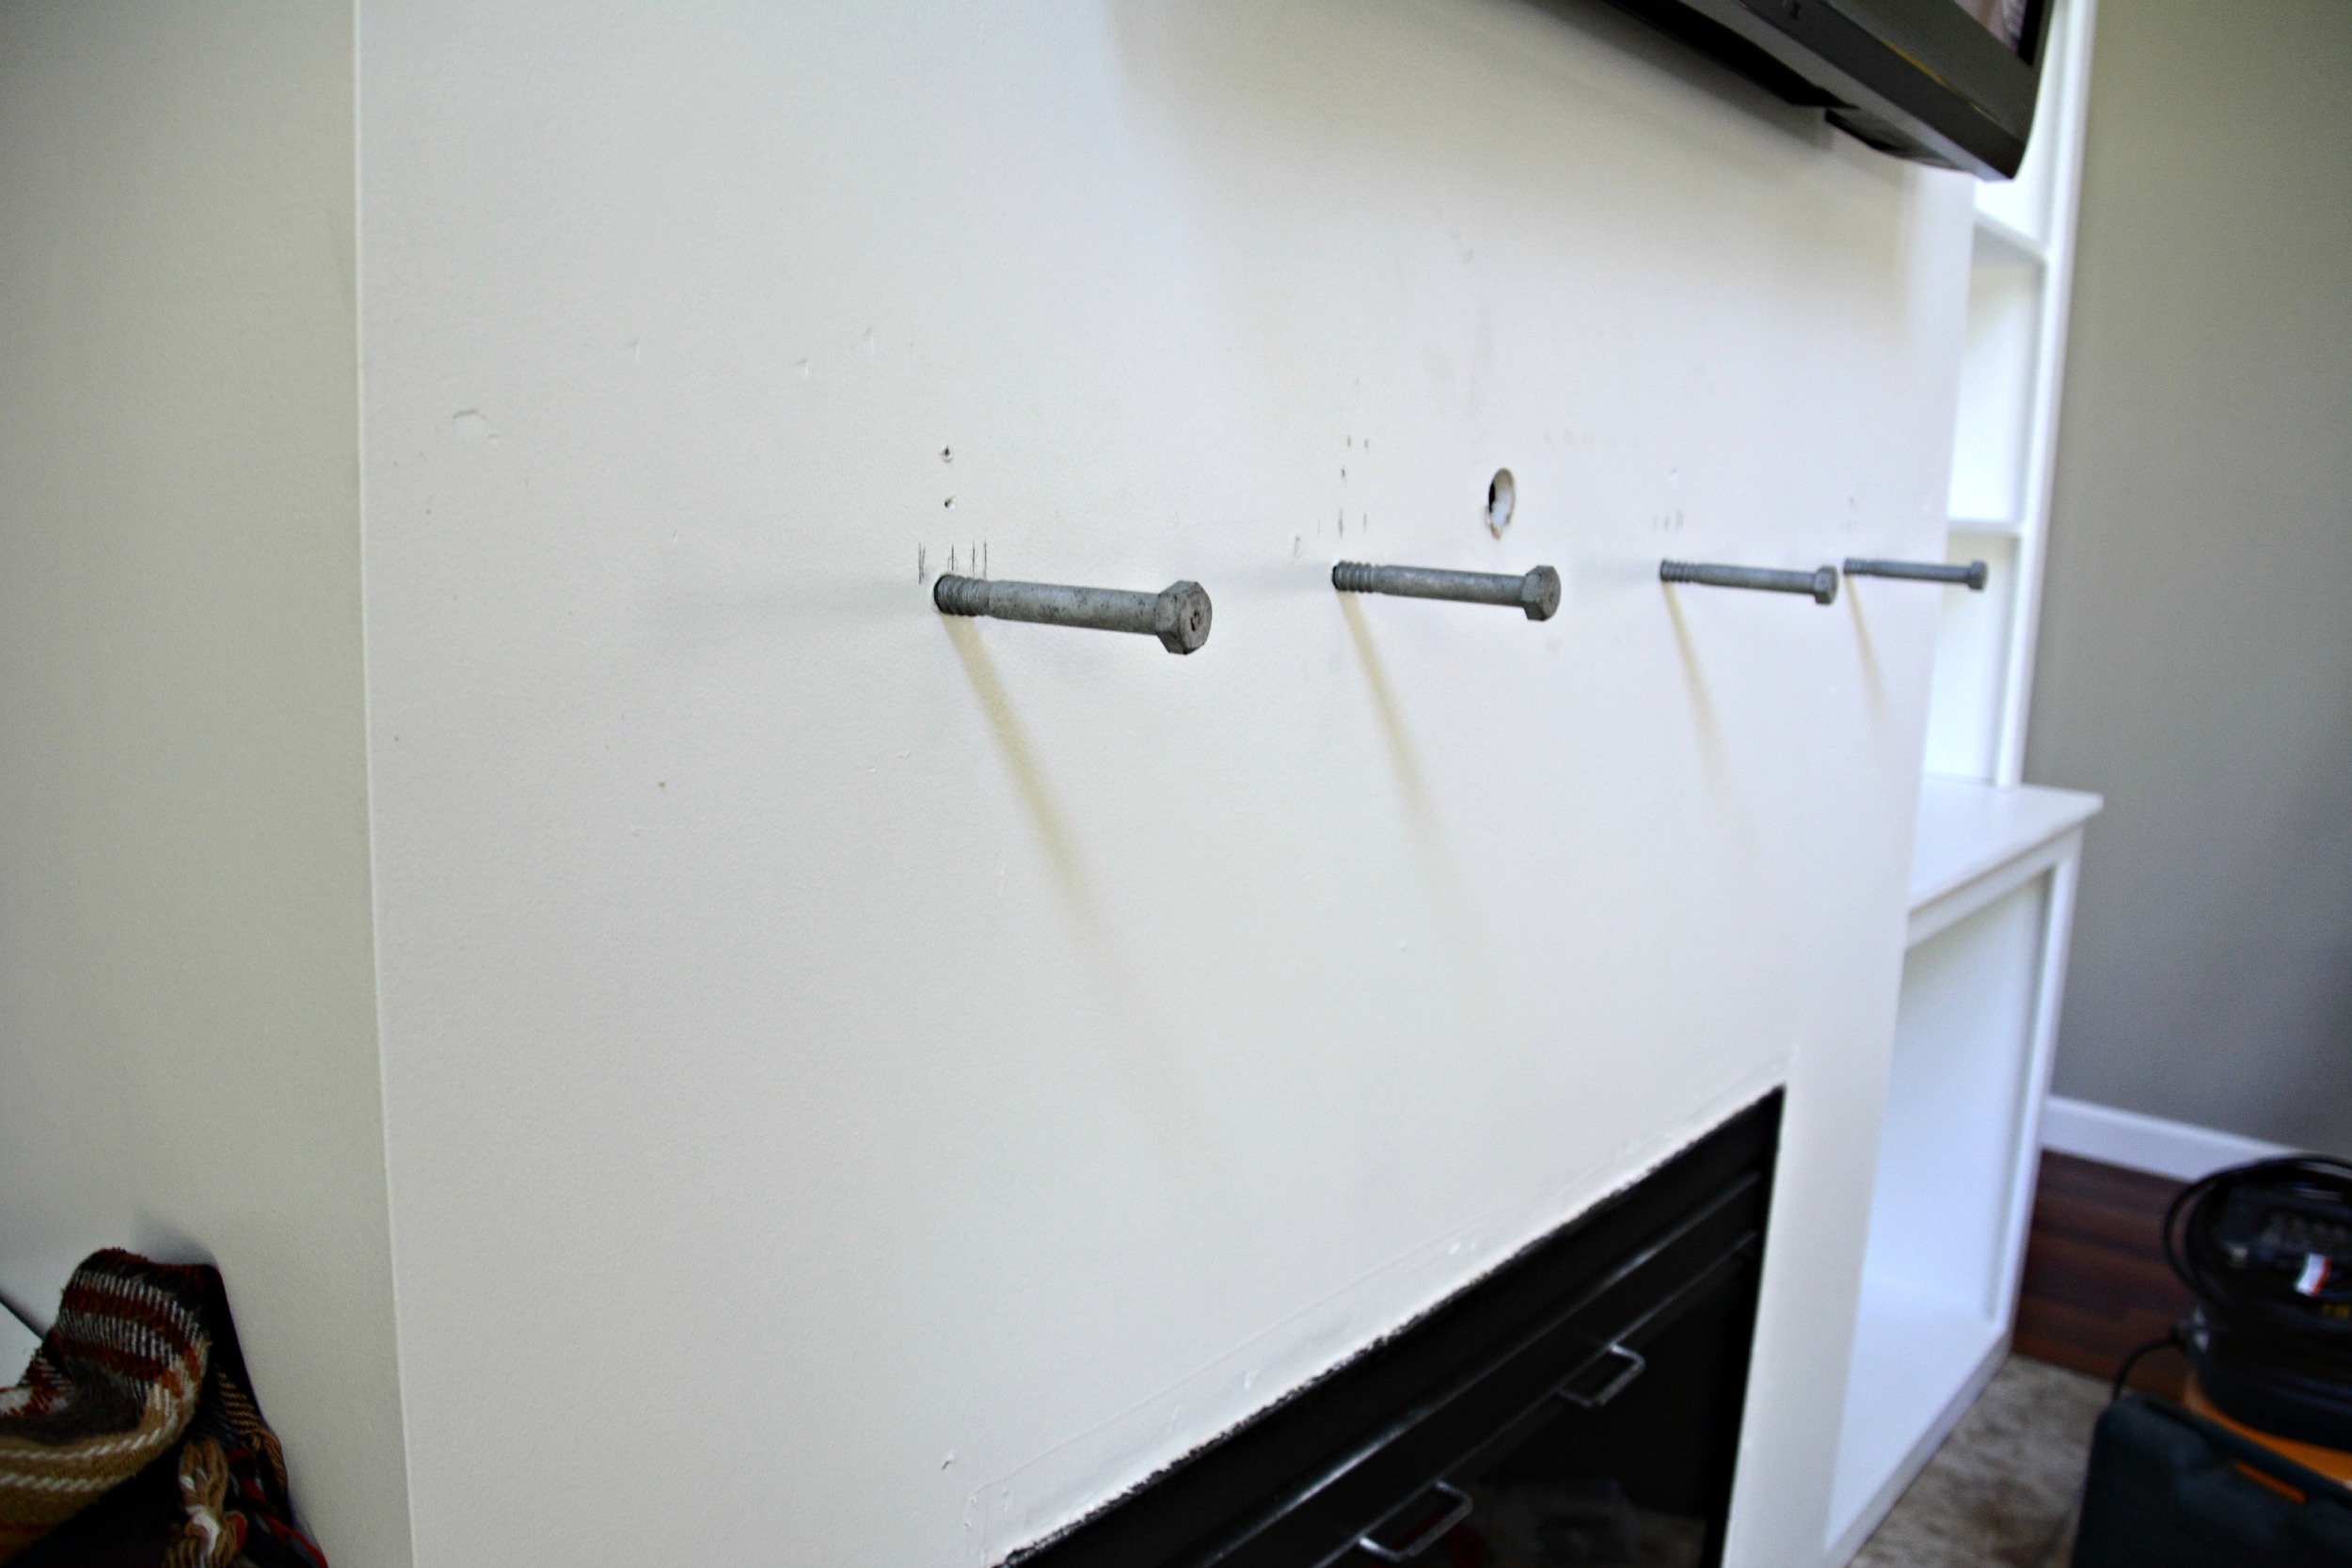
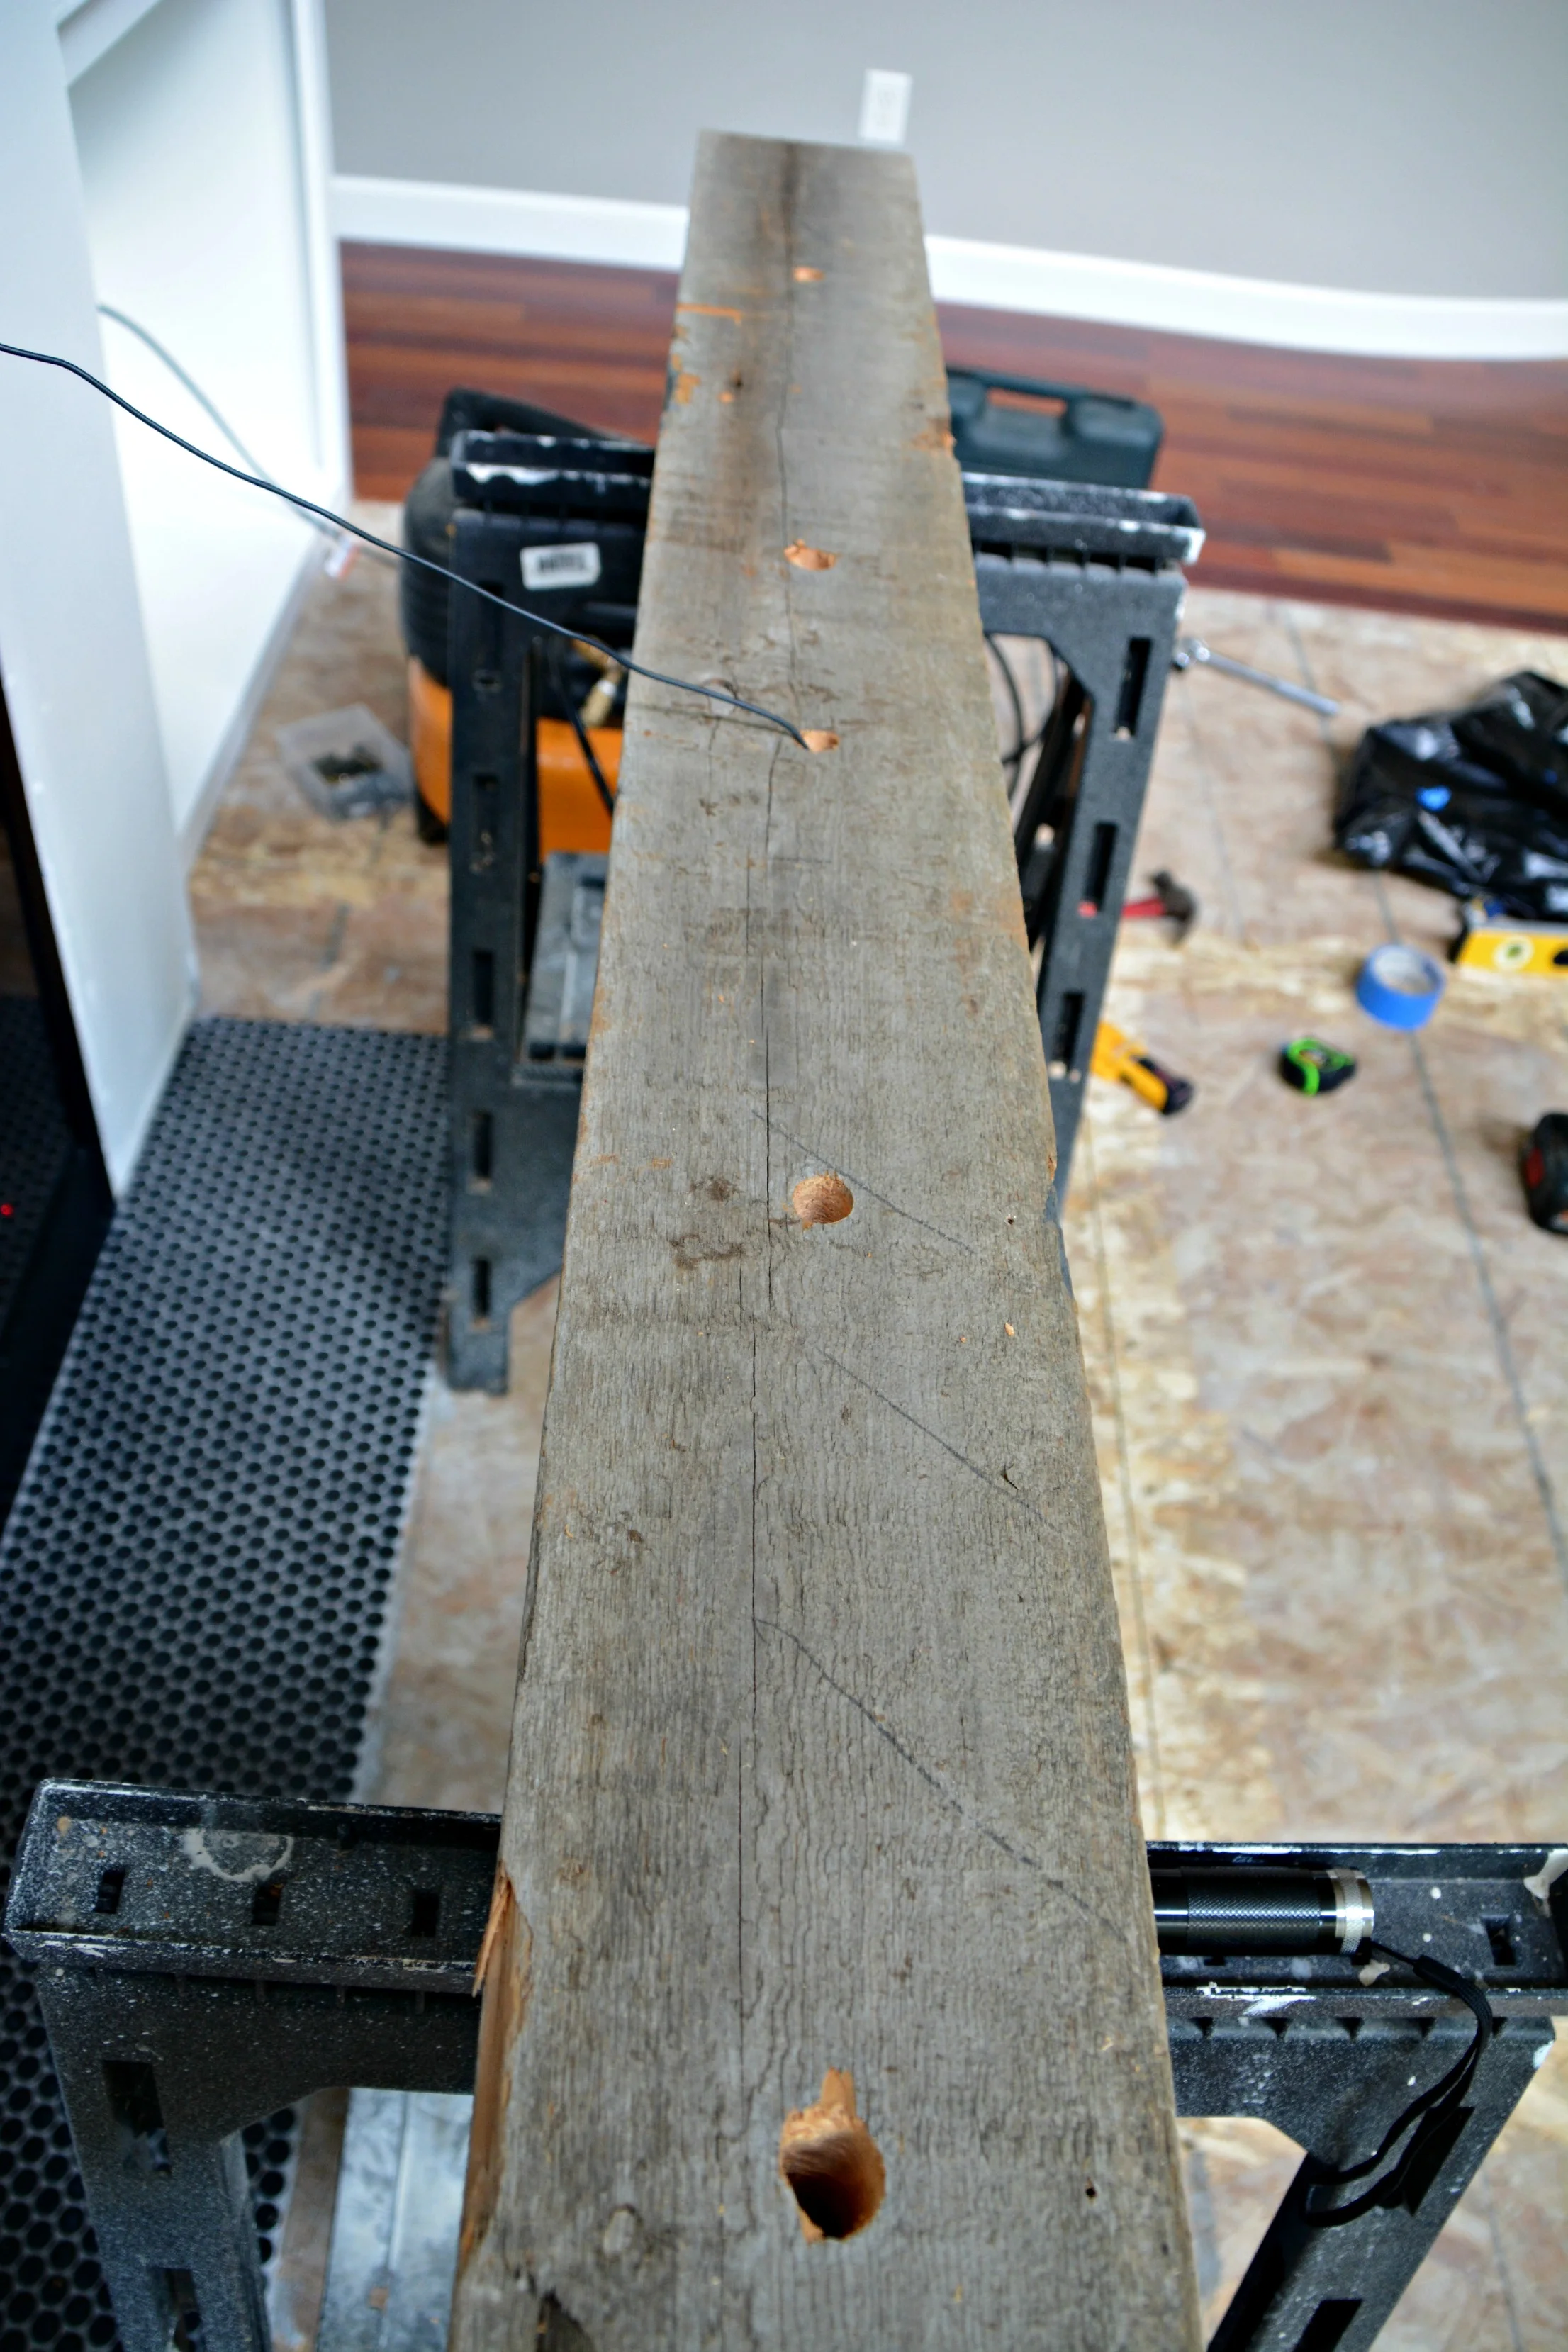
Take the template board and place it reversely onto the back of beam. Drill holes slightly larger than the width of the lag screws.
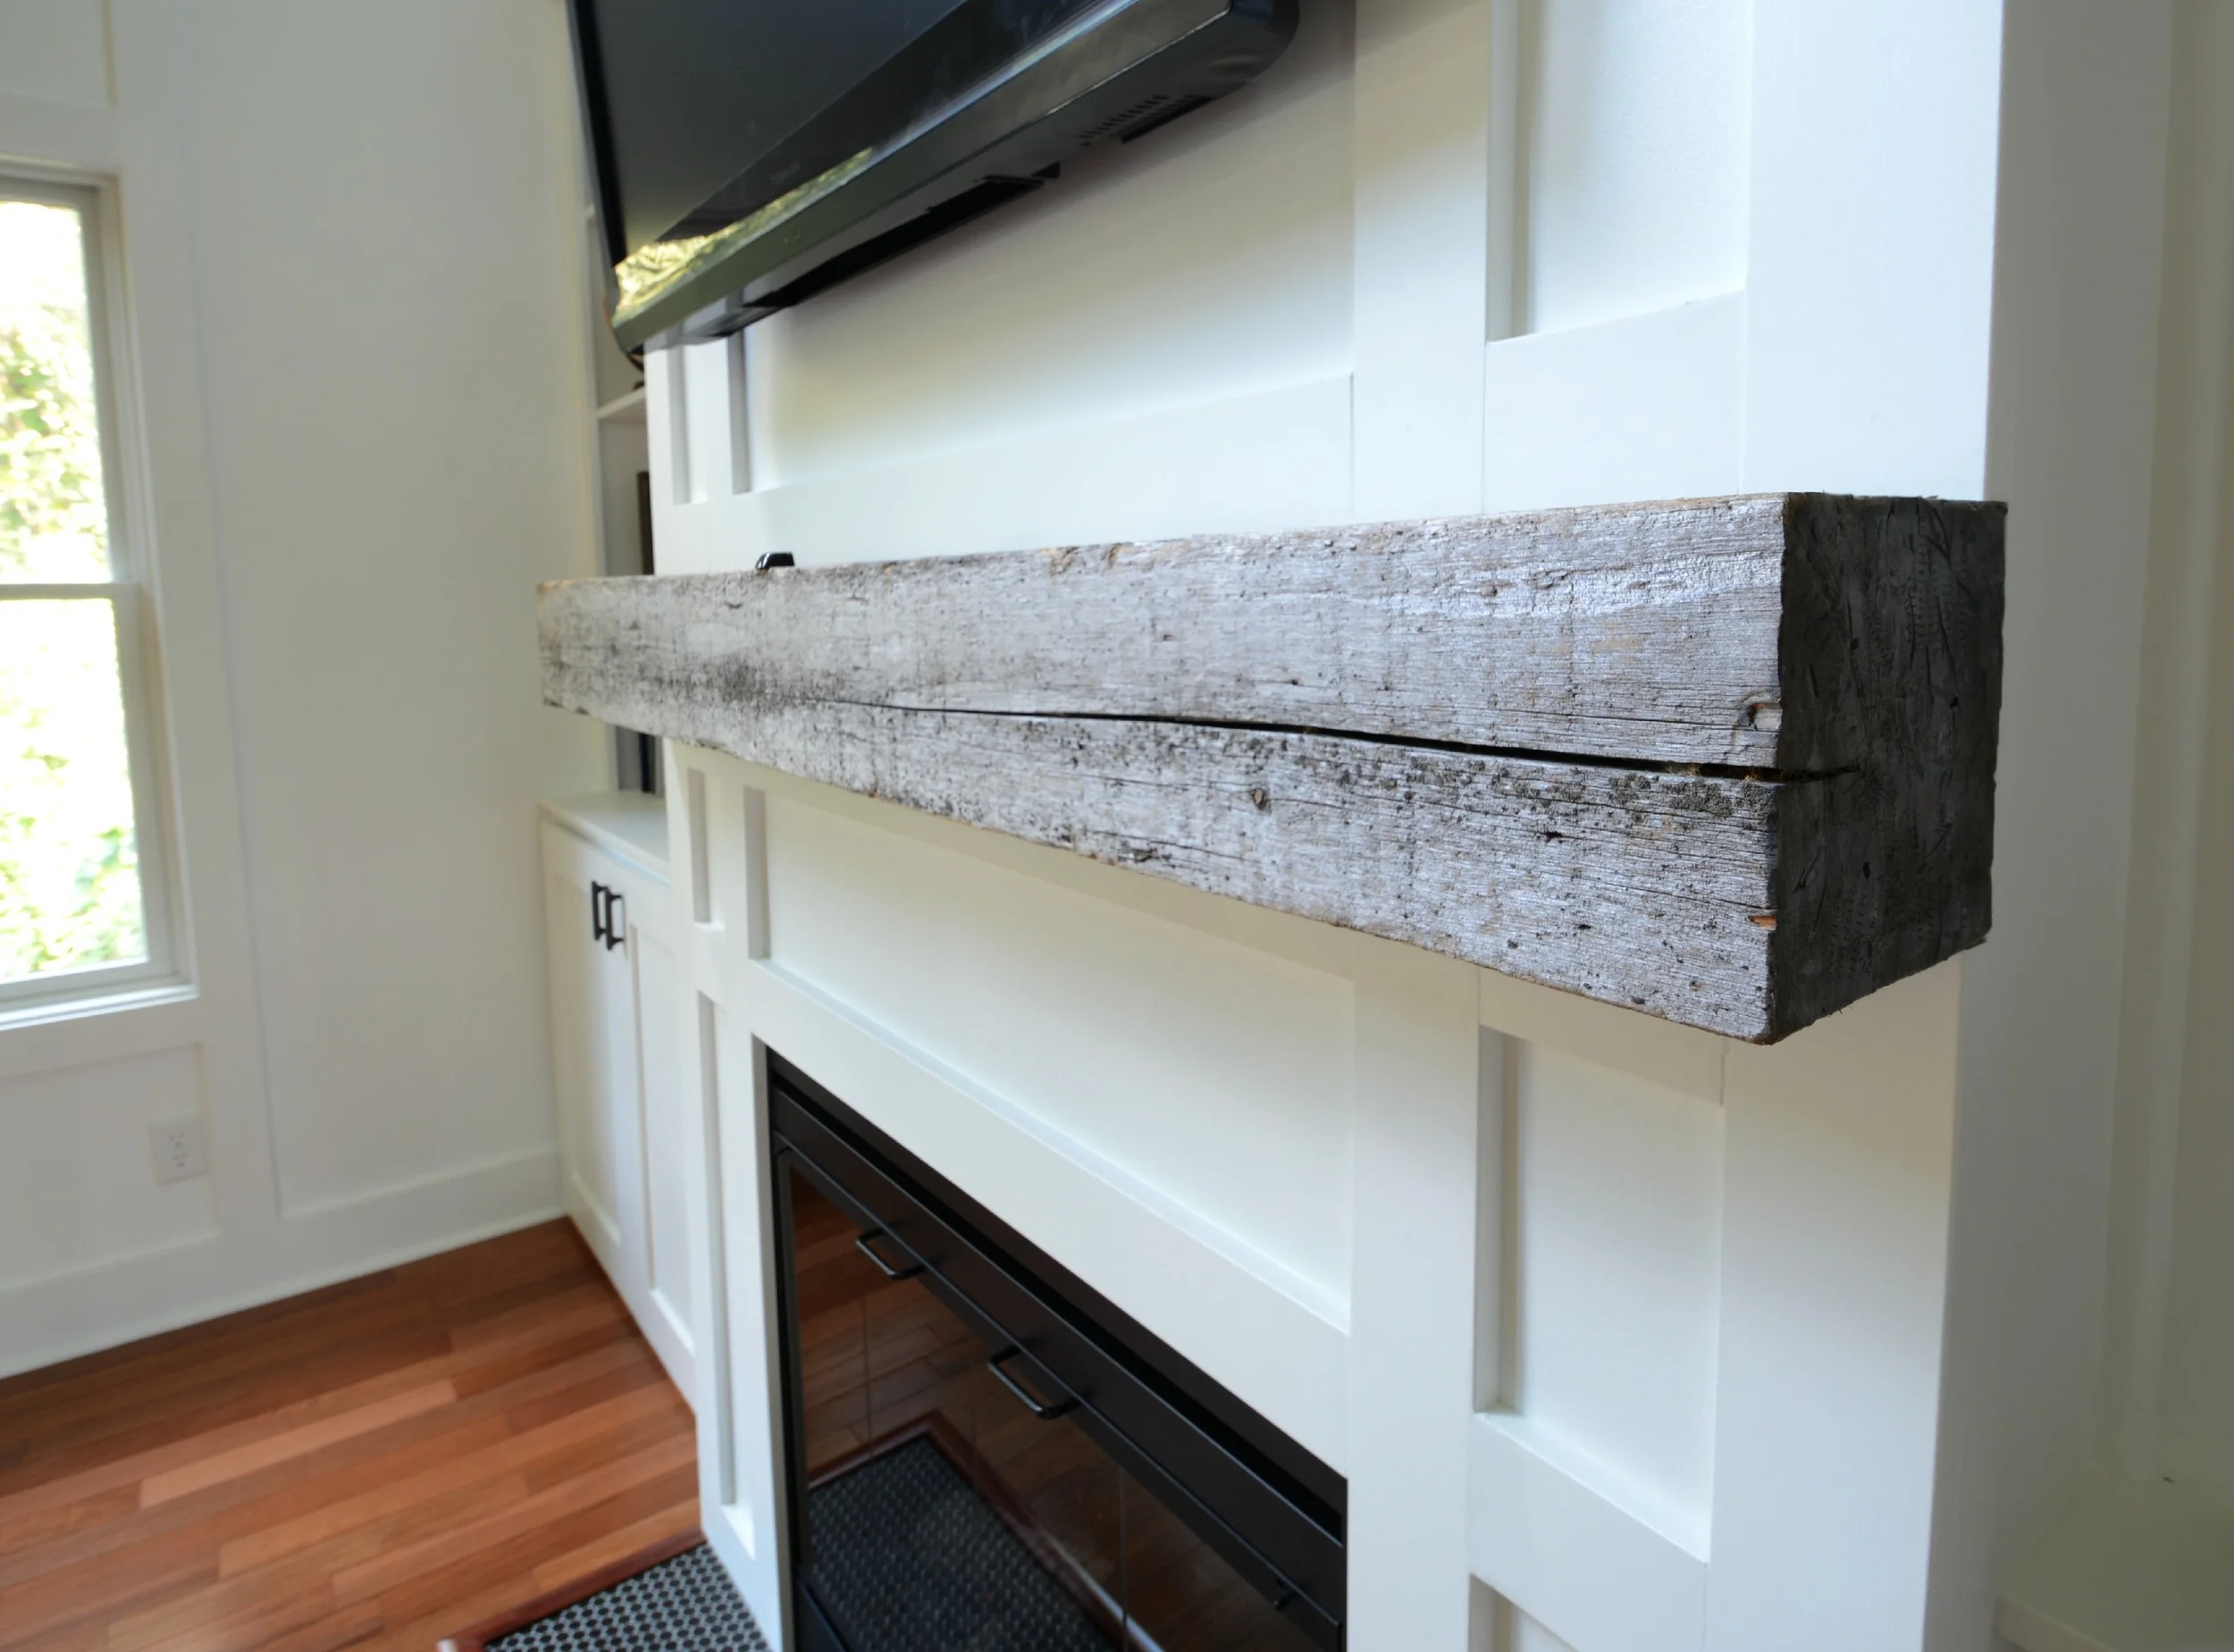
Test fit the beam to make sure it fits on the screws. Remove.
(Ignore the wire in this photo. It's for our remote system which I'll share soon. Because it's fancy.)
Don't place anything heavy on top of the beam for at least 1 week.

Read more about our built-ins here.
Surprisingly not that hard. Who knew? Definitely not me when I lugged it on home!


