Thoughts on The Tile Mat
/On Monday I shared with your our backsplash reveal.
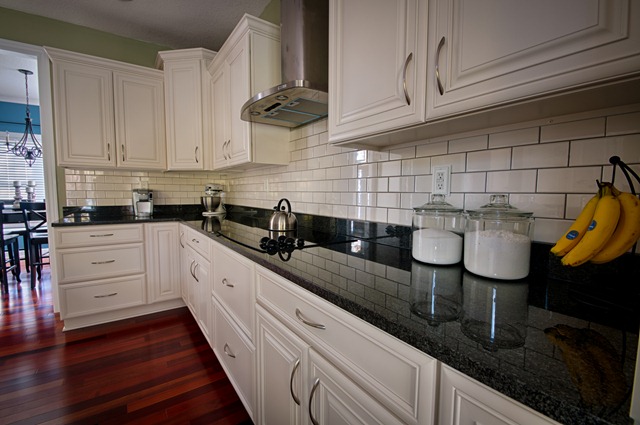
I also mentioned on Monday that I would share with you our thoughts on The Tile Setting Mat from Simple Mat. I said on Monday that I would share that tomorrow. Tomorrow actually means Thursday. A virus has been eating my brain this week. P.S. I need to start eating vegetables.
Anywho…tile setting mat.
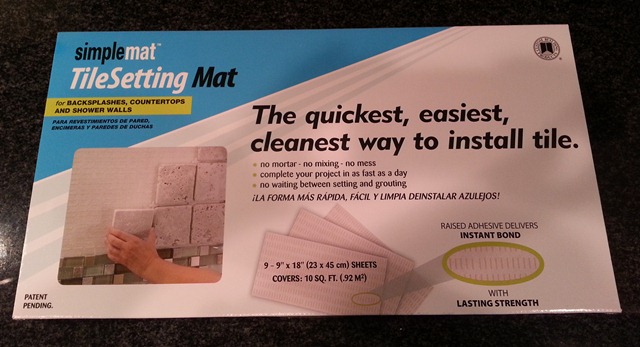
Nate and I had seen this product on some HGTV shows and HomeTime. I also read a review by Maury the week before we started. If Dean and Maury says it’s cool, then we’re in. Off we went to the Home Depot to pick up 3 boxes. (We ended up using 2.5 boxes to cover the 25 square feet in our kitchen.)
As the box suggests, it is a quick and easy way to install tile. It removes that messy mortar step. The mat is a sheet of plastic with raised adhesive. There is a protective cover on the side that sticks to the wall and also on the front adhesive side.
The tile mat was easy to install. Easy as in Michelle could actually help and not be a nuisance easy. We each worked on a section and covered our entire kitchen in one hour.
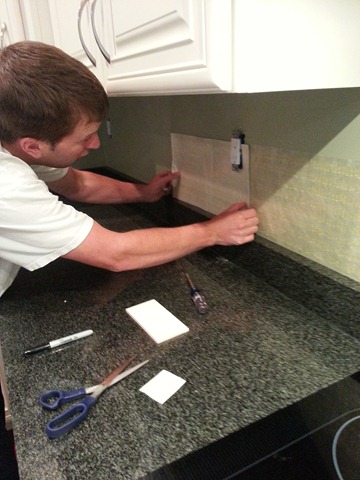
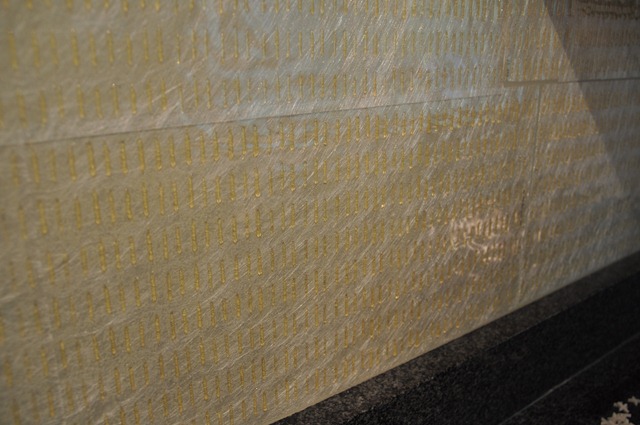
We placed the mat on Friday and left it until that Sunday afternoon. We made sure to keep the front cover on all of the adhesive so it didn’t dry out.
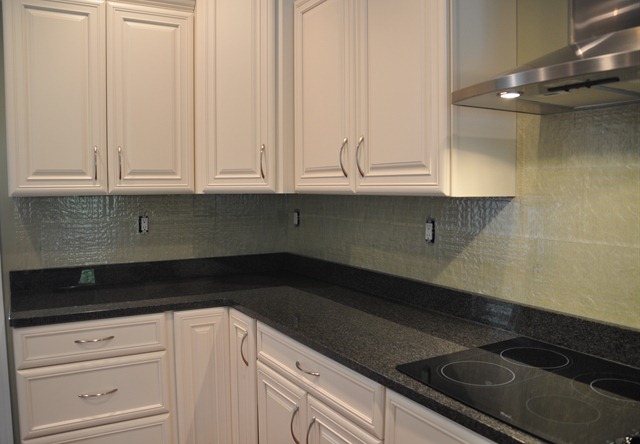
We placed the tiles on the mat using spacers. Tile placement was fairly easy. The adhesive did like to pull the tiles up or down a little. The spacers helped keep it in place. We’re both Type A so this was a little bothersome to us at first but it ended up being okay.
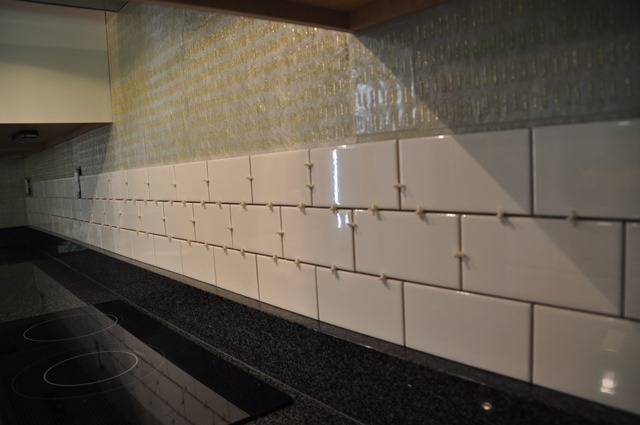
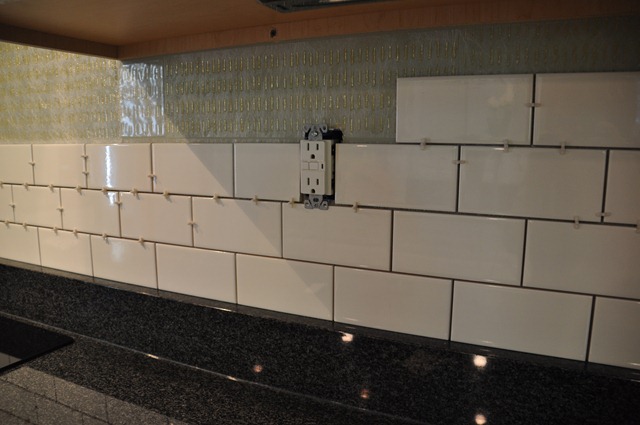
We had a little trouble with tiles sticking if we applied the tile to the mat and then had to remove it for whatever reason (wrong cut, not level, etc.) We ended applying Loctite Powergrab to adhere those tiles to the wall. This was really only an issue up next to the cabinets where we had some cutting issues.
We then grouted and cleaned the tiles…as you would in a normal tile installation.
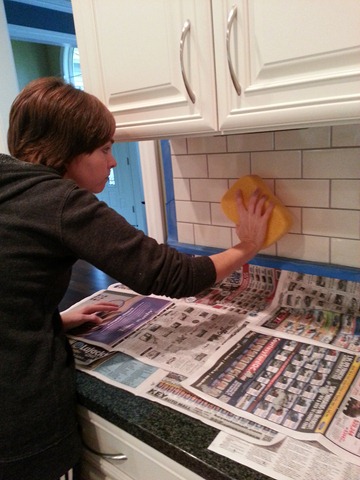
Look! I do work. I should go into professional tile installation because I’d have some killer arms. Just saying. Especially if all of my clients choose white tile with dark grout. Kim warned me that cleaning the dark grout would be a giant pain but totally worth it. She was right. (As always.)
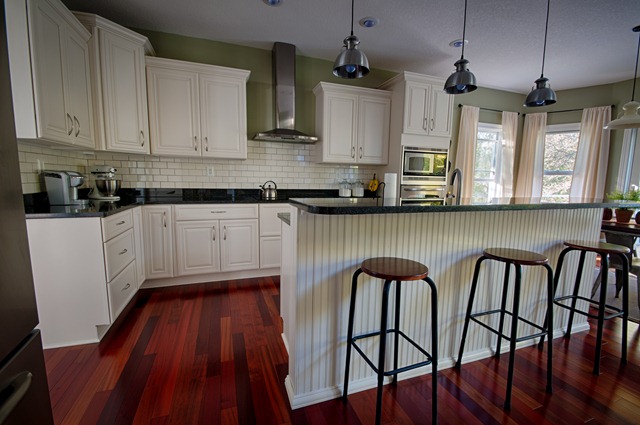
So what did we really think? I’m glad you asked.
Pros-
- Great for beginners. We have little tiling experience. Nate tiled our front steps but anything inside our house we hired out. (It was hire it done and have it completed in 3 days or not move into our house for another month.) Based off of Nate’s little experience, he thinks the mat allowed us to do a better job.
- You don’t have to be quick. The tile mat allowed us to take the extra time needed to cut the tiles correctly and apply them evenly.
- Set up. Set up only took us 1 hour. You can leave the mat for as long as you need. You can also grout immediately after applying the tiles…if your work and social life don’t interfere.
Cons-
- Cost. The tile mat boxes were $20 per box. We used 2.5. The cost is definitely more than mortar….but was totally worth it for us.
- Not all of the tiles stuck. I’m not going to lie. We were pretty nervous to grout because we did have a handful of tiles that wouldn’t stick to the mat. These were the tiles that we have applied and then removed and applied again. We used the Loctite Powergrab on the tiles that we knew were loose but we were nervous as to how many tiles were loose that we didn’t know about. This turned out to not be a problem. We grouted and scrubbed and all of the tiles are still happily living on the wall.
Tips-
- Clean the back of your tiles. As commonsense would suggest, you will have a harder time adhering tiles that are dirty.
- Make sure your tiles are in the proper position. There was some wiggle room when adhering the tile to the wall but not a lot. It took a little getting used to be we eventually found a happy place were we could lightly stick the tile to the wall, adjust, then adhere.
- Only apply the mat where you want tiles. Yep, commonsense right? Yeah, we’re smart kids. The mat sticks out a tiny bit above the tile under the hood. It’s really not noticeable but we know it’s there and it’s annoying. We cleaned most of it up without destroying the wall. We just wished we were more careful.
Would we use The Tile Mat again? Most definitely!
I’m off to splatter spaghetti sauce all over my kitchen because I can now that I have a protected wall. Not that it stopped me before.
Had you heard about The Tile Mat? Any tiling plans in your future? Any tiling horror stories?
***We were in no way compensated for this post. That would have been cool but not the case.***


