Burlap “Wallpaper” How To
/Yesterday I shared with you that I “wallpapered” burlap to the back of my office shelves.

I had a hard time deciding what I wanted to do to the back of the shelves. Paint was an obvious answer but that seemed like a lot of work. And very committal. I hate commitment. My husband is a lucky man. I know you can repaint but I chickened out. I also couldn’t decide on a color. I know some people mentioned yesterday that they would have chosen a bright color. That’s just not us. We’re very neutral people. I probably would have chosen brown. Boring. Whatever. We’re a pharmacist and an accountant. Crazy party people live here.
I then saw a post on How About Orange about using fabric as wallpaper. It seemed easy enough. The other positive was that if I didn’t like it I could just take the fabric down and wipe up the paste. I was digging it.
I told Nate about my plan. He gave me that “Are you out of your mind crazy woman beast?” look that I’ve been getting a lot lately. (I think he is going to put a Pinterest block on my computer. Seriously.) I put up a good front and acted like I totally knew what I was doing and this project would be a piece of cake.
And surprisingly, it was.
Here’s what you’ll need:
- Fabric cut to your appropriate dimensions.
- This was probably the hardest step of the whole process.
- I’d check out Chelsea’s tutorial for cutting burlap here. She pays better attention at Joann’s than I do. Or maybe her local Joann’s employees are a little friendlier than mine. Just saying.
- Cornstarch
- Water
- A brush (I used a foam brush but any brush would do.)

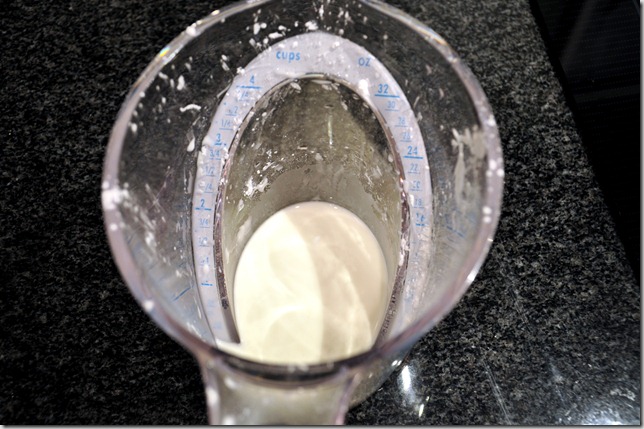
Bring ~4 cups of water to a boil. While you are waiting, mix ~1/2 cup of cornstarch with a small amount of water. Just enough to dissolve the corn starch and make this milk looking sludge.

Add the cornstarch mixture to the boiling water slowly while whisking. I love whisking. Seriously. Favorite kitchen utensil.

Boil until thickened (~5 minutes). Let cool.
I cooled my paste just so that I could handle it without scalding myself. (I’m super patient. I think my impatience was okay in this case though because this paste turns to sludge fairly quickly.)

I removed the shelves and then brushed the entire surface with a thin layer of the paste. I found that I didn’t need a lot. A small amount would hold the burlap. I did find that I needed press a small section for a few seconds to get the burlap to stick. Burlap was a decent material to chose. I am horrible at cutting and burlap is hard to cut. It is, however, very stretchy and forgiving. If my cut was a little off I could just tug and make it work.
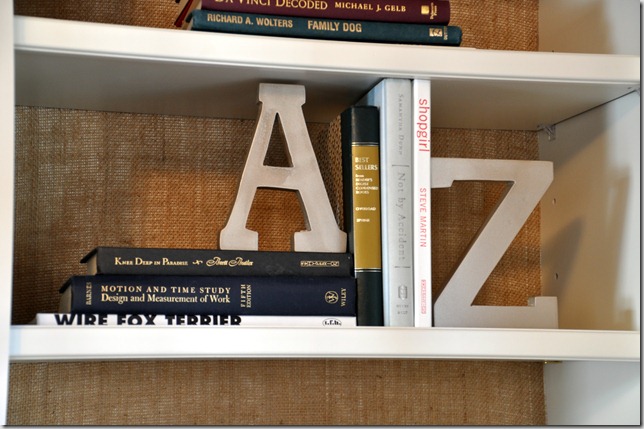
Once the area was completely “wallpapered” I put the shelves back in, styled them pretty, and waited for Nate to get home to show him that I this was not the giant DIY disaster that we both expected.


I’ll keep you posted on how this holds up. How long will it stick? Can I really remove it easily when I change my mind about in this room in 6 months? Someone has to be the guinea pig, right?
Who’s going to slap some fabric on their walls now? Do it! Anyone else going to soon be banned from Pinterest? What’s the craziest pin you have attempted?


