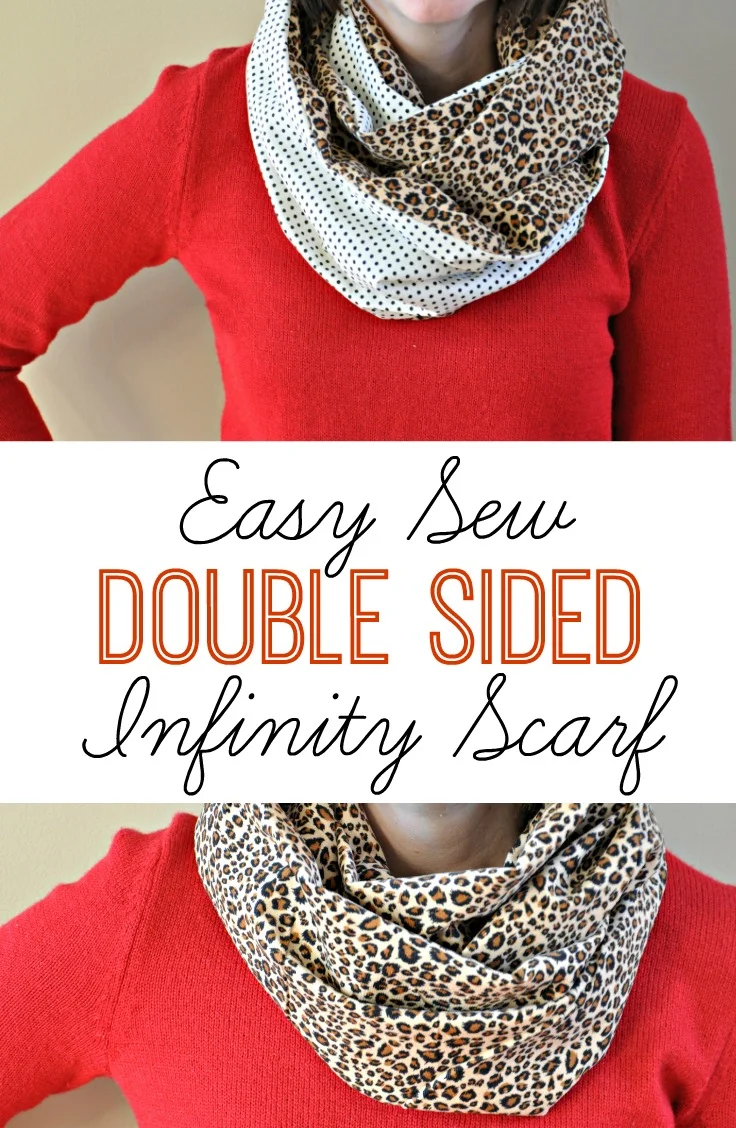
Two Sided Infinity Scarf Tutorial

Last week I mentioned my obsession with crochet.  I'm also currently obsessed with Hershey's Hugs and sewing infinity scarves.  The infinity scarf thing is becoming an issue. The Hugs are not.

My latest scarf need was an animal print scarf.

Infinity Scarf Tutorial | Decor and the Dog

This obession is the direct result of this pin.  Stupid, beautiful Pinterest.

I had to have that animal print scarf.  

Infinity Scarf Tutorial | Decor and the Dog

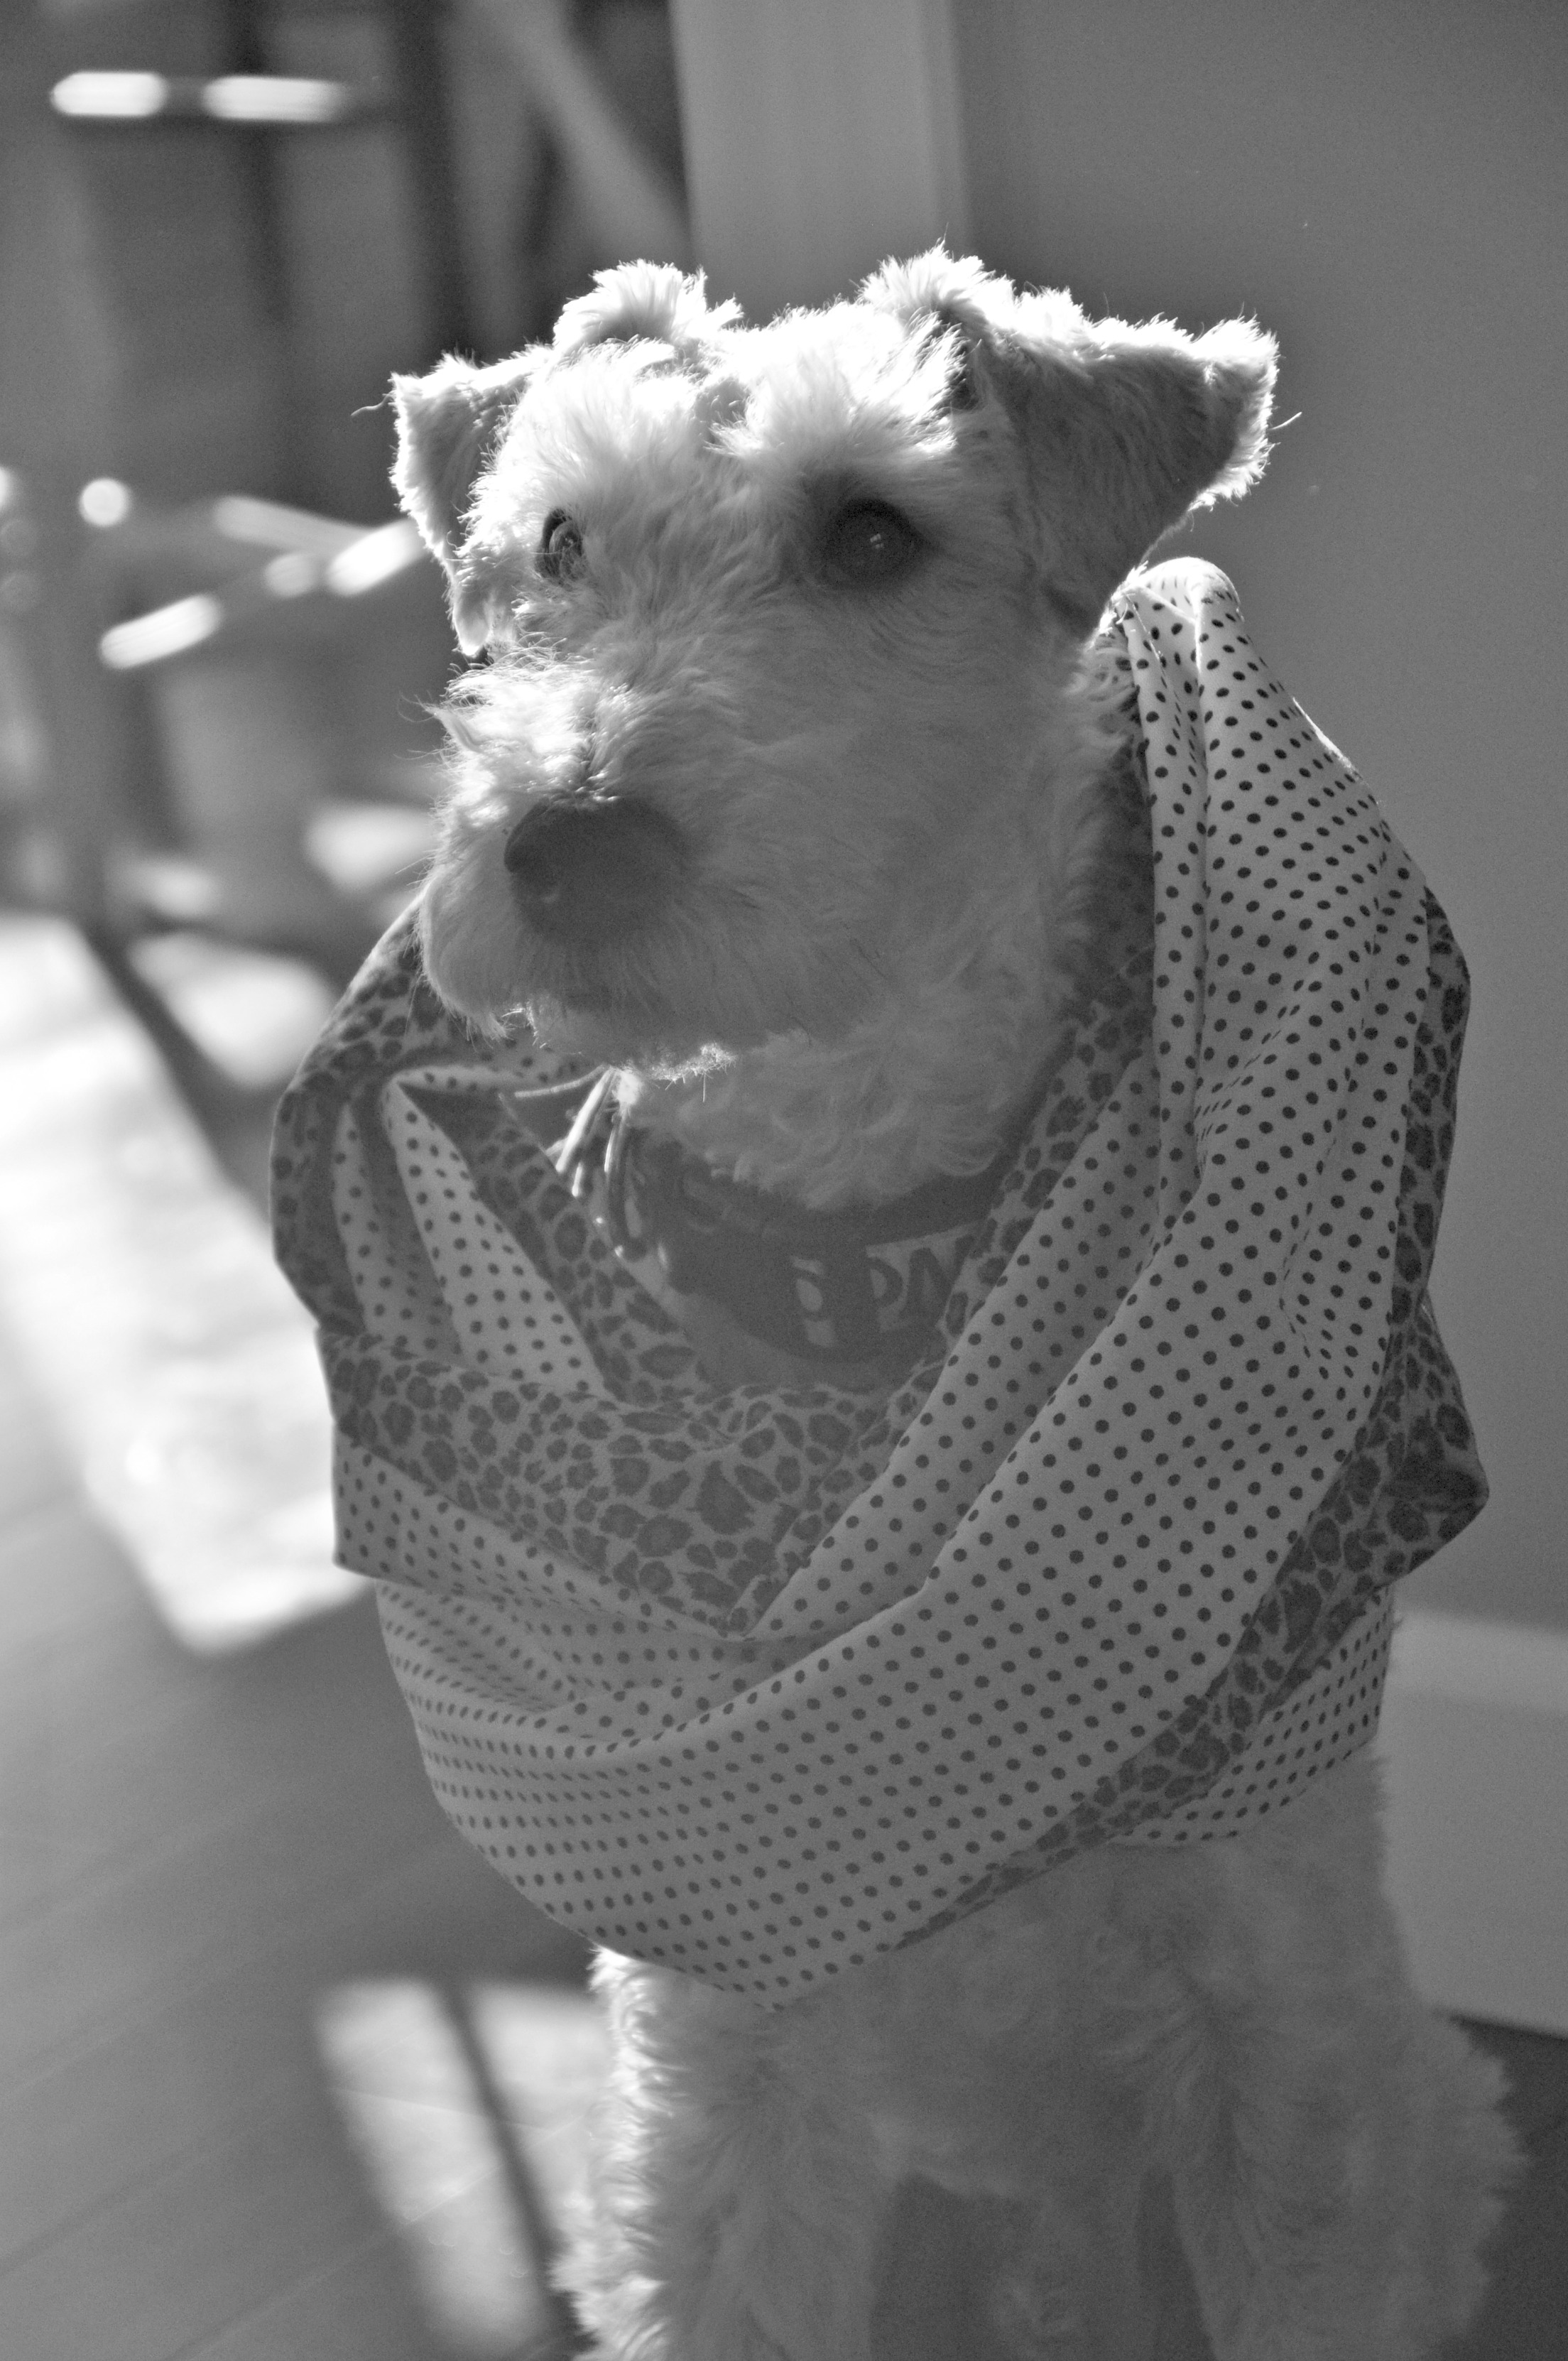
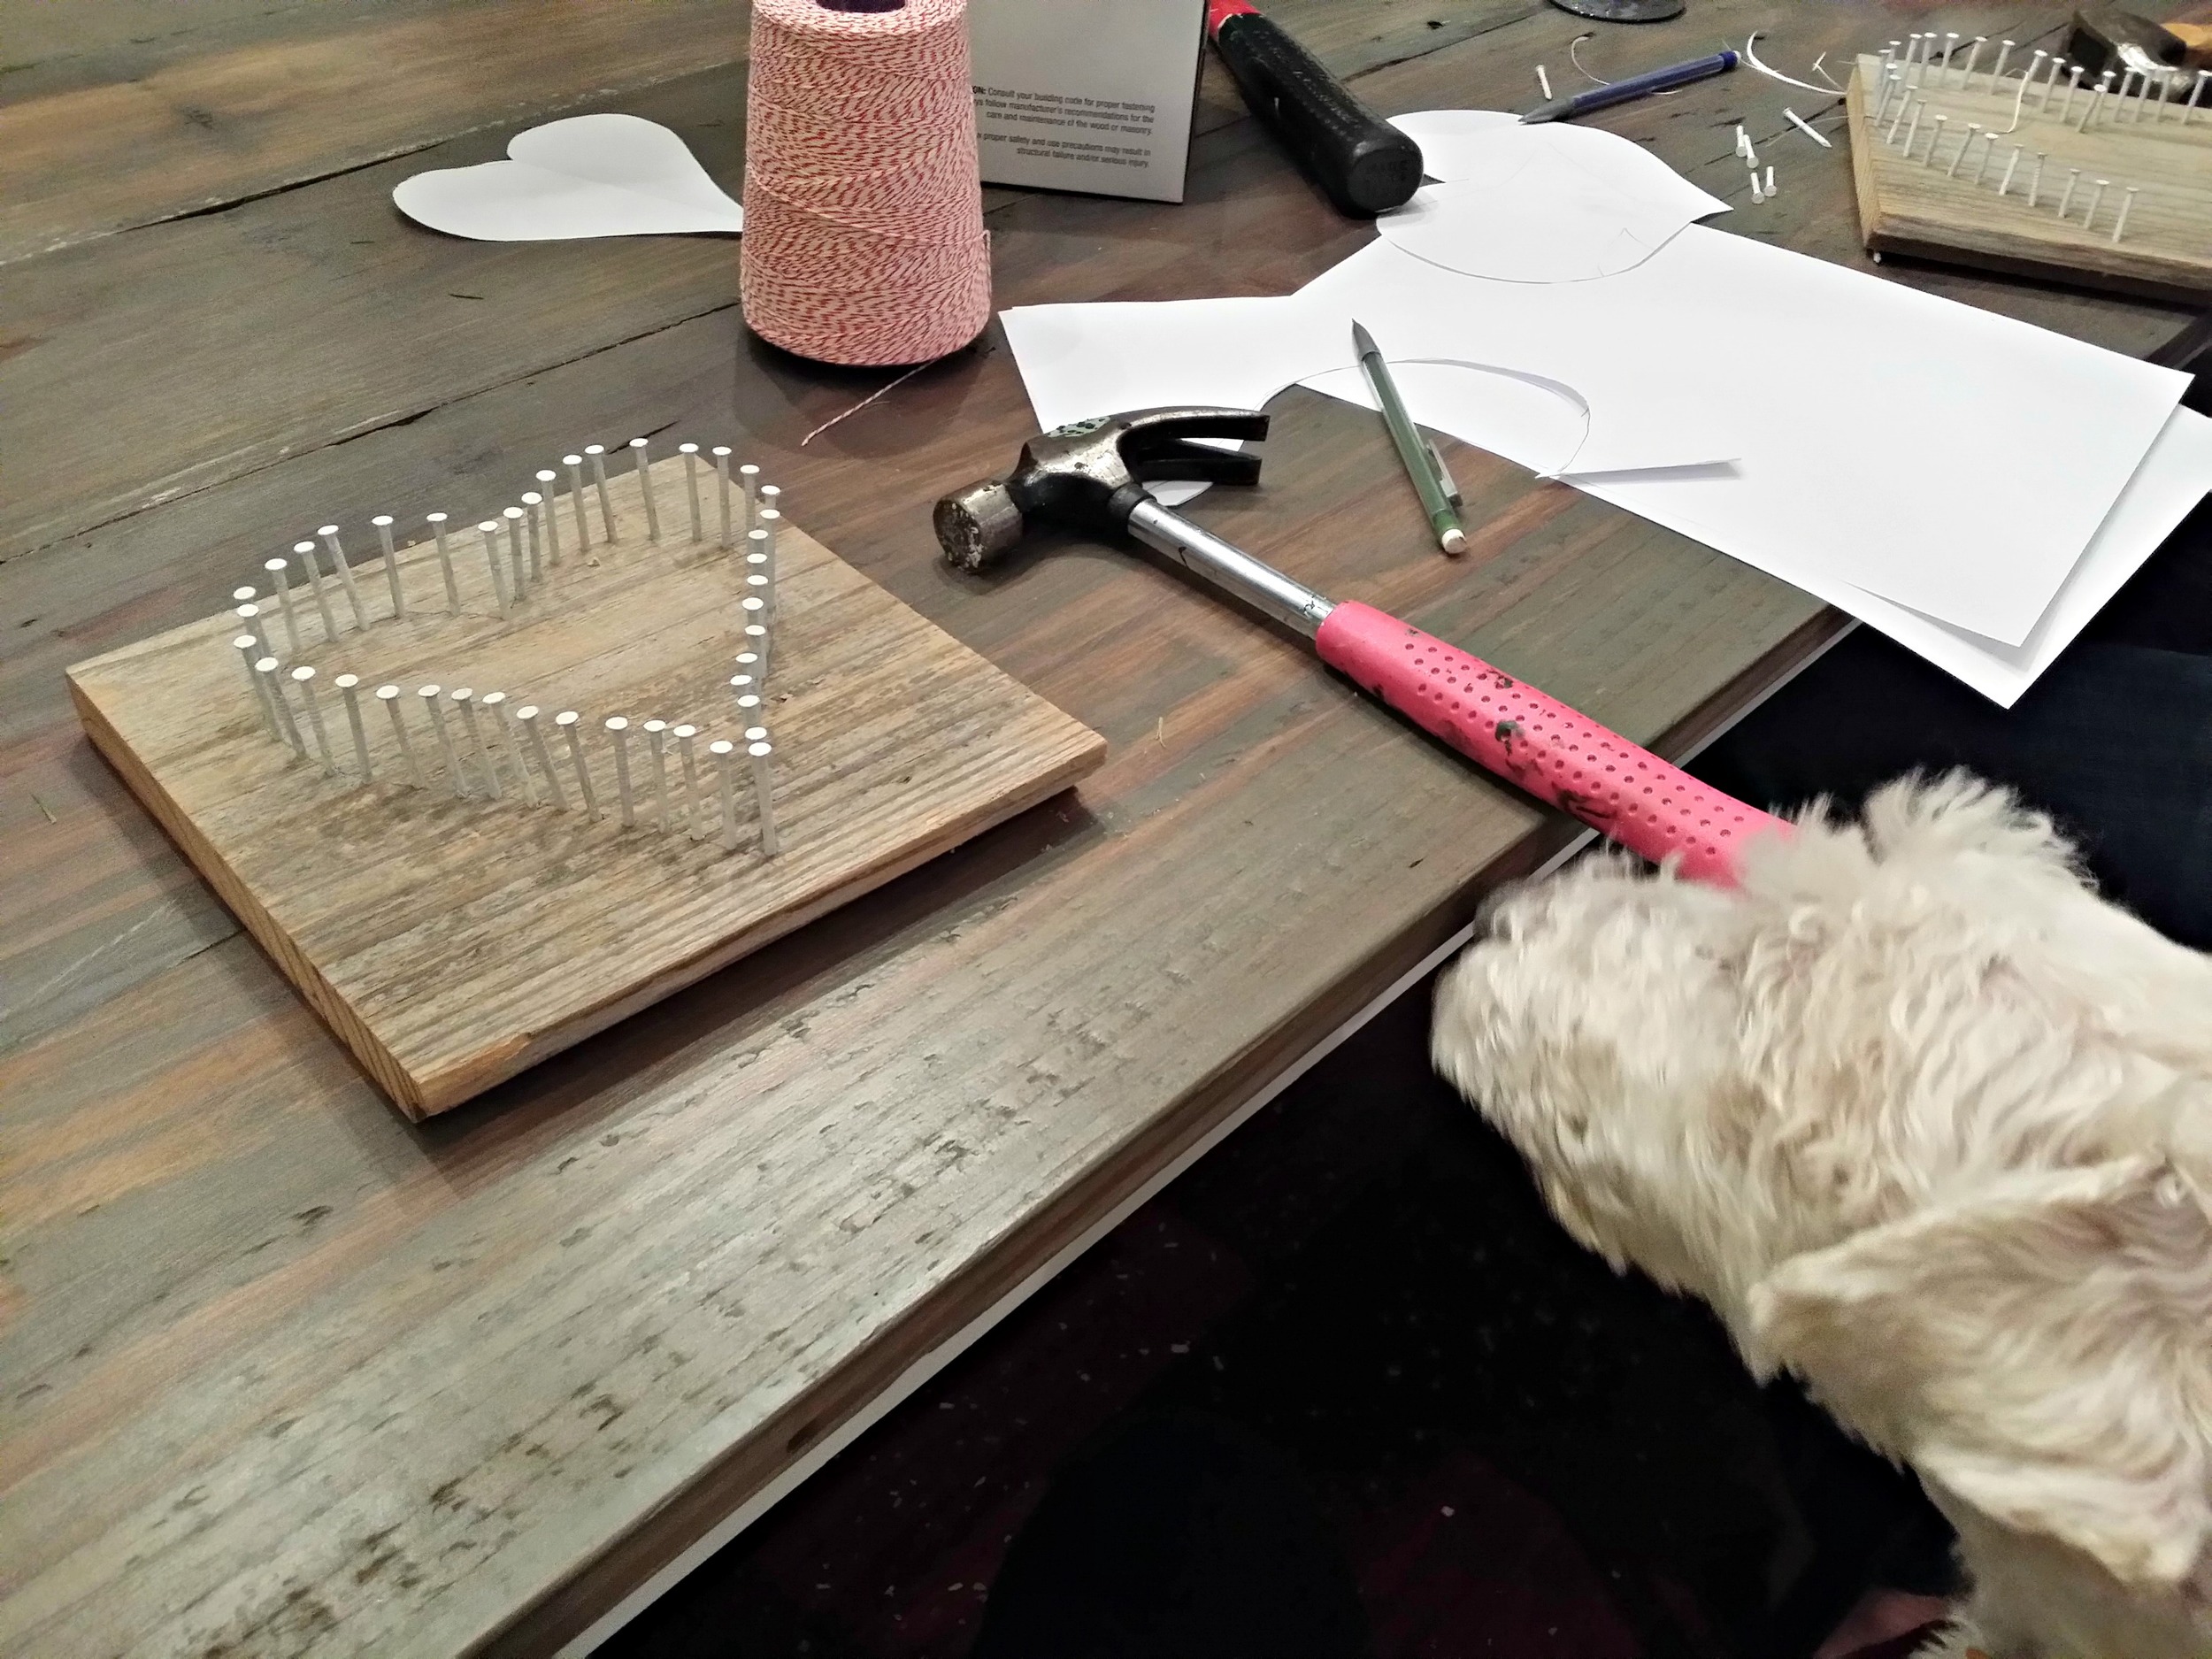
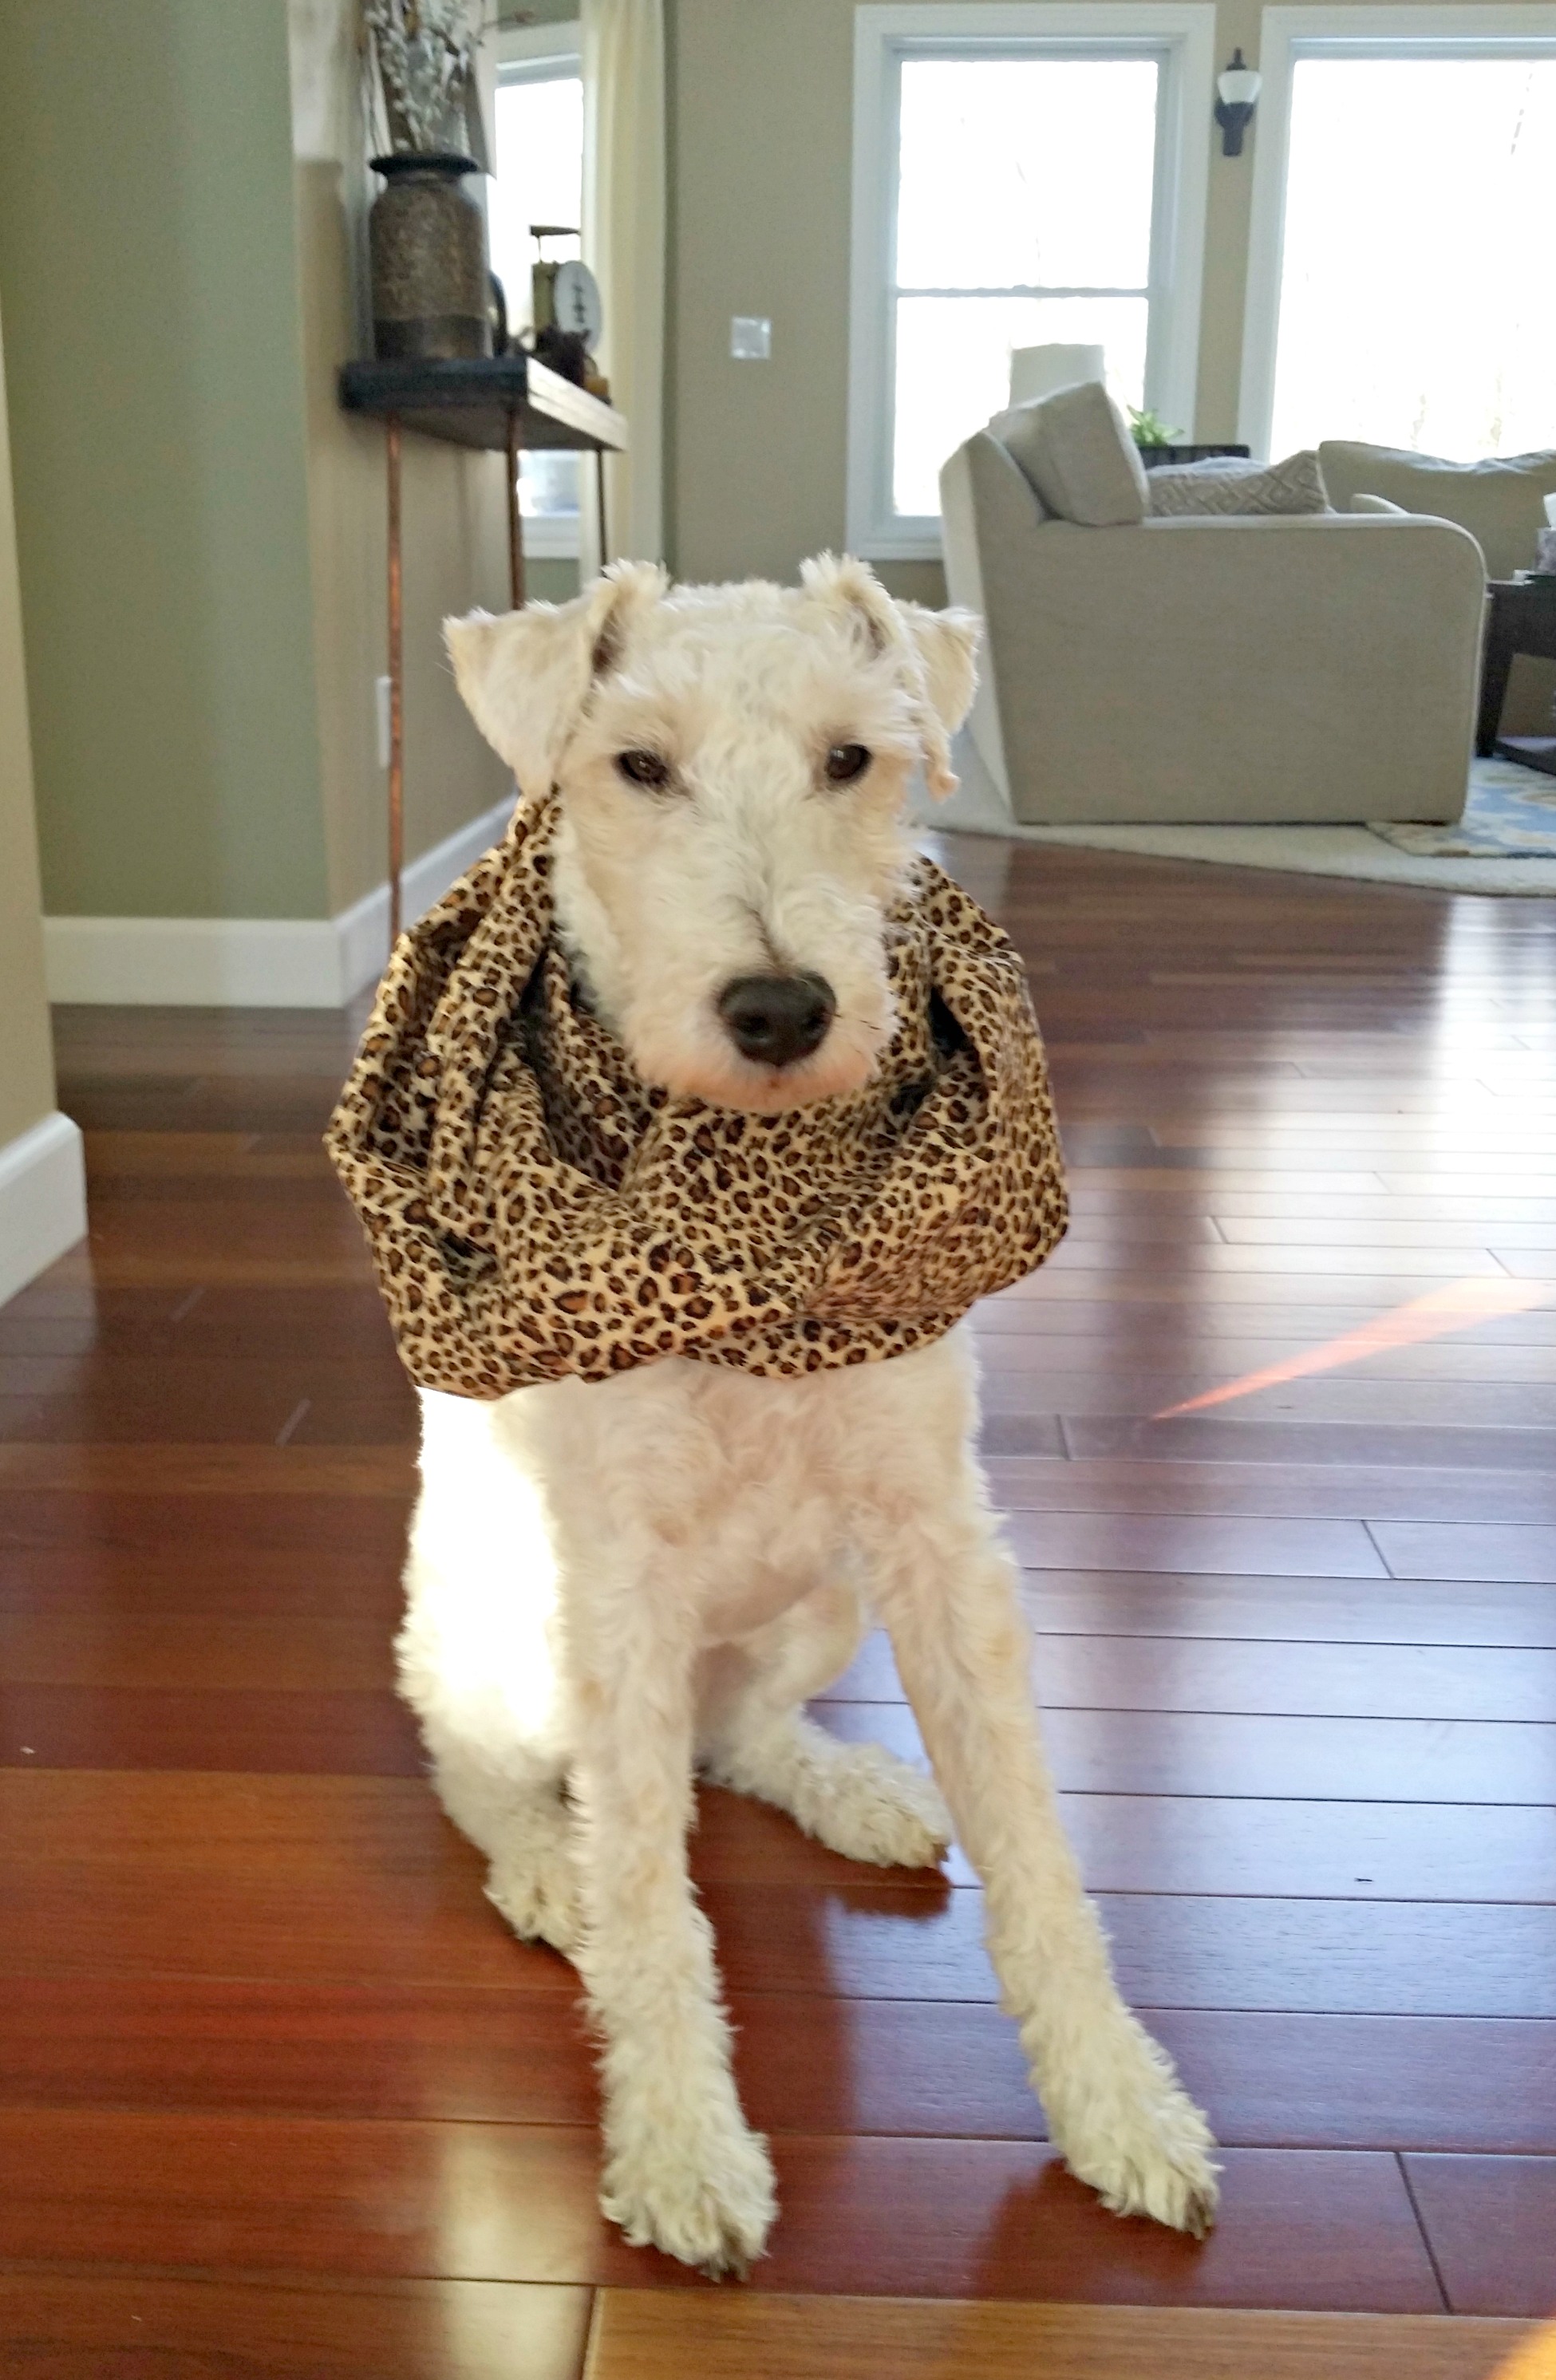
Ike felt just as strongly about the situation.

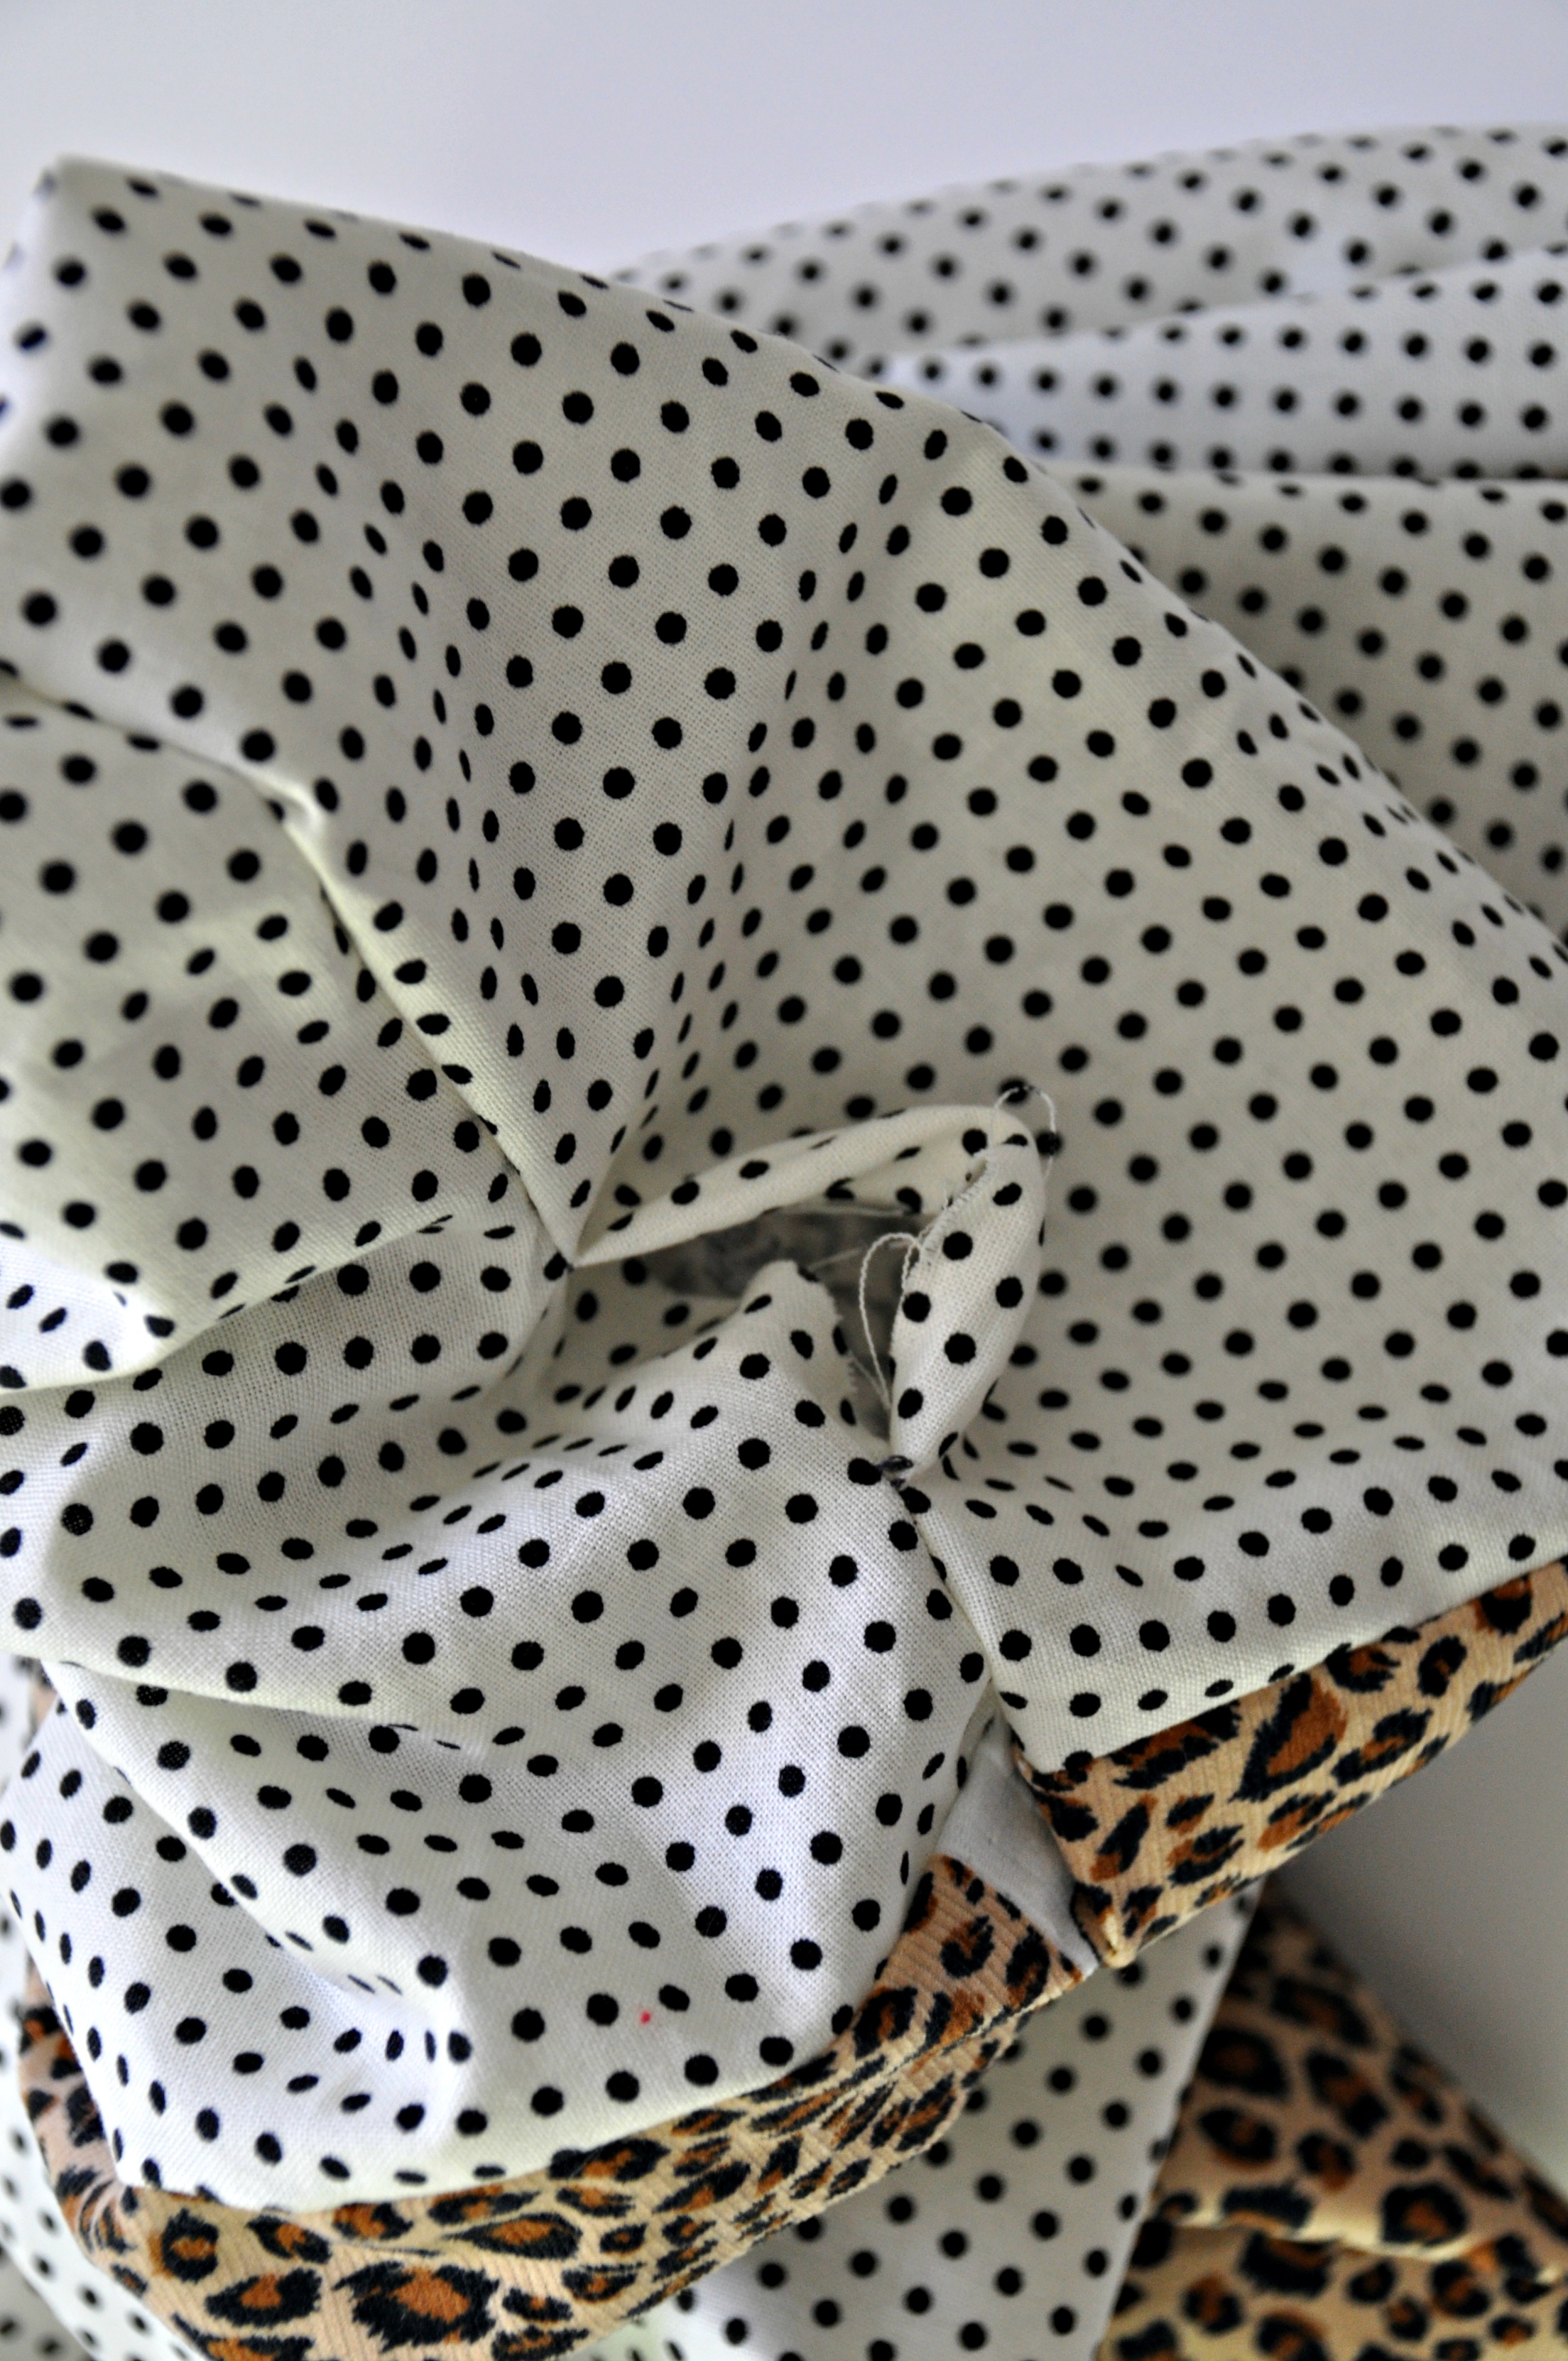
Non-cheesy animal print scarves are hard to come by.  The ones I did find were like $30.  Yep.  Not gonna happen.  I picked up some ol' animal print fabric at Joann's and whipped me up two beauties.  One is solid animal print.  The other is a two sided infinity scarf with some dots mixed in.  I like that the two side one can show more dot or more leopard depending on my ever changing mood.

Here's how to make your own infinity scarf!

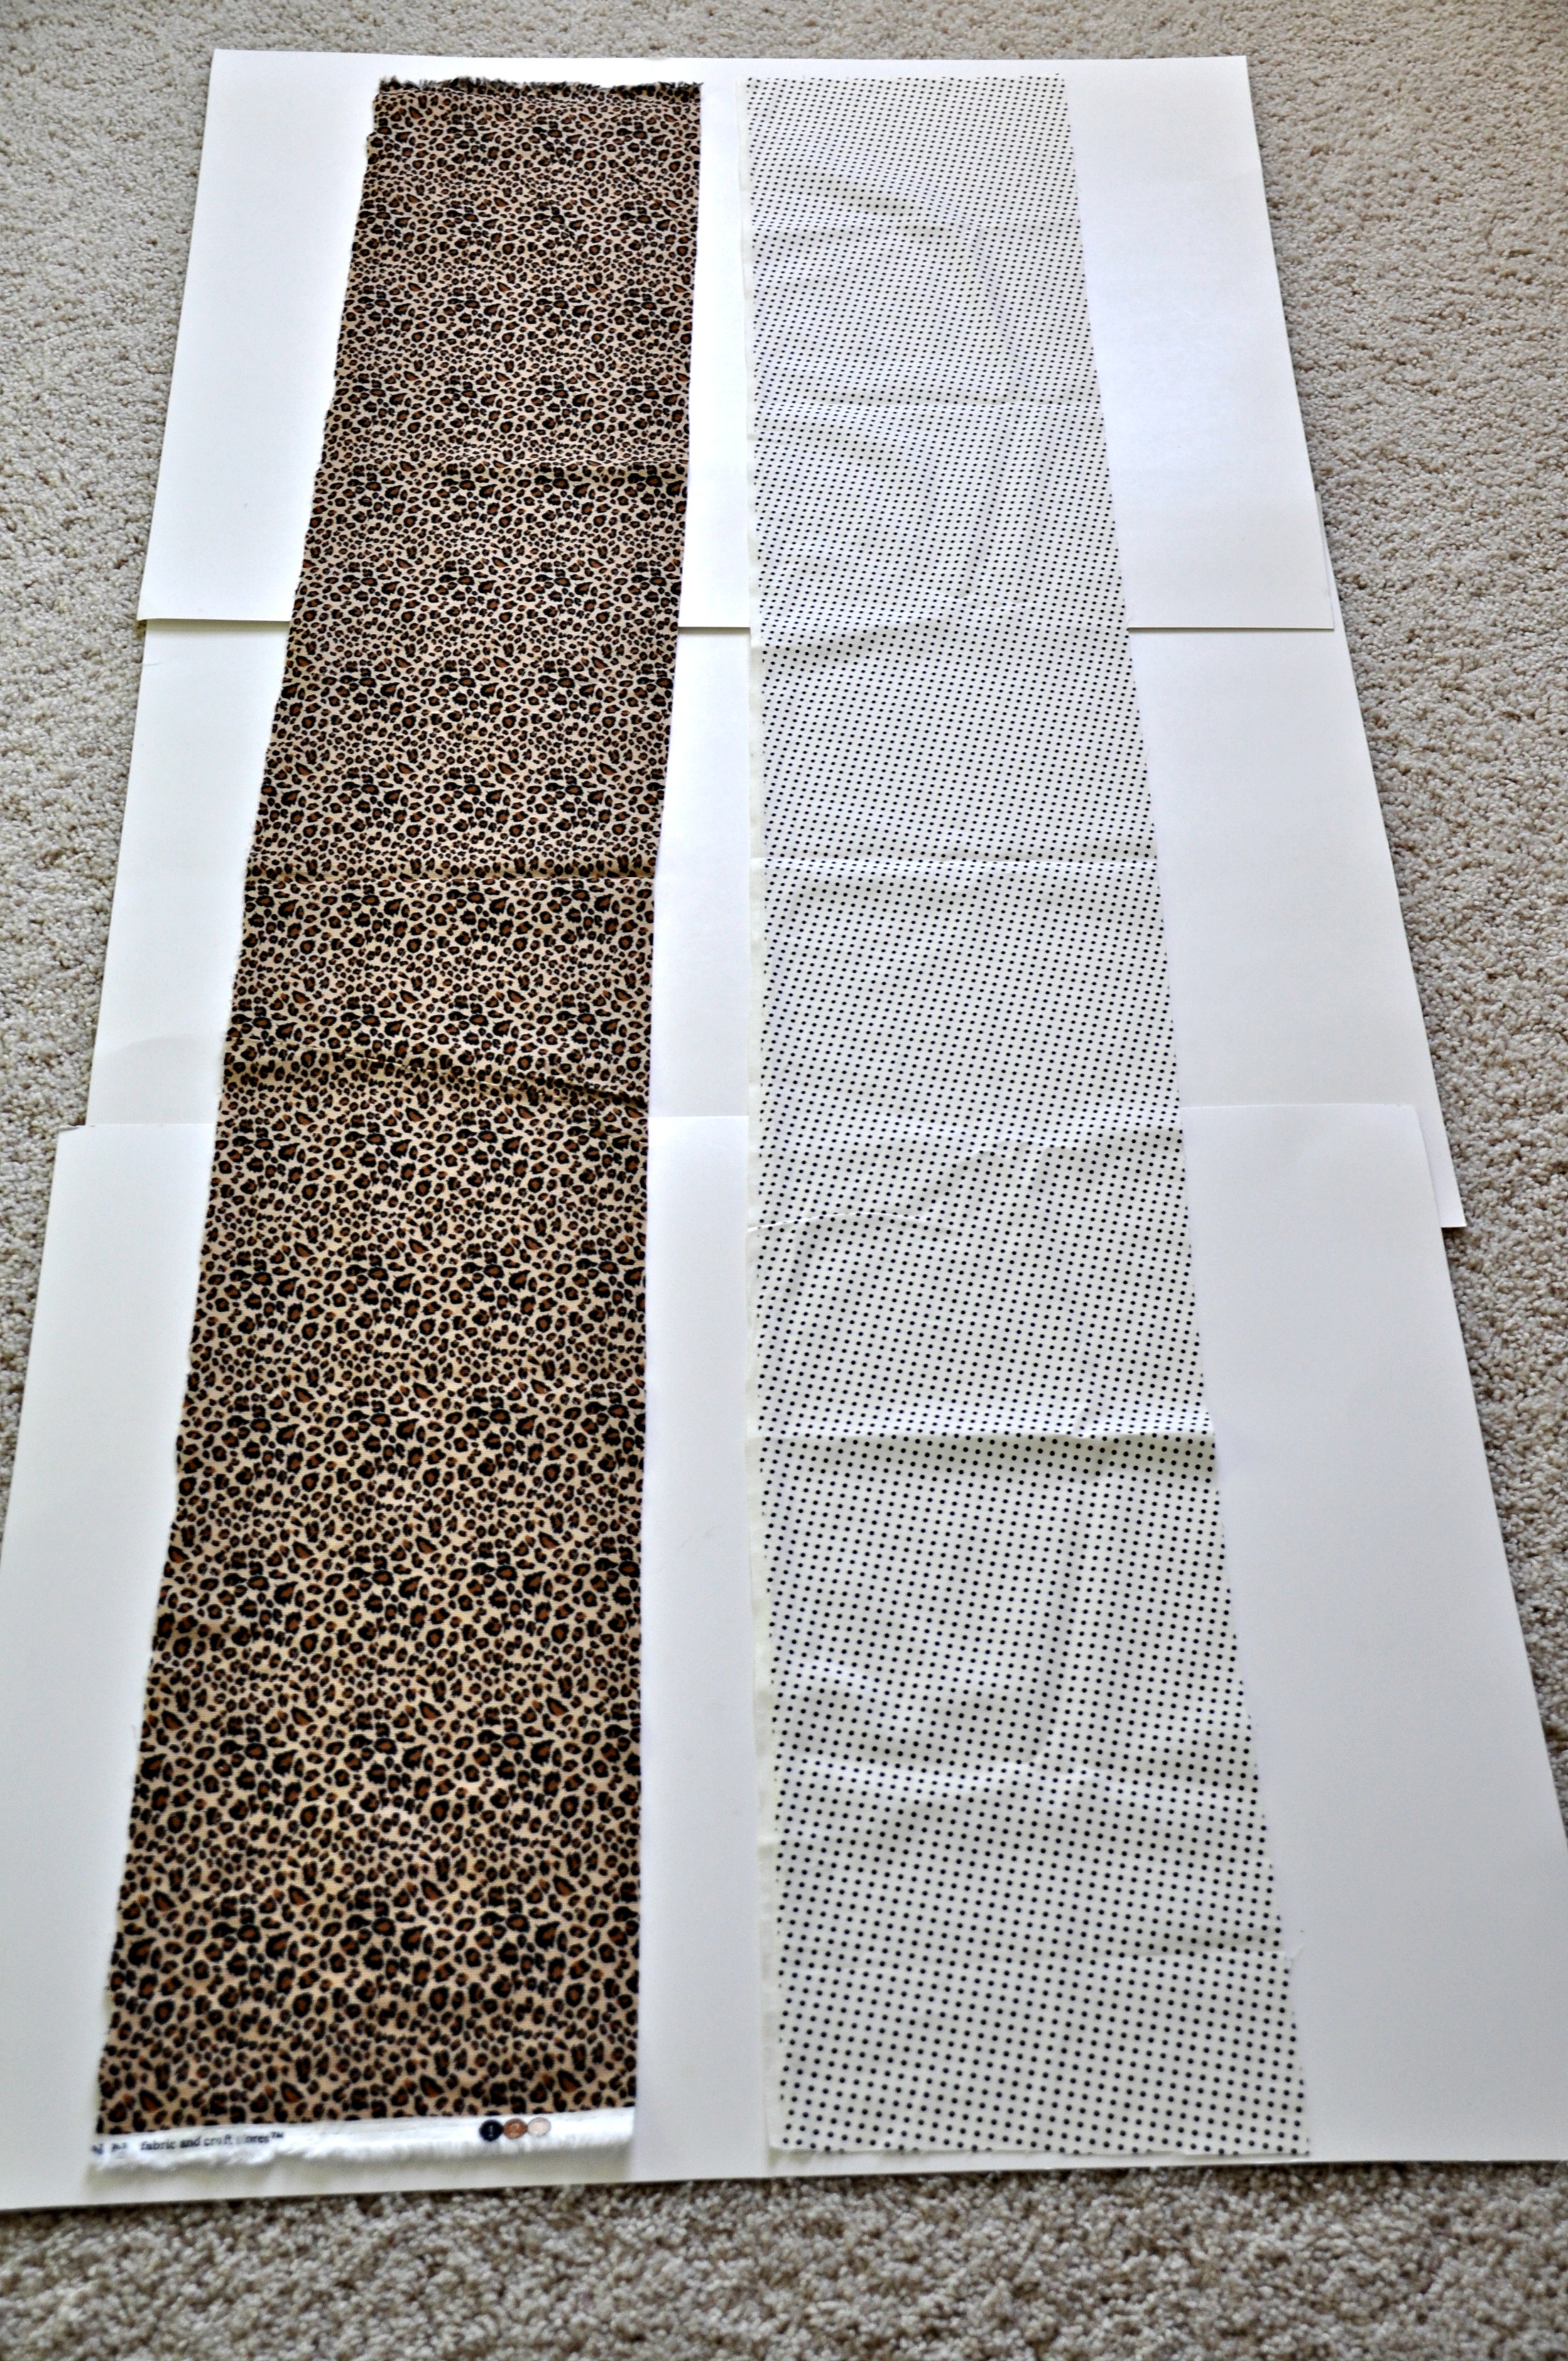
Start by cutting two 9" x 54-58" rectangles.  I used 58" on the animal print only scarf.  I used 54" on the dot/animal print combo. I personally like the 54" but it is a tighter fit.

Infinity Scarf Tutorial | Decor and the Dog

Pin the right sides together and sew along the long edges.  You'll be left with a long tube.

Infinity Scarf Tutorial | Decor and the Dog

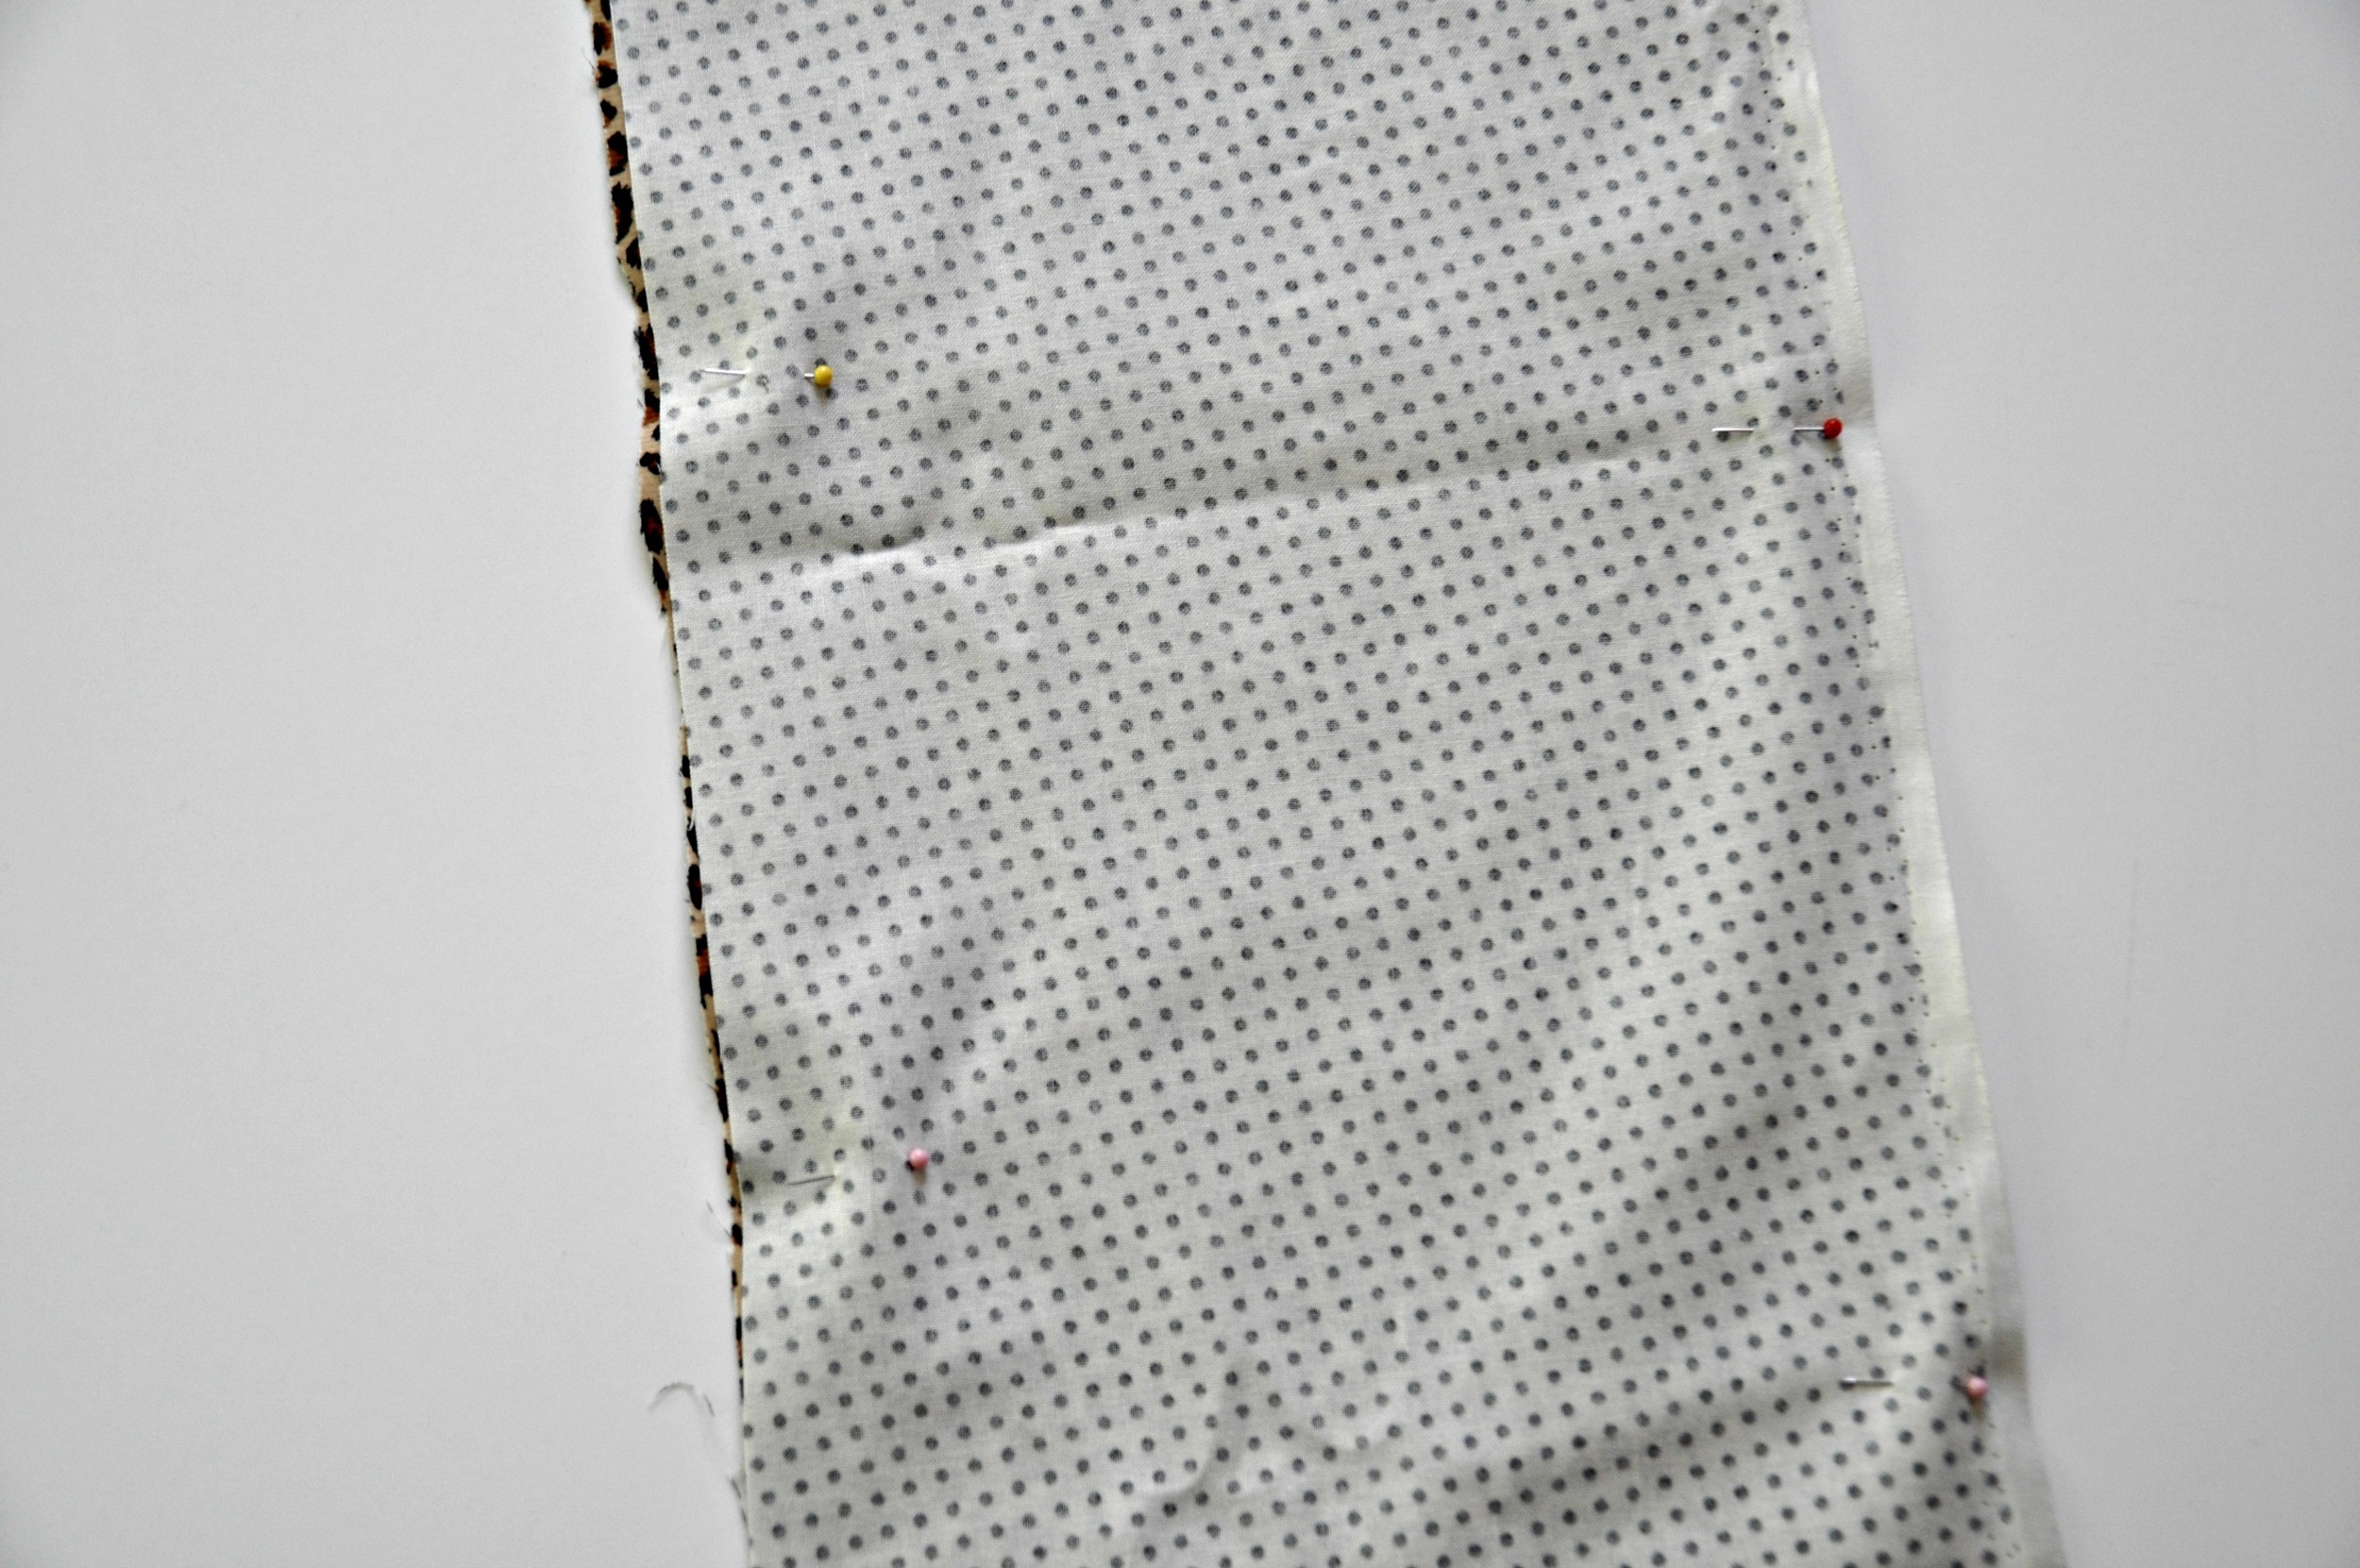
Turn inside out.  Pin the two inner layers right sides together.

Infinity Scarf Tutorial | Decor and the Dog

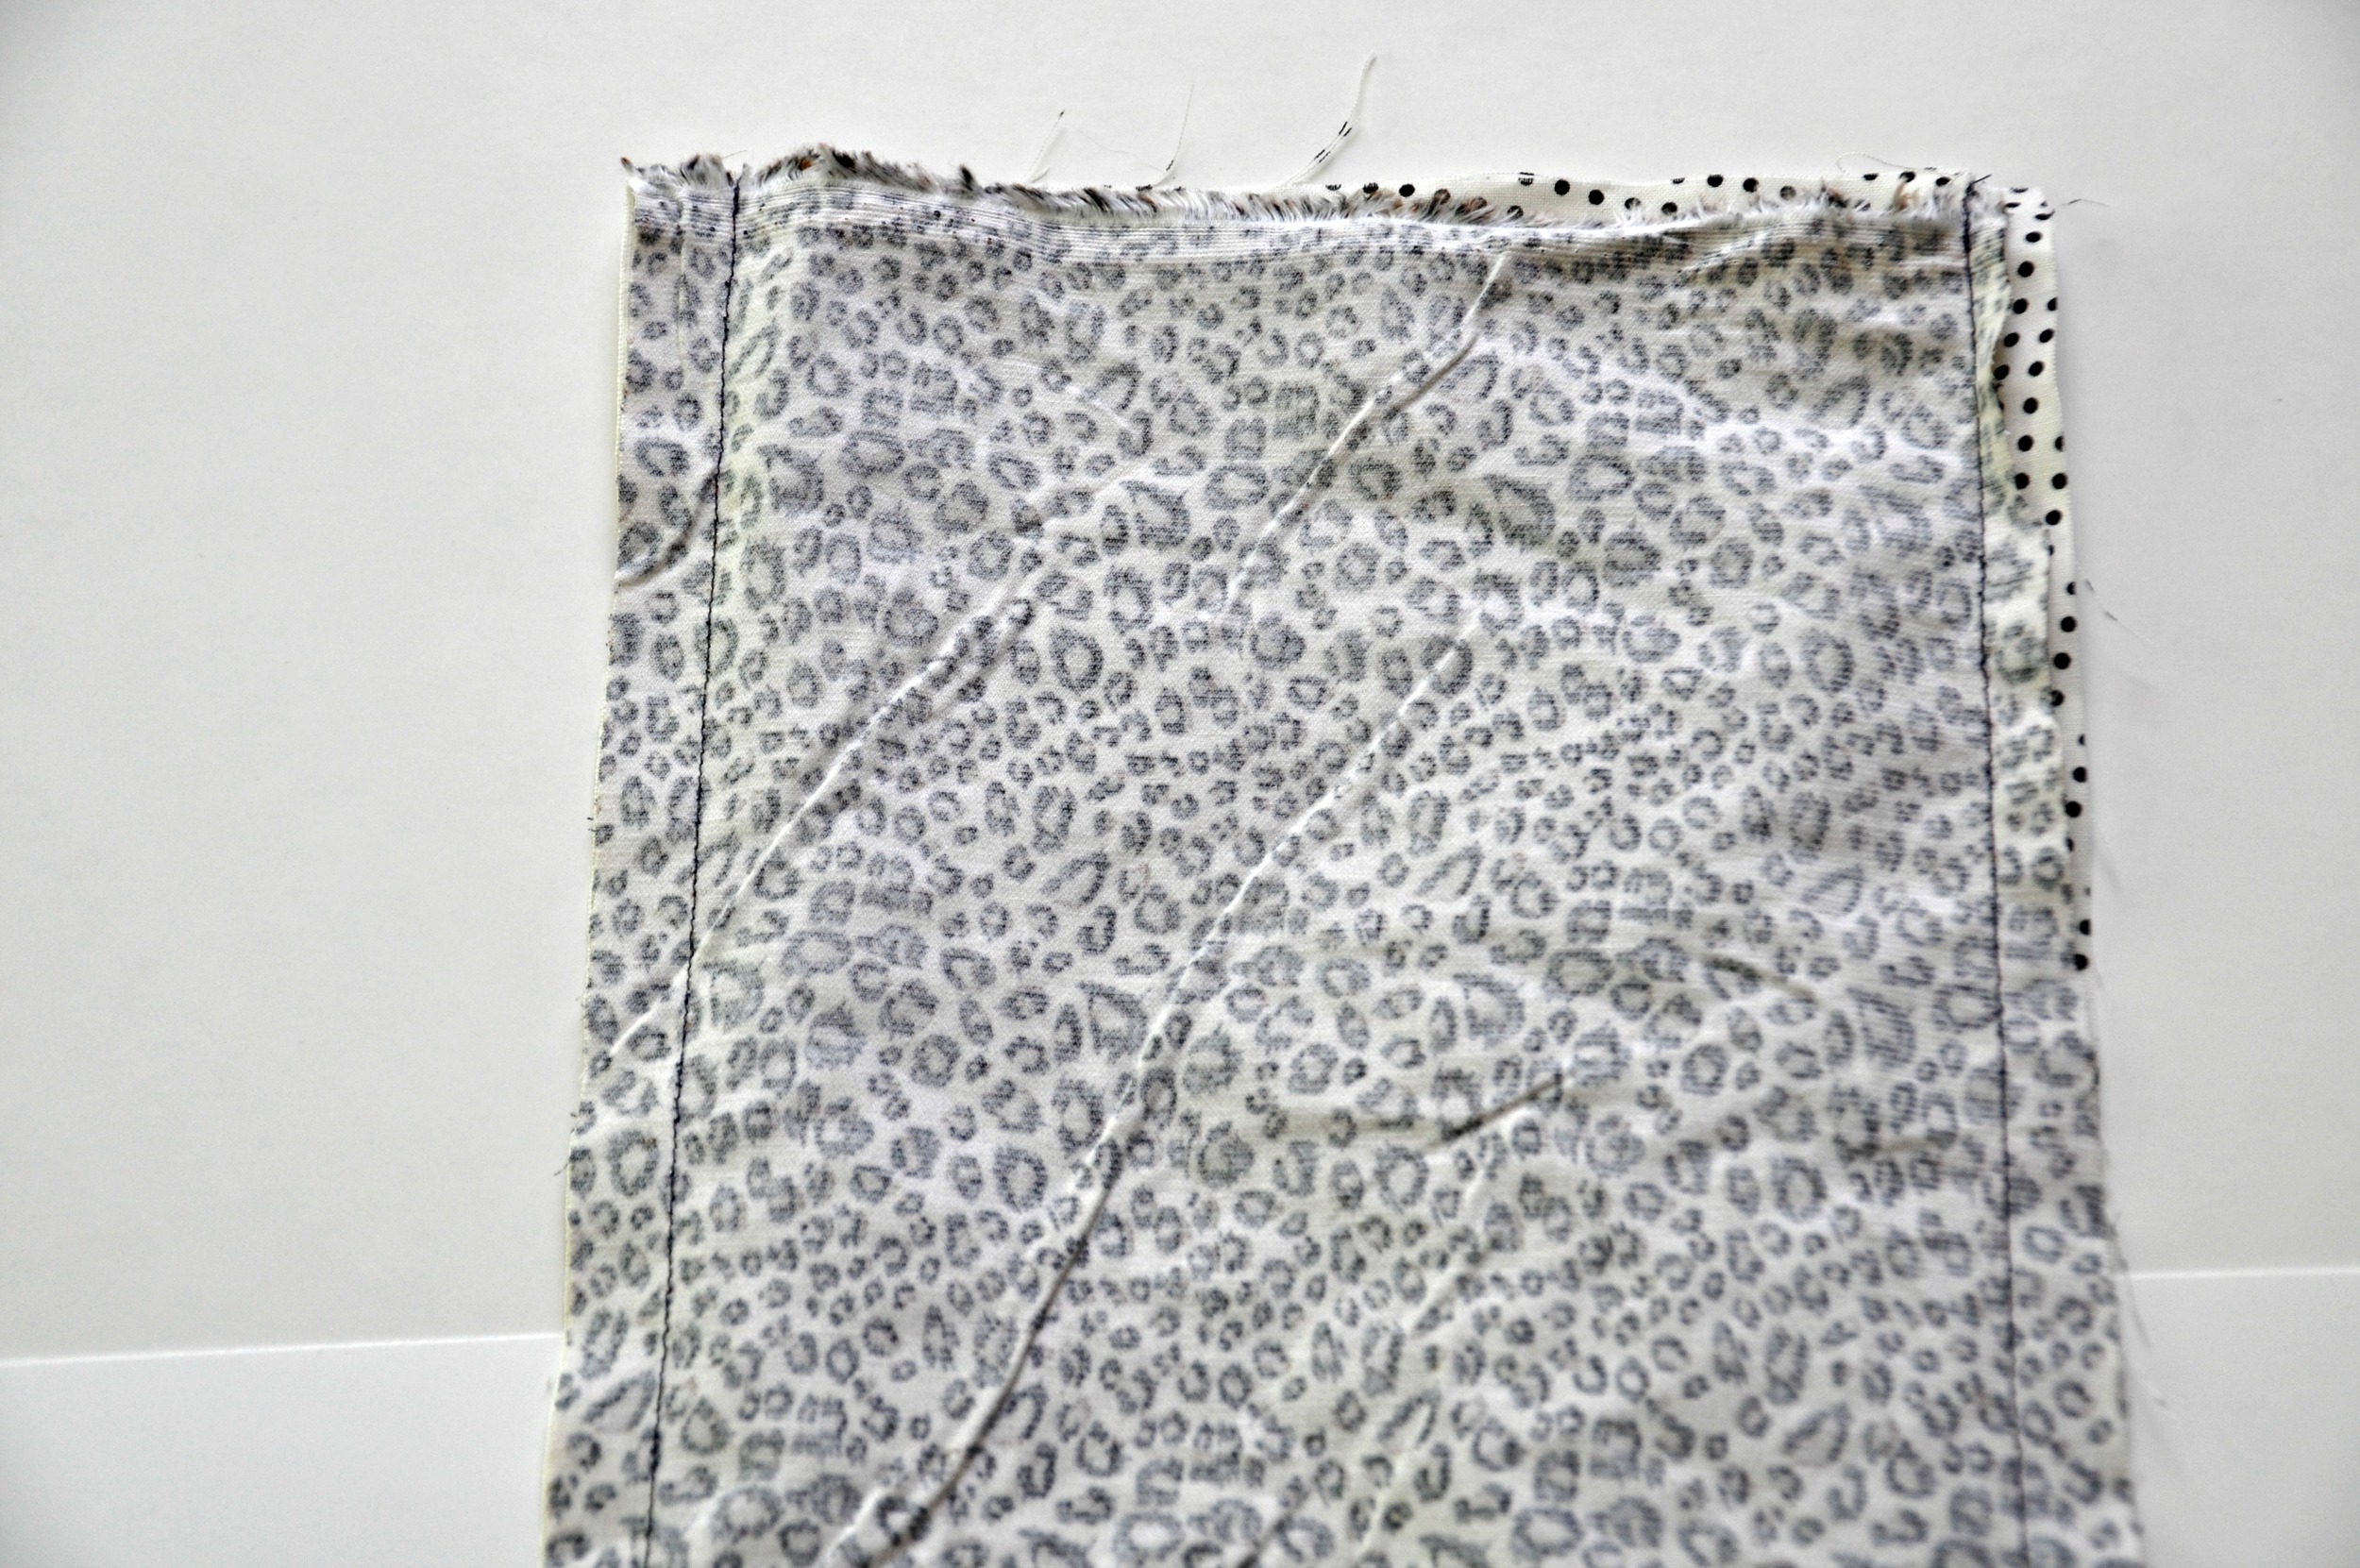
This part is a little hard to explain but it's easier than my old way.  Start sewing around in a circle.  Keep pulling the fabric and sew until you are left with about a 2 inch hole.  (For alternate directions that might be easier to understand, read my flannel infinity scarf tutorial!)

Infinity Scarf Tutorial | Decor and the Dog

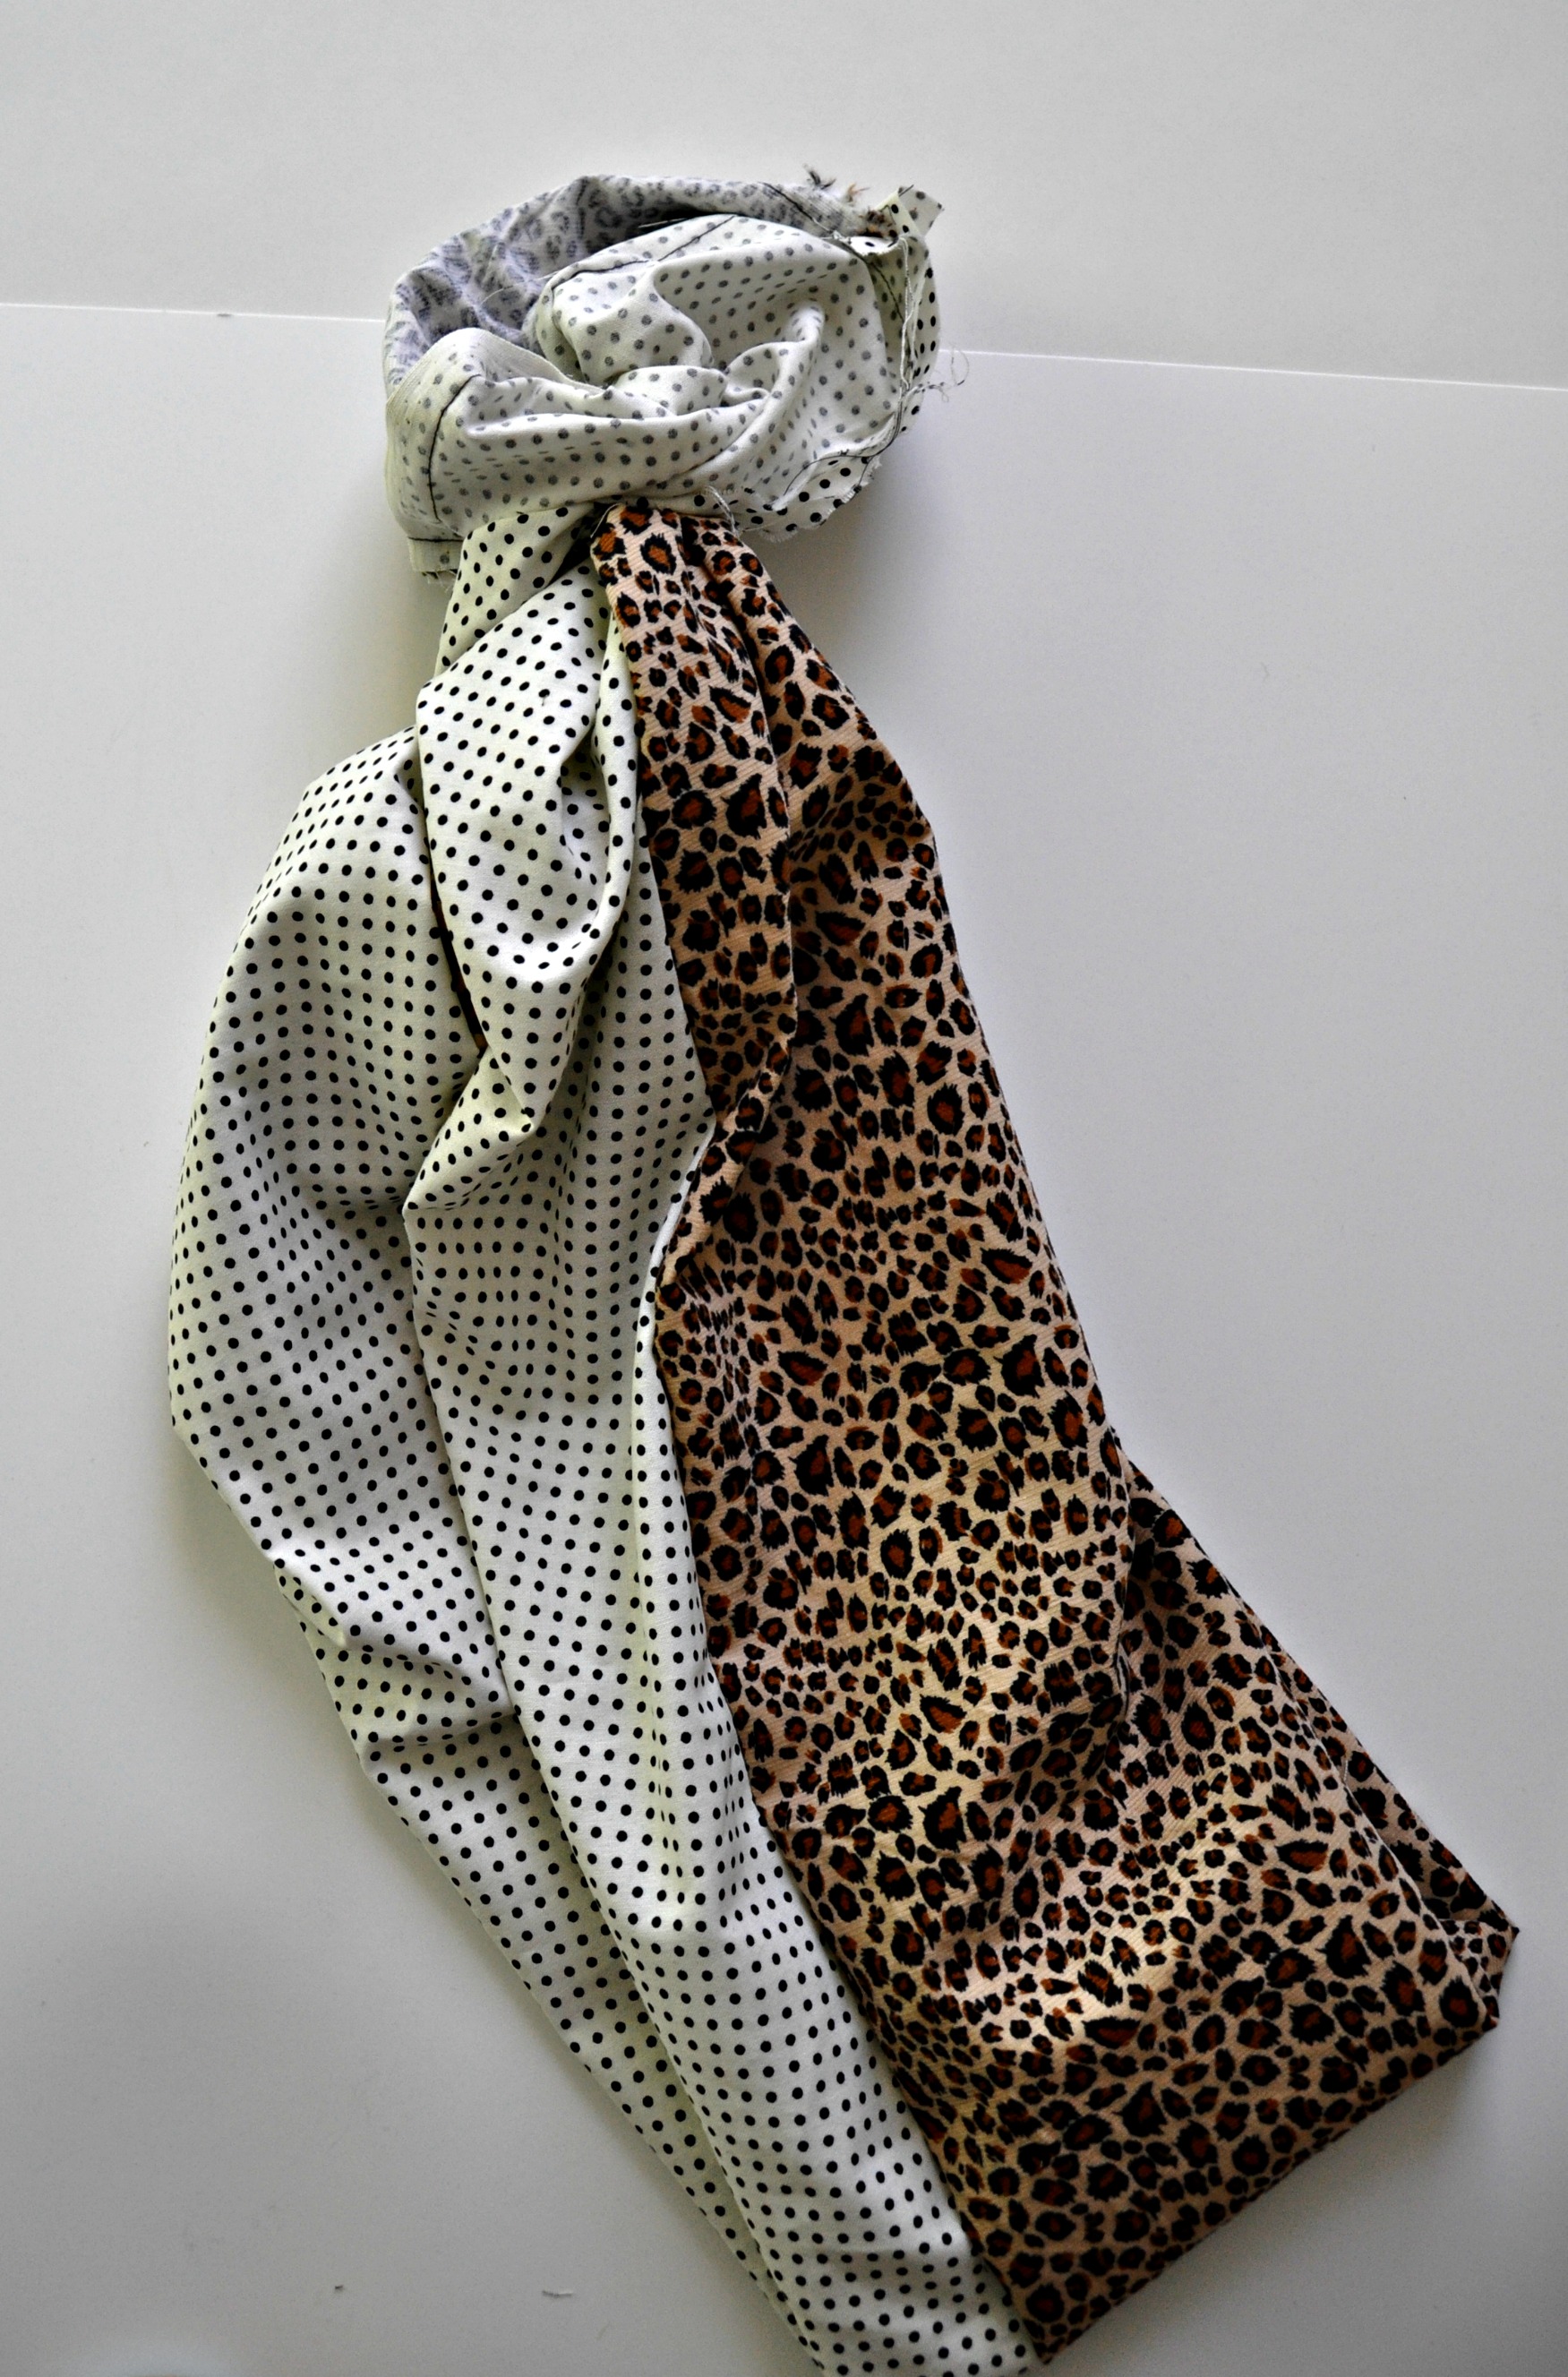
Hand stitch that opening shut and your scarf is complete.  $4-5 and about 15 minutes.  Not too shabby!

I'd take a poll of who modeled the scarves best.  But I hate losing.

Infinity Scarf Tutorial | Decor and the Dog
Easy Sew Double Sided Infinity Scarf

What's your latest addiction?

DIY String Art + Craft Night

Oh, craft night.  One of my favorite nights each month.  Our craft night group marked our one year anniversary this month.  We celebrated with delicious food, wine and crafts.  Wait, we do that every month.

DIY String Art + Craft Night | Decor and the Dog

Each month, one person hosts.  We all bring an appetizer or dessert to share.  Each month we try a different craft.  We've made yarn wreaths, embroidered tea towels, boxwood wreaths, pottery,  rubber stamps, etc.  Craft night is great for tackling crafts that have been on our lists but we just haven't gotten around to trying.  Craft night also allows us to try crafts that we never would have otherwise.  And my craft night group is made of some of my favorite people in the area.  Aww, mushy.

I hosted this month.  Our craft was string art. 

Ike was super helpful.  Here he is supervising my nailing.  This was in between stealing food and a baby's blanket.  He's a good host.

DIY String Art + Craft Night | Decor and the Dog

I have so many favorites about craft night but one of them is that we each take our spin on the project.  So even though we all did hearts, they all look a bit different.  (Well, except for Kim.  I think she was in my garage beating her board to smithereens during this photo.  We don't all win every month at craft night.)

DIY String Art + Craft Night | Decor and the Dog

Here's how mine turned out.  I think it's quite charming.

DIY String Art + Craft Night | Decor and the Dog

A few people commented on Instagram that they wanted a tutorial.  There are probably 100 better tutorials out there but this is how we did ours.  None of us researched it.  We just assumed nail, wrap string, done.  And that was pretty much right.

Here are the supplies we used for our string art:  nails (small is better), string, wood, hammer.

DIY String Art + Craft Night | Decor and the Dog

I started another one (that I need to finish).  We traced our design onto the wood and then went to town nailing.  It's probably best to space them evenly.  I tried to do about a fingers width in between but it didn't always work out that way.  Some of my nails are crooked.  I call it rustic.

DIY String Art + Craft Night | Decor and the Dog

Once all of the nails were in, we wrapped the string.  There was no rhyme or reason to this.  I wrapped until it looked pretty.  How's that for scientific?

DIY String Art + Craft Night | Decor and the Dog

I then stuck it on my half decorated book shelves in the living room.  Hey, at least my Christmas decorations are finally down.

DIY String Art + Craft Night | Decor and the Dog

It's currently living next to baby Nate and Michelle on their wedding day.  Awwww.  Love.

DIY String Art + Craft Night | Decor and the Dog

Craft night success.

Do you have a craft night group?  Any great ideas for our upcoming craft nights?

DIY Nursery Mobile | Tutorial

People that follow me on Pinterest were all like "MICHELLE'S HAVING  A BABY!!!" because I was pinning nursery stuff.  I was pinning them onto a board titled "Meg's Nursery".  Meg isn't my alter ego.  She's a college buddy.  Don't you worry.   I'd totally have a secret board for my own nursery business.

I mentioned last week that I did a couple of quick projects to help Meg with her nursery decor. (See the growth chart here!)

One project was a nursery mobile.  Or three.  Triplets.  Wow.

mobile 3.jpg

Meg had pinned some ideas of mobiles she liked.  They all involved threading the paper. That seemed difficult. I thought I remembered seeing a mobile similar to the ones Meg liked made by my buddy, Gretchen {Boxy Colonial}.   Gretchen is super smart and used double stick tape to keep the circles together.  I love blog friends.  

Here's how I made my mobile.  I'd say it took around 30 minutes to make one mobile.

Supplies:

1" circle hole punch

2" circle hole punch

clear jewelry thread

cardstock  (I used 4 colors)

embroidery hoop

glue gun

mobile 5.jpg

Cut out 1 million circles.  Or if you are making one mobile like mine you will need ten 2" circles of three colors and 1" circles of four colors.

Grab an end of your clear thread.  Start with your bottom color (yellow for me).  Place a piece of double sided tape on one of the circles.  Place the thread on top of the tape.  Seal with a second circle.  Repeat for each dangly piece.  I just eye balled the spacing.  I think they look best with small gap between circles.  Leave a couple of inches of clear thread at the top to attach to the embroidery hoop.

mobile 6.jpg

Grab your hoop.  Apply a small dab of hot glue to the embroidery hoop.  Attach the clear clear to hot glue.  Allow to cool.  Move onto next strand spacing evenly apart.

mobile 7.jpg

Apply string to hang from the ceiling using a hook.

Mobile.jpg

These nursery mobiles were a lot easier to make than I expected.  Always a pleasant surprise.

nursery mobile.jpg

Hiding anything good on your Pinterest boards?  Do tell.