Dare to Deck the Halls- Burlap Stocking Tutorial

Can you believe that Monday is the last link party for the Dare to DIY?  Where does time go?

Monday’s theme is “Dare to Deck the Halls.”  I’m sure you have been wanting to make something for your home for the holidays.  Hopefully the Dare to DIY is that extra little push that you’ve been needing!

On Tuesday I shared with you our holiday mantel. One of the finishes touches on the mantel was the addition of burlap stockings.
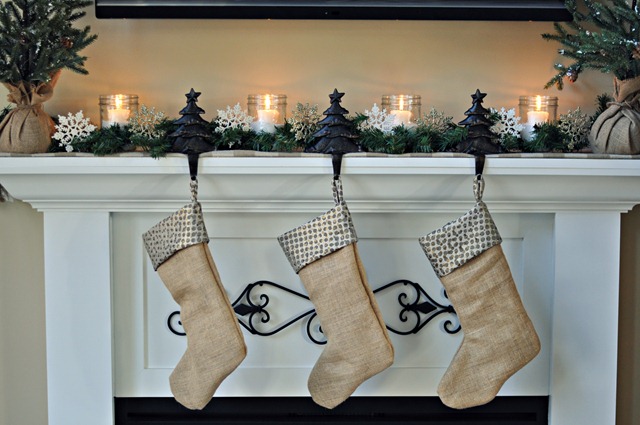
Decor and the Dog Holiday Mantel 3

I’ve had my eye on burlap stockings for awhile.  When I found some gold polka dot fabric and burlap with gold flecks in at Joann’s, I knew it was a sign that these stockings were to made in 2012.  Unfortunately I learned that burlap and I don’t get along (major congestions/headache/think I might die/seriously) but I suffered through for these beauties.

Stockings are like the throw pillows of holiday decorating.  There are seriously easy to make.  I will show you how.

You will need:

  • 1/2 yard exterior fabric (I used the gold flecked burlap.)
  • 3/4 yard interior/cuff fabric (I used the gold polka dot fabric.)
  • 6” ribbon or fabric remnant for hanging loop (I used a strip of fabric.)
  • Coordinating thread
  • Stocking template (I’m not smart enough to do this as 1 download so you will need all 3 pages. Page 1, Page 2, and Page 3.)
Burlap Stocking Supplies

Print out the stocking pattern (links above).  Cut out the pattern with a rotary cutter or trace and cut out with scissors. Repeat for the lining.  (You will need 2 exterior pieces and 2 lining pieces.)

Burlap Stockings Step 1

To assemble the body of the stocking, put the two exterior body pieces right sides together. Pin in place. Sew the two layers together with a 1/4-1/2"-ish seam allowance.  I’m super precise when I sew.  I’m having trouble coming up for the right words for this but it’s important to sew as along the circular edges as smoothly as possible.  If you sew them too square or at a point, your stocking will look funny when you turn it right side out.

Burlap Stocking Step 2

Trim the fabric along the edge of toe and ankle to help make the stocking less bulky when you turn it right side out. Turn right side out.

Do the same with your lining pieces except you will not turn the lining pieces right side out.  (My lining fabric was hard to determine which side is right side so don’t let the photos fool you.)

Burlap Stockings Step 4

Place the lining inside the body of the stocking.

Burlap Stockings Step 5

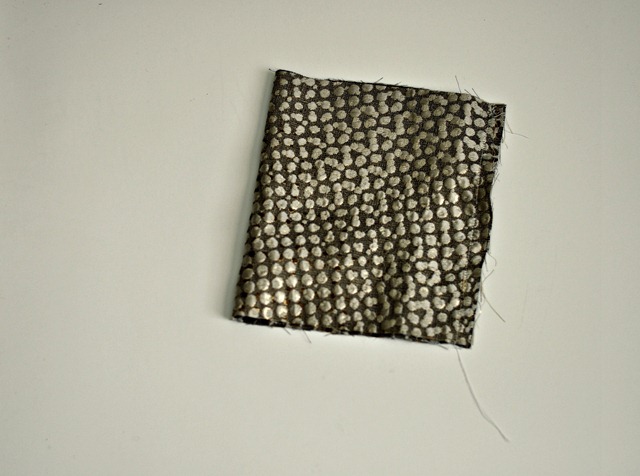
Next you will need to make the cuff.  Cut out a 16" x 9" rectangle.  Fold the fabric in half (right sides together) and sew up the short side.
Burlap Stockings Step 6

Fold this in half so right sides are showing. 

Burlap Stockings Step 7

Place the cuff inside the body of the stocking.  You want the finished/folded edge to go in first.  The raw edges of the cuff should match up with the raw edges of the body.  You also want the seam of the cuff to match up with the back body seam. 

Burlap Stockings Step 8

Cut a 6" piece of ribbon (or use a fabric scrap like I did) and fold in half. Place the ribbon between the lining and the cuff along the back body seam of the stocking. The loop of the ribbon should be facing into the body of the stocking.  Align the raw edges of the ribbon and the body of the stocking.

Burlap Stockings Step 9

Pin body of stocking, cuff, and ribbon.  Sew cuff onto body of stocking.  Fold the cuff over and enjoy your handmade lined stocking!

031
Burlap Stocking Tutorial from Decor and the Dog

Hang by the mantel with care!

Burlap and Gold Stockings from Decor and the Dog
Decor and the Dog Burlap Stocking Tutorial
Decor and the Dog Holiday Mantel 2012

In case you missed them, I also whipped up a Glittery Gold Whispy Ornament Wreath.

Glittery Gold Whispy Wreath

And some reindeer prints.

Decor and the Dog Vignette 2

Are you ready for Monday’s link up?  We double dog dare you on this last challenge! Seriously.  What are you waiting for? Go forth and craft!

Burlap Stocking Tutorial.  Custom stockings are easy to make!
Photobucket Photobucket Photobucket PhotobucketPhotobucketPhotobucketfollow us in feedly

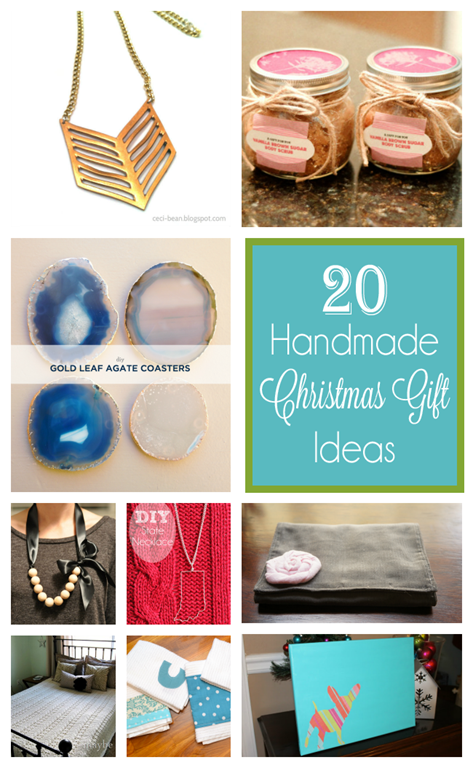
20 Handmade Christmas Gift Ideas (Dare to DIY)

Thank you all for linking up to the Dare to DIY Give Handmade link up!  There were so many great projects that we decided to compile our favorites into one handy post.  Hopefully you can use this compilation to help you out with those last minute handmade gifts.

20 Handmade Christmas Gift Ideas

Click the images or the links below to check out these fantastically awesome gift ideas!

 House Drawing by Planting Sequoias * Card Table Playhouse by Anything Pretty

Dog Silhouette by A Peachtree City Life * Wine Gift Bags by Bowl of Cherrys

Wine Cork Trivet by B&B Build a Life * Christmas Joy Felt Pillow by Our Next Great Adventure

Owl Coasters by Boxy Colonial  * Vanilla Brown Sugar Body Scrub by Wills Casa

Sharpie Mugs by Shannaigans * Travel Jewelry Holder by Naptime DIY

Gold Leaf Agate Coasters by Desert Domicile * Lilly Doll by Home in the Country

Festively Red Spread by Little Rays of Sunshine * R2D2 Stocking by Creative Chaos Art

Geometric Necklace by Ceci Bean * Mason Jar Snow Globes by The Sweetest Digs

Woodbead Necklace by Decor and the Dog * Crochet Blanket by Maybe Matilda

Dish Towels by NewlyWoodwards * State Necklace by Two Twenty One

We will be pinning all of these handmade gifts to the Dare to DIY Projects board.  You can also find all of the co-hosts on Pinterest: Decor and the Dog, Maybe MatildaNewlyWoodwards, and Two Twenty One.

Are you ready for next week’s Dare to Deck the Halls Challenge?  What’s the most fantastically awesome handmade gift that you have received?

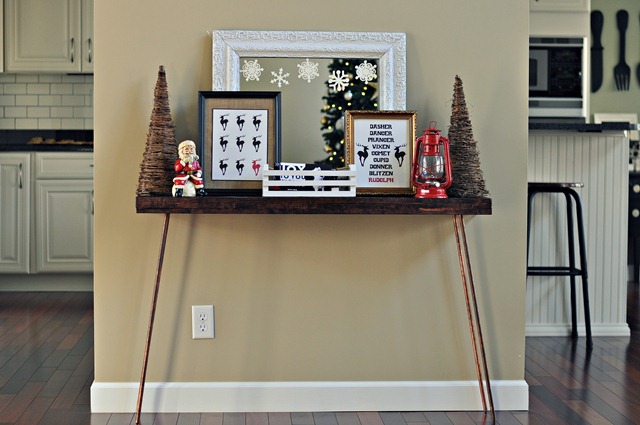
Holiday Console Table

The mantel was my first holiday decorating victim.  Our console table was next.

Decor and the Dog Holiday Vignette 1

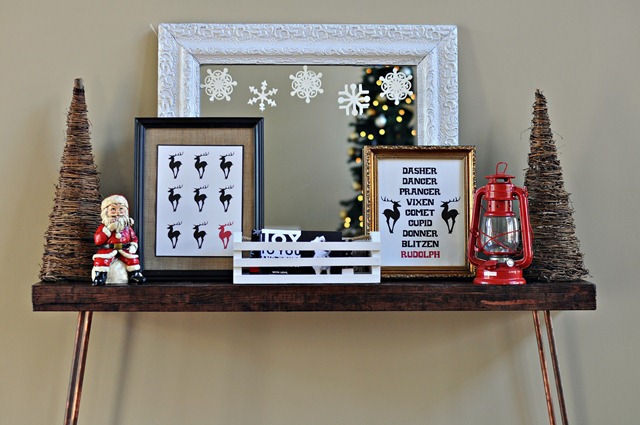
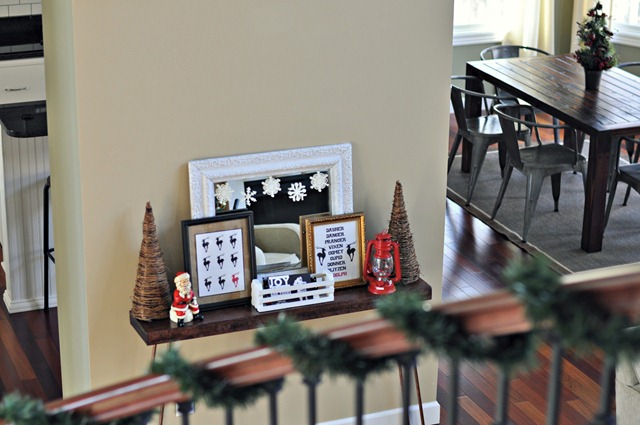
I went with a woodsy/red/black theme.  And snowflakes.  Snowflakes are like the winter version of owls for me.  Obsessed.  The crate in the center was a Salvation Army find and it will hold all of this year’s holiday cards.  I’m not big on holiday card displays.  I’d rather be able to flip through them.  And the crate is tidy.  I like tidy.

Decor and the Dog Vignette 2

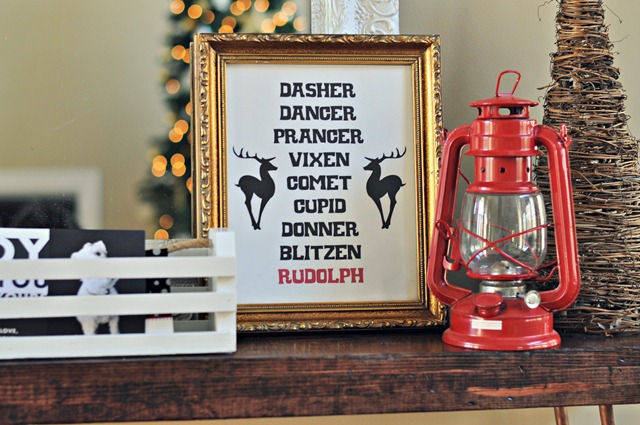
I made the prints. I’m teaching myself to use Photoshop Elements. (I also am teaching myself how to use our DSLR. I took all of these photos with Nate’s 50mm and none of them are blurry. I seriously think the Mayans were right. I’m getting freaked out.) There are links to download the prints at the bottom of the post.

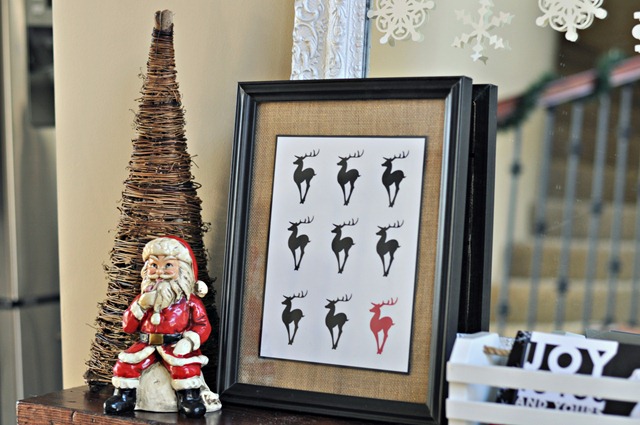
Reindeer Print from Decor and the Dog

I stuck this reindeer print on some burlap and placed it in a frame from Goodwill.  Cheap yet classy.  That’s how I roll.  (Classy people say stuff like that, right?)

One Red Reindeer Print from Decor and the Dog

The trees are from Hobby Lobby.  Santa, the mirror, the lantern, and the two frames are all from thrift stores.

I like the view as I come down our stairs each morning.  Man, I love Christmas.

Decor and the Dog Vignette from stairs

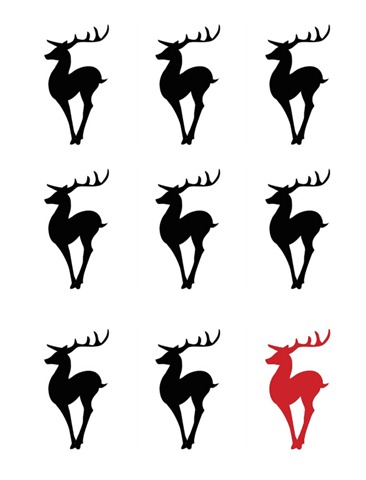
And because it’s the season of giving.  Free reindeer prints!  Just click the link below the print to download.

1redreindeer

One Red Reindeer


SantasReindeer

Santa's Reindeer

What’s your holiday decorating color scheme this year?  How do you display your holiday cards?

***FYI: I added a Holidays 2012 tab at the top of the blog for easy reference to all things holidays this month!***

Linking up to: Primitive and Proper, Southern Hospitality, A Thoughtful Place