Our Wish Lists 2012

Happy December!  I woke up super early this morning because a certain someone was snoring loudly.  I won’t name names but it wasn’t Ike or myself. Ahem.  I decided to work on my blog schedule.  I quickly realized that I have a lot to post about in the ol’ month of December.

Today starts 21 straight days of blog posts on Decor and the Dog. Maybe more. Whoa. Intense.  Be sure to check back daily to see what we’re up to.  A couple of days I will even post twice.  What can I say, the holidays bring out the best in ol’ Decor and the Dog!

Today we will be sharing our 2012 wish lists with you.  Our families are big on lists.  I don’t mind.  Maybe it’s just me but I really like looking at other people’s wish lists.  I’m always intrigued by what people want.  I also usually find some things to add to my own list.  These are just a few of the items on our lists that I thought you all might be interested in as well.  (You can view my full wish list here and Nate’s here!)

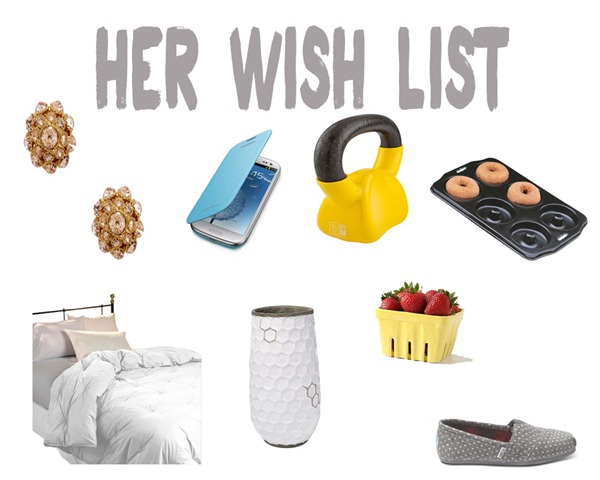
her

Kate Spade Earrings, Galaxy S3 Phone Cover, Kettlebell,
Donut Pan, Down Comforter, Hive Vase, Farmers Market Basket, Grey Dot TOMS

nate-2 copy

ASUS Monitor, Pneumatic Nailer, Camera Sling, Breaking Bad, Spyder4 Express, Portable Worklight

What’s on your wish list this season?  Do you like using lists or do you prefer a surprise?  Anyone else humored by the kettlebell by the donut pan?  Oh man, I need sleep.

Dare to DIY Handmade: Wood Bead Necklace

Who’s ready for the Dare to Give Handmade link up on Monday?
dare to diy 675x675 pixels

Monday’s challenge is Dare to Give Handmade.  We dare you to DIY a gift made by you. Nothing is more special to give than something you created. Ideas include bath and body items, kitchen gifts, hand-sewn clothing or home decor. 

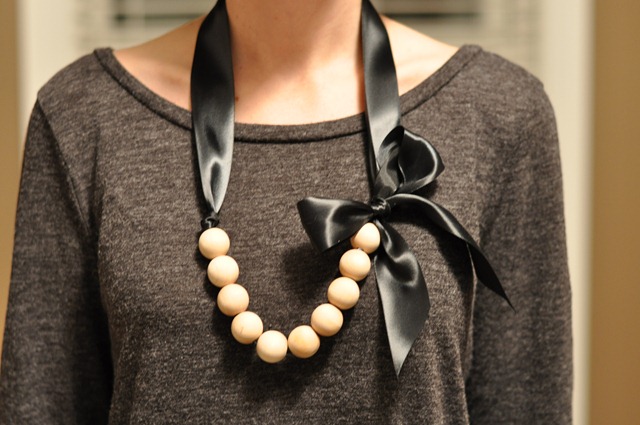
My handmade gift is a ribbon and wood bead necklace that I made for my mom.
057

Well, I made her help me design one and then I made one for her. If that isn’t love, I don’t know what is.

This necklace takes about 15 minutes to make and will cost you about $2 per necklace.

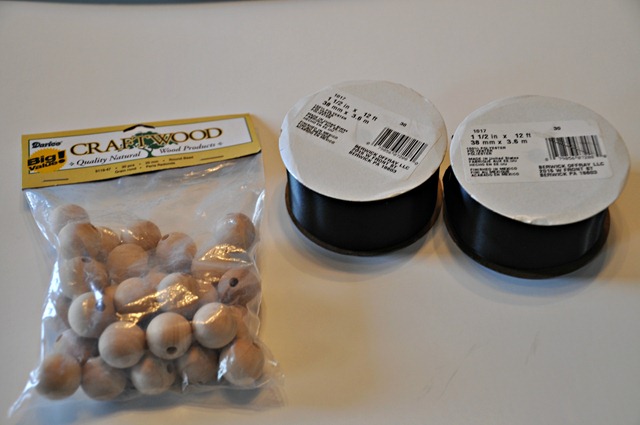
You will need 1.5” ribbon in the color of your choice.  10 wood beads.  (I purchased both of these items at Joann’s.  You will only need one spool of ribbon.  Don’t let the photo mislead you.)
Wood Bead Necklace Supplies

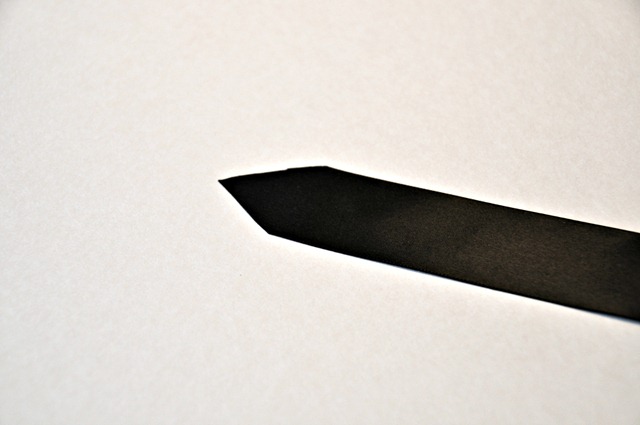
Step 1: Cut the end of your ribbon into a point.
Step 1

Step 2.  Fold this point in half and cover in tape.  The tape isn’t completely necessary but we did find it was easier to place the beads on the ribbon by using it.
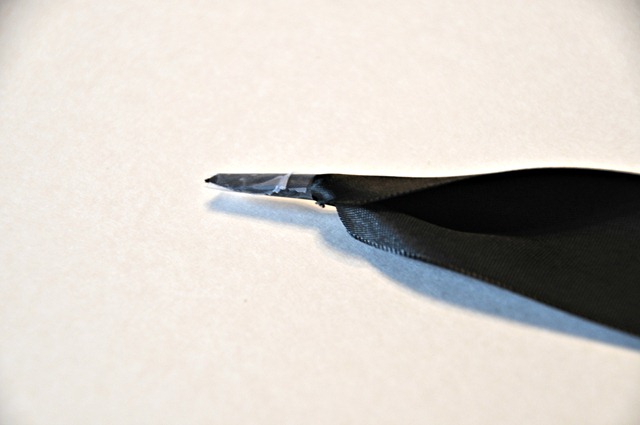
Step 2

Step 3: String your ten beads onto the ribbon.  You need to string them on so you have at least 10 inches of ribbon on the end that you are stringing them from.  Be gentle while adding the beads.  We found that we scratched the ribbon a little if we fought with the beads too much.
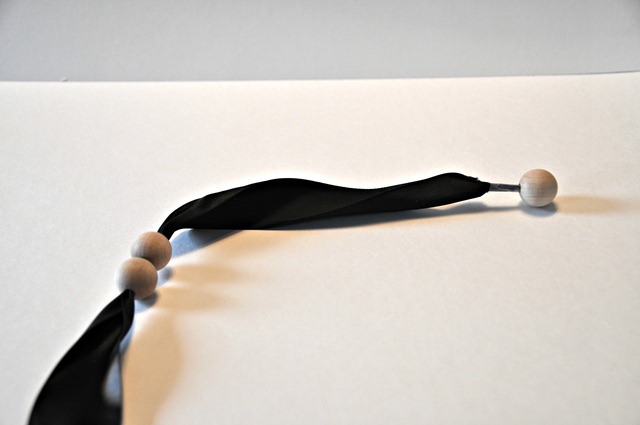
Step 3

Step 4:  Tie a knot at the end of the beads. The knot should be tied at the end where the ribbon is still attached to the spool.
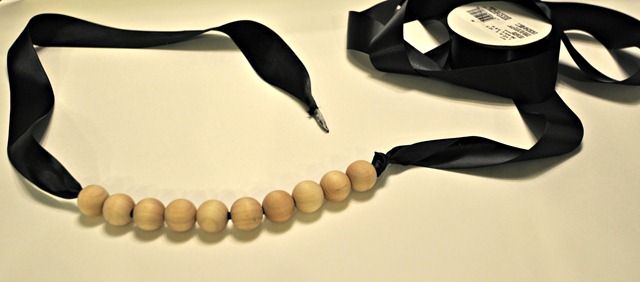
Step 4

Step 5.  Determine the length of your necklace.  I did this by holding the ribbon and beads.  You need enough ribbon to get the necklace over your head easily plus some additional to tie the bow.  I erred on the side of having too much ribbon. 
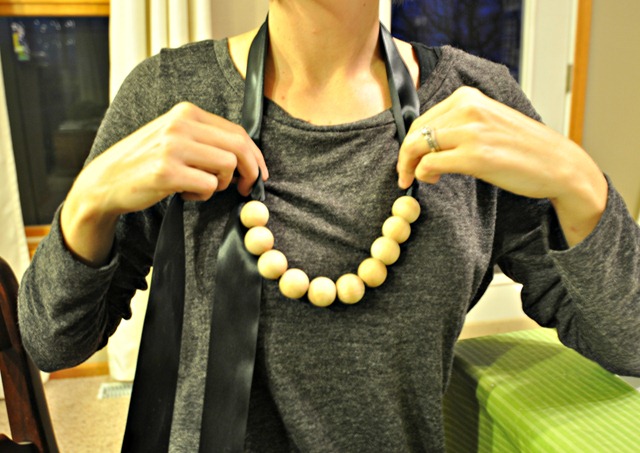
Step 5

Step 6:  Tie a bow.  This step is just like tying your shoes.  Seriously. Don’t over think it.  My bow looked worse when I thought about it.  Be sure that your ribbon is not twisted when you tie the bow.  You don’t want to give your recipient a necklace that looks wonky around the neck, do you?
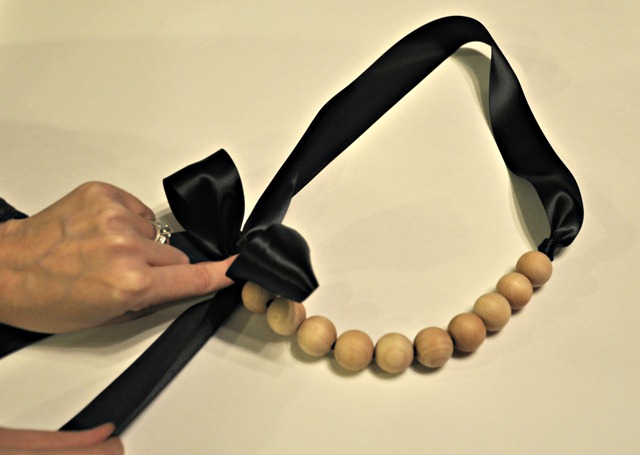
Step 7

Step 7:  Trim the ribbon ends to your desired length and you have completed your super easy (yet adorable) handmade gift.
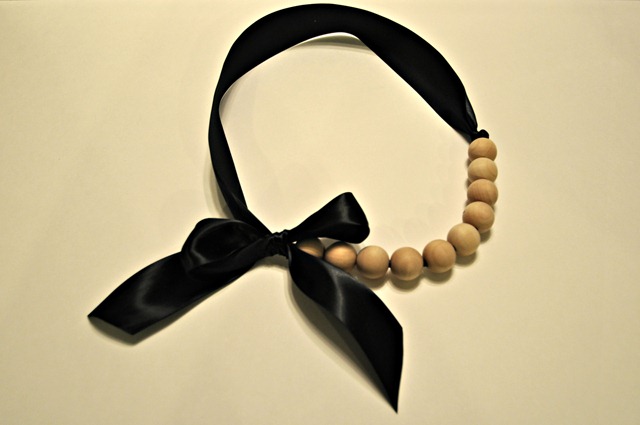
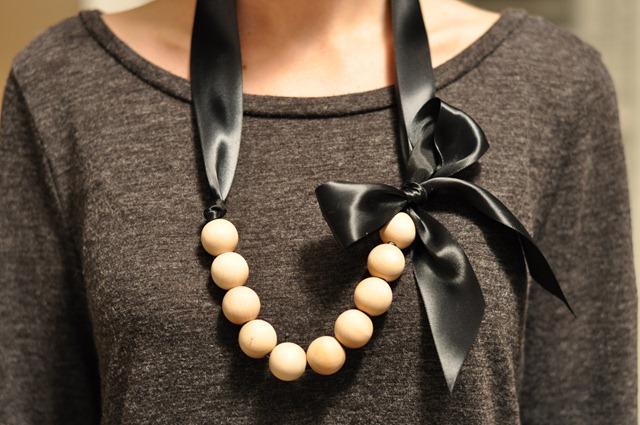
Necklace Final

062

Why is the bow on different sides in these photos?  Good question.  You can twist the necklace.  I took the final photos at a different time than when I made them.  I probably had the ribbon twisted on my neck and didn’t pay attention.  Eh.  Guess that not twisting step isn’t so important.

I looking forward to seeing your handmade gifts on Monday! If you want more Dare to DIY inspiration, check out my co-hosts' projects at Maybe Matilda, NewlyWoodwards, and Two Twenty One.

Next week we get all holiday decorating up in here.  Get ready to brush the glitter of your clothes now.  That’s what you get when you wake up reading Décor and the Dog.  *sing to similar Katy Perry’s Waking Up in Vegas*

Linking up to: Funky Junk Interiors

Dare to DIY “Entertain” Features

You all impressed me with your fake dinner parties that you shared at the Dare to DIY Entertain link party.  I appreciate the fact that I’m not the only other crazy person out there.  Nice work blog buddies.

Now it’s time to share my favorites.  I think picking three favorites may be the hardest part of this whole co-host gig.  Maybe Matilda, NewlyWoodwards, and Two Twenty One will also be sharing their three favorites so be sure to check out their picks.  Tell them Ike sent you.

We'll be sharing all the picks on our shared Pinterest board, too.  Sharing is caring.

In no particular order.  Drum roll please.  Suspense building music.

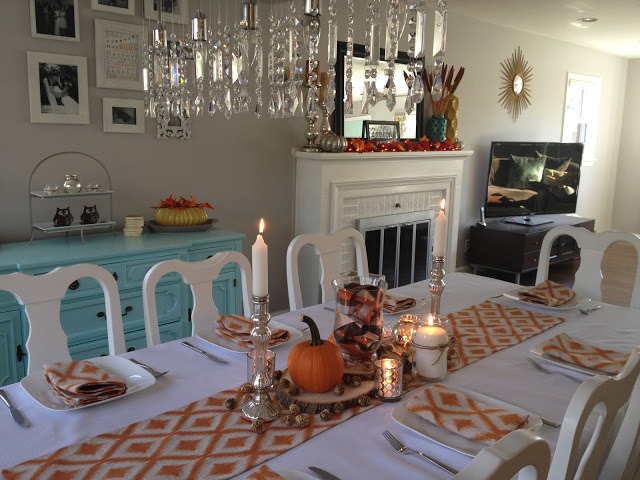
This simple, yet elegant, table setting over at Retro Ranch Renovation spoke to me.  I’m drooling over that fabric.  I like that this table setting looks nice but yet still very comfortable.

retroranchrenovation

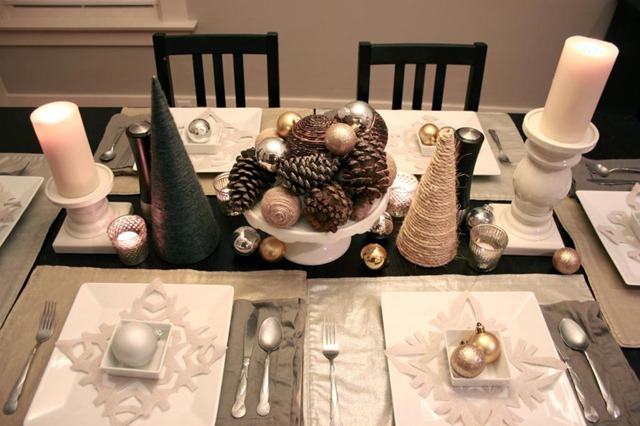
I fell for this table setting by Ceci-Bean.  Snowflakes made out of drop cloths.  Why didn’t I think of that?  The colors and textures are perfection.

ceci-bean

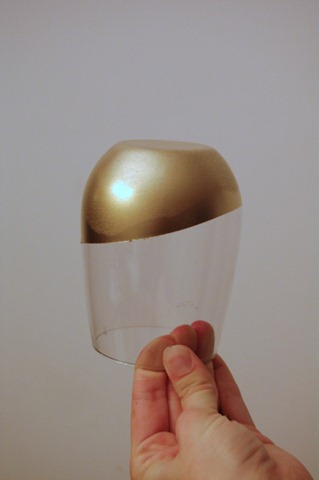
I think these gilded stemless glasses over at Ramblings from the Burbs are beautiful.  I kind of want to make some. I could totally drink Sangria from these, right?

ramblings

Thanks to everyone that linked up! Be sure to join us on Monday for next week’s dare…to give handmade.  I’ll be sharing my project tomorrow.  Get. Excited.

What was your favorite project for the week?  Are you pumped for next week’s challenge?