DIY Console Table Reveal

Ooooo, it’s time for me to reveal our top secret project that I mentioned on Monday.  (Even though my SEO friendly title already ruined it).

Today Ike and I would like to introduce you to our pretty new console table.

DIY Console Table
DIY Console Table
DIY Console Table

I’ll share the tutorial with you next week but we made the top out of 1x10’s that we beat with a hammer, crow bar, screw driver, etc to give it that reclaimed wood look. The legs are made from copper grounding rods.  Copper is a hip metal these days.  Hipsters.  The total cost was ~$40.

DIY Console Table
DIY Console Table

I was originally inspired by some hairpin leg tables that I had seen floating around.  I wasn’t a fan of the $300+ price tags.  I then looked into the hairpin legs which were still $20 a piece. Four $20 legs plus wood for the top equals too much dinero.  That’s when I conspired with my partner in crime and we saw the copper grounding rod while wandering Lowe’s.  It was a major experiment on our part because we weren’t even sure we could get something to like this to stand.  Somehow we did.  And we’re in love.  Both of us.  Nate is less into furniture PDA than I am.  But trust me, he’s in furniture love.

It’s like the table was made for this spot.  Oh wait, it was. Never mind.

DIY Console Table

Our farmhouse table now has a mini-friend.  (Don’t mind the tv in the mirror.  I do like how the owl appears to be waving though.  It’s the little things in life.)

DIY Console Table

Are you digging copper these days?  What about that brassy/old lady decorating scheme I have going on?  Is a console table on your DIY list?  Who’s excited for the tutorial? 

Photobucket Photobucket Photobucket Photobucket PhotobucketPhotobucketfollow us in feedly

House Tour- Kitchen

***Our house tour page is in desperate need of an update.  This will be good for those of you new around these parts.  I’m going to try to do a room a week.  This way those of you that have been reading for awhile won’t be horribly bored…and I’m a giant slacker and a room a week is about my pace these days.  But really it’s for the readers.***

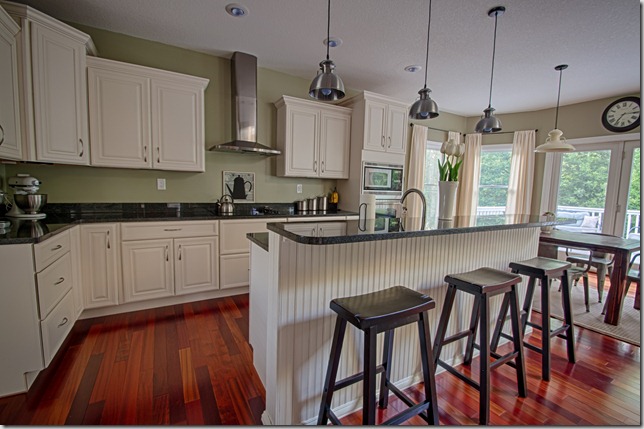
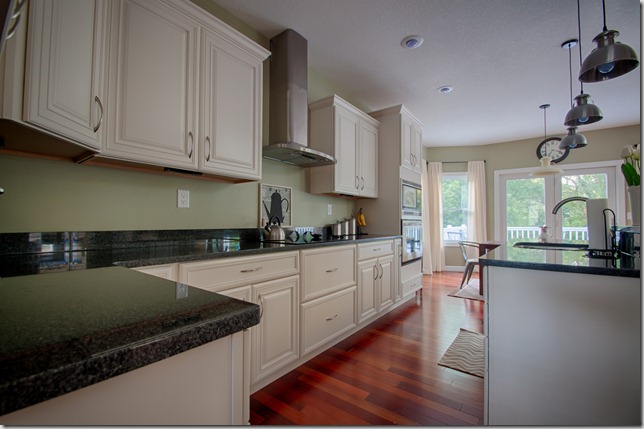
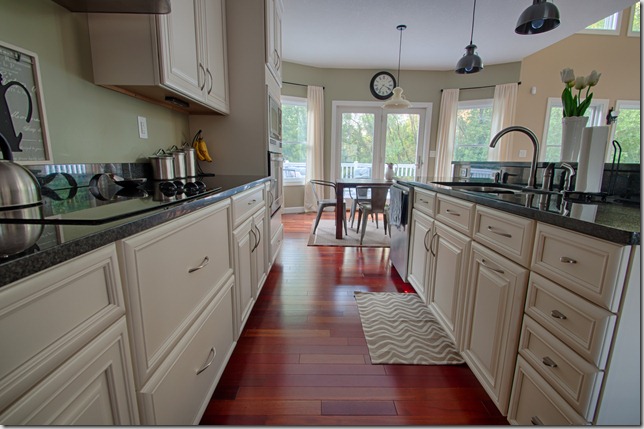
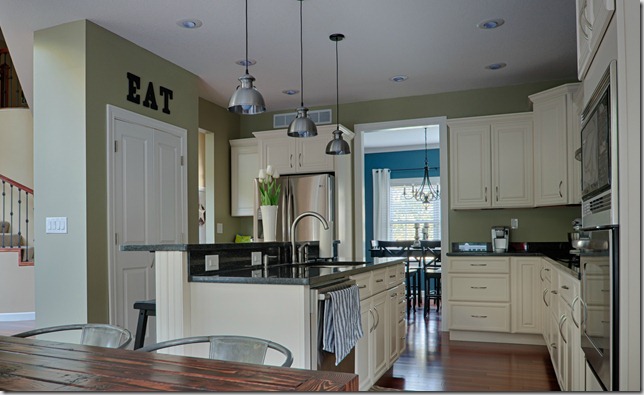
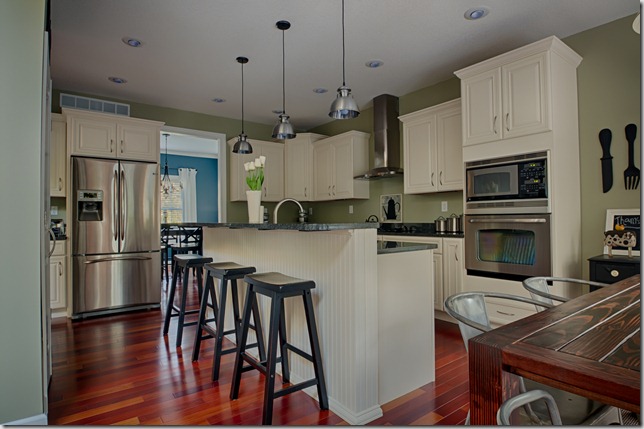
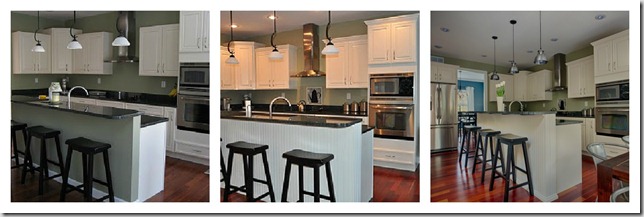
Introducing our kitchen, 2012 style.

DecorandtheDogKitchen1

DecorandtheDogKitchen2

DecorandtheDogKitchen3

DecorandtheDogKitchen5

DecorandtheDogKitchen4

Room Info

  • Wall color: Svelte Sage (Sherwin Williams)
  • Cabinets: Woodland/Provincial doors/Ivory
  • Island Pendants: Barn Light Electric Bermuda Pendants/Satin Steel
  • Stools:  HomeMakers
  • Granite: Epic stone/Black
  • Fridge: GE profile, french door
  • Cook top: Whirlpool
  • Oven/microwave: GE
  • Dishwasher: Bosch
  • Kitchen Table: Built It
  • Kitchen chairs:  World Market Jackson Tub Chair
  • Wood Floor:  BR-111 Brazilian Cherry

One of the challenging things of being your own contractor is completing all of those finishing details. We were so burnt out for awhile that we just ignored things like unfinished trim work.  Once we regained some energy, we added the bead board to the island and crown molding to the cabinets.  I was super lucky and won a great giveaway from Barn Light Electric which allowed us to replace our too small pendant lights.  We still have plans for a backsplash.  I’m also on a hunt for the perfect kitchen stools which will better allow me to watch Nate cook supper.

I like looking back on the progress we’ve made in the kitchen.

KitchenEvolution

This concludes the tour of our kitchen.  Now I want a snack…

If you’re really bored, feel free to vote for our bedroom over at BHG.  Click here!  It’s an easy vote.  You’re the best!

Random Post…and Acts of Craftiness

I’m in a bit of a decorating rut.  More like a Everything-I-Want-To-Do-Costs-Too-Much-Money rut.  You’ll have that.  I’m also trying really hard to plan out rooms versus making impulse purchases.  This whole paragraph makes me sad. ;)

Nate and I are working on a little project.  It’s just taking more time to dry than expected.  Maybe that has something to do with me leaving the water to the hose on overnight, the hose bursting, and flooding our garage.  Surprisingly I did no damage…..other than slowing project drying time…and killing the Earth.

image
Note:  It has not rained in 3 months.  That is all garage water.  But look how clean my car is!!

Here is a sneak peek at our project. Any guesses on what it is? I’m hoping to have it done early this week.

image
Me using a hammer in fancy clothes.

Next random topic.  I have accepted a new position.  It’s a pretty big blogging career move.  I am now co-director of the Random Acts of Craftiness Project

random acts button2

The project is the brain child of Erin over at His and Hers.  As co-director, I am basically Erin’s blog husband on this project.  I keep her crazy in line.  (All husbands of bloggers have to do this, right?)

What is the Random Acts of Craftiness Project.  I’ll have you head on over to His and Hers for the full details (which are still in the works) but basically each month you are assigned a random item to make a craft with.  And the stuff on Erin’s list is most definitely random.

I wanted to chicken out at first.  There is no way I can make something with the items she has in mind.  But the more I think about it, I think I can.  They may not all be successes but the process of thinking outside of the box will be great.  I don’t know about all of you but I sometimes feel I’m losing some of my creativity by constantly browsing blogs and Pinterest.  Bring on the challenge director lady!

Are you in?  Tell me you are. It’s going to be such scary fun!  Have you been pondering a blog?  This would be a great excuse to start!  We are also looking for some guest judges so let me know if that’s something you would be interested in as well!

Any uncompleted projects your way?  Anyone else’s visions larger than their savings account?  Who is ready to craft with toothbrushes?