
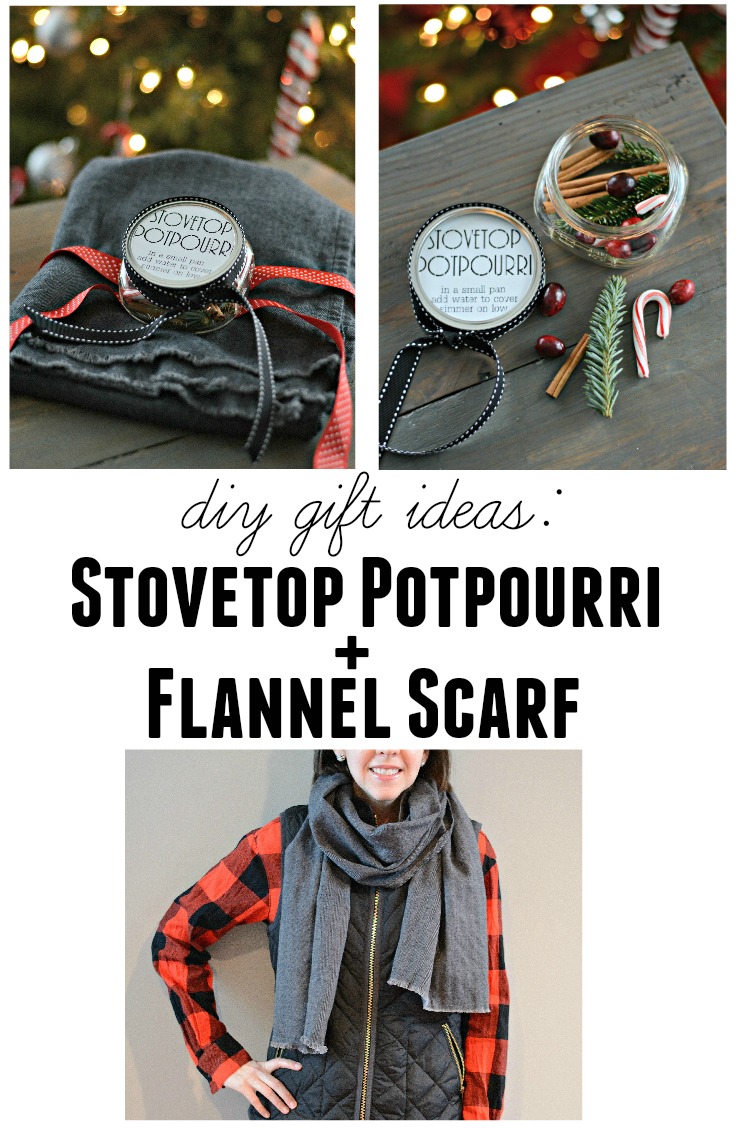
Dare to Give Handmade: Flannel Scarf + Stovetop Potpourri Tutorial
/This week's Dare to DIY challenge was to "dare to give handmade." This challenge is always one of my favorites. I ran a little short on time (story of my life lately) but I'm still happy with my finished projects.
I really wanted to make something with supplies I already had on hand. (Mainly because I was short on time and didn't want to leave the house. See a theme here?) After some pondering, I decided on a flannel scarf and stovetop potpourri.
I had recently seen some stovetop potpourri tutorials floating around. They are usually a combination of people's favorite holiday scents.

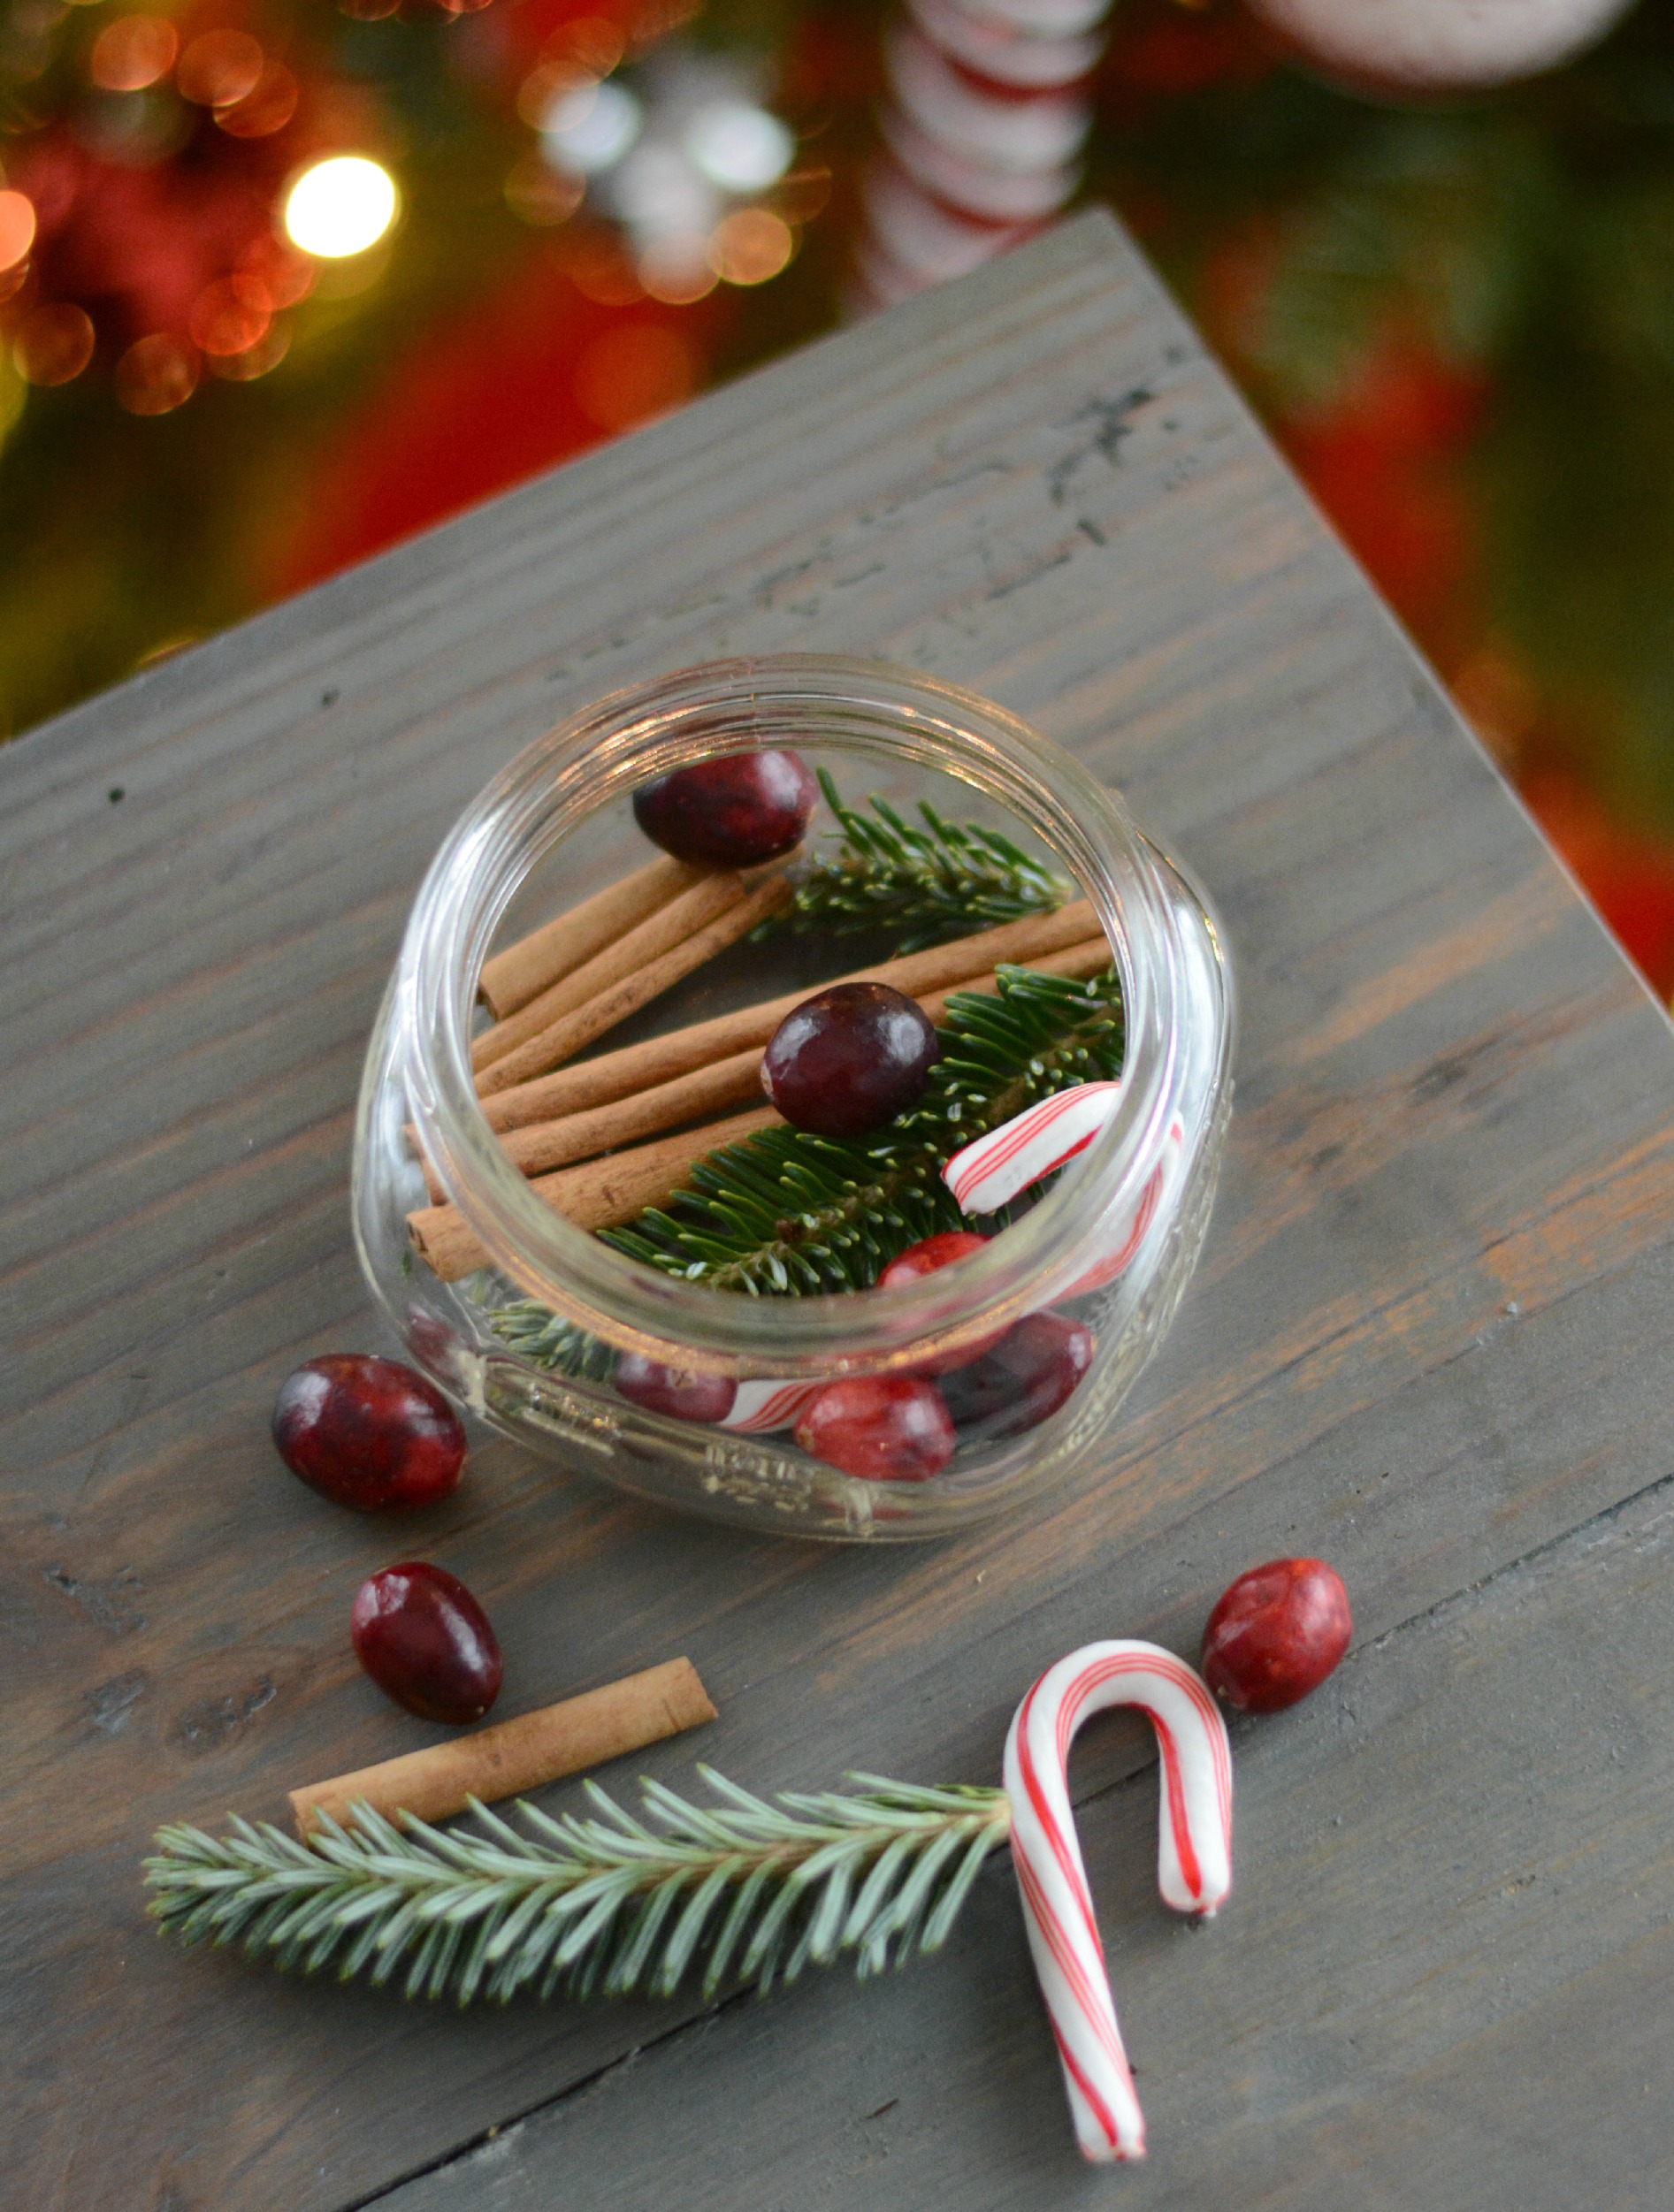
I went wandering though my house/cupboards for things that smelled like Christmas. I ended with some fresh cut needles (stolen from my outside garland), some cranberries from my fridge, candy canes from my pantry and cinnamon sticks from my spice cupboard. The options are pretty endless with this stuff.
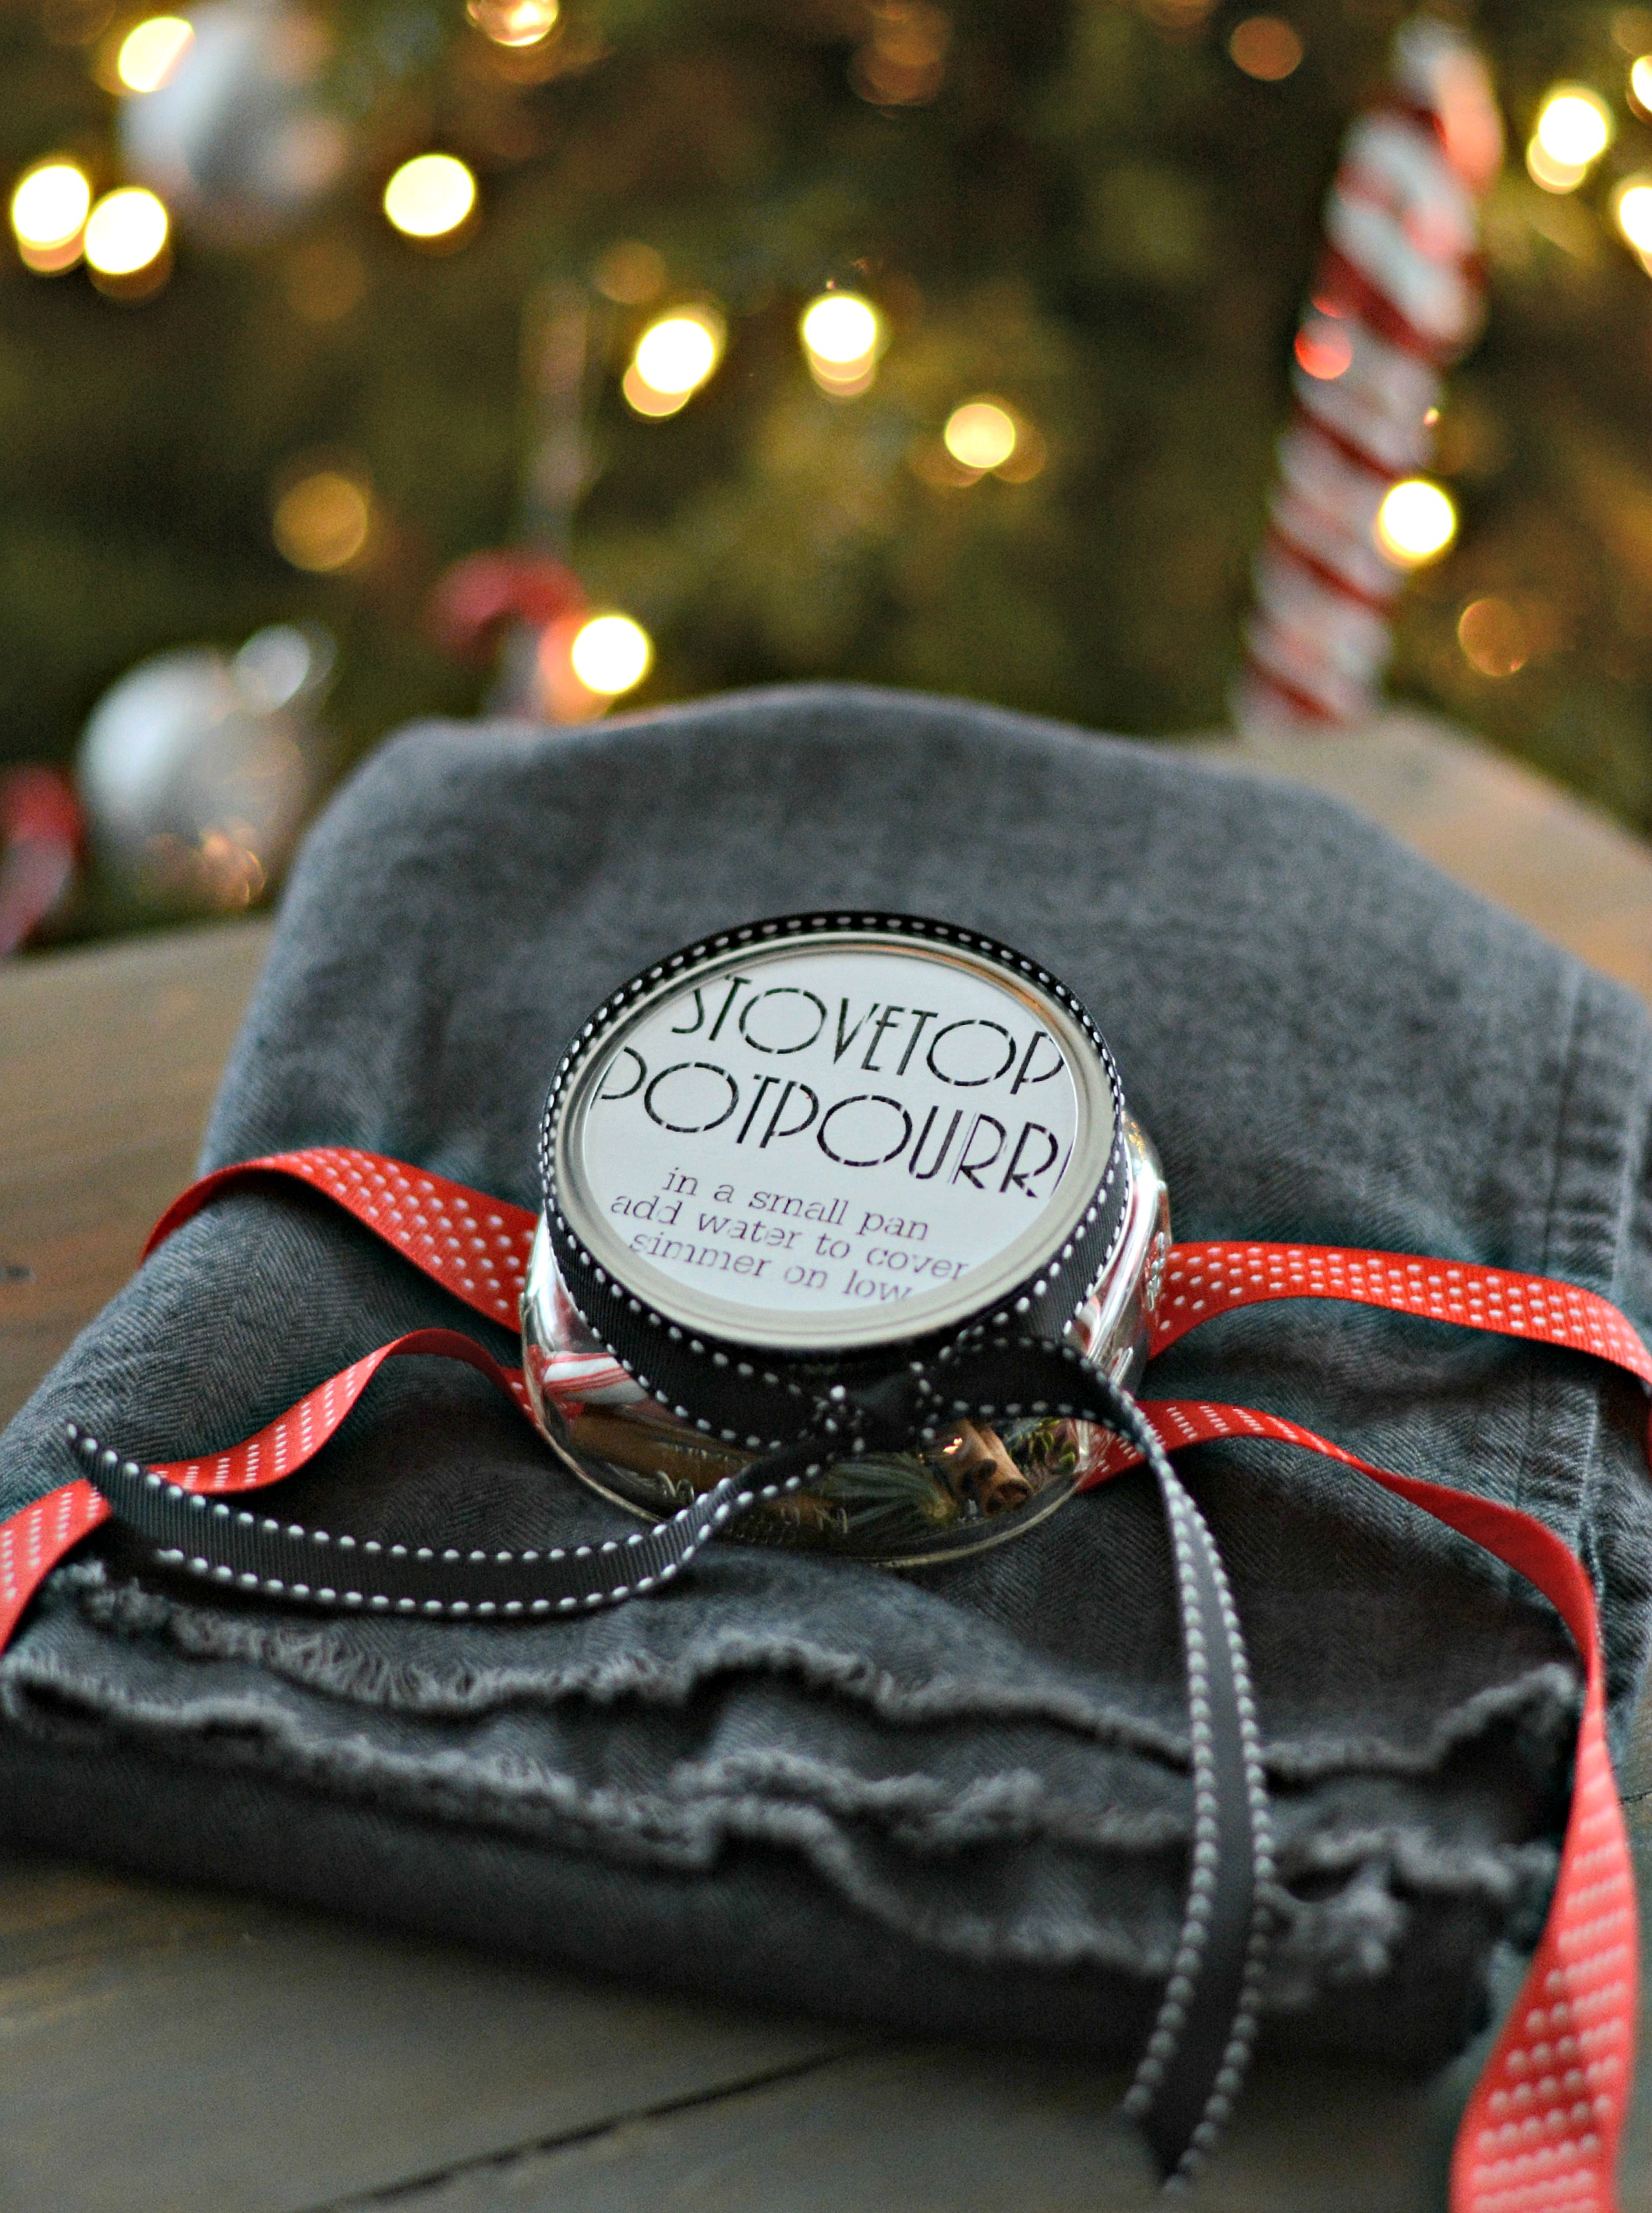
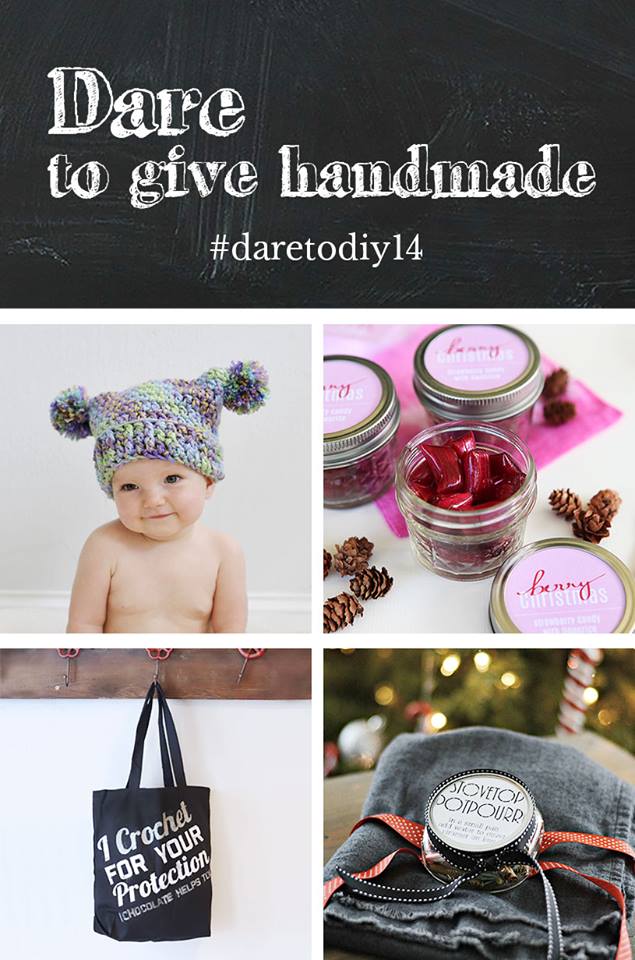
I grabbed a mini jar from my craft room and shoved the ingredients inside. I then made a quick label so my recipient will know what the heck I'm giving them. "Ummm. Thanks for the random stuff from your pantry?"
I also added quick directions. (You place your ingredients on the stove in a small pan a cover with water. Replace the water as it evaporates.) You could also add a note to add some citrus if your recipient has some in their fridge. Which they should because scurvy is real.

I needed an excuse to whip up a scarf with some herringbone flannel fabric laying around in my craft room. (The craft room that I spent an hour cleaning yesterday. Oy.) The Dare to DIY challenge was just the push I needed.
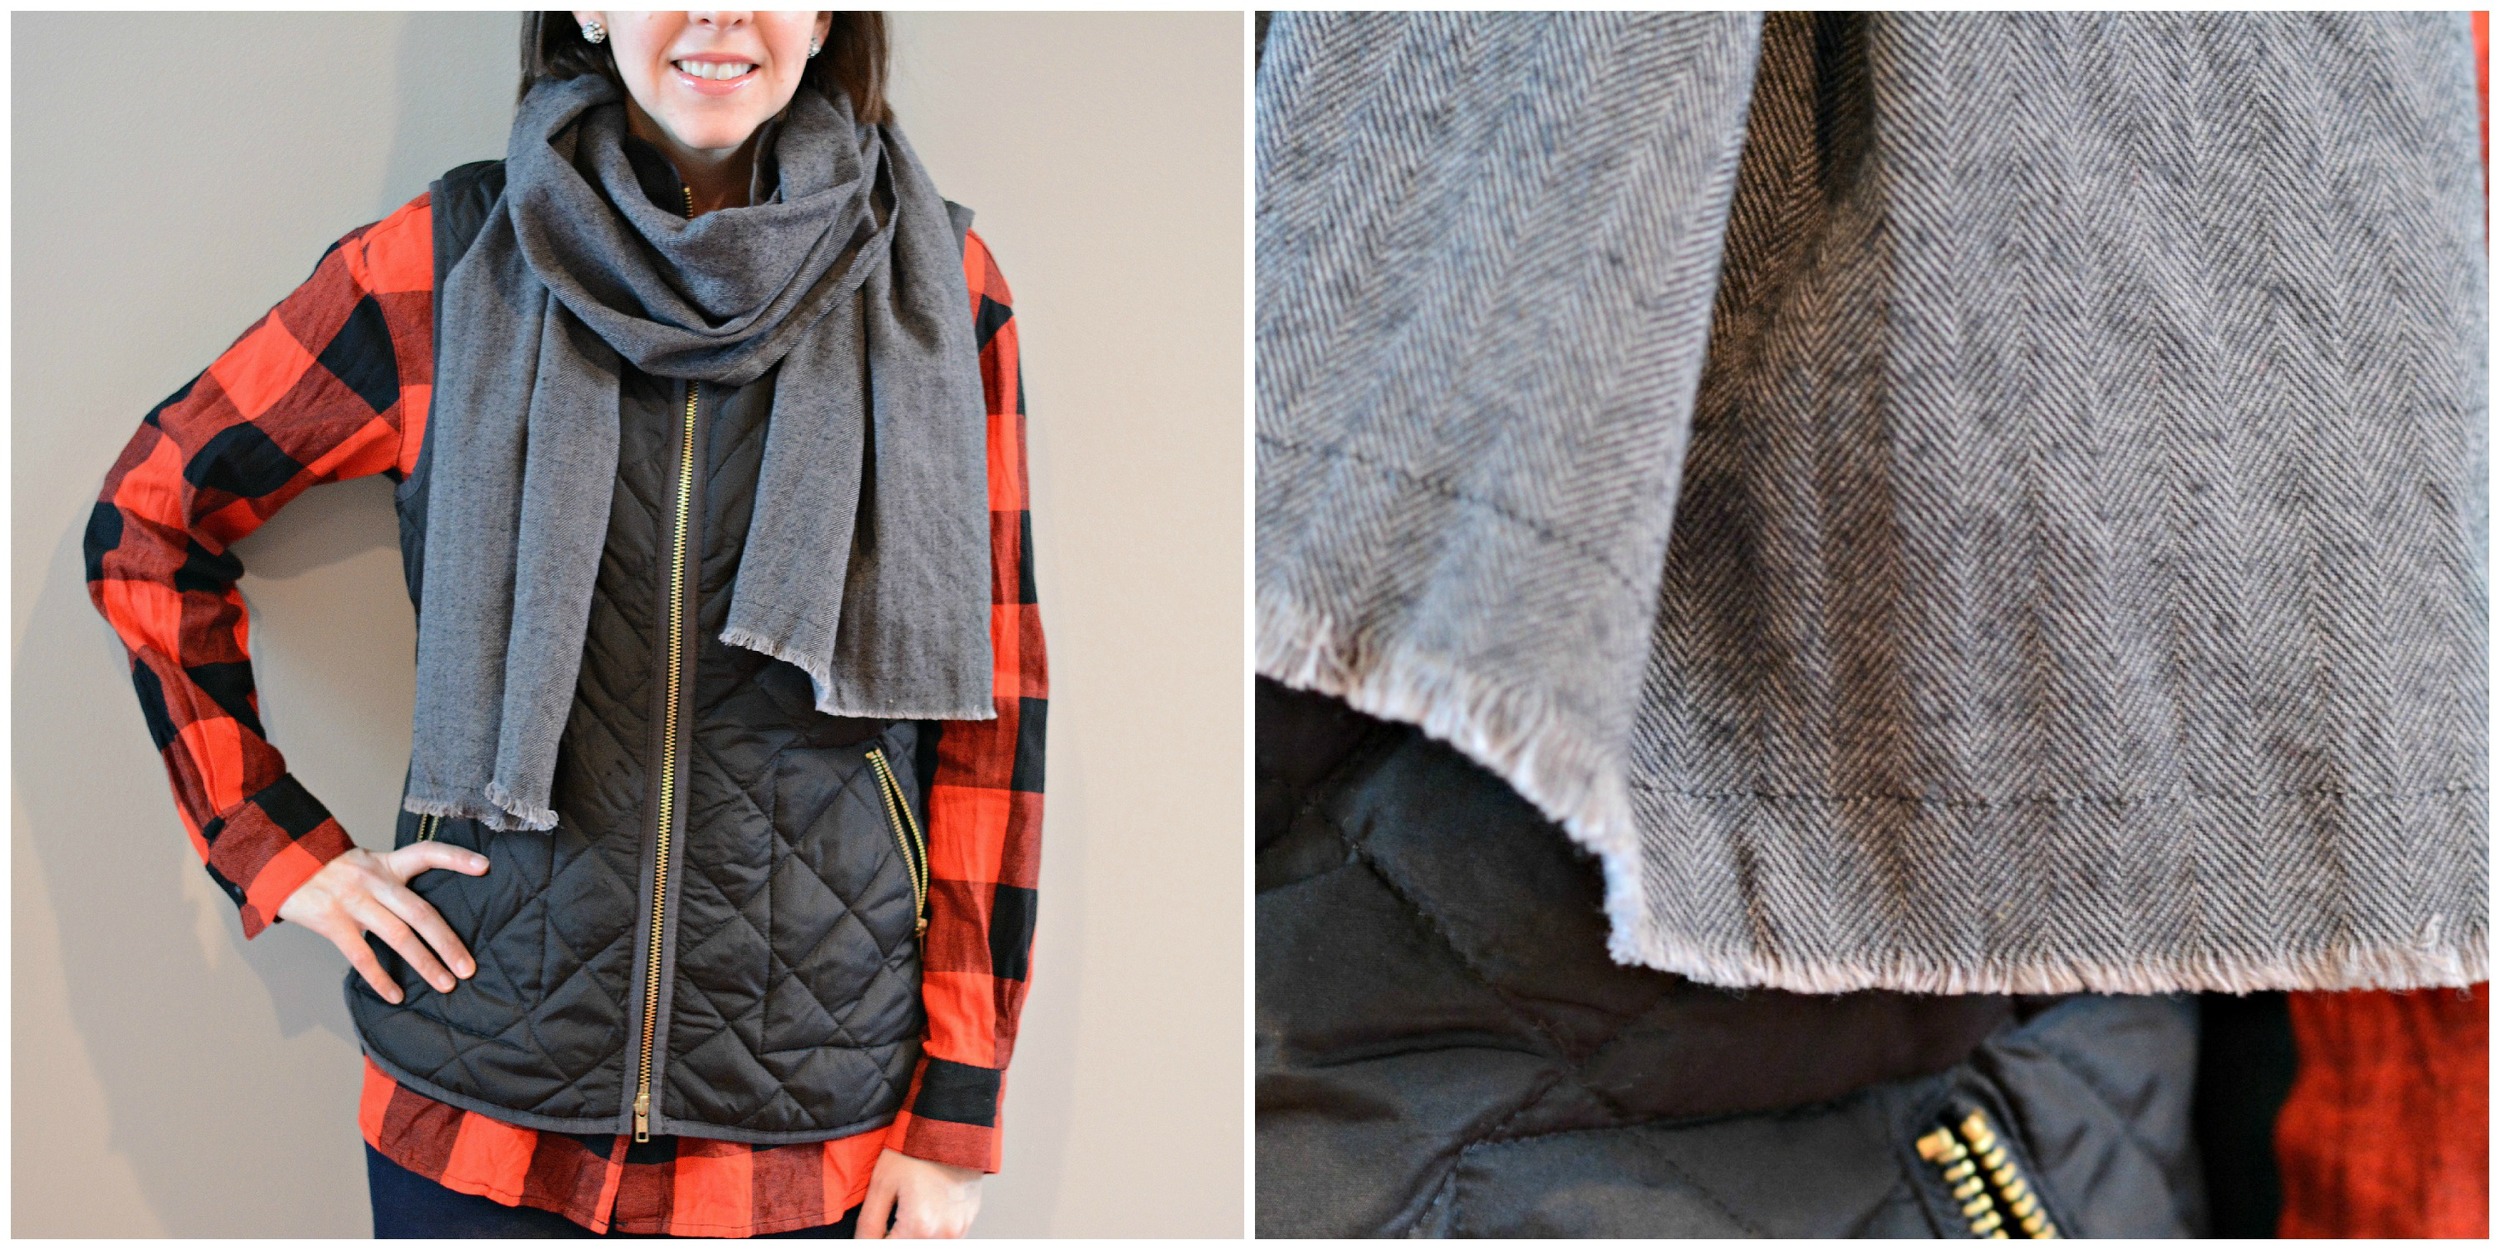
This scarf is super easy to make. I like that the ends have a bit of fringe that gets better with each washing.
To make this scarf you will need 2 yards of flannel fabric. (I'd recommend buying a nice flannel because you will see both sides. This will actually make two scarves (bonus) so the cost isn't so bad.) Cut your fabric in half length wise. (Follow the dotted lines below.)

Next you will need to hem your long sides. I folded over about 1/4" and ironed flat. I then folded each side over again. This leaves a nice edge to sew.

Now it's time to sew along your edges. I sewed about 1/2 inch on the long sides and 1 inch on the ends. I would do more than about 1 inch to limit fraying.

Wash and dry your scarf a few times to get the nice frayed look. Bam. Gift complete.
Be sure to share any of your handmade gift ideas over at Maybe Matilda! I'm pumped to check them out! Also, be sure to visit my lovely co-hosts to check out their awesome creations. (I'm pretty sure they made them all for me. Pretty sure.)
Did you dare to give handmade? What's your favorite handmade gift to give or receive?


