
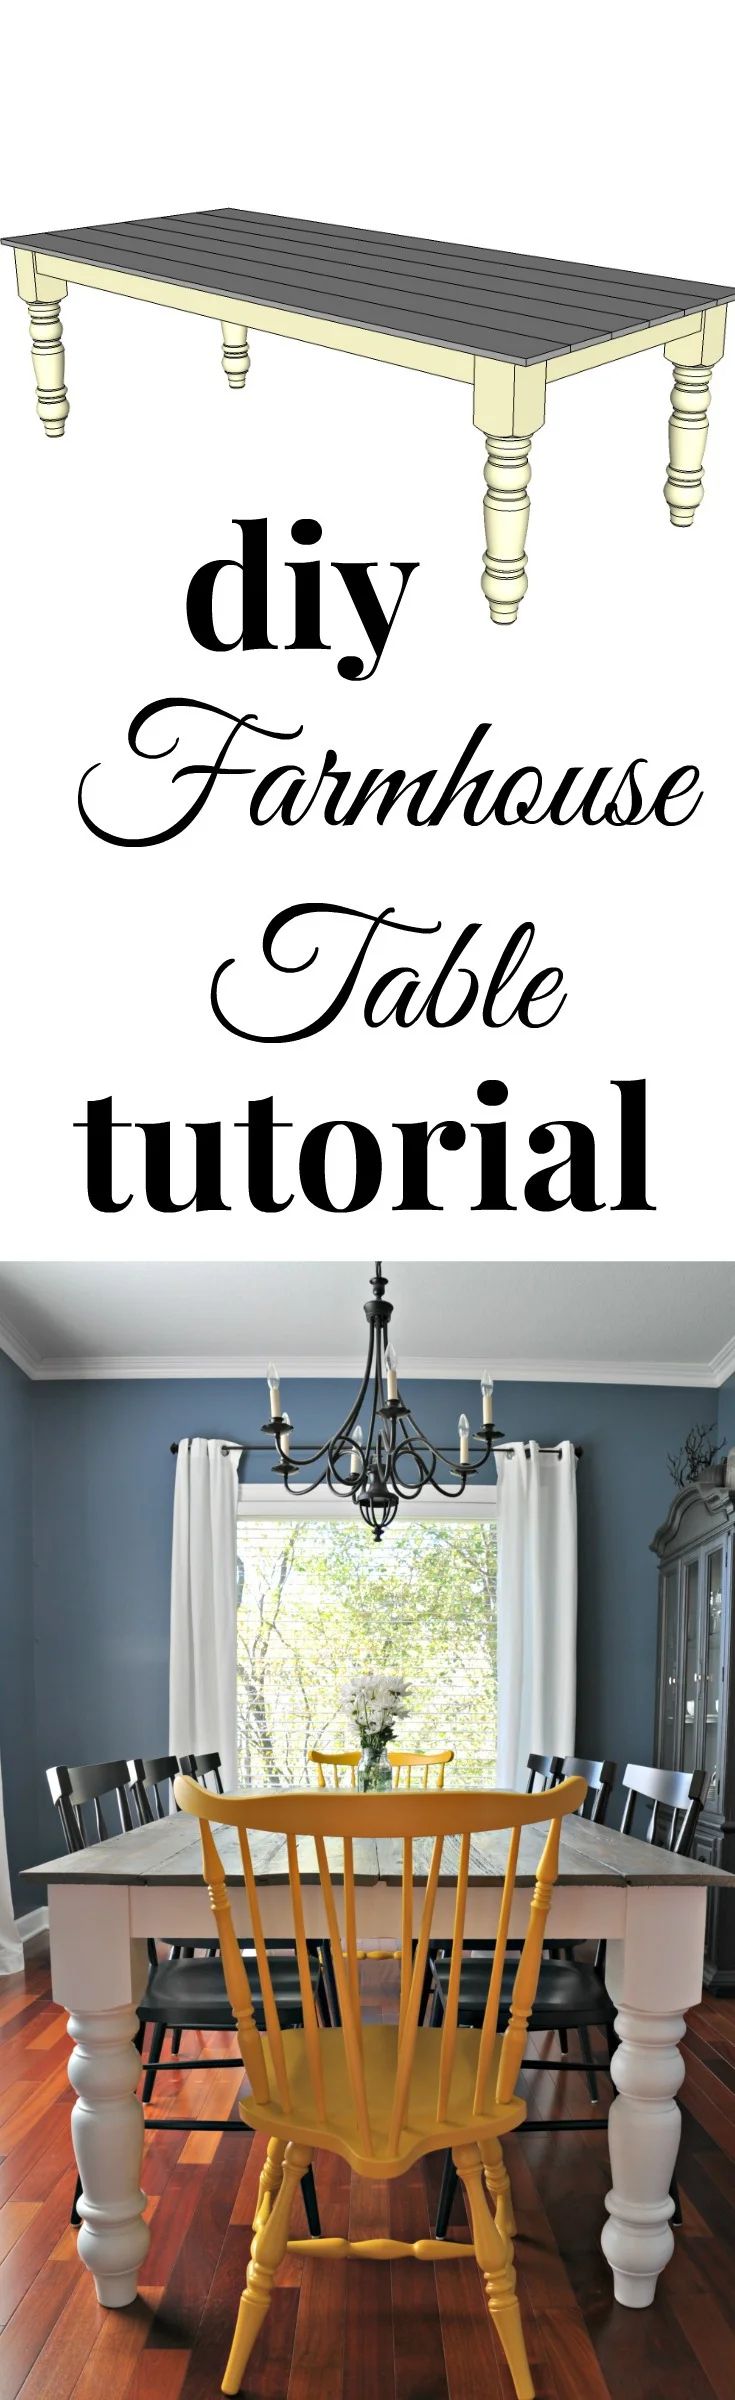
Free Farmhouse Dining Table Plans
/Today we'd like to share with you how Nate built our farmhouse table. Nate wrote the directions last night. I had to translate them. I wonder if there is a Rosetta Stone for Nate. He can build farmhouse tables but he most definitely can't write coherent sentences. I can sort of write coherent sentences but I can't build tables. We're quite the pair.
Here are free dining table plans so you can make your own farmhouse dining table!
Material List
3 - 1"x4"x8'
3 - 2"x4"x8'
6 - 1"x7"x8' barn boards (You can use 1"x8"x8' boards, ripped down to 7")
Kreg 1 1/4-Inch Pocket Hole Screws
Kreg Mini Jig Kit
Titebond-3 Ultimate Wood Glue
Brad Nailer
1 5/8" Brad nails (if using ship lap barn boards)
Cut list
- 1"x4" (Apron boards)
- 2 @ 30.25"
- 2 @ 82"
- 2"x4"
- 5 @ 38"
*affiliate links included
Directions {Table Base}
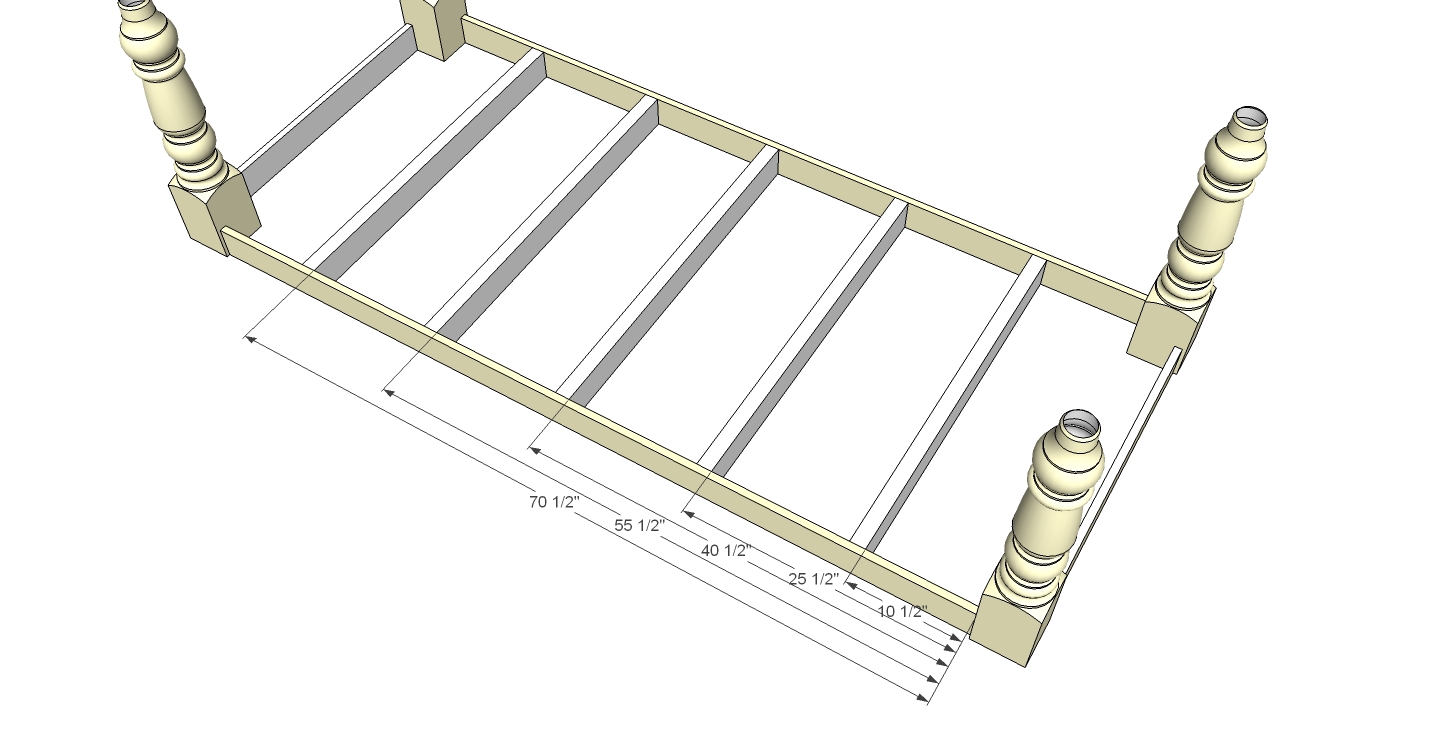
Attach the 1"x4"s to the legs using pocket hole screws and wood glue, offsetting 3/8" back from the front/sides of the leg tops.

Assembling the table is easiest done on the floor or work bench if you have one large enough. I recommend assembling the table upside down, as shown in the photos. Starting from the leg, mark 10.5", 25.5", 40.5", 55.5" and 70.5" on the long 1"x4". Using these marks, attach the 2"x4"s to the 1"x4".
Depending on the finish of the bottom and table top, paint or stain the legs and apron.
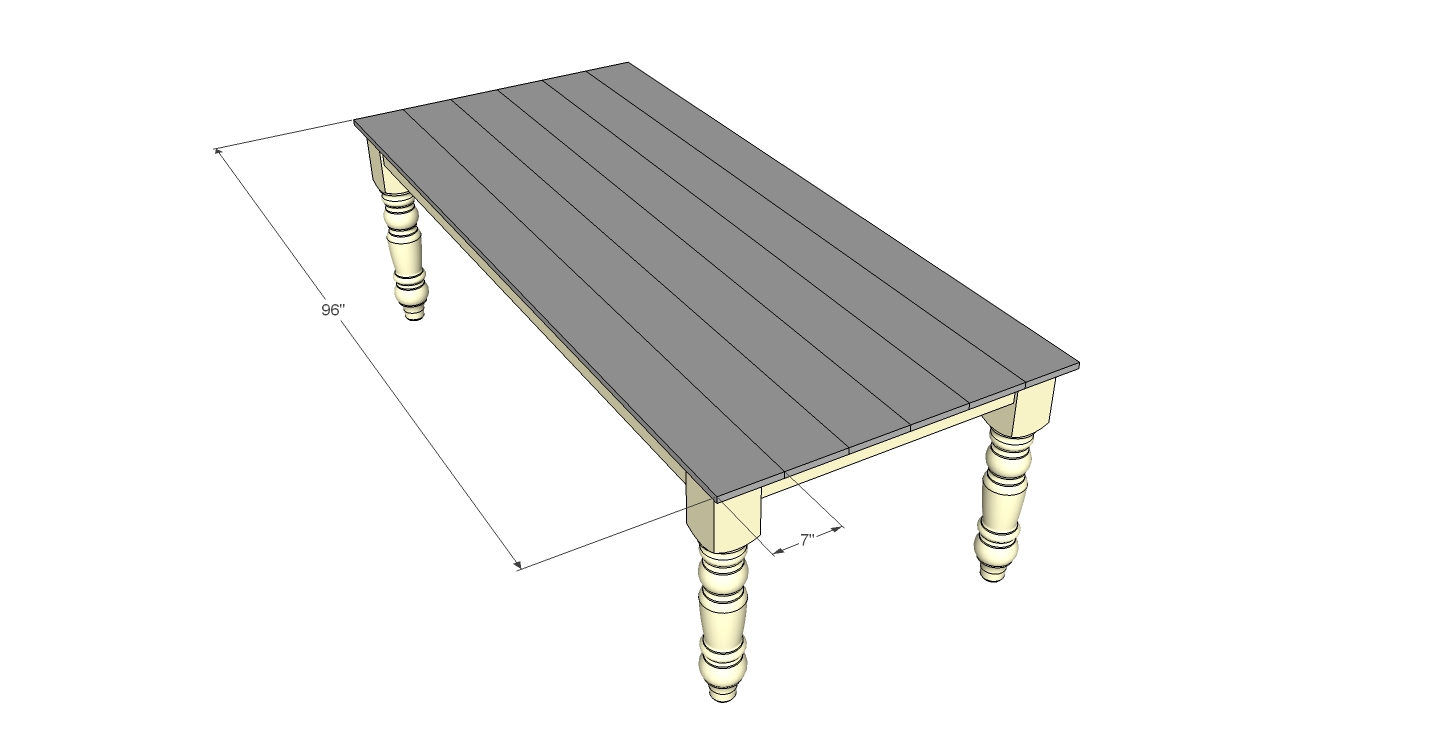
Directions {Tabletop}
On the first board you are attaching the tabletop, determine the top of the board and then flip it over. Mark the board using the drawing below. You need a mark 2" from the end and 1" from the side. Flip board back over and place it on top of the table matching up the marks with the top corner of the table legs.

If using ship lap barn boards, secure the board to the top with brad nails.
Contuine attachign all boards with brad nails until all boards are attached. I did have some boards that were slightly warped, as is expected with barn boards. Really big clamps came in handy to help straighten them out. I also had some boards that did not want to stay down with brad nails so I went under the table and drilled in some pocket holes which helped pull the board down and secure it better.
If you are not using ship lap barn boards, attach all boards using pocket hole screws, then attach top to the bottom using pocket hole screws.
A hand planer (or larger planar) really helps in starting to get the boards all level. If you don't have a planar, a belt sander will work. It just might take you longer. Plane and sand the boards until all smooth. Apply stain and poly (or paint). Read how we finished our tabletop here.

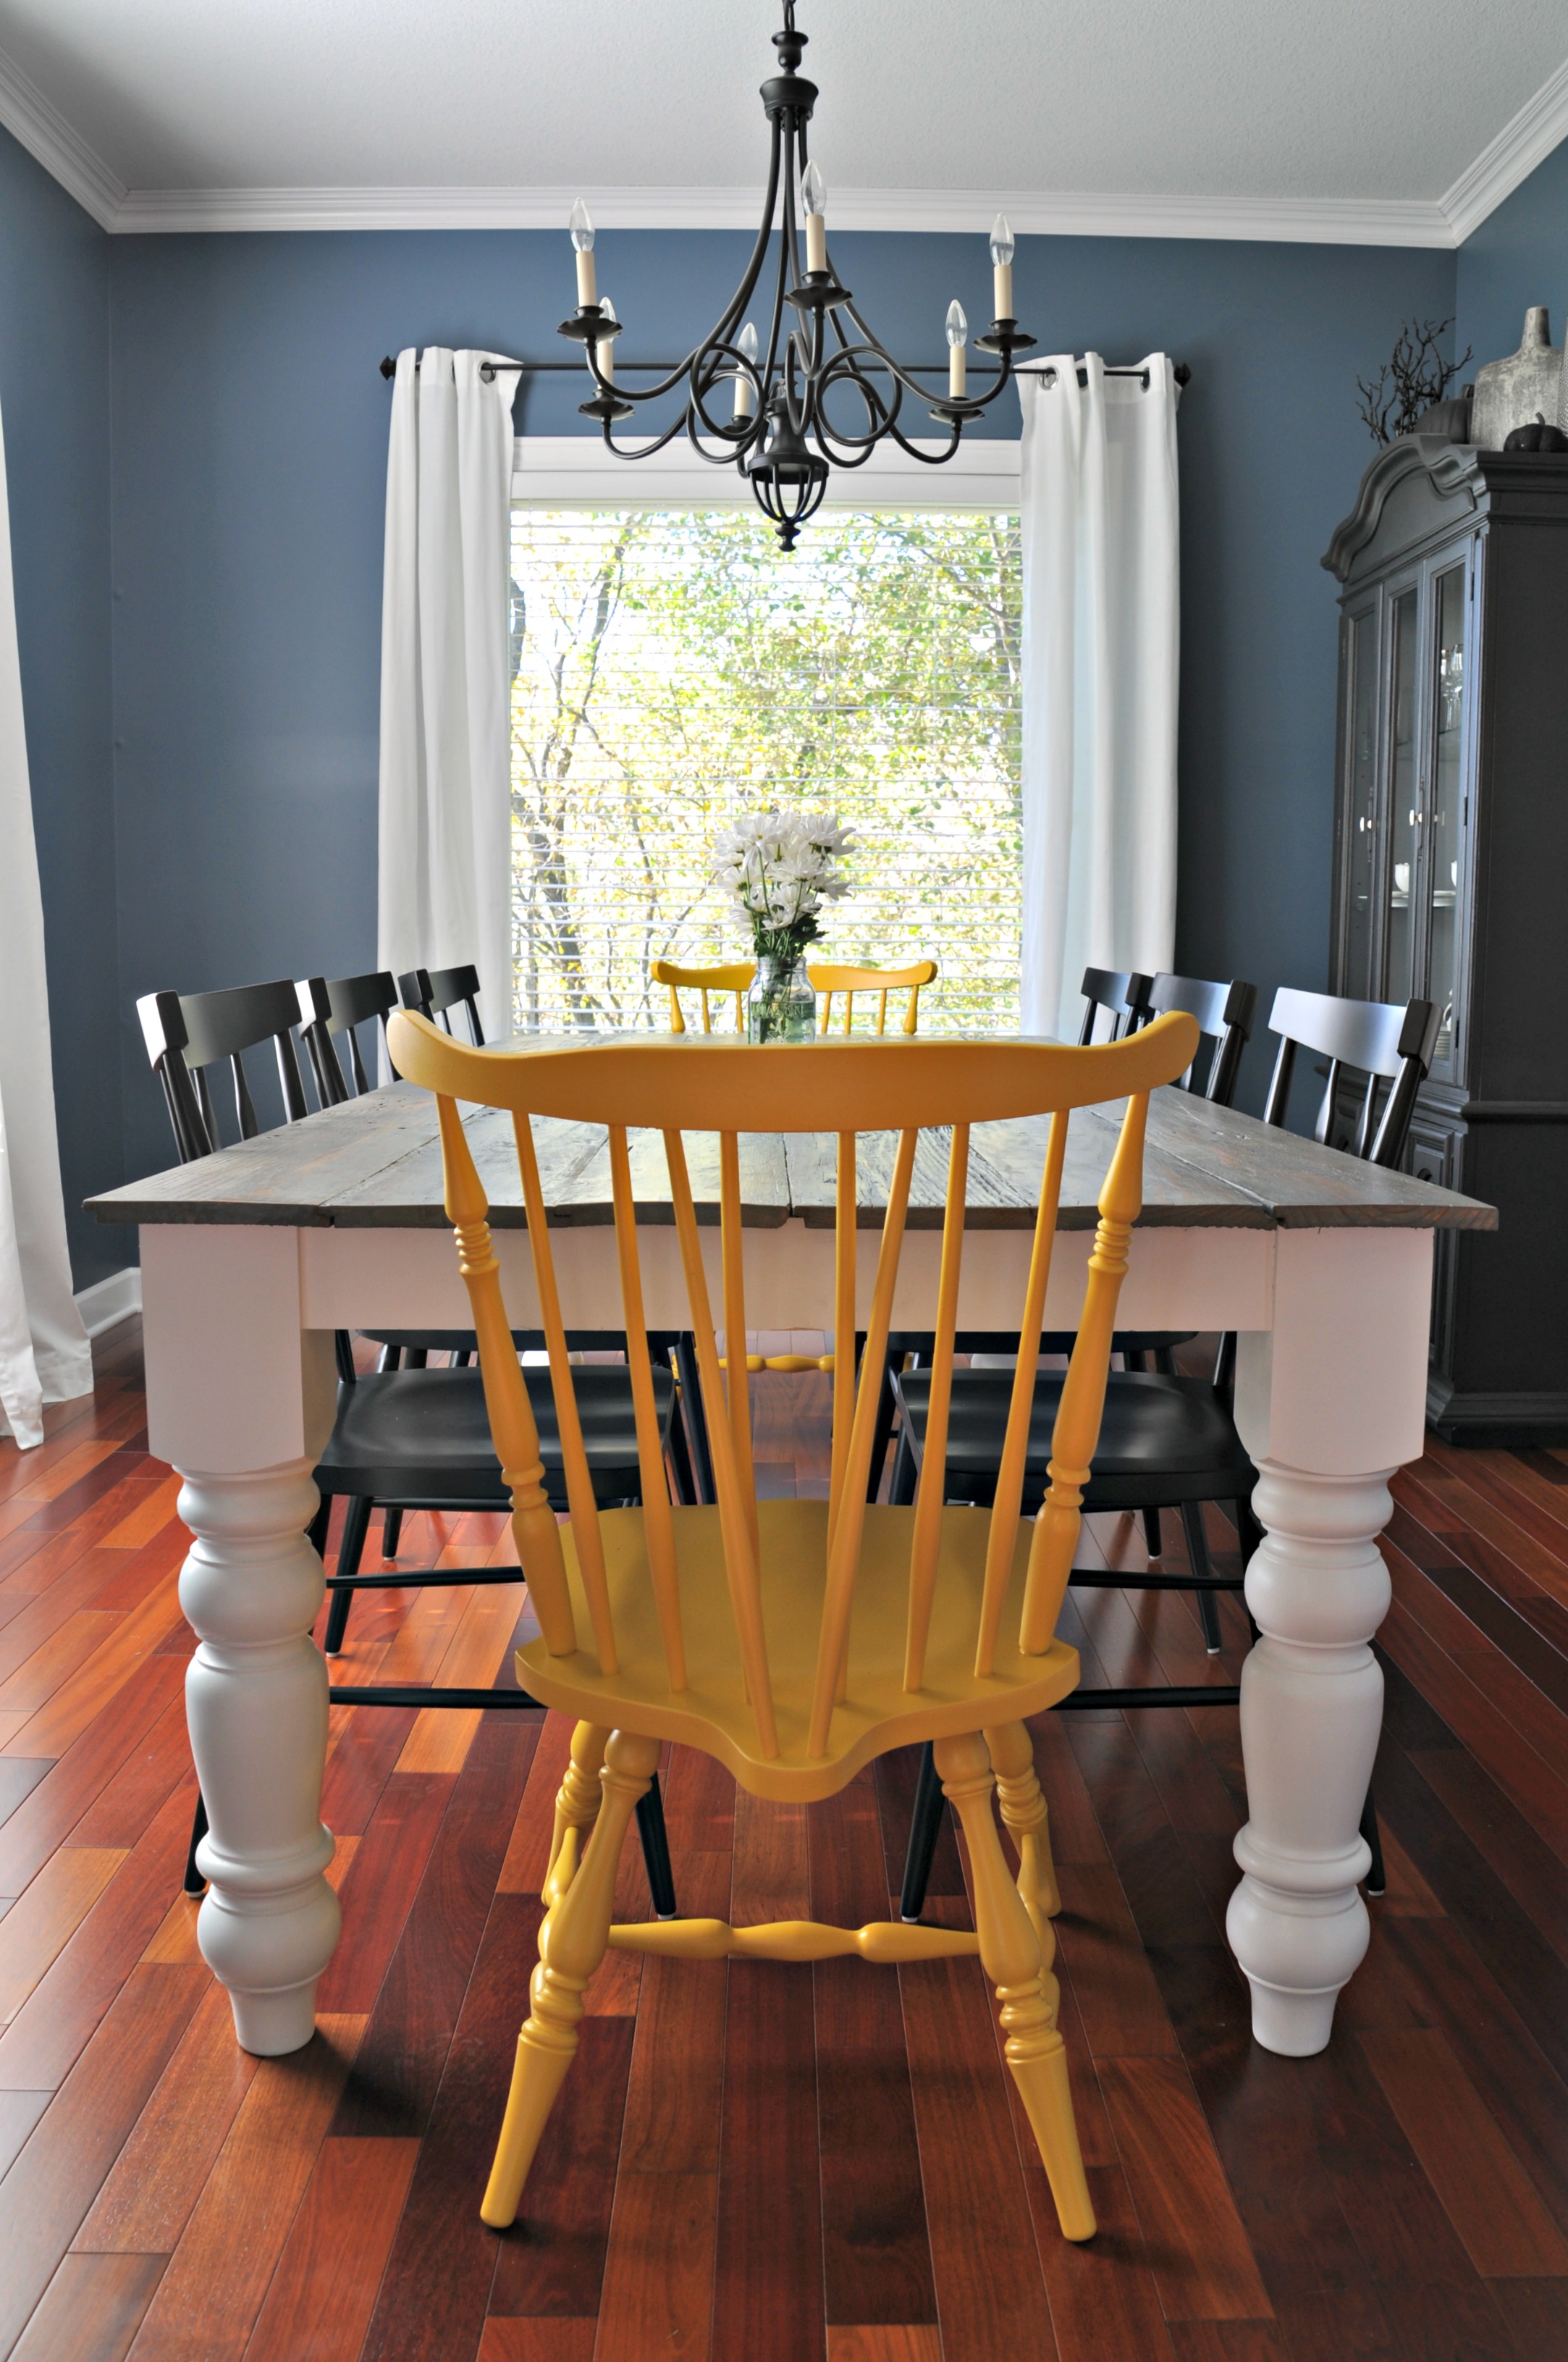
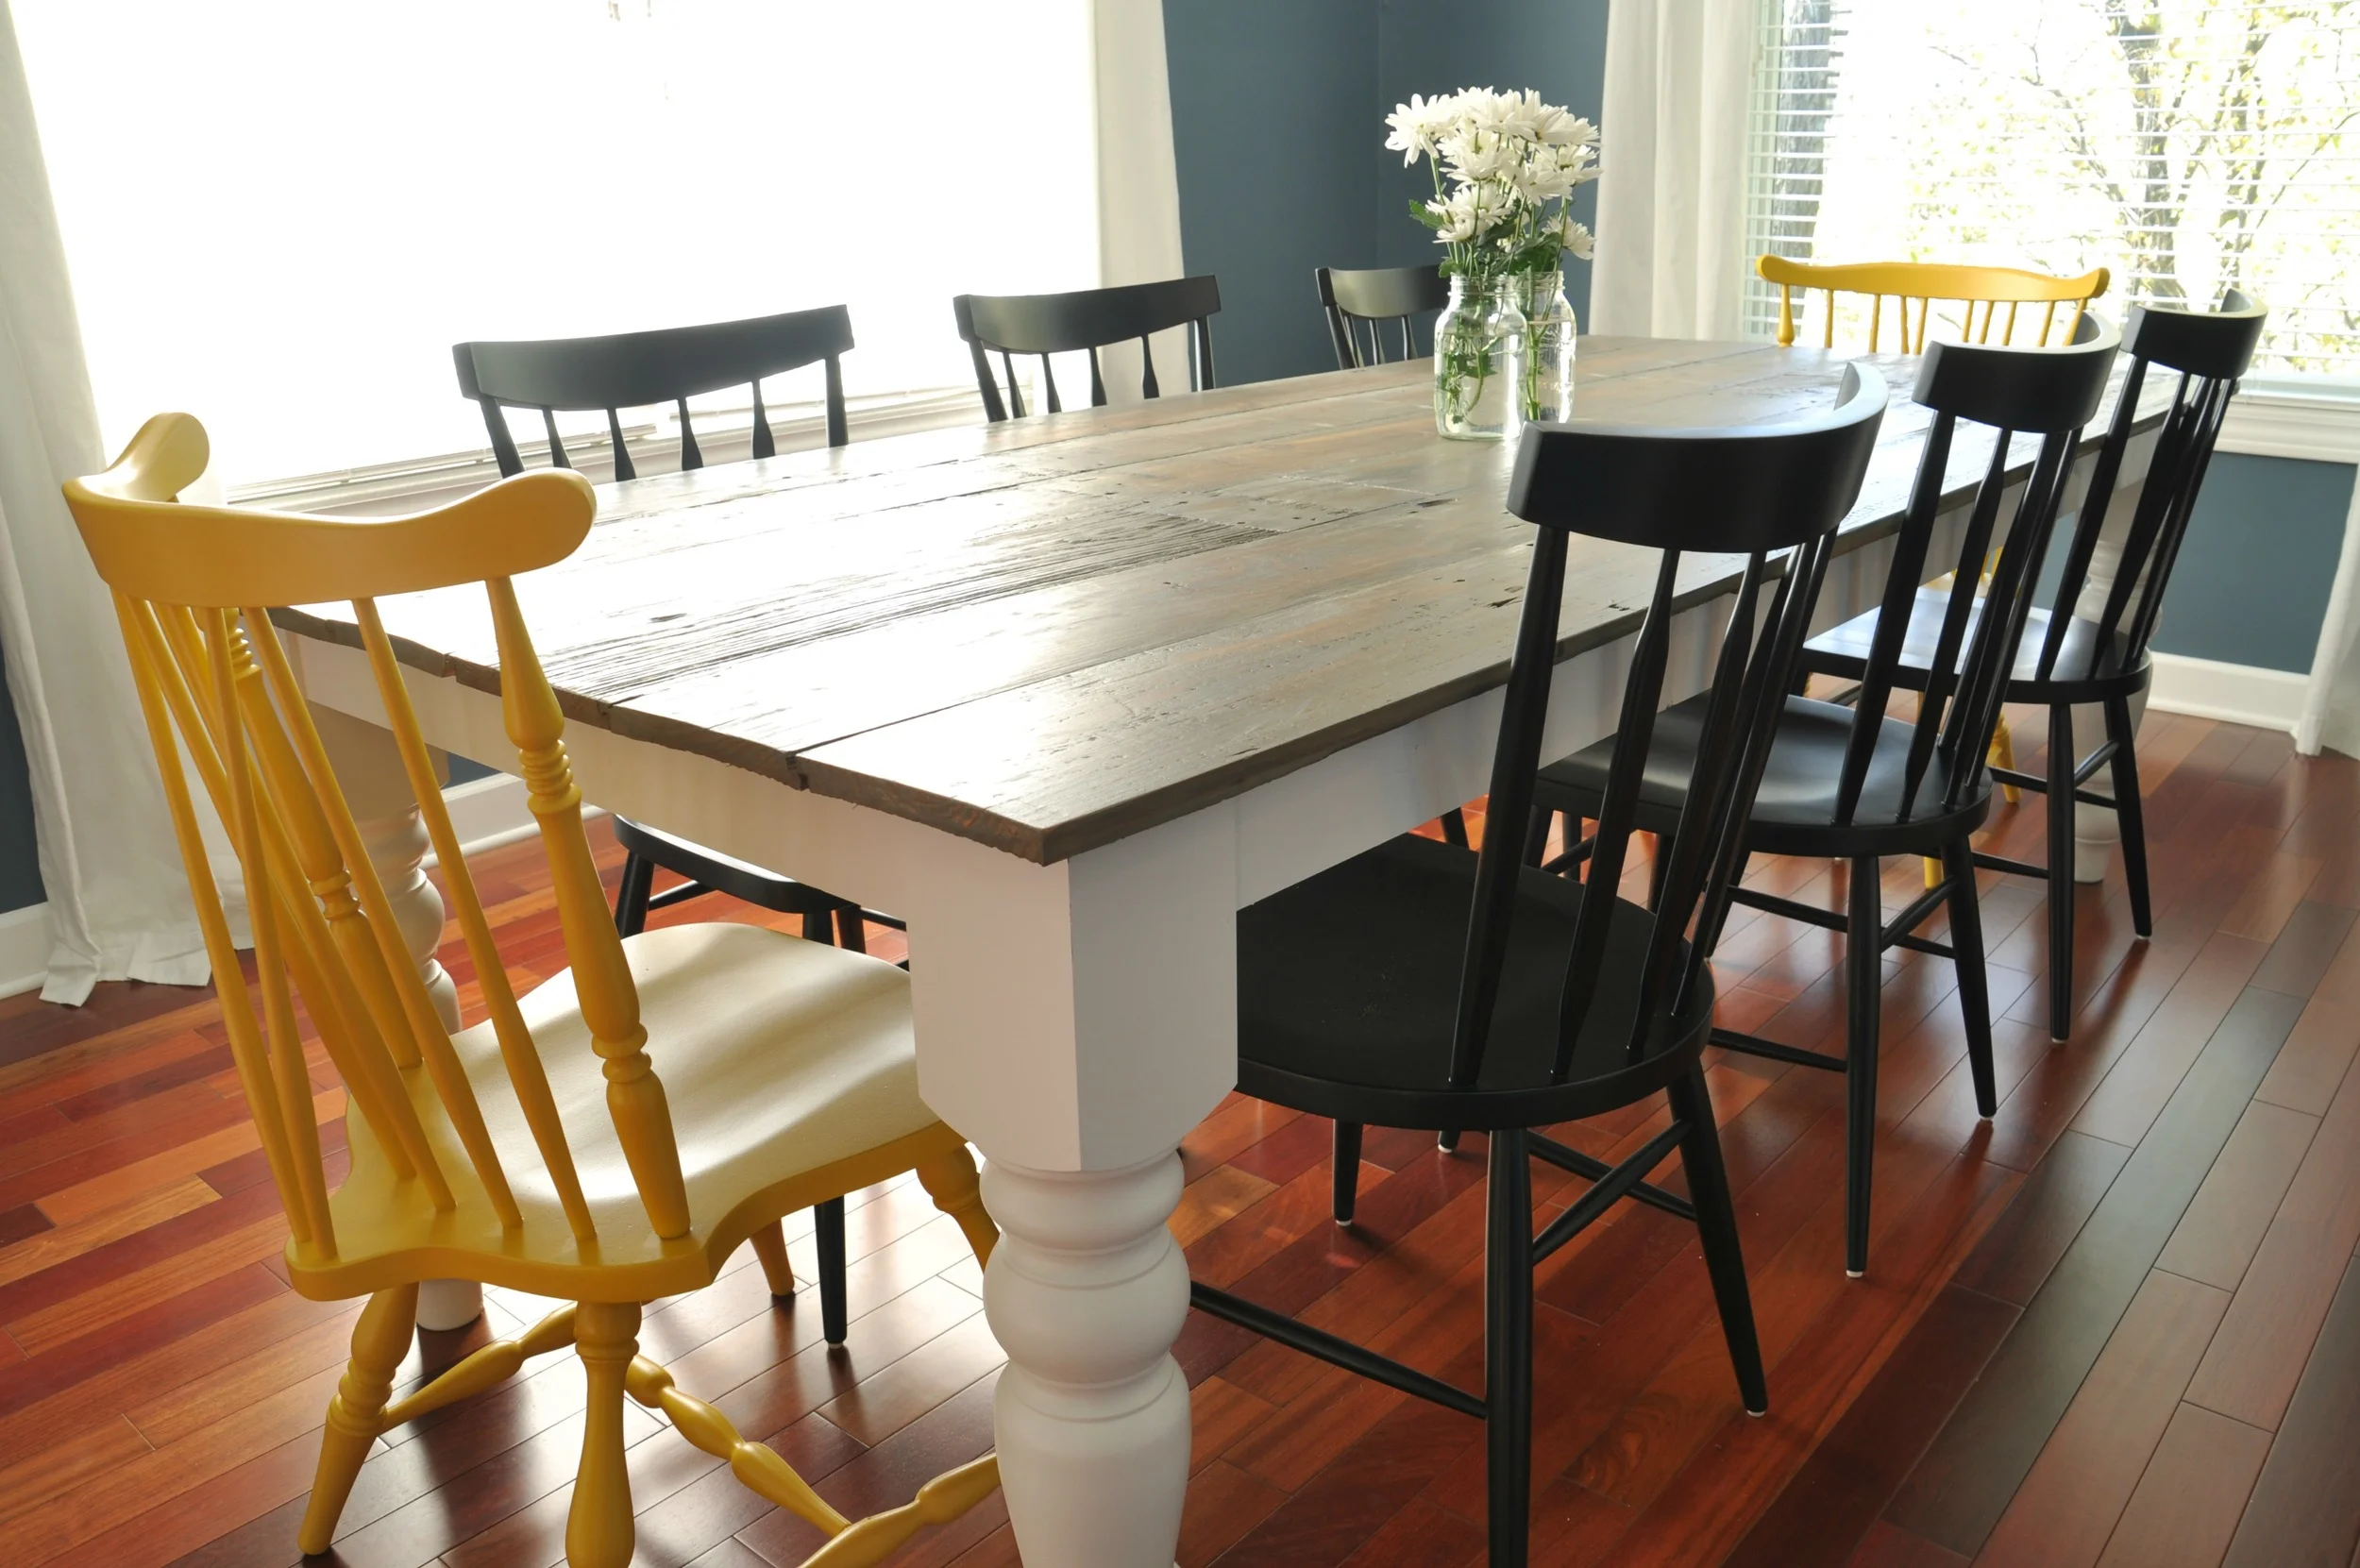
Host a dinner party and enjoy your fancy new table!
Want more info?
- Dining Table Reveal
- How to Finish a Farmhouse Table
- Picking table legs
- How to Paint Chairs (our yellow ones!)
- Picking Dining Room Chair (our black ones!)
Be sure to check out our "build it" page for more free furniture tutorials!
Who's ready to build their own? Do you speak Nate? ;)


