DIY String Art + Craft Night

Oh, craft night.  One of my favorite nights each month.  Our craft night group marked our one year anniversary this month.  We celebrated with delicious food, wine and crafts.  Wait, we do that every month.

DIY String Art + Craft Night | Decor and the Dog

Each month, one person hosts.  We all bring an appetizer or dessert to share.  Each month we try a different craft.  We've made yarn wreaths, embroidered tea towels, boxwood wreaths, pottery,  rubber stamps, etc.  Craft night is great for tackling crafts that have been on our lists but we just haven't gotten around to trying.  Craft night also allows us to try crafts that we never would have otherwise.  And my craft night group is made of some of my favorite people in the area.  Aww, mushy.

I hosted this month.  Our craft was string art. 

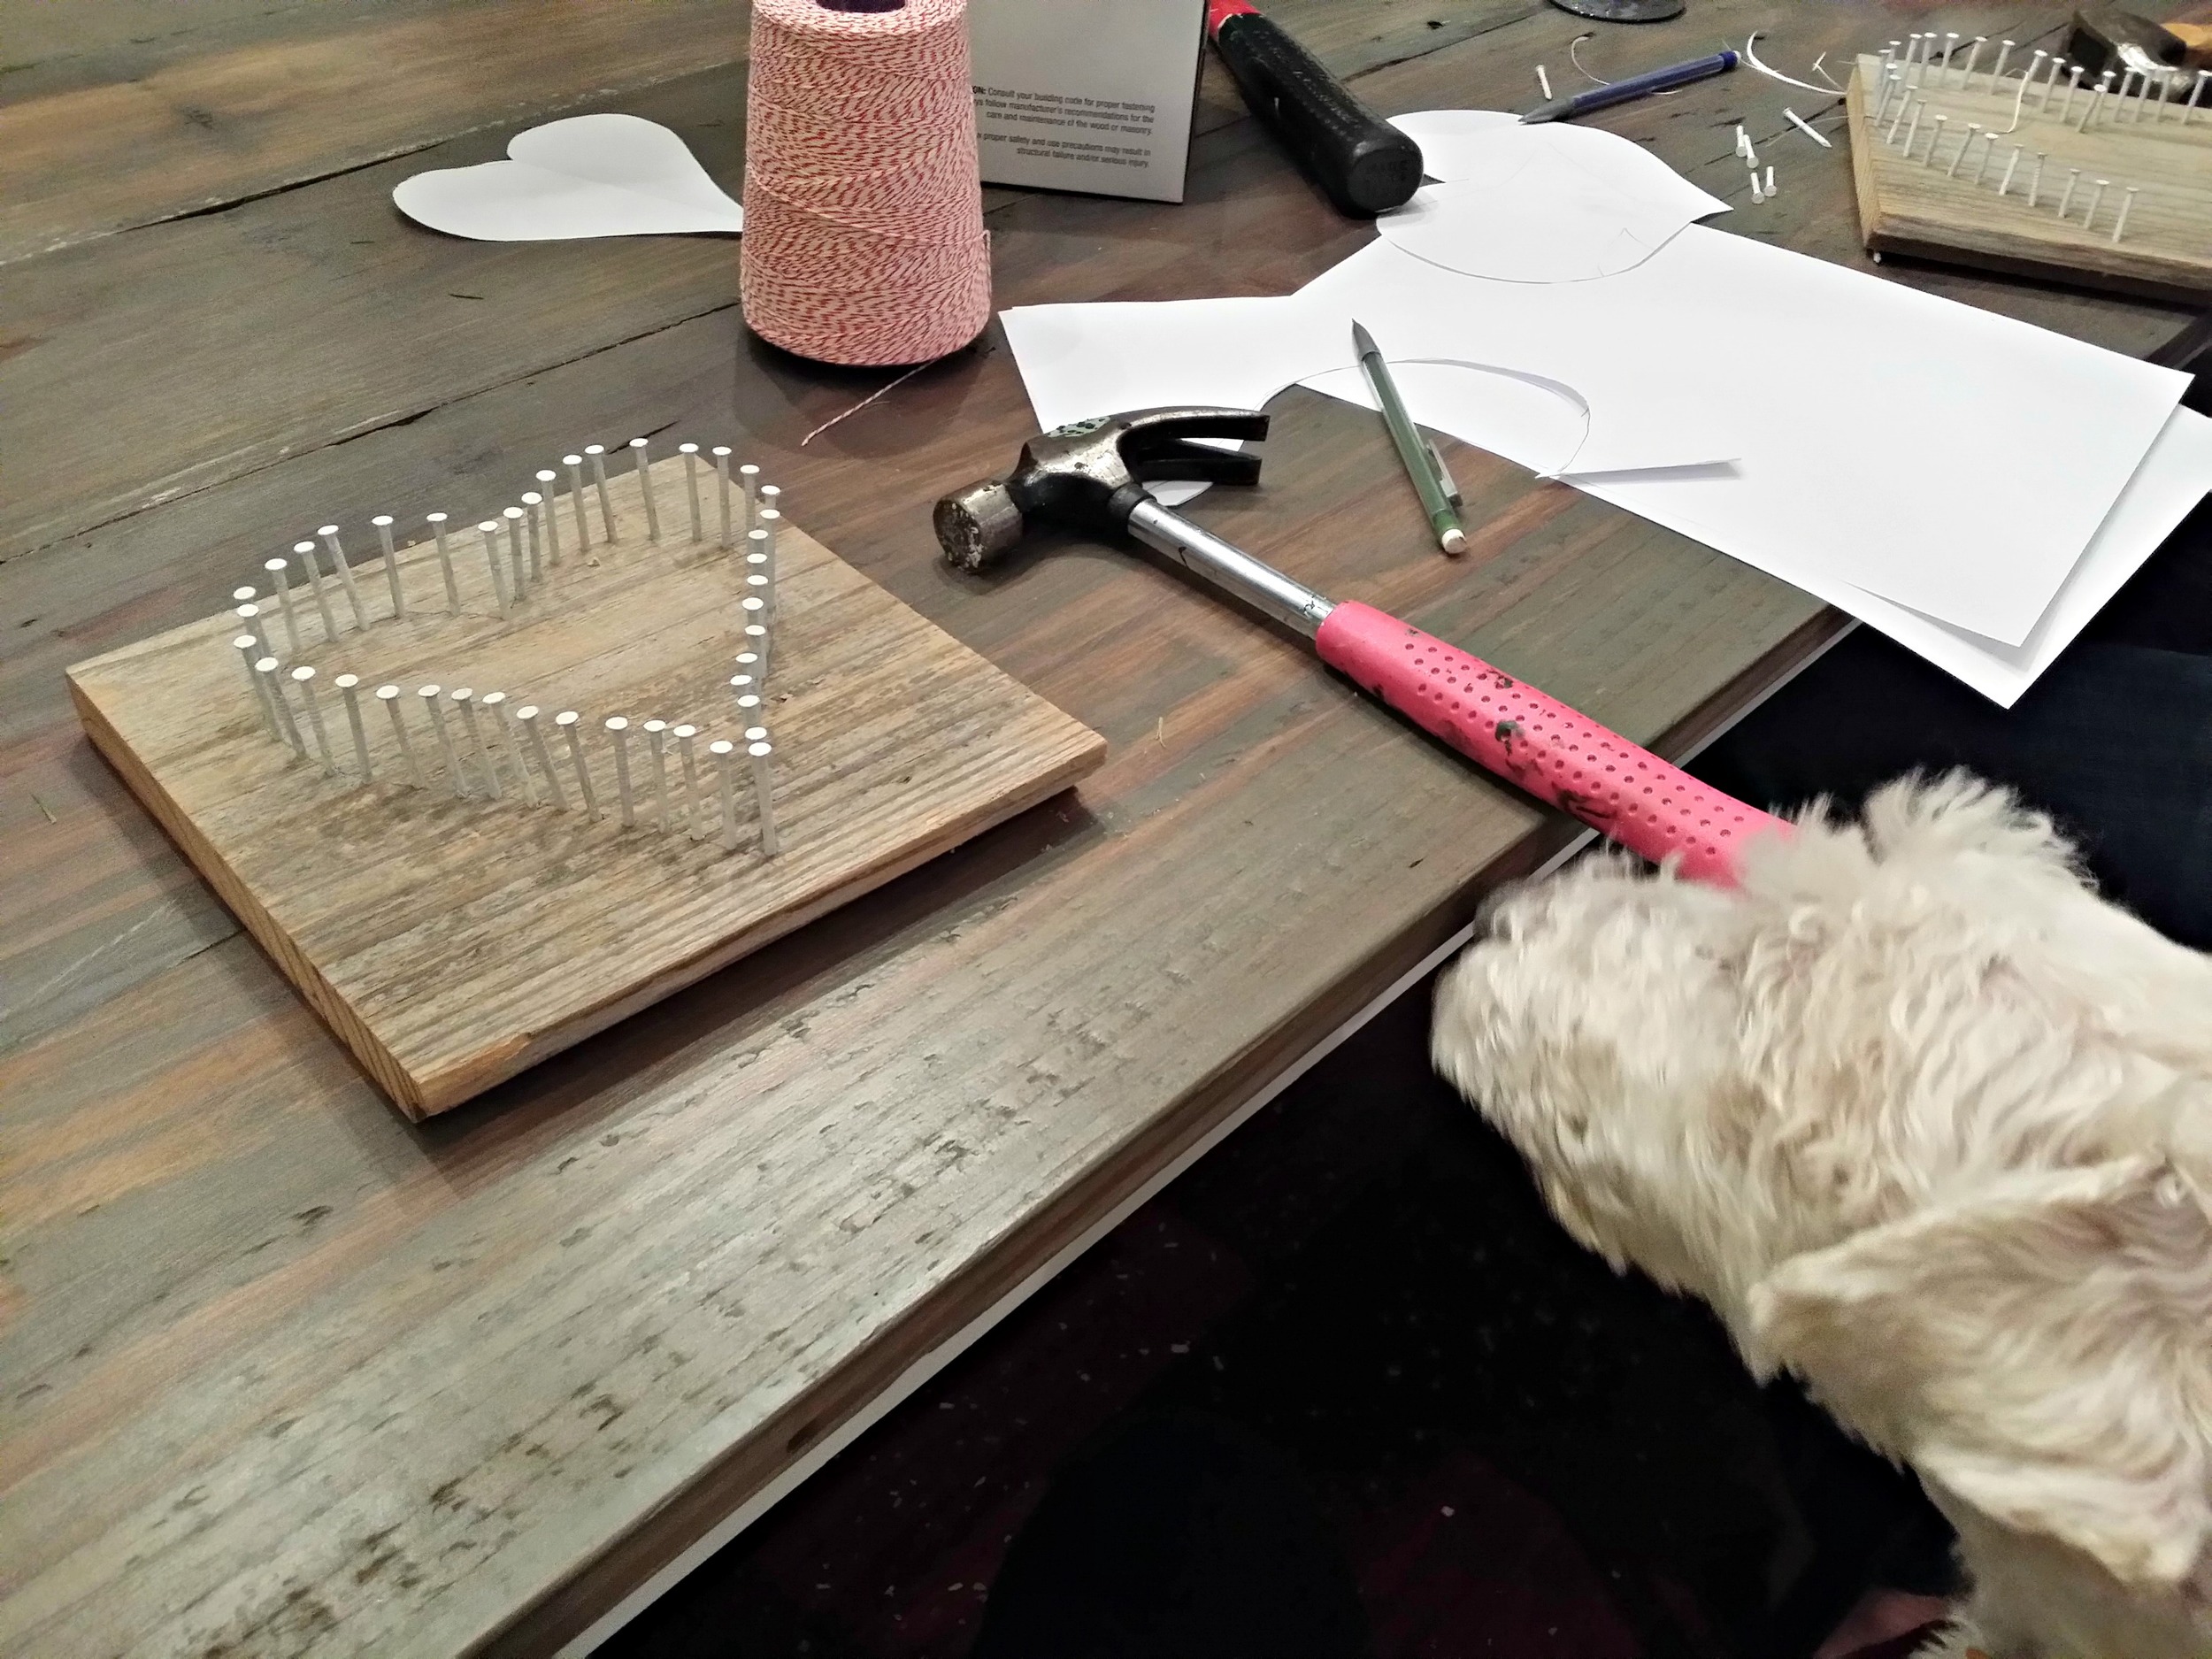
Ike was super helpful.  Here he is supervising my nailing.  This was in between stealing food and a baby's blanket.  He's a good host.

DIY String Art + Craft Night | Decor and the Dog

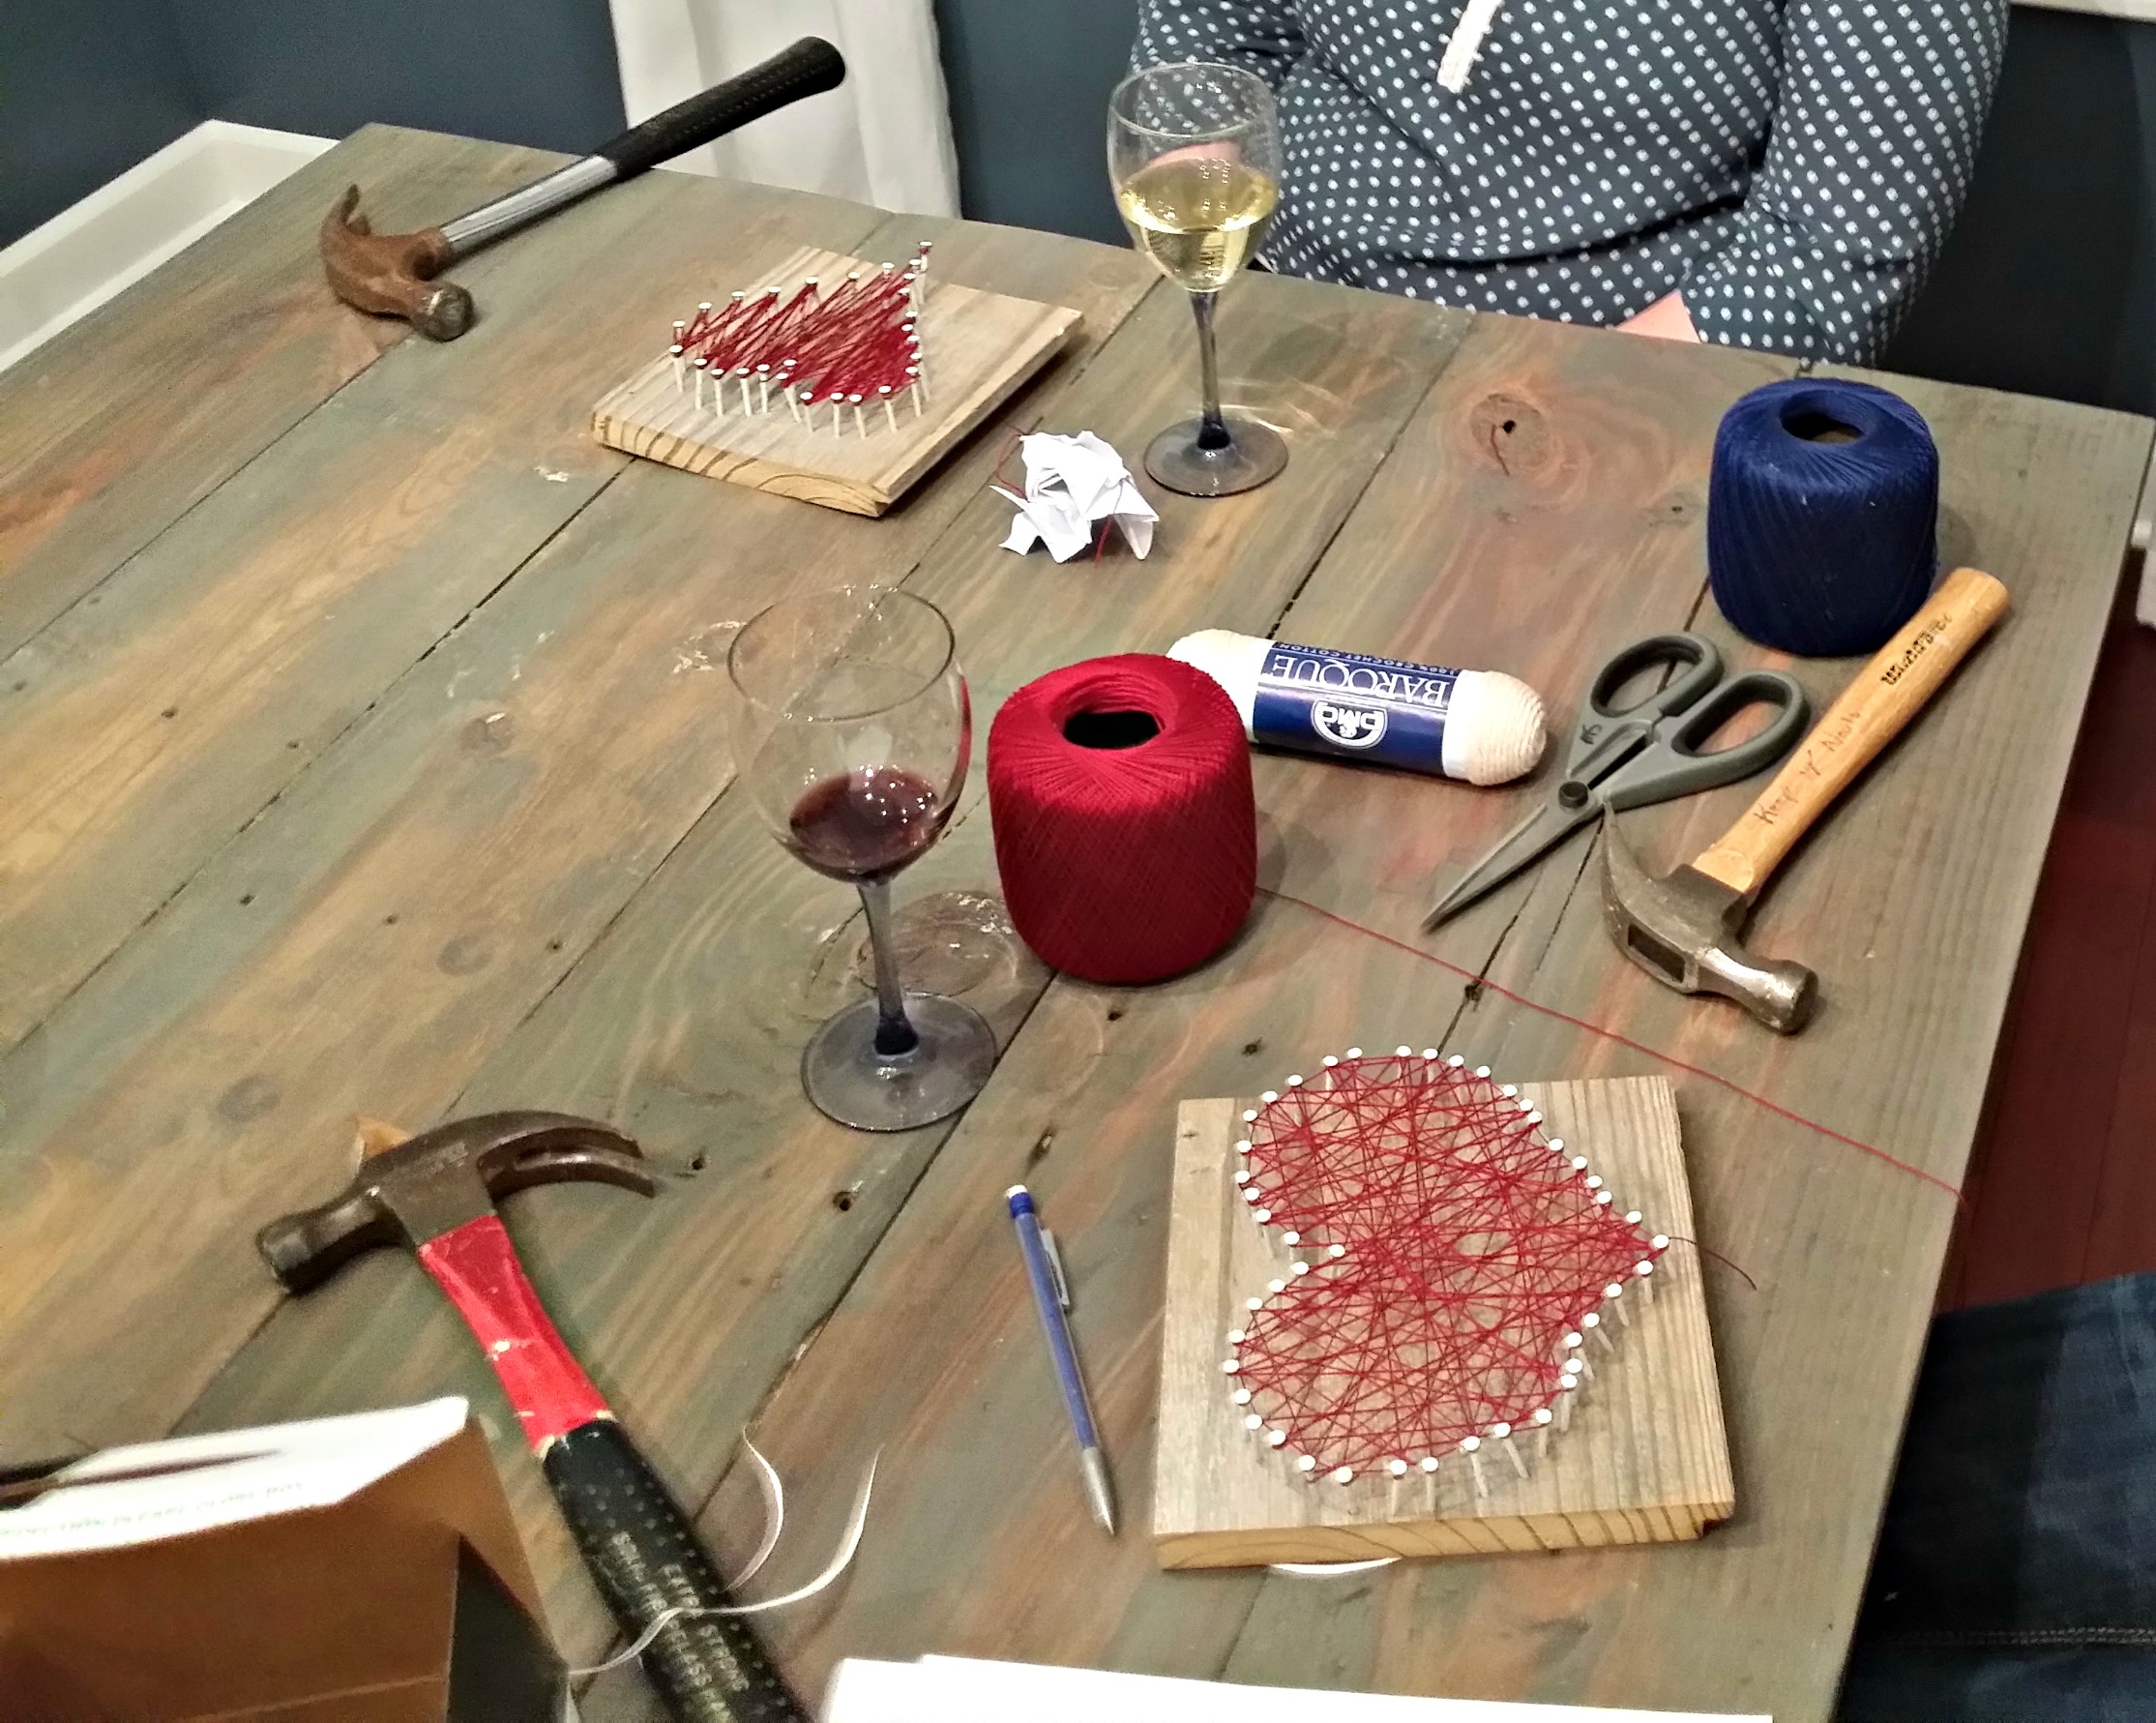
I have so many favorites about craft night but one of them is that we each take our spin on the project.  So even though we all did hearts, they all look a bit different.  (Well, except for Kim.  I think she was in my garage beating her board to smithereens during this photo.  We don't all win every month at craft night.)

DIY String Art + Craft Night | Decor and the Dog

Here's how mine turned out.  I think it's quite charming.

DIY String Art + Craft Night | Decor and the Dog

A few people commented on Instagram that they wanted a tutorial.  There are probably 100 better tutorials out there but this is how we did ours.  None of us researched it.  We just assumed nail, wrap string, done.  And that was pretty much right.

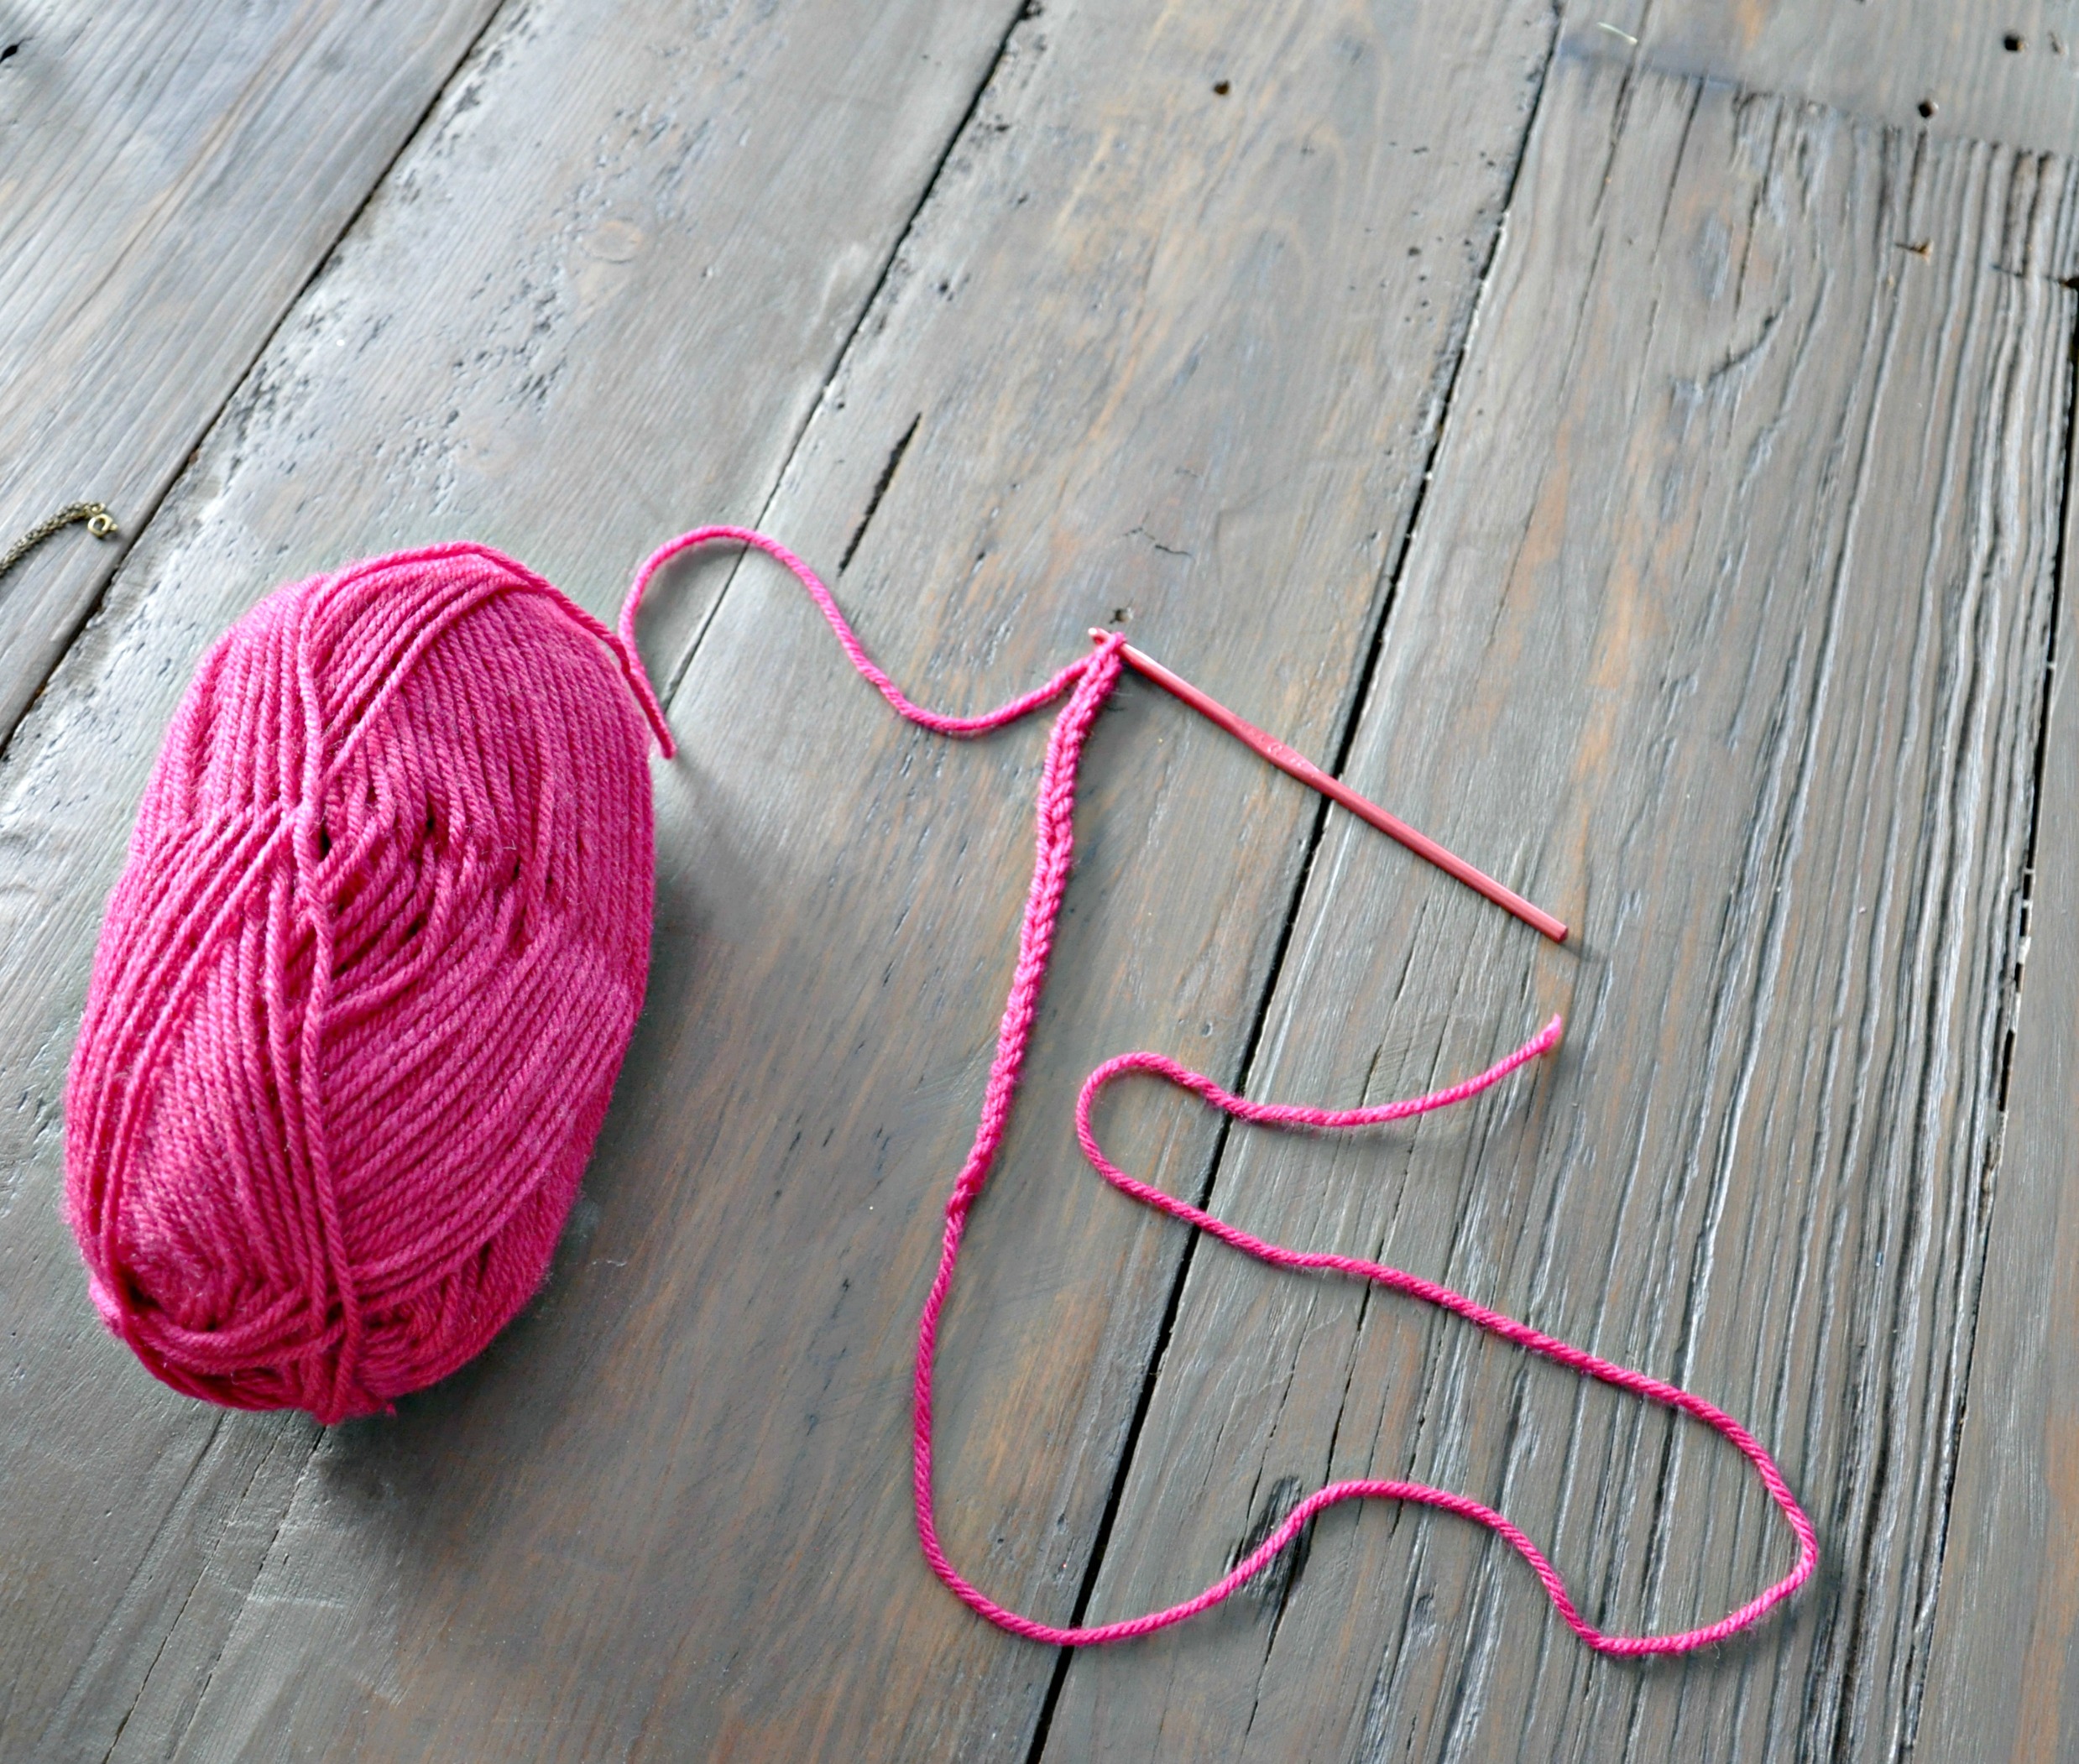
Here are the supplies we used for our string art:  nails (small is better), string, wood, hammer.

DIY String Art + Craft Night | Decor and the Dog

I started another one (that I need to finish).  We traced our design onto the wood and then went to town nailing.  It's probably best to space them evenly.  I tried to do about a fingers width in between but it didn't always work out that way.  Some of my nails are crooked.  I call it rustic.

DIY String Art + Craft Night | Decor and the Dog

Once all of the nails were in, we wrapped the string.  There was no rhyme or reason to this.  I wrapped until it looked pretty.  How's that for scientific?

DIY String Art + Craft Night | Decor and the Dog

I then stuck it on my half decorated book shelves in the living room.  Hey, at least my Christmas decorations are finally down.

DIY String Art + Craft Night | Decor and the Dog

It's currently living next to baby Nate and Michelle on their wedding day.  Awwww.  Love.

DIY String Art + Craft Night | Decor and the Dog

Craft night success.

Do you have a craft night group?  Any great ideas for our upcoming craft nights?

DIY Nursery Mobile | Tutorial

People that follow me on Pinterest were all like "MICHELLE'S HAVING  A BABY!!!" because I was pinning nursery stuff.  I was pinning them onto a board titled "Meg's Nursery".  Meg isn't my alter ego.  She's a college buddy.  Don't you worry.   I'd totally have a secret board for my own nursery business.

I mentioned last week that I did a couple of quick projects to help Meg with her nursery decor. (See the growth chart here!)

One project was a nursery mobile.  Or three.  Triplets.  Wow.

mobile 3.jpg

Meg had pinned some ideas of mobiles she liked.  They all involved threading the paper. That seemed difficult. I thought I remembered seeing a mobile similar to the ones Meg liked made by my buddy, Gretchen {Boxy Colonial}.   Gretchen is super smart and used double stick tape to keep the circles together.  I love blog friends.  

Here's how I made my mobile.  I'd say it took around 30 minutes to make one mobile.

Supplies:

1" circle hole punch

2" circle hole punch

clear jewelry thread

cardstock  (I used 4 colors)

embroidery hoop

glue gun

mobile 5.jpg

Cut out 1 million circles.  Or if you are making one mobile like mine you will need ten 2" circles of three colors and 1" circles of four colors.

Grab an end of your clear thread.  Start with your bottom color (yellow for me).  Place a piece of double sided tape on one of the circles.  Place the thread on top of the tape.  Seal with a second circle.  Repeat for each dangly piece.  I just eye balled the spacing.  I think they look best with small gap between circles.  Leave a couple of inches of clear thread at the top to attach to the embroidery hoop.

mobile 6.jpg

Grab your hoop.  Apply a small dab of hot glue to the embroidery hoop.  Attach the clear clear to hot glue.  Allow to cool.  Move onto next strand spacing evenly apart.

mobile 7.jpg

Apply string to hang from the ceiling using a hook.

Mobile.jpg

These nursery mobiles were a lot easier to make than I expected.  Always a pleasant surprise.

nursery mobile.jpg

Hiding anything good on your Pinterest boards?  Do tell.

Crochet Bow Necklace | Tutorial

I have a new obsession.  Crochet.  All things crochet.  Crochet necklaces. Crochet baby hats. Crochet granny square blankets. I can't get enough crochet.

You may be asking "How old are you, Michelle?"  The answer is 87 trapped in an almost 32 year old body.

Before I go drink my prune juice, I'd like to share with you a tutorial for a crochet bow necklace.  I had seen a few on Etsy but couldn't find a tutorial that I liked.  The bows were either too flat or the steps looked way too long and drawn out for a silly necklace.  But I must have a bow necklace.  I mean, look how cute it is!

Crochet Bow Necklace Tutorial | Decor and the Dog

Please excuse the lack of face in these photos. I had a wicked sinus infection and no one needs to see what was happening above my chin.

Crochet Bow Necklace Tutorial | Decor and the Dog

I made two sizes.  I like them both but I'd choose the little yellow guy as my favorite if I had to.  I want to make an even tinier one but I need a smaller hook.

This is a fairly easy crochet project.  I have had people ask how I learned to crochet.  My grandma taught me how to knit and crochet when I was around 10.  I've mainly been a knitter since then but knitting takes so darn long.  I just never really caught on to crochet.   As I've aged, I've become increasingly impatient and I needed a quick yarn fix.  I started making a baby hat about a month ago and it just clicked.  As in, I get it. I get complicated patterns.  I'm not sure what happened but I like it.

If you want to learn (or re-learn in my case), I recommend the Learning Center at Lion Brand Yarn.  There are always Youtube tutorials.  My buddy, Rachel {Maybe Matilda}, has a great step-by-step guide for stitches.

For this "pattern", I realized that if I scrunched a basic tube in half I'd have a bow.  A bow that has some dimension to it.

Here's how to make your own!  You can do this.  Trust me.  I'm a doctor...of pharmacy.  

I'm going to write this in Michelle instead of normal crochet pattern.  Hopefully it will make it easier for beginners to understand.  And annoying for everyone else that crochets.

Crochet Bow Pattern

Size G hook

worsted weight yarn

Step 1: Little Bow: Cast on 20 stitches leaving a very long starting tail (~20 inches).

              Big Bow: Cast on 28 stitches leaving a very long starting tail (~20 inches).

Step 2: Join to first chain using a slip stitch to work in the round. Be careful to not twist your chain!

Step 3: Chain 2

Step 4: Double chain evenly around.  Join to first stitch using slip stitch.  Chain 2.

Step 5: Repeat step 4

Step 6: Repeat step 4

Step 7: Repeat step 4

Step 8: Fasten off leaving a very long tail (~20 inches).

Step 9: Wrap the two tails around the middle of the bow.

Step 10: Tie a knot to secure the ends.

Step 11: Thread chain onto necklace.

Step 12: Be proud of your new granny necklace!

Here's some visuals for you.

Step 1

Step 1

Step 2

Step 2

End of Step 4

End of Step 4

End of Step 7

End of Step 7

Step 8

Step 8

Step 9

Step 9

Step 10

Step 10

Step 11

Step 11

Step 12

Step 12

What's your favorite elderly pastime?