Adding Molding to a Wall
/I have so many blog post ideas I don't even know where to start. Totally makes up for my slacking this Summer, right? The correct answer is "Absolutely, slacker!"
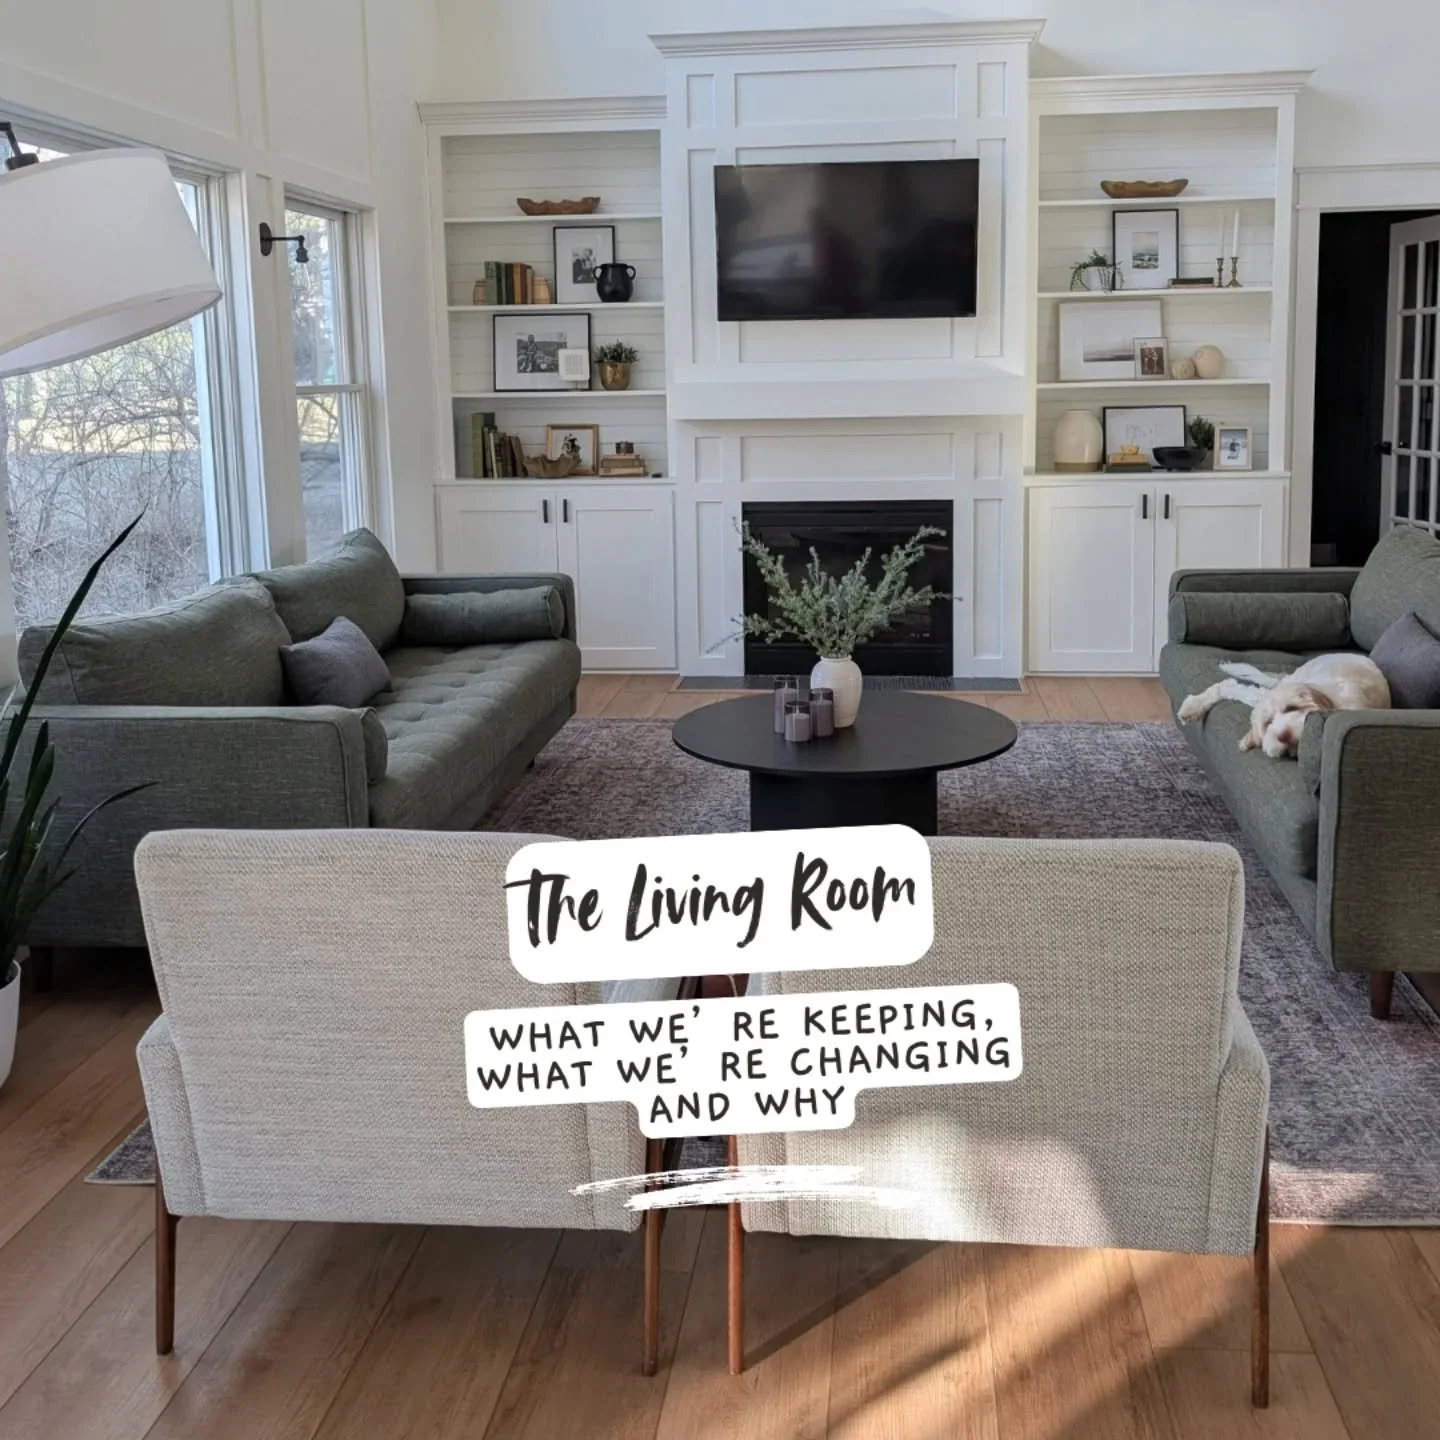
Not only are our built-ins complete but our molding wall is also finished.

Checking things off the living room list left and right.
As a refresher, here's how we started the Summer. SO MUCH BEIGE.

Here's how we ended the Summer.
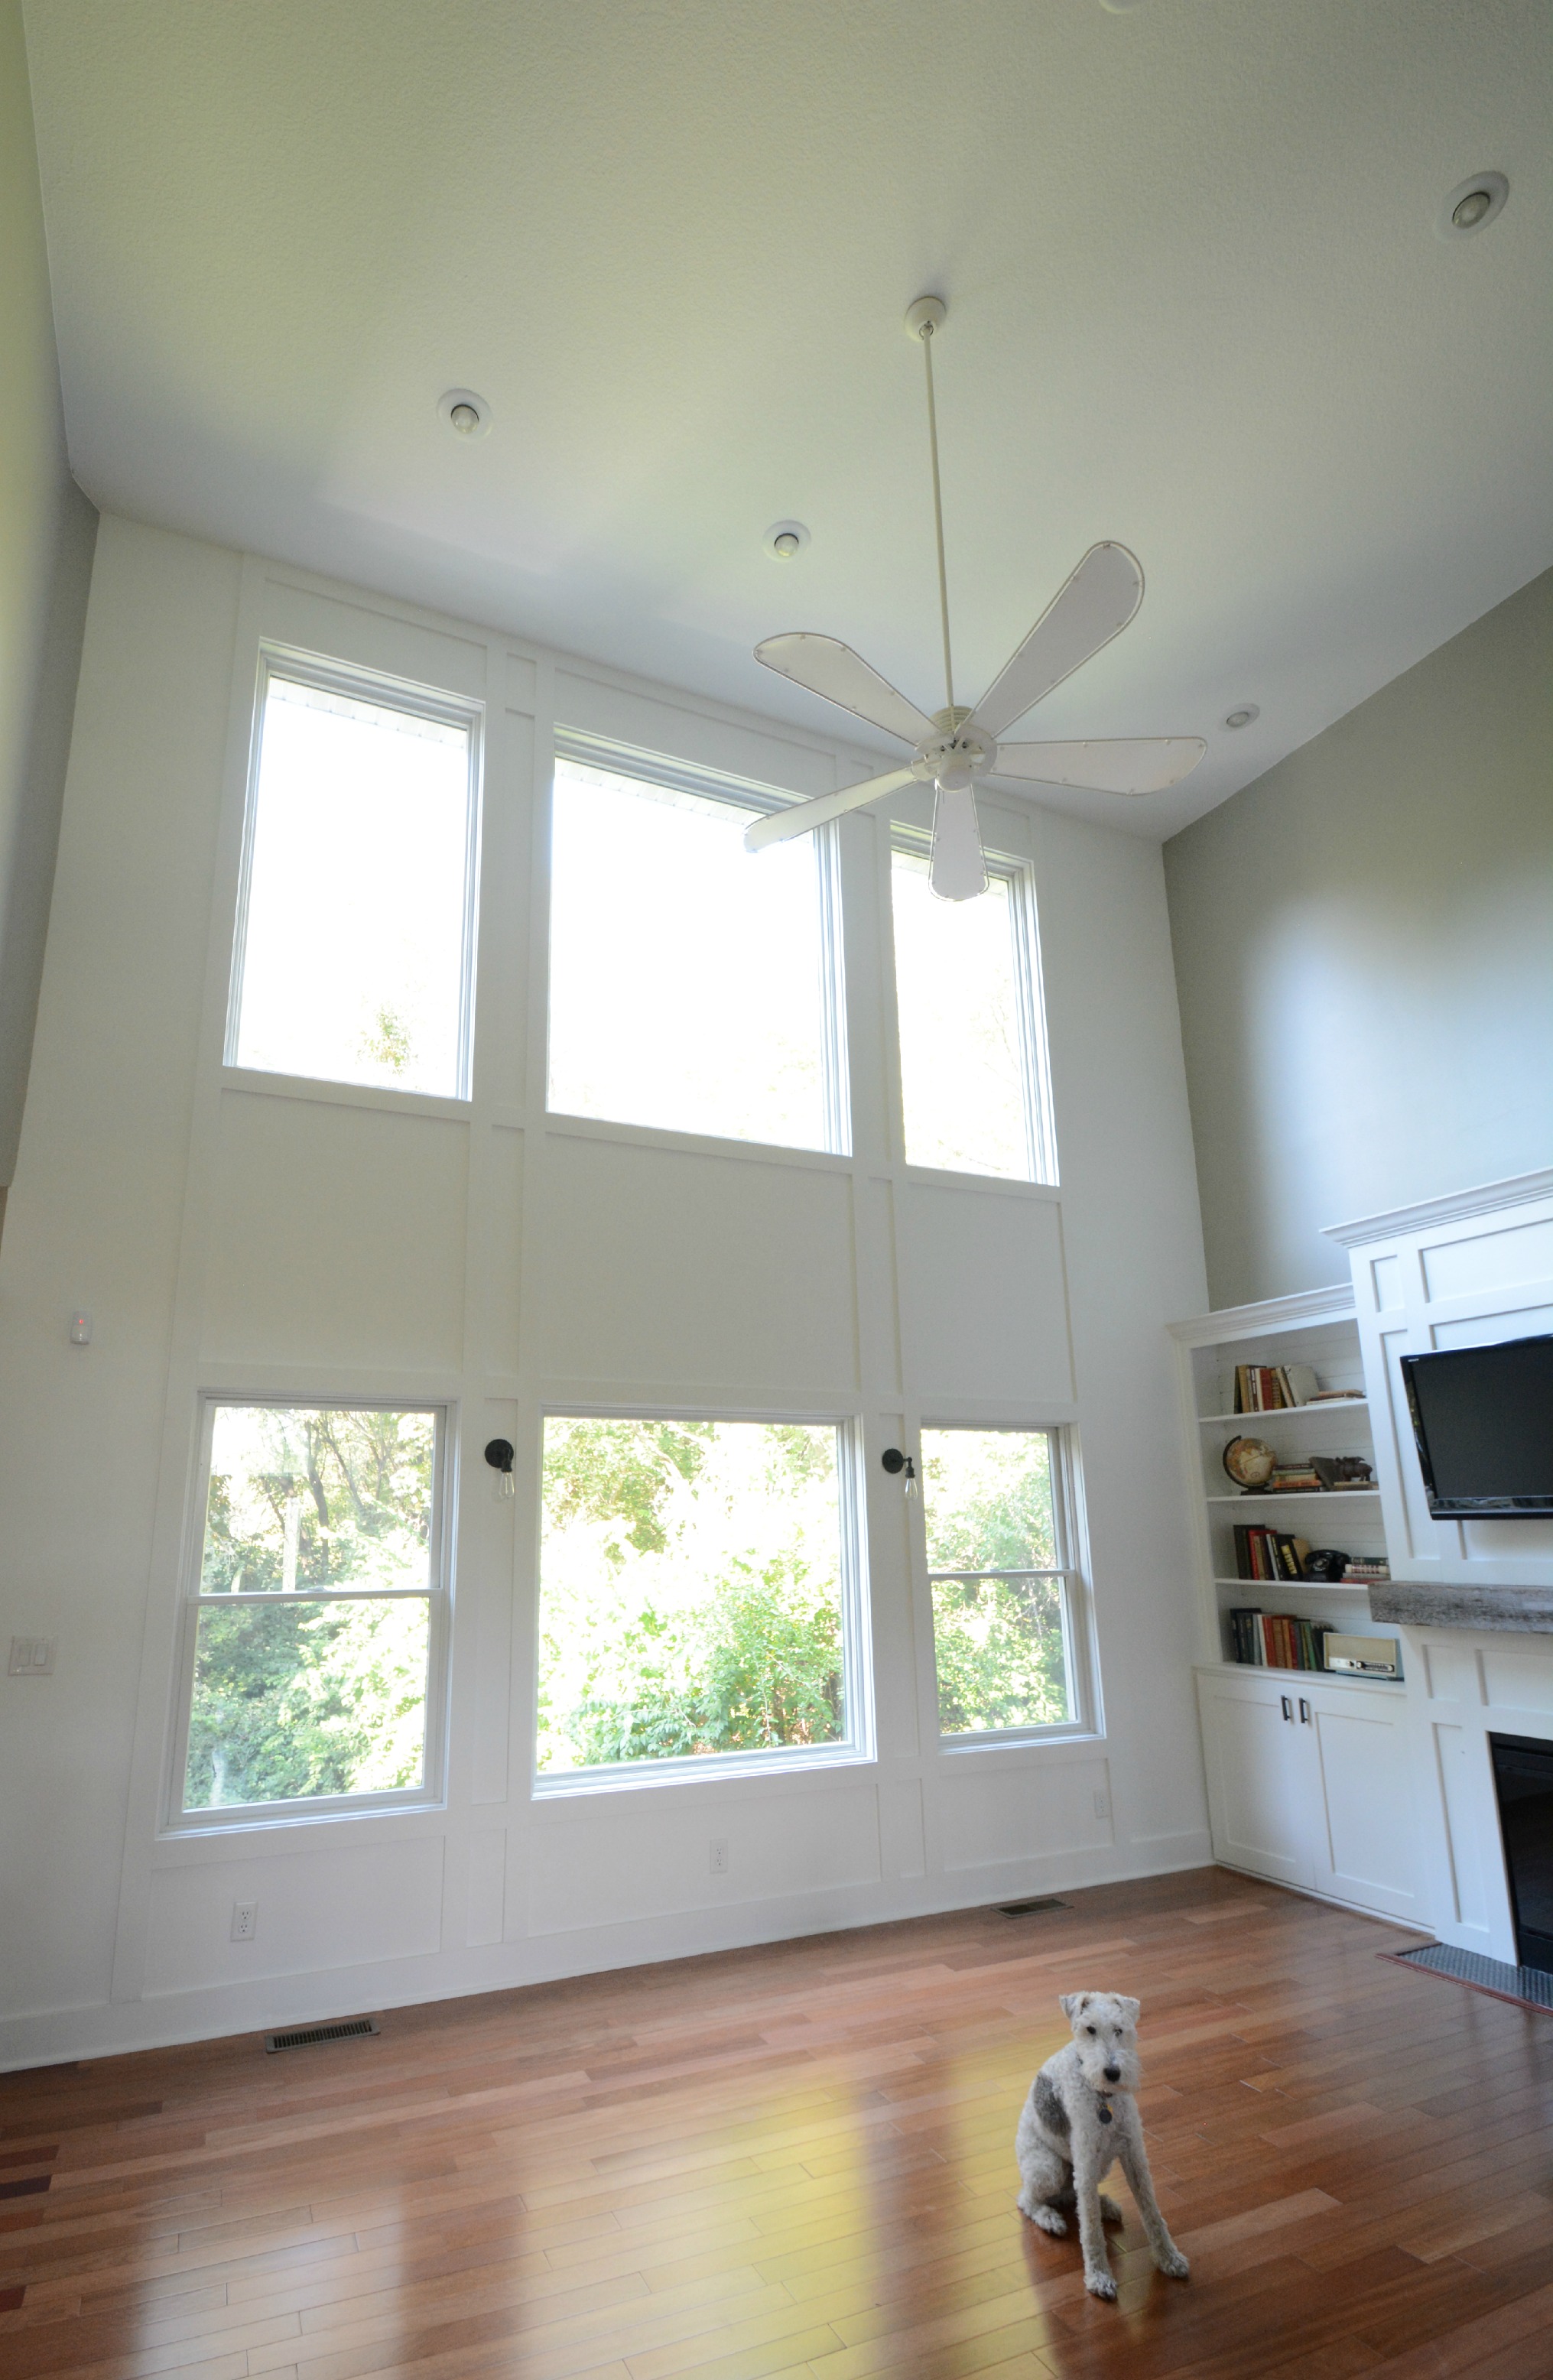
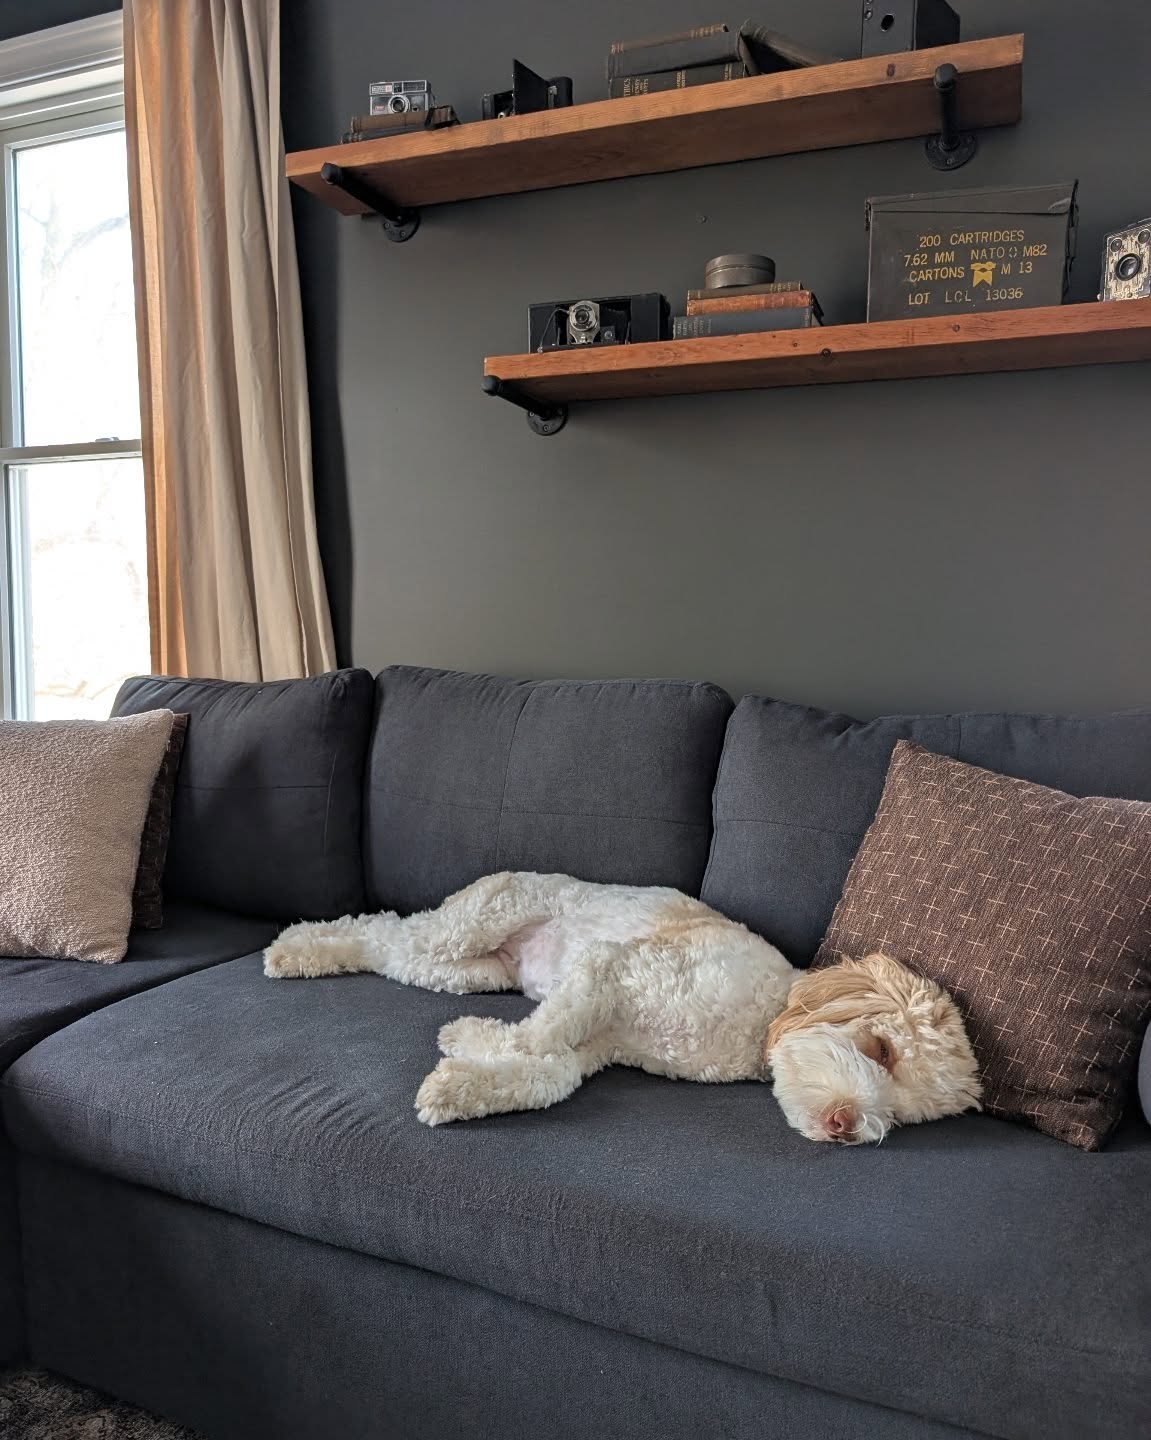
That poor dog is so confused.
We started by painting the wall white. My brother and I painted the bottom half. Nate painted the top half. Seemed fair.
The next step in perfect DIY land is to install the baseboard. We had some flooring issues so we ended up tearing up the carpet, setting down a piece of the wood flooring and then taping the baseboard to the wall. This allowed us to proceed with the molding while waiting on flooring.

We choose MDF because Nate said so. And something about it being straight, easy to work with, and having a clean/smooth appearance.
We purchased 1x4 8 foot boards because we could cram them into our Jeep. Obviously the longer the better because you'll have less gaps to fill.
Nate and I worked together to design a plan for the wall. This was mainly Nate's vision but I added some tweaks here and there. Mainly this post is to emphasize that I really do accomplish some things in life. Occasionally. Ok, I'm just really good at shouting orders. Ask my brother.

Nate first installed the vertical boards. I had to hand him things and watch out for the nail gun falling on my head. It was truly a dangerous job. So I pretty much I should get credit for this entire wall.

Nate's tip is to check the spacing between the windows. Our top windows are a smidge off from our bottom windows. Nate was able to fudge this a little to keep the boards straight but still cover what needed to be covered.
He nailed the MDF boards with a finish nailer. He cut the boards at a 45 degree angle so the seams appear less visible. The boards are installed so when you are looking up, the bottom overlaps the top board.
Once the vertical boards were installed, he moved onto the horizontal boards.
Once all of the boards (including baseboard) were installed we caulked all of the edges. All of them. Uggg. I think this step took like 2 months to complete. It was pretty horrible.
The next step is to sand the joints. Then add more spackle and sand again as needed.
Lastly, we painted. We painted all of the edges and fronts of the boards. (MDF comes primed. We applied one coat of paint prior to installation.) We used Sherwin Williams Bright White. We painted and painted until our hands were claw-like.
Claw hands are totally in and worth it for how this turned out.

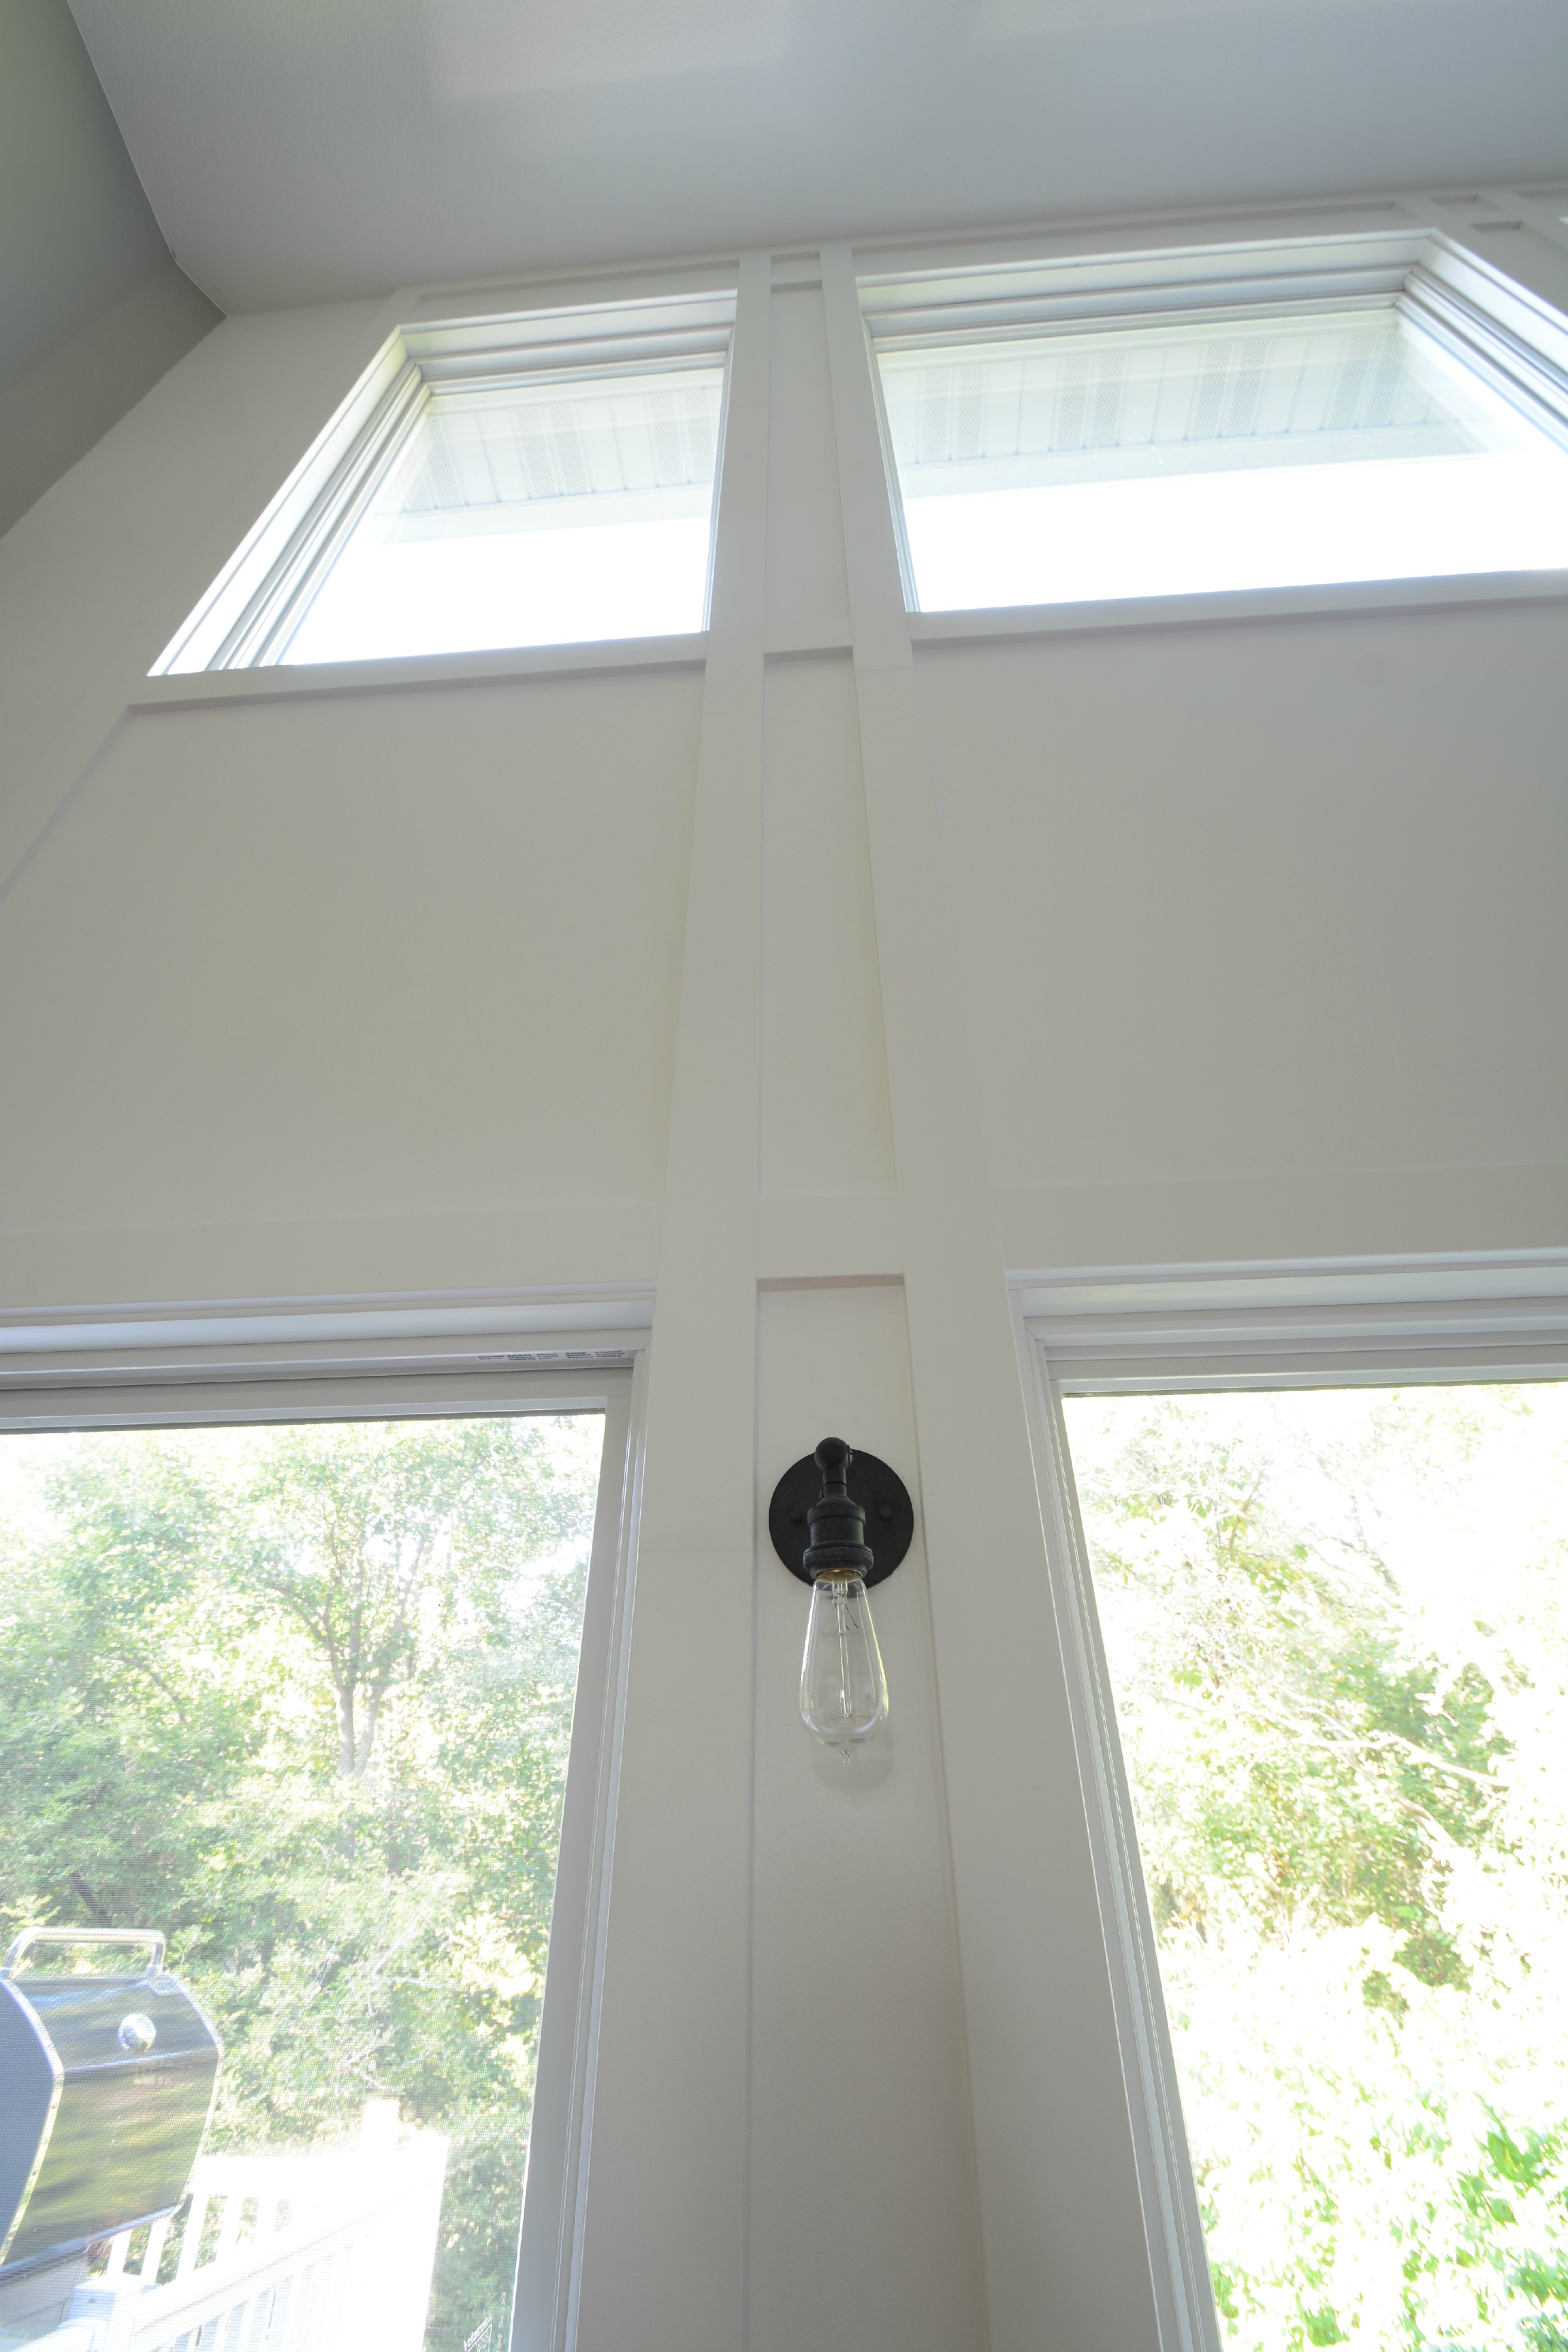
Our new sconces totally helped finish this wall off!


Now it's time to get our furniture back in here and watch all of the Netflix. All of it. Every show. Got any Netflix suggestions for us?
And here's a little more then and now action because I have trouble staying on task.


We are loving this room so much. The molding wall and built-ins have been plans of ours since building 6 years ago. Patience is sometimes a good thing. Sometimes.