How to Make a Gnome
/Happy Halloween! It's okay to talk about Christmas now, right?
Okay, so it's like super early. I get it. But my brain can't stop thinking about how I'm going to decorate for the holidays this year. I have lots of projects in mind and I'm trying to start early so I can actually finish them. If I'm thinking about holiday decorations, maybe you are too? If not, just humor me.
I went shopping with my mother-in-law, sister-in-law and darling niece last weekend. We stopped at the HomeGoods in Naperville. I saw this little gnome there that I loved but wasn't quite in my price range. (I swore I took a photo of it but it must have only been a mental photo or my phone ate it.) I thought, just maybe, that I could make him myself or find a tutorial on-line.
FYI, there are no good gnome tutorials on-line. Until today.
***Edited years later. Gnomes are easier to find now but I still love my version. If you're not crafty, there's an inexpensive option here, here and here!***
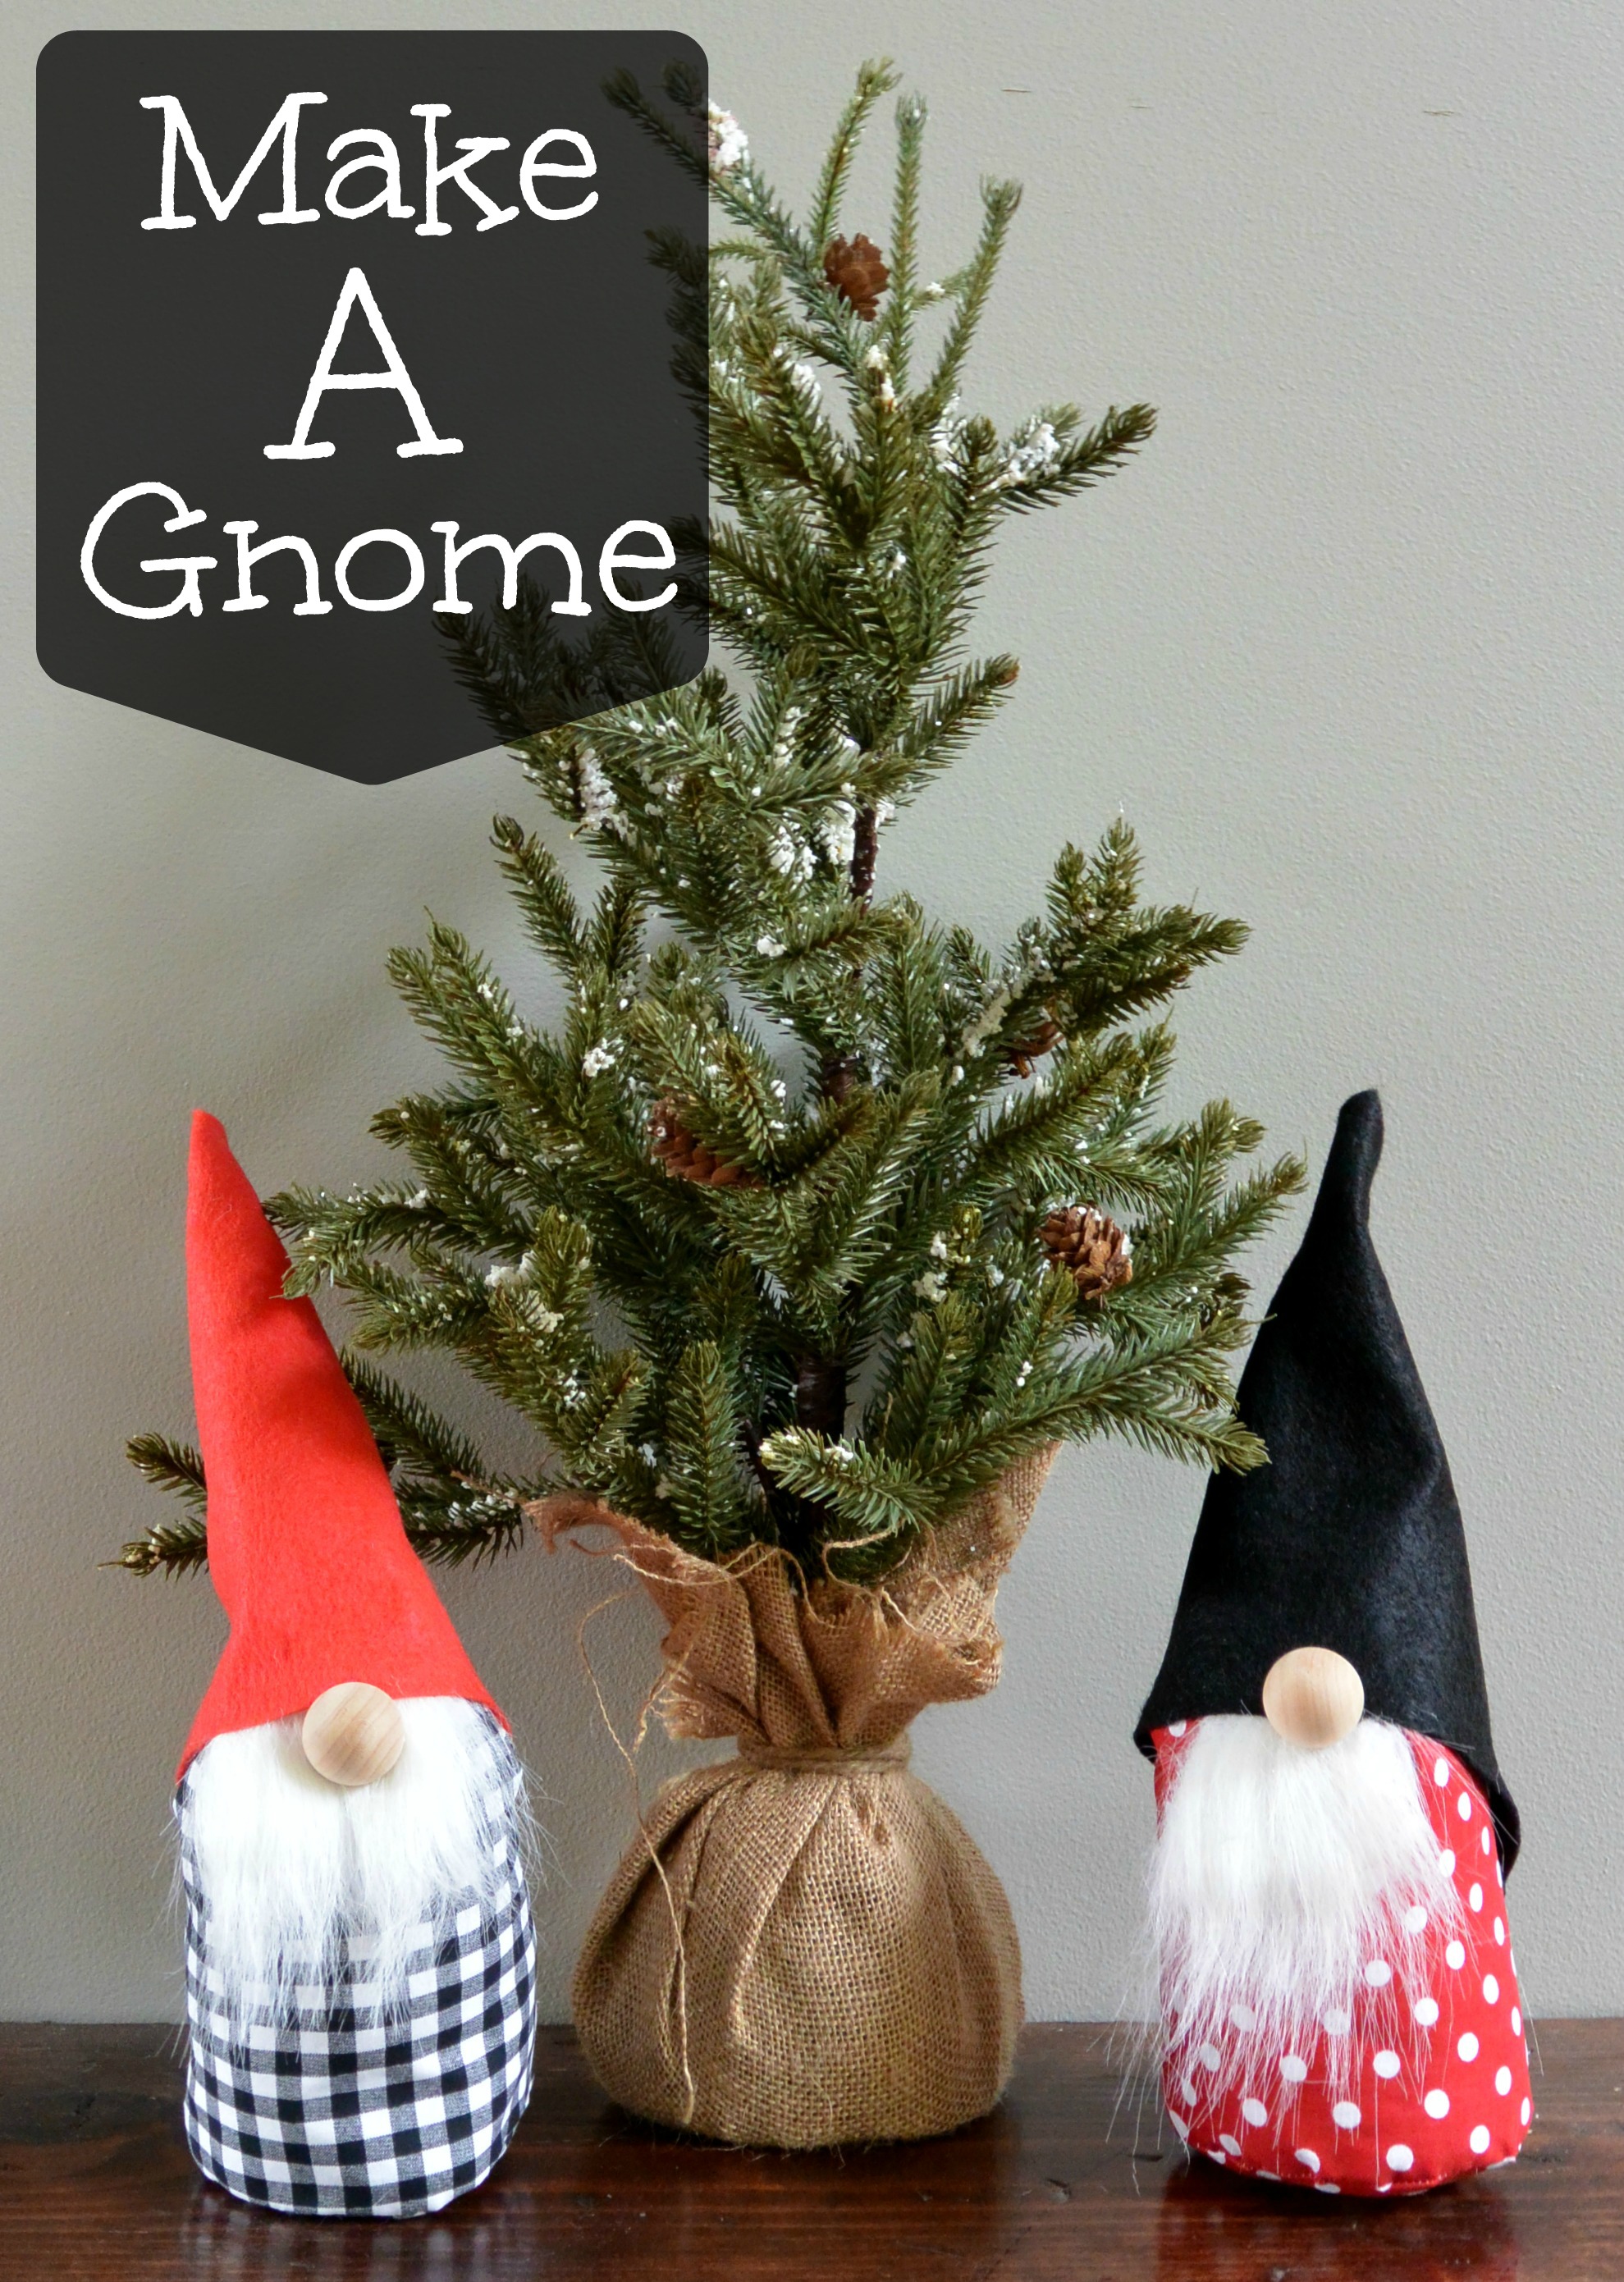
Look how cute they are! And they are super easy to make. As in, you can make one in 10-15 minutes.
Gather Your Supplies:
Cut a circle. I traced a lid to make mine. My circle is about 5 inches wide. Next cut a rectangular piece of fabric. Mine was ~15"x10". This project is pretty forgiving so you can adjust size based on your desired gnome size. Place fabric right side together and sew rectangle to circle as show below.
If you have extra fabric after the end of your circle, chop that off. Sew up the long edge of the body. Turn right side out.
If you want your gnome to be weighted, add some craft pellets. I also made one without these and it sat up just fine. Add some fiber fill and smush into body, shaping as needed. Take a scrap of fabric and tie it up to close. (This is obviously not a toy for small children. If children are around, you will want to sew this up so the kid doesn't eat the craft pellets. Or skip the pellets all together. Because kids eat stupid things.)
Next, it's time to make a little gnome hat. I buy these felt squares from Joann's for like $0.40. Cut one square at a diagonal. Fold one diagonal in half. Sew up the long side. Turn inside out so seam is inside. Chop off excess fabric until the felt is gnome hat shaped (you like that?)
Grab some craft fur. Keep this away from your dog. He will try to destroy it. Not that I know. Also, this stuff is MESSY. Consider that your warning. Chop off a small piece of fur and hot glue it to the stop of the gnome body.
Place your gnome hat on top of the body and secure with hot glue.
Add a wood bead nose with hot glue. My bead is perhaps a tish big. Big noses are cute. Right, Nate?
Be that crazy person that digs a tree out of storage for a blog photo. WHAT AM I BECOMING? I DON'T KNOW ME.
I did try Mr. Buffalo Check Gnome on the bookshelves and I like! This photo also makes me seem slightly less crazy. Let's end with that.
Have you started DIYing those holiday projects yet? Or am I the only crazy one. *crickets*


